Dearest Sewing Friends!

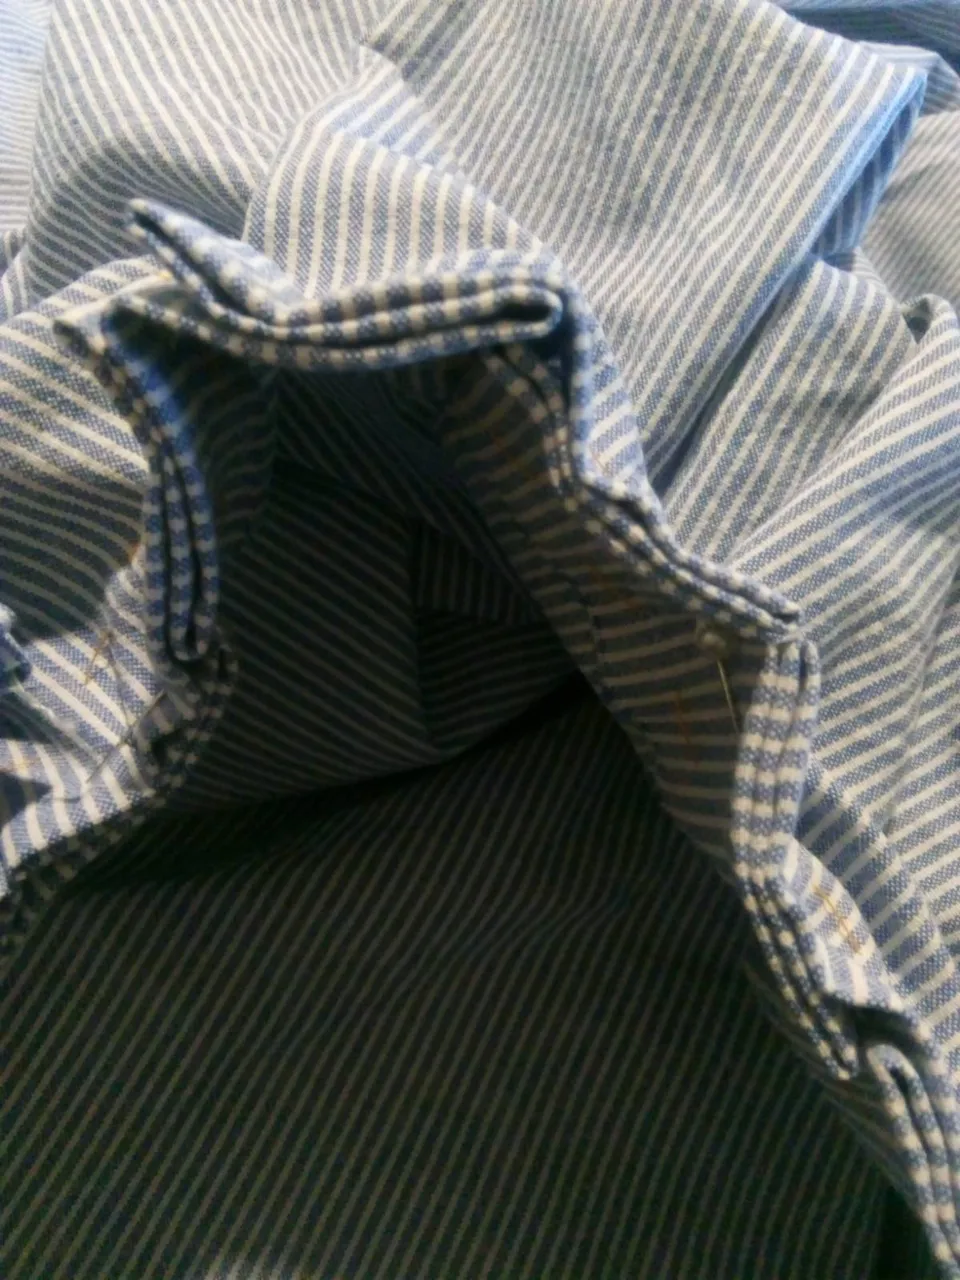
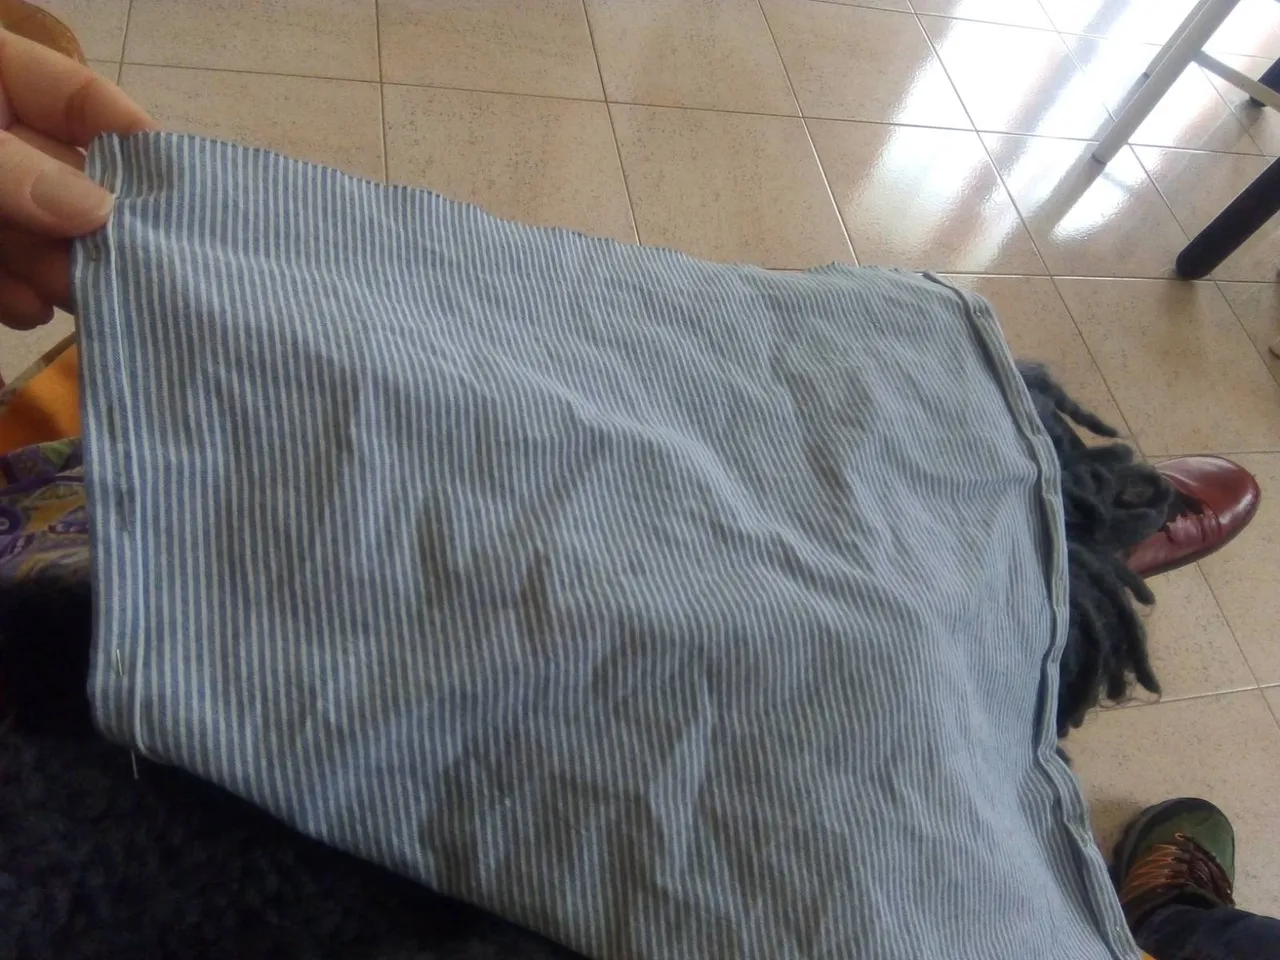
I am excited to share with you, my ongoing path to mastery in sewing.... This is another dress-from-a-sheet, which I am almost finished: above is the pinned-in final form, which will progress further as I refine the straps and back. I'll share here, how I work completely spontaneously and organically, to create something from scratch: no pattern, no idea of how to construct it, but beginning with a feeling of the kind of dress I wish to wear, as my belly grows...
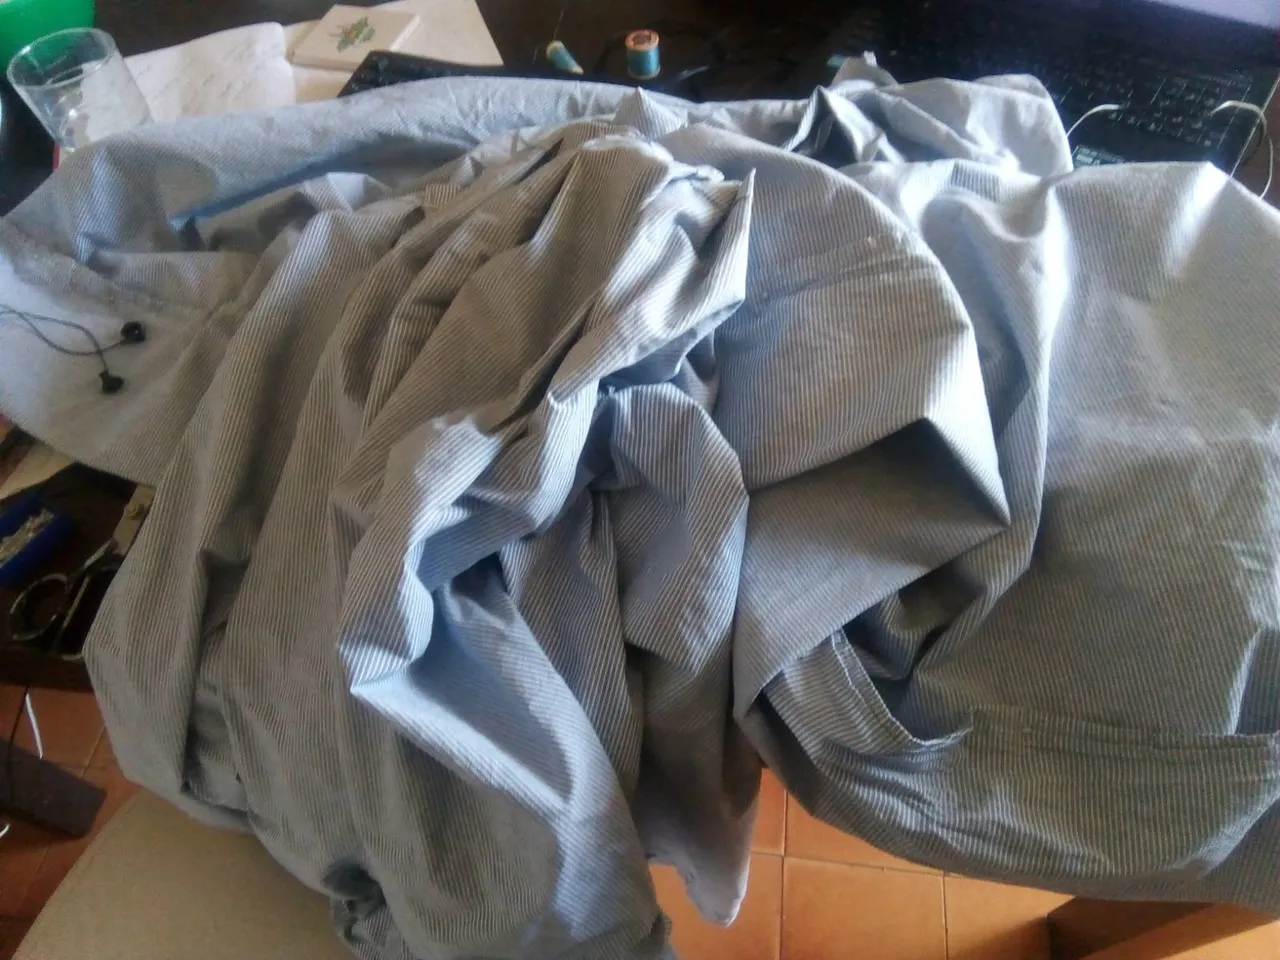
This is the basic sheet: a beautiful heavy cotton in thin white and blue pinstripe. I literally got it on the kitchen table and cut it in two, to begin. Then started with thinking of a) skirt and b) waistband. A note: in coming to the final phase of this dress, I realised it was a veritable remake of a big skirt I'd create when I was around 10 yrs old, and which my primary care-givers had shamed me for, as they had lots of uptight snobbery around norms and conventions in clothing, and didn't see that their child had made a brilliant start to manifesting her passions - this is an important healing process, remaking the skirt but super-professionaly, but also completely quirky and unusual for where I live.
The skirt and waistband were something I could envision creating, as I have the skills for pleating, hemming, etc. As you might know, I do not measure though - apart from putting the hemmed waistband around my clothed waist and holding it by hand where I want to pin it closed.
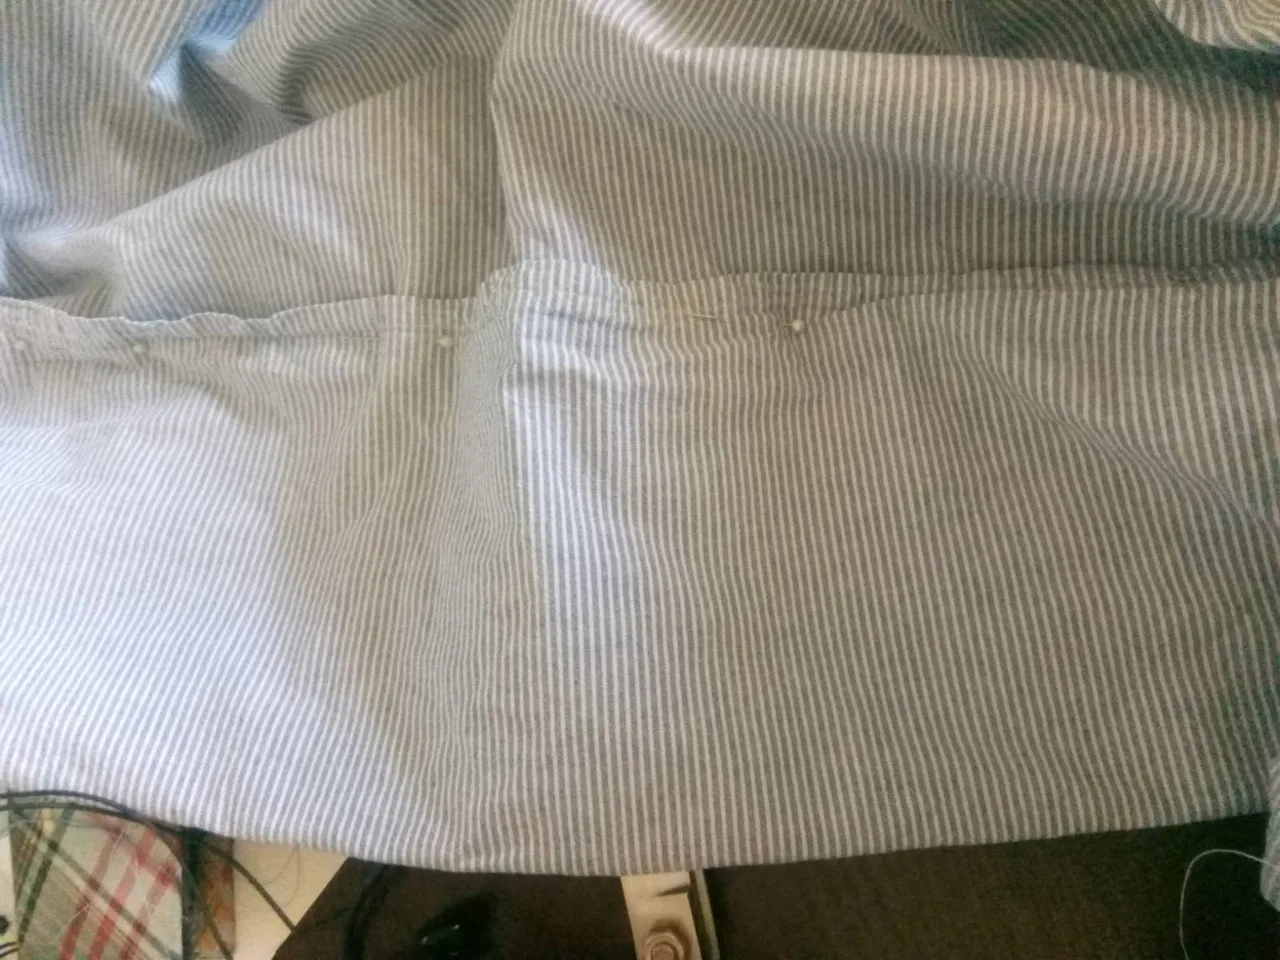
I love doing these big hems, to give the skirt weight and to give a nice 'design' detail on the front of the dress.

Even though this dress has a lot of lengthy seams and hemming, I sewed it by hand: I'm enjoying very much the slowing-down of e v e r y t h i n g that gestation creates.... The power and complexity, presence and demand of stitch following stitch, form shaping...

Again, no measuring for the pleats, and no training either: I just made pleats. And that is that. Just formed them by eye and by touch, into pleasingly-shaped folds. Fixing them with pins all the way, then following the pins with tacking thread sometimes, and more often just sewing along the pins with the final stitches.
I am LOVING the mastery of folds that is unfolding in me! It is sooooo satisfying always and in all ways, to construct the fabric usefully, beautifully and care-fully, into the garment that I most love and want to play-work-live-rest in!
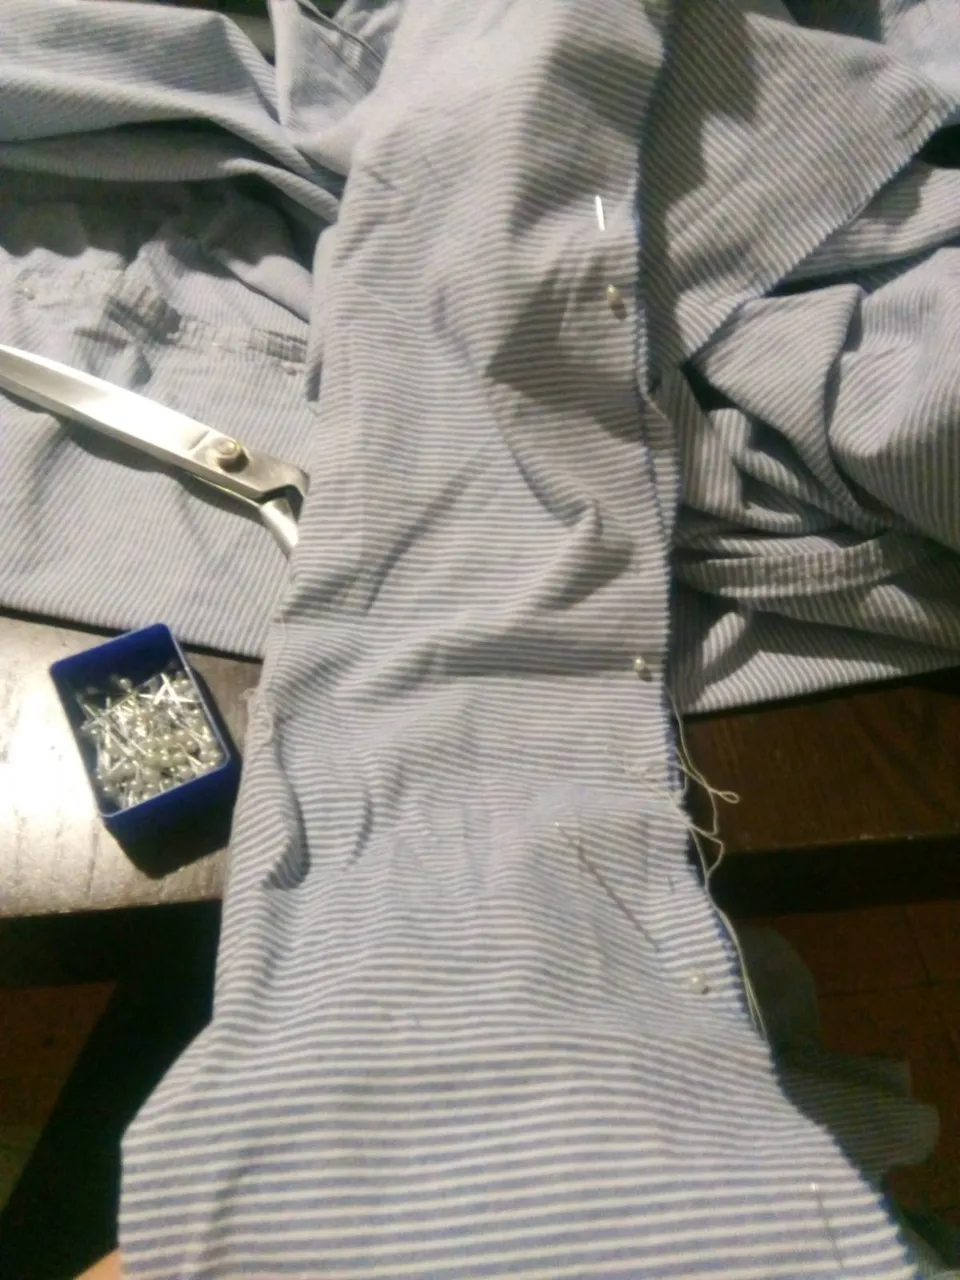
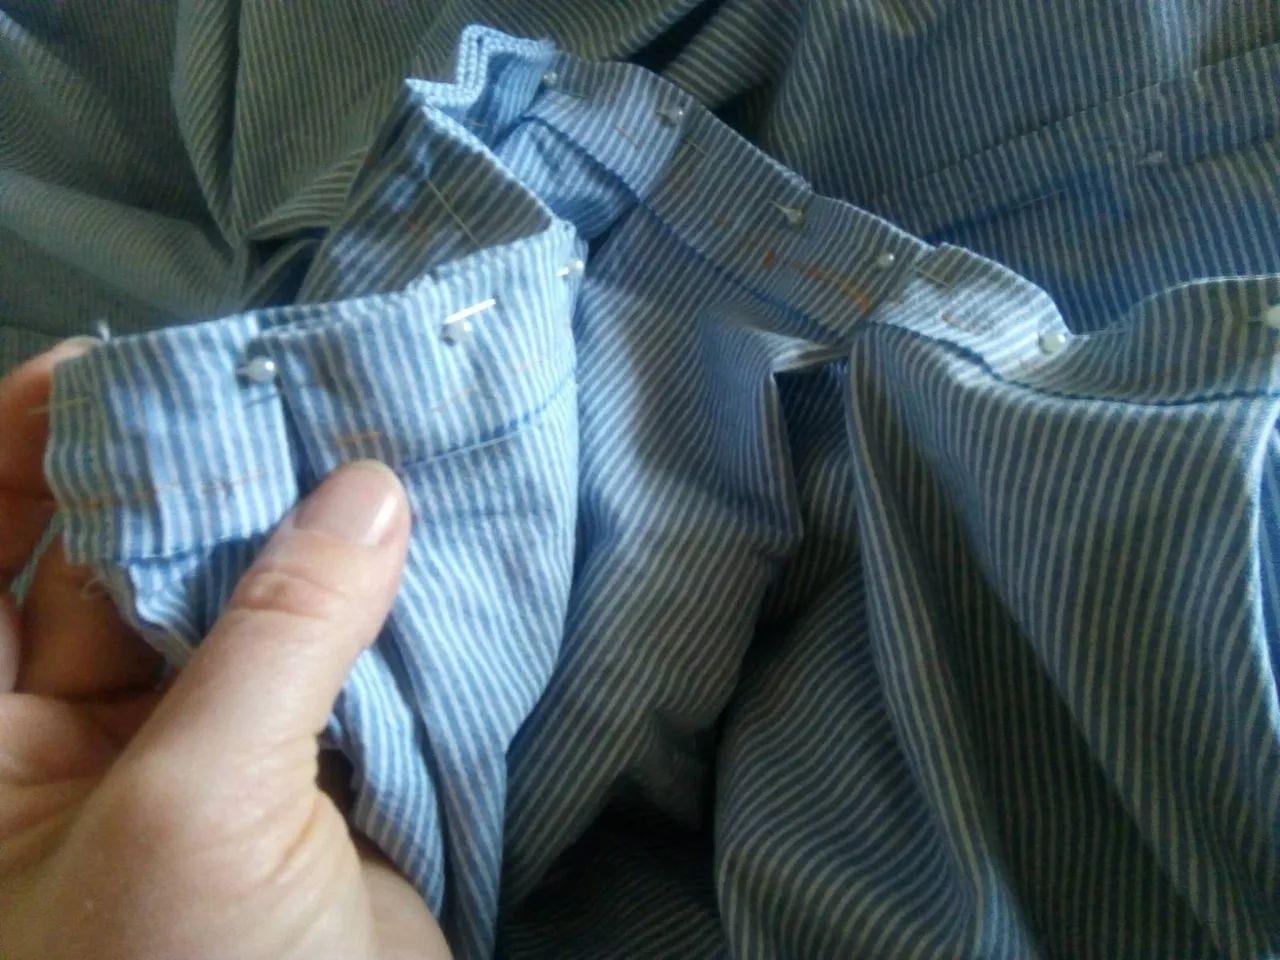
This is some work on the waistband; long, long neat stitching either side, then pulling it inside out, having created a long tube... then sewing along either side and edge of it, to create a neat waistband and have nice stitching along it...
...Then sewing it delicately into the pleated skirt part. This took ages, and involved some sewing inside and some outside of the attached waistband and pleats, for an extra solid structure.
At this point, I recognised quickly that the 'measurement' of the waistband was much wider then the pleated skirt I'd made, so I thought a bit on how to close that gap!

This was pretty hard to figure out at first - I often get kind of blocked in a sewing project, and so I just sit with it until it unblocks - this often involves not sewing, but just feeling around in my mind for the solution - I 'vision' it; allow the shape that I want to 'inform' me as to how it will come into being with the materials I have around me, the skills I already possess, and the new skills which will allow me to finish the task. I adore this process: SO MUCH easier than straining mentally to finish something - and forcing it into shapes it doesn't want to make, and then ruining a thing!! I love the laid-back #slowfashion approach!
Talking of which; folks often ask, as I am often out and about sewing in public, how long it takes me to finish a garment. I have no idea! It's not like I sit down and login, or measure my hours!!
It is funny how so much of what folks want to know about each other, comes down to measuring and numbers, lables and definitions. I love living outside of that tight paradigm 😋 Above is me sitting for hours in bed - sewing long seams!
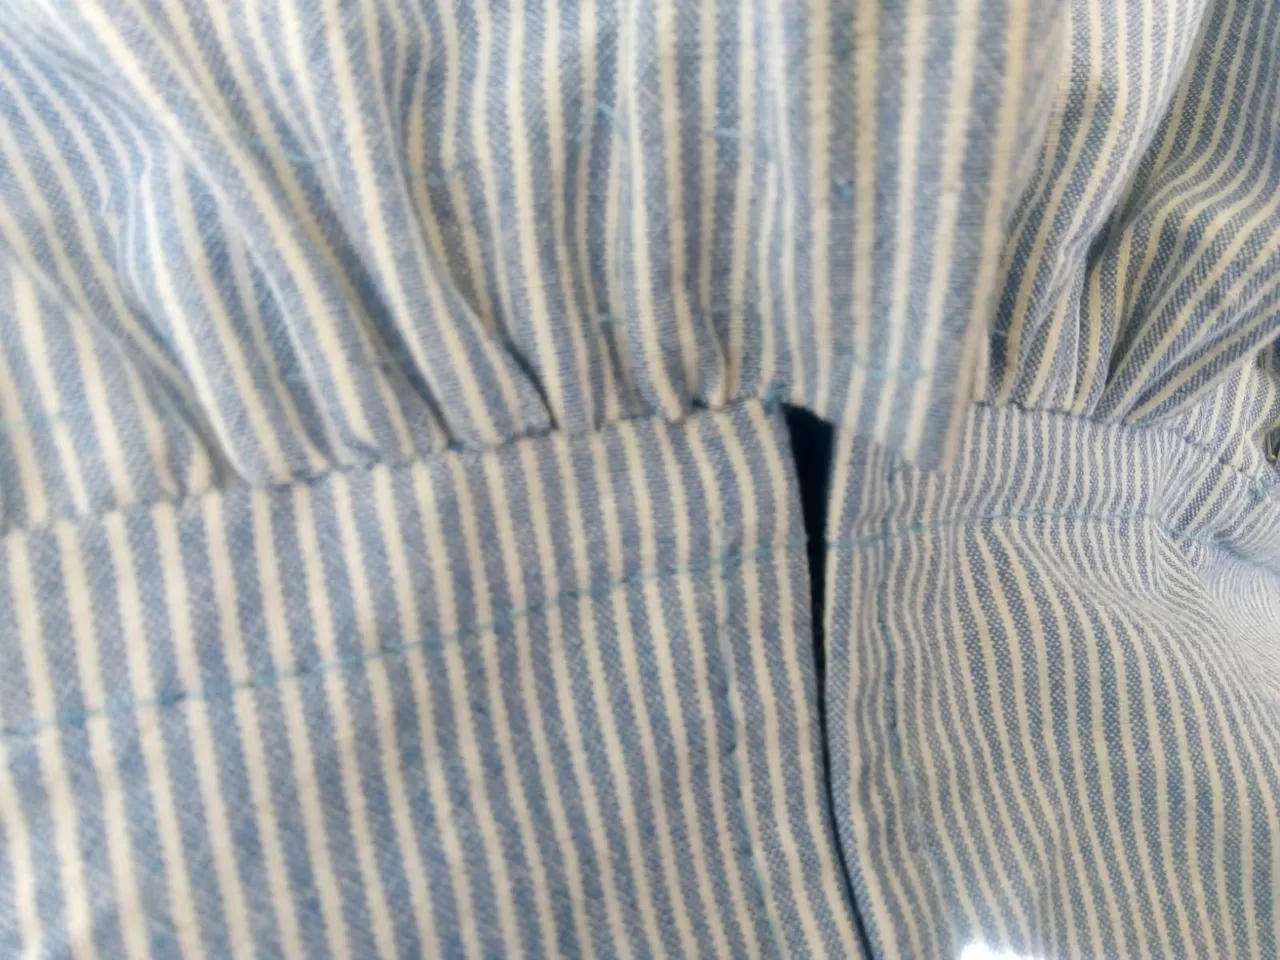
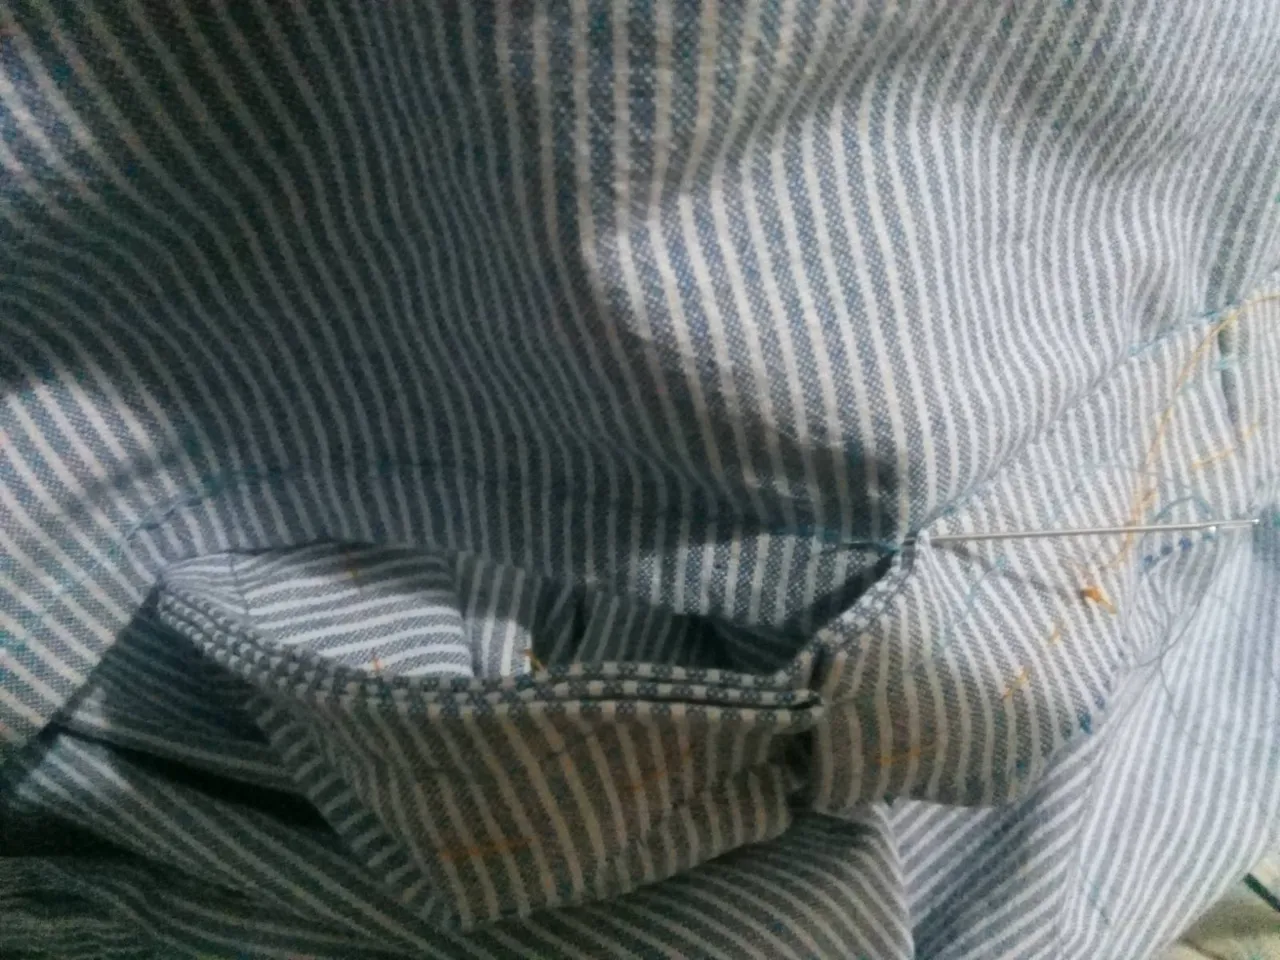
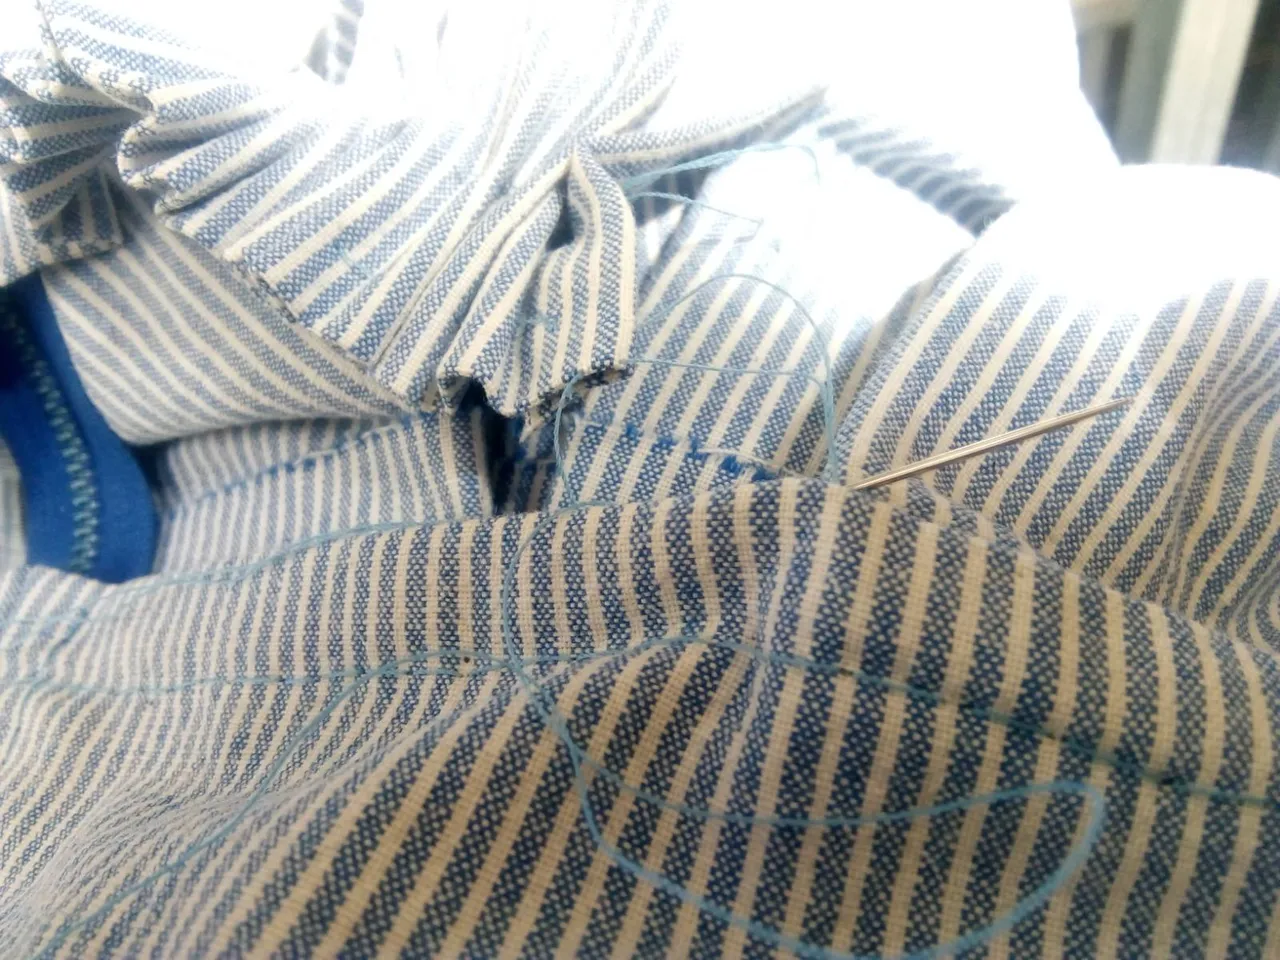
As you might see above, I then decided on a strip of straight, flat fabric to bridge this gap, and a front invisible zip - the zip at the front is certainly contrary to 'fashion' or norms, but I want this feature as and when I might be breast-feeding. It is the perfect dress for opening easily, even when one's hands might be full.

In these photos, you can see that I also was feeling my way into how to fit the zip without having to use two pieces of fabric: I eventually incorporated the zip into the ruching of the front panel.
I loved how the tips I'd picked up from the Reader's Digest Complete Guide To Sewing about button holes, also helped me to form this space for the zip to be set into.
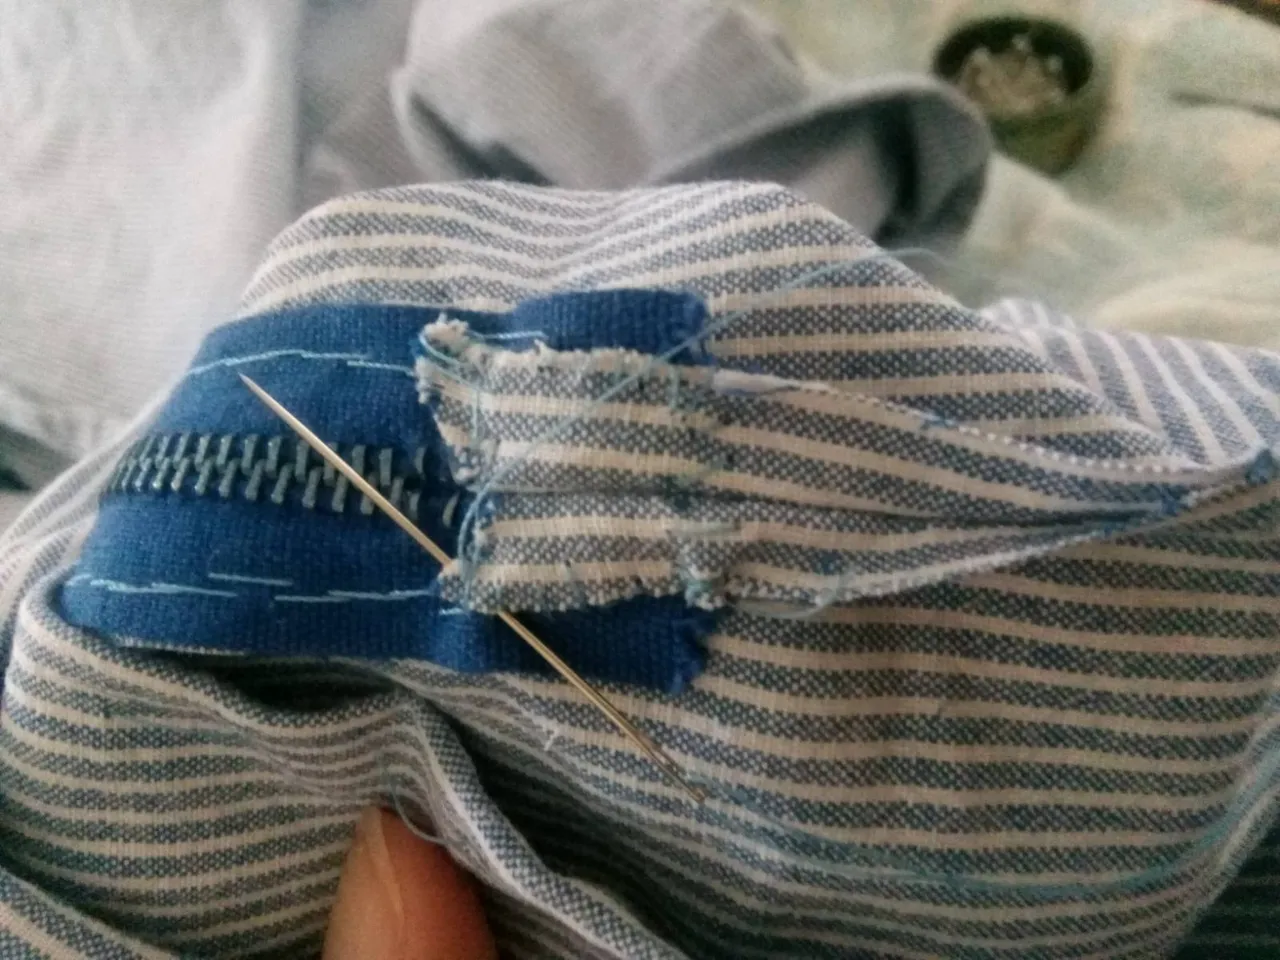
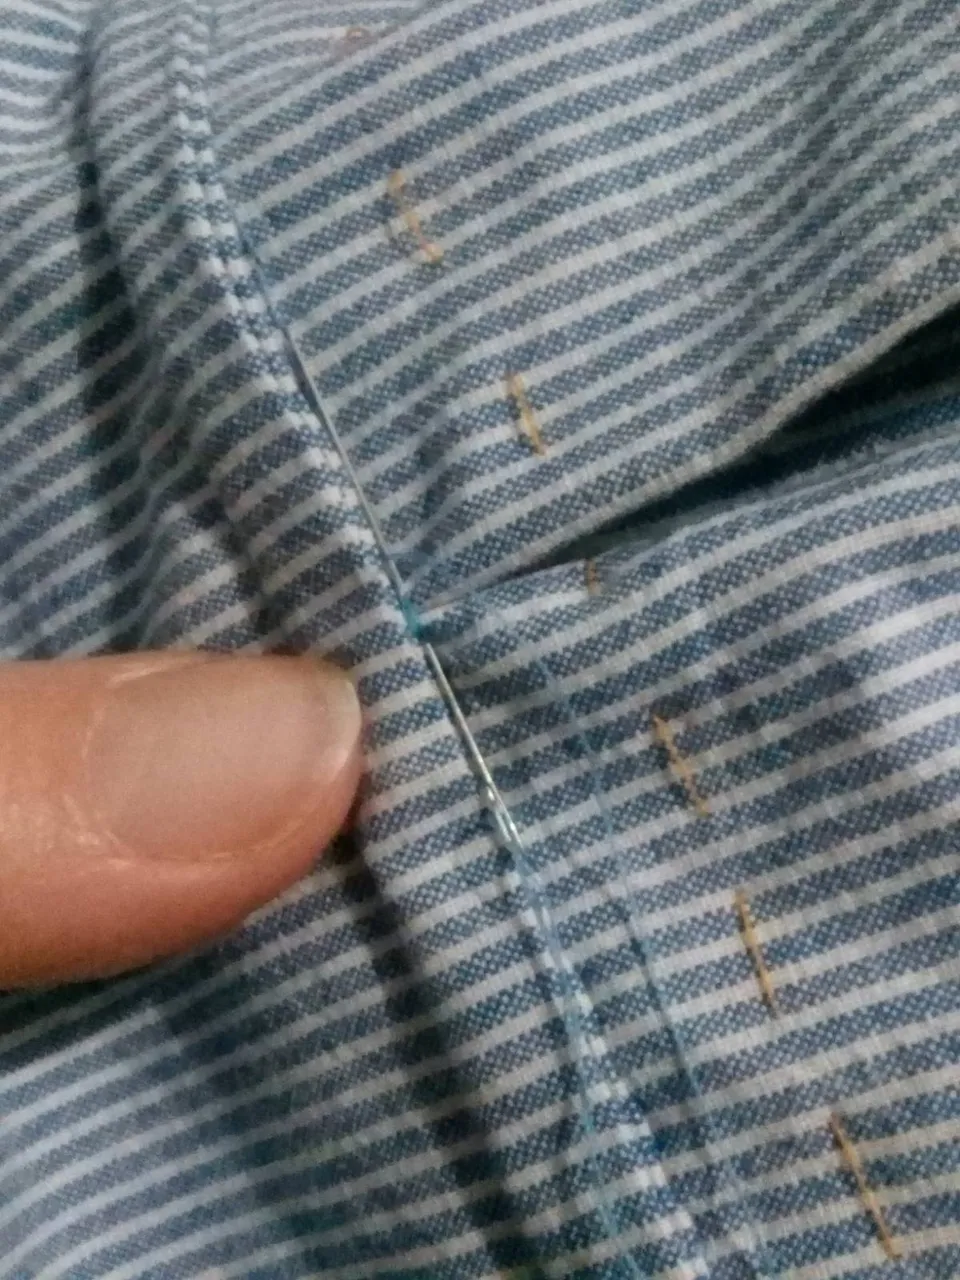
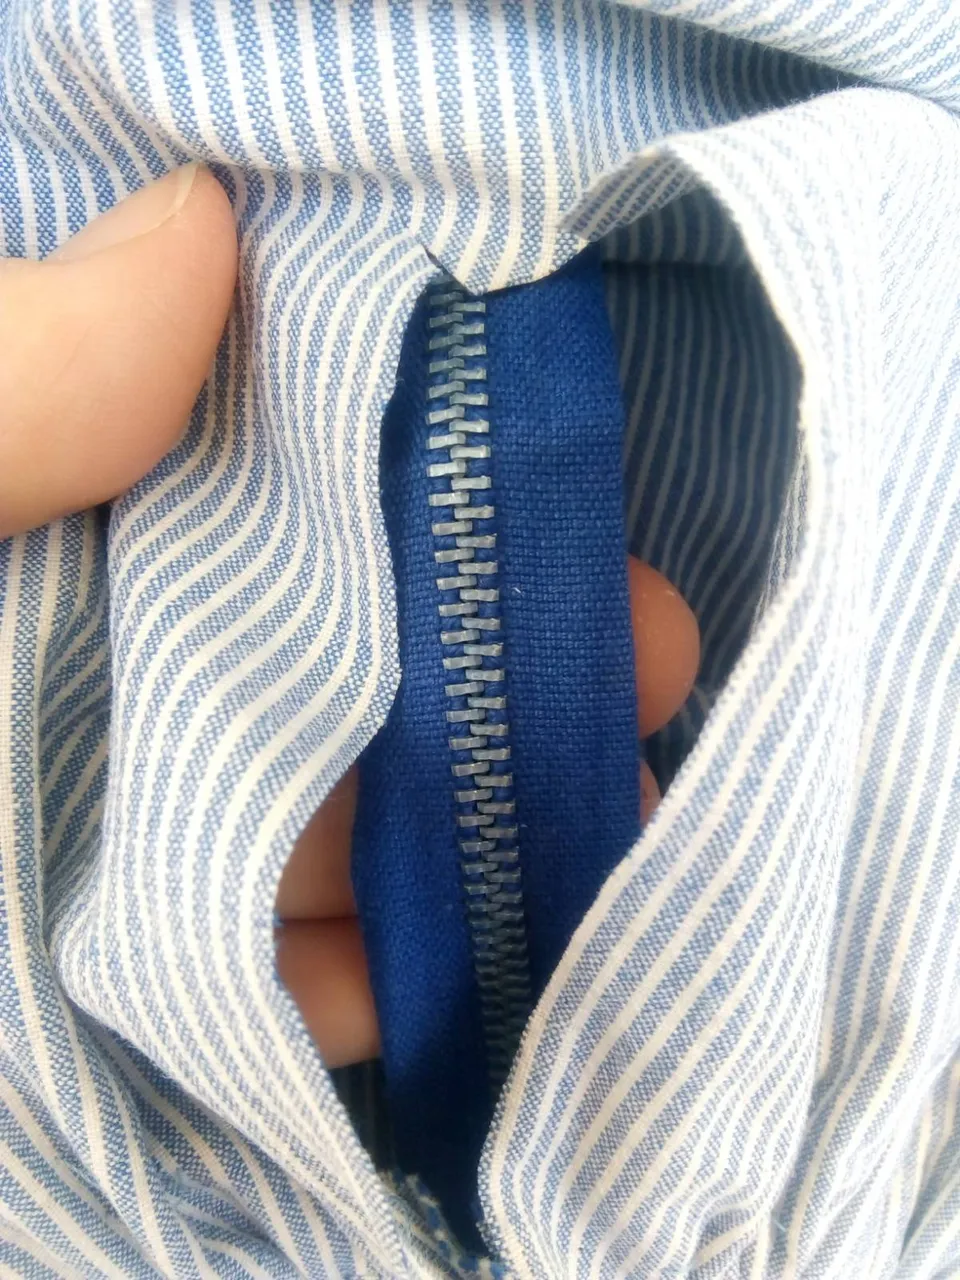
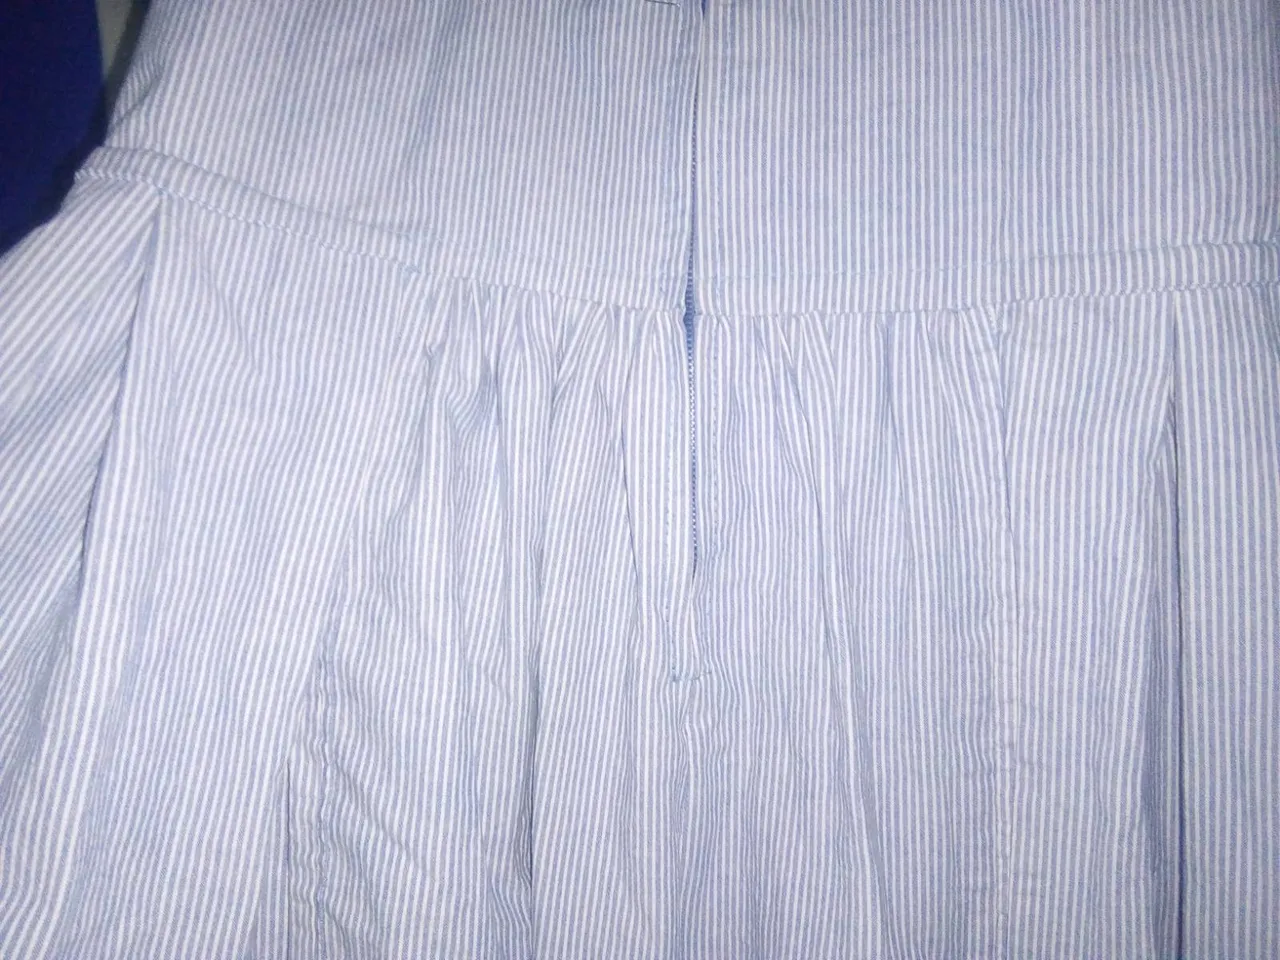
Then I adapted the bottom of the inside of the zip, into a short diagonal seam, which means that the final zipper is almost perfectly invisible:
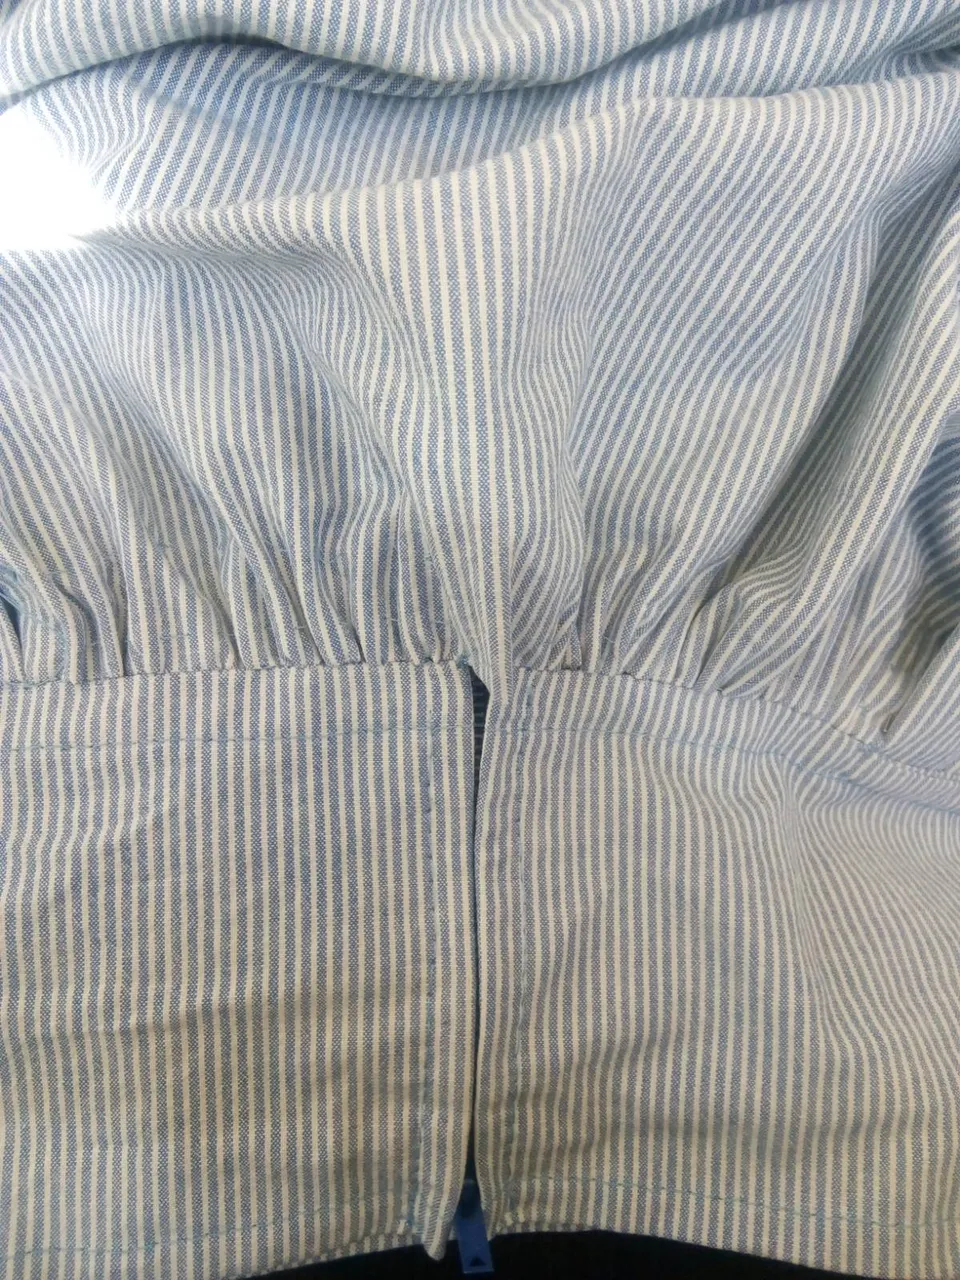
Here I left the zip end sticking out just to show were the zip is, but below you can see how neat and 'invisible' it became.
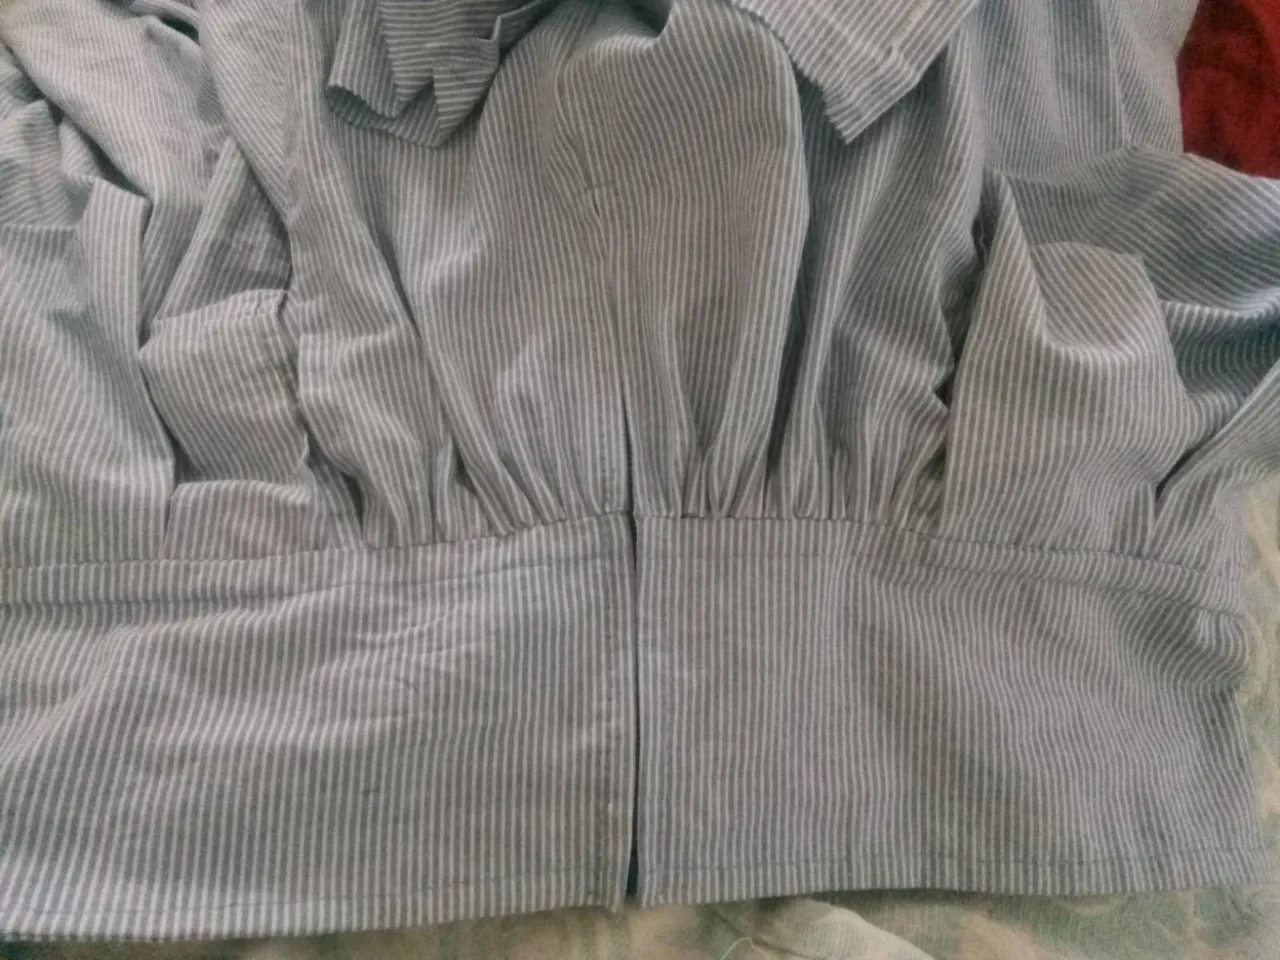
Suffice to say, I am damn proud of this!
Now came the part of completing the upper part of the dress. I started with two long ripped lengths of fabric - below is a snap of me sewing at my in-laws' house where I always go for Sunday lunch...
I got each edge pinned and then tooks hours to sew it - not really 'hours', but just a particular period of time, when I was simultaneously having a cuppa at the bar, and then after Sunday lunch relaxing - joy!
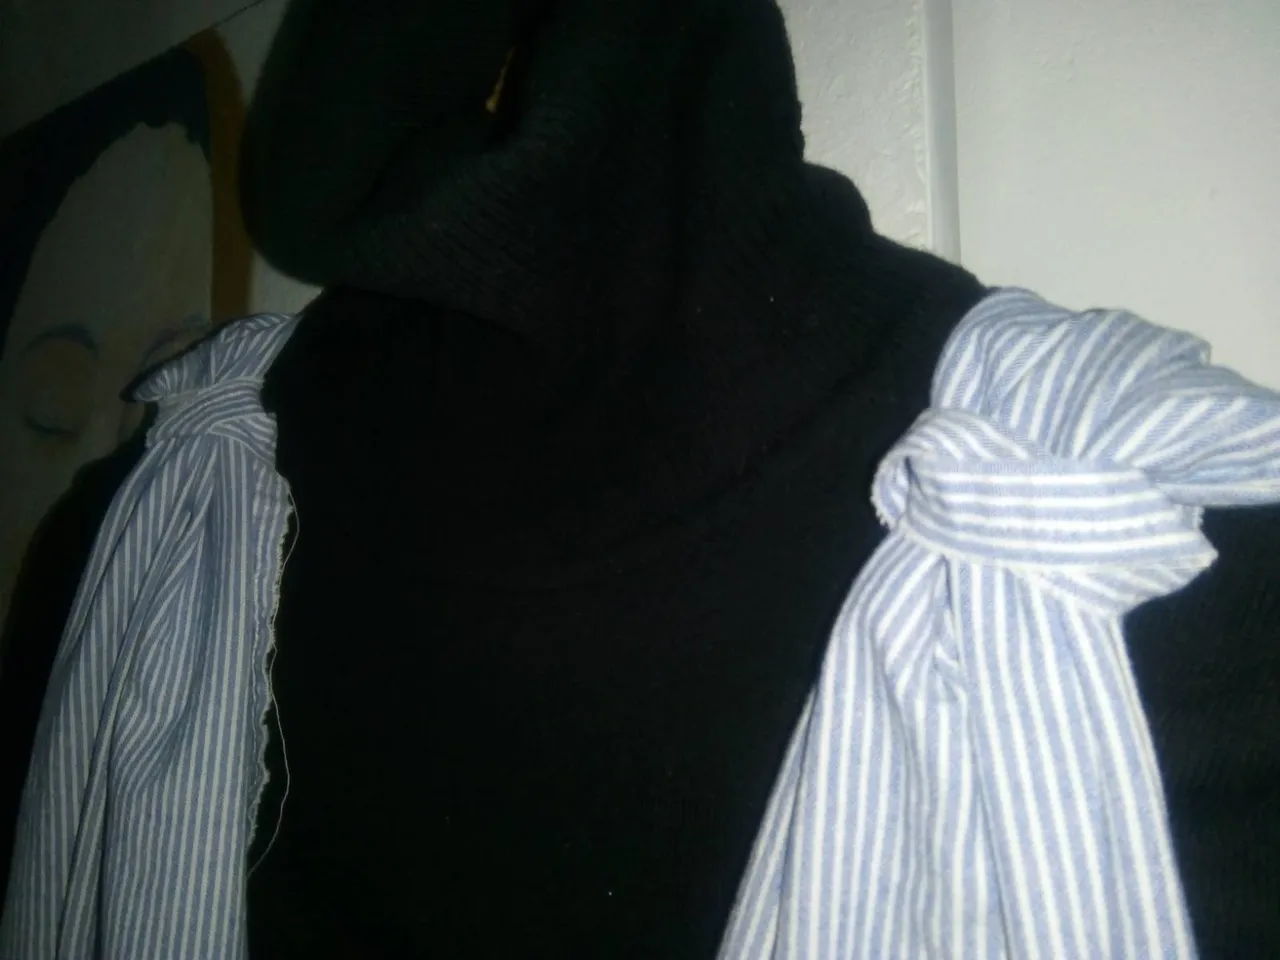
And these are the 'sketched' straps: I played around in my imagination relating to how to make the simplest upper body for this dress, and fixed on this nice and easy tying idea - the ties came from a machine-sewn seam from the edges of the sheets, that I had ripped off in favour of my own seams - hehe!
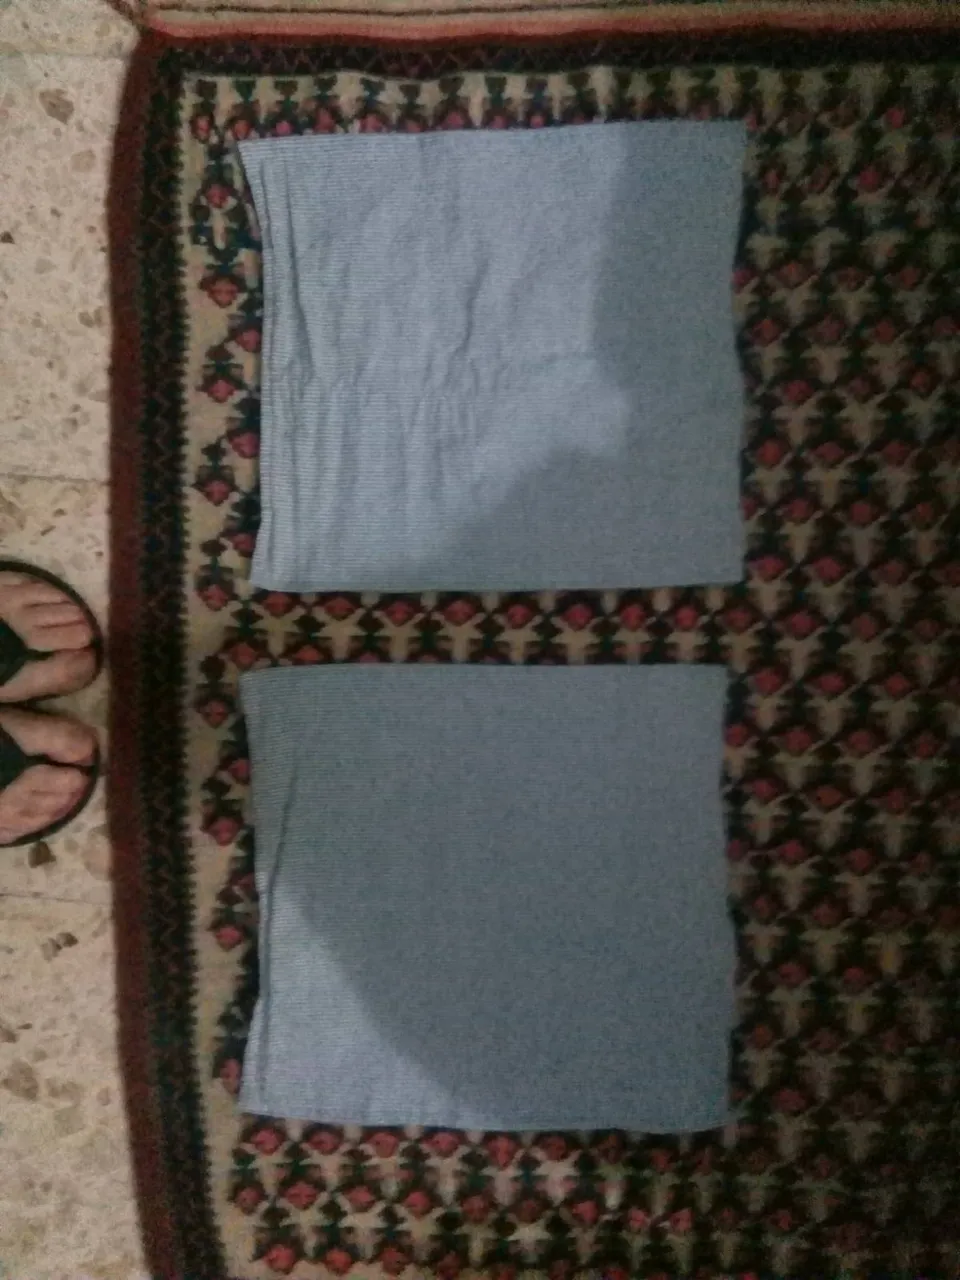
The left-overs from the 'straps', once I'd pinned them roughly in place - I still have to check for fit on my own body! - which I will make into strategically placed pockets, I think: they are already hemmed on three sides, as the bottom edges were already part of the original sheet, and I had sewed much longer then I needed to with the 'straps' part... I like that each part of the fabric co-creates with me, and I listen in quietly and follow the nicest overall solution - MUCH PREFERABLE for me as a visionary type, than to starting with a design, follow directions, force the fabric to behave in a way we demand it do...
I WILL UPDATE WHEN I HAVE FITTED THE DRESS and decided what to do with the back of it. I want the fullness at the front, as you see in this pic -
But don't want unnecessary bulk of material on my back: I think it will be finished in a nice cross-shape; I'm mulling over how to reduce the bulk, but keep the edge-seams: possibly cutting a big tall upsidedown V in the wide strips which are currently hanging down the back, hemming them nicely, and then fixing with a special big button at the bottom of each strap.
I'm off to look for the right button in my collection, or perhaps make a covered button, and then to think about how to make these straps and place the button holes... Mmmmmm - very pleasing indeed!
Much love and joy to you all in your work today and everyday, #needleworkmonday friends!