Hey lovelies ❤️
It's your favorite girl @debbie-ese 😍
Welcome to my blog 🤗
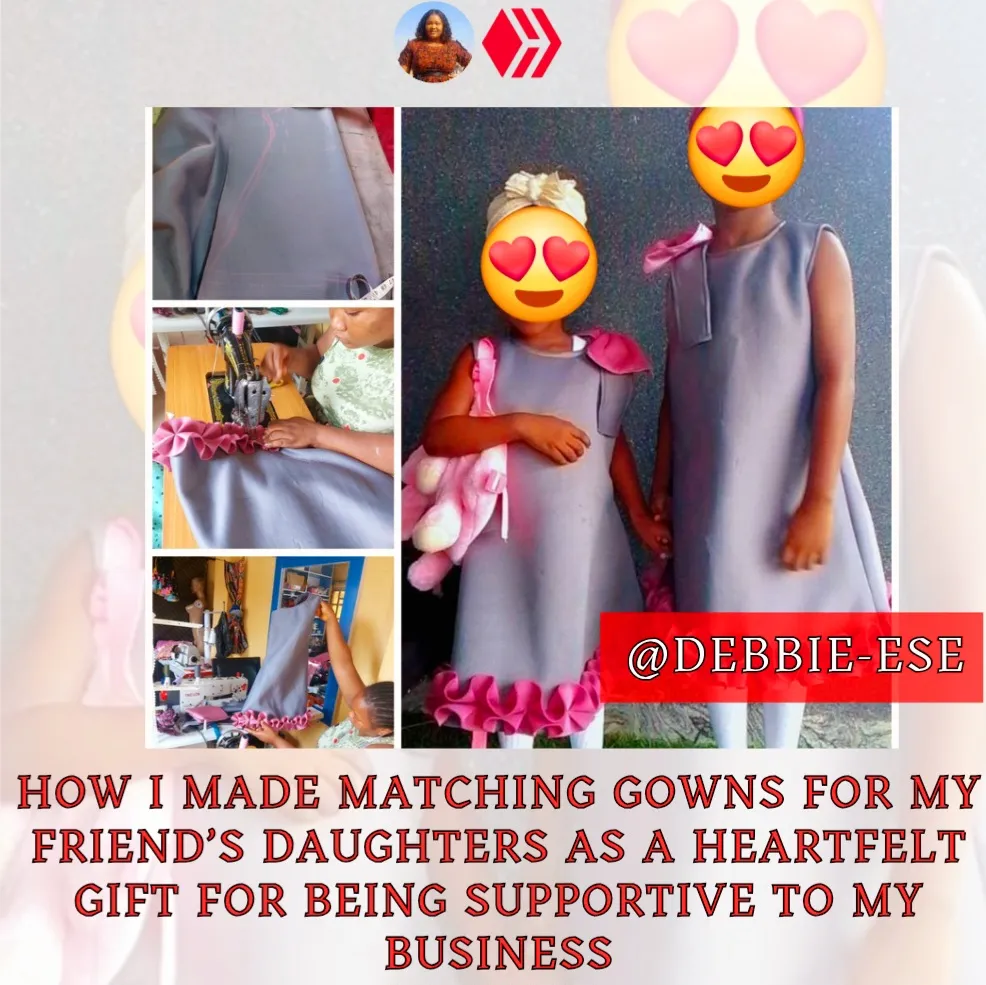
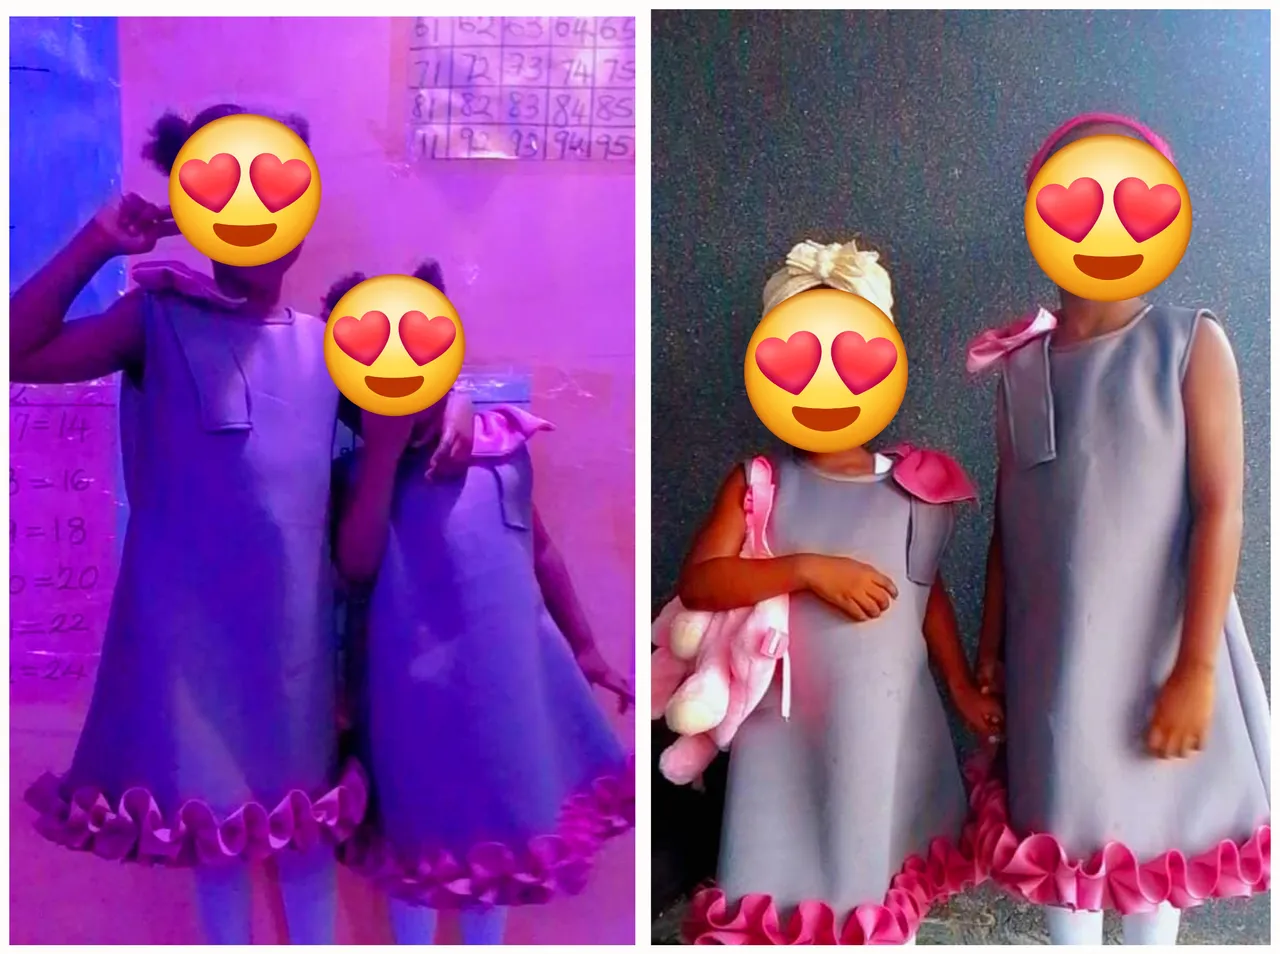
In this post I will be sharing with you how I made a gown for two of my friend's kids as a gift. So, let me give you a back story to how this beautiful dresses came to life. I have this amazing friend that has been very supportive to my business for a very long time. She patronise my business and she has referred so many customers to me over the years. But I haven't had a way to pay her back because she doesn't do a business that I can patronise, so I decided to gift her kids a beautiful gown during the birthday of one of them. It was very easy for me because her two kids are girls so I made the two dresses for them by myself.
Materials Needed
- 1½ Yards of Scuba fabric
- Button
- Bias
- Tailoring Chalk
- Matching threads
Step by Step
Note that this dress is made for kids between the age of 5 and 3 respectively.
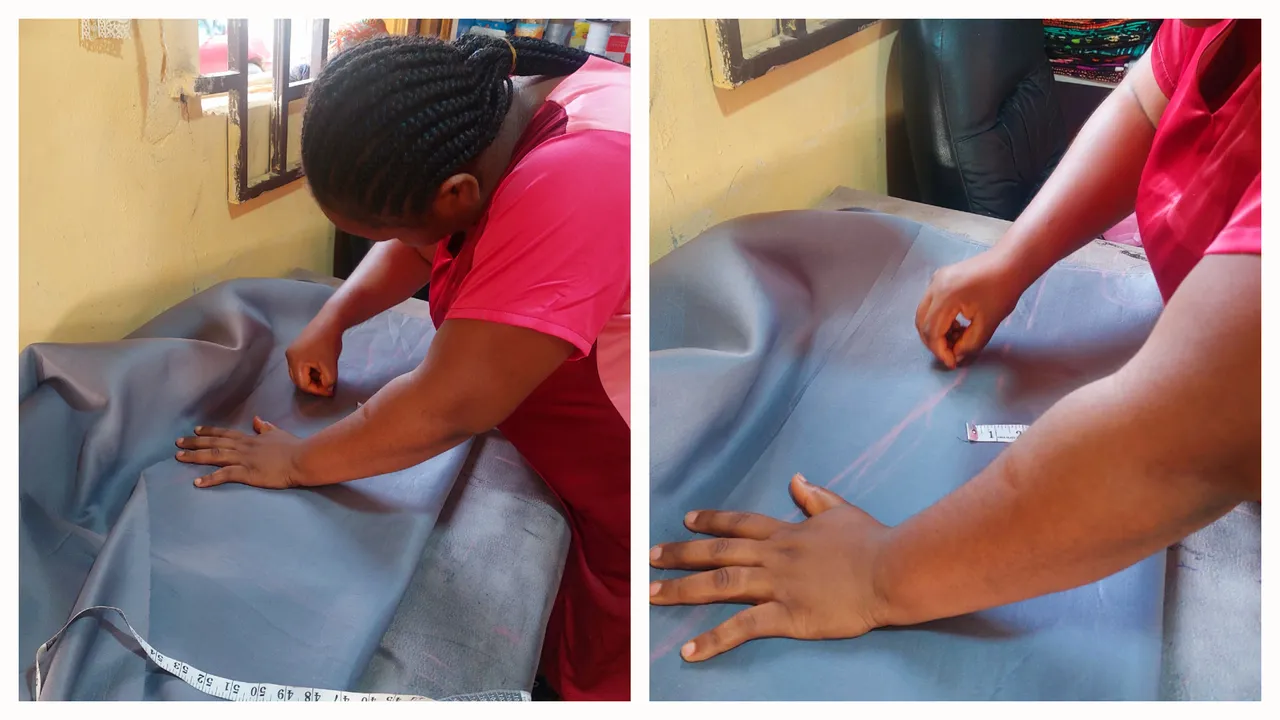
Fold your fabric into two, then use 12" for the shoulder measurement, neck 2.5", depth of the neck 2.5", the length of the dress is 27", half length is 13", the round chest measurement I used 26" ÷4 = 6.5" + 1" for sewing allowance and for the waist I reduced what I have in the chest by 0.75".
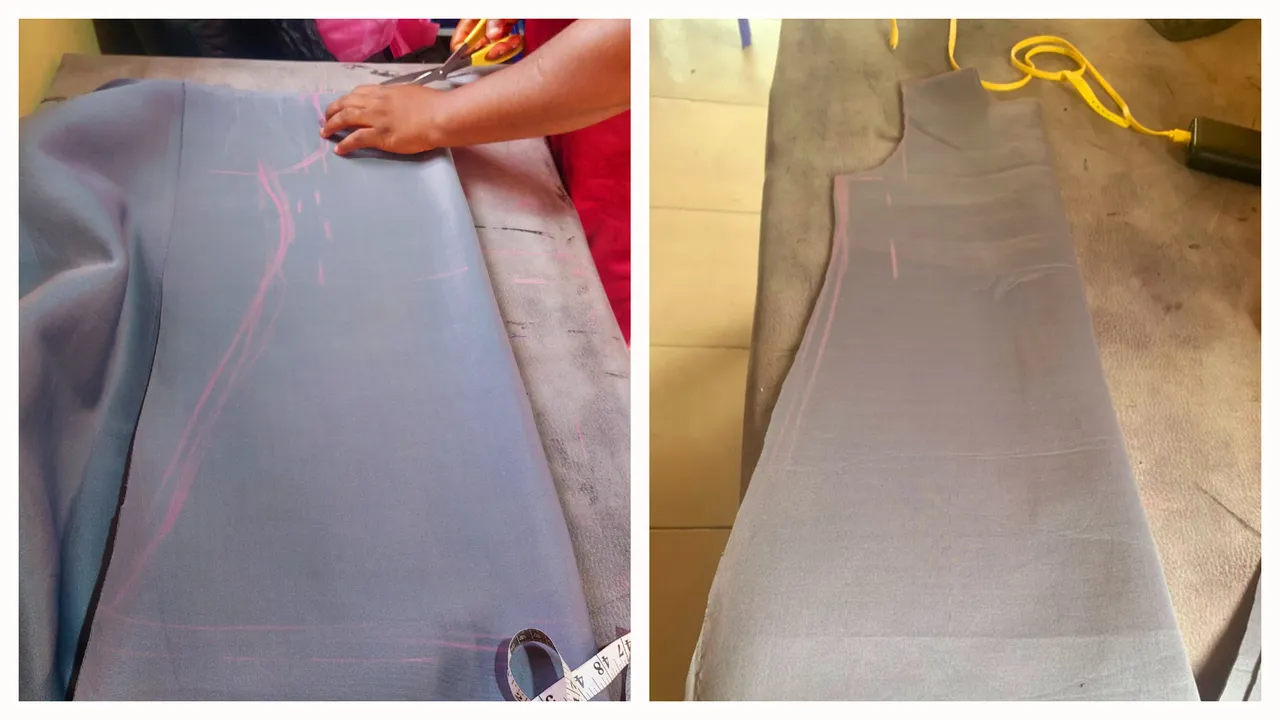
Next, I cut out the front piece and I used the front piece to cut the back piece. I used the same pattern, no zipper allowance but the only difference is that the depth of the back is 1".
Next, I opened the middle of the back by 4" because we will be adding buttons at the back to enable her head pass through the dress easily.
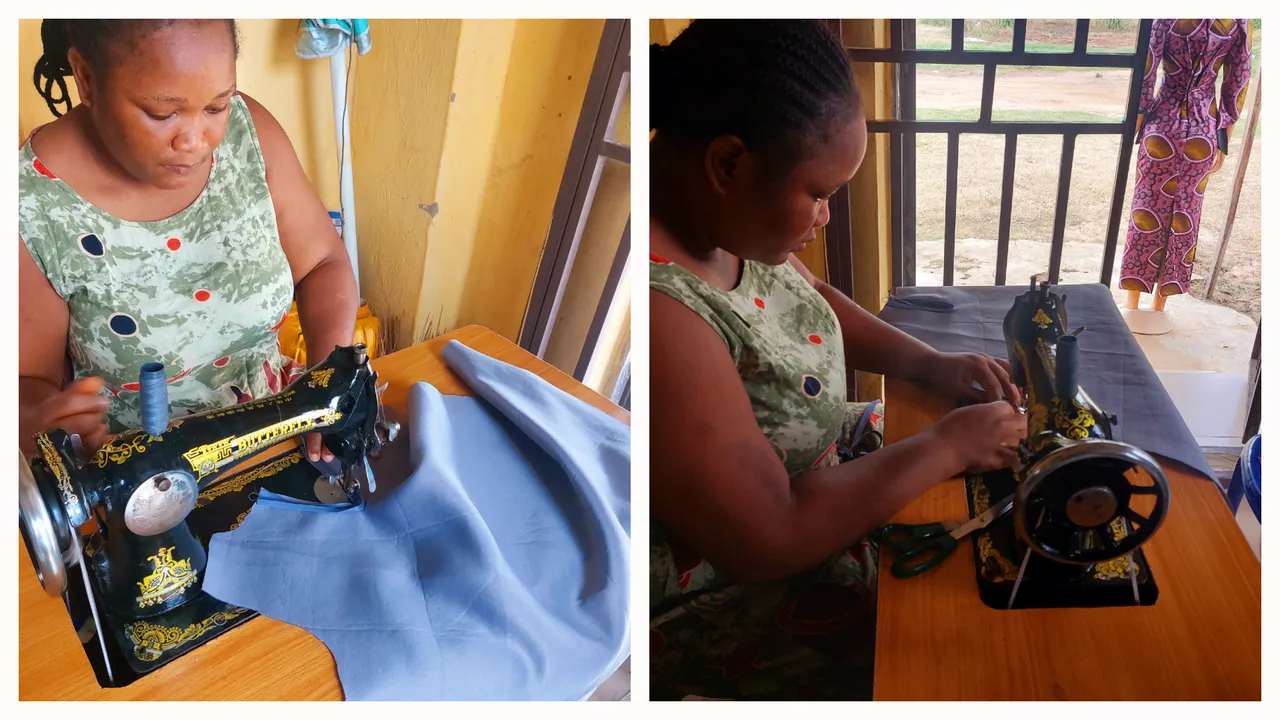
Now, join the two shoulder together and head over to the sewing machine with a matching bias and use the bias to tape the neck and the armpit.
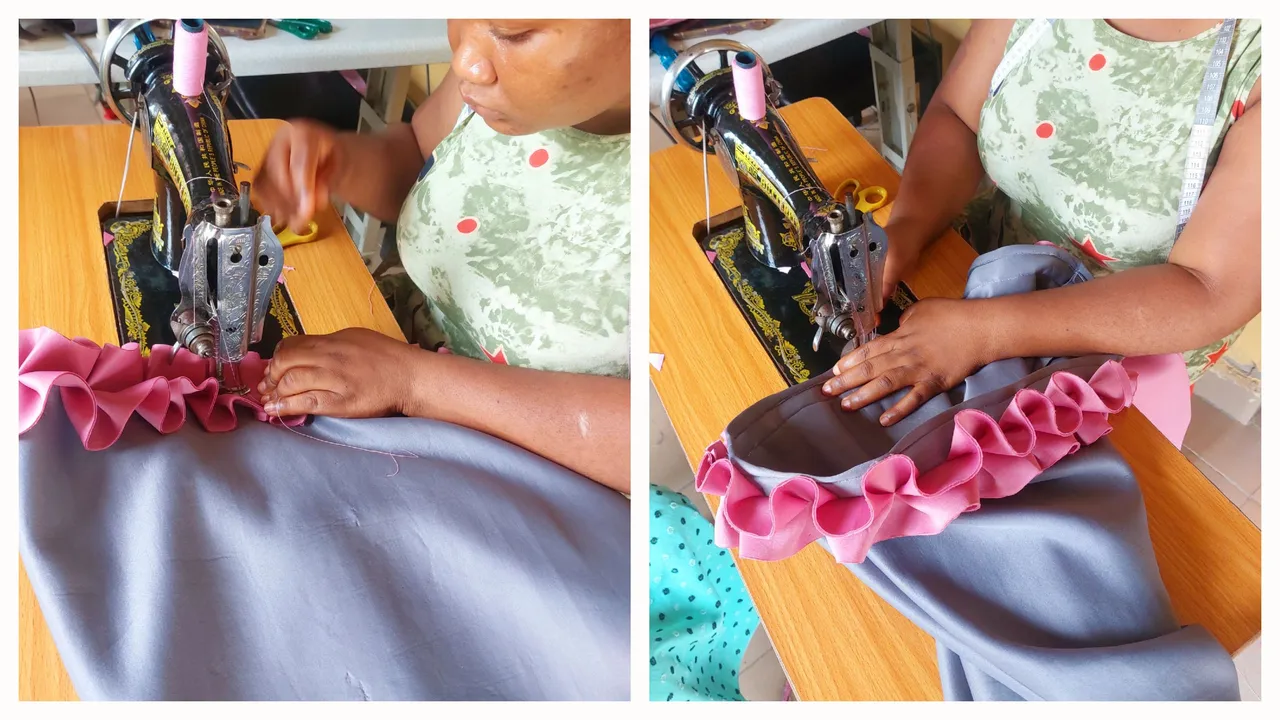
Then you will shape the dress to the size of the owner and hem the down part of the dress.
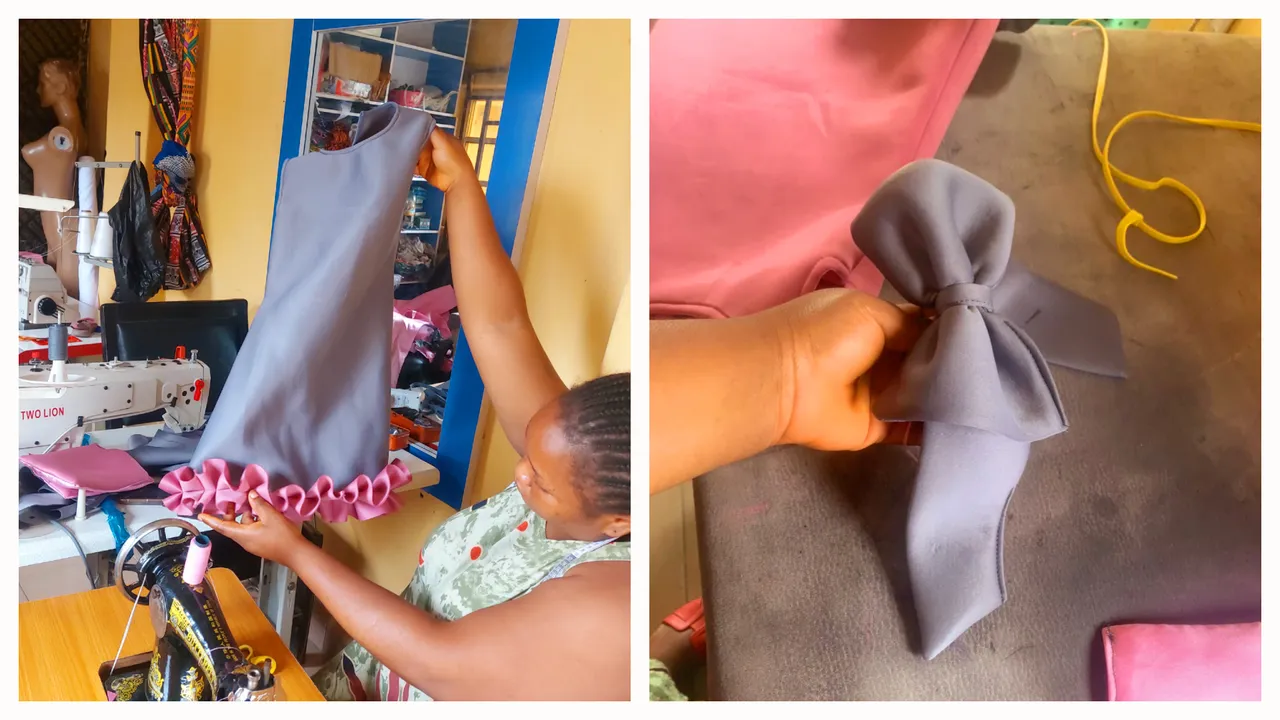
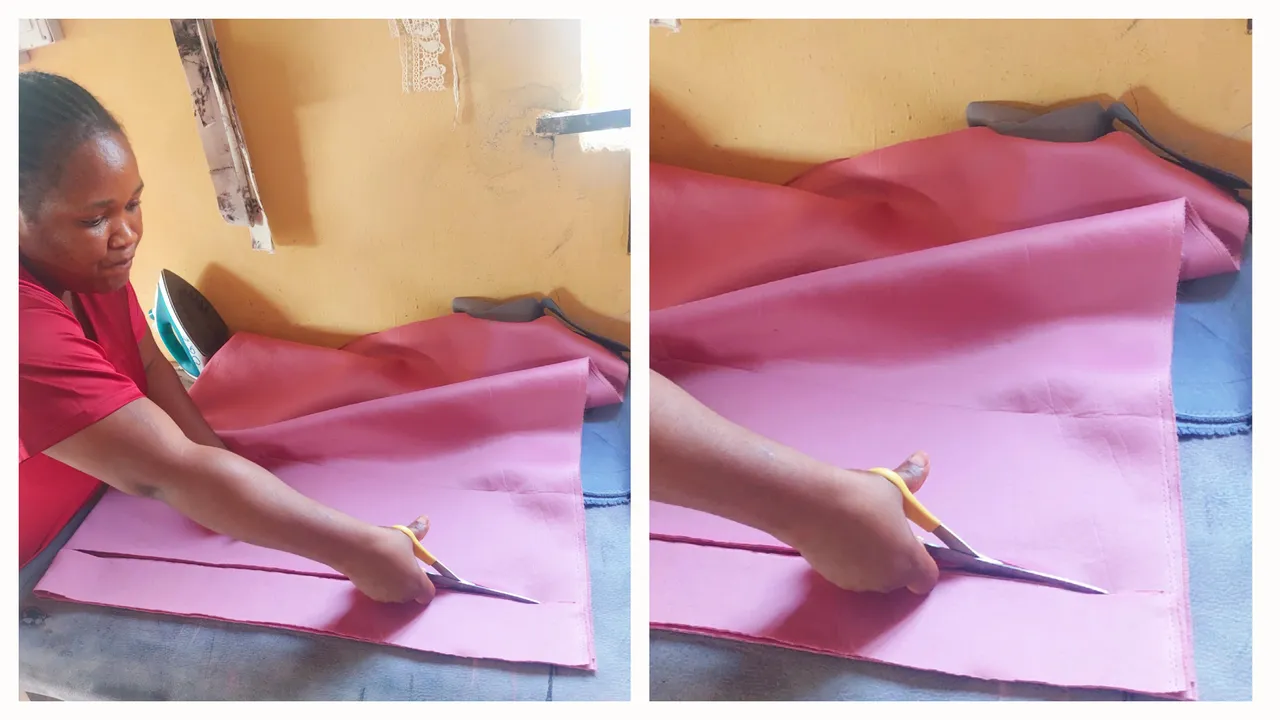
The next thing is to cut a long strip of the scuba (another color) and begin to kiss pleat it round the down part of the dress.
Then take it to the ironing table and give it a good press.
You will make a bow and a belt and stitch it to any part of the shoulder.
Your dress is ready.
Thanks for reading and see you in my next one.
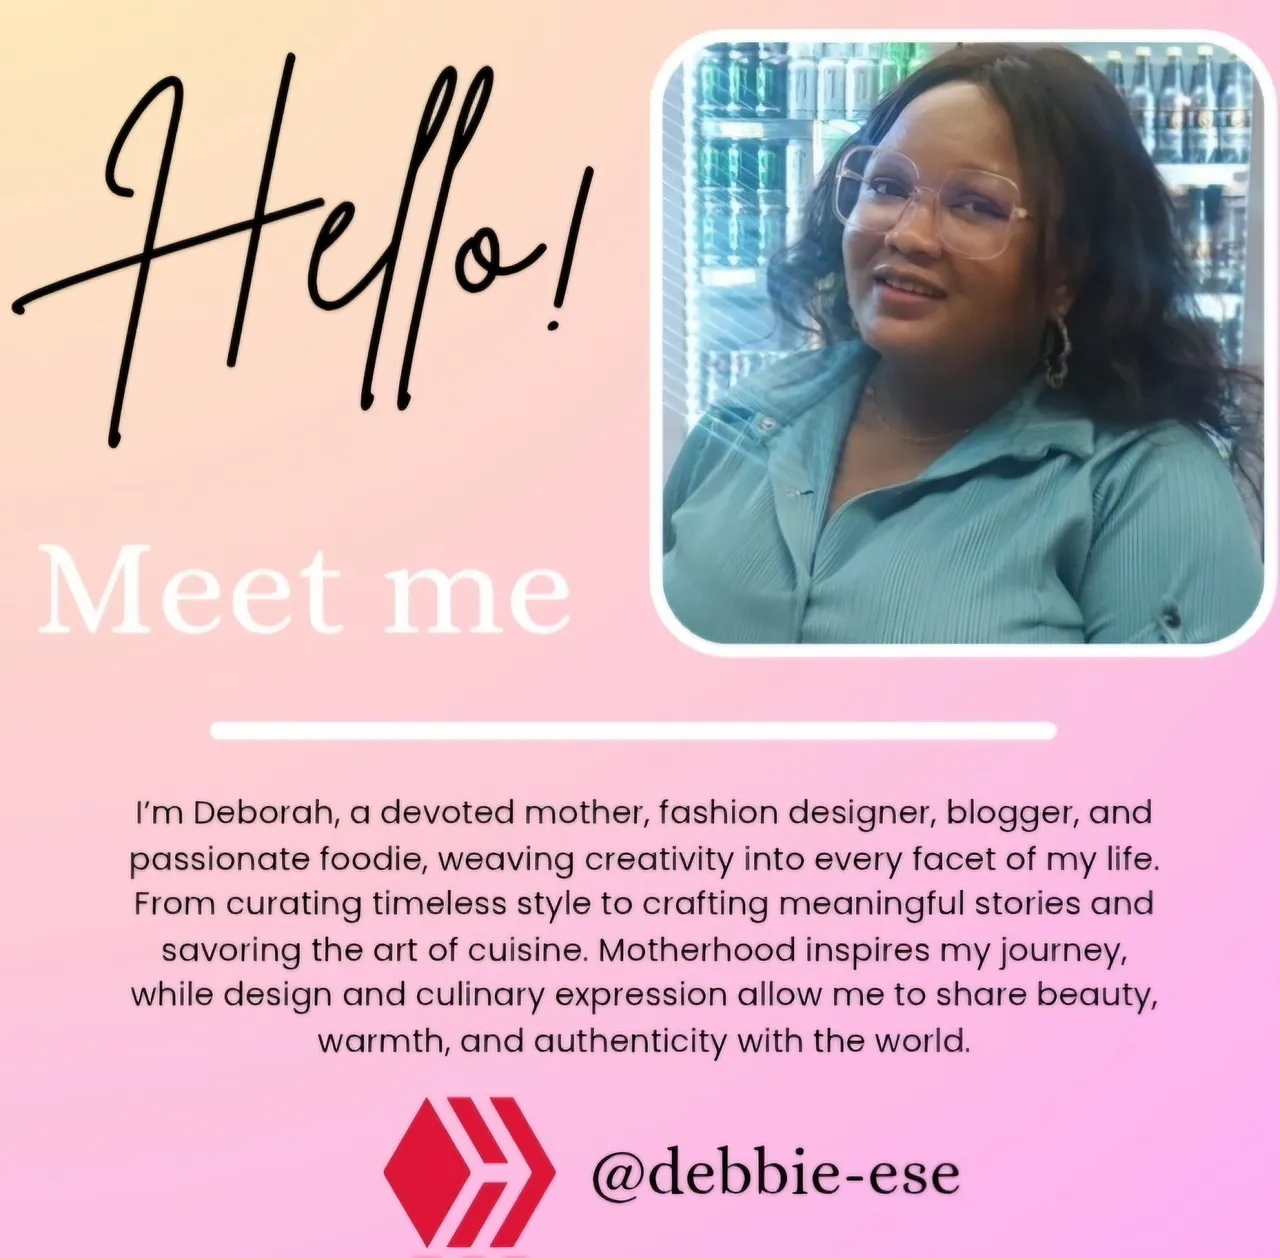
ABOUT ME
Just a quick reminder:
The text and photos on this blog was created by me, unless I state otherwise.
The cover images are designed using Canva with strict adherence to elements that are licenced for use under their terms.
Photographs are taken with my Samsung Galaxy A52 - 64MP Camera and other amazing features that absolutely capture the moment in high quality.
Lastly, do not use any of my content either text or image without asking me for authorisation. In other words, unauthorised used of my content is highly prohibited.