Hey lovelies ❤️
It's your favorite girl @debbie-ese 😍
Welcome to my blog 🤗
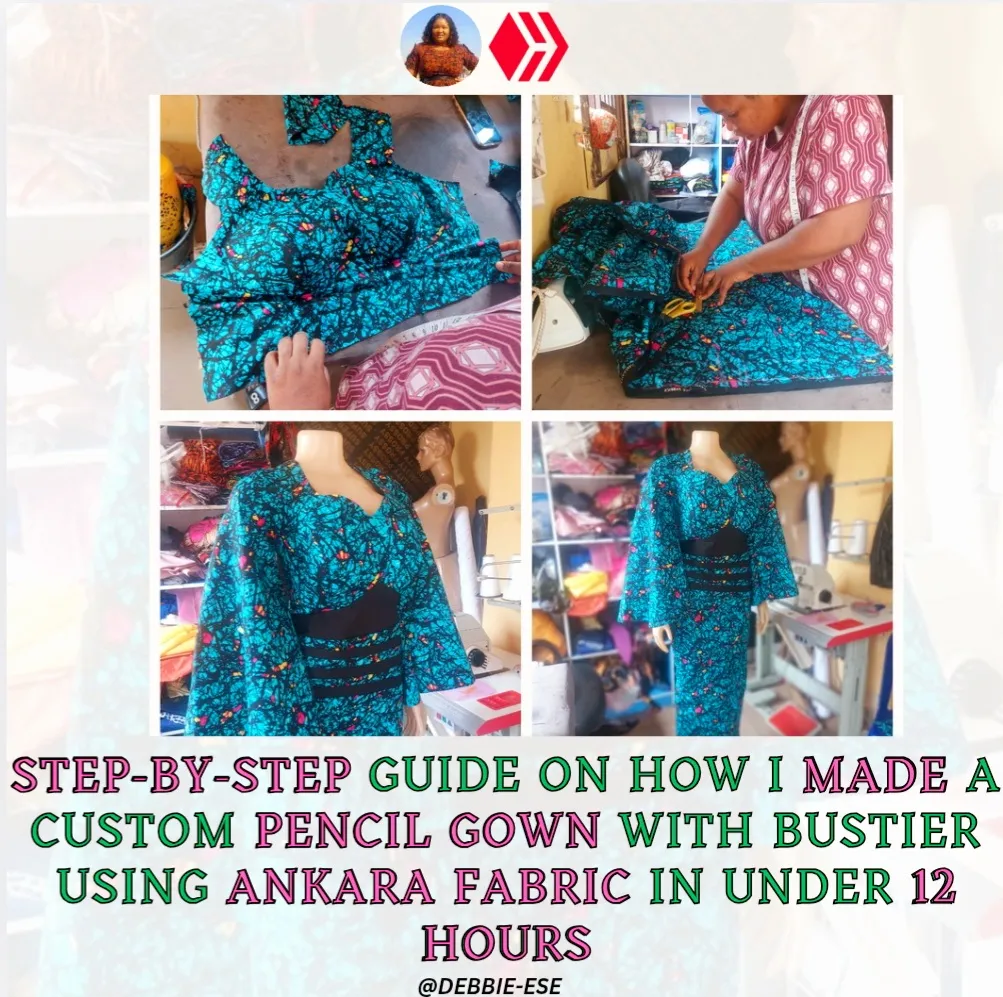
In this post I will be sharing with you how I made a pencil gown with bustier using beautiful patterned ankara fabrics for a customer. Let me give you the back story for this dress. It is one of the few times that I have had to take up an express job that came within a very short notice. This customer who I made the dress for called me around 8pm in the night on Friday and she needed the dress latest Saturday evening to wear to her new baby's child dedication on Sunday morning at about 7am.
I thought about it twice before accepting to do the work even though it wasn't convenient for me but I had to abandon other jobs to make sure she was able to dress beautifully to her child's dedication service. The reason she didn't make her dress on time was that she thought she have to mandatorily wait for three months before doing her child's dedication but she doesn't know it can be done at any time. She laments that she's tired of not going to church for a while now so want to join and do with this month's set, else she will have to wait for ending of next month.
Luckily for her she has about two fabrics with me sobwe just concluded on the fabric she want me to work with and the style.
What You Need
- 3 yards of Ankara fabrics
- Breast pad
- 1 yard of paper stay
- 1½ yards of black lining
- Hemming gum
- Scissors
- Tailoring chalk
- Threads that matches the fabrics
Step by Step
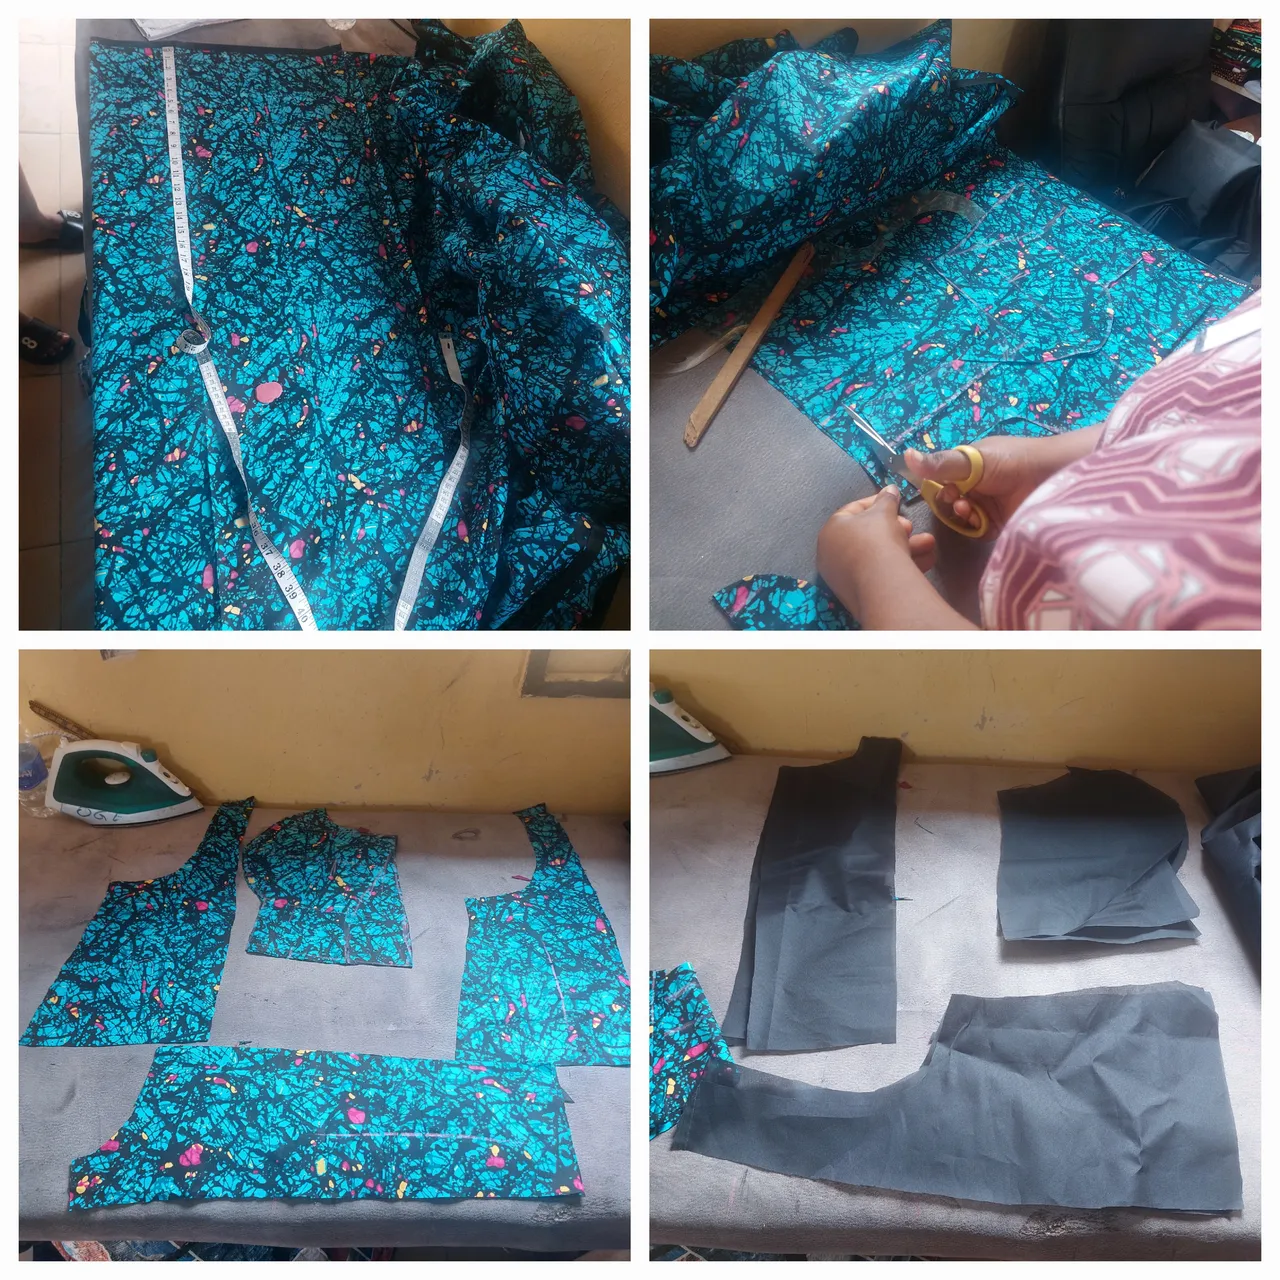
The first thing we would do is to fold the fabric into two to mark out the body measurements on the fabrics using our tailoring chalk.
We'd be chalking the inside of both the front and back pieces, this is to ensure that the chalk is not showing on your dress.
The ankara fabric I'm using have similar pattern so there is no concern about bothering about cutting against the direction of the fabric.
Let me highlight the body measurements before we get down to business proper - the shoulder 16", bust 43", underbust 38", bustline 16", half length 20", waistline 40", hip 44", gown length 64", sleeve length 19".
We will start with the top part of the dress by taking the line measurement from the shoulder to the nipple point, shoulder to underbust, shoulder to waist and shoulder to the top length.
So, after carefully taking the line measurement we have the shoulder to nipple point as 11", shoulder to underbust as 12.5", nipple span, that is, the horizontal distance between the nipple points as 10", shoulder to waist, that is, the half length as 17" and the blouse length which is the shoulder to the bottom hem of the top as 25".
Now that the above measurements are in order we would make use of it to draft out the pattern on the fabric and cut out both the front piece and back piece of the top.

Then go ahead to use the front piece and the back piece to cut out the lining for the front and back pieces respectively.
You may use your french curve to enable you get an accurate measurements of the bustier and if you're a pro you may use your freehand as long as you are going to get the desired result.
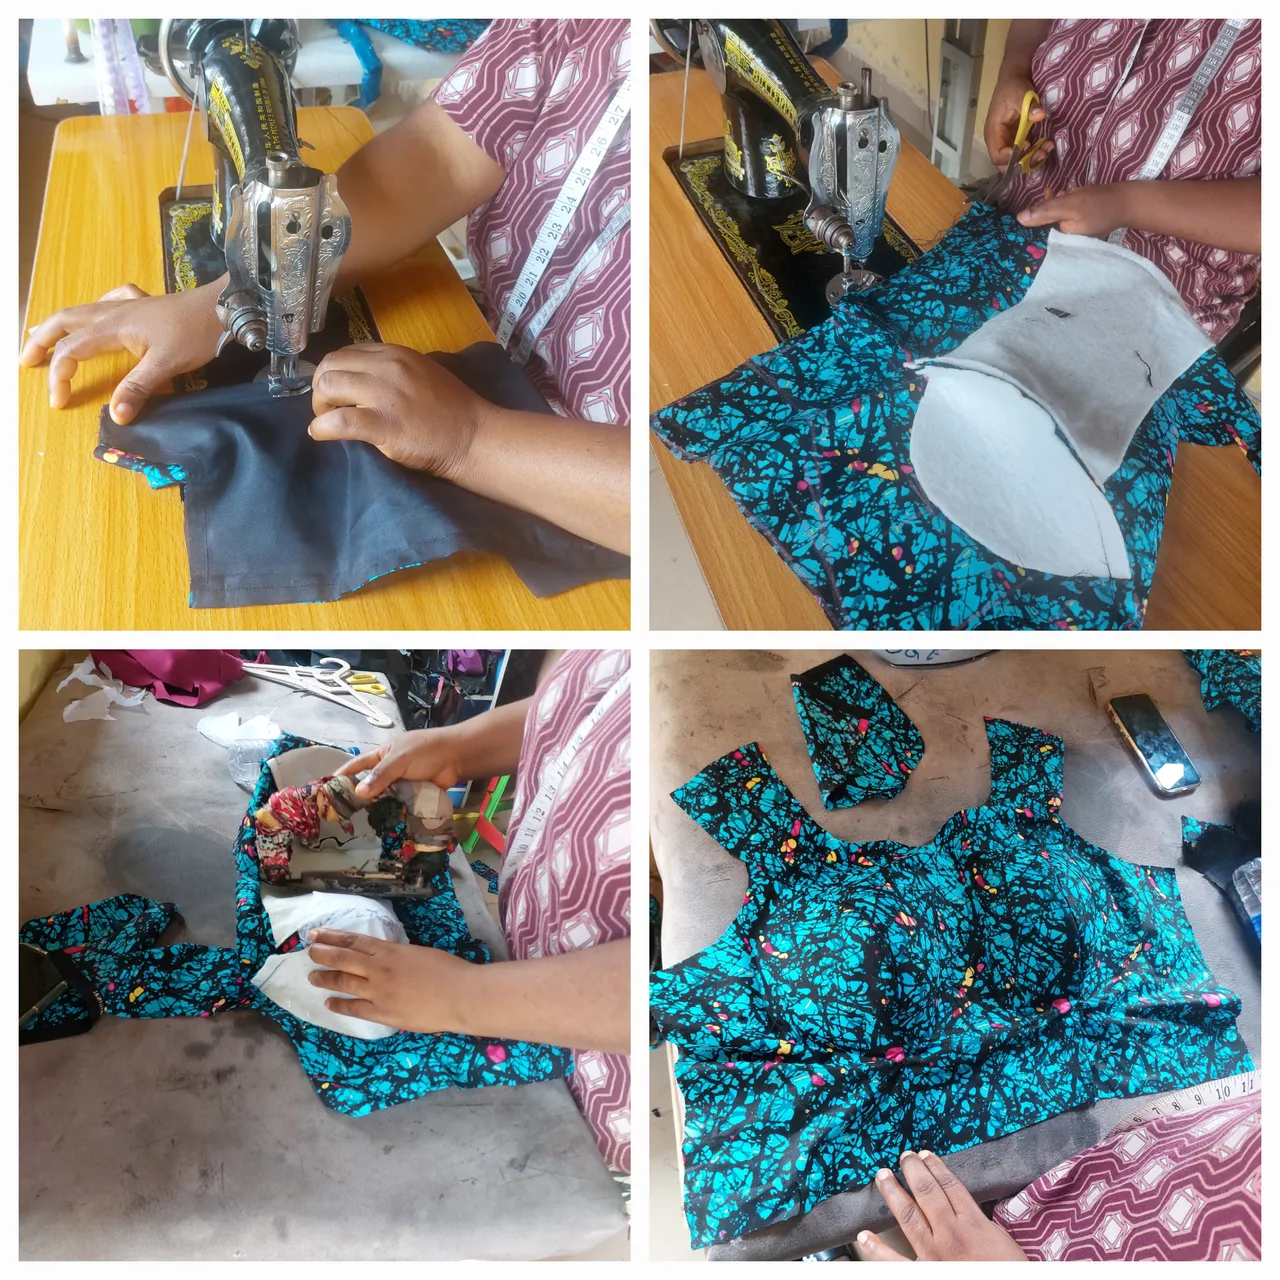
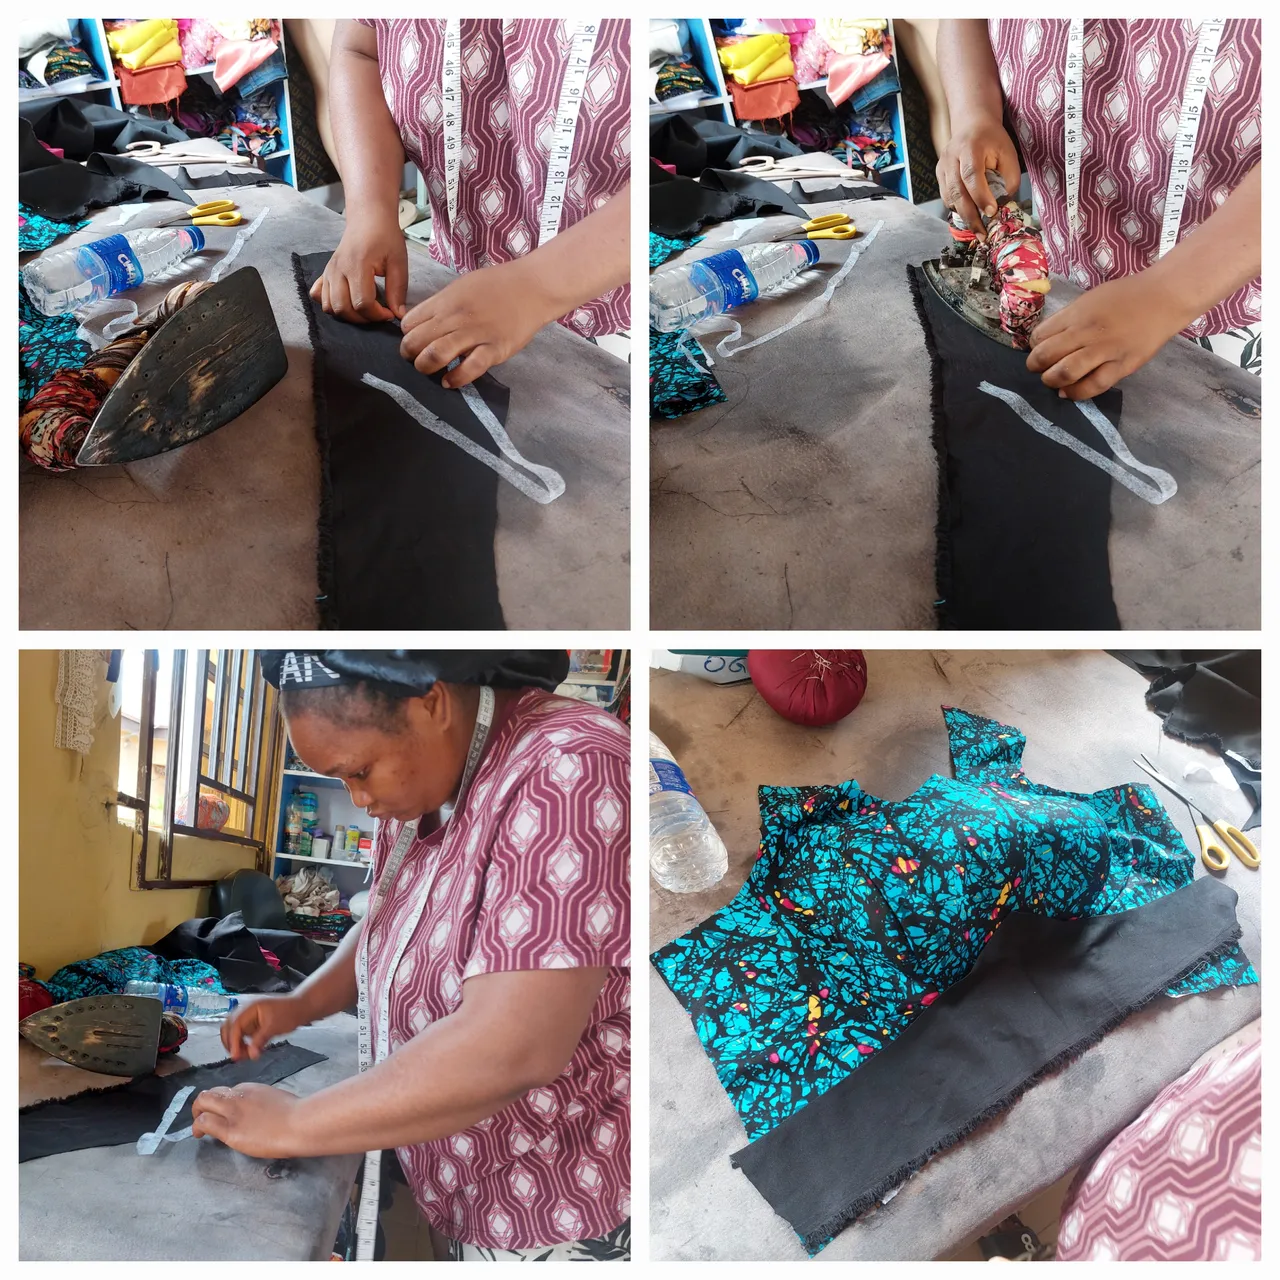
Moving on, cut your breast pad. Then, use your pressing iron to attach the paper stay to the lining and iron the breast pad onto the lining. After you are done with the steps above you will then sew the lining to the main ankara fabric.
While making this dress there was no power supply so I had to use use my improvised iron that always place on a gas burner to get heat.
Now, with the right sides facing each other, pin the lining to the actual ankara fabric and begin to join them together. Then turn it to the right side and give it a good press.
To cut the skirt part of the gown we will start by deducting the full body length from the blouse length, that is 64" - 20" =44".
So, fold your fabric in half with the right sides facing each other and use your tailoring chalk to mark 44" on the fabric as the length of the skirt, then 9" as the hip line. Be sure to add seam allowance round all the edges and cut out your front and back piece.
The back piece will have zipper allowance which means it will be slightly bigger than the front piece.
Then use the front and back pieces of the fabric to cut the lining and join them together neatly.

Now use the lining to turn the fabric to the right side. Then give it a good press so that the fabrics will be well flattened.
Next, attach the zip to the back piece of the skirt.
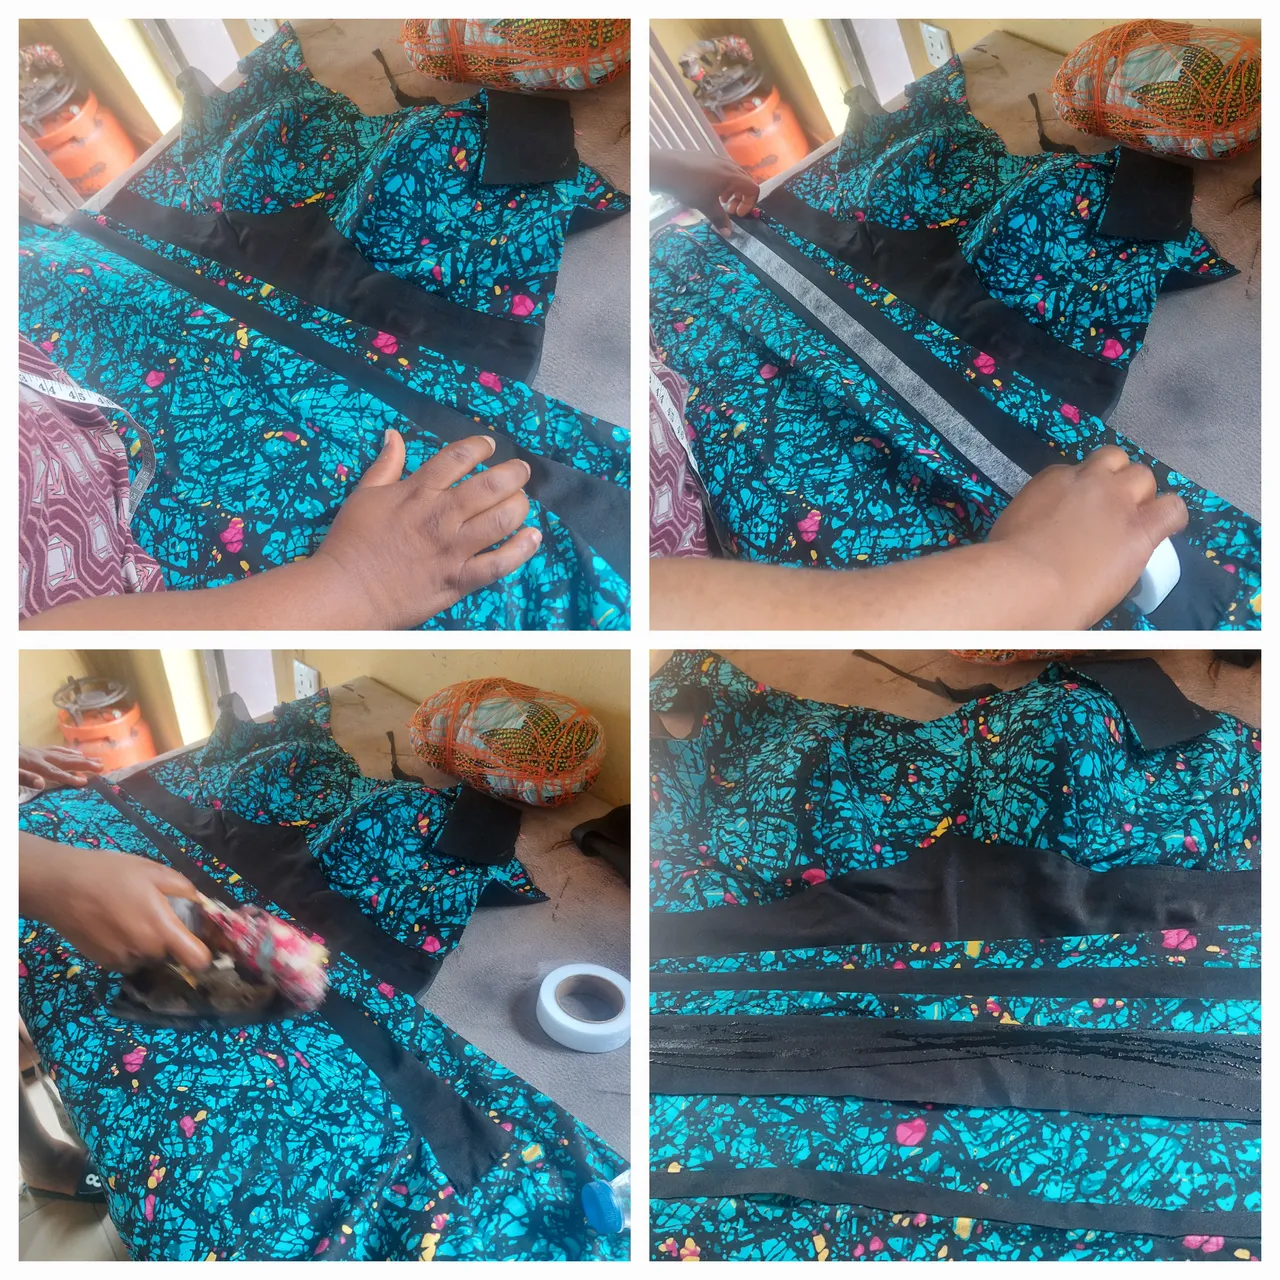
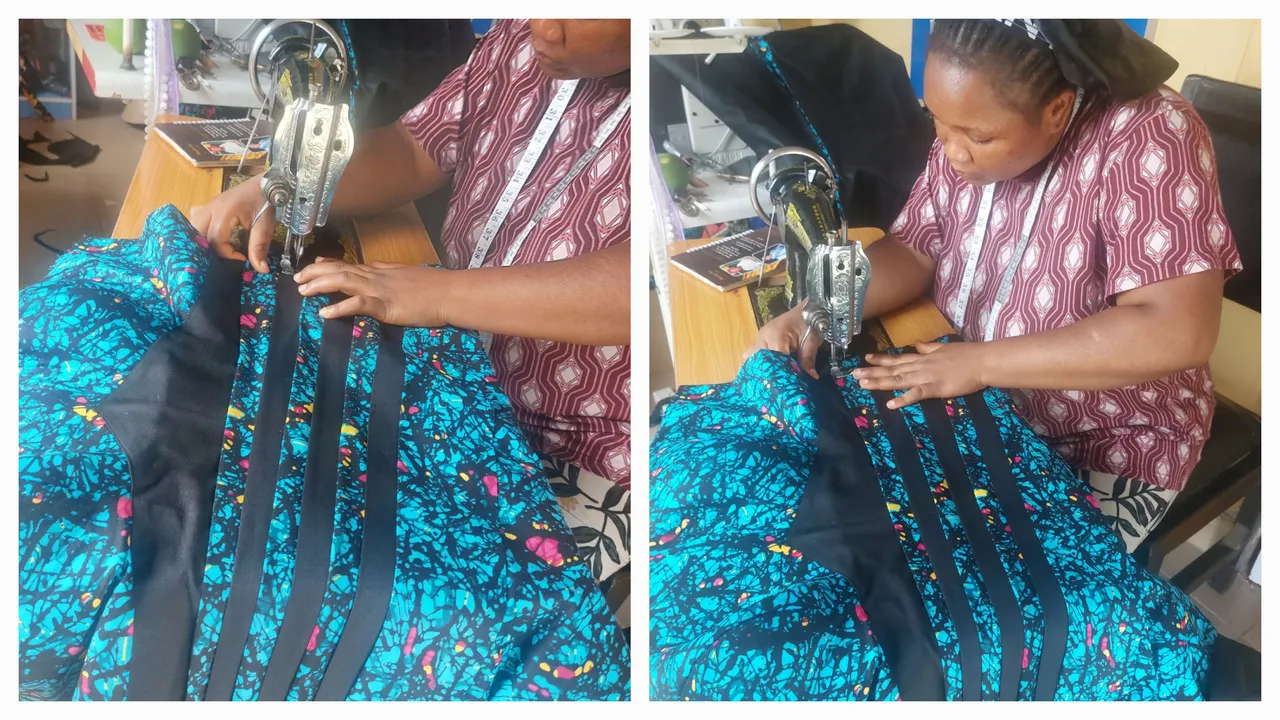
Then I used a plain black crepe fabric to create an overlap at the waist using hemming gum and later heading to the machine to sew it firmly.
Then join the bustier top and the skirt together and shapen the dress into the customer's actual measurements.
We will use the measurements of the shoulder, armhole and the desired flow to cut the sleeve of the gown. I will not be adding lining to the sleeves so as to make it fall and flow well.
Use your sewing machine to attach them to the dress and go ahead to give it a good press.
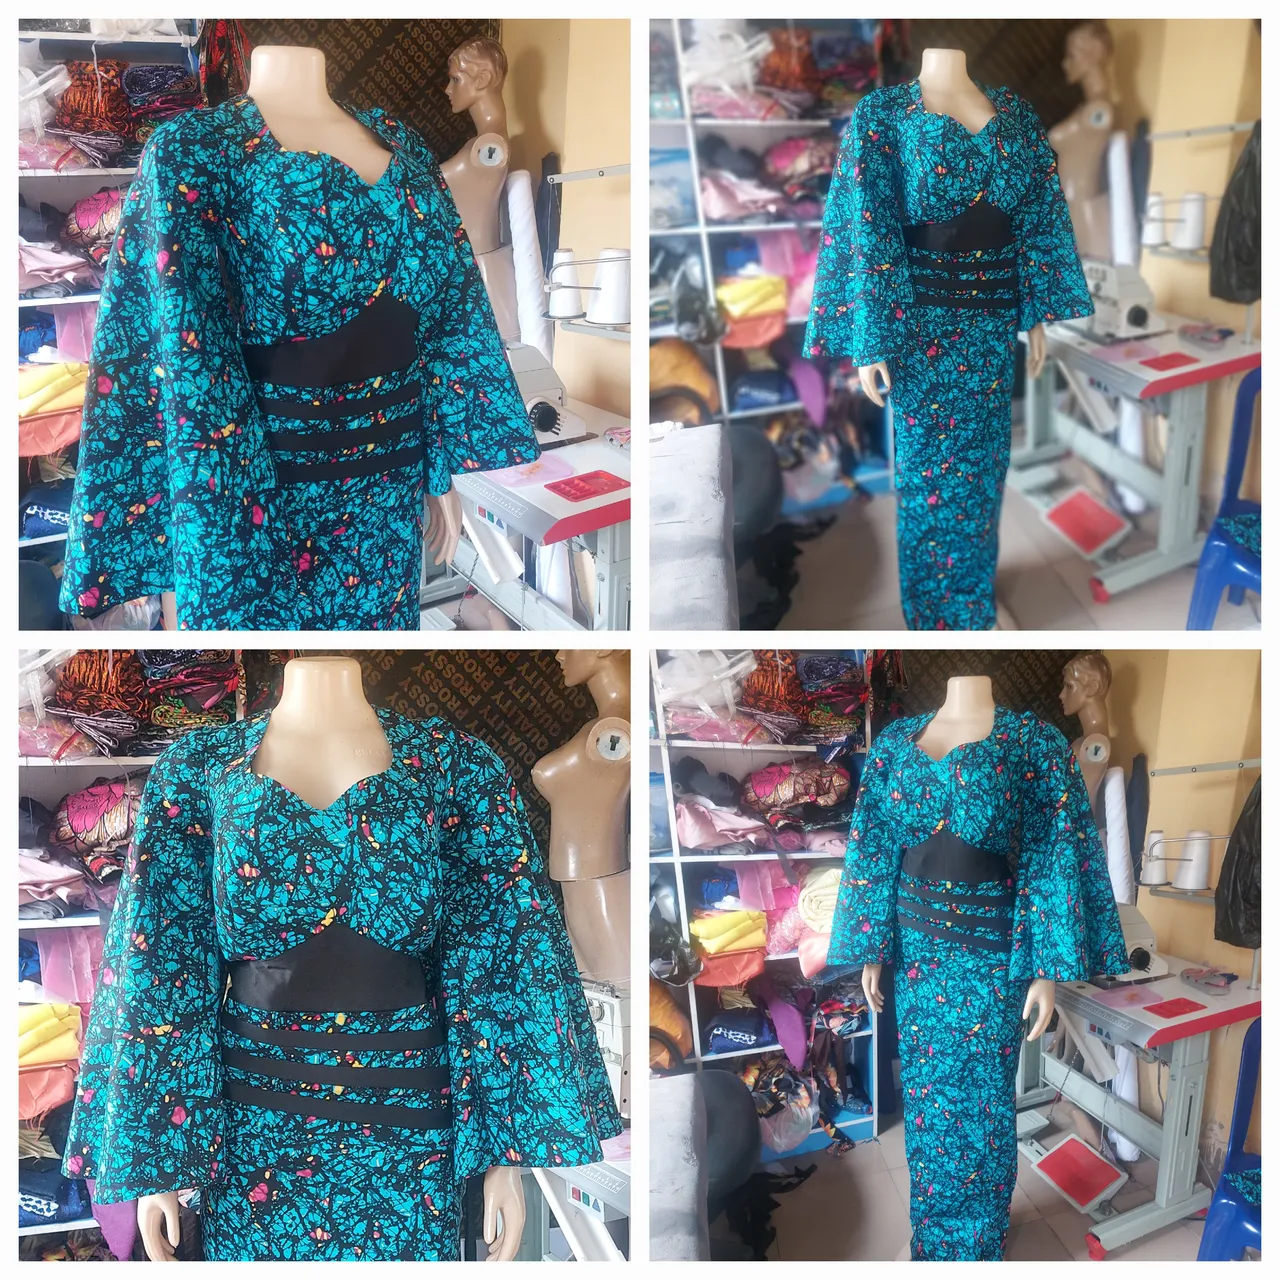
The customer can come in for fitting or you use a mannequin to check out the final look.
Thanks for reading and see you in my next one.
ABOUT ME

Just a quick reminder:
The text and photos on this blog was created by me, unless I state otherwise.
The cover images are designed using Canva with strict adherence to elements that are licenced for use under their terms.
Photographs are taken with my Samsung Galaxy A52 - 64MP Camera and other amazing features that absolutely capture the moment in high quality.
Lastly, do not use any of my content either text or image without asking me for authorisation. In other words, unauthorised used of my content is highly prohibited.