
Greetings to the community hoping you are very well every day full of many blessings and energies. Again this time I want to show you how I remodeled a size 38 long pants to a size 36 and how I made its pockets, inside, on each side.
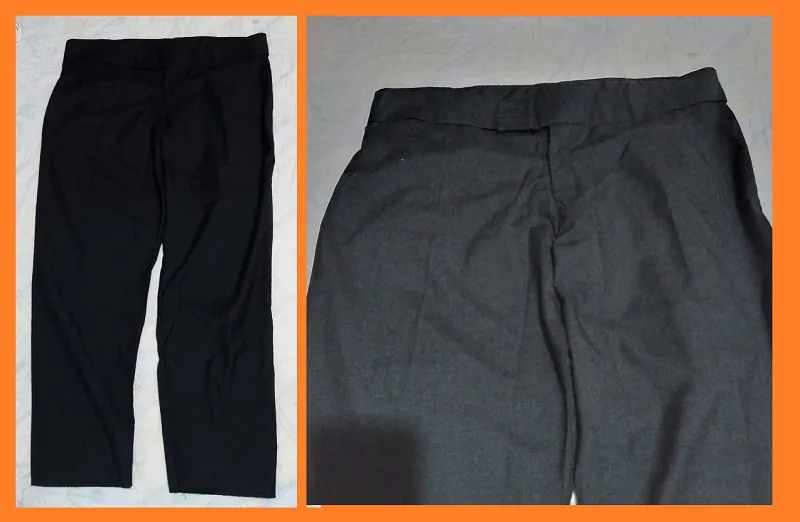
This is a simple black pants without pockets, now I will show you the steps that I did, to obtain a new pants.

My materials:
Black pants.
lining fabric
Scissors, pins, tape measure, threads.
Sewing machine.
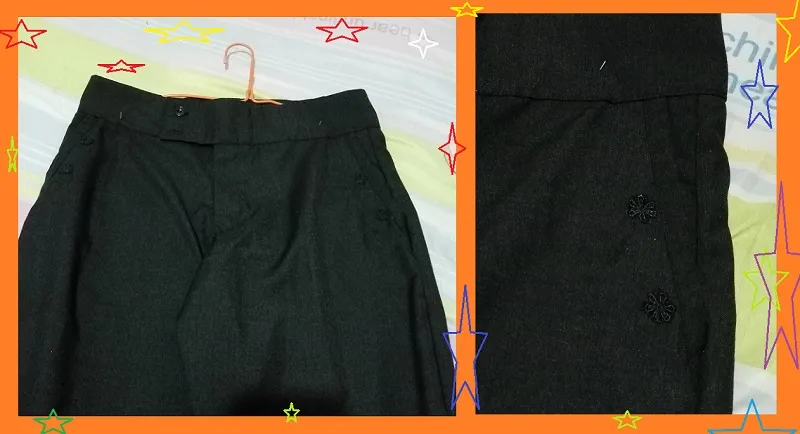
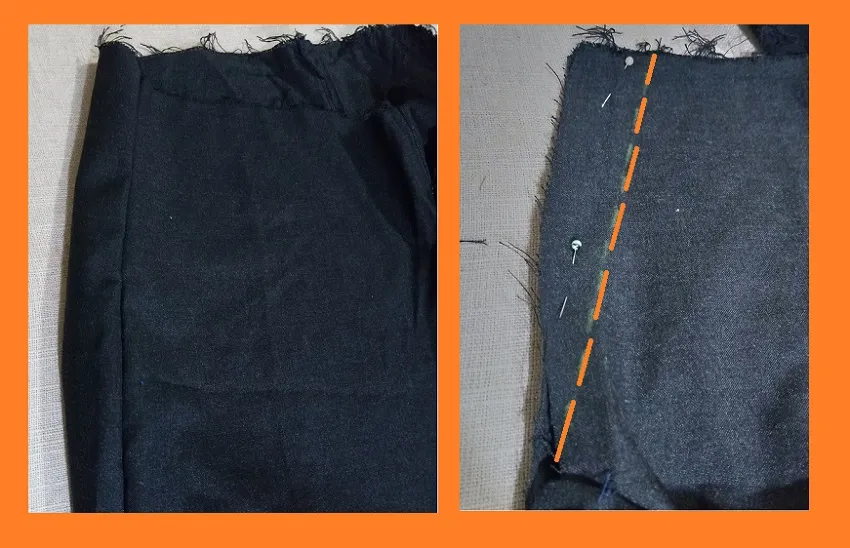
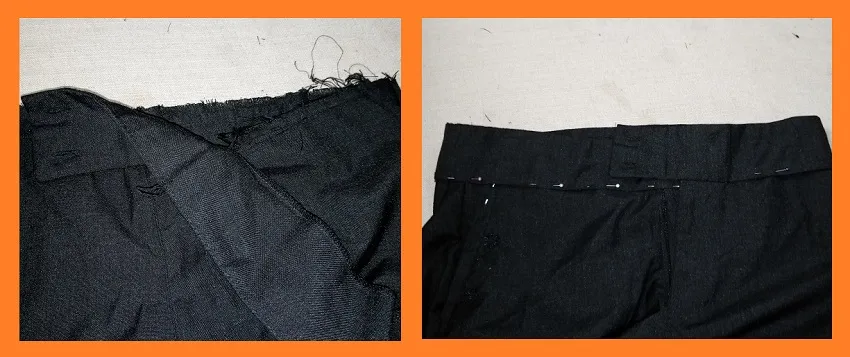
First I unsew the waistband, I don't remove it all, I leave the part where the sashes are attached, since it has two buttons at the waist.
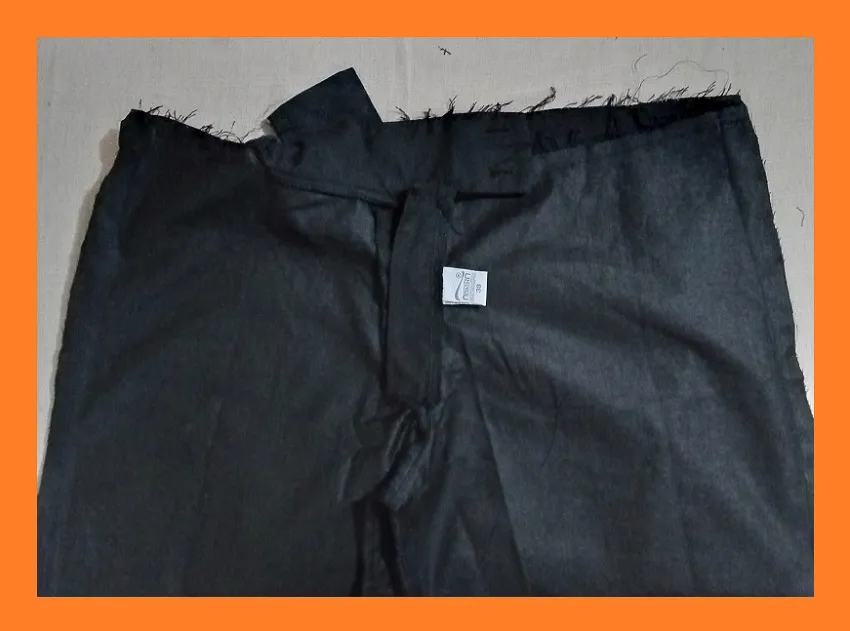
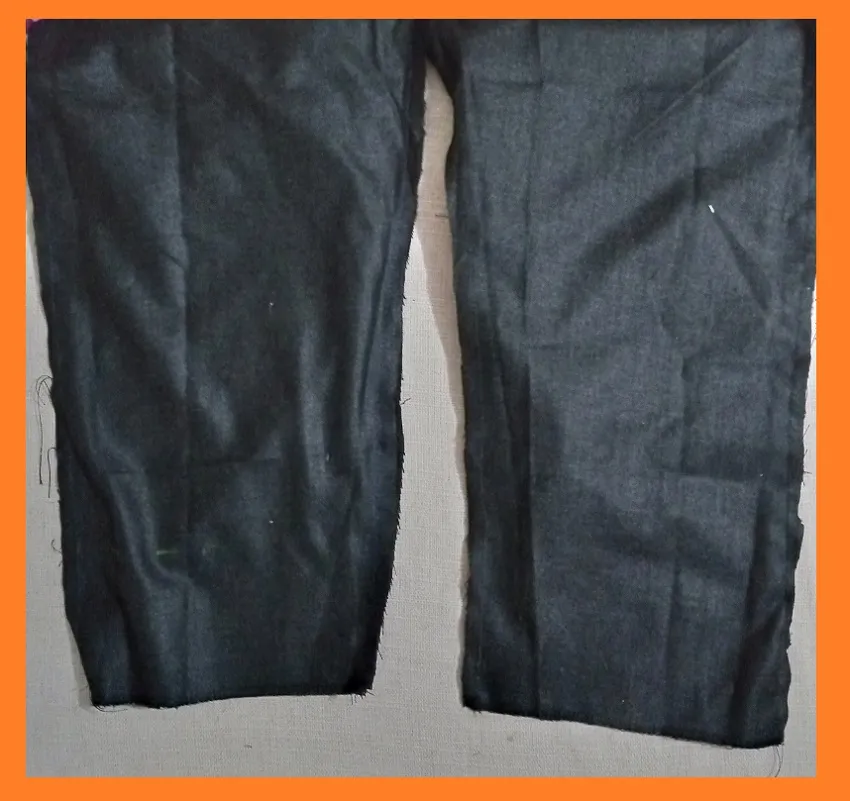
Then without cutting, I measure the width to the bottom, frame, and machine sew.
Since the leg of the pants was very wide, I also reduced it a bit.
Then on the sides, or the sides, I measure approximately 16cm, and I make a slightly diagonal cut, not too much, where I am going to glue the pocket.
I only do this cut on the front part of the pants.
With the lining fabric as a 14cm rectangle and I also make the same cut where I will sew the pants.
To the pocket I sew a rectangle of the black fabric. This will stay in the part inside the pocket, so that when you move or sit down, you will see the same fabric of the pants and not the lining fabric.
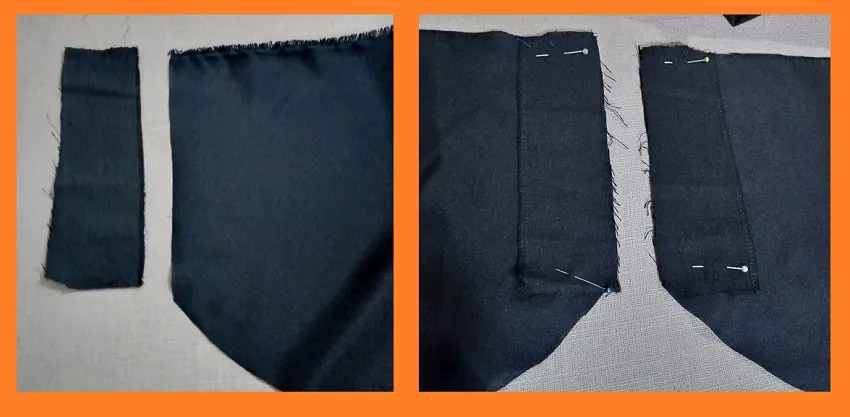
I also took out some strips 16cm long by 4cm wide, and I placed this on the edge of the pocket, as a border or strip that would remain on the outside.
I place the lining under the side where I am going to sew the pocket, that is to say, this is the pants pocket, then the lining and then the strip. I pass the seam straight,
then I overstitched it over the strip, and this strip I fold forward from the pocket, and I also stitched it along the entire edge.
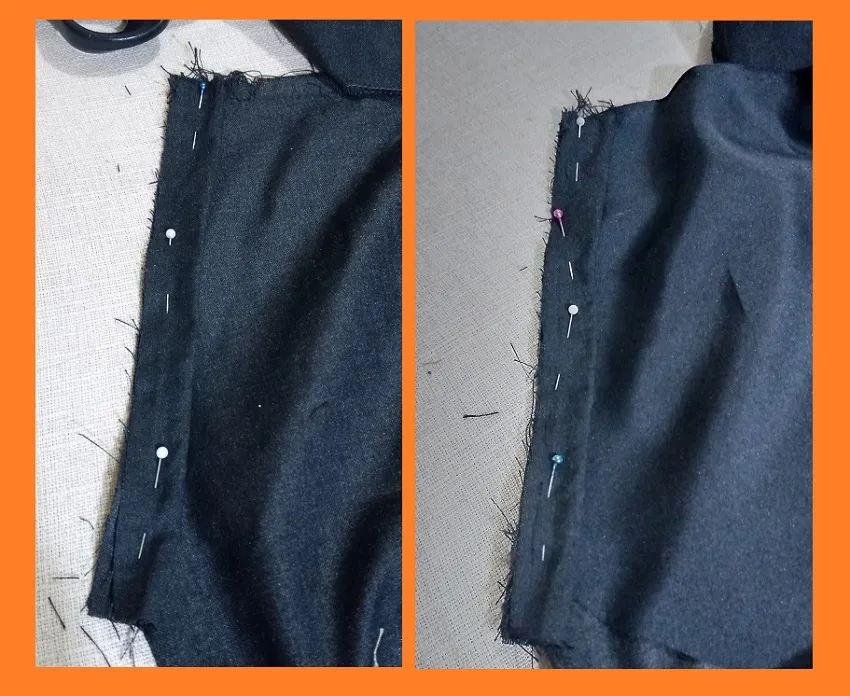
This way you can see that this part will be clean. On each side I sewed a flower-shaped appliqué on the pockets. to give it a different touch.
Then I finish closing the bottom of the pocket.
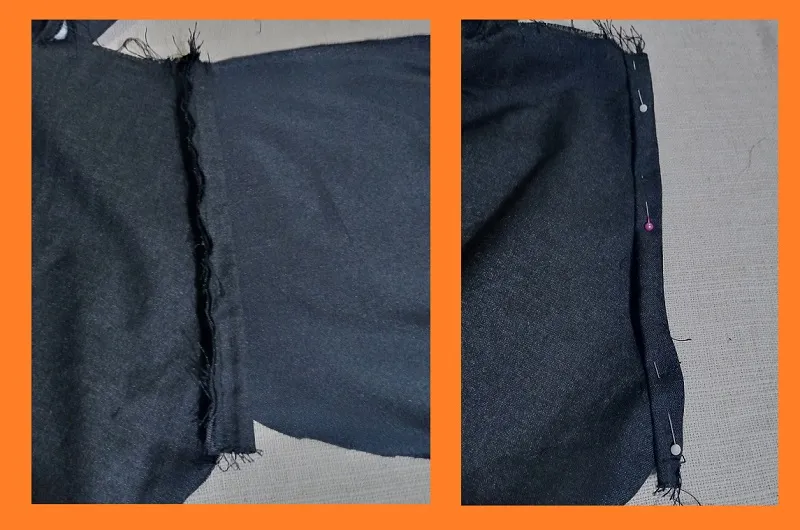
Once I have this part ready, I proceed to close the sides, and thus it is being armed.
I am pressing the waistband with pins until I reach the other end, I cut off the excess and begin to pass the seam on the machine.

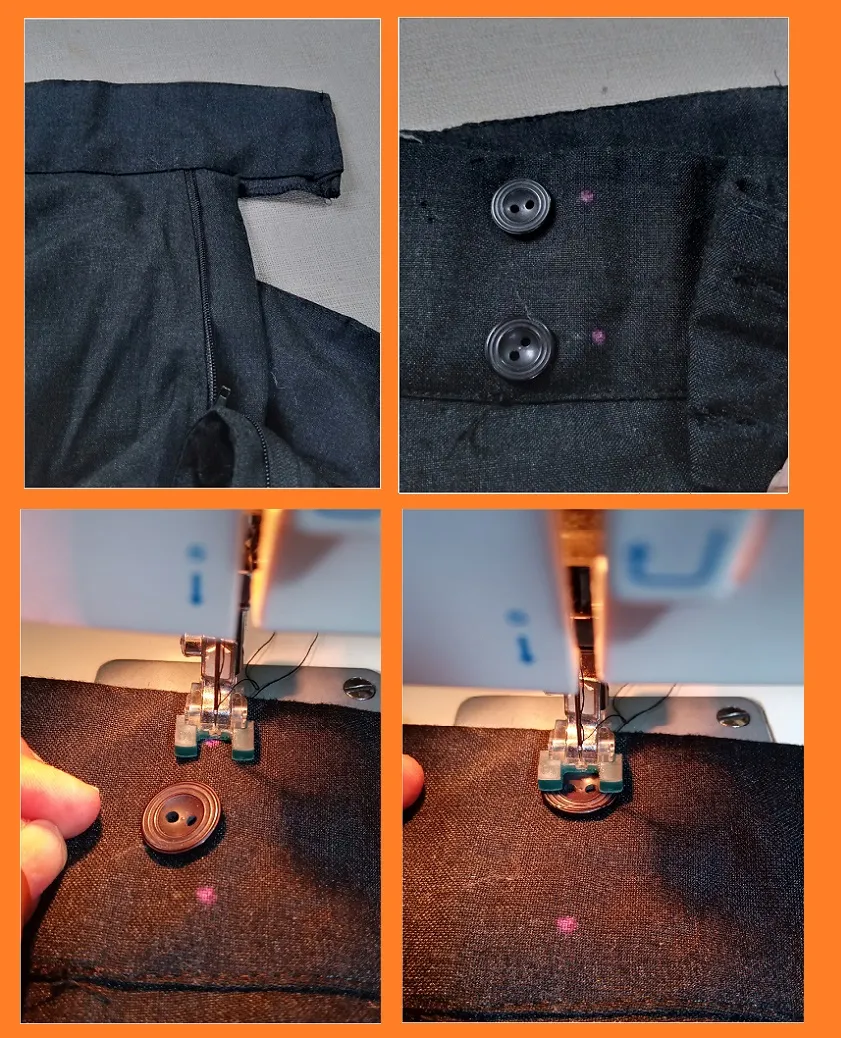
I make the marks where I am going to glue the buttons, I glued them on the same sewing machine.
And to finish I make the hem by making a fold in each leg of the pants.

I hope you have liked how to glue pockets, in a pair of pants that came very simple and that it was easy to remodel, until the next publication, thanks, bye!
The photos are my own, with my Tecno Spark go cell phone.
Translator deepl.
Canvas design.

The photos are my own, with my Tecno Spark go cell phone.
Translator deepl.
Canvas design.

Saludos a la comunidad esperando se encuentren muy bien cada dia lleno de muchas bendiciones y energias. Nuevamente en esta oportunidad les quiero mostrar como remodele un pantalon largo talla 38 a una talla 36 y como le hice sus bolsillos, por dentro, en cada lado.
Este es un pantalon negro sencillo sin bolsillos, ahora bien te muestro los pasos que realicé, para obtener un nuevo pantalon.
Mis materiales:
Pantalon negro.
Tela de forro.
Tijera, alfileres, cinta métrica, hilos.
Maquina de coser.
Primero descoso la pretina, no la quito toda, dejo pegada la parte donde estan los hojales, ya que este lleva dos botones en la cintura.
Luego sin cortar, mido el ancho hasta la parte de abajo, marco, y coso a máquina.
Como la bota del pantalon era muy ancha tambien la reduje un poco.
Luego en los costados, o de los lados, mido aproximadamente 16cm, y hago un corte un poco diagonal no mucho, por donde voy a pegar el bolsillo.
Este corte solamente lo hago en la parte del frente del pantalon.
Con la tela de forro como un rectangulo de 14cm y tambien le hago el mismo corte donde cosere al pantalon.
A el bolsillo le coso un rectangulo de la tela negra. Esto va quedar en la parte dentro del bolsillo, para cuando uno se mueva o se siente, se vea la misma tela del pantalon y no la tela de forro.
Tambien saque unas tiras del 16cm de largo por 4cm de ancho, y este lo coloco en la orilla del bolsillo, como un borde o tira que quedara por fuera.
Coloco el forro debajo dellado donde voy a coser el bolsillo, es decir esta la rela del pantalon, luego el forro y despues la tira. Paso la costura recta,
luego la sobre costura sobre la tira, y esta tira la doblo hacia adelante del bolsillo, y tambien le paso costura por toda la orilla.
De esta forma se ve que quedará limpia esta parte. En cada lado le cosi una aplicación en forma de flor en los bolsillos. para darle otro toque distinto.
Luego termino de cerrar la parte de abajo del bolsillo.
Una vez teniendo listo esta parte, procedo a cerrar los costados, y asi va quedando armado.
La pretina la voy prensando con alfileres hasta llegar al otro extremo, corto lo sobrante y empiezo a pasar la costura en la maquina.
Le hago las marcas en donde voy a pegar los botones, estos los pegue en la misma máquina de coser.
Y para terminar le hago el ruedo haciendo un doblez en cada pata del pantalon.
Espero que les haya sido de agrado como pegar bolsillos, en un pantalon que venia muy sencillo y que fué fácil remodelar, hasta la proxima publicación, gracias, chau!
The photos are my own, with my Tecno Spark go cell phone.
Translator deepl.
Canvas design.
Las fotos son de mi autoria, con mi celular Tecno Spark go.
Traductor deepl.
Diseño canva.