Hello, today I bring you the mold of a dress with a back neckline in "V". Sizes range from 36 to 56 with their respective colors.
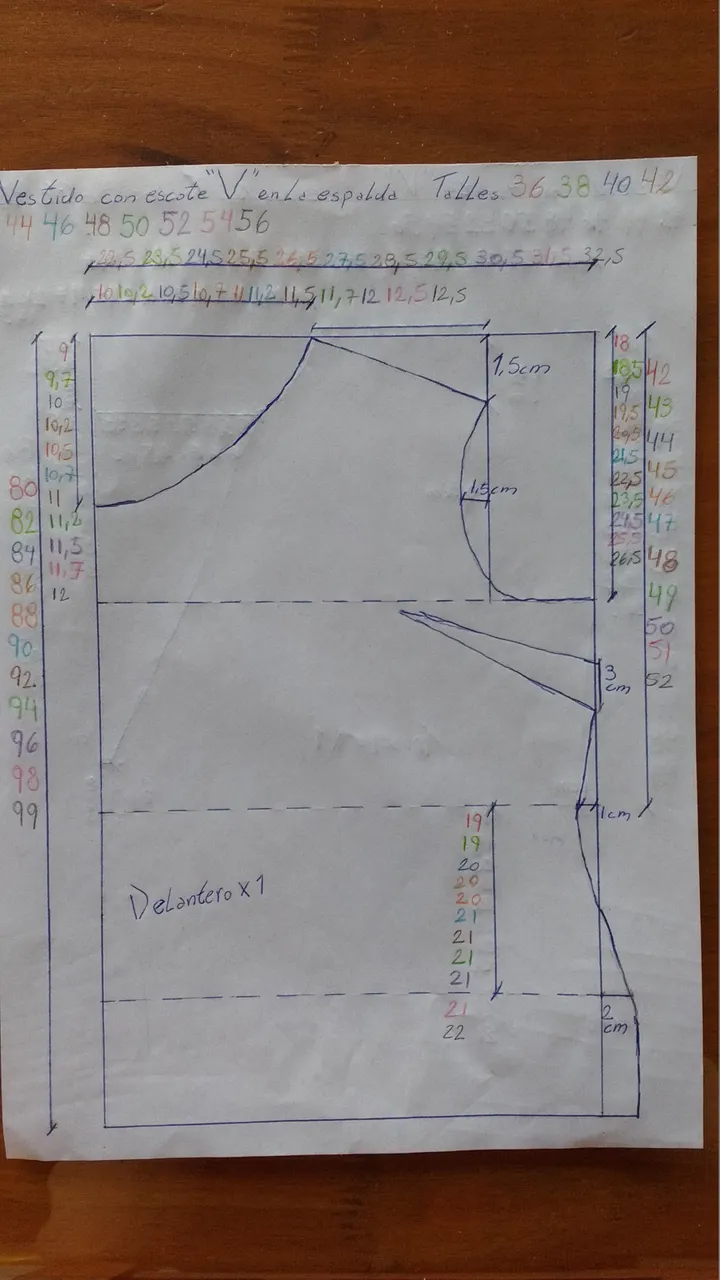
The size that I make is 36, as always, the measurements that are in the pen should not be modified, it does not matter which size you choose.

In the case of the rear mold, the same is repeated as in the front one, the measurements in the pen are not modified.
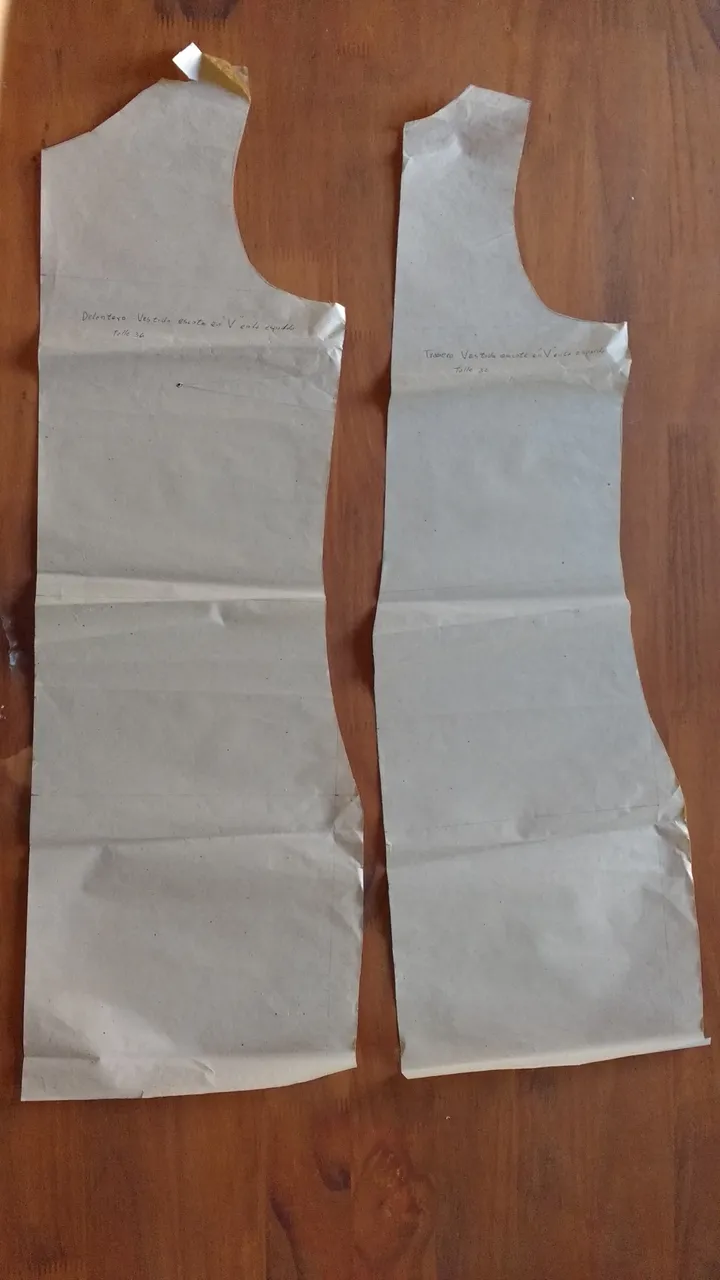
This is how the cut molds would look, remember to leave 1.0 cm for the seam allowance, and you need about 30 cm of tape to tie in the back.
As I already made this model, I am going to show you the steps and not how the mold would look on the fabric.
As this fabric frays, I made it entirely with straight and zigzag, so you will notice that the seams are not very "neat" so to speak. The first thing we are going to do is sew both shoulders.
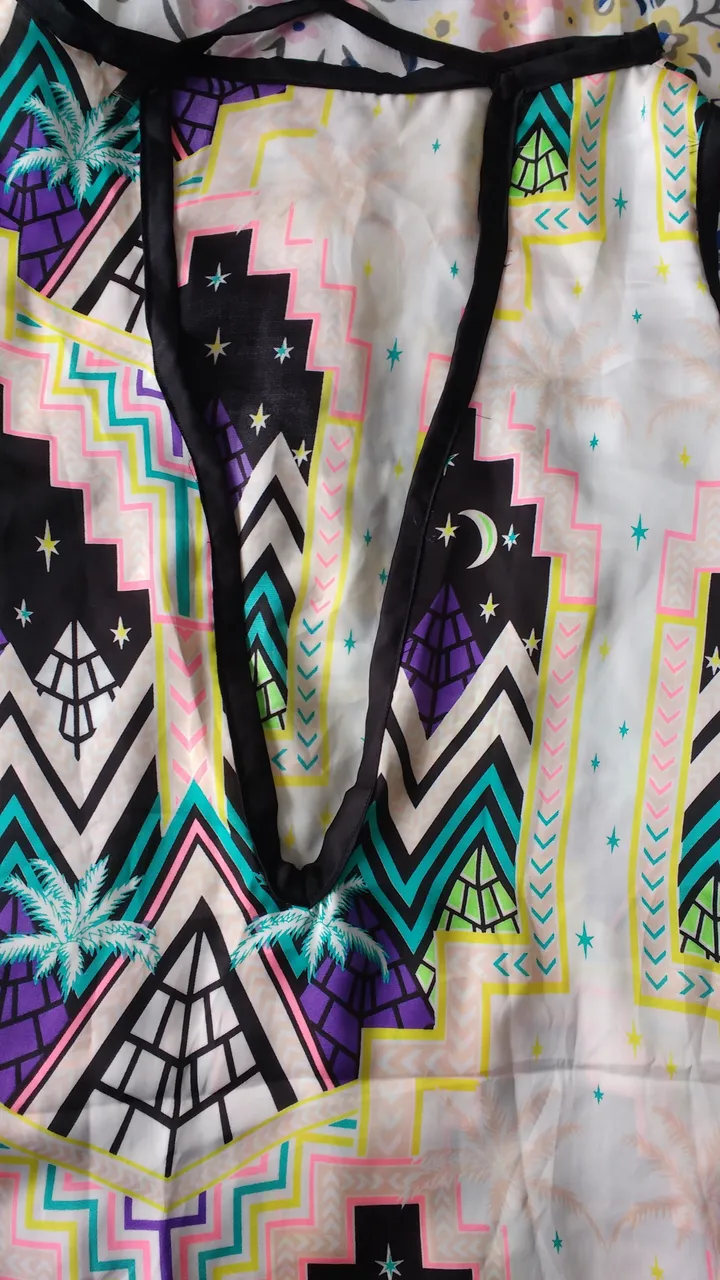
Once we have the shoulders, we cover the entire neckline, both front and back with tape, in this case I used a ribbon tape. If you want or find it more comfortable, close one shoulder, pass the tape and then close the other shoulder.
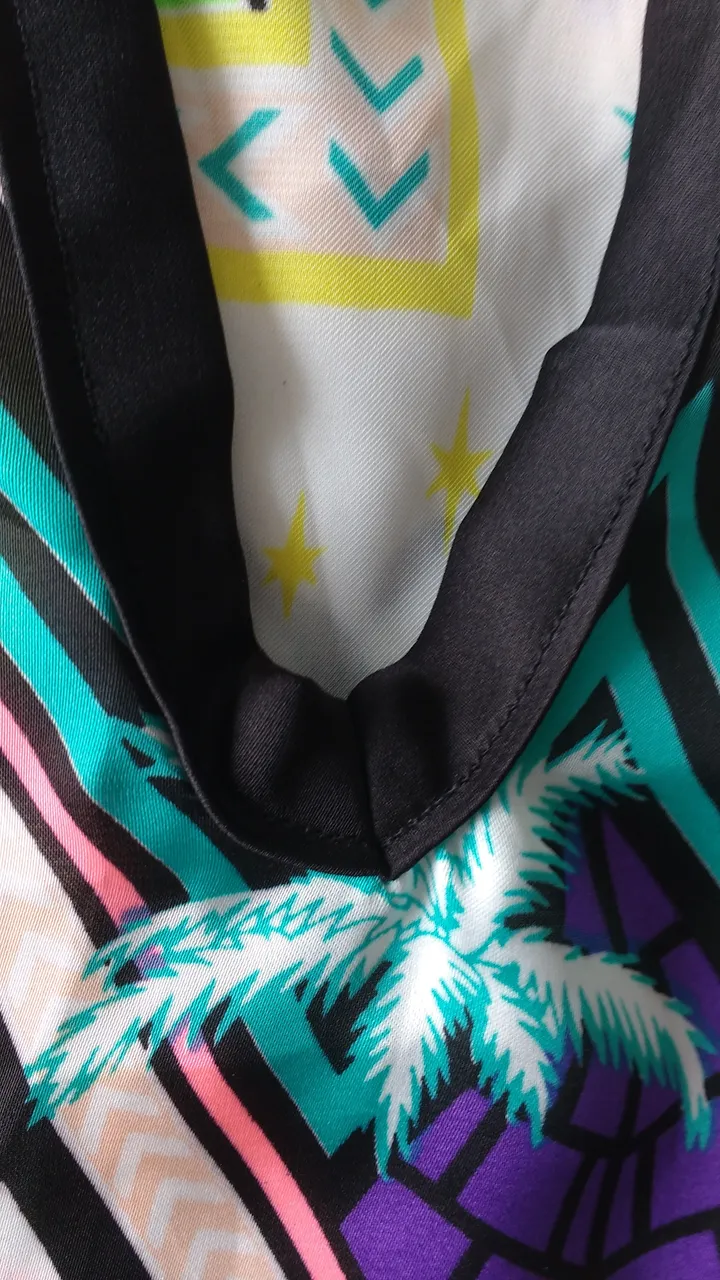
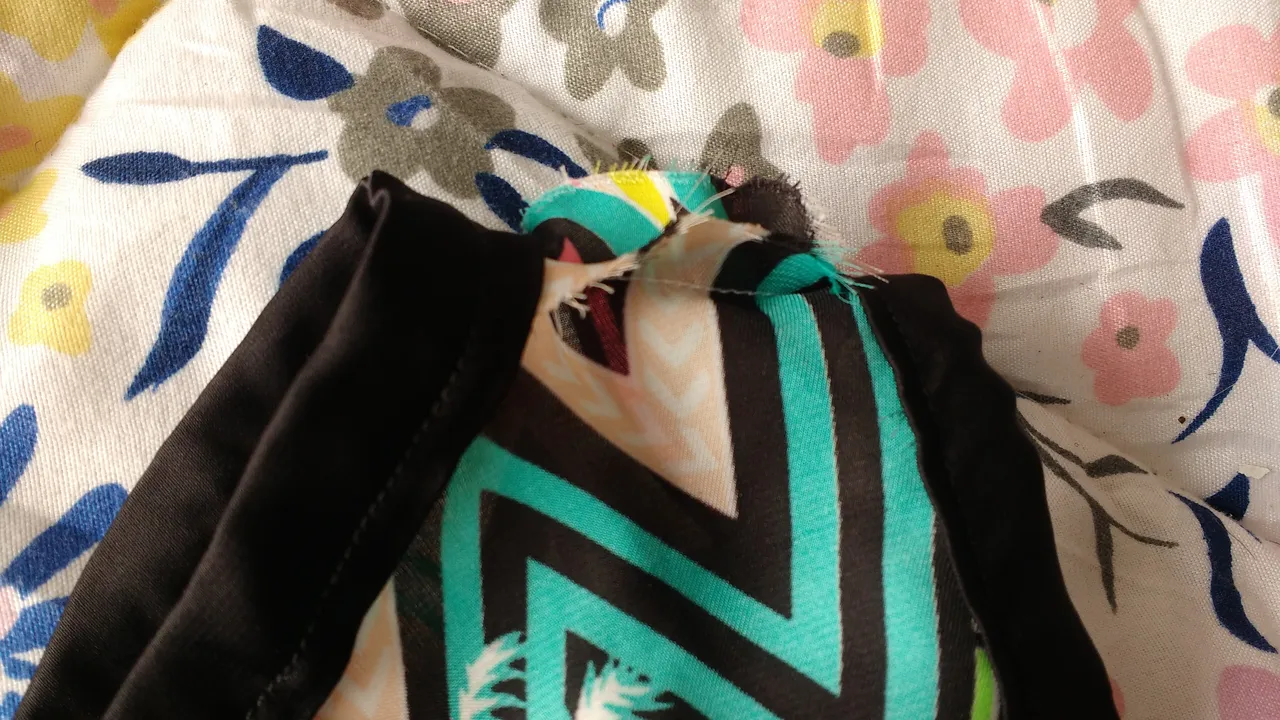
This model has a closure on the back, I did not need to place it, so I covered that part with the scratch tape. As seen in the image.
When they finish passing all the tape, in the front part they close the bust clips.
The same thing that they did in the entire neckline, they are going to do it in the sleeves, they cover the entire edge with tape. As seen in the image.
Then they close one of the sides and pass the entire lower edge, thus forming the hem, when they finish, they close the other side.
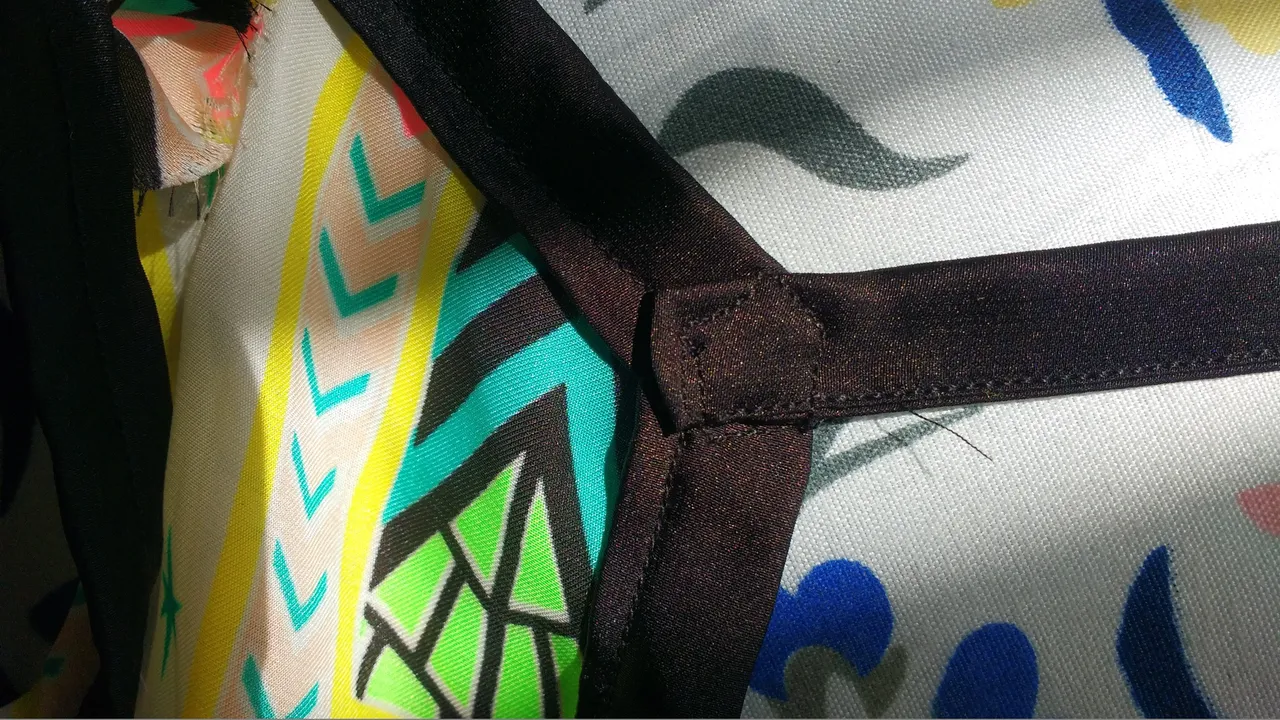
Finally, they secure the 30 cm (more or less) ribbon at the back of the neckline, and then sew it, as seen in the image.
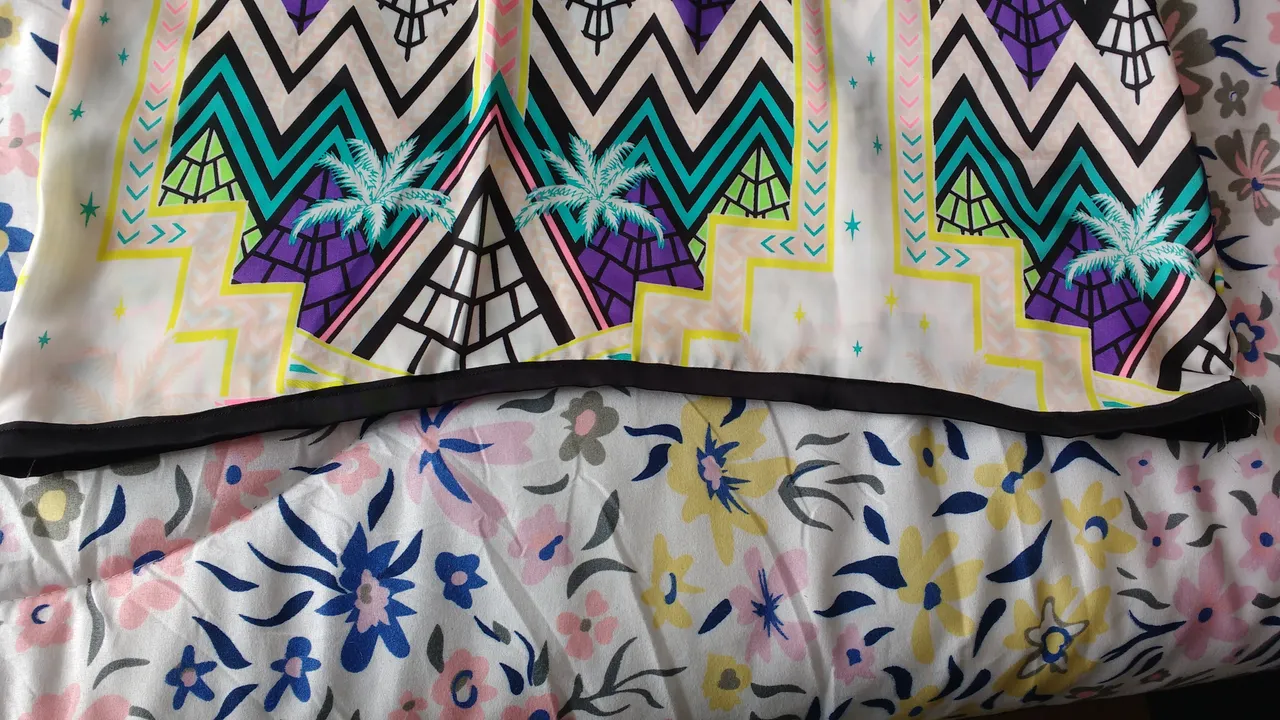
This is how the hem would be made with tape.
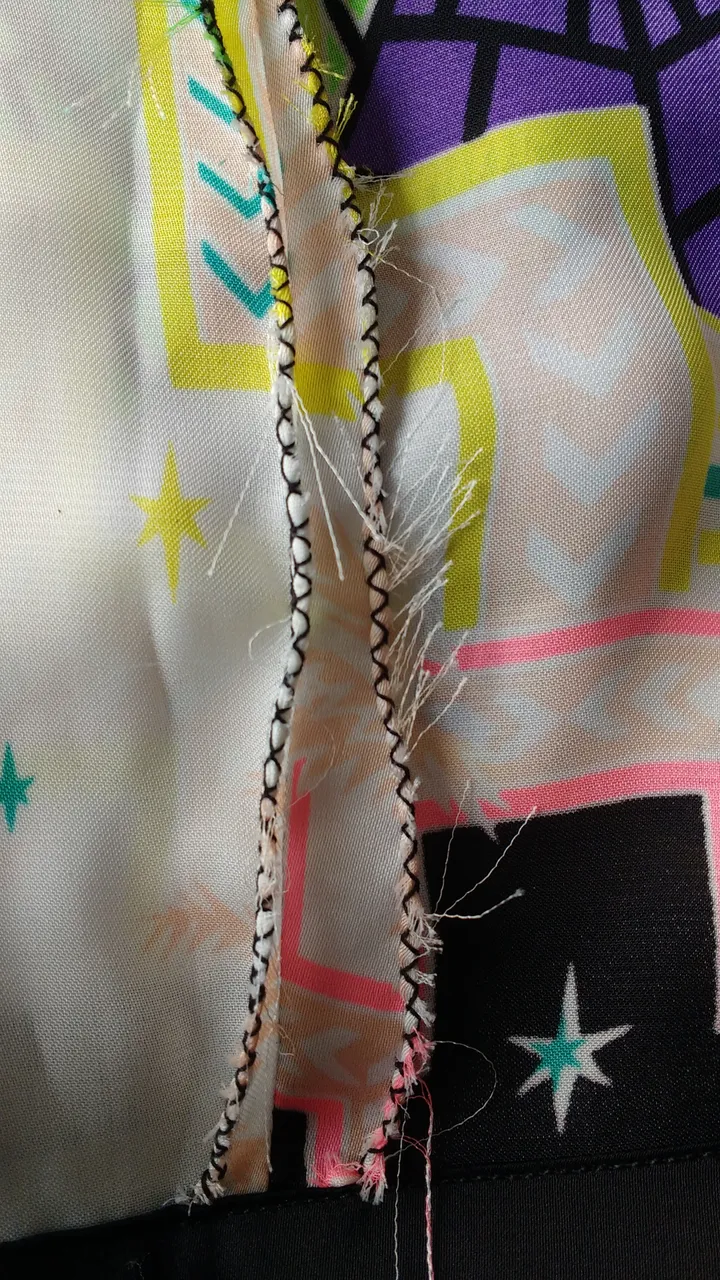
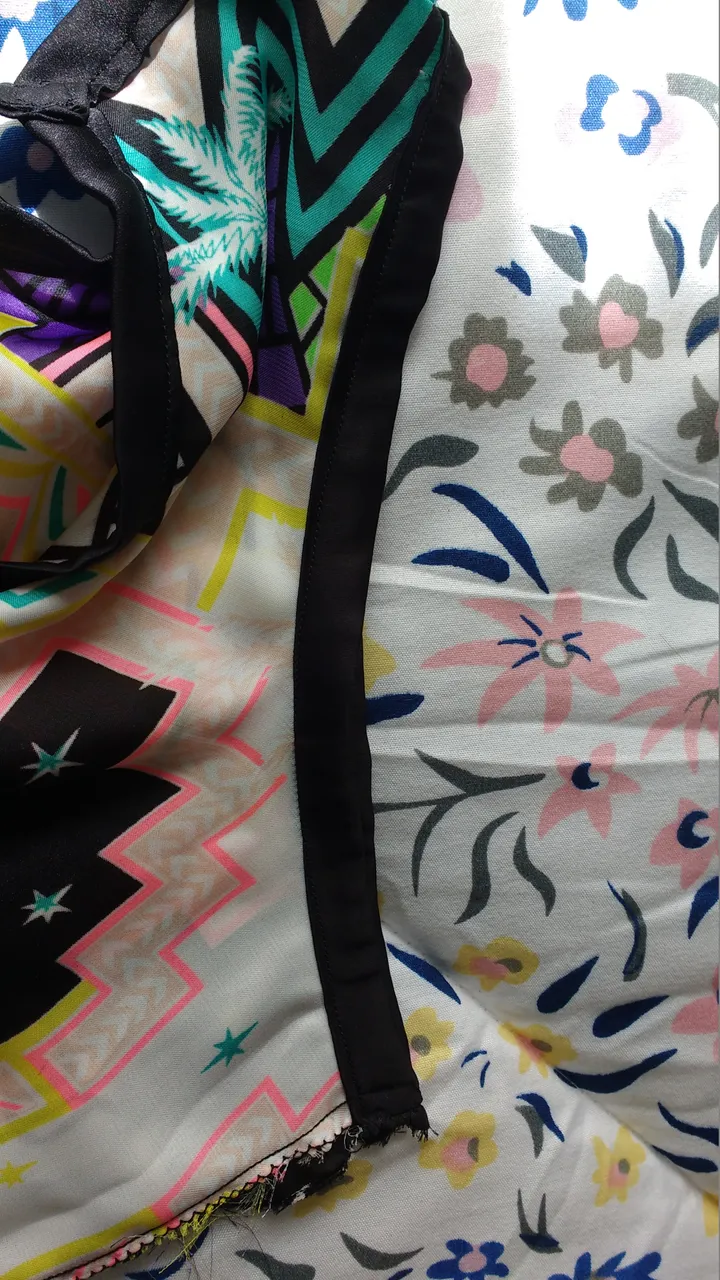
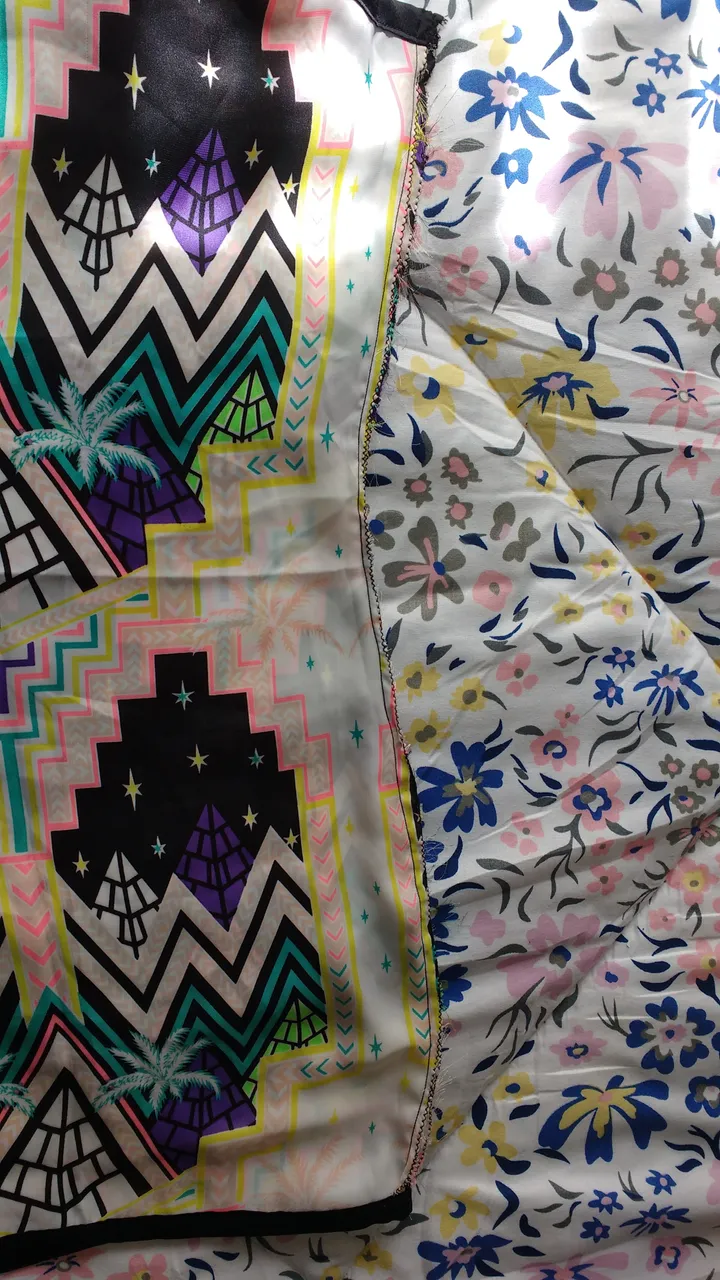
The seam made with a straight machine in this type of fabric is as follows, first they sew with a common straight and then they pass zigzag on each side, the latter would make a kind of overlock and in this way the fabric does not fray.

Image taken from my Instagram @fire_rabbit. This is what the model looks like, front.

Rear part, in this image you can see that the closure was not necessary, but if you want to place it, you can do it, that is up to everyone's taste.