Goodday ladies and gentlemen of the Hive community. Today I will be sharing the processes I took to make the popular bucket hat that is suitable for everyone both old and young. As we are all aware, the bucket hat is a fashion statement that is soft and round with downward sloping brim. This can be made from various fabric matters like jeans, cotton, ankara, suede, satin and so on. The benefits of these hat is numerous and some of them include: protection from the sun, a fashion hat and so on.
The bucket hat I made was made by recycling an old Jean trouser I had, I noticed that I was no longer wearing this particular material and decided to turn it up to something useful rather than throwing it away.
The process involved might seem easy to make a bucket hat but trust me it is a difficult process especially when you miss out on the pattern making.
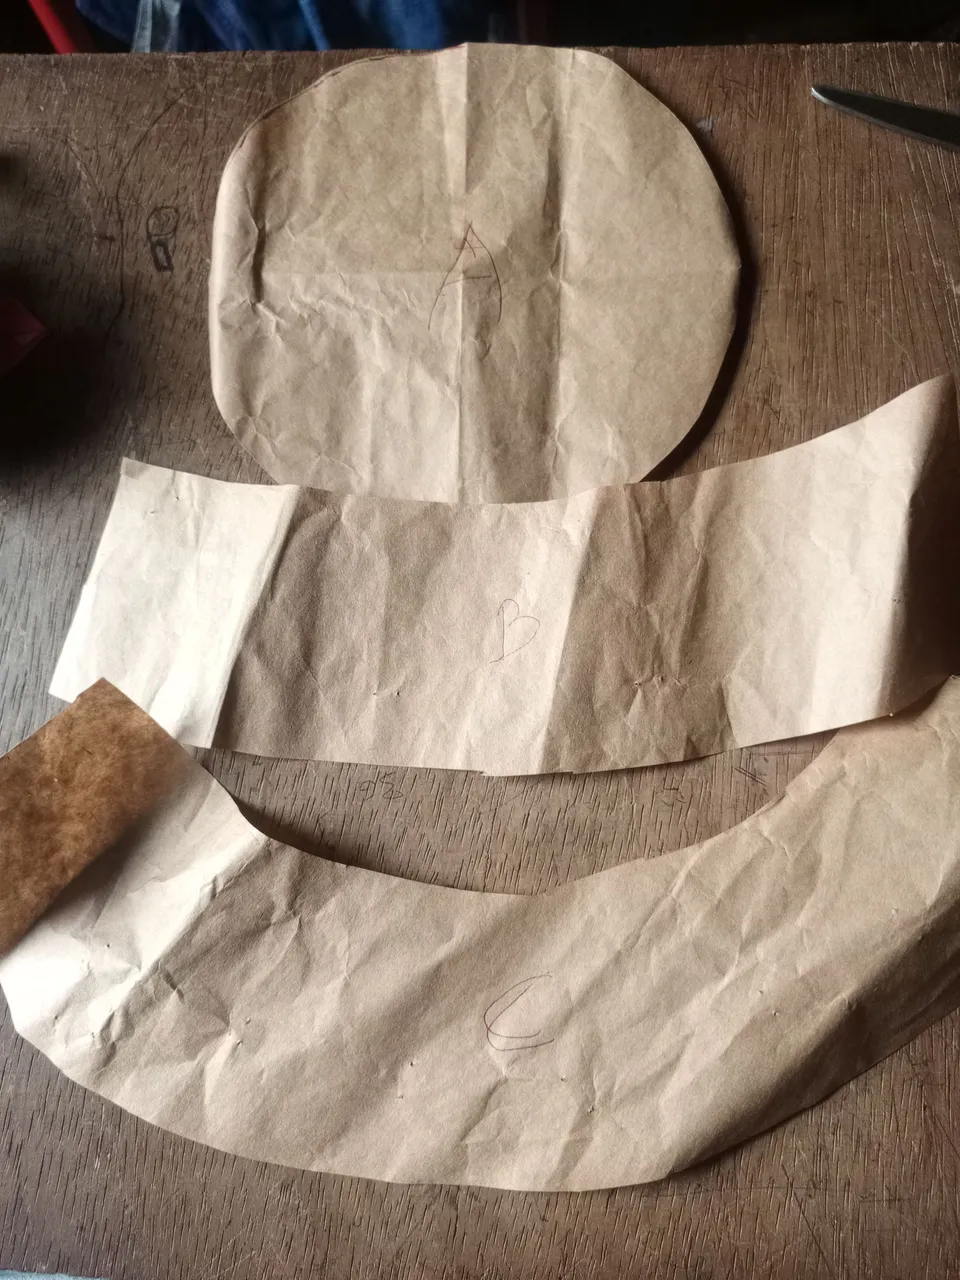
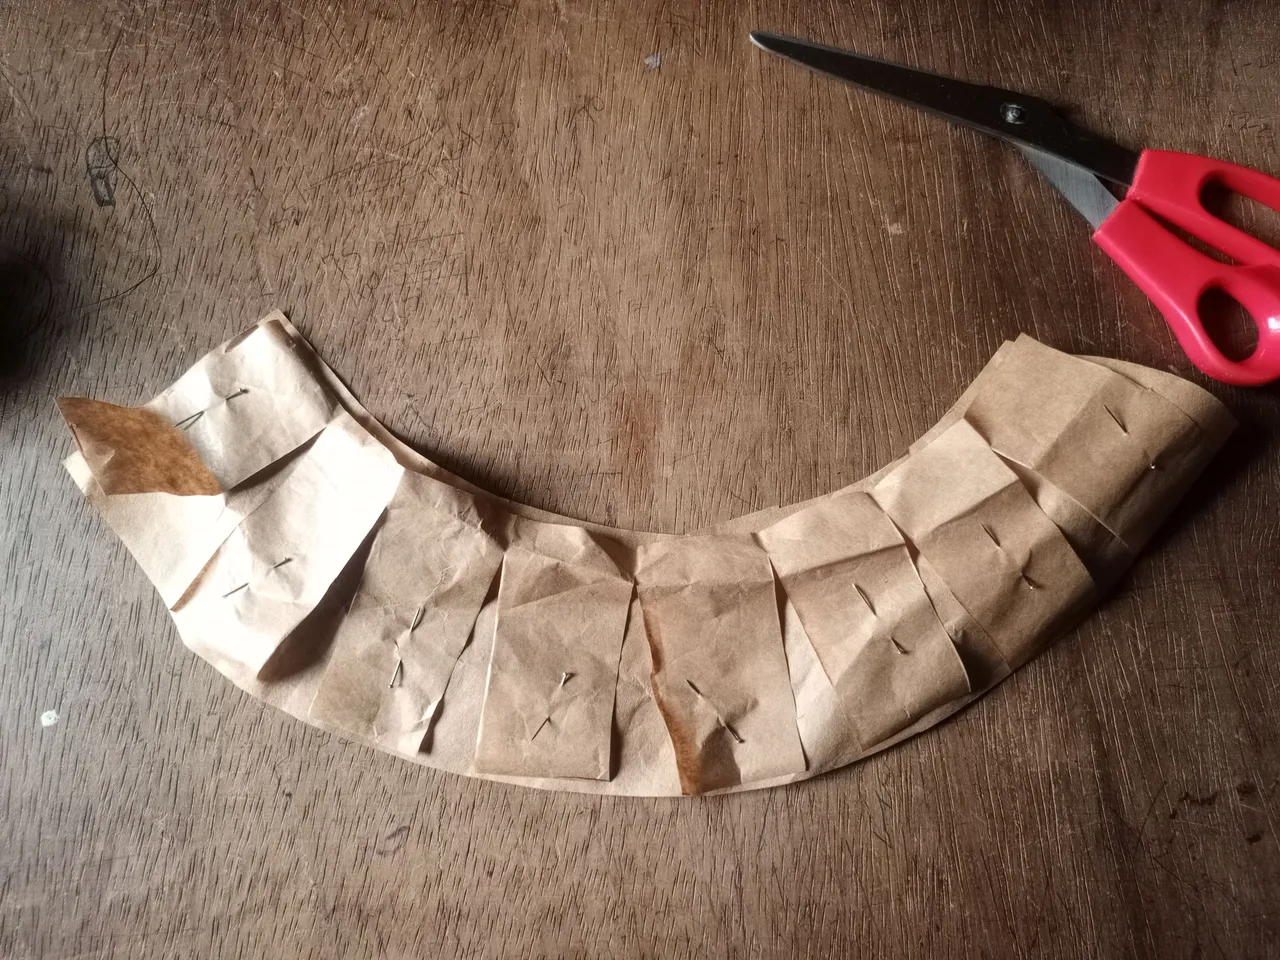
From the photos above, these are the illustration of the pattern making for the bucket hat, I used a tailor's paper to draft out the patterns which includes the top circle, side band and the brim.
In other to achieve this,the materials needed and used here are:
- The fabric which is a denim
- A lining fabric for the facing to make it a double layer (here I used the same denim fabric)
- A sewing machine
- Thread
- Scissors
- Pins
- Tape rule
- Pattern drafting
Pattern making
To make cutting on my fabric easy, I had to draft my pattern on a Tailor's paper first. In doing these the first thing I did was to take my head measurement which was 23 inches. After getting my measurements I caught two circles, two side panels which are the long rectangle, and four brim pieces. I also cut the interfacing with the same material so as to make it stiff and to have shape.
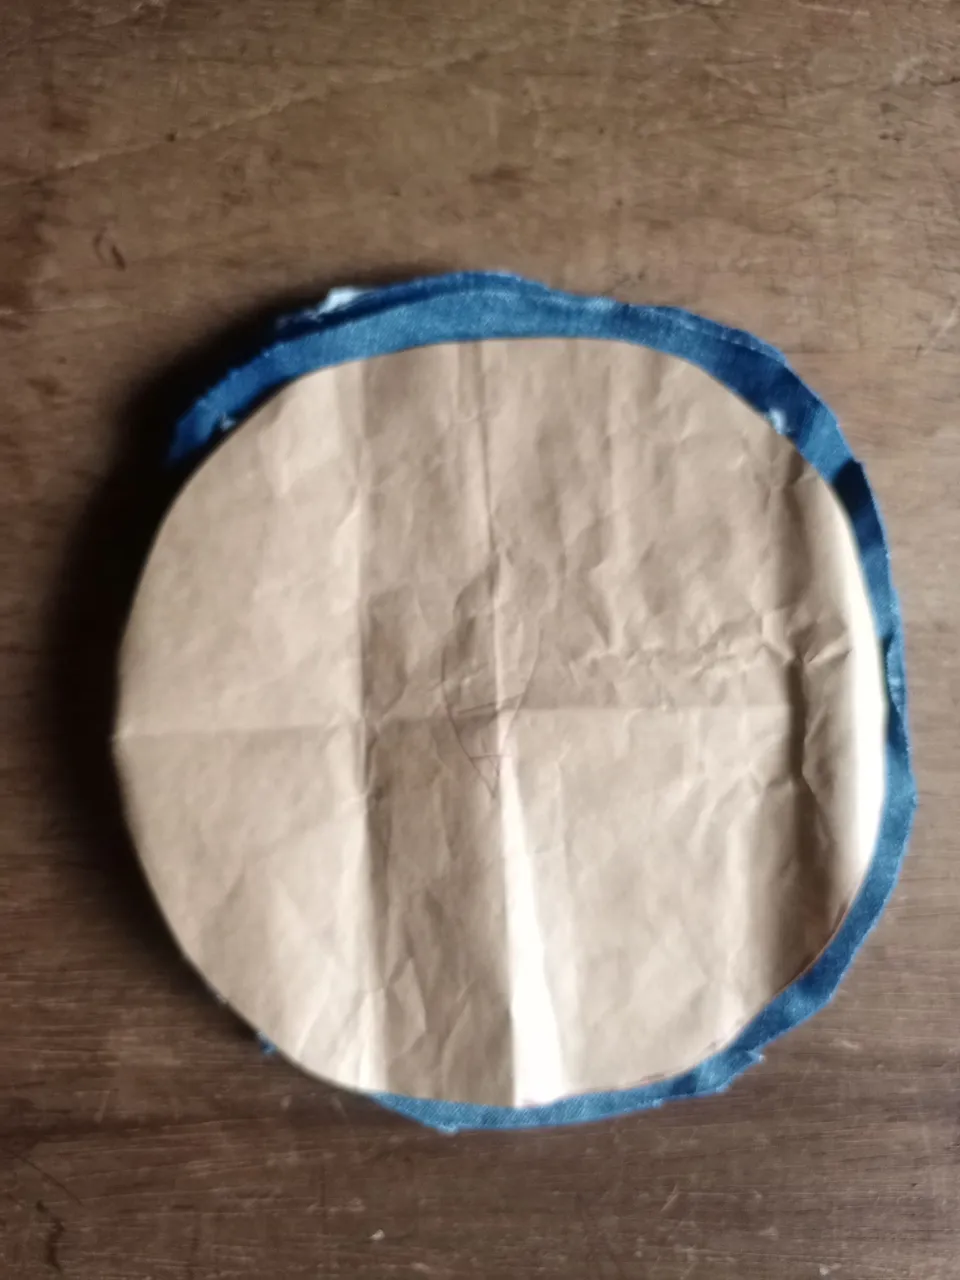

The picture above is of me, using my drafted pattern to replicate the seign on my fabric material.
**SEWING PROCESS
**
First sew the top side bands together then attach the top circle. When you see this around you would have the crown for your hat. After that, you would then bring the two brains together and sew them by attaching it to the crown you made. Then you finish off by adding the interfacing.
FINAL RESULT
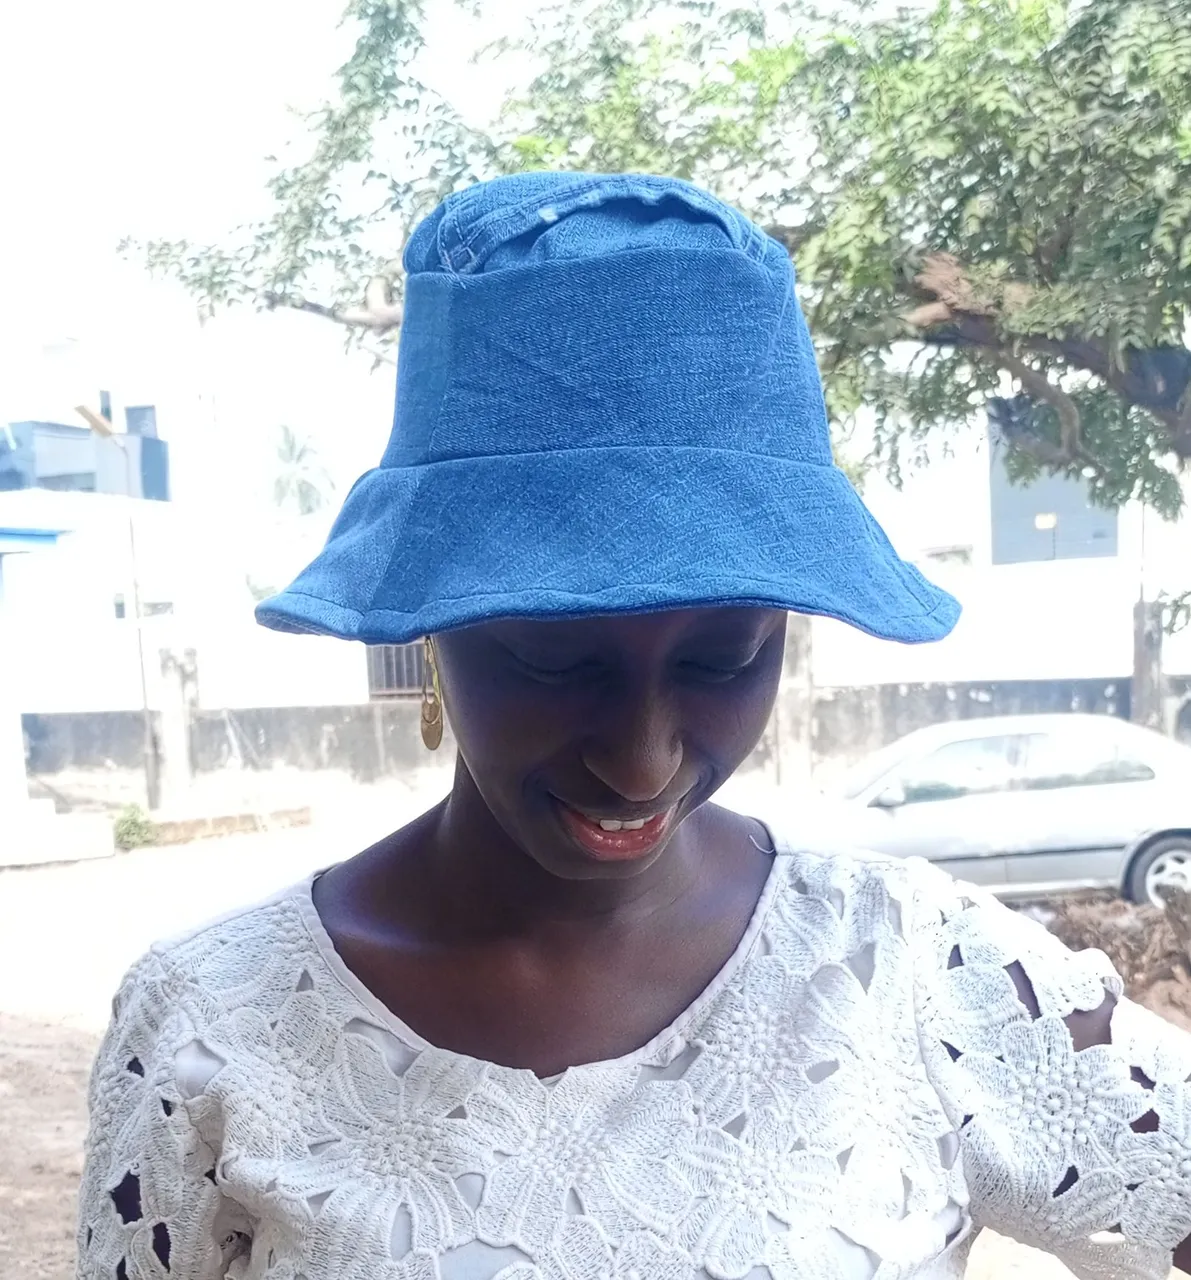
This is the final result after all the methods and processes have been applied.
Note : images used here were taken by me during the process.
Thank you for stopping by my blog