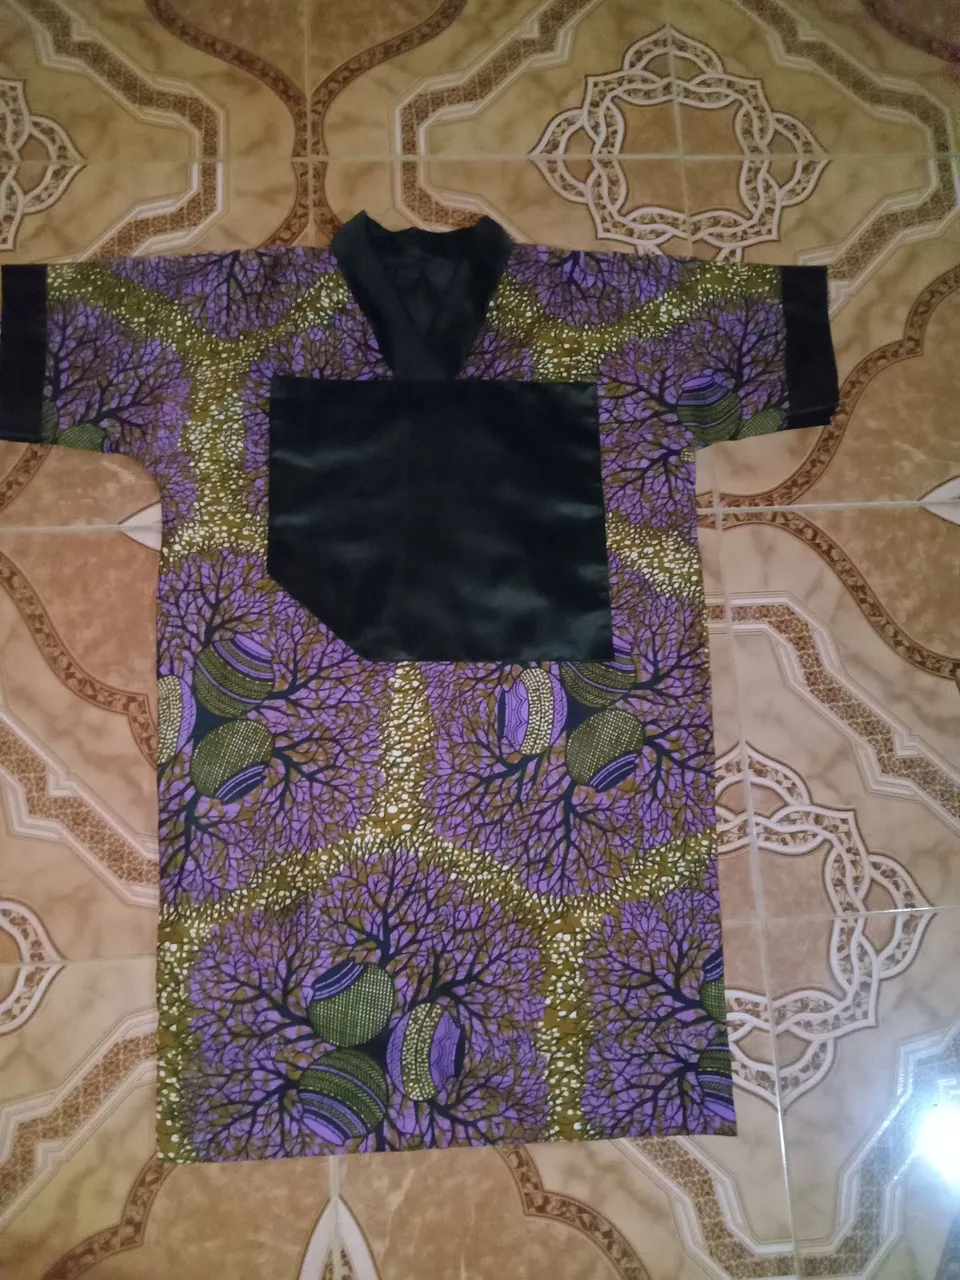
Hi everyone, welcome back once again, today I would be sharing with you all how I made this bubu gown,
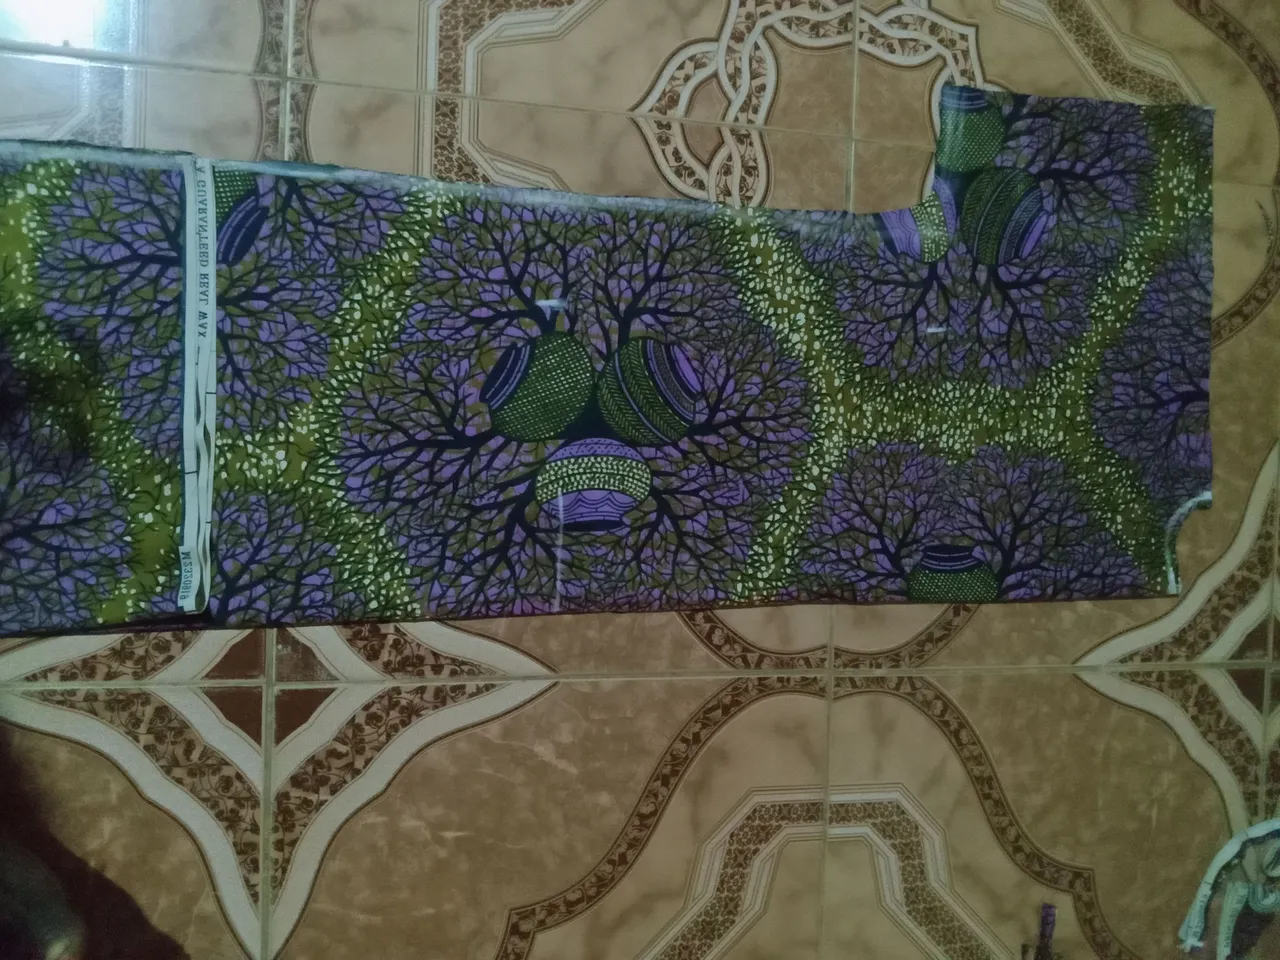
To begin, I folded my material into four equal parts, this helped me cut both the front and back pieces at once since the bubu gown doesn’t need a zipper.
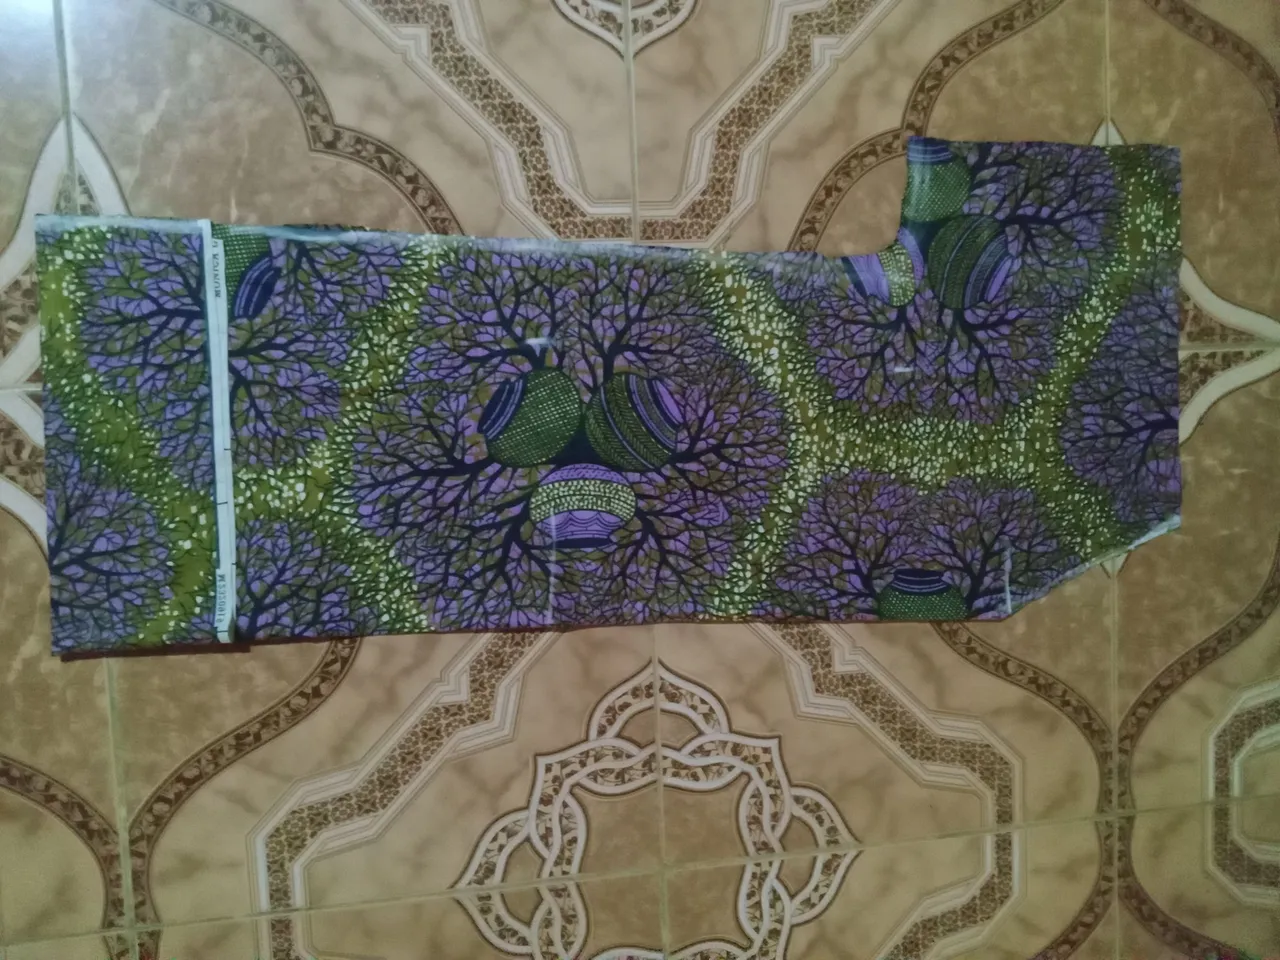
I marked my measurements directly on the fabric and cut it out carefully. This included the width I wanted and the overall length of the gown.
Once I was done cutting, I separated the front piece from the back. The neckline at the back remained a round shape, but for the front, I went ahead to shape it into a "V" neckline for style.
I then cut out the lining for both the front and back, following the same shape and measurements I used for the main fabric.
After that, I sewed the lining to the fabric, making sure the neckline and edges were properly joined and smooth.
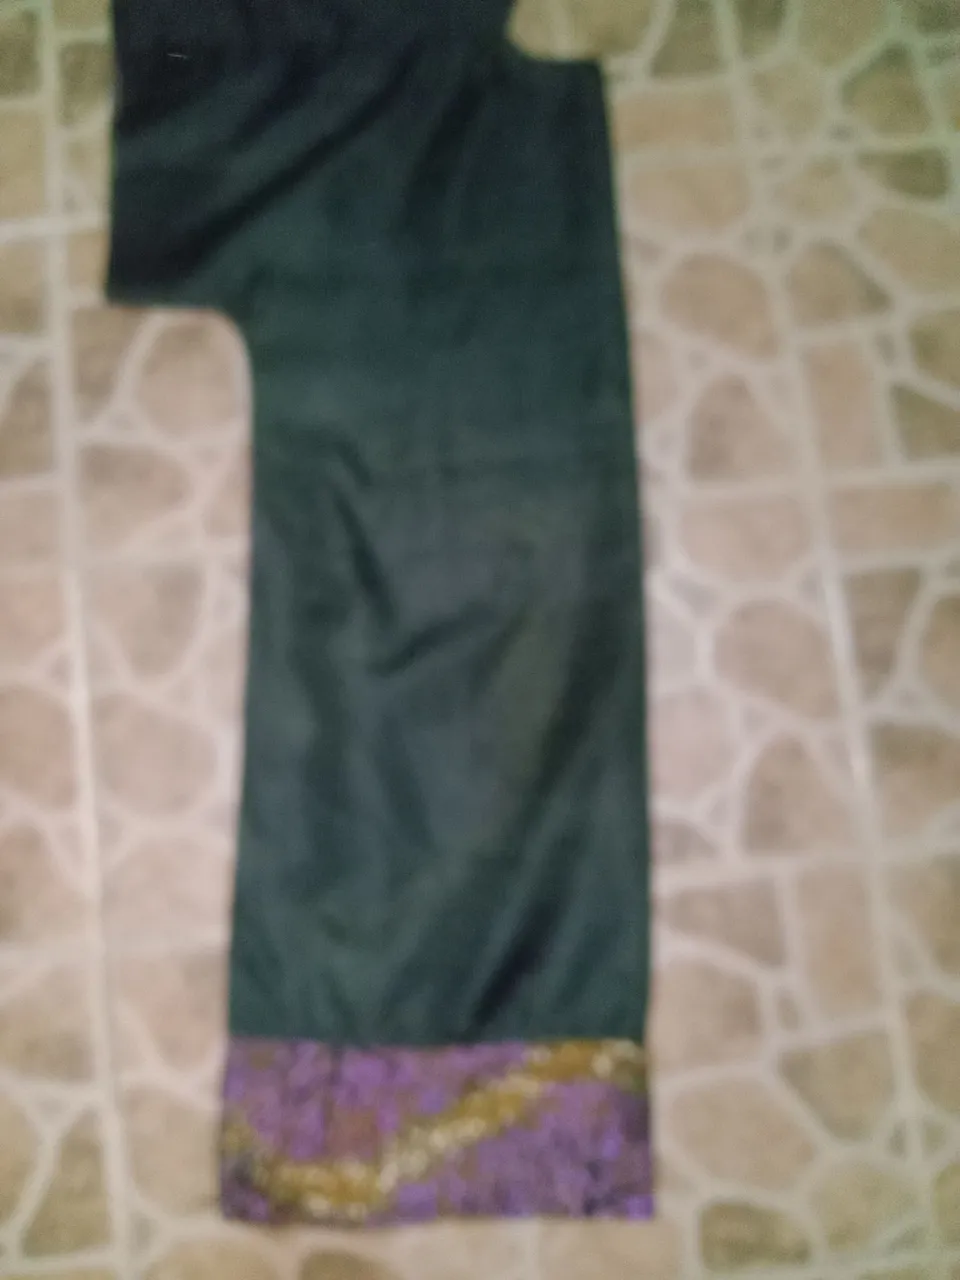

This bubu style has an extra finishing at the neckline, sleeves, and body area. I measured each part where I wanted the design to show, then cut out strips of fabric, 2 inches wide on fold according to the needed lengths.
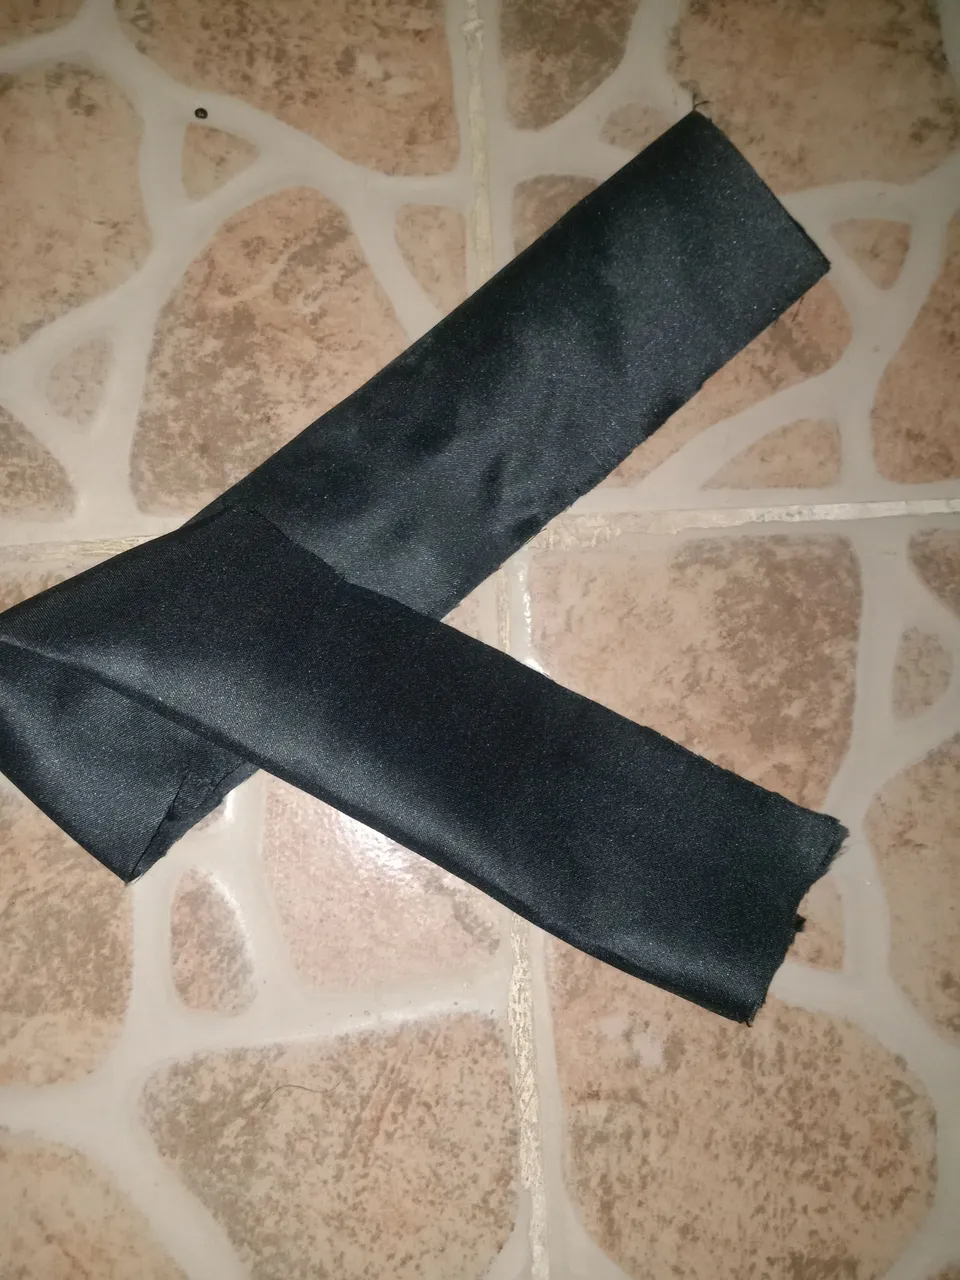
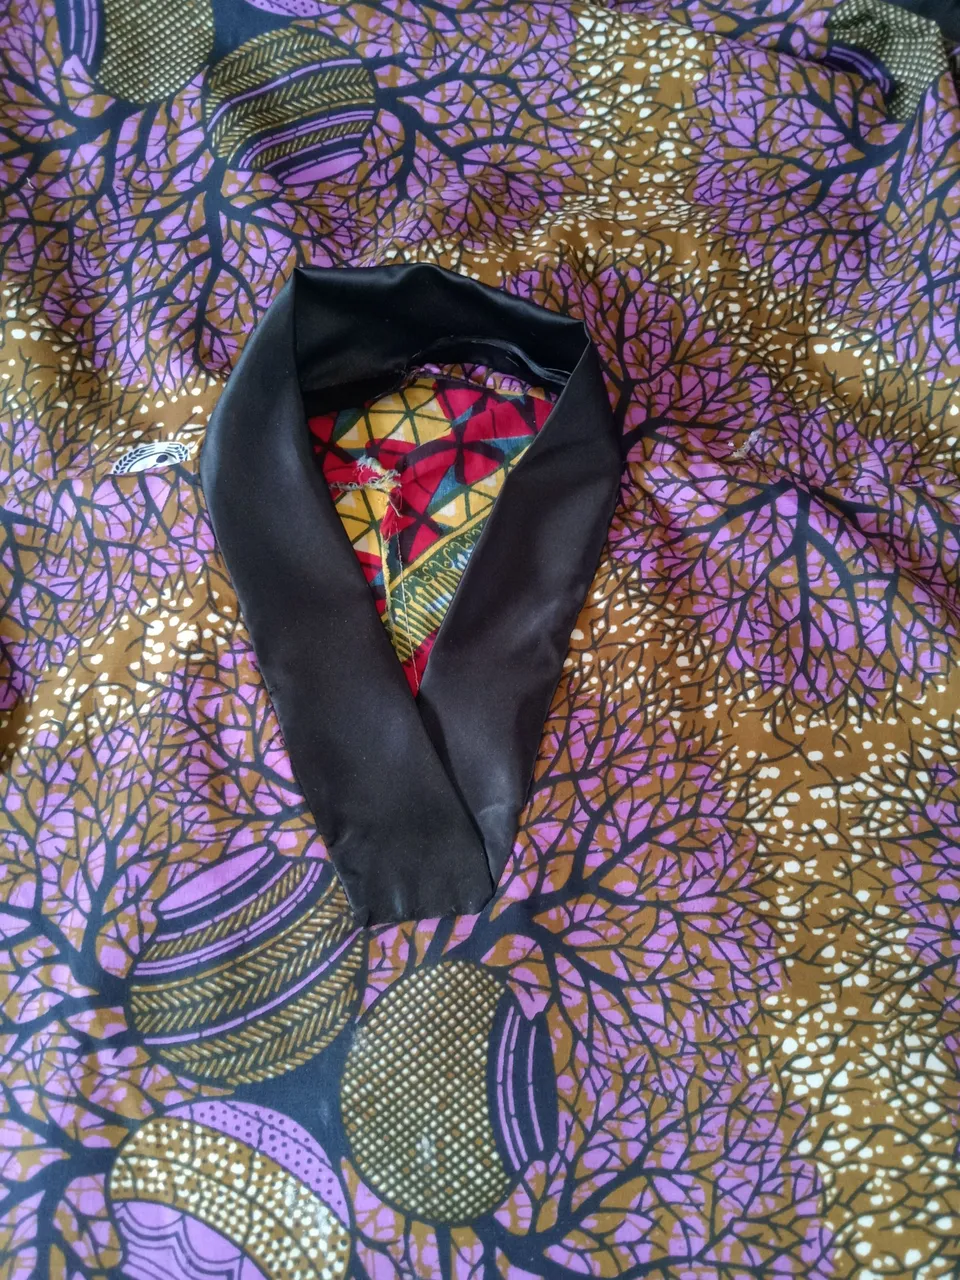
I carefully attached the strips to each part, the neckline and the sleeves but for the neckline, it took me time before I was able to get it to this point, balancing the material on the neckline gave me tough time, buh at least I was able to bring out something out of it regardless
After I was done with that part, I cut another black material in a square shape for the middle body of the gown, I folded one side slightly to give it a more stylish flow. This added a bit of shape to the gown
After so much try, I was able to finish up the dress and this is how it looked like