Having an embroidery machine really speeds up the process of embroidery. Each time I attempt a new design, I learn some things along the way. On this attempt, I learned that I need to trim the padding in my mug rug prior to stitching out the satin stitches at the end.
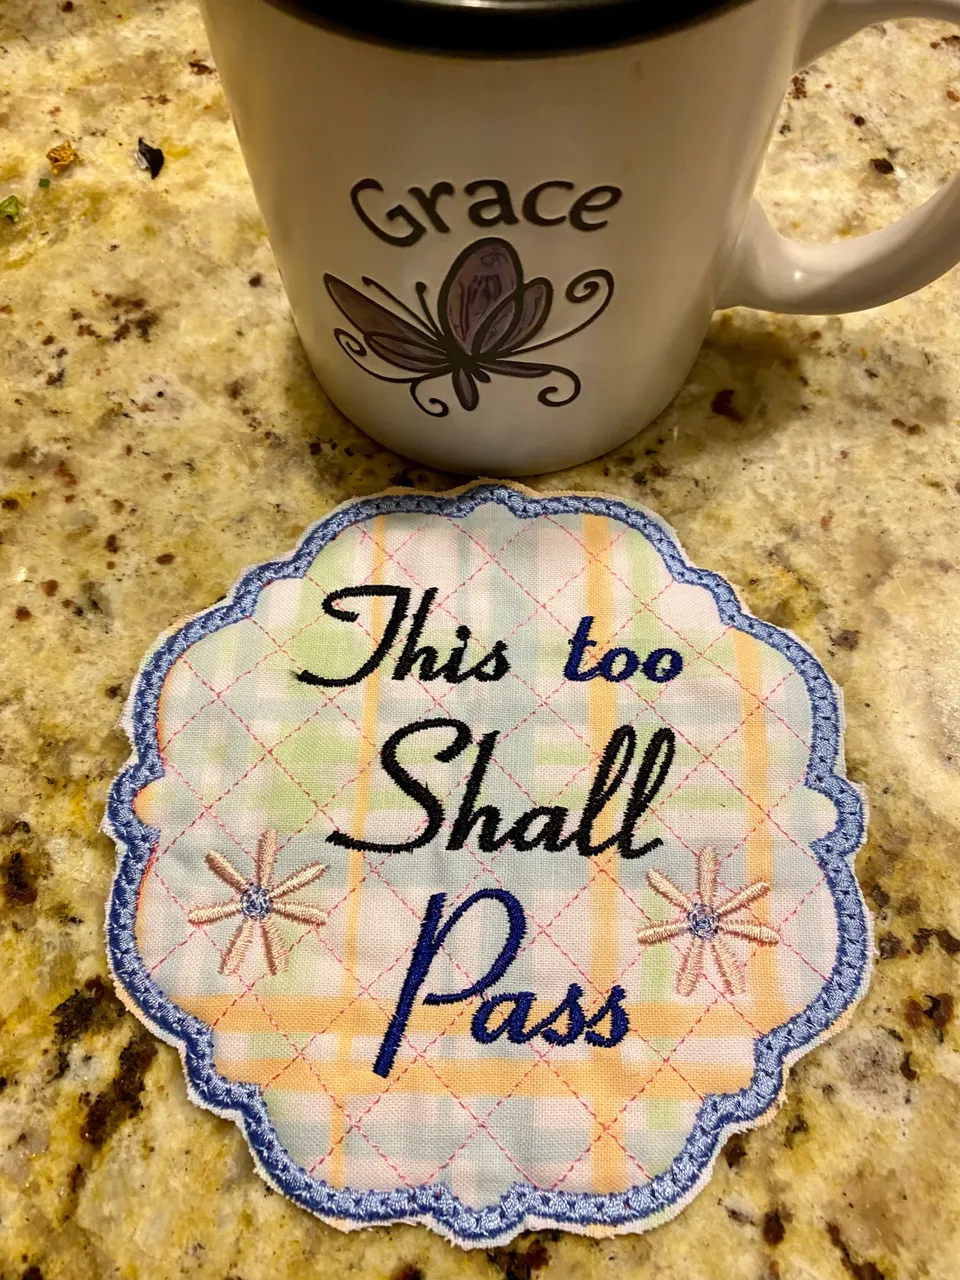
The instructions that came with this design actually mentioned it but I didn’t realize that it was absolutely necessary. On my mug rug, the edges look puffy. It does not look so bad that I would not use it, but I would not gift it like this. I believe that when you are making a handmade gift, that it should be your very best effort.
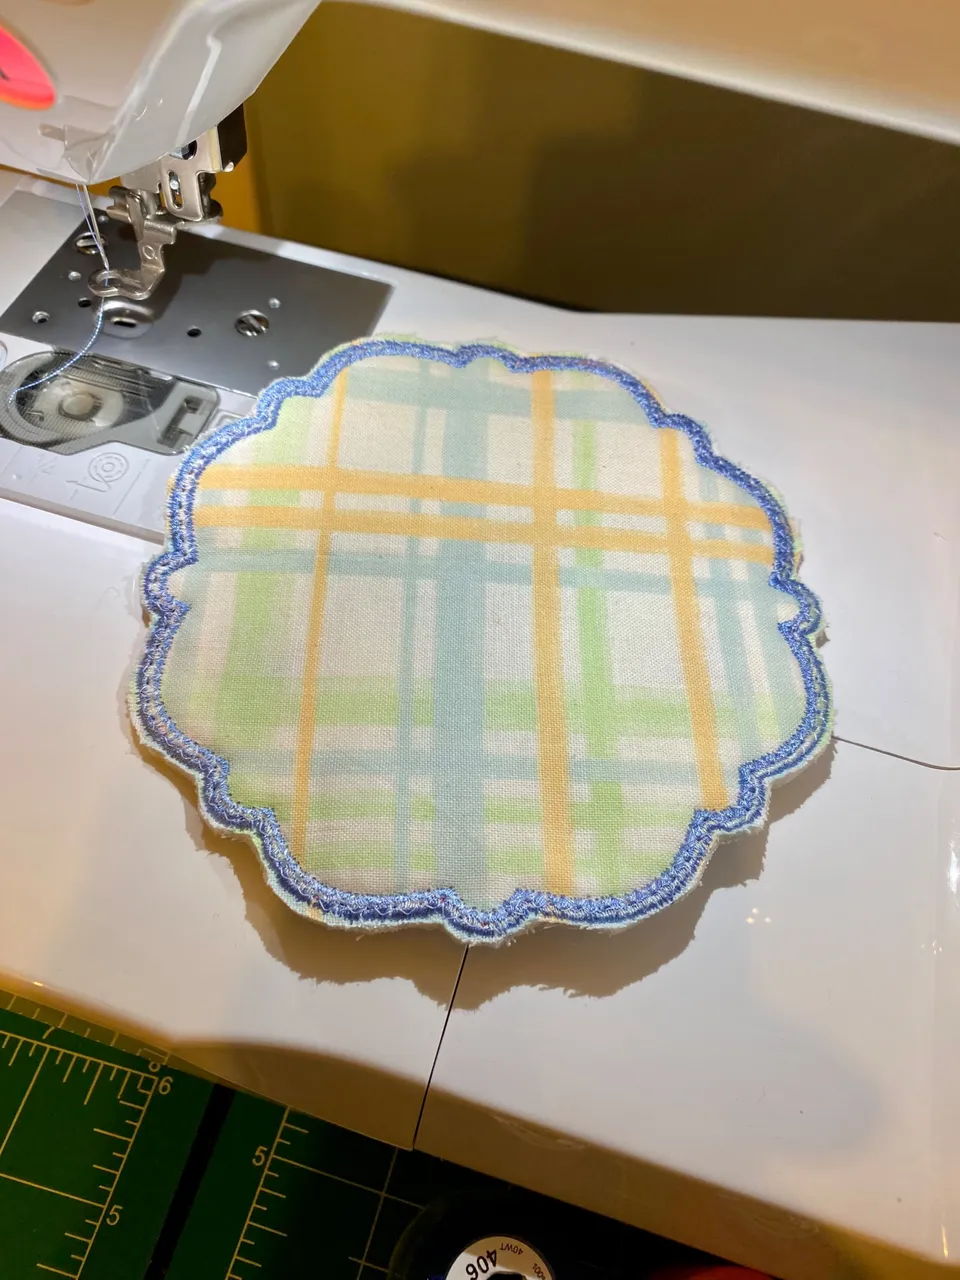
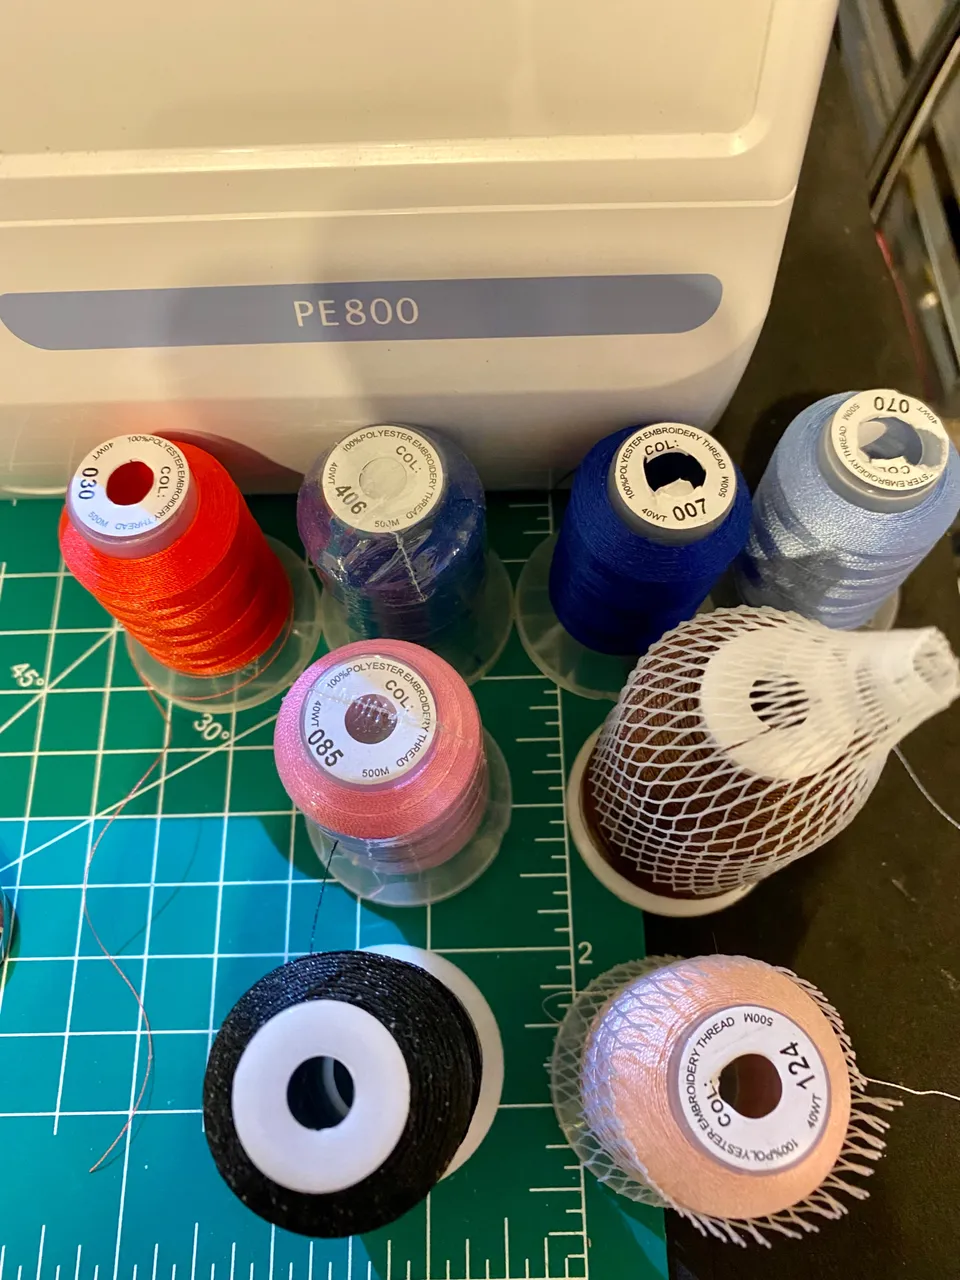
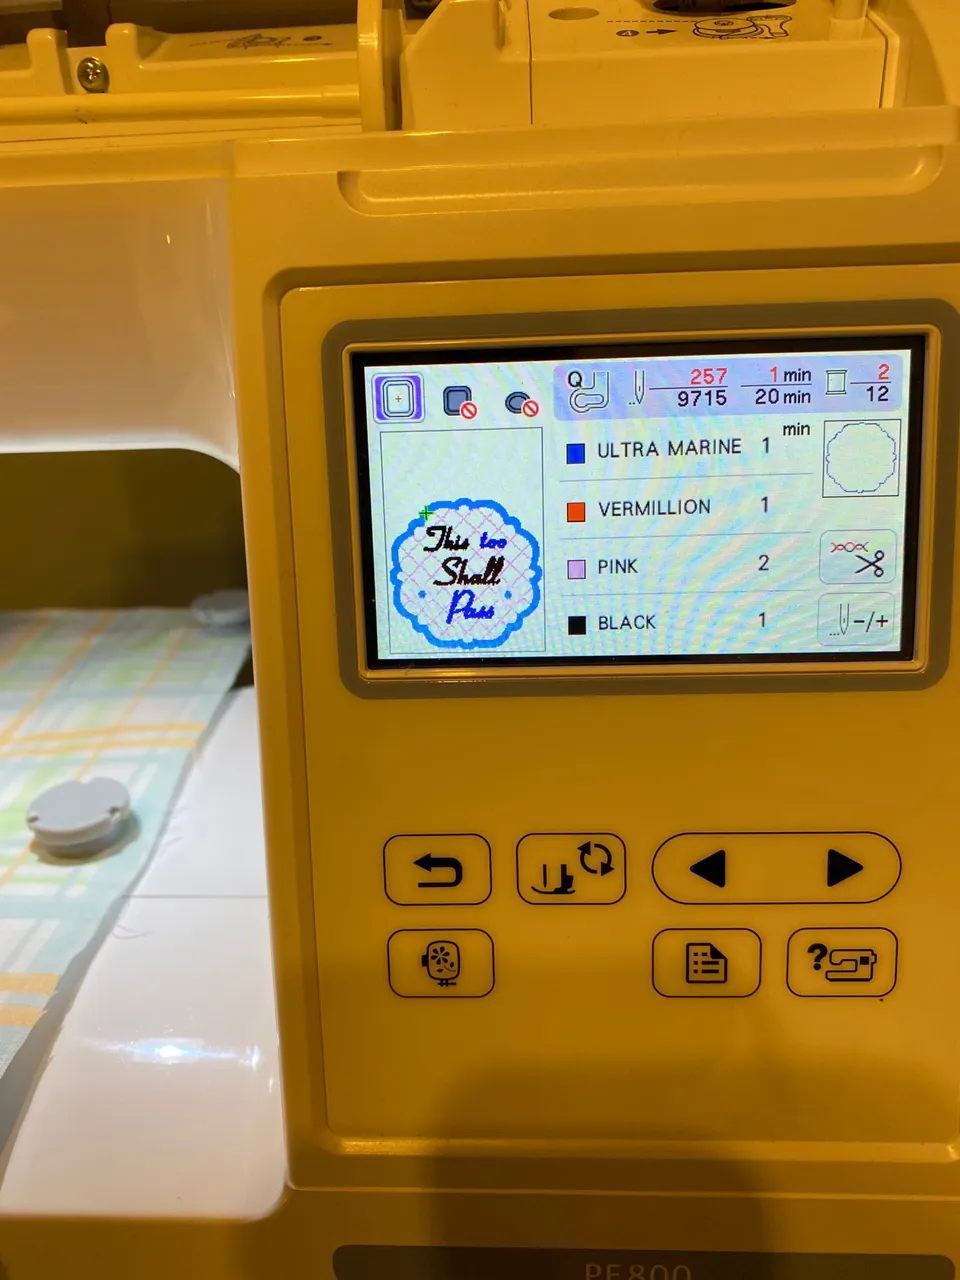
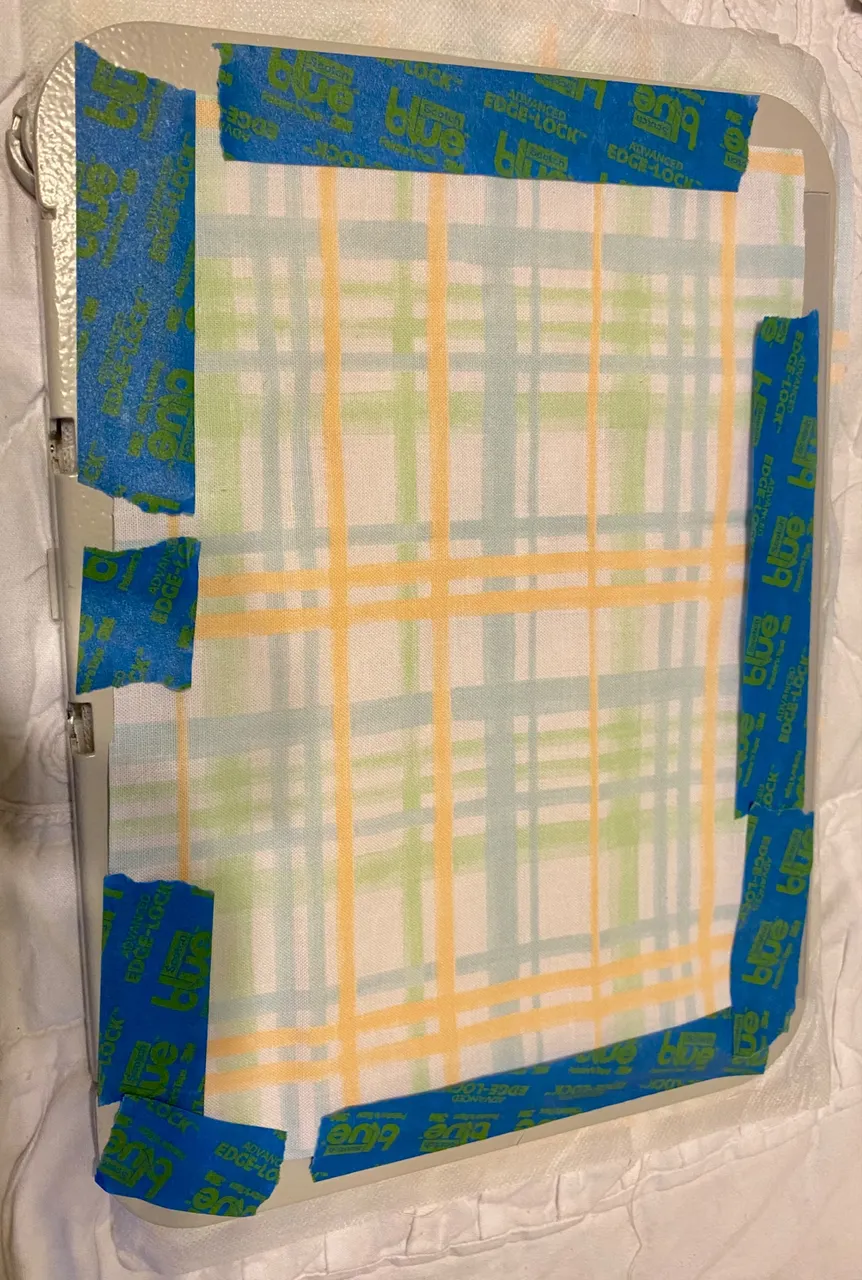
I did remember to put the fabric on the back this time. I forgot to do that on the last rug mug that I made. This design calls for water soluble stabilizer, the fabric type, in addition to two swatches of cotton fabric, and some padding. It also calls for 8 different colors of embroidery thread with 4 colors used twice. Just the stitching alone takes 20 minutes on the machine. That does not include stopping to change out the various colors or for the placement of the batting, the trimming, and the placement of the backing fabric.
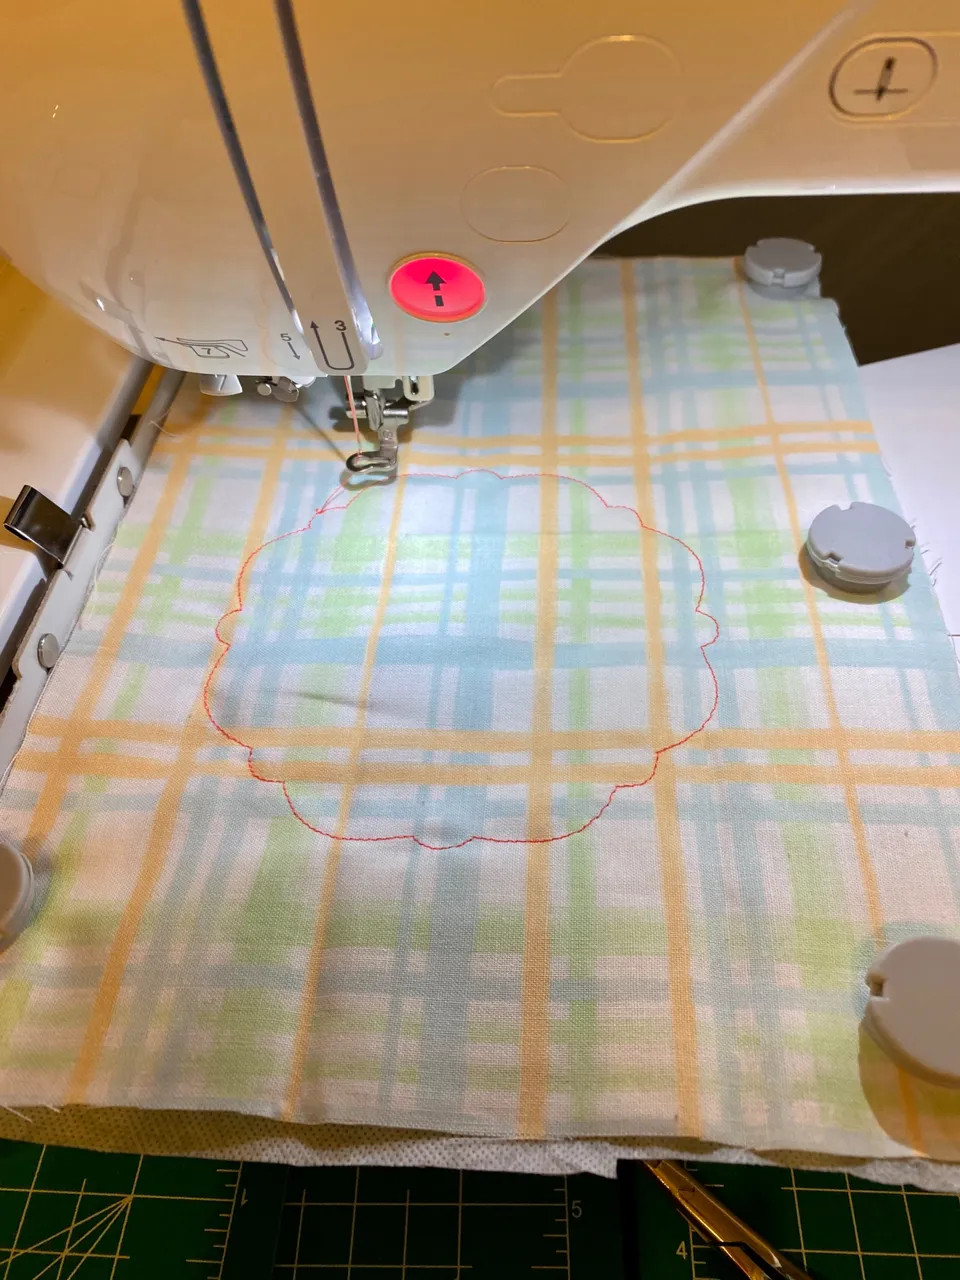
Once again, I used my magnetic hoop because it is easier than the standard hoop that comes with the machine.
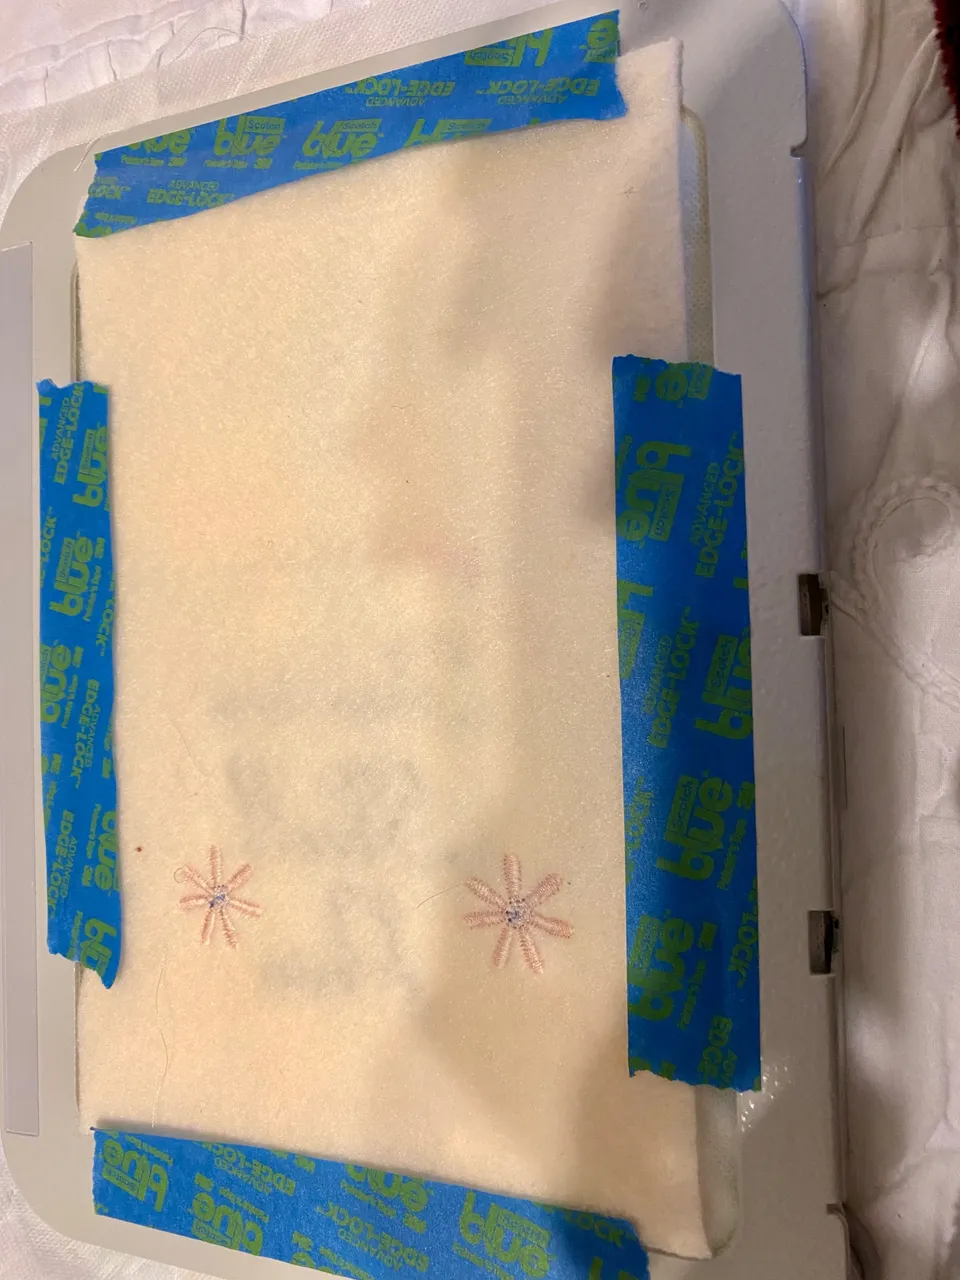
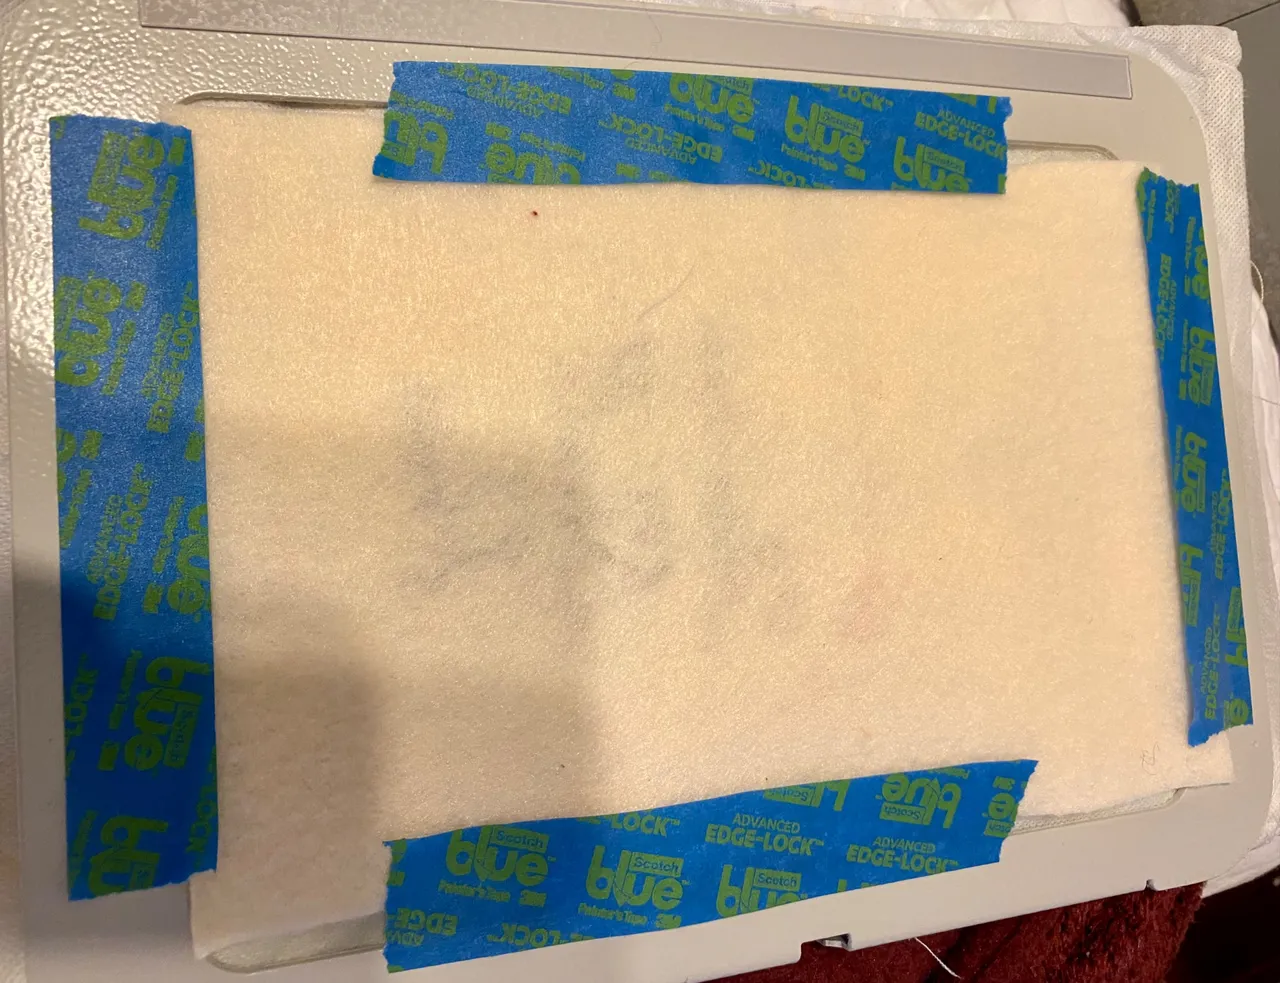
I forgot to add the felt before the quilting stitches step. I added it though before the two pink flowers were stitched. The design is so small that it did not make a difference. I will remember that the next time I’ll make this particular mug rug. I used painter’s tape to secure the felt on the back of my magnetic hoop. I also used painter’s tape when I added the fabric to line the back of the design.
Overall, I am pleased with the outcome. Practice makes perfect, and I intend on making this design at least two more times.
Enjoy your day.