¡Hola queridos usuarios de Hive ✨💕!
Hi dear Hive users ✨💕!
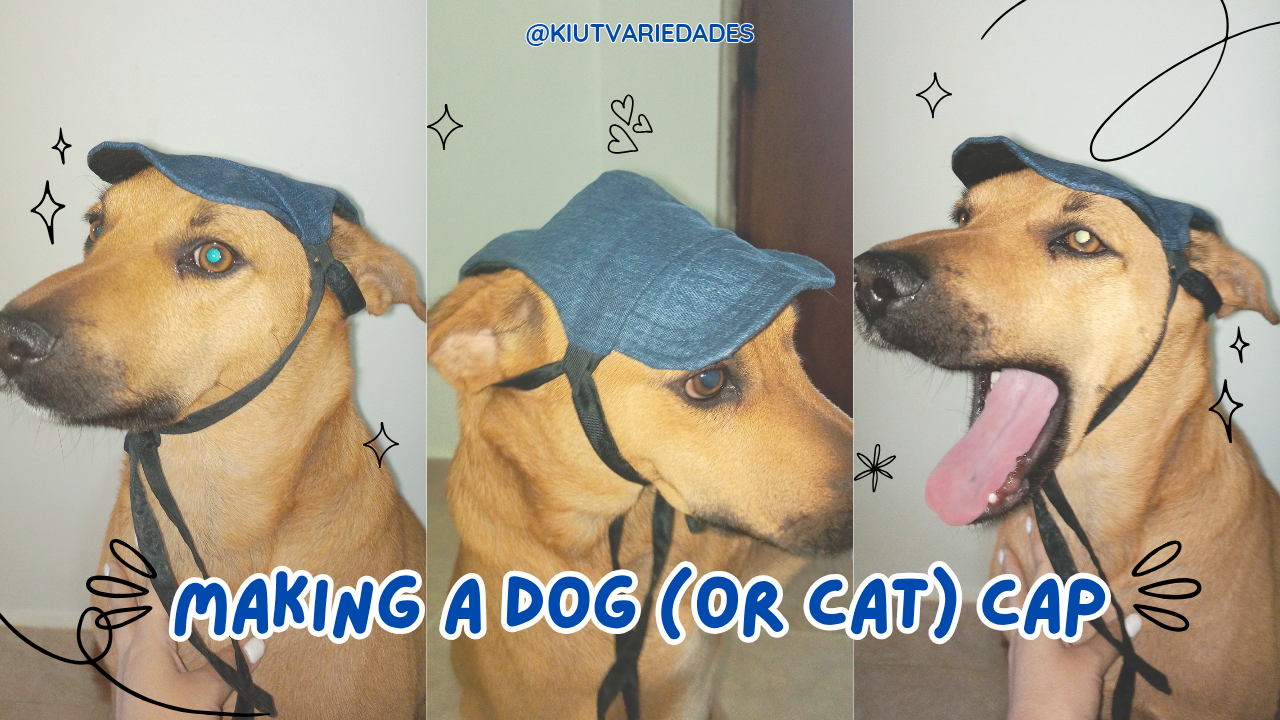
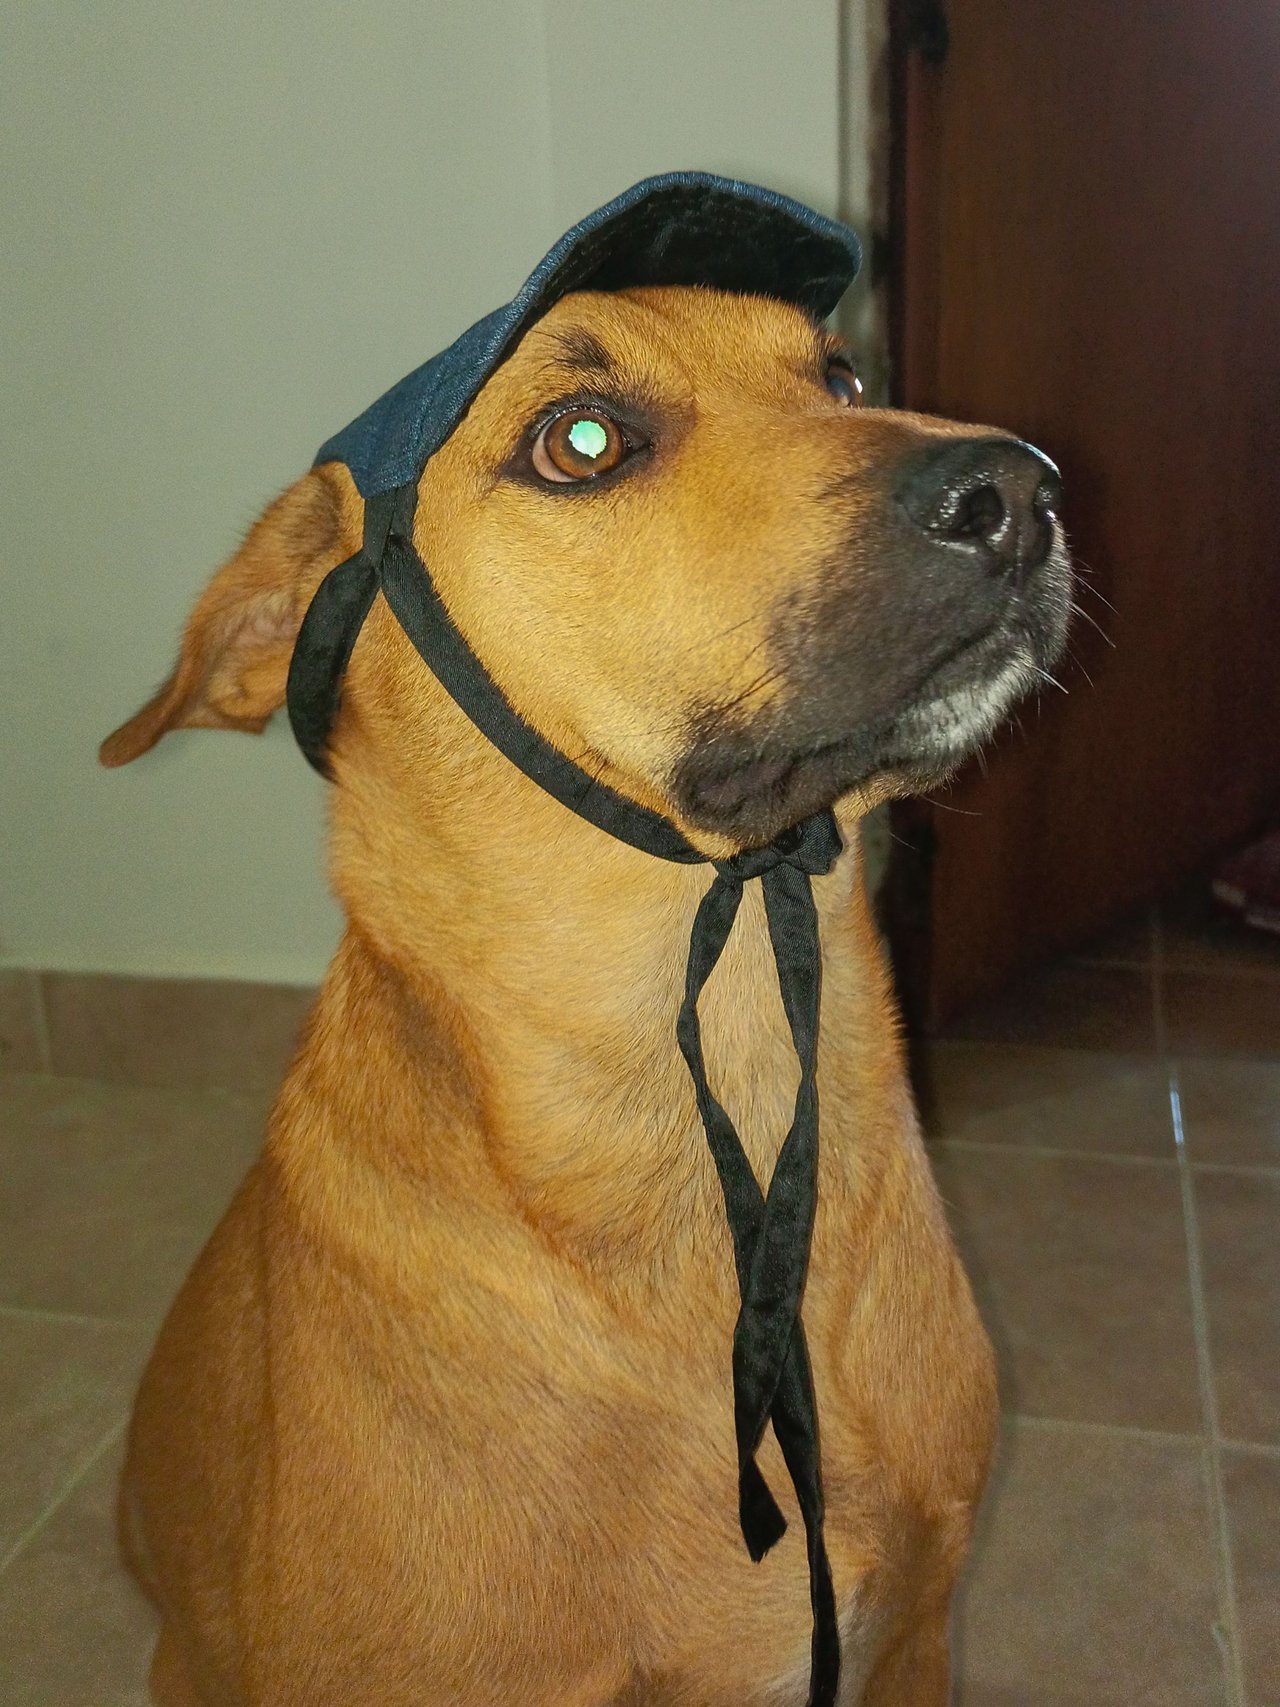
¡Hola Hola Comunidad! ✨, ha llegado el momento de desempolvar mi maquina de coser y volver a los proyectos de costura, en est ocasión el protagonista de la prenda que hoy confeccionaré es nada más y nada menos que mi perro Apolo, y es que desde hace mucho tiempo mi hermana @hannymarchan me habia comentado que quería comprarle una gorra a mi perro, porque sí no gustan esas coqueterías aunque él las odie jaja, sin embargo en las tiendas de mascota este artículo es algo costoso, por no hablar de que mi perro tiene una talla que no es tan fácil de encontrar, así que teniendo todo esto en cuenta me puse a investigar cómo hacerla yo misma y hoy les mostrare el paso a paso, por si tambien se quieren animar.
Hello Hello Community! ✨, it's time to dust off my sewing machine and get back to sewing projects, this time the protagonist of the garment that I will make today is nothing more and nothing less than my dog Apolo, and it's because for a long time my sister @hannymarchan had told me that she wanted to buy a cap for my dog, because I don't like those flirts even though he hates them haha, however in pet shops this item is somewhat expensive, not to mention that my dog has a size that is not so easy to find, so taking all this into account I started to investigate how to make it myself and today I will show you the step by step, in case you also want to cheer up.

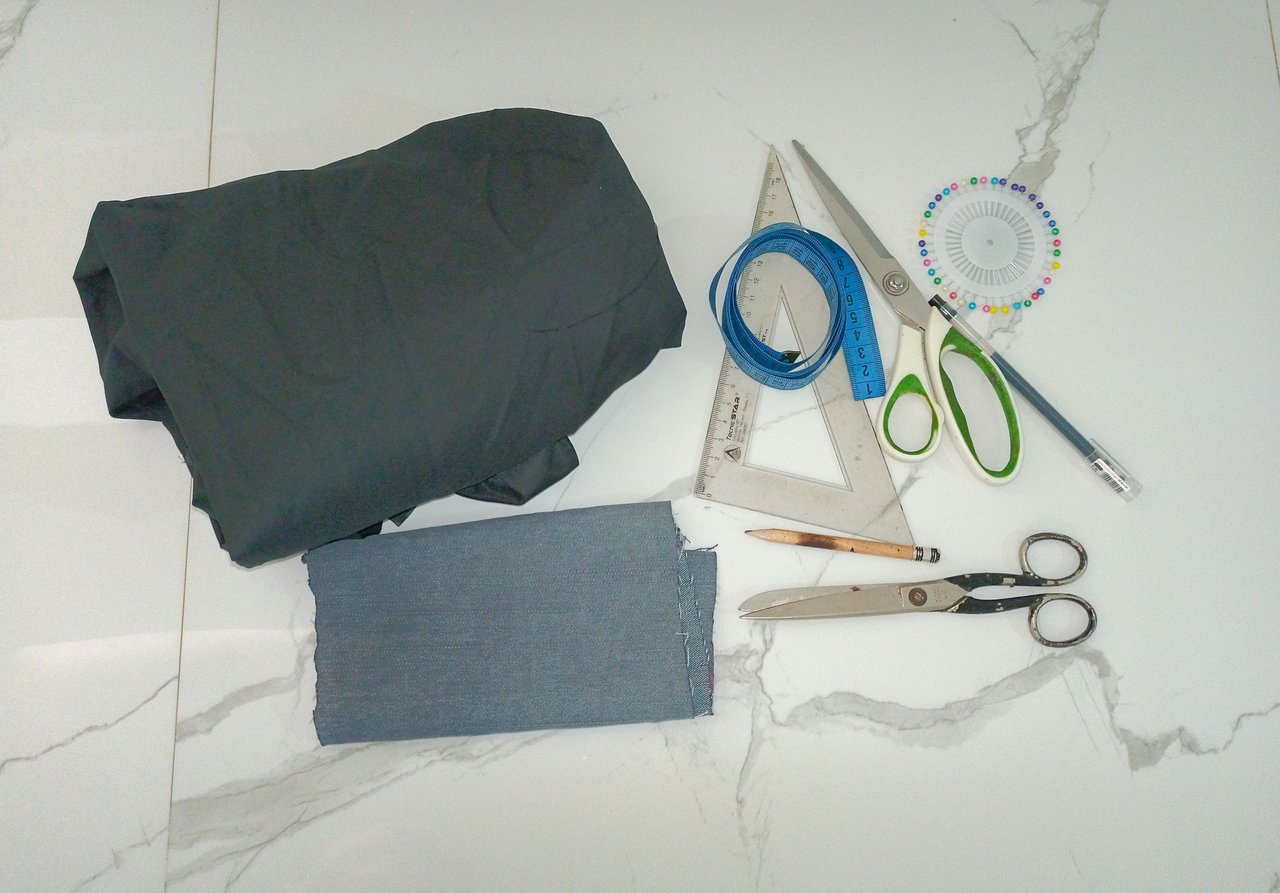
🧢 MATERIALES || MATERIALS 🐶
Para los patrones
- Hojas blancas.
- Cinta métrica.
- Regla.
- Lápiz.
- Tu mascota para tomar las medidas.
Para la Gorra
- Tela para el exterior (en mi caso estoy usando tela de jean viejo)
- Tela para forro (opcional)
- Hilo del color de la tela.
- Alfileres.
- Aguja o máquina de coser.
For the patterns
- White sheets of paper.
- Tape measure.
- Ruler.
- Pencil.
- Your pet to take the measurements.
For the Cap
- Fabric for the outside (in my case I'm using old jean fabric)
- Fabric for lining (optional)
- Thread in the colour of the fabric.
- Pins.
- Needle or sewing machine.
🧢 MANOS A LA OBRA || HANDS ON WORK 🐶
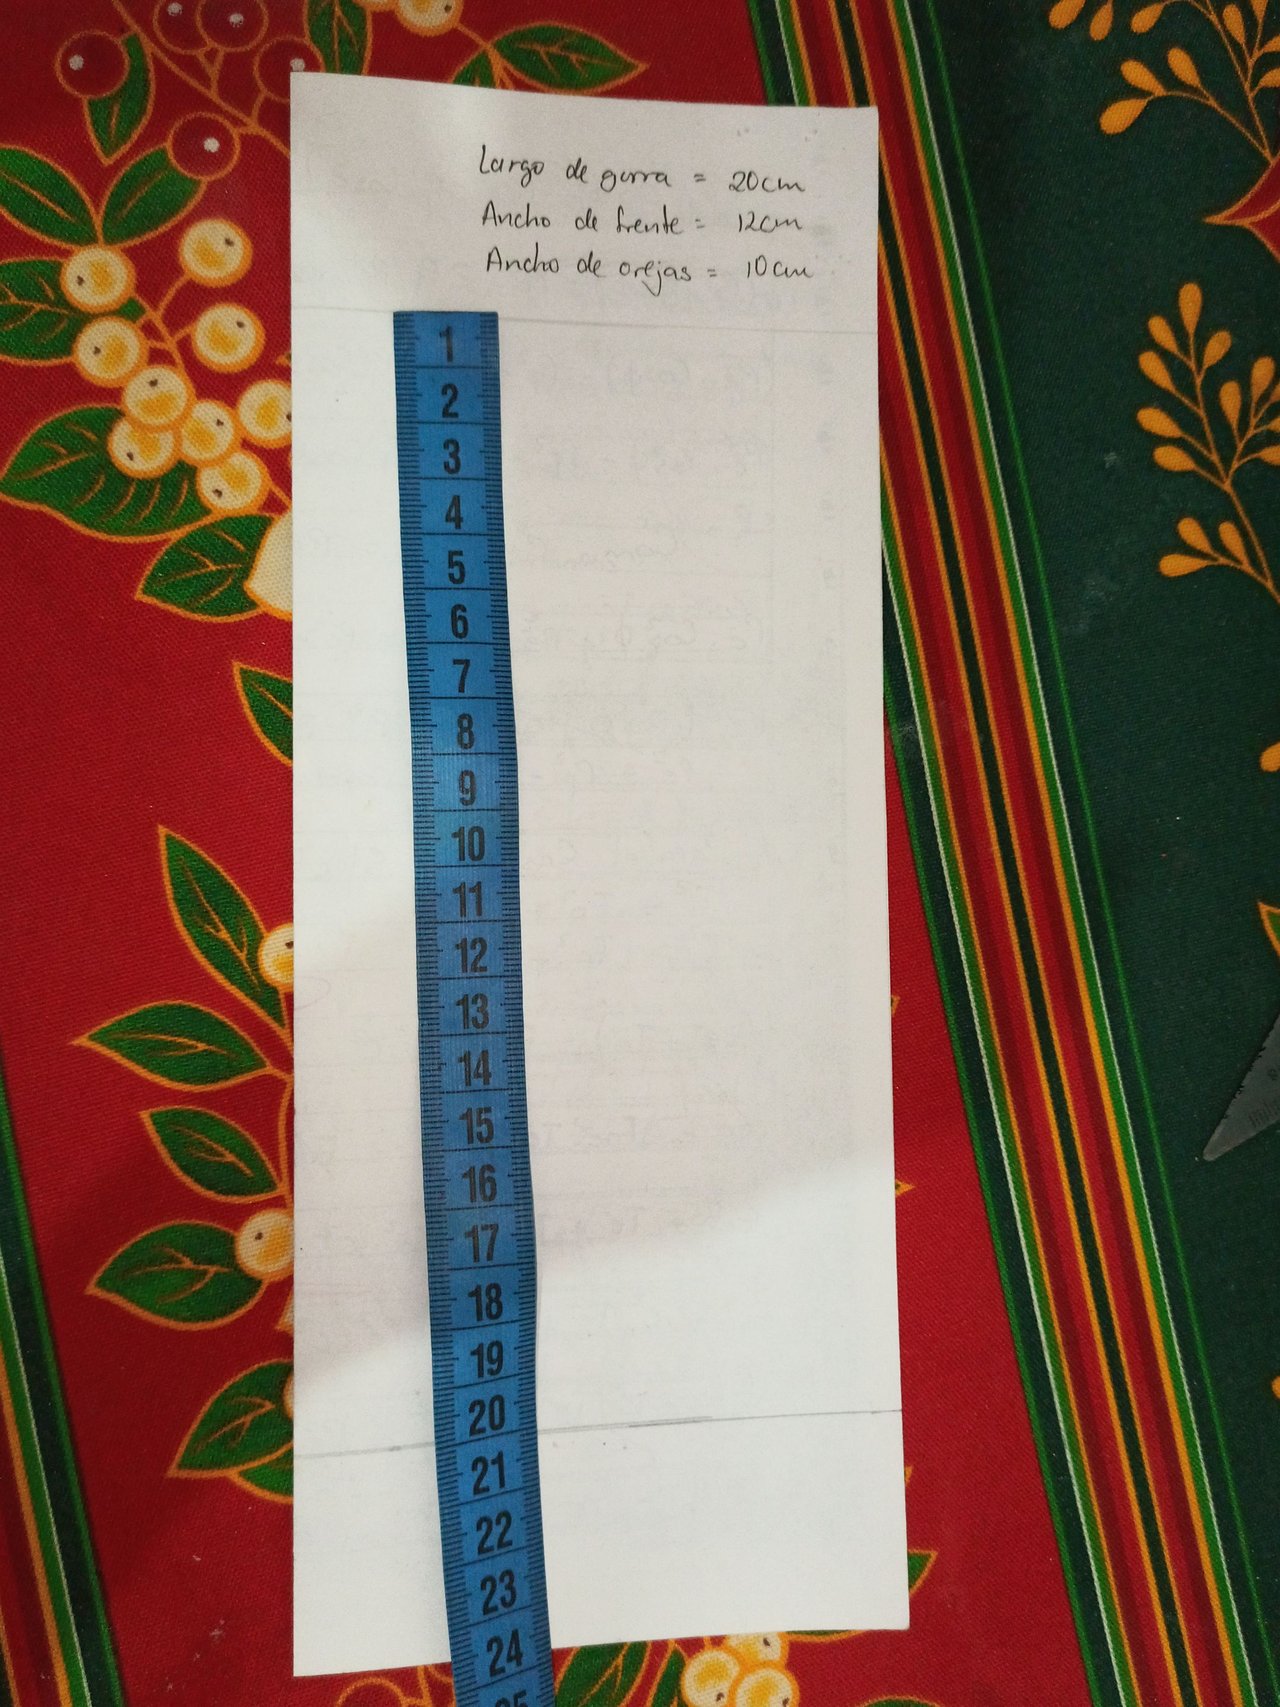
Lo primero con lo que debemos arrancar es tomando las medidas necesarias en nuestra mascota, preferiblemente que nuestra mascota tenga disposición a colaborar con esta parte jaja, en este sentido las medidas que necesitamos son ancho de frente, la cual se toma 2 ó 3 dedos por encima de los ojos y tomamos como referencia justamente el inicio de cada ojo; distancia entre orejas, esta se toma en la parte superior de la cabeza de nuestra mascota del inicio de una oreja a otra; y por último largo frente-cuello, la cual va desde la frente hasta el inicio del cuello.
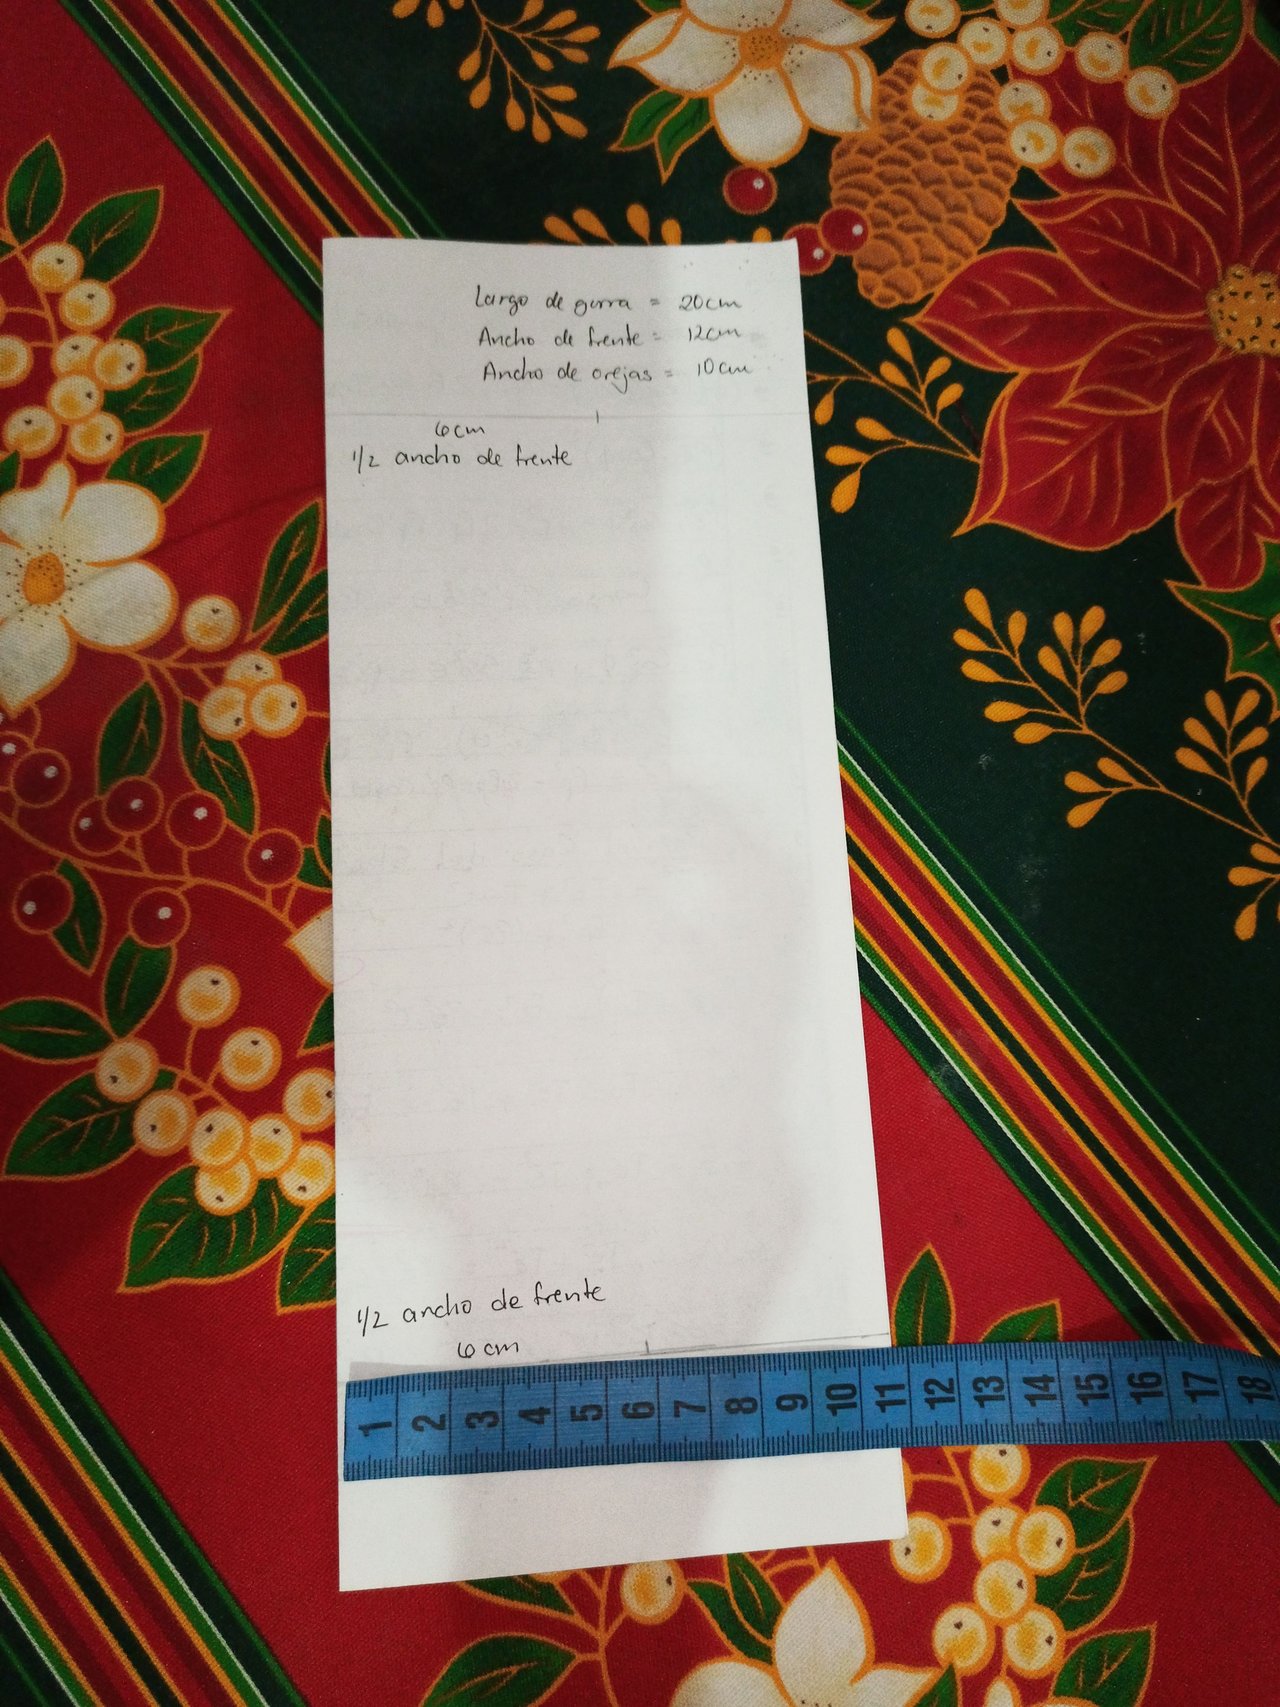
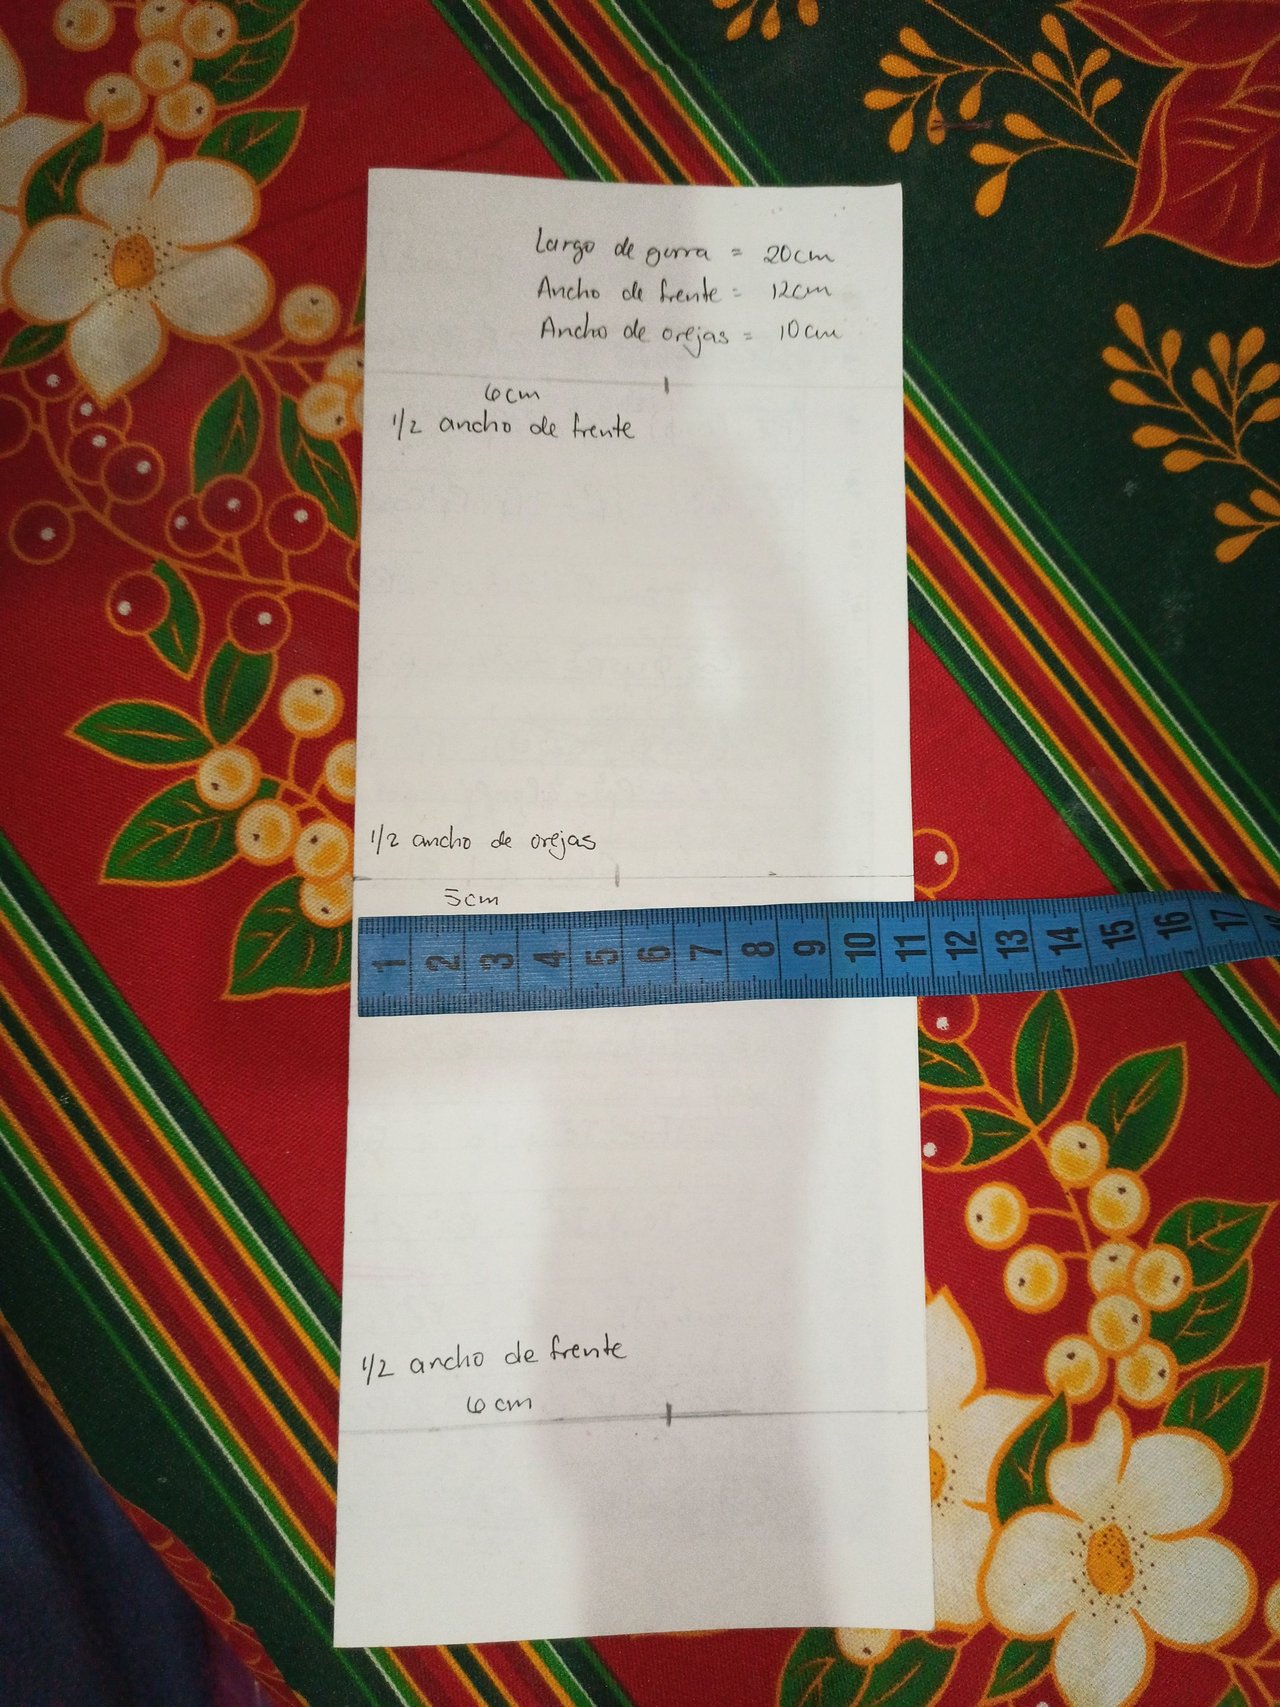
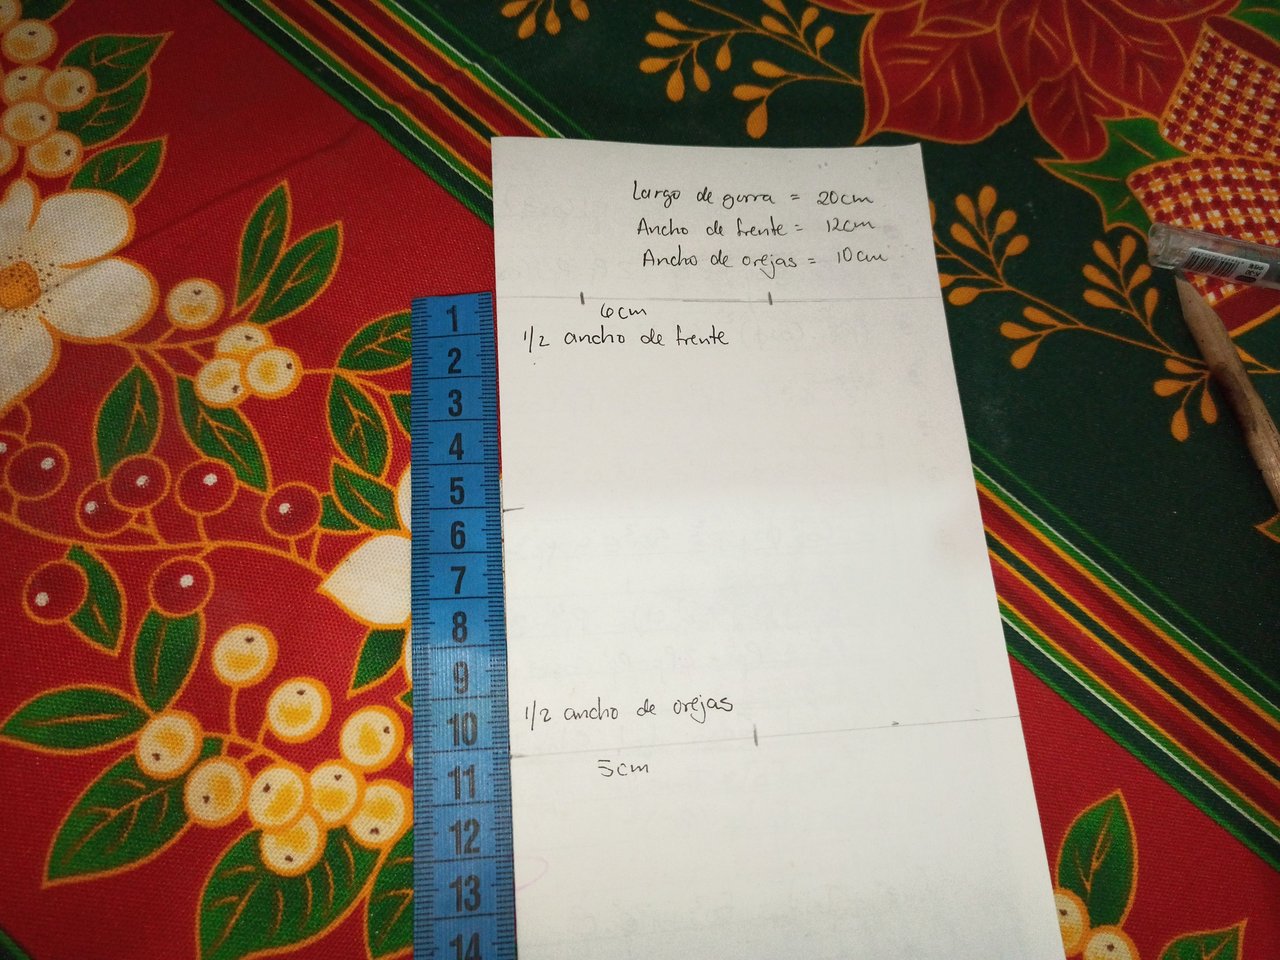
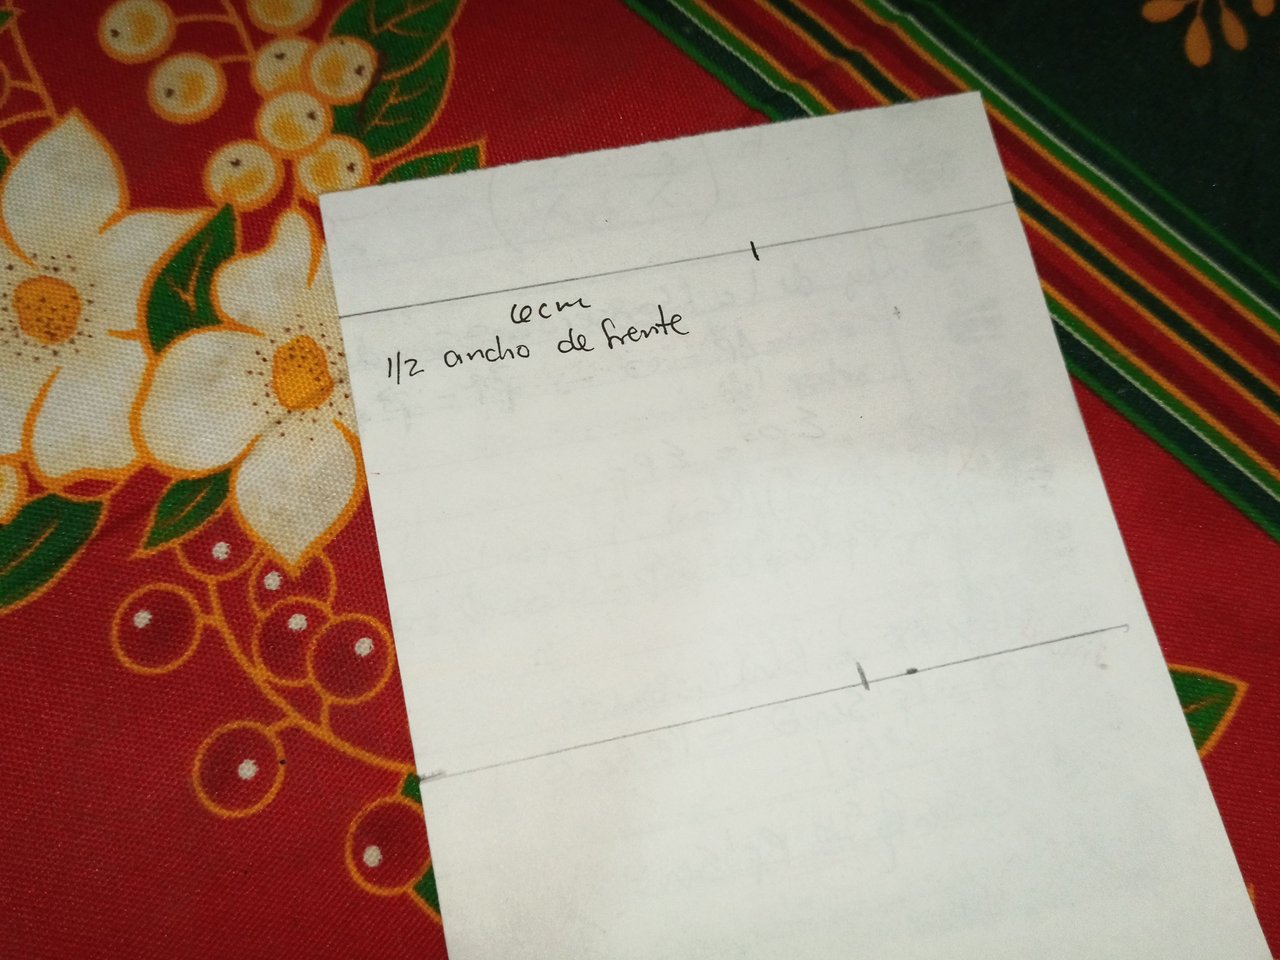
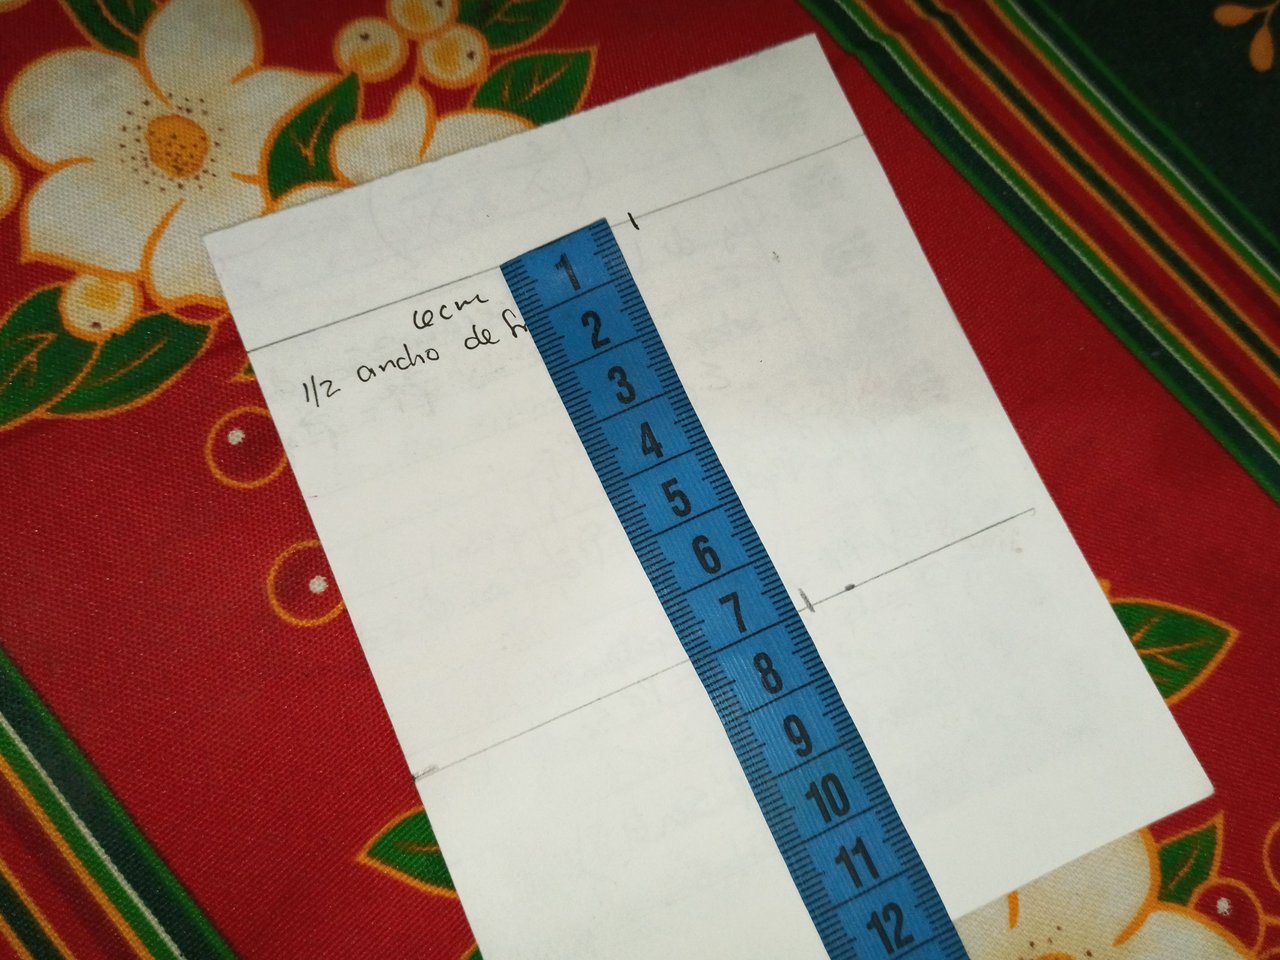
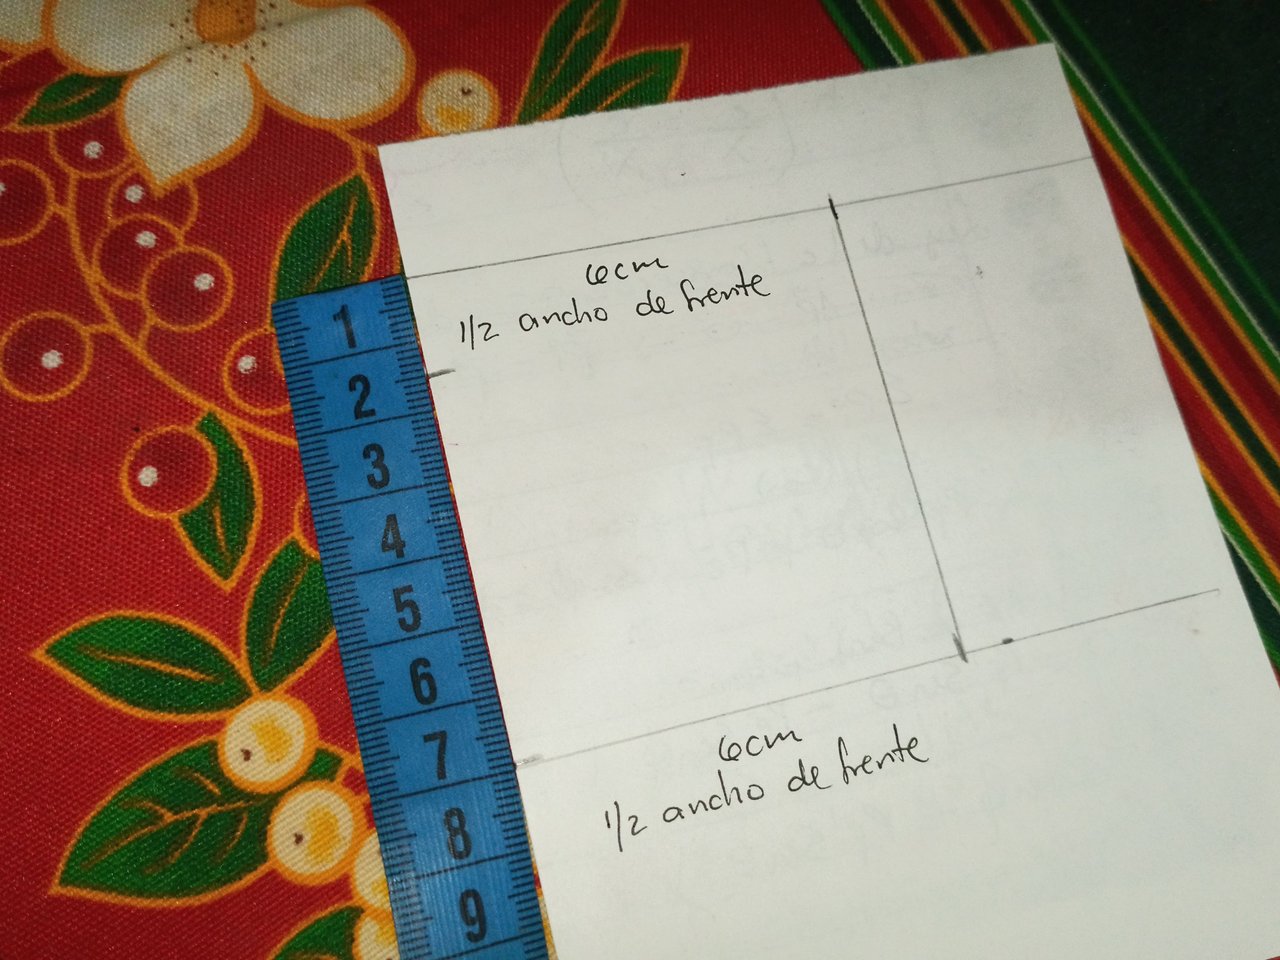
Con estas medidas nos vamos al papel, trabajaremos con la hoja doblada para conseguir un patrón completo. Realizamos un rectángulo que tenga la mitad de la medida de ancho de frente (que en mi caso son 6 cm) por el largo frente-cuello (que en mi caso serian 20 cm).
The first thing we have to start with is taking the necessary measurements of our pet, preferably our pet is willing to collaborate with this part haha, in this sense the measurements we need are forehead width, which is taken 2 or 3 fingers above the eyes and we take as a reference just the beginning of each eye; distance between ears, this is taken at the top of the head of our pet from the beginning of one ear to the other; and finally forehead-neck length, which goes from the forehead to the beginning of the neck.
With these measurements we go to the paper, we will work with the folded sheet to get a complete pattern. We make a rectangle that is half the size of the forehead width (which in my case is 6 cm) by the forehead-neck length (which in my case would be 20 cm).
 |  |
|---|
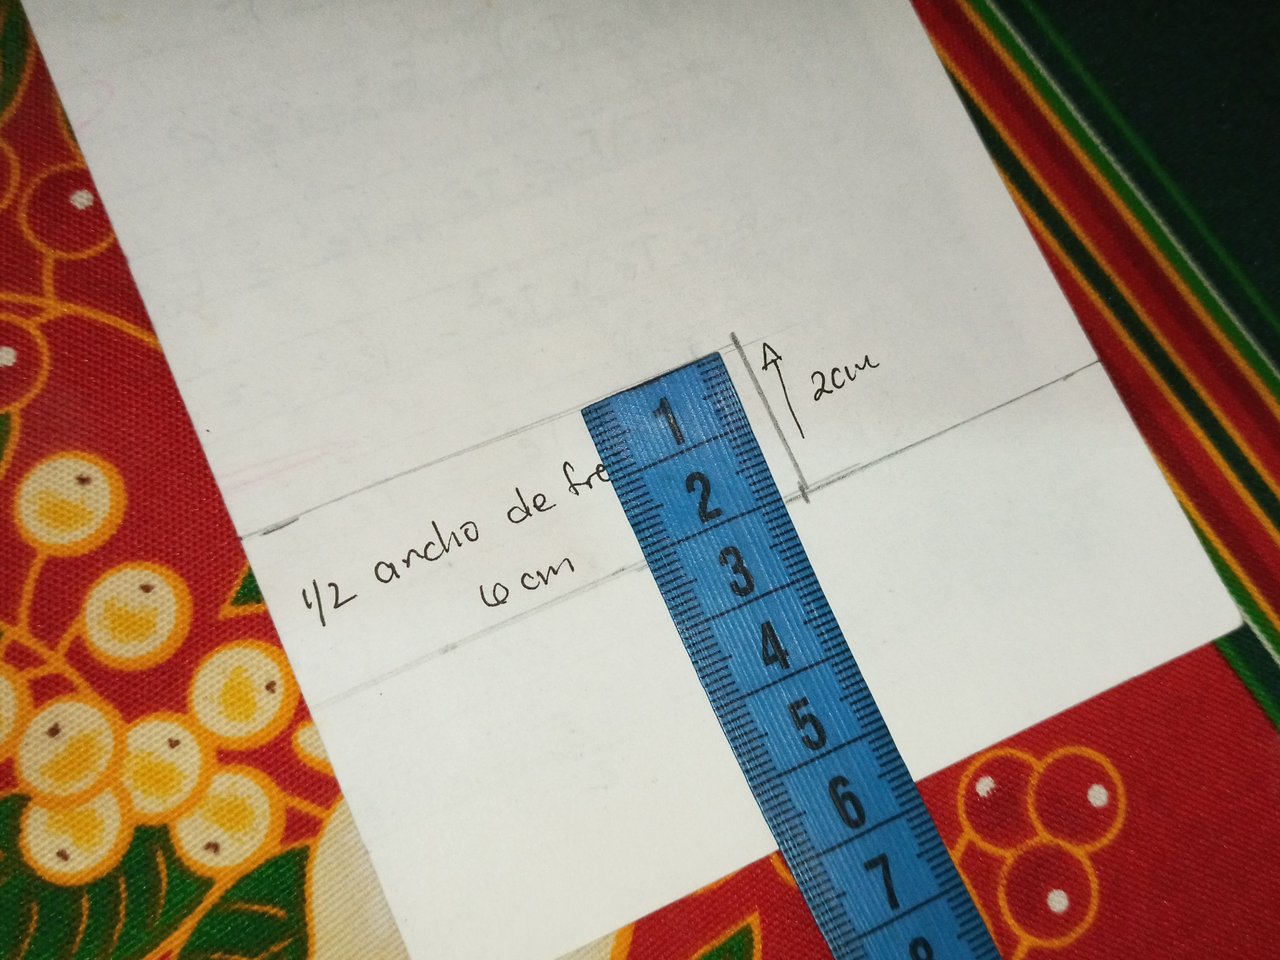
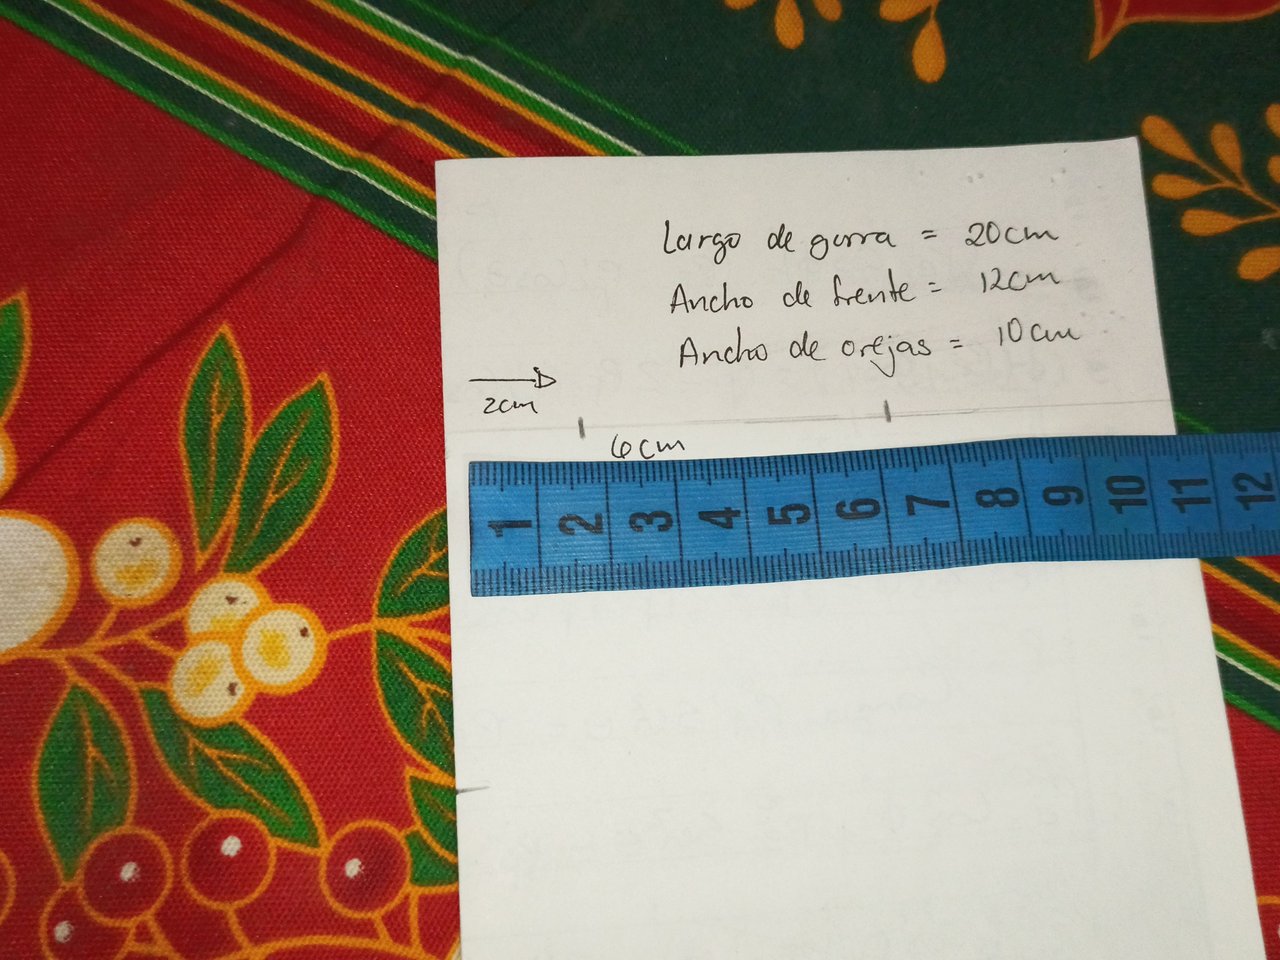
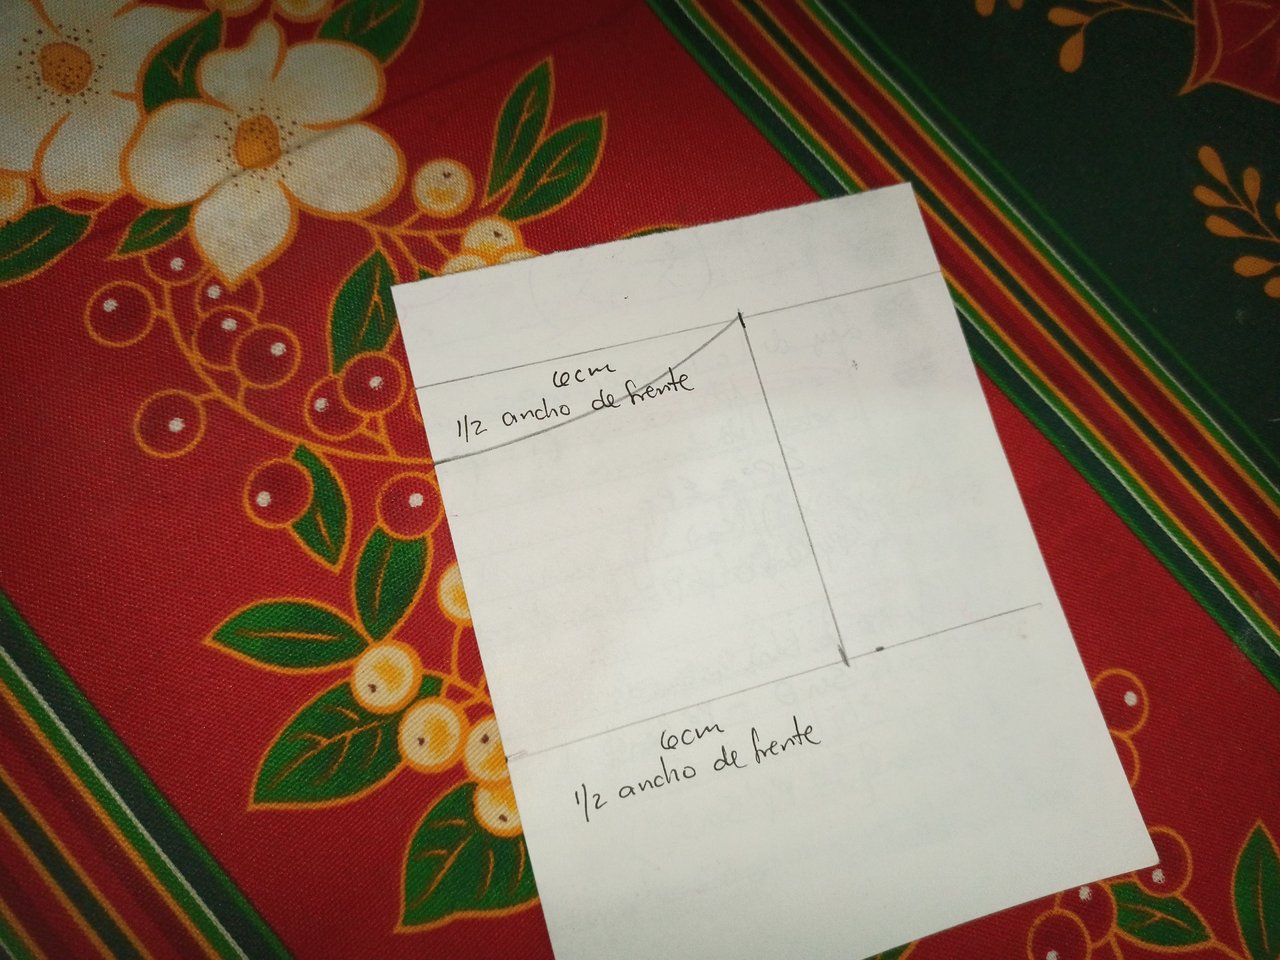
Ubicamos la mitad del rectángulo y trazamos una línea, allí medimos la mitad de la distancia entre orejas, en la parte inferior (que será el delantero de la gorra) subiremos 2 cm y marcamos una línea, en la parte superior (que será el trasero de la gorra) marcamos 2 cm y bajamos hasta la mitad entre la línea superior y la central, así formamos una pinza.
En la parte superior nos debemos asegurar que la medida de la distancia entre orejas se encuentre plasmada, en mi caso tuve que hacer una marca un poco más allá de donde inicialmente se encontraba, ahora este punto se une el línea semi curva a la parte inferior.
We locate the middle of the rectangle and draw a line, there we measure half of the distance between ears, at the bottom (which will be the front of the cap) we go up 2 cm and mark a line, at the top (which will be the back of the cap) we mark 2 cm and go down to the middle between the top line and the central one, so we form a clamp.
On the upper part we must make sure that the distance between ears is marked, in my case I had to make a mark a little further than where it was initially, now this point joins the semi-curved line to the lower part.
 |  |  |
|---|
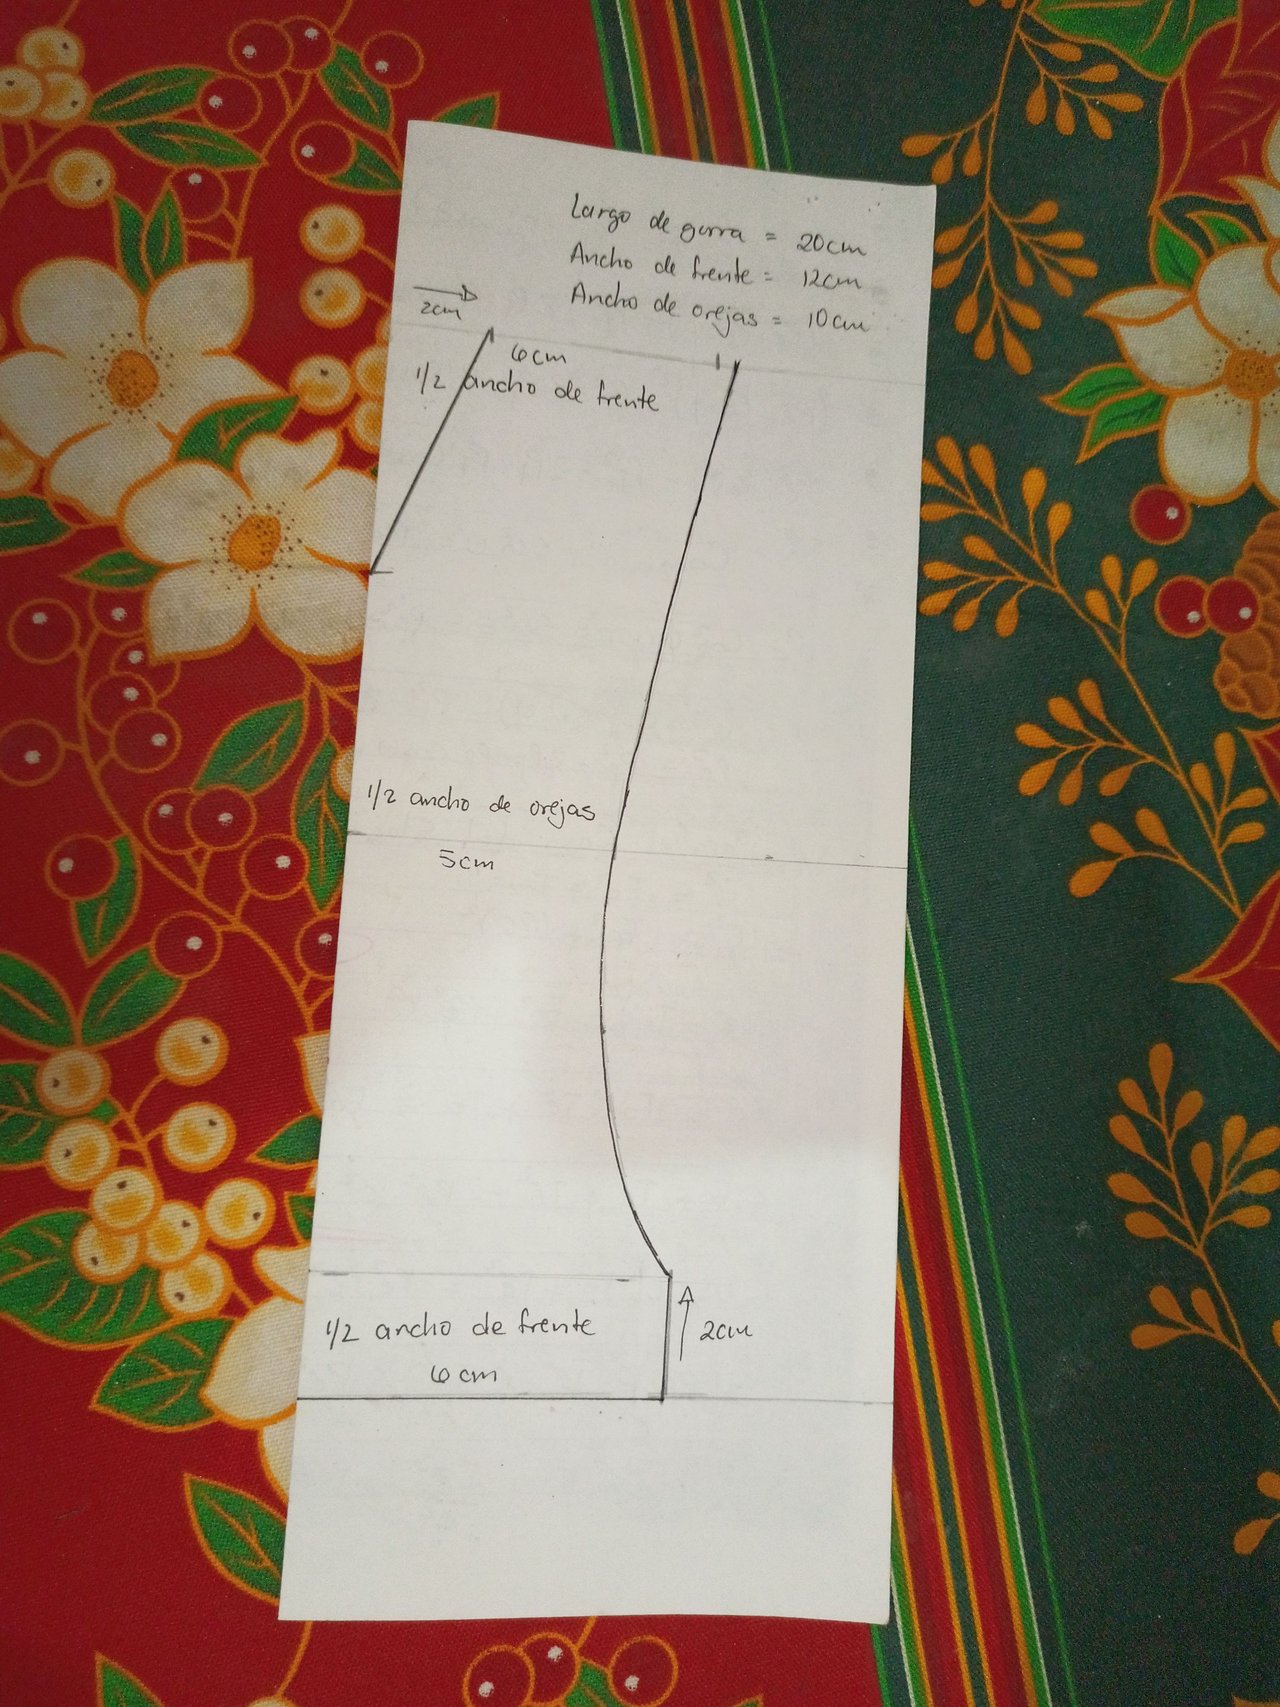
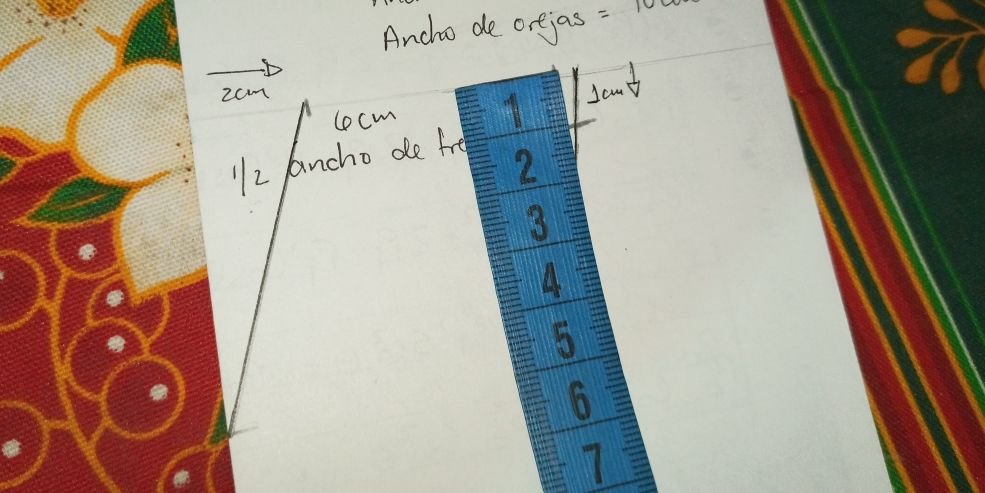
En la parte superior de esta línea semi curva que acabamos de hacer, vamos a bajar 1 cm y esto lo conectamos en línea recta con la pinza, de esta forma solo queda dar márgenes de costura y recortar el molde principal de la gorra.
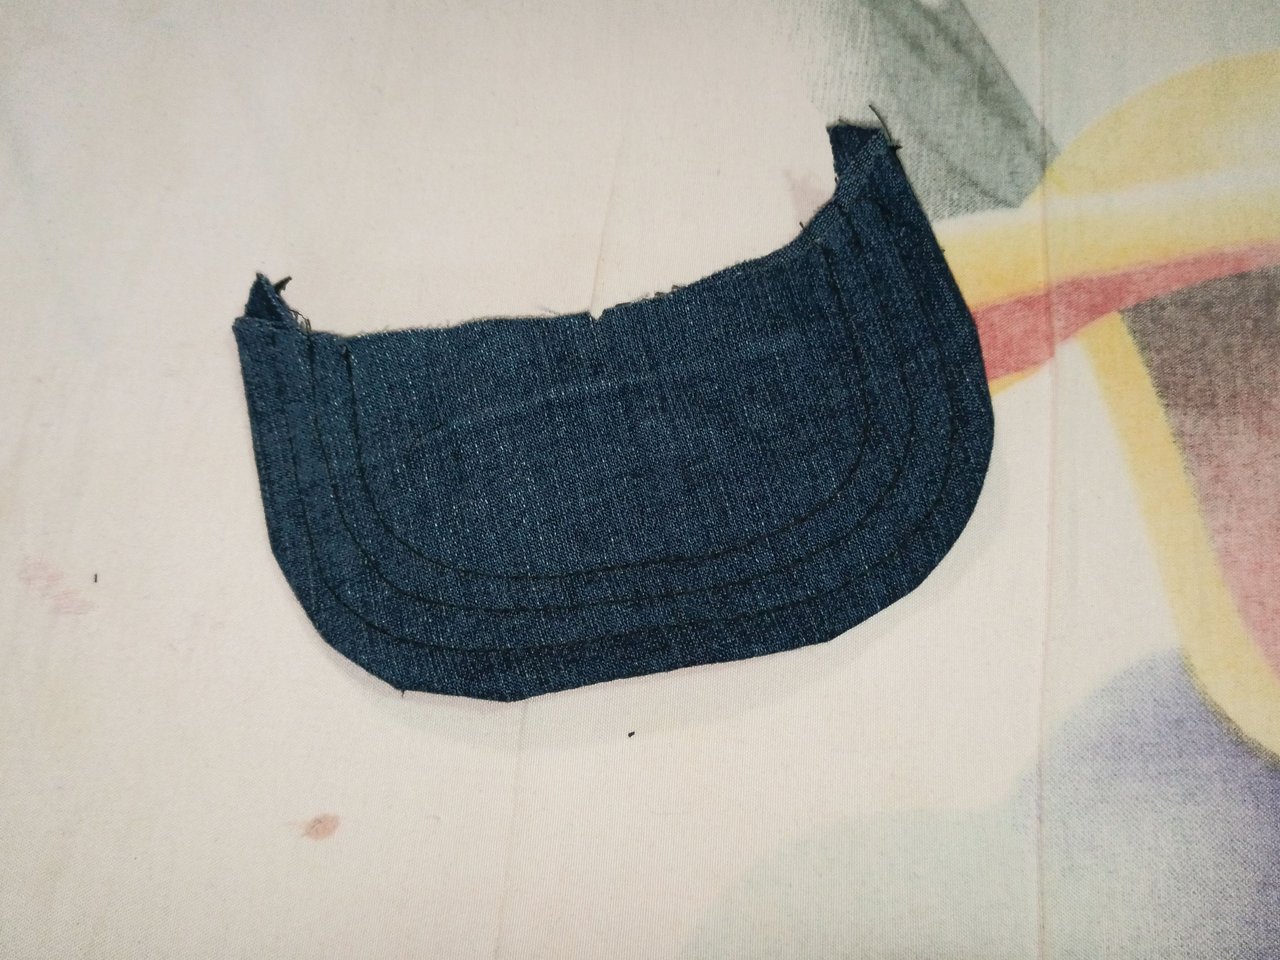
Ahora con la visera, sólo haremos un rectángulo la mitad del ancho de frente por el largo que deseemos darle, que en mi caso fueron 7 cm; en la parte izquierda superior bajamos 1,5 cm y hacemos una línea curva con el lado derecho. en la parte inferior derecha dibujamos una curva, así damos márgenes de costura y cortamos el patrón.
At the top of this semi-curved line that we have just made, we are going to go down 1 cm and connect it in a straight line with the clamp, so that all that is left is to give seam allowances and cut out the main mould of the cap.
Now with the visor, we just make a rectangle half the front width by the length we want to give it, which in my case was 7 cm; on the upper left side we go down 1,5 cm and make a curved line with the right side. on the lower right side we draw a curve, this way we give seam allowances and cut the pattern.
 |  |
|---|
 |  |
|---|
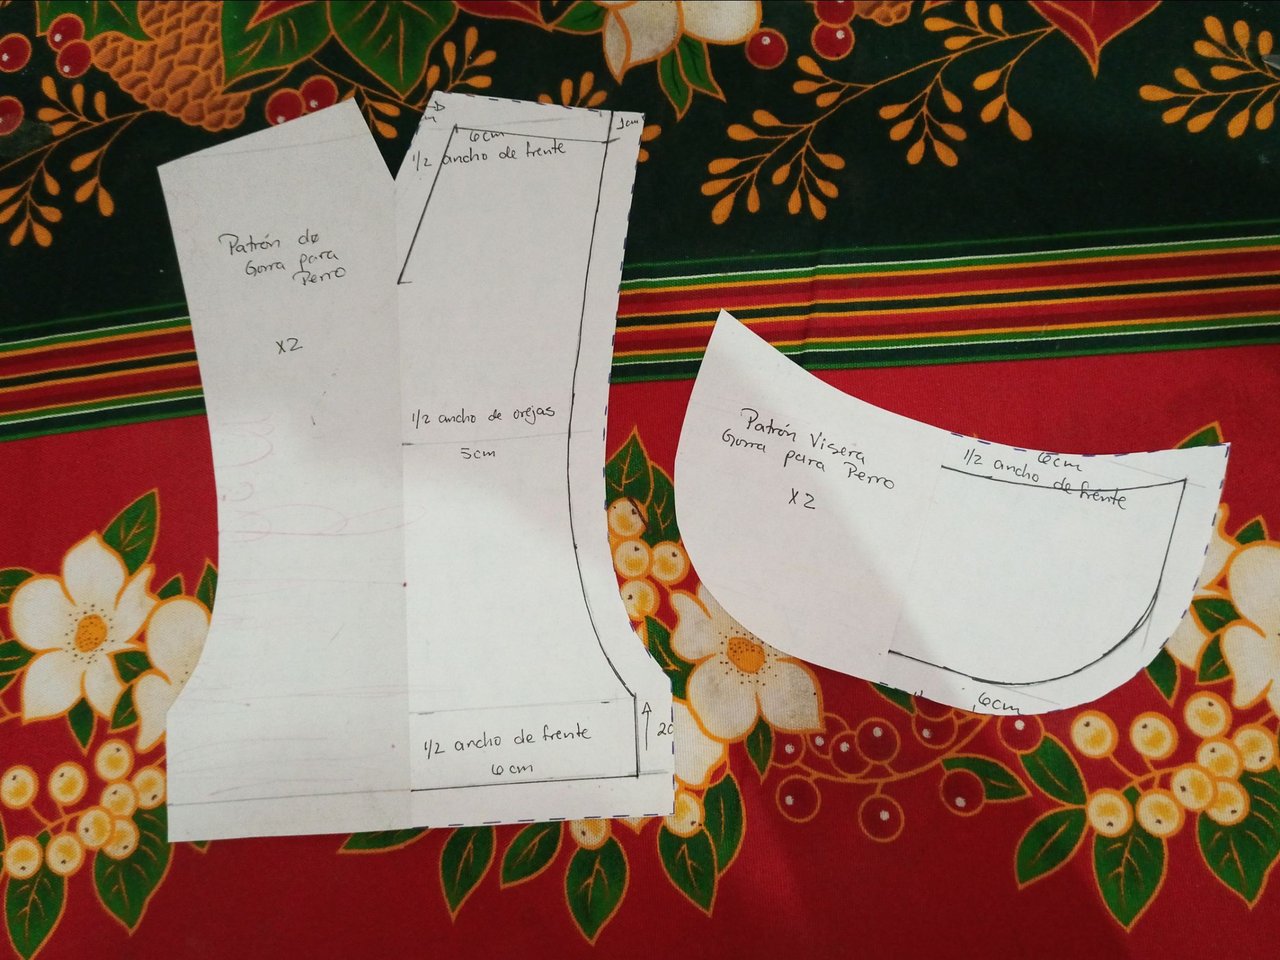
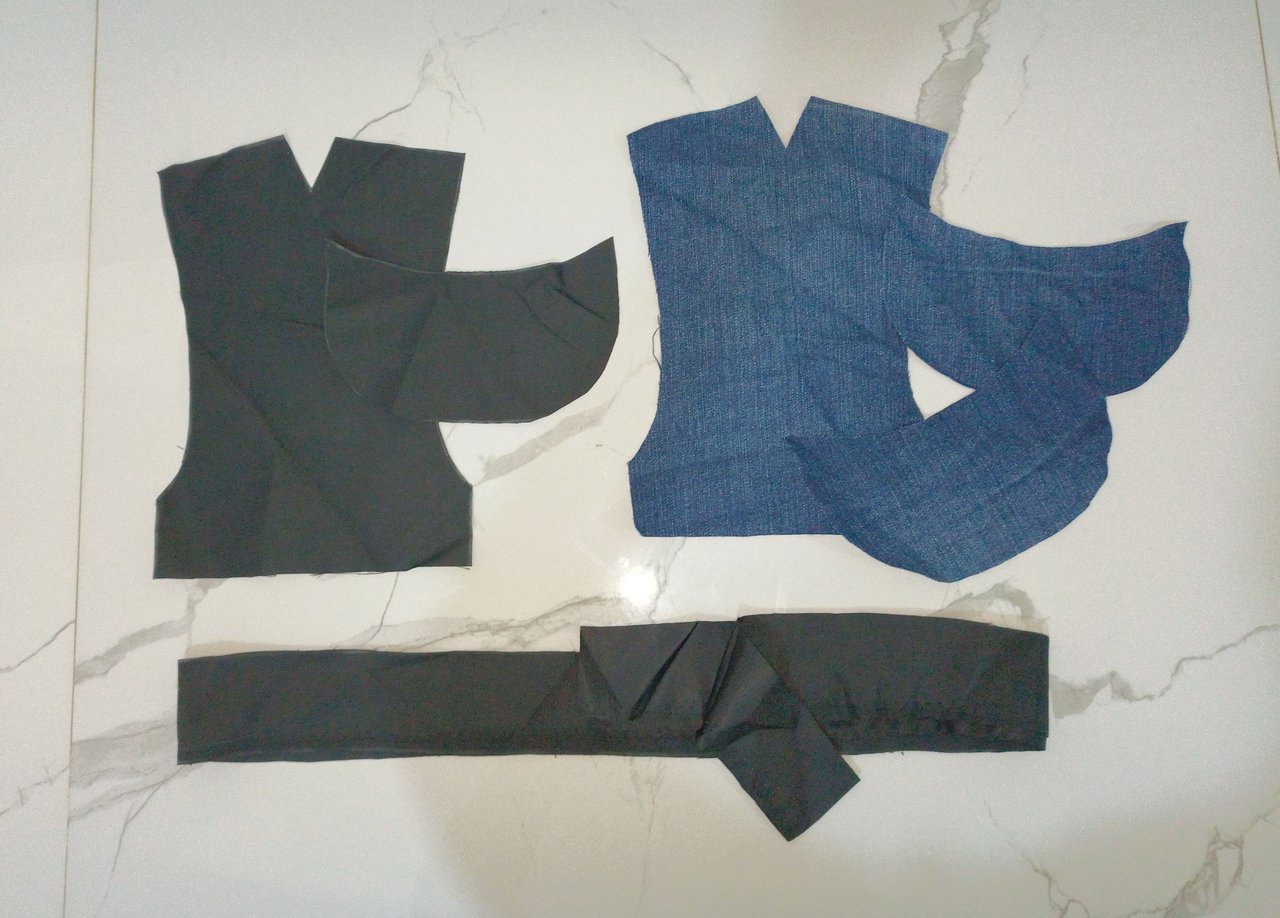
El patrón principal de la gorra se corta dos veces, 1 en tela externa y 1 en tela de forro (si no se usa tela de forro, entonces se corta 2 veces en tela principal), el patrón de la visera se corta 3 veces, 2 en tela externa y 1 en tela de forro, además se corta una tira de 4,5 cm de ancho por el largo de nuestra preferencia.
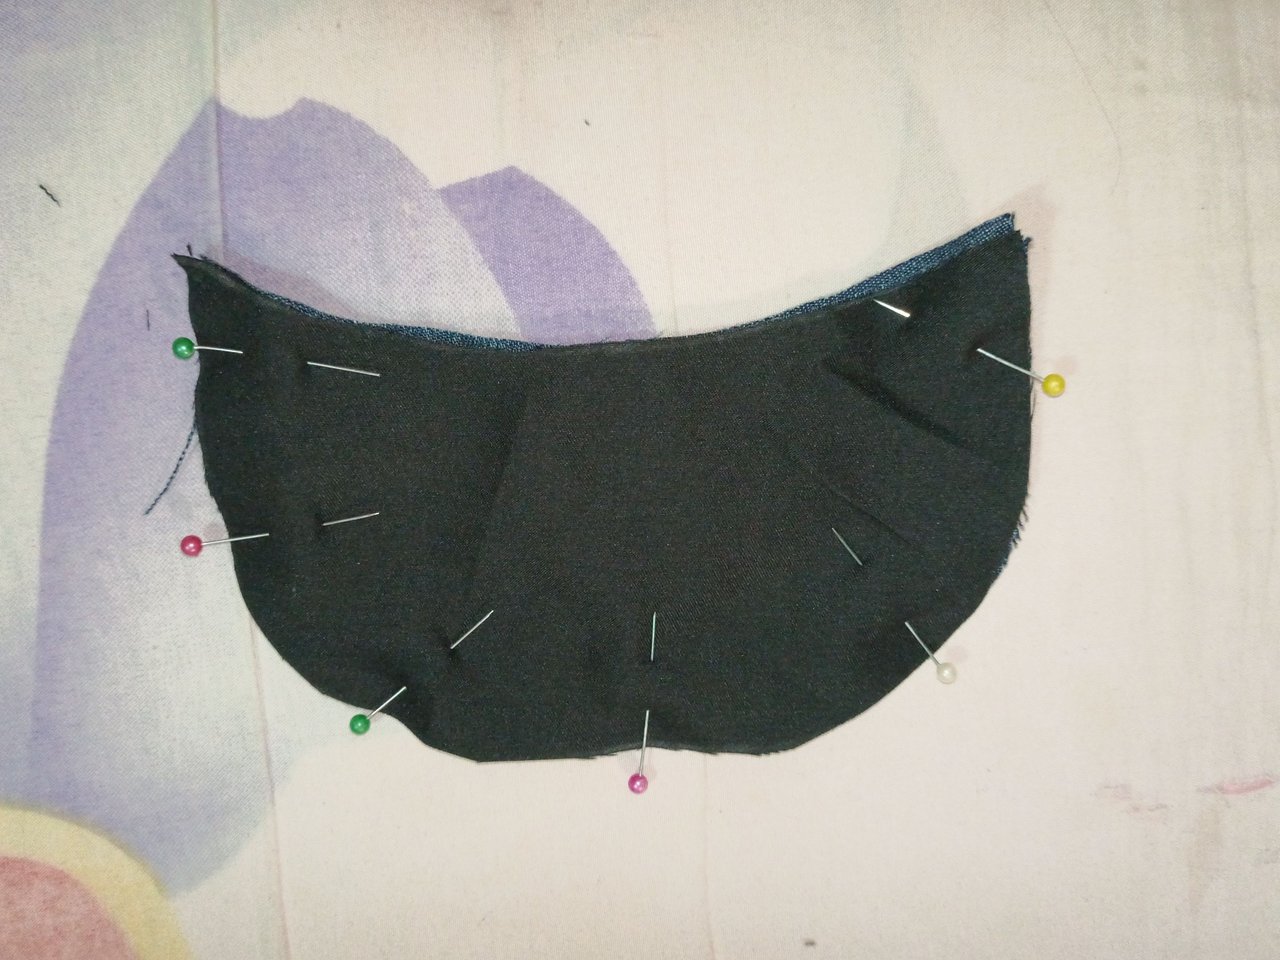
La costura comienza cerrando la pinza de la parte externa de la gorra tanto en la tela principal como en la tela de forro, además se cosen las tres piezas de la visera por la curva externa, aquí se toman las dos piezas de tela externa y se enfrenta el derecho de tela con el forro, luego de hacen unos piquetes para voltear.
The main pattern of the cap is cut twice, 1 in outer fabric and 1 in lining fabric (if lining fabric is not used, then it is cut 2 times in main fabric), the visor pattern is cut 3 times, 2 in outer fabric and 1 in lining fabric, also a strip of 4.5 cm wide is cut by the length of our preference.
The sewing begins by closing the pinch on the outside of the cap both in the main fabric and in the lining fabric, the three pieces of the visor are sewn together along the outer curve, here the two pieces of outer fabric are taken and the right side of the fabric is faced with the lining, then a few picks are made to turn it over.
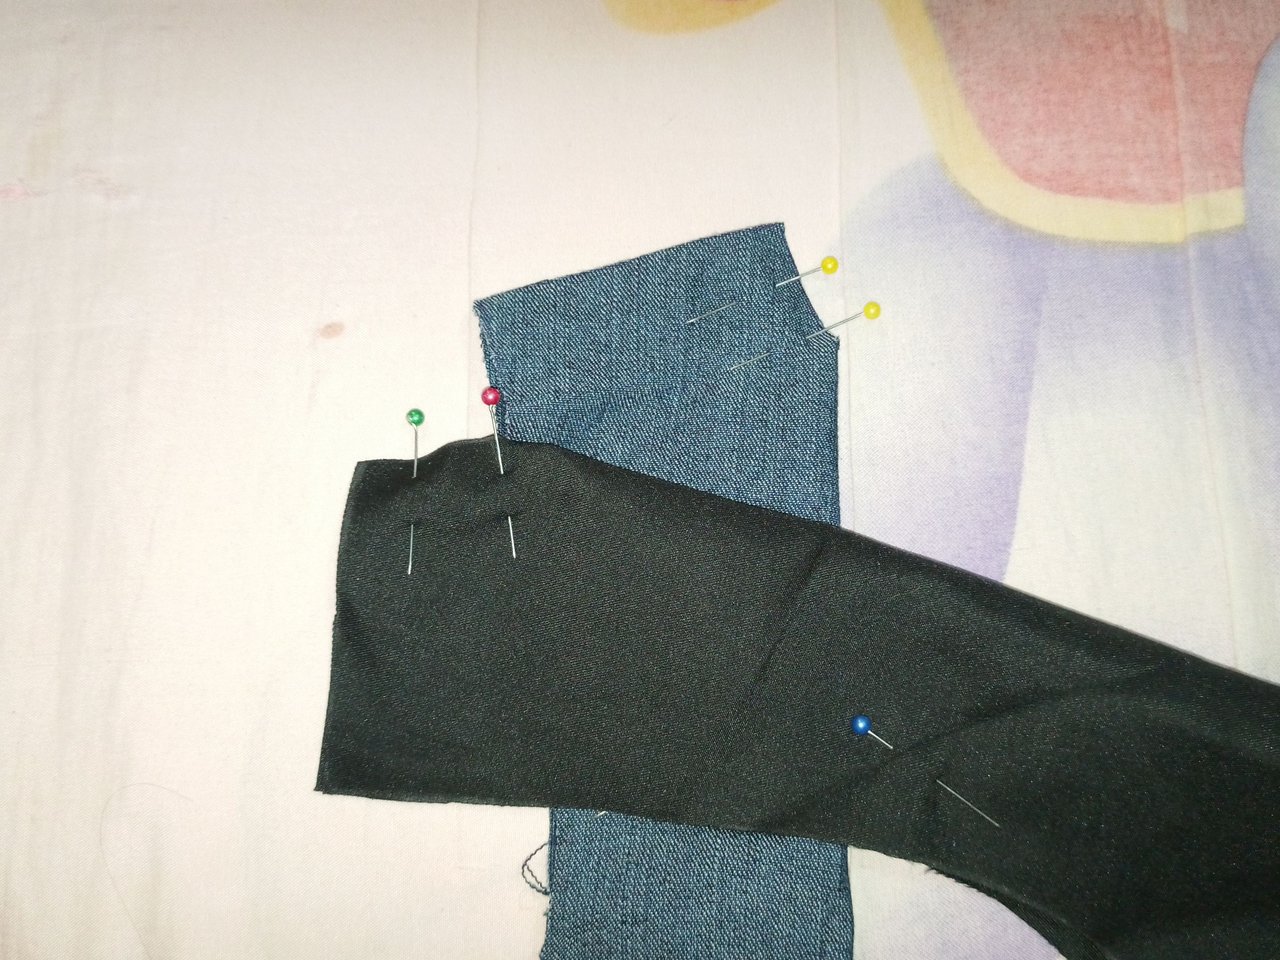
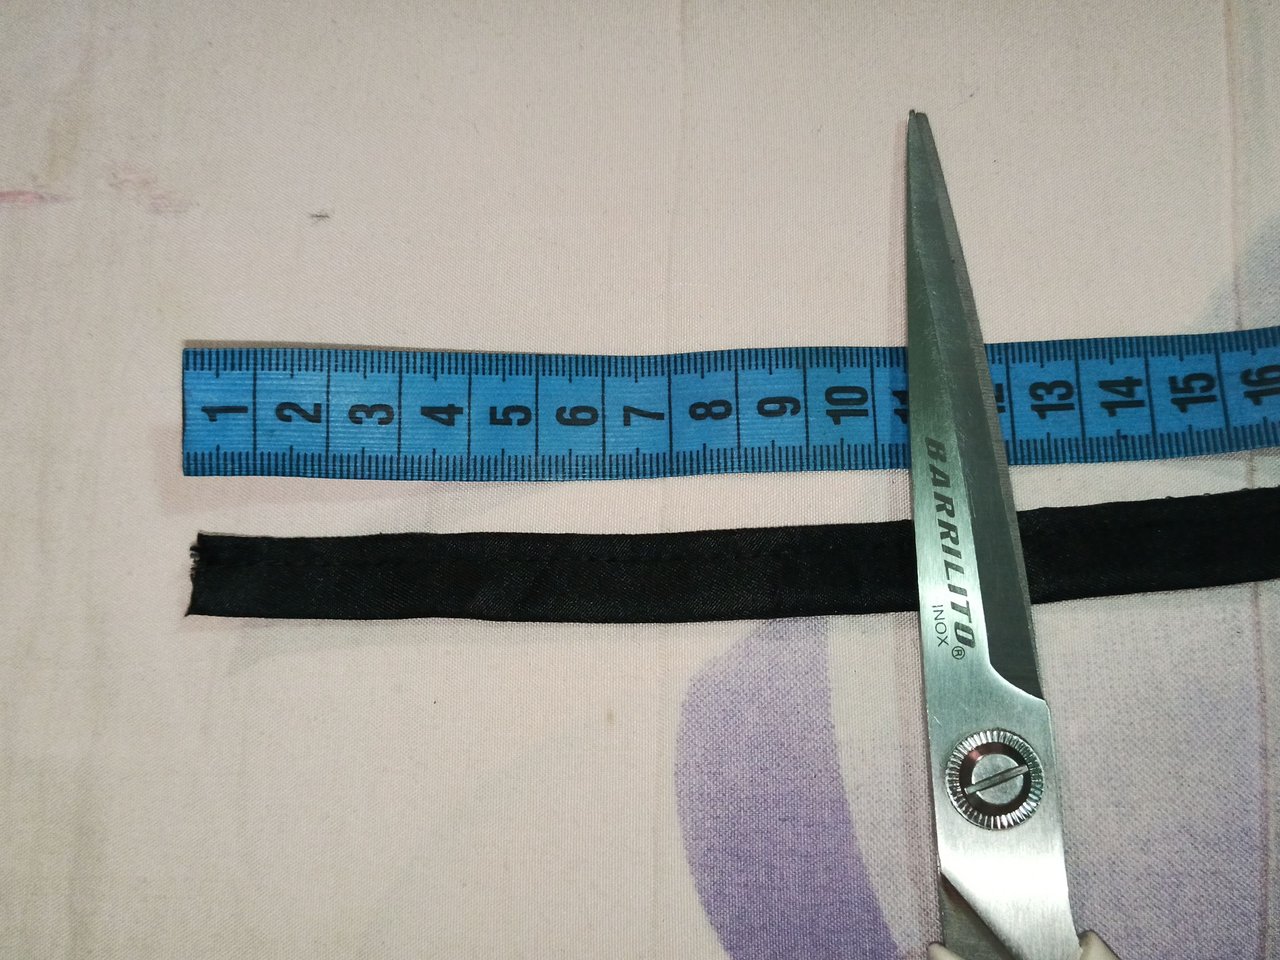
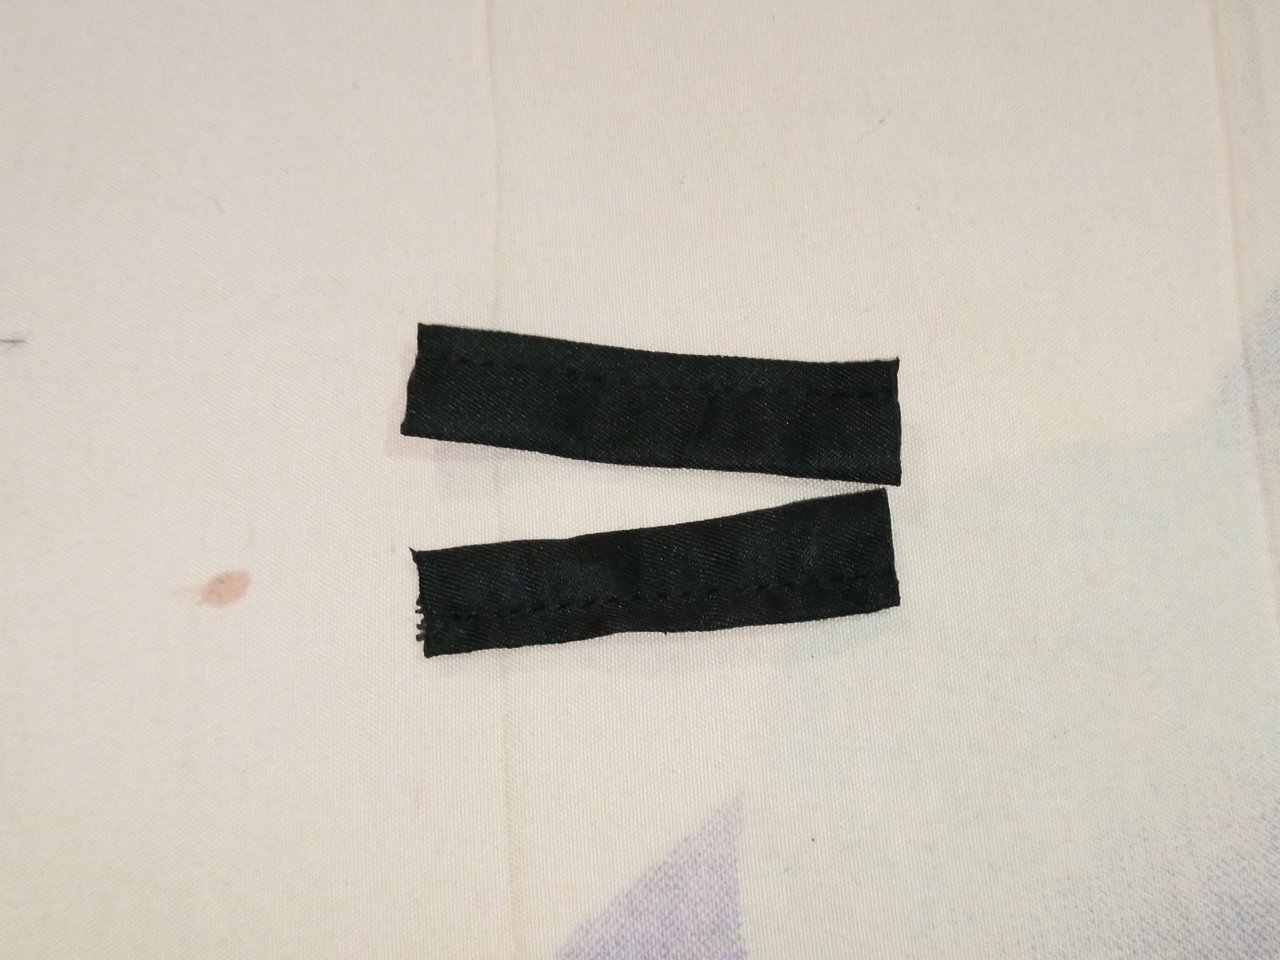
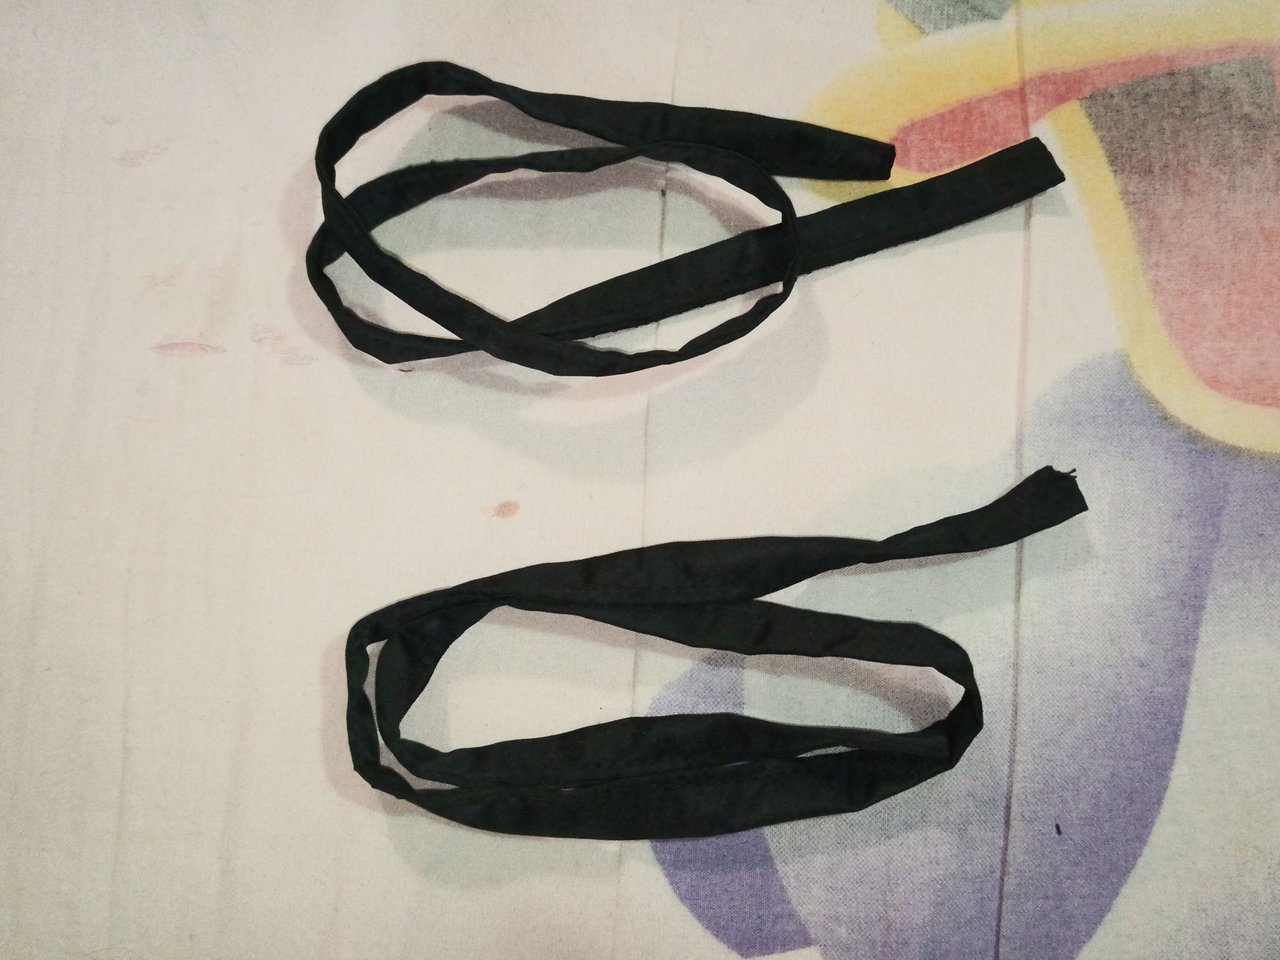
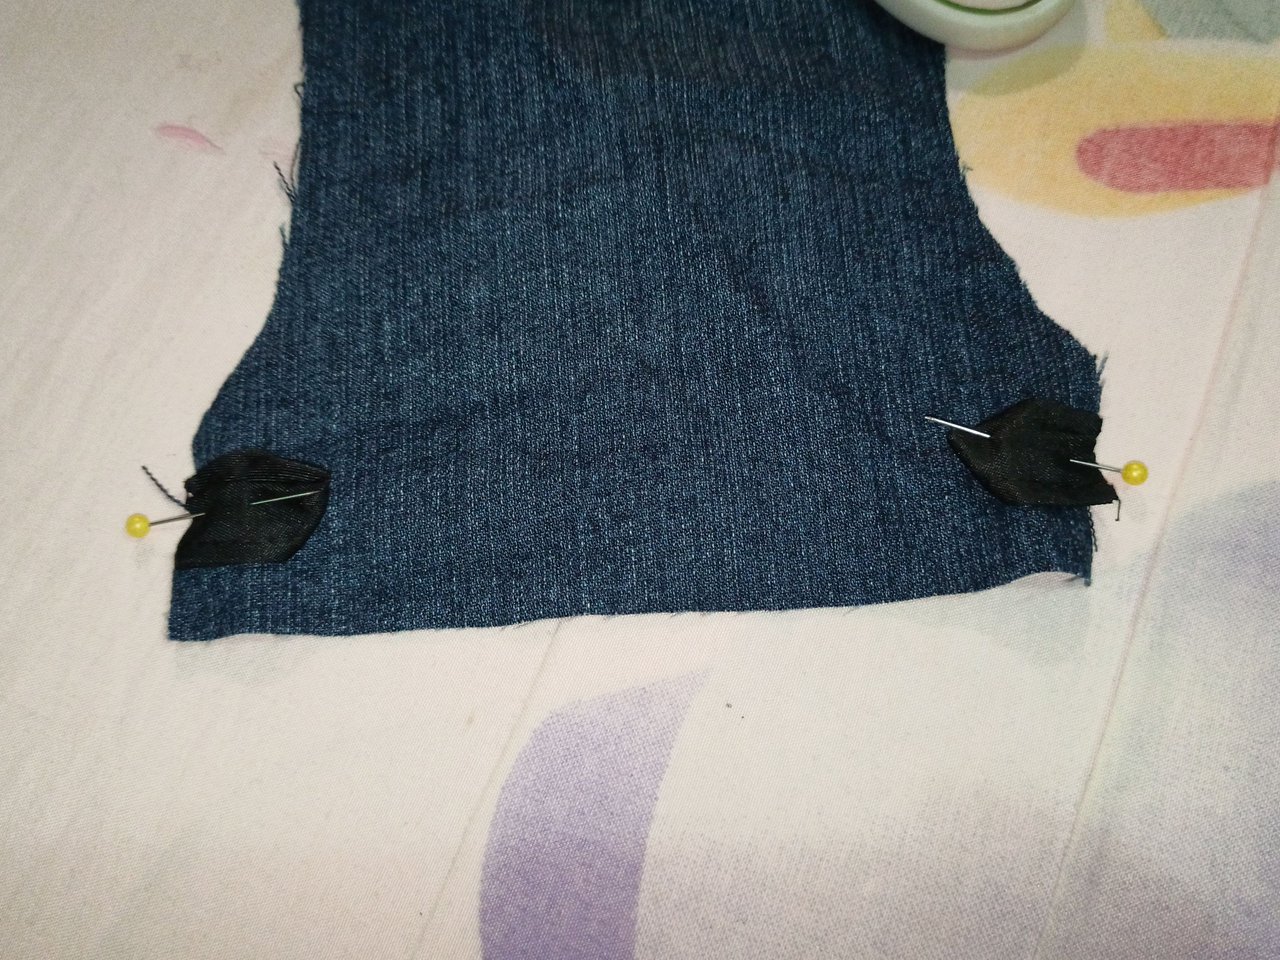
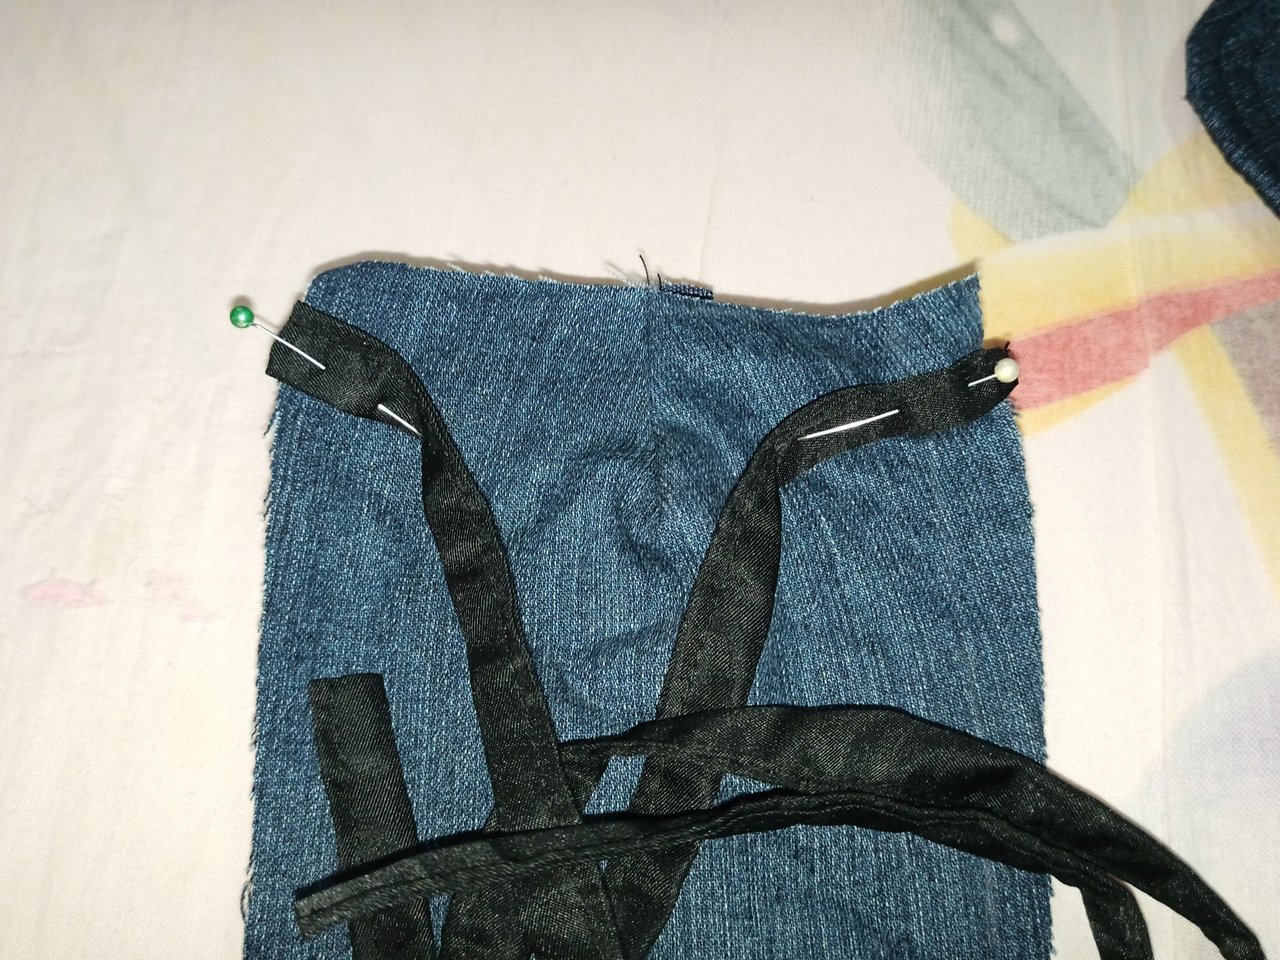
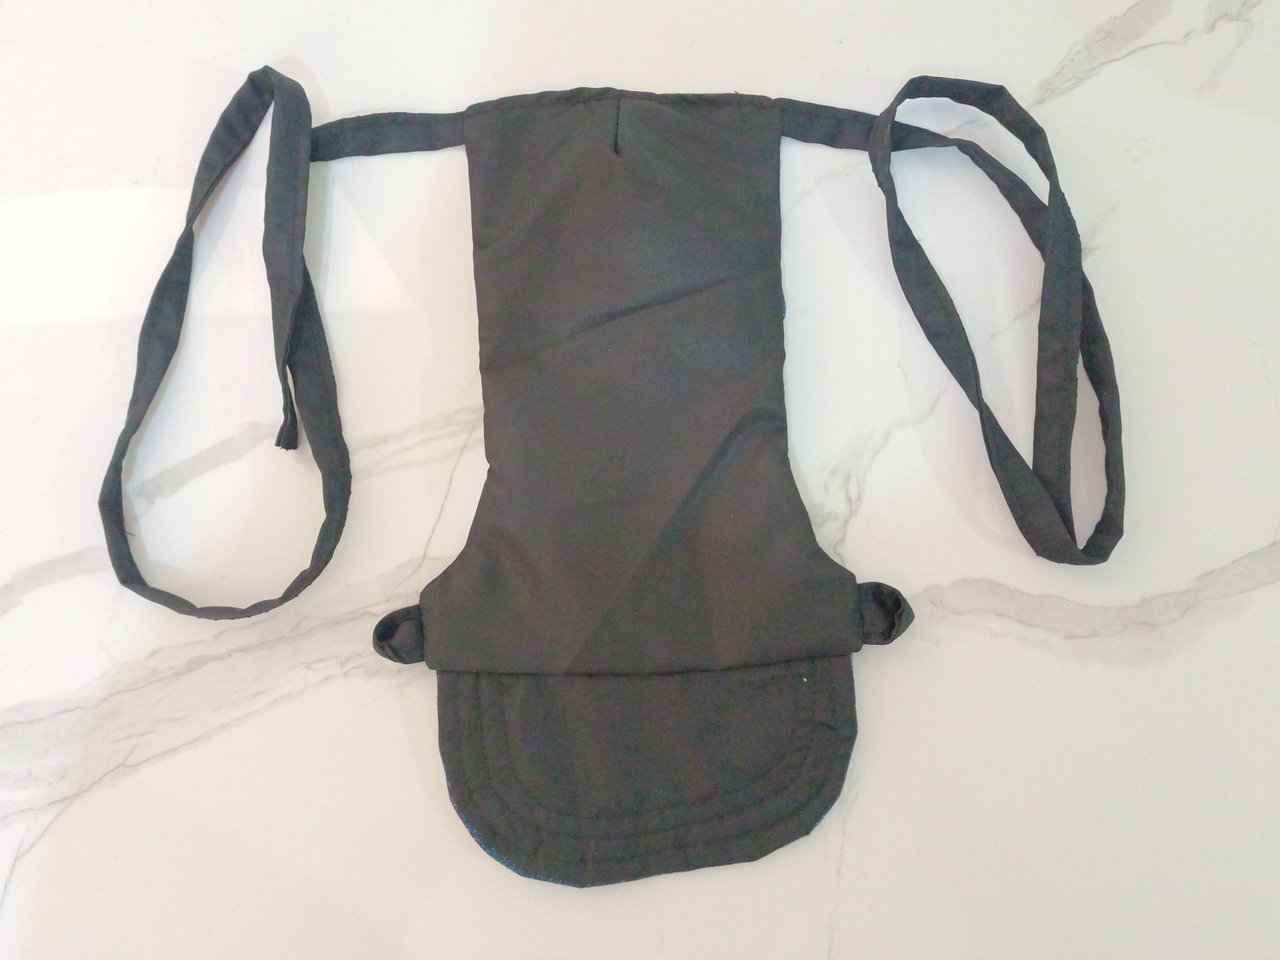
Se cose la tira como un sesgo y una vez lista se corta un pedazo de 10 cm, que luego se corta a la mitad para obtener dos tiras de 5 cm, el resto de la tira se corta por la mitad para obtener 2 tiras de la misma medida. Las dos tiras pequeñas se doblan para formar argollas que sujetaremos con alfileres al delantero de la gorra, y en la parte posterior sujetaremos a cada lado las dos tiras largas.
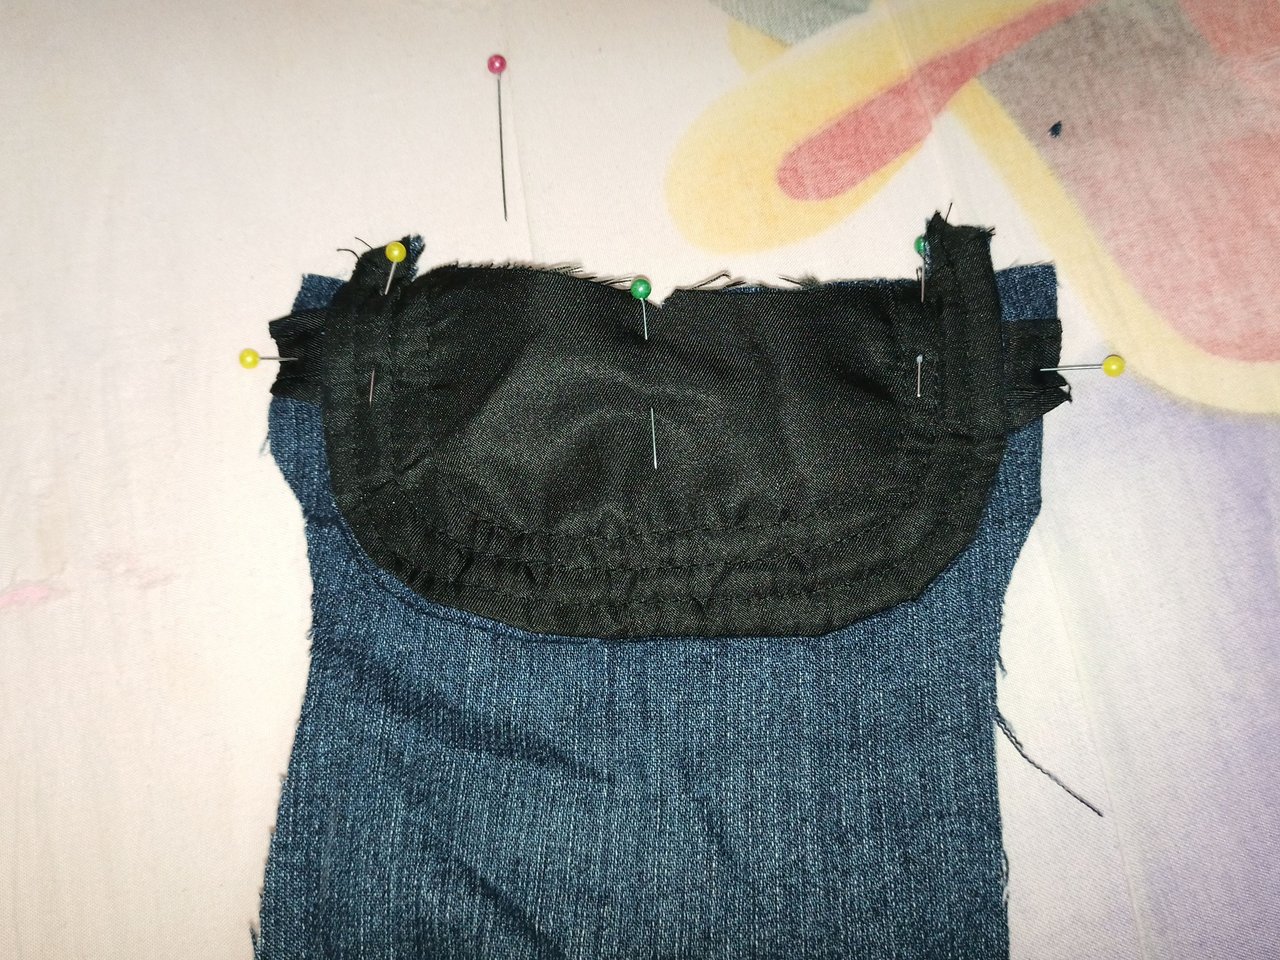
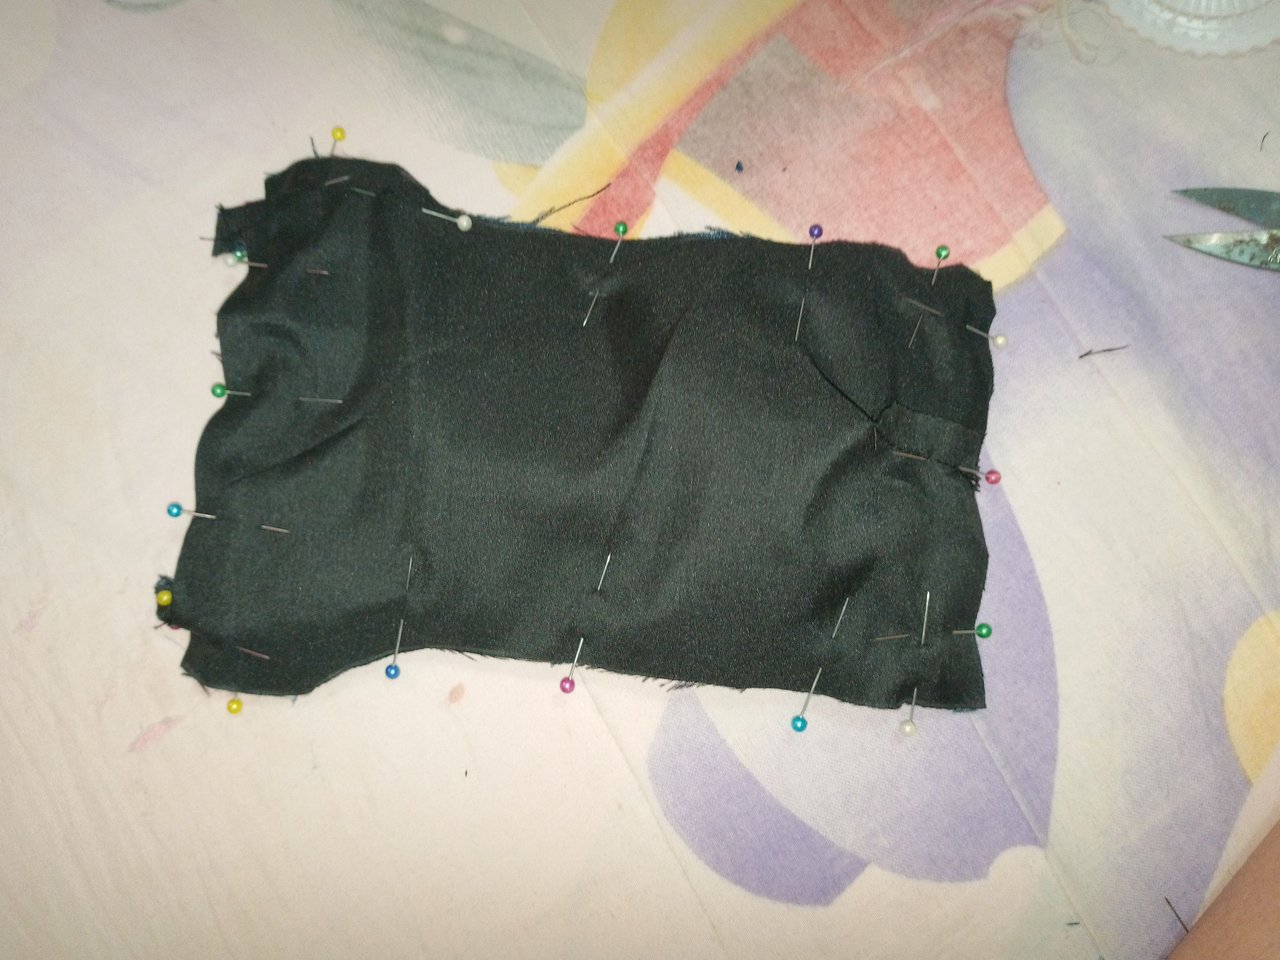
En el delantero también ubicamos la visera, enfrentando el derecho de telas por la curva que había quedado sin coser. Una vez sujetado todo con alfileres, colocamos encima la pieza de forro, y vamos a coser por todo el contorno dejando solamente sin coser un espacio en la parte posterior de la gorra, que en donde luego daremos la vuelta.
The strip is sewn as a bias binding and once it is ready a 10 cm piece is cut, which is then cut in half to obtain two 5 cm strips, the rest of the strip is cut in half to obtain 2 strips of the same size. The two small strips are folded to form rings which are pinned to the front of the cap, and the two long strips are pinned to the back of the cap on either side.
On the front we also place the visor, facing the right side of the fabric along the curve that had been left unsewn. Once everything is pinned together, we place the lining piece on top, and we sew all the way around, leaving only a space at the back of the cap unsewn, which is where we will turn the cap around later.
 |  |
|---|
 |  |
|---|
 |  |
|---|
 |  |
|---|
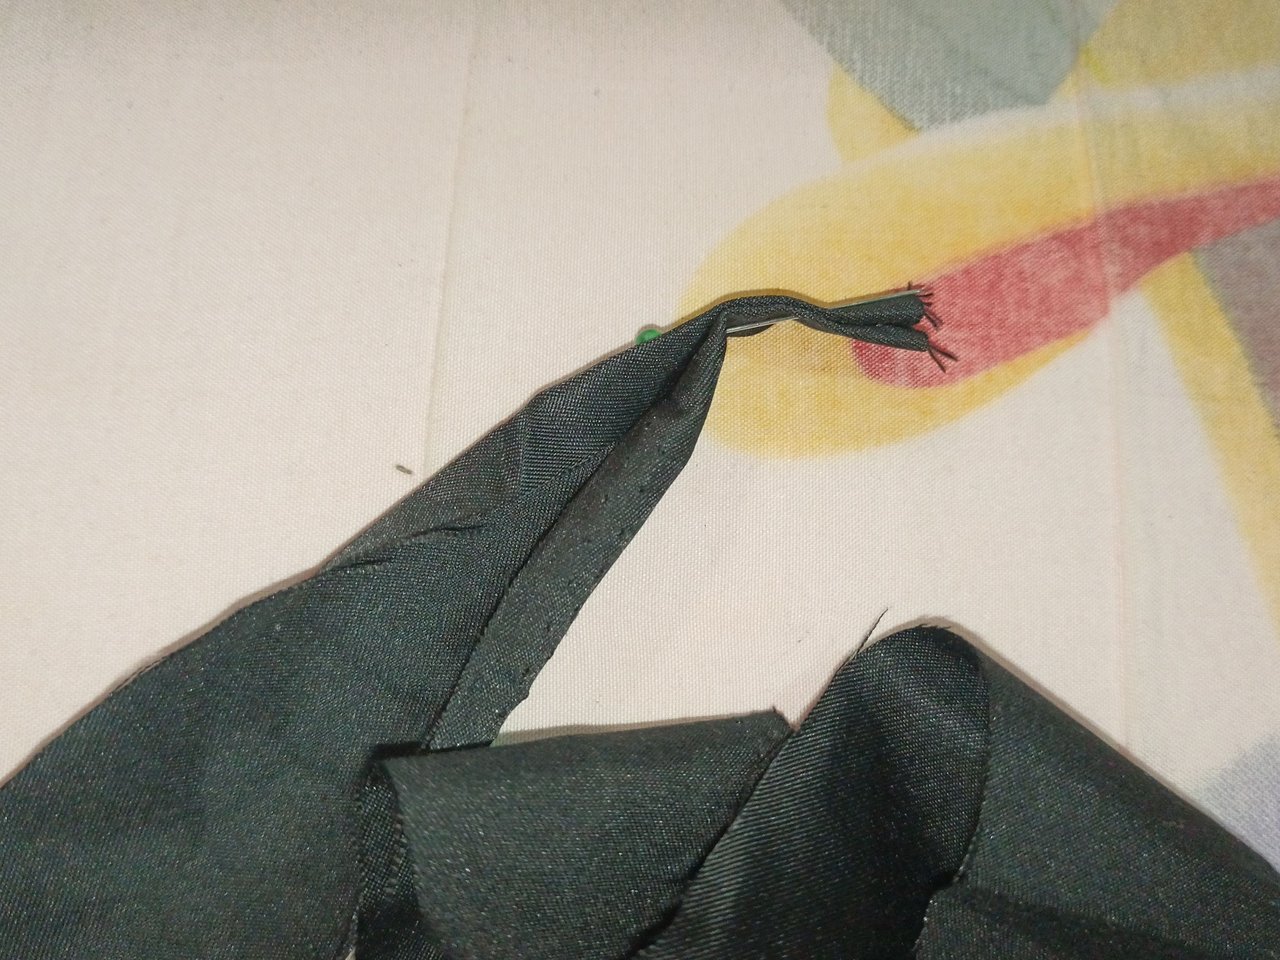
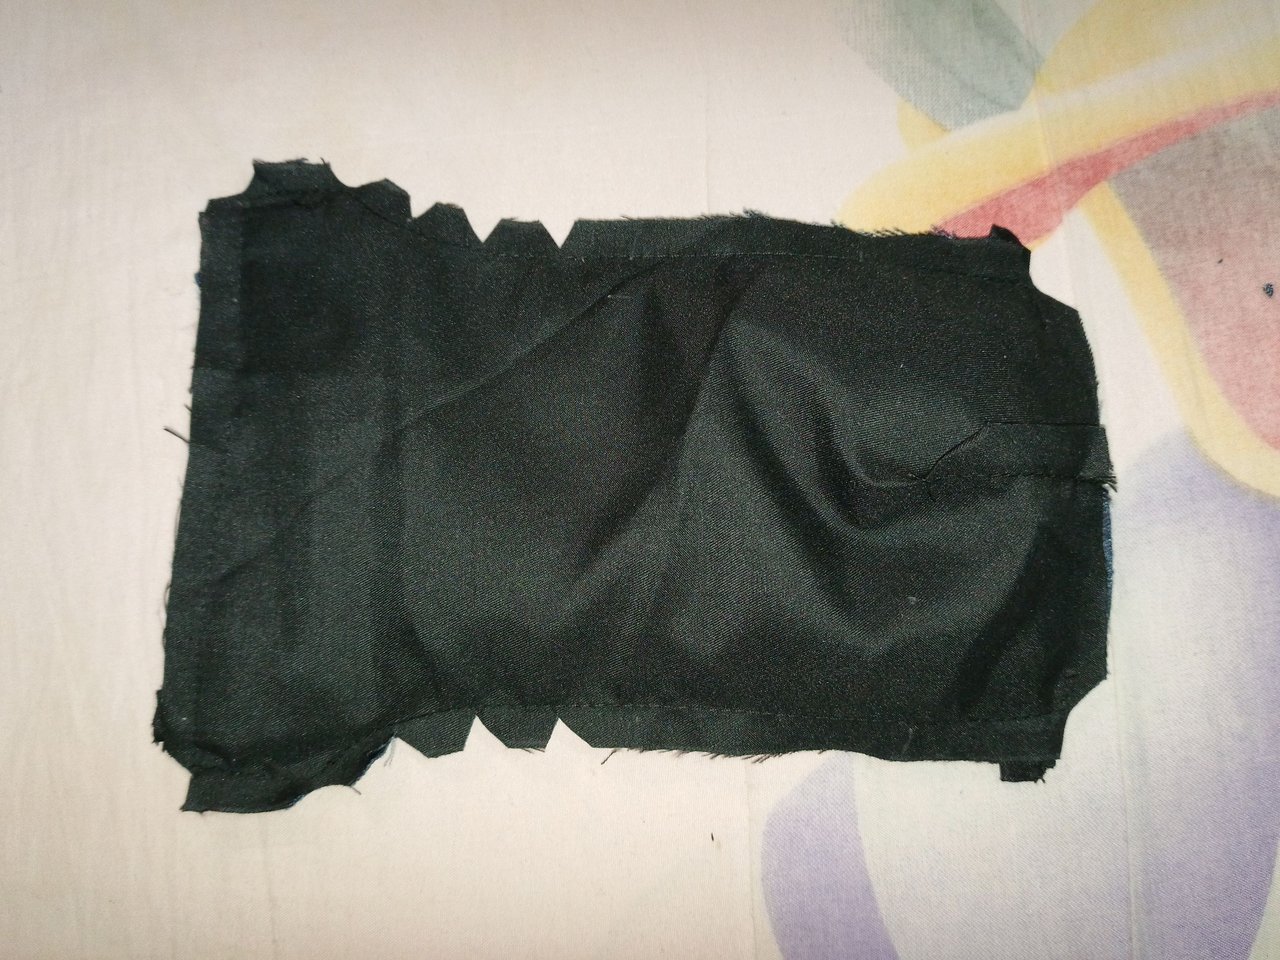
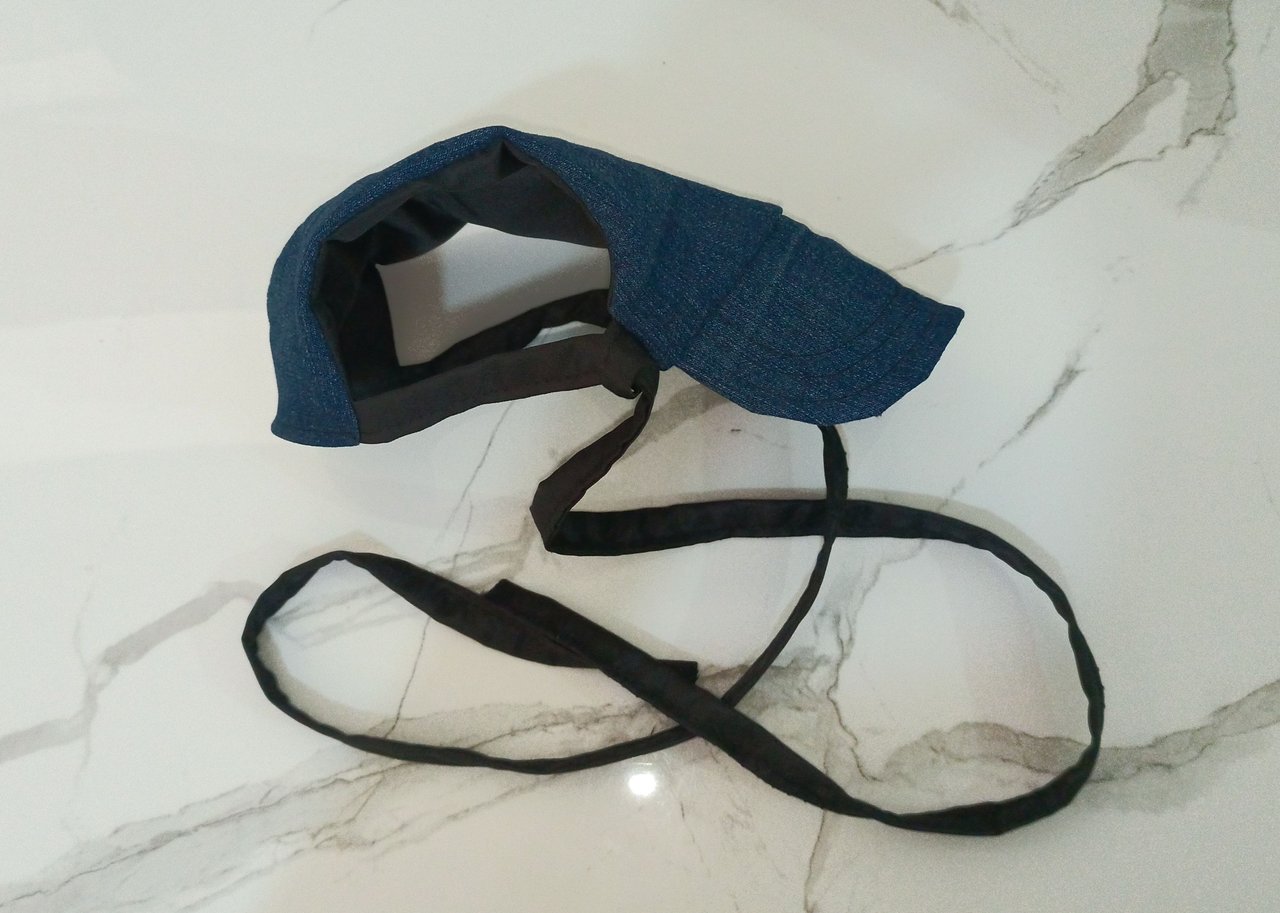
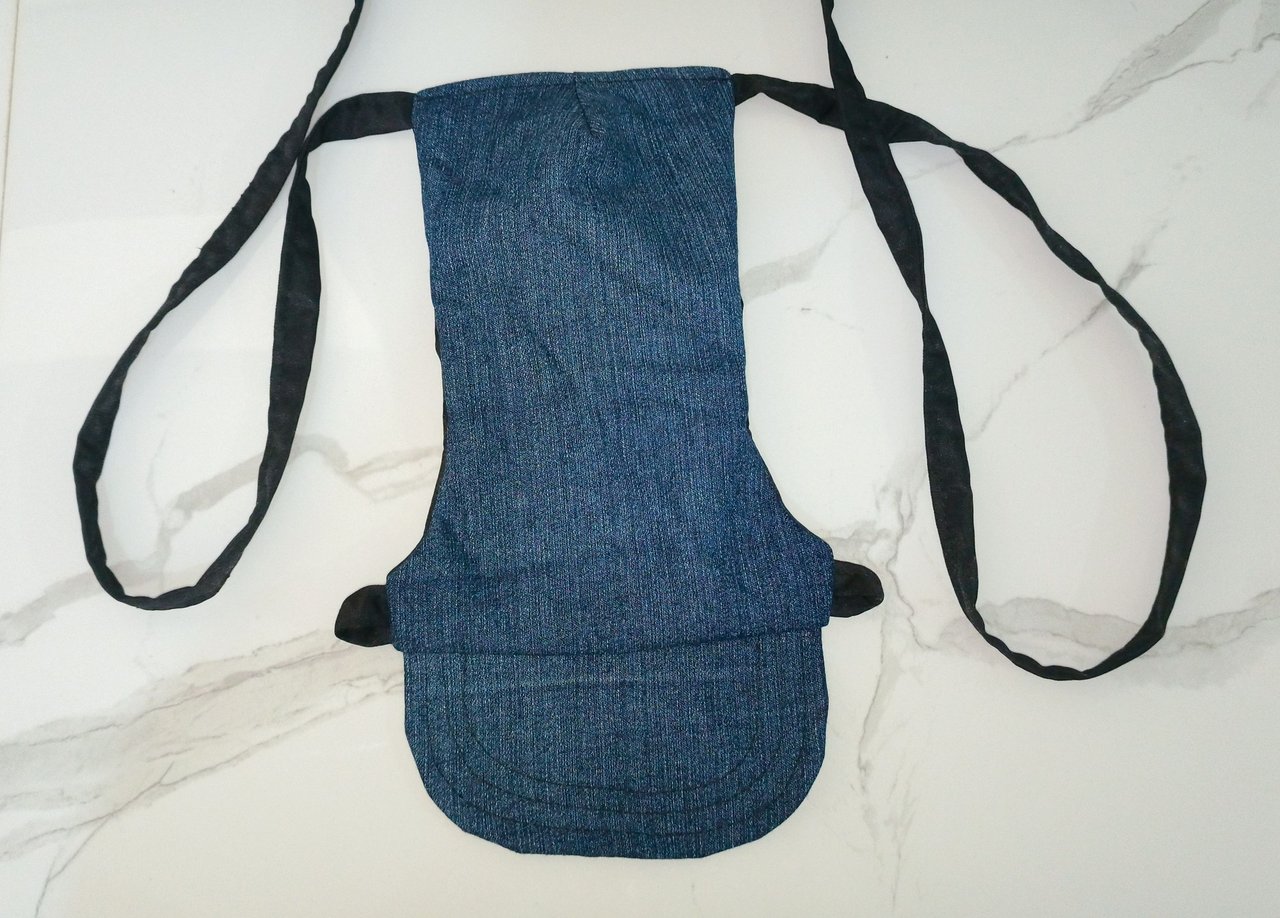
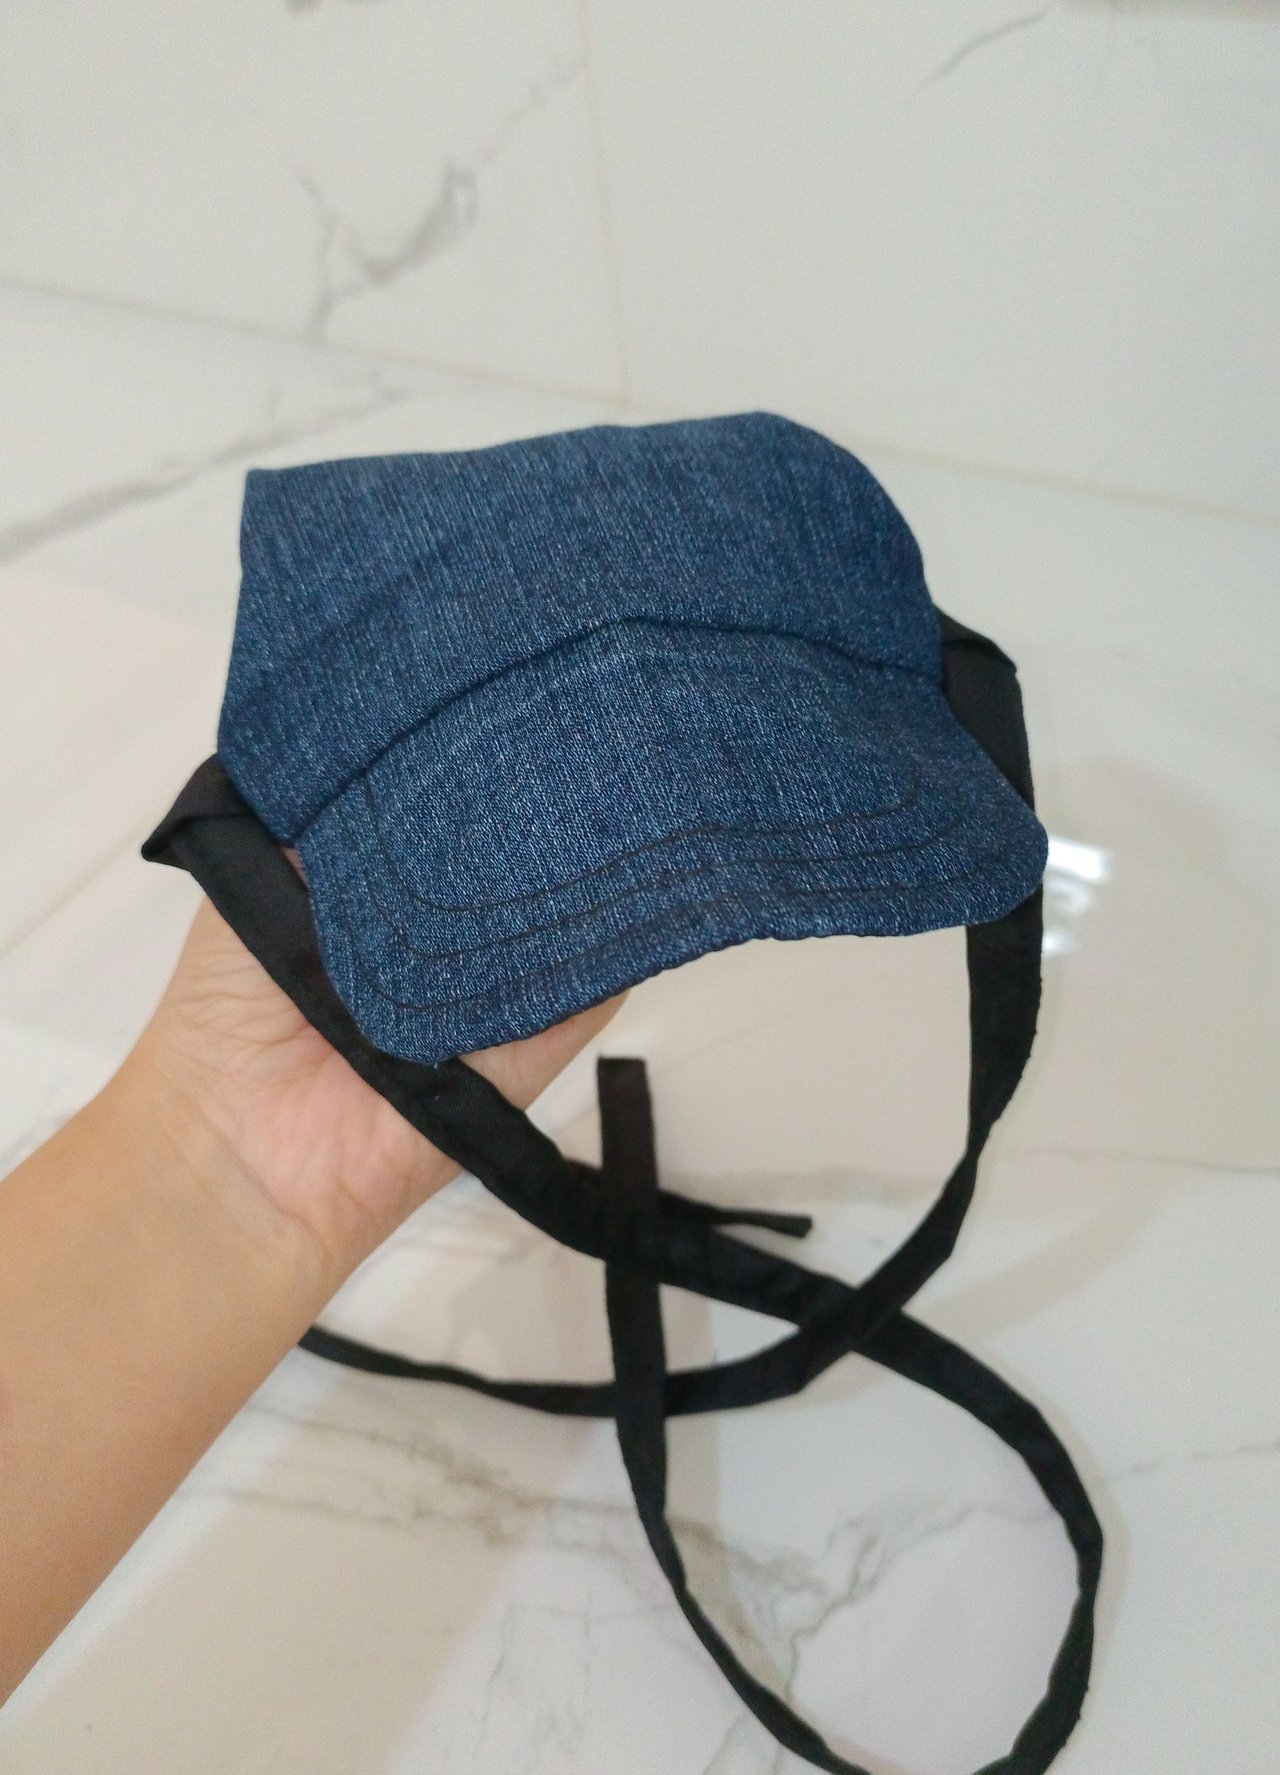
Cortamos un poco las esquinas y hacemos piquetes en las curvas de la pieza para facilitar dar la vuelta a la pieza, nos ayudamos con la punta de la tijera para sacar muy bien las esquinas y cuando esto esté listo cerramos con costura la parte posterior de la gorra.
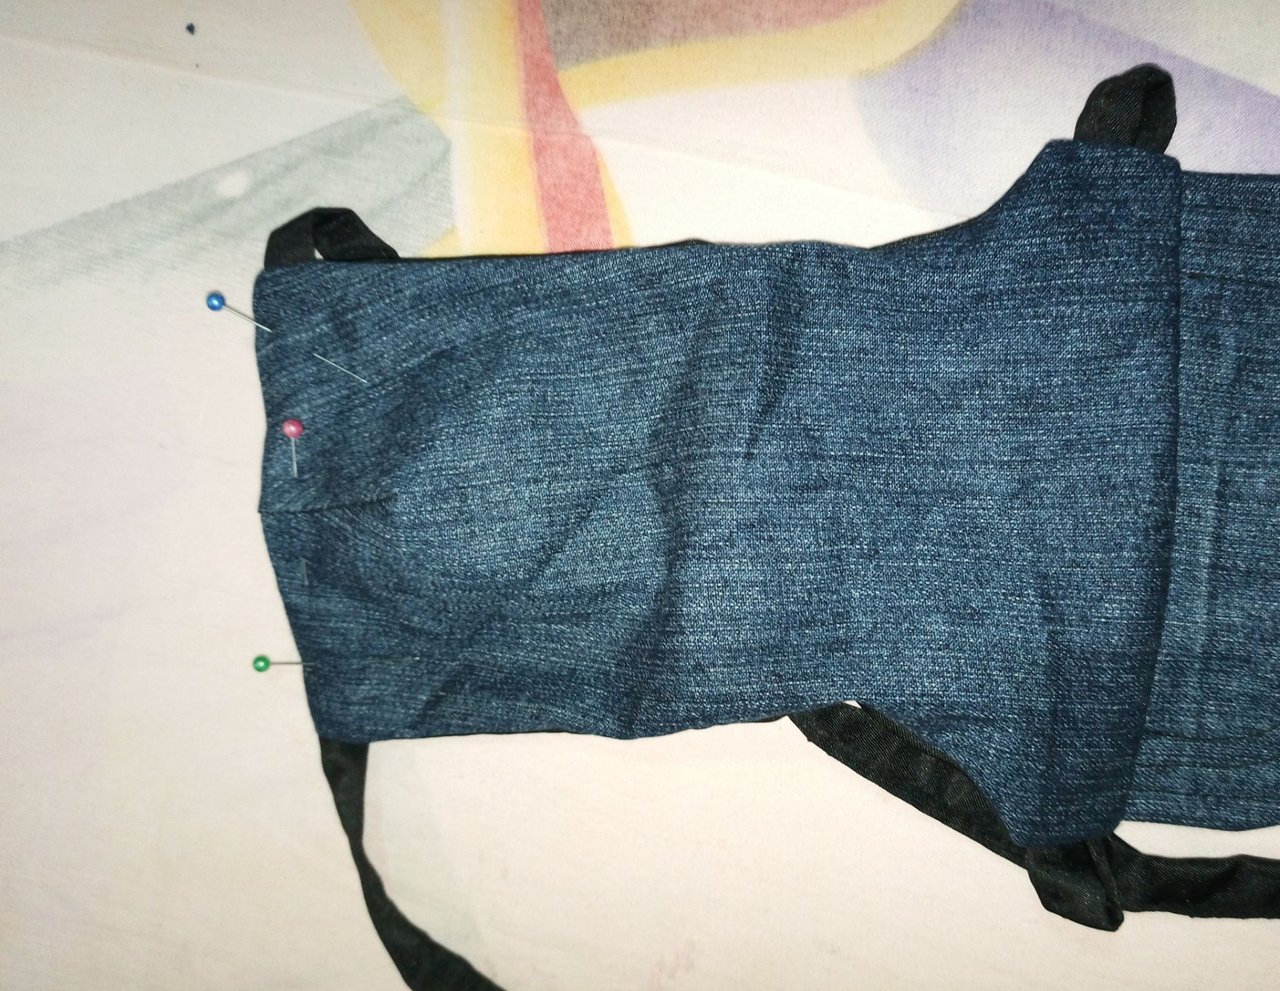
EXTRA: Antes de unir la visera a la pieza principal de la gorra, para darle un detalle decorativo, se pueden realizar costuras siguiendo la curva de la pieza, asemejando a las que tienen las gorras de humanos, pero esto es completamente opcional.
Cut the corners a little and make picks on the curves of the piece to make it easier to turn the piece, we help ourselves with the tip of the scissors to remove the corners very well and when this is ready we close the back of the cap with a seam.
EXTRA: Before attaching the visor to the main piece of the cap, to give it a decorative detail, seams can be made following the curve of the piece, similar to the ones on human caps, but this is completely optional.
 |  |
|---|
 |  |  |
|---|

Instagram Personal:@susijackeline
Instagram de Maquillaje:@makeup_sm22
Twitter:@kiut_variedades
All Images are my Property
Translator DeepL