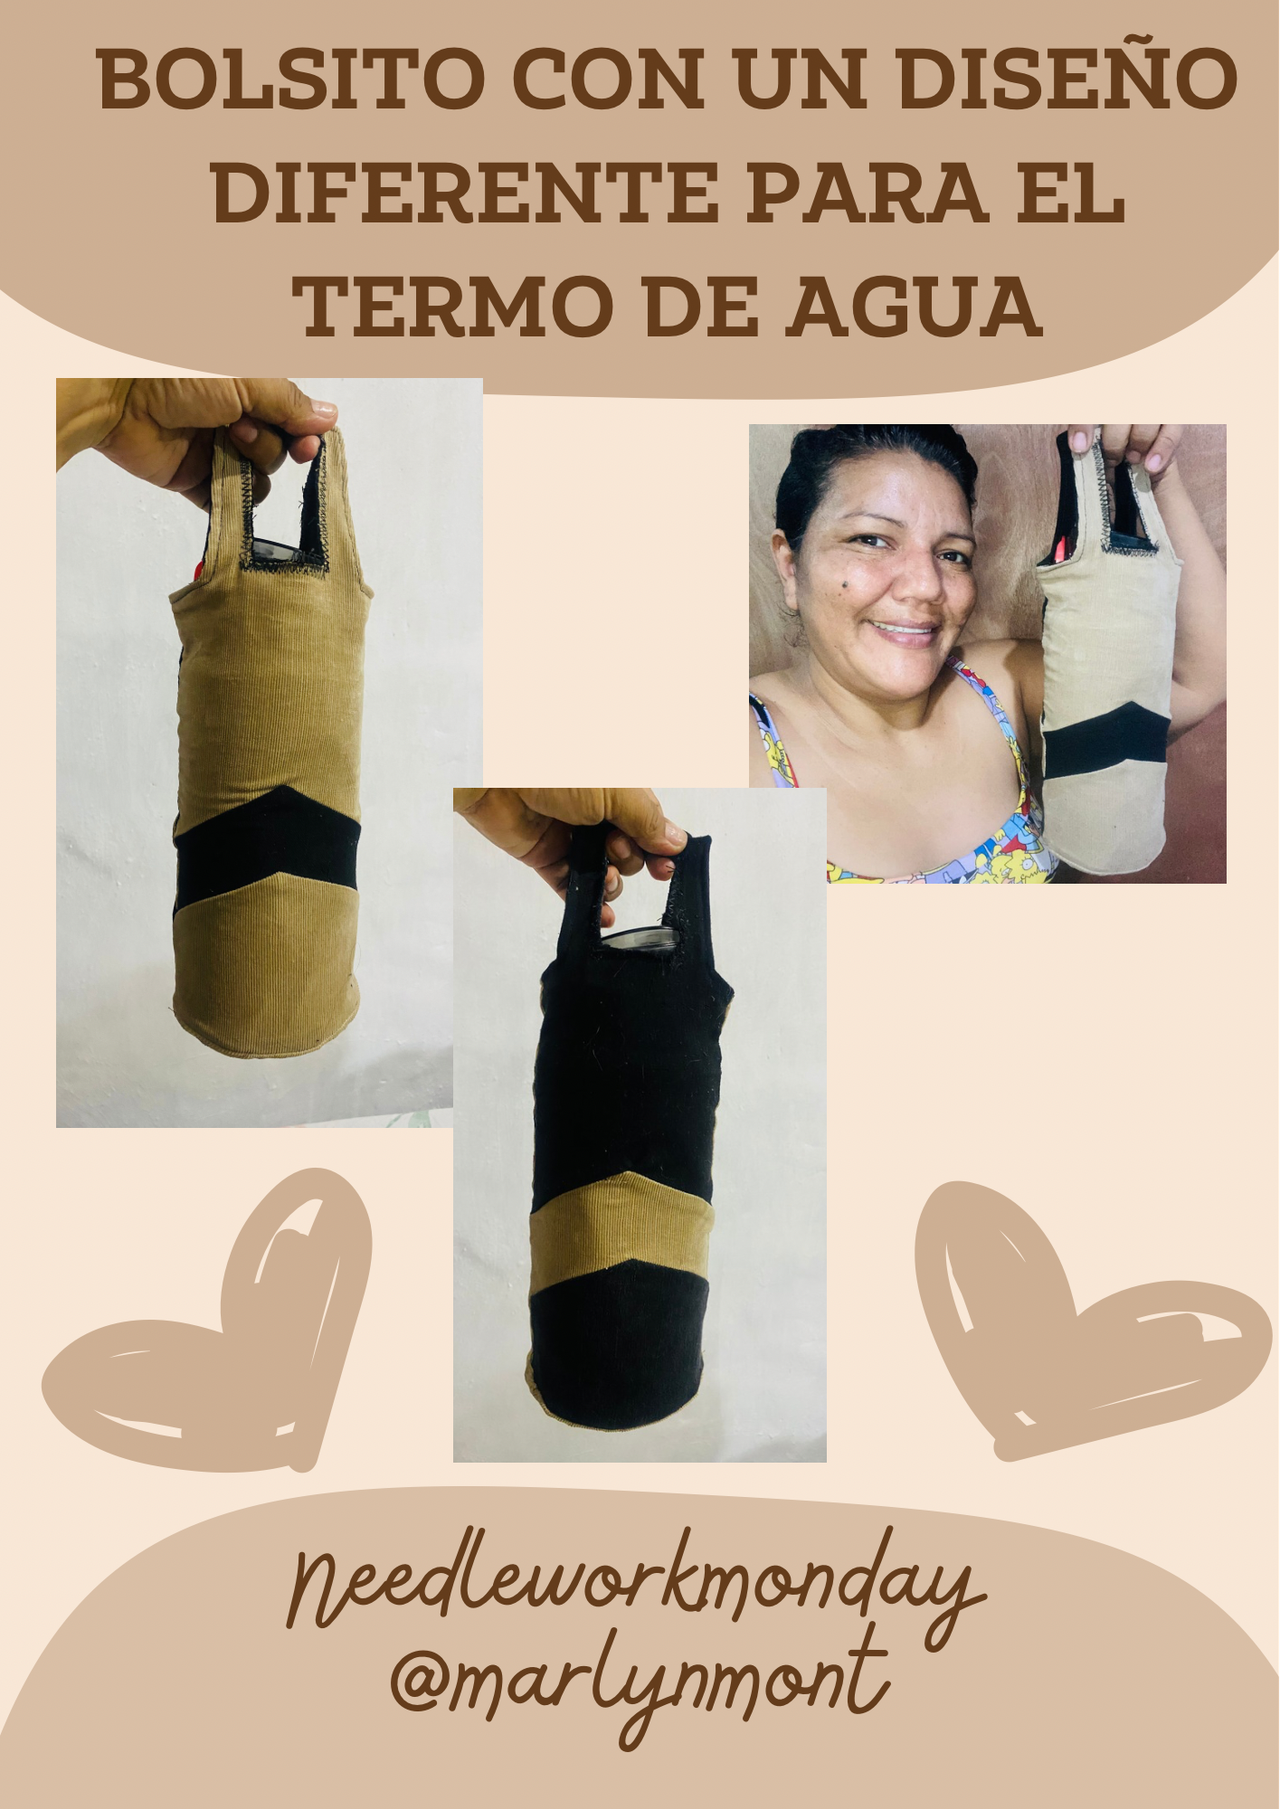
___Saludos amigos de NEEDLEWORKMONDAY, feliz comienzo del mes de julio 🥰🪡🧵❤️
Desde hace tiempo a mi termo de agua se le dañó el agarradero y es incómodo para cargarlo ya que al estar lleno este pesa bastante, es por eso que quise idearme un bolsito para cargarlo con más facilidad y sustituir el agarradero que trae originalmente, es por eso que quiero compartir con ustedes la confección de un lindo bolsitos con agarraderas para el termo de agua , acompáñame y te muestro el paso a paso:
Greetings, NEEDLEWORKMONDAY friends, happy start to July 🥰🪡🧵❤️
My water thermos handle has been damaged for a while now, and it's uncomfortable to carry because it weighs a lot when full. That's why I wanted to create a bag to make it easier to carry and replace the handle it originally came with. That's why I want to share with you how to make a cute little bag with handles for your water thermos. Join me and I'll show you the step-by-step instructions:
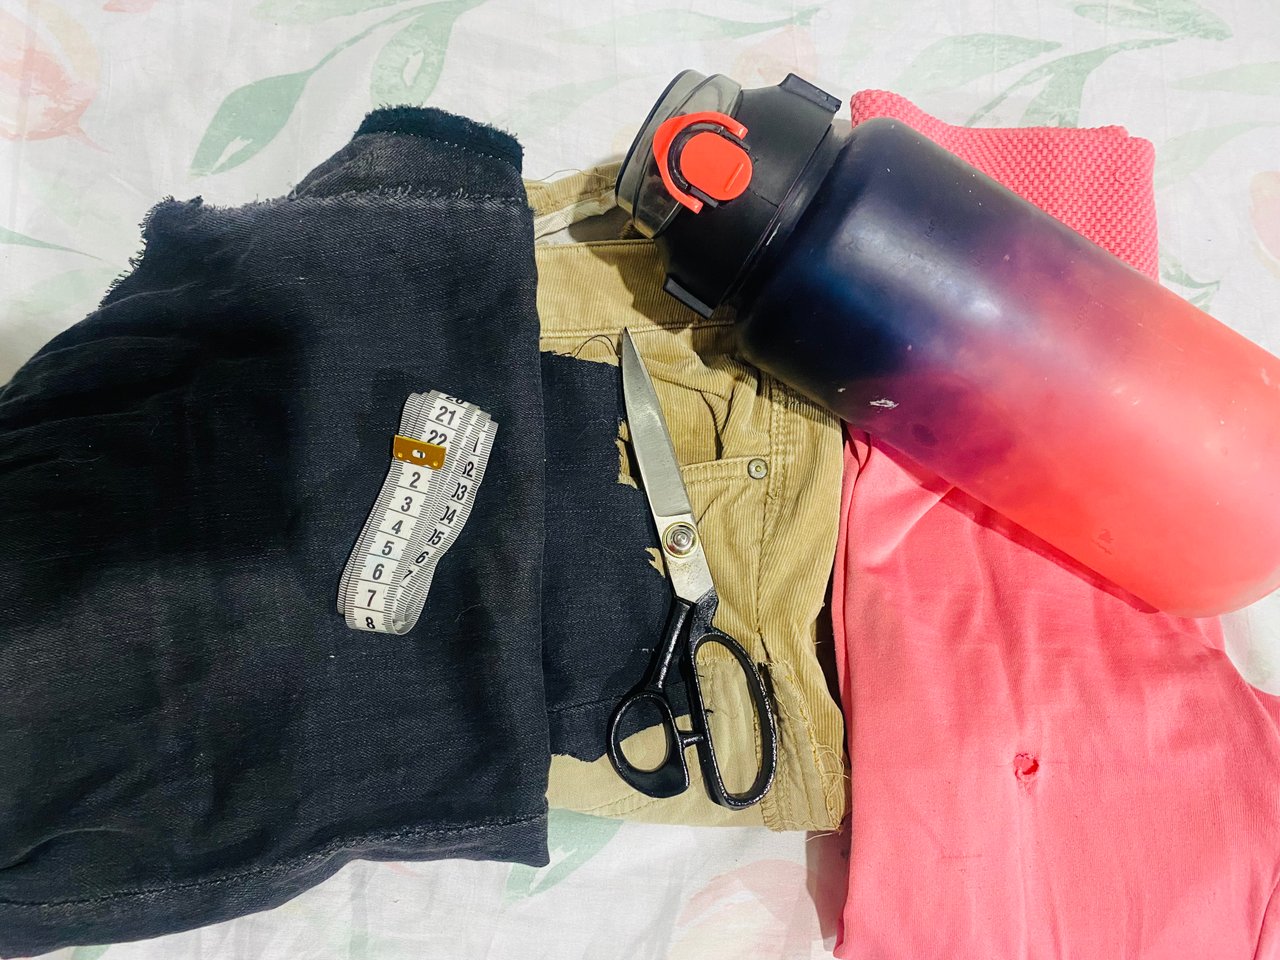
MATERIALES
MATERIALS
Hoy en día es indispensable al salir en llevar nuestro termo de agua, el mío desde hace un tiempo se me le dañó el agarradero y a veces no lo llevo por la incomodidad que resulta llevarlo, es por esto que pensé en hacerle un bolito con asas o agarraderas para que sea mucho más fácil Llevarlo a todas partes, para esto busqué entre mis materiales y telas de reciclaje para la confección, también conseguí una Leggins dañada y decidió utilizar una de las botas para hacer este bolsitos, aquí les dejo la lista de materiales a utilizar:
- retazos de tela, jeans, o alguna que sea un poco gruesa para que quede más resistente
- Tijeras
- Cinta métrica
- Hilo y aguja
- Máquina de coser, en caso de no tener máquina esta confección es bastante sencilla y puede hacerse a mano.
PASO A PASO
STEP BY STEP
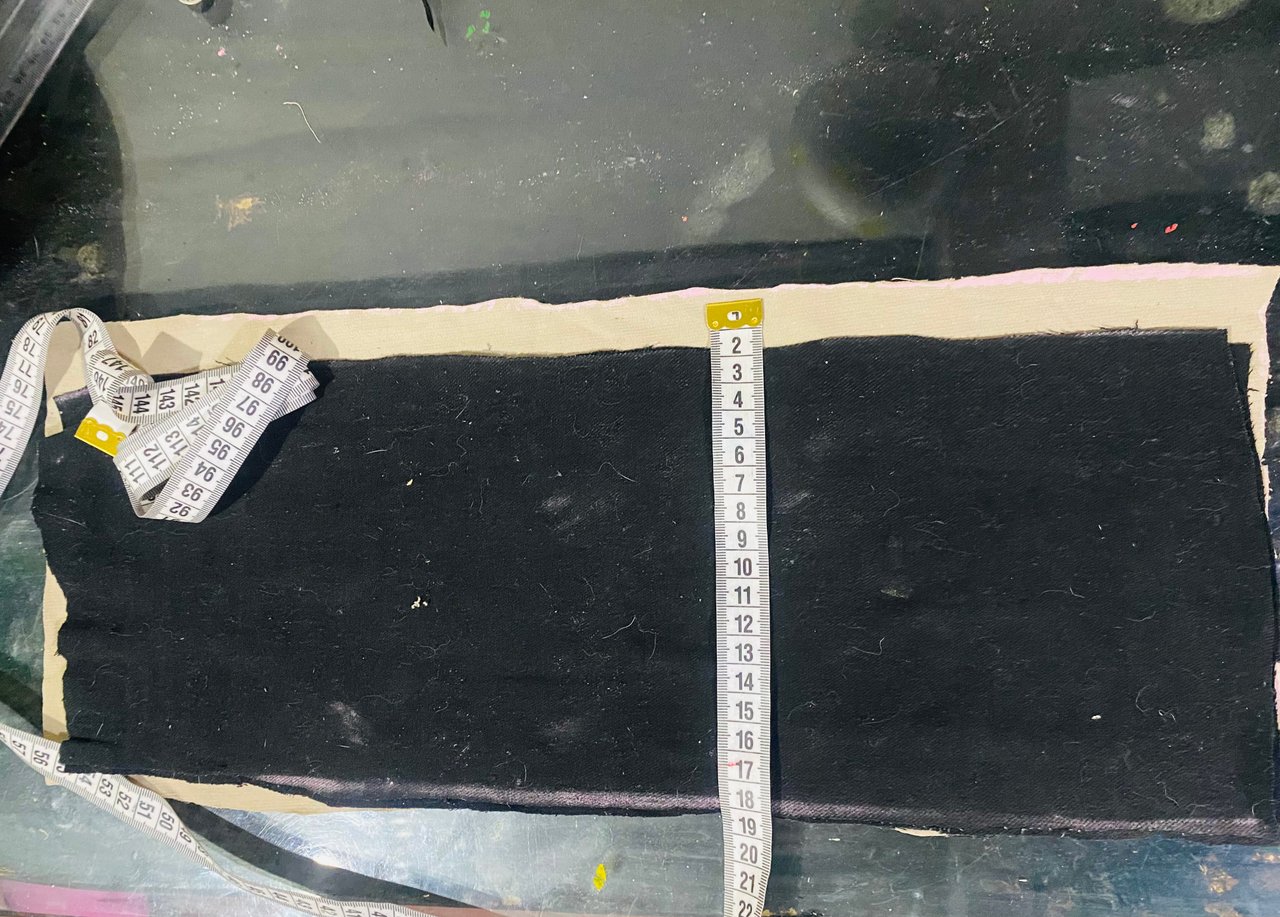
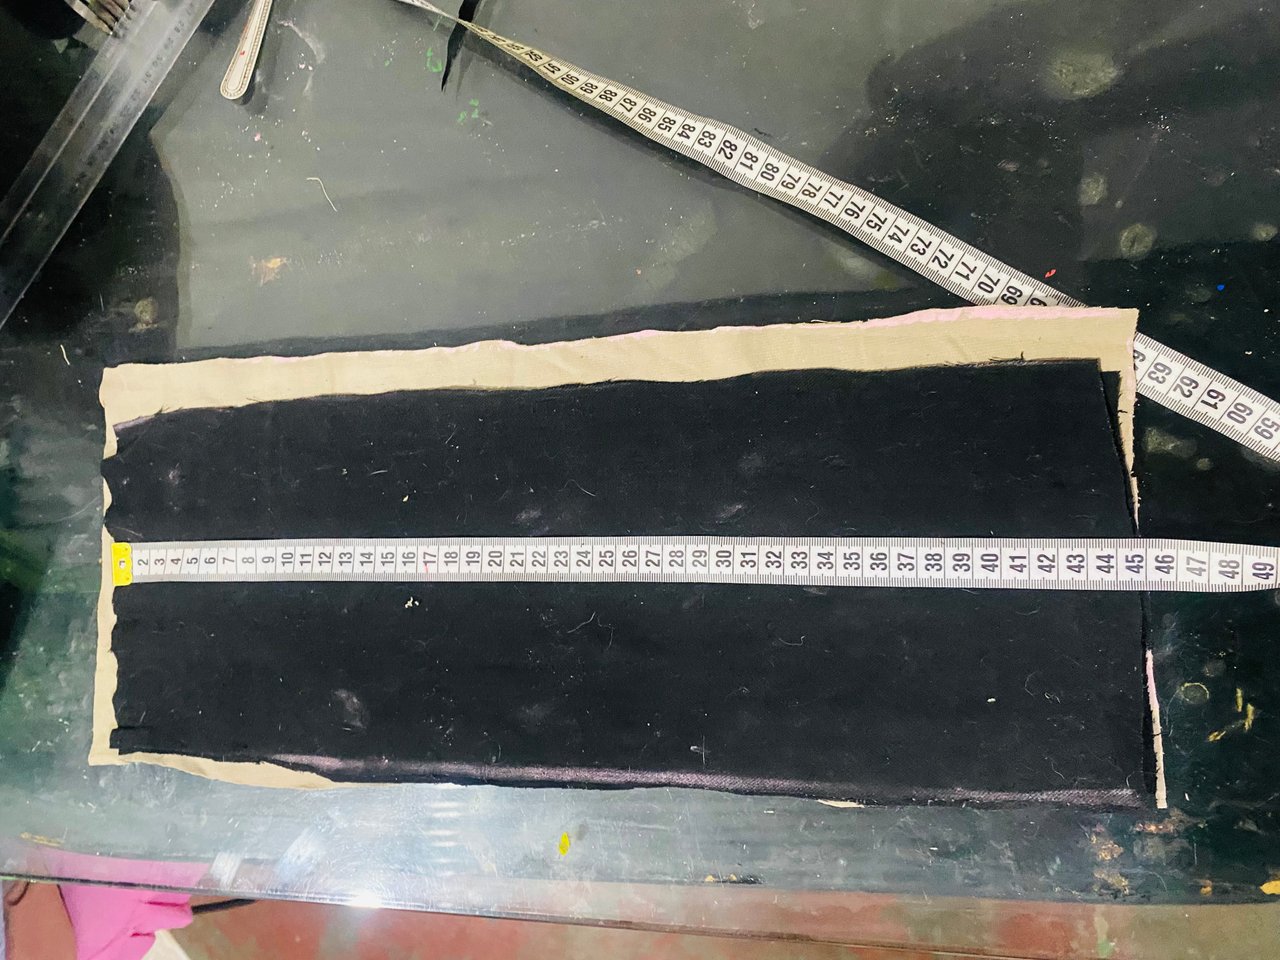
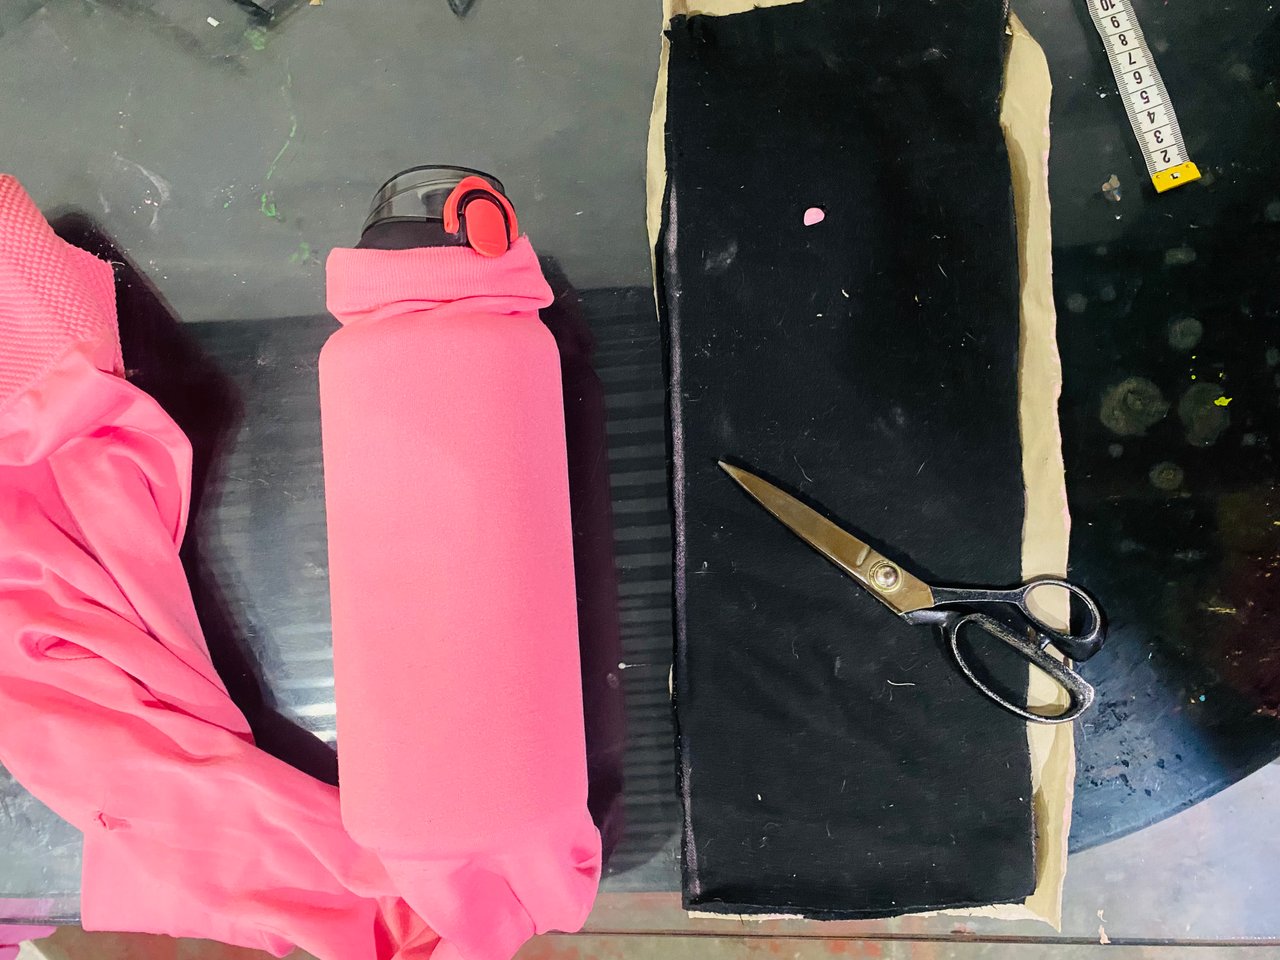
Comenzaremos tomándole la medida a nuestro termo y el largo aproximado que queremos el bolsitos con los agarraderas, en mi caso corté tres rectángulos de tela uno de 16 cm y 2 de 17 cm de ancho por 45 cm de largo, estos los corté en colores de tela diferente para luego hacerles un diseño, también corte una de las botas de la Leggins de la medida del alto del termo, este material me gustó mucho ya que es como una media y al mojarse se seca un poco rápido espero que también me sirva como conservante para el frío del agua.
We will start by taking the measurement of our thermos and the approximate length that we want the bags with the handles, in my case I cut three rectangles of fabric, one of 16 cm and 2 of 17 cm wide by 45 cm long, I cut these in different colors of fabric to later make a design on them, I also cut one of the Leggins boots the measurement of the height of the thermos, I liked this material a lot since it is like a sock and when it gets wet it dries a little quickly, I hope that it also serves as a preservative for the cold water.
 |  |
|---|---|
 |
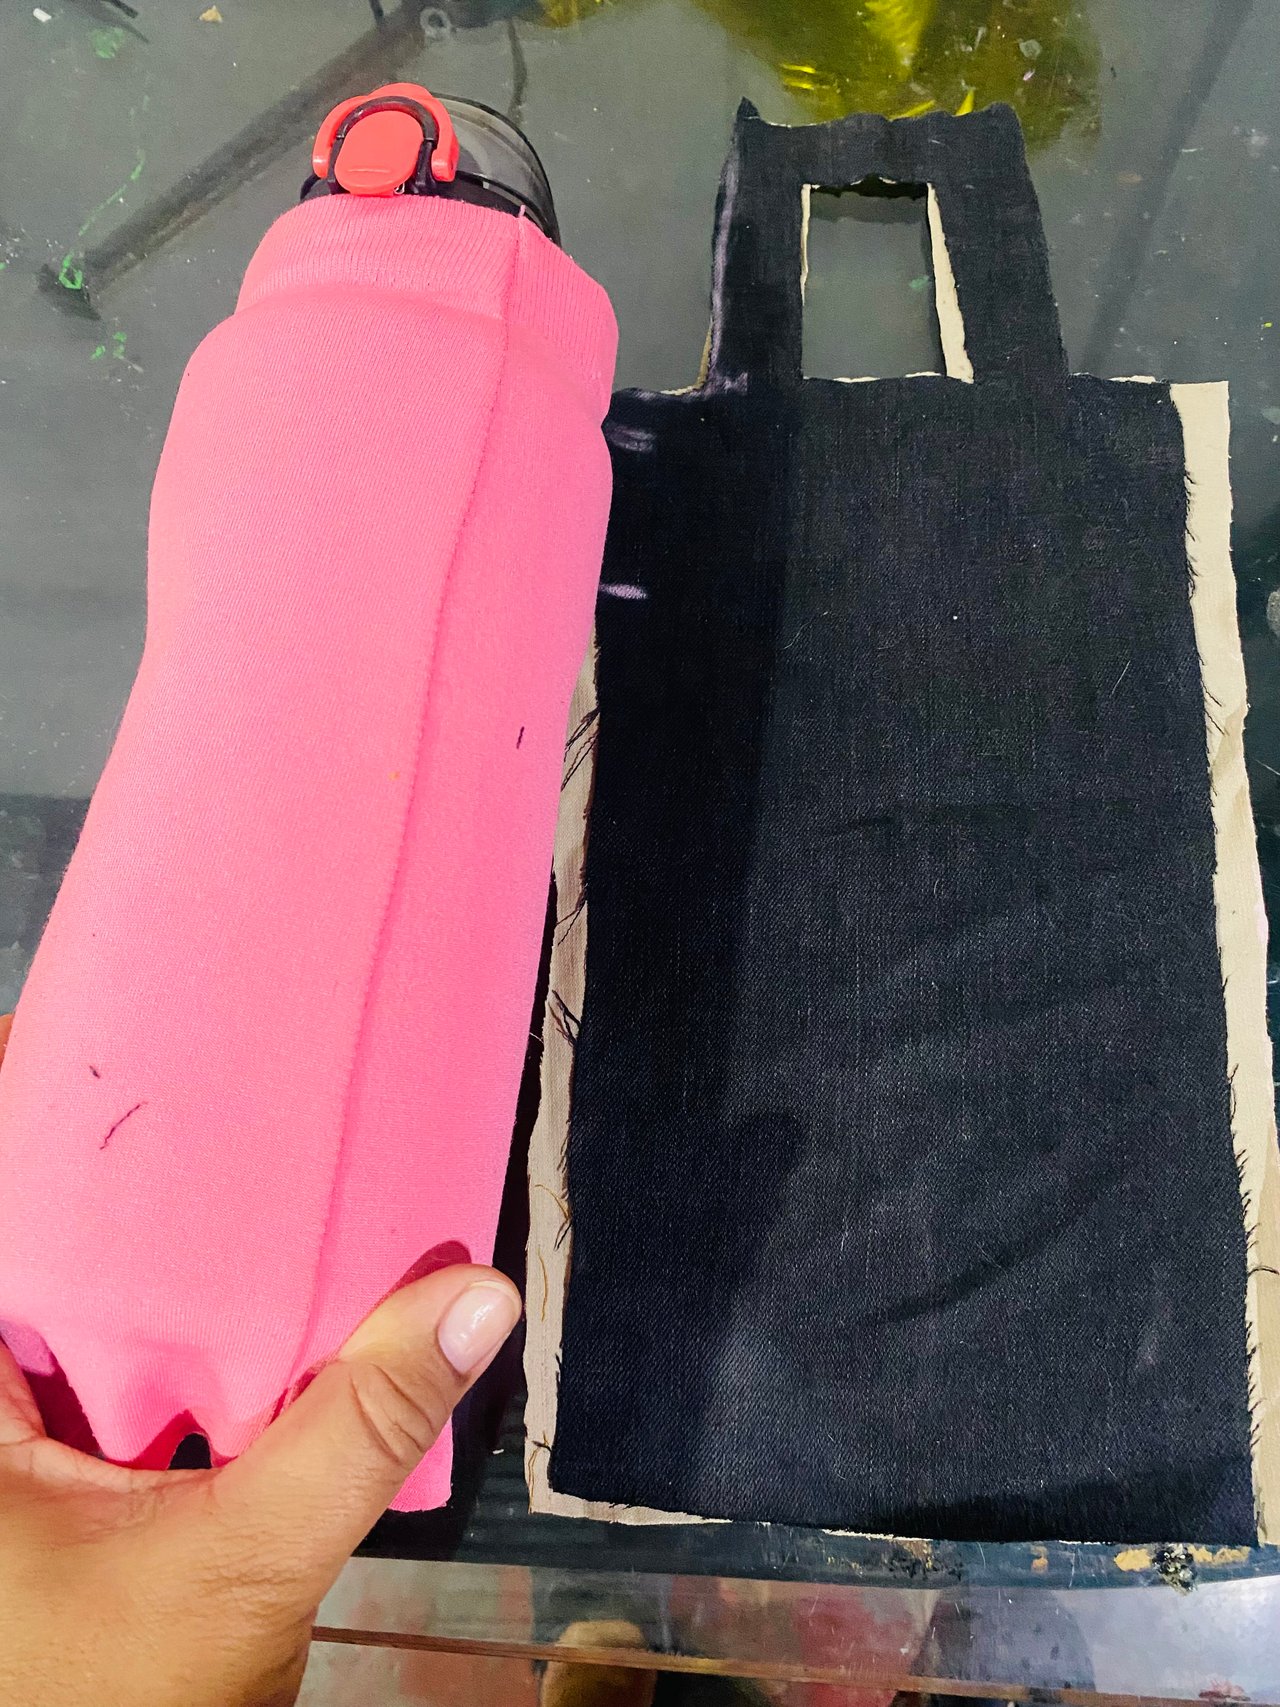
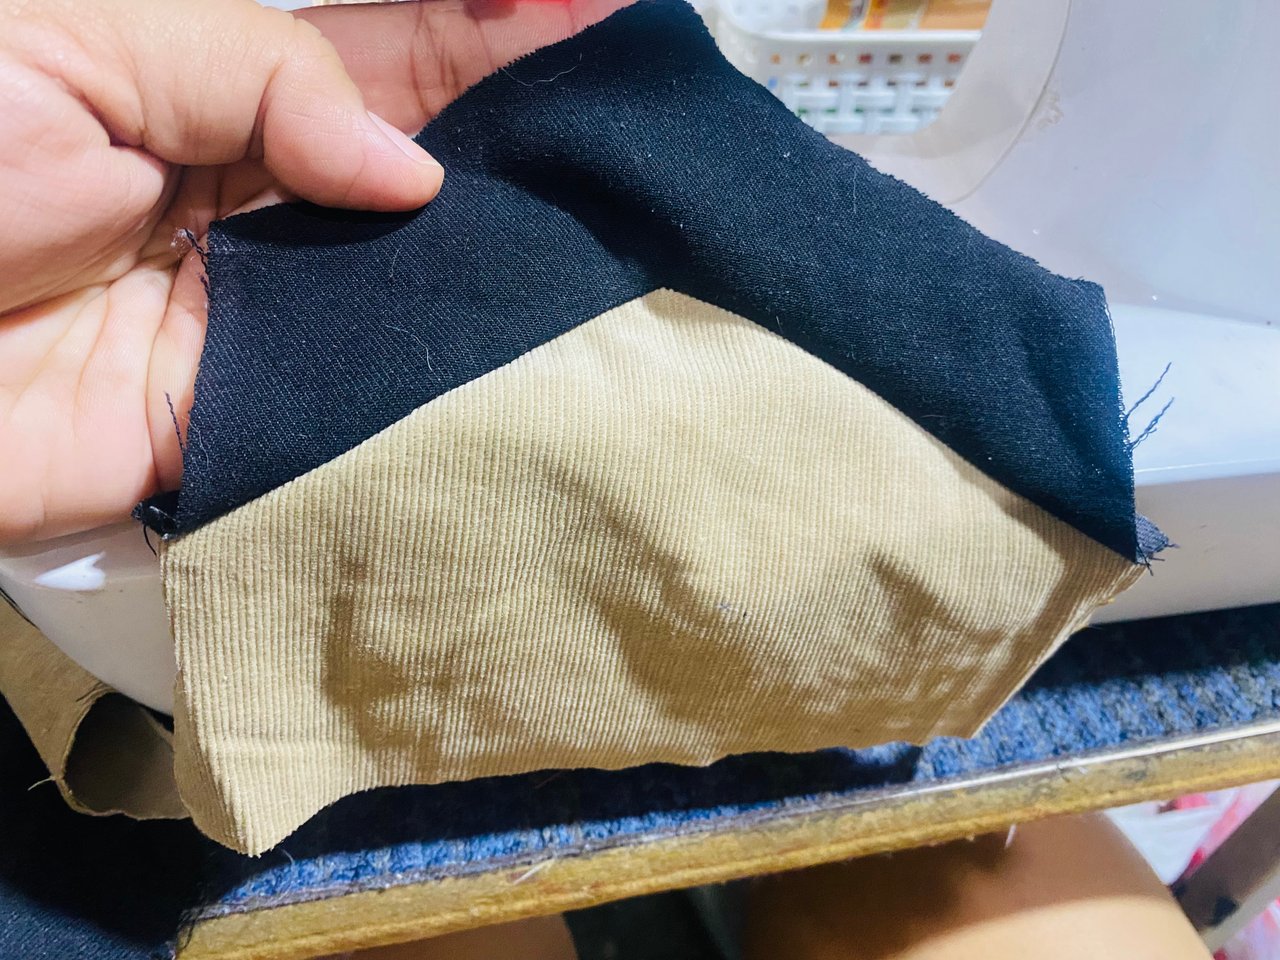
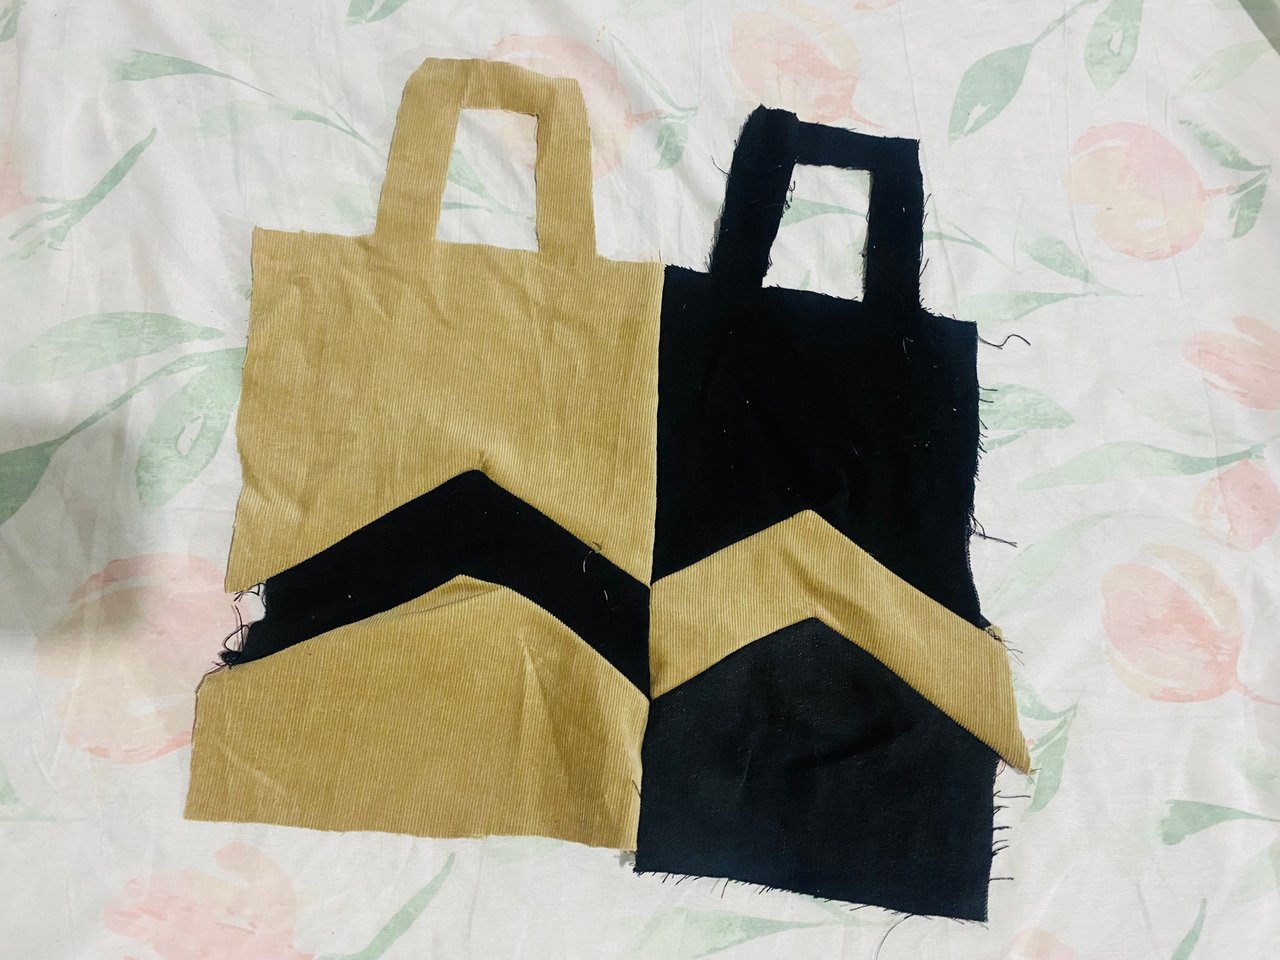
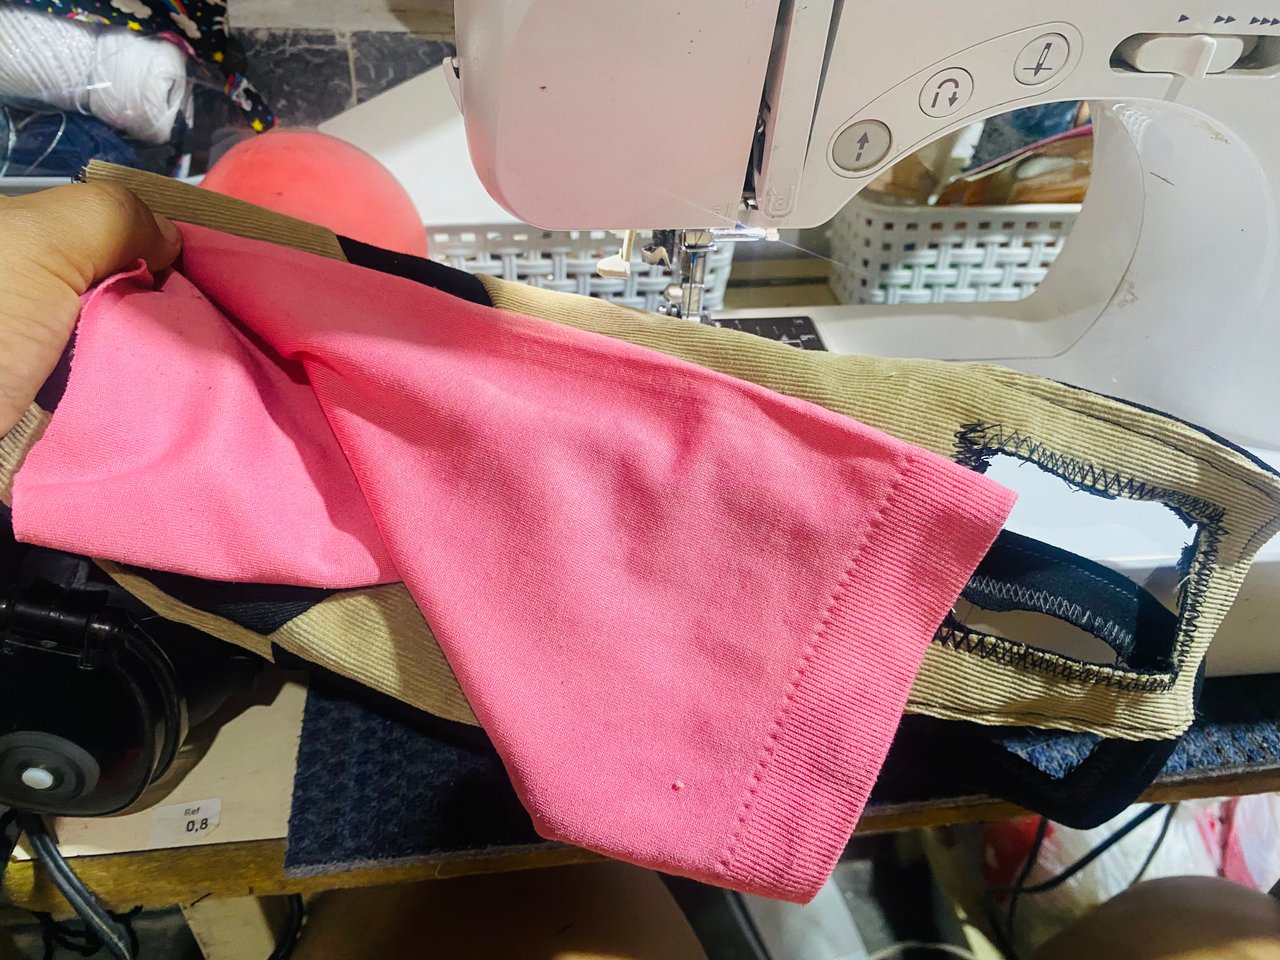
En este paso vamos a hacerle la forma de las asas en la parte superior de la tela del bolsito, las haré de forma cuadrada con el orificio en el centro y con un pequeño espacio a los lados, en mis imágenes les muestro como deben quedar, También voy a aplicar una magia en los diseños que sirve para cualquier tipo de prenda, éste se hace de la siguiente forma : doblo la tela a la mitad y le dibujo dos líneas diagonales estas las corto para luego invertir las telas y hacerle un diseño en el color contrario para cada lado, espero les guste, 😊
In this step we are going to make the shape of the handles on the upper part of the bag fabric, I will make them square with the hole in the center and with a small space on the sides, in my images I show you how they should look, I am also going to apply a magic in the designs that works for any type of garment, this is done in the following way: I fold the fabric in half and draw two diagonal lines, I cut these and then invert the fabrics and make a design in the opposite color for each side, I hope you like it, 😊
 |  |
|---|
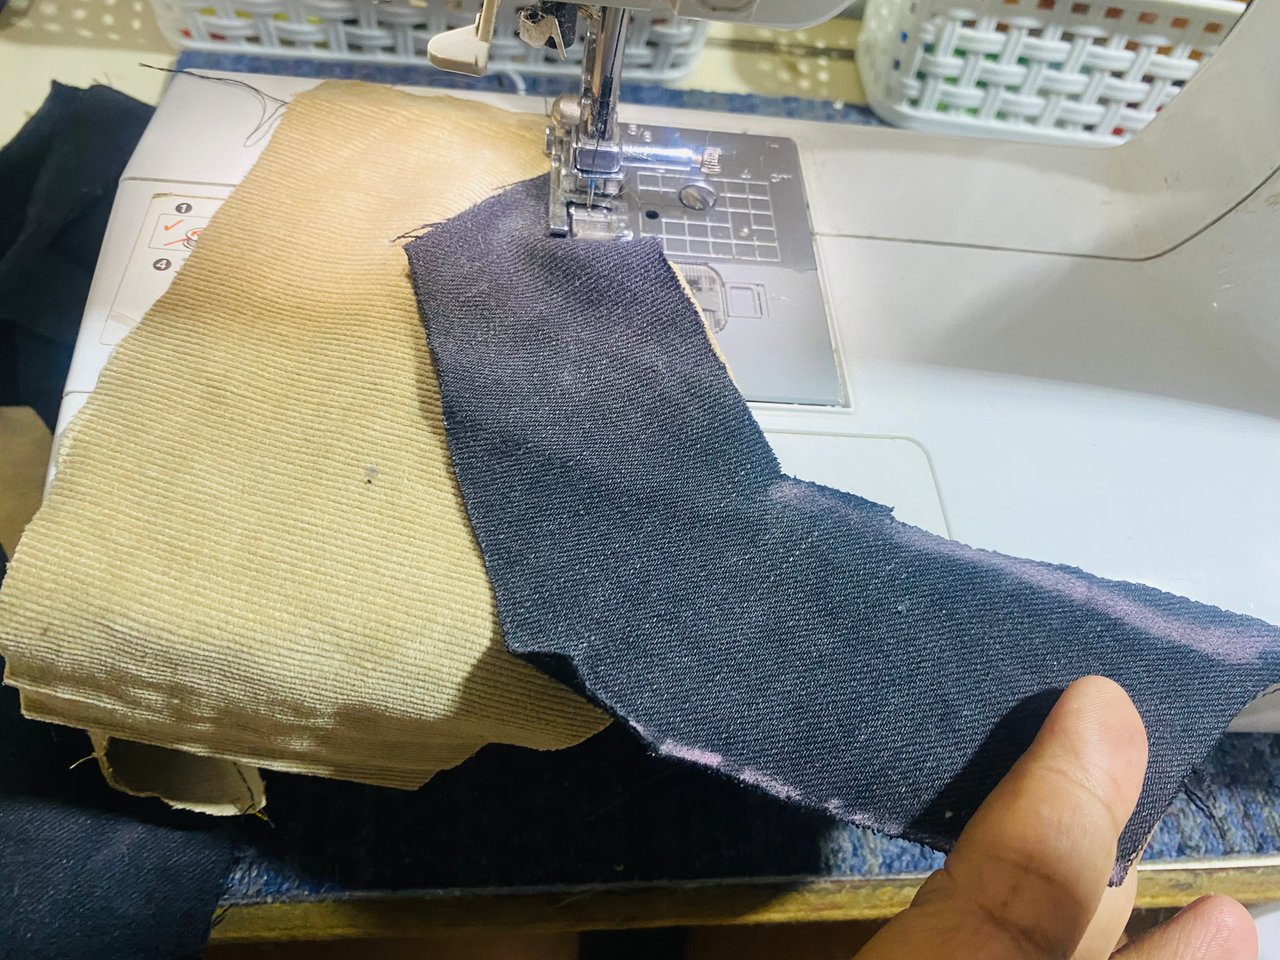
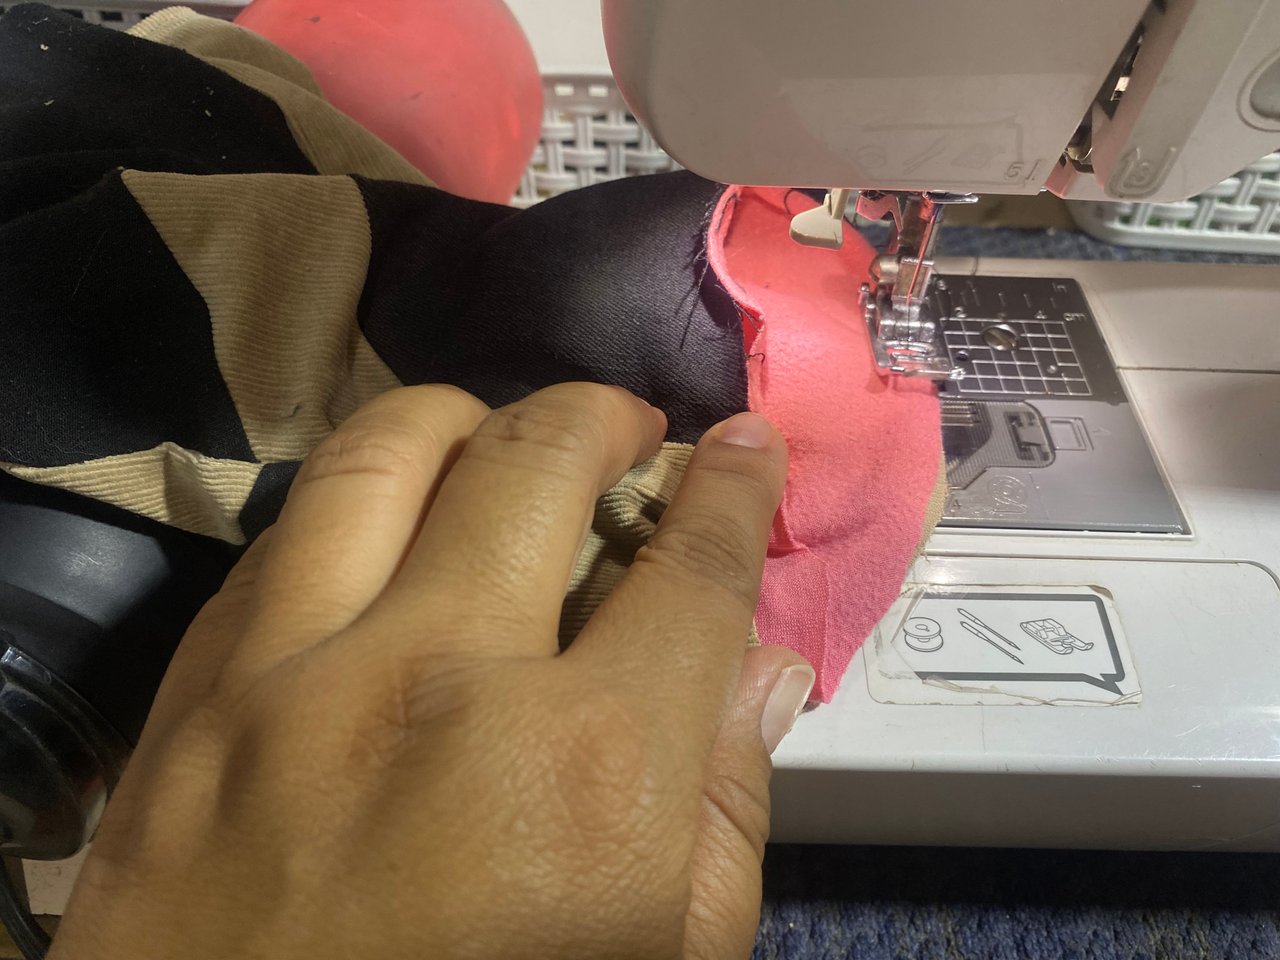
Ahora vamos a comenzar con las costuras, vamos a pasar costura por toda la orilla de la tela del diseño que le hicimos en el centro a cada lado, esto es sencillo pasamos una costura hasta donde esté el primer pliegue luego levantamos el pie de la máquina acomodamos y seguimos pasando costura hasta finalizar, esto lo hacemos en las dos orillas, luego seguimos con la otra parte, luego unimos por uno de los laterales
Now we are going to start with the seams, we are going to sew along the entire edge of the fabric of the design that we made in the center on each side, this is simple, we sew until where the first fold is, then we raise the foot of the machine, adjust it and continue sewing until finished, we do this on both edges, then we continue with the other part, then we join by one of the sides
 |  |
|---|---|
 |  |
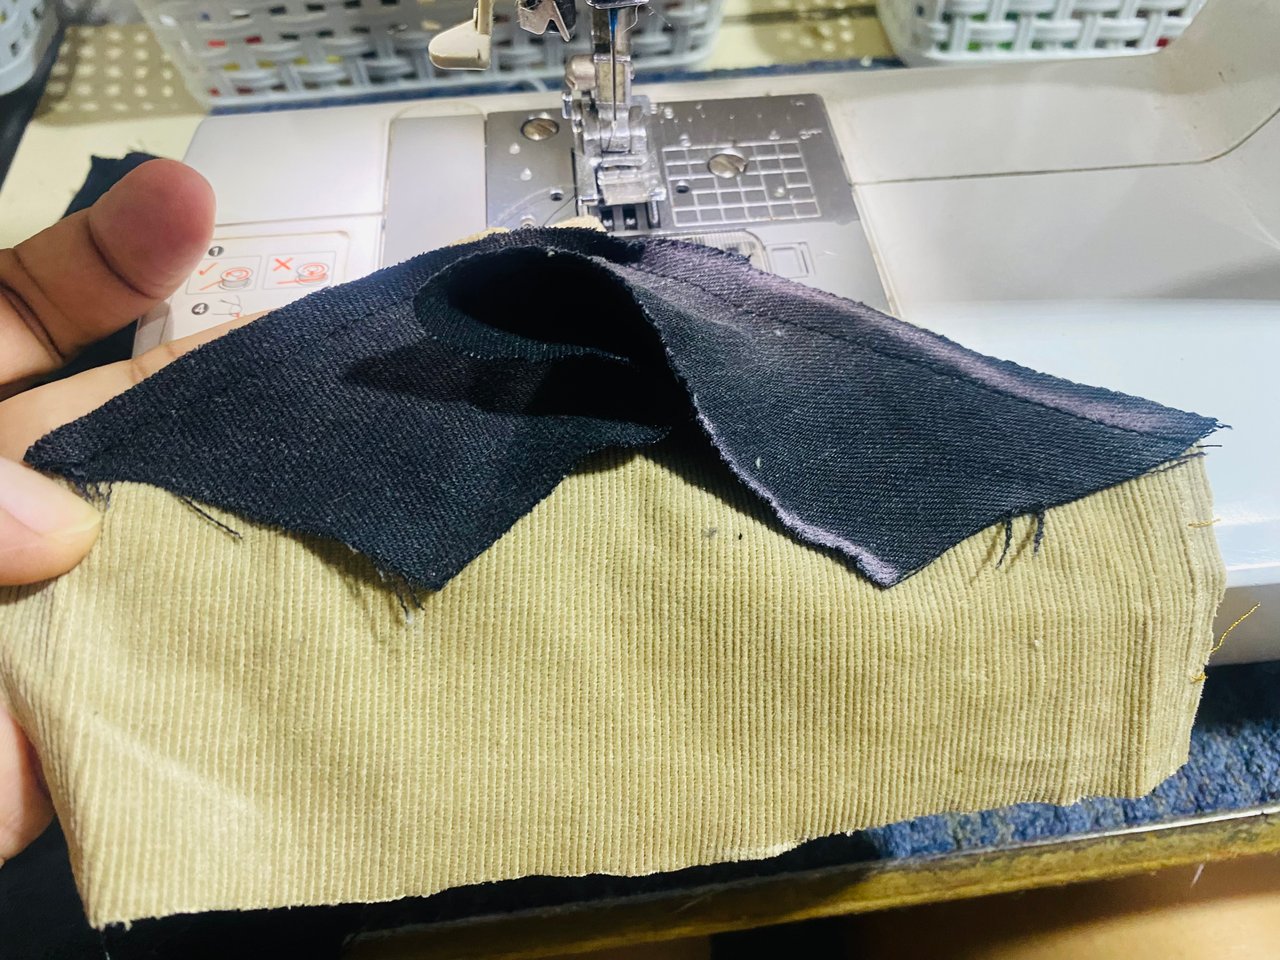
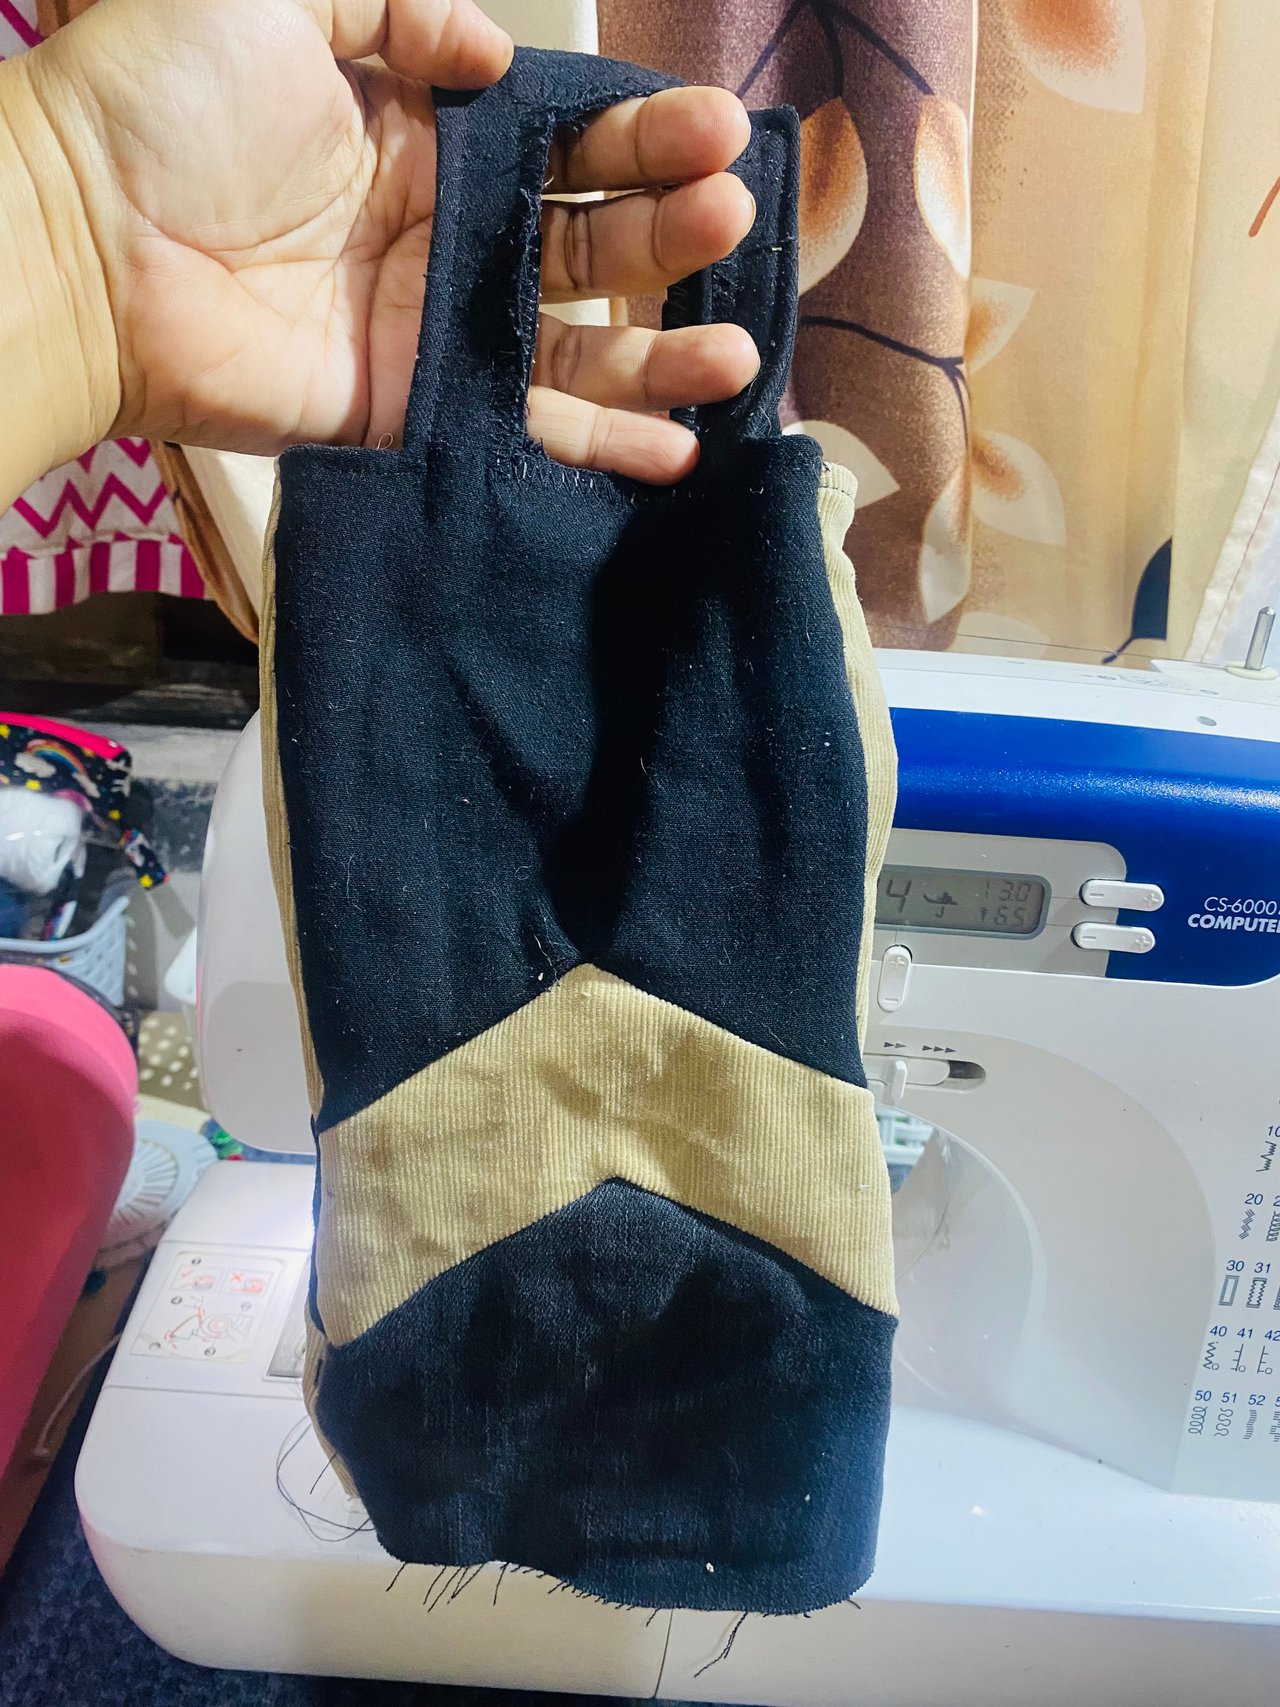
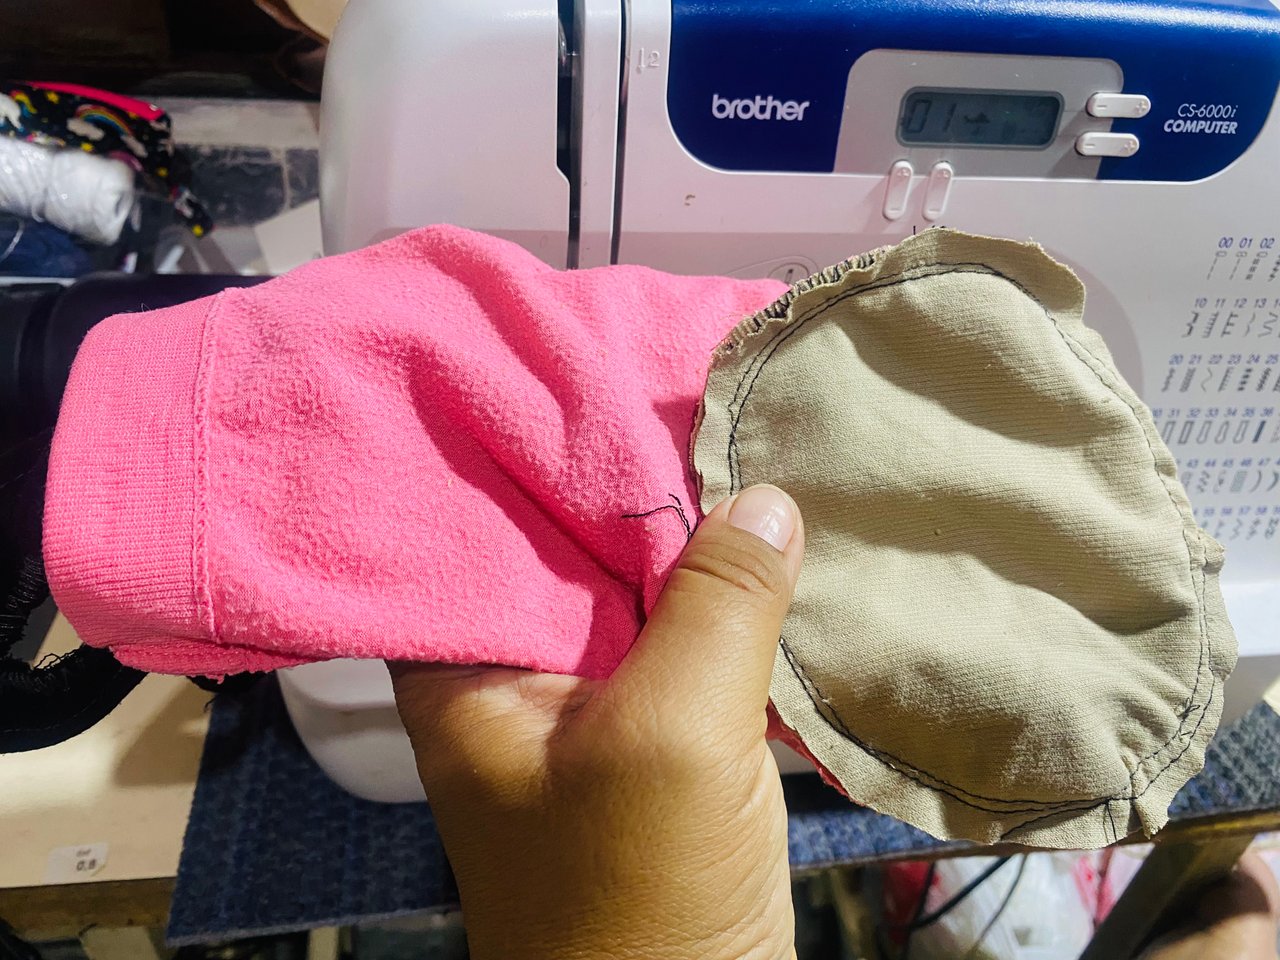
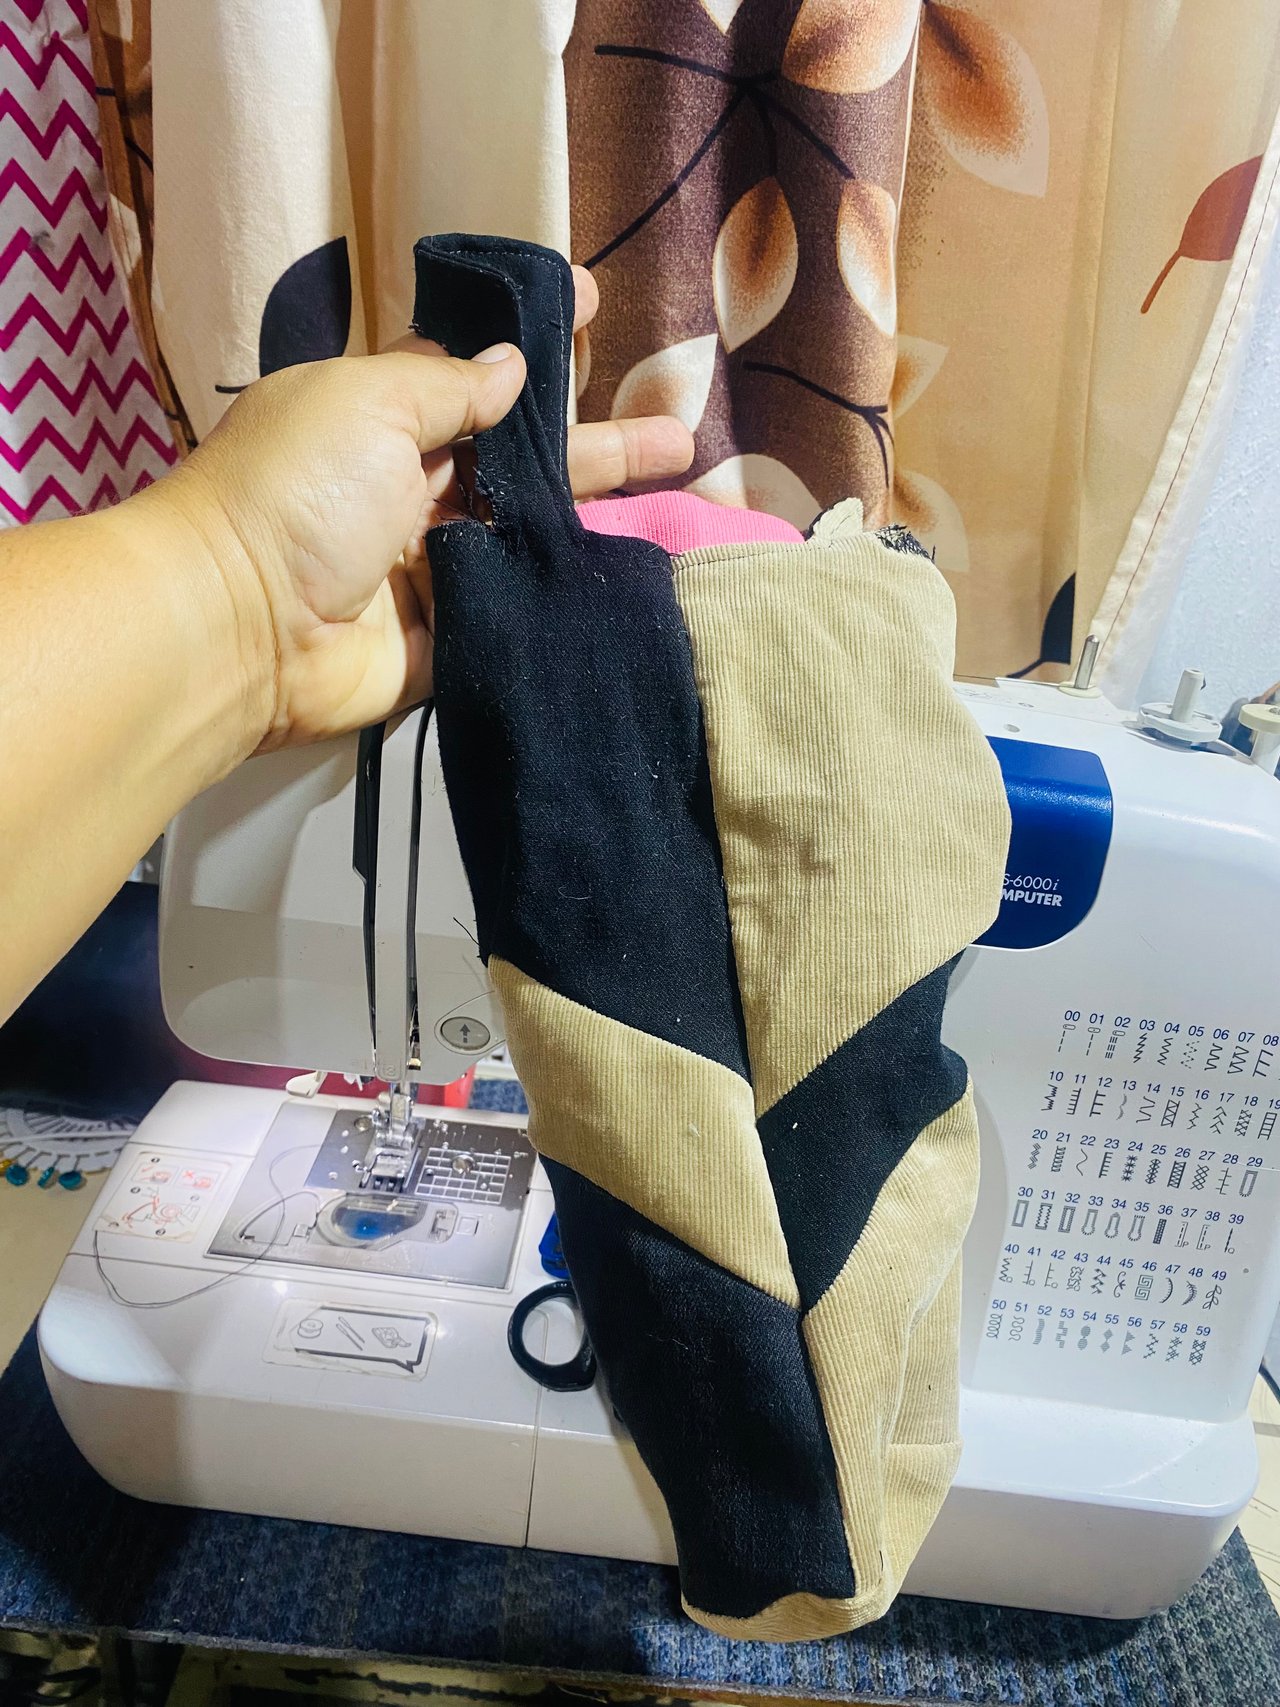
En la parte superior vamos a unir el tercer rectángulo de tela que cortamos, ubicamos, fijamos con alfileres y vamos pasando costura por toda la orilla, luego cortamos el excedente y volteamos, en la parte del orificio le pasé costura en zigzag como un bordado para que al quitarle el excedente de tela no se hilache , luego unimos por el otro lateral, cortamos el excedente de tela y unimos la bota en la tela de Leggins por la parte interna, pasamos costura en el fondo.
At the top we are going to join the third rectangle of fabric that we cut, locate it, fix it with pins and we are going to sew along the entire edge, then we cut the excess and turn it over, in the part of the hole I passed a zigzag seam like an embroidery so that when removing the excess fabric it does not fray, then we join it on the other side, we cut the excess fabric and join the boot to the Leggings fabric on the inside, we sew on the bottom.
 |  |
|---|---|
 |  |
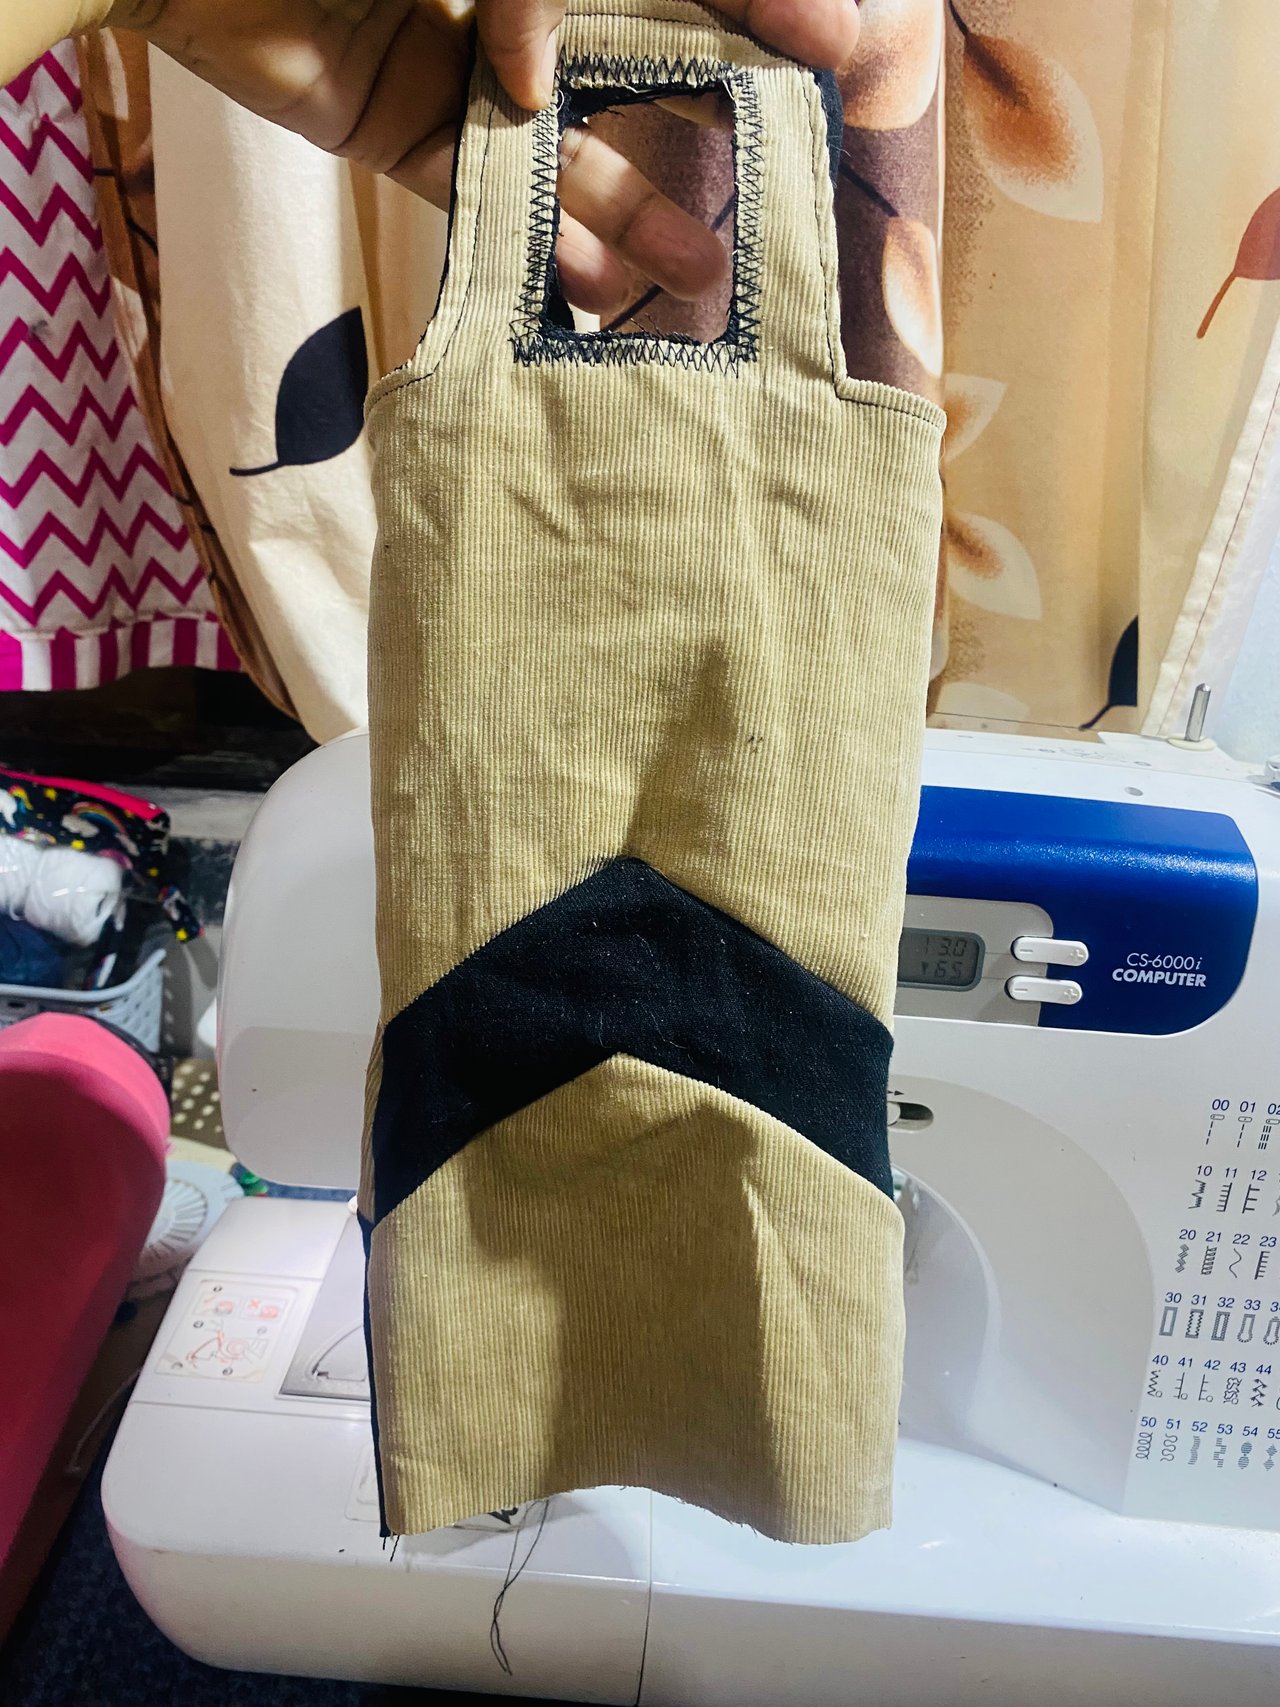
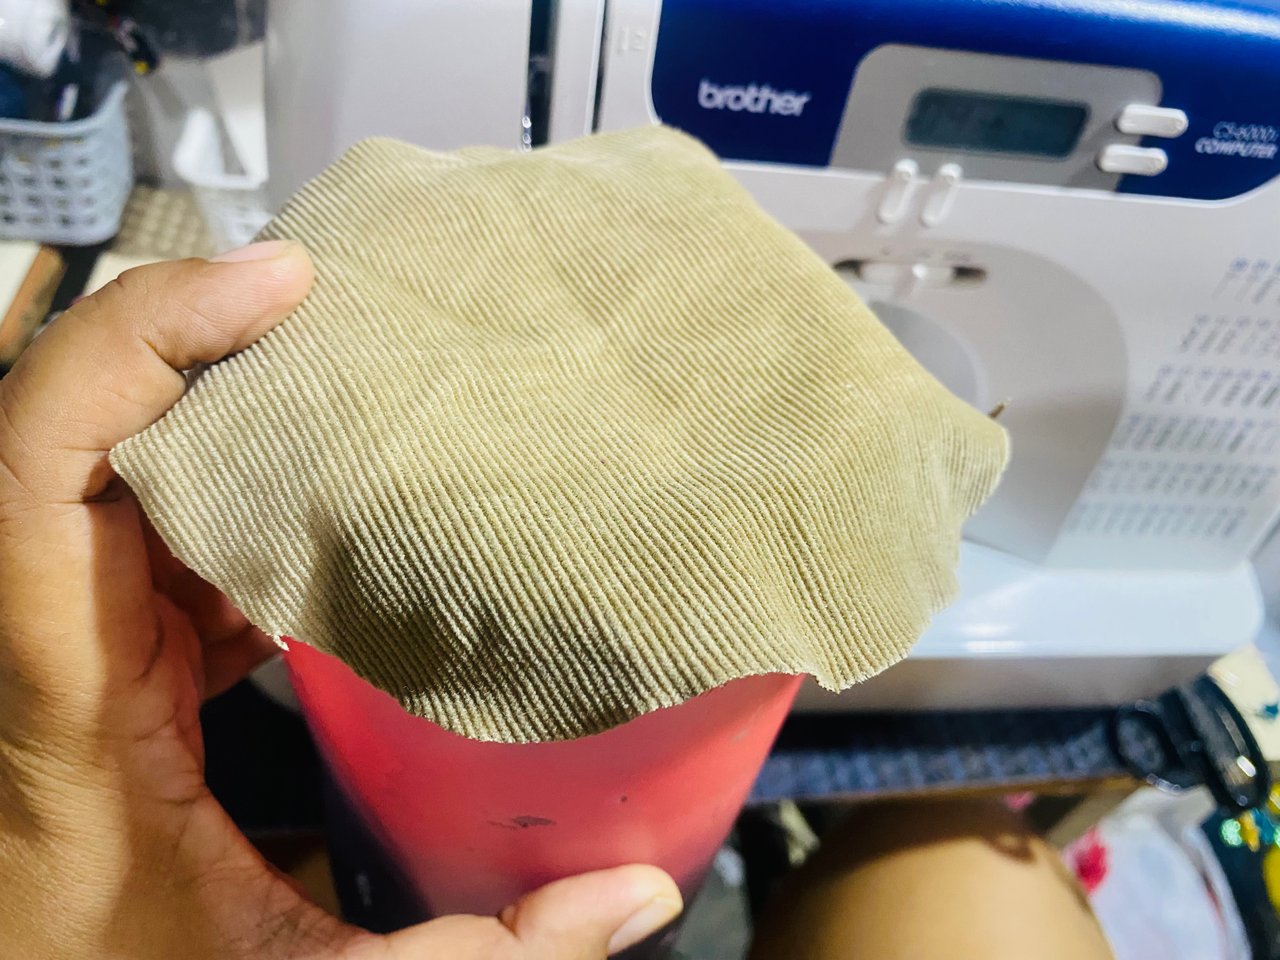
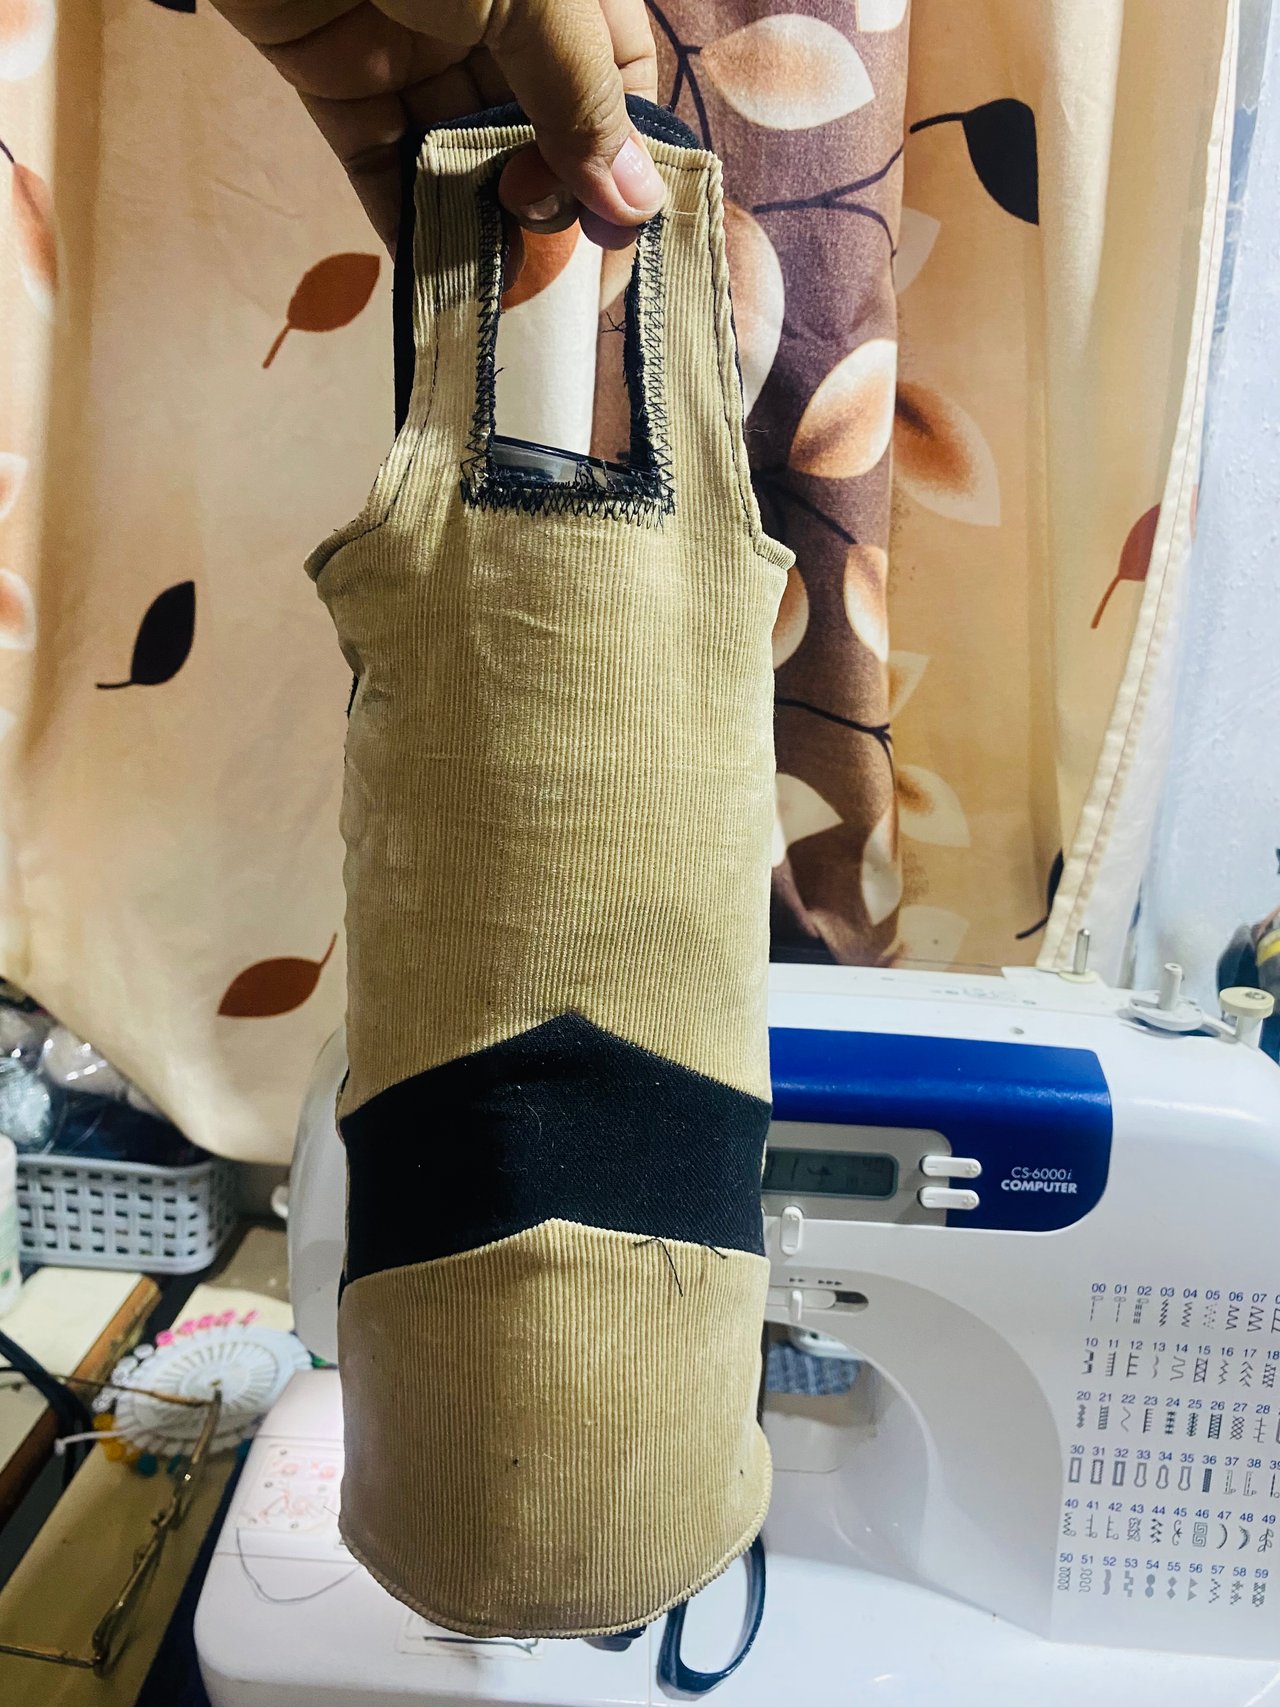
Para el siguiente paso vamos a cortar una circunferencia un poquito más grande que el fondo de nuestro envase de agua, luego la unimos a la otra parte del bolso por el fondo, pasamos costura y así ya está listo este lindo bolsitos para nuestro termo de agua, con un diseño original y con asas para más comodidad, espero les guste
For the next step we are going to cut a circle a little larger than the bottom of our water container, then we join it to the other part of the bag at the bottom, we sew it and that's it, this cute little bag for our water thermos is ready, with an original design and with handles for more comfort, I hope you like it.
 |  |
|---|---|
 |  |
Me gustó mucho como me quedó el bolsitos ya que ahora sí podré cargar mi termo de agua para todas partes y con más facilidad, me despido por hoy deseándoles muchos éxitos y bendiciones, hasta otra oportunidad 🥰❤️
I really liked how the bag turned out since now I can carry my water thermos everywhere and with more ease. I say goodbye for today wishing you much success and blessings, until another opportunity 🥰❤️


las fotos aquí compartidas son de mi propiedad tomadas con mi teléfono iPhone 11, la edición fue hecha en Canva, para la traducción del inglés utilice el traductor de Google