Hello Hive
A beautiful weekend to everyone here. I trust that we are all doing well and enjoying the weekend. While those with 9-5jobs rests during the weekend those of us with personal jobs like farming especially gets very much busy with farm work during the weekends.
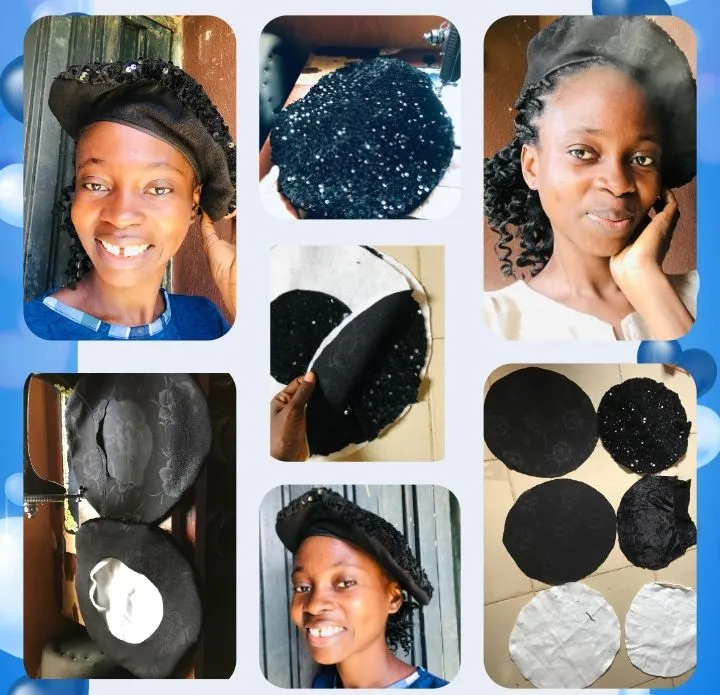
Yesterday I took out sometimes to sew me this beautiful beret. Alot of my young ladies have been rocking different design of head wears that has appealed to me lately and been a designer it is almost easy to learn any new style in fashion.

I have never thought that someday I will come down to the task of sewing a bear wear. Since it is mandated that women must cover their heads in church it will be really boring to tie some head tie all the time so the idea of a head wear is a totally welcome one for me. And more so we have very fashionable head wear in town now that everything will attract you the moment you see how women dresses up so lovely in them
And like you all know me I hardly buy clothes from the market especially if they are designs I can make for myself, I totally prefer sewing my own clothes and wearing my own handmade outfits at all times
Instead of buying a head wear I decided to learn how to sew one.
Having watched one or two YouTube video I caught the light of how to do this. To start with I decided to practice with scrap fabric first and see the outcome
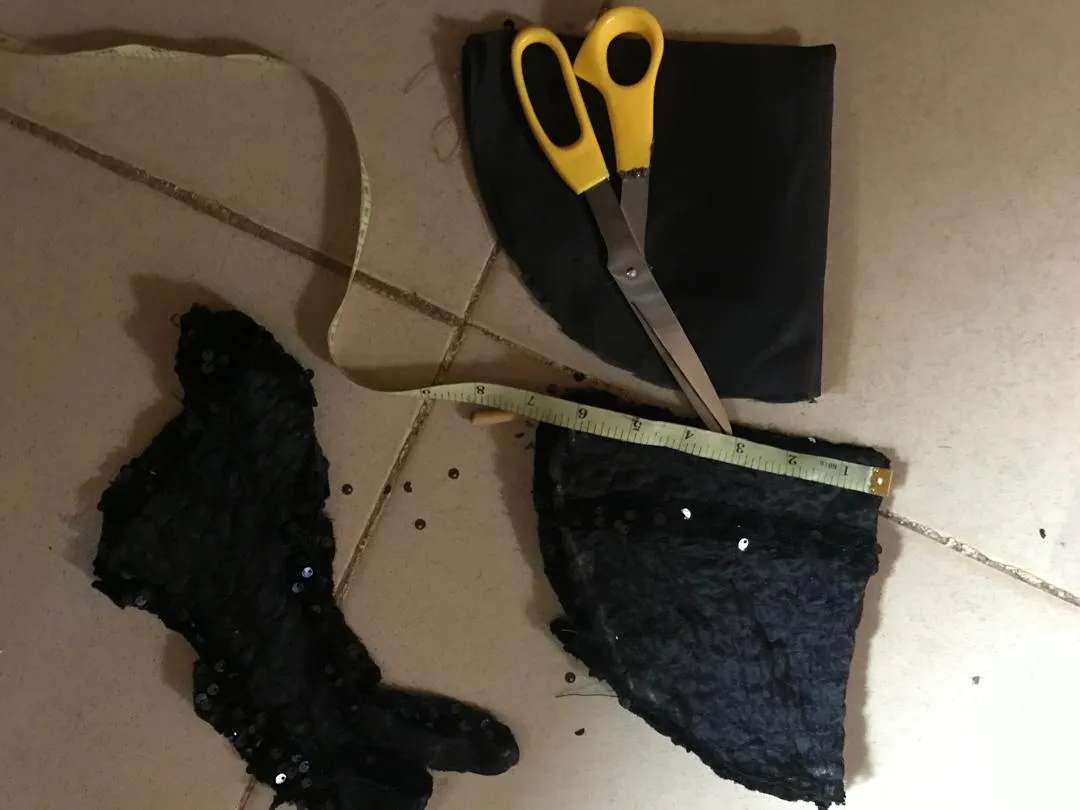
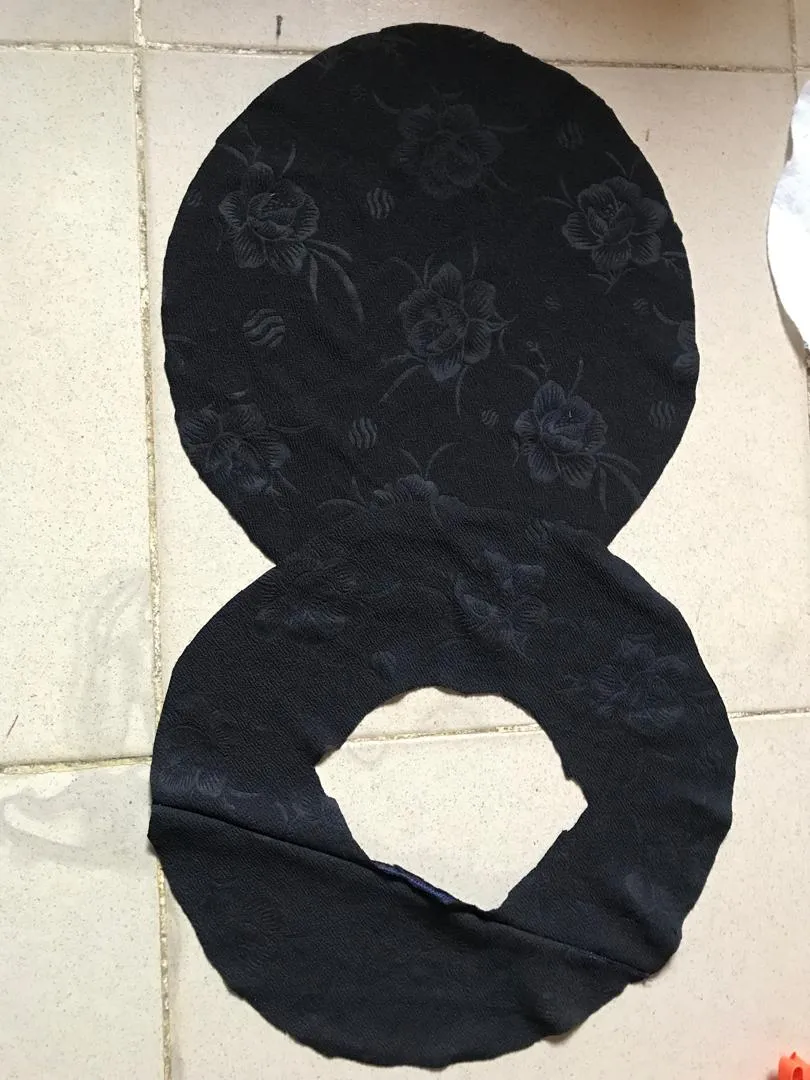
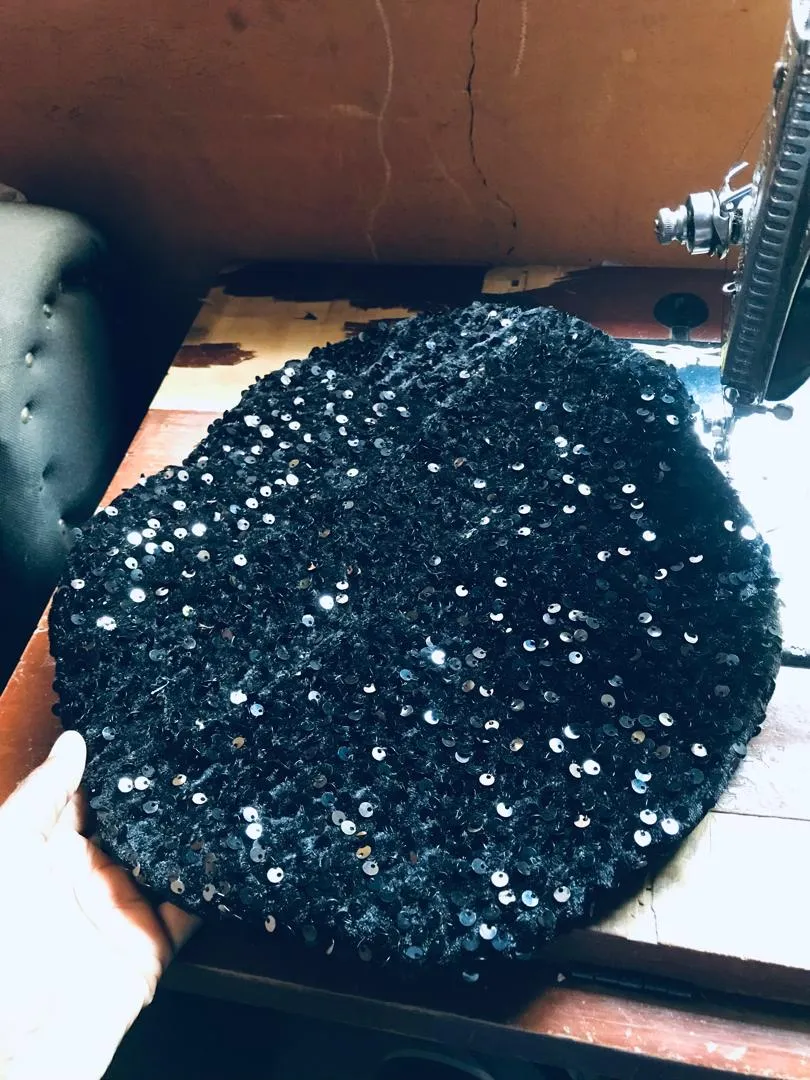
Lucky for me I found several pieces of this sequence fabric which is really beautiful and instead of throwing them away I begin to join those tiny pieces until it becomes e a whole piece.
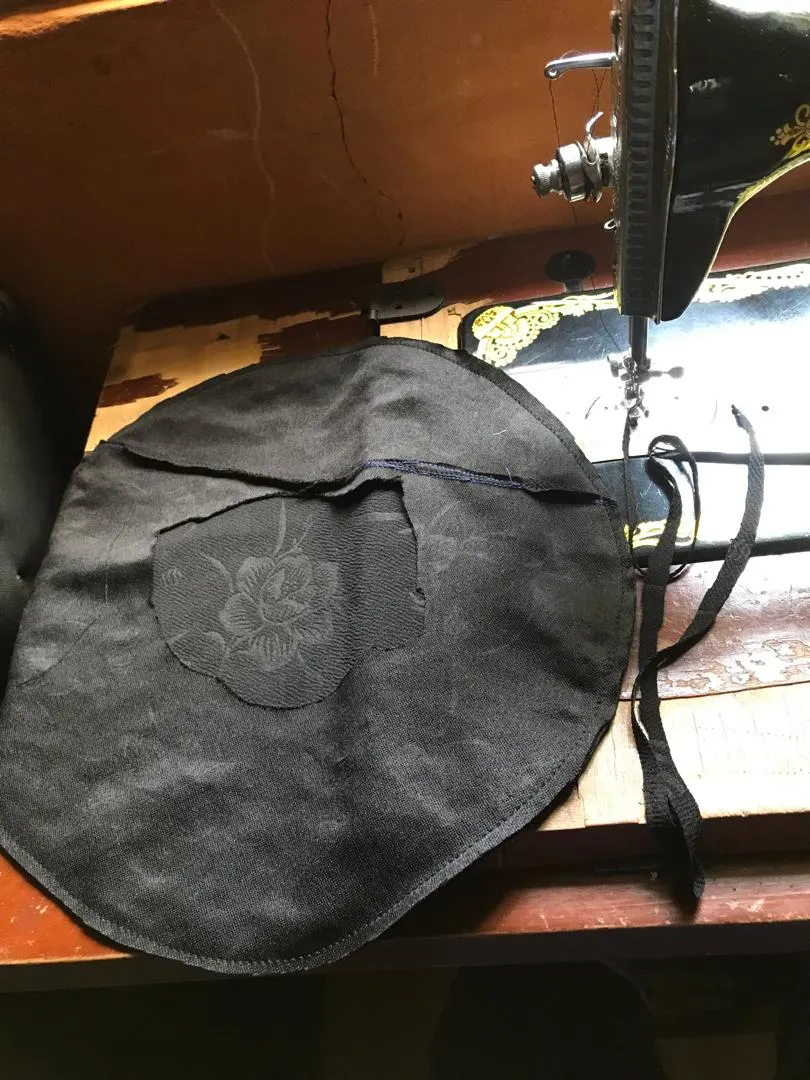
Next I cut a circle from the pieces I had joined, cut this fibre stay (warden ). Then the linings
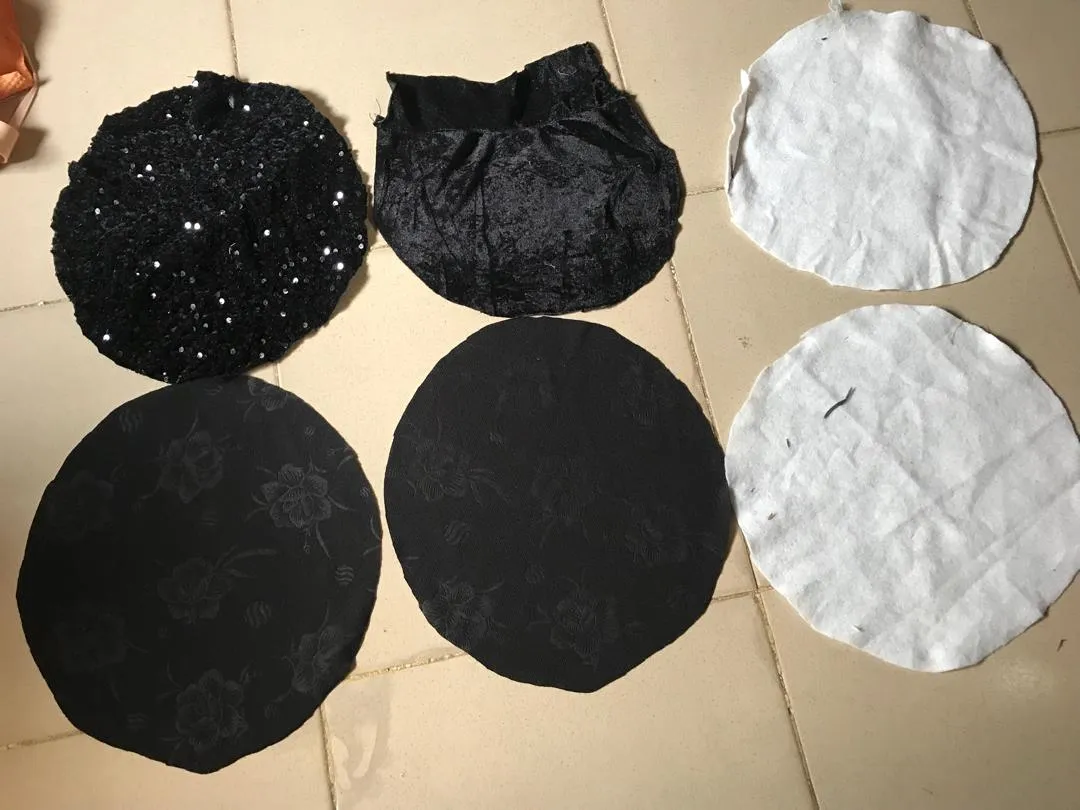
These are all the several pieces I will be using. You can use a 12X12" fabrics to cut this circles from it
This first 4 pieces of fabric and warden will be used as the main body of the berret
This will be used for the lining.
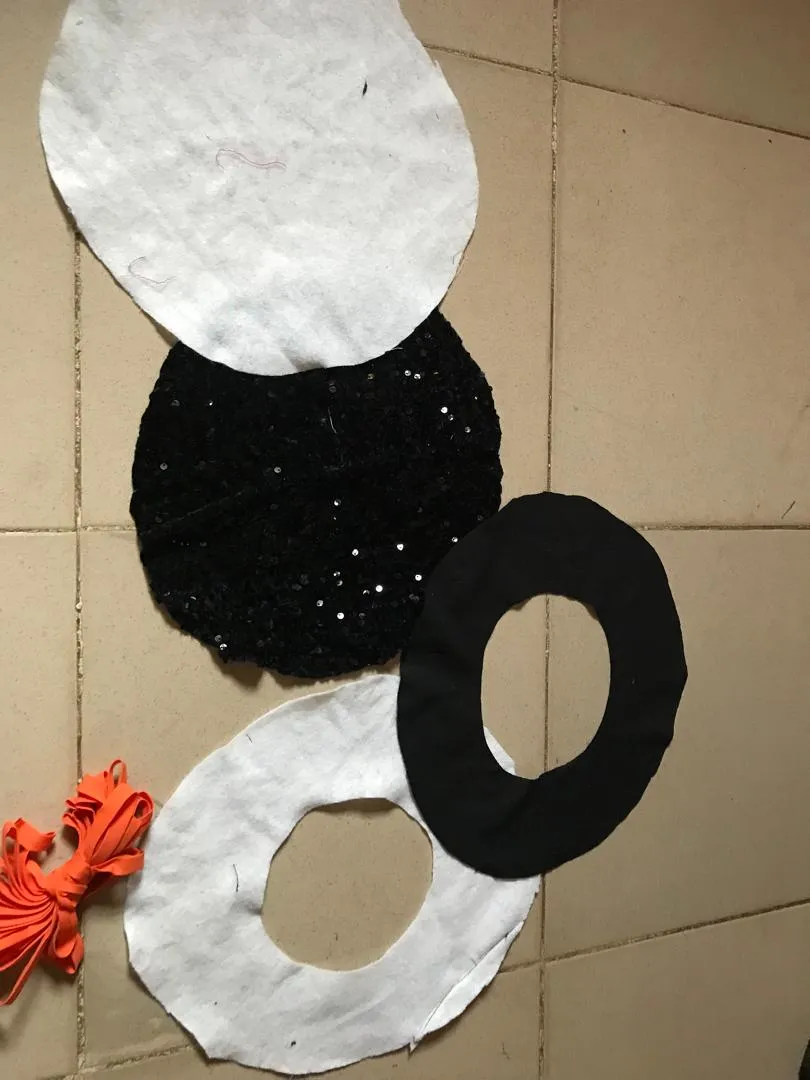
Next step is to join the fabrics in the order...
The warden first
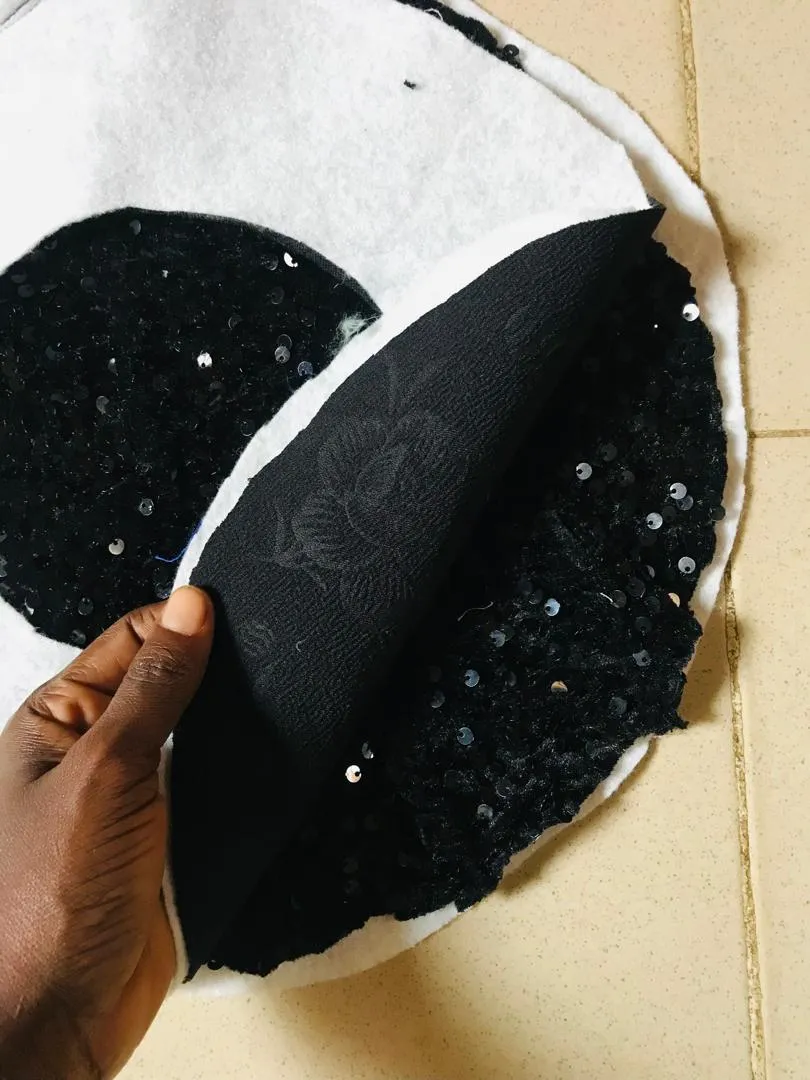
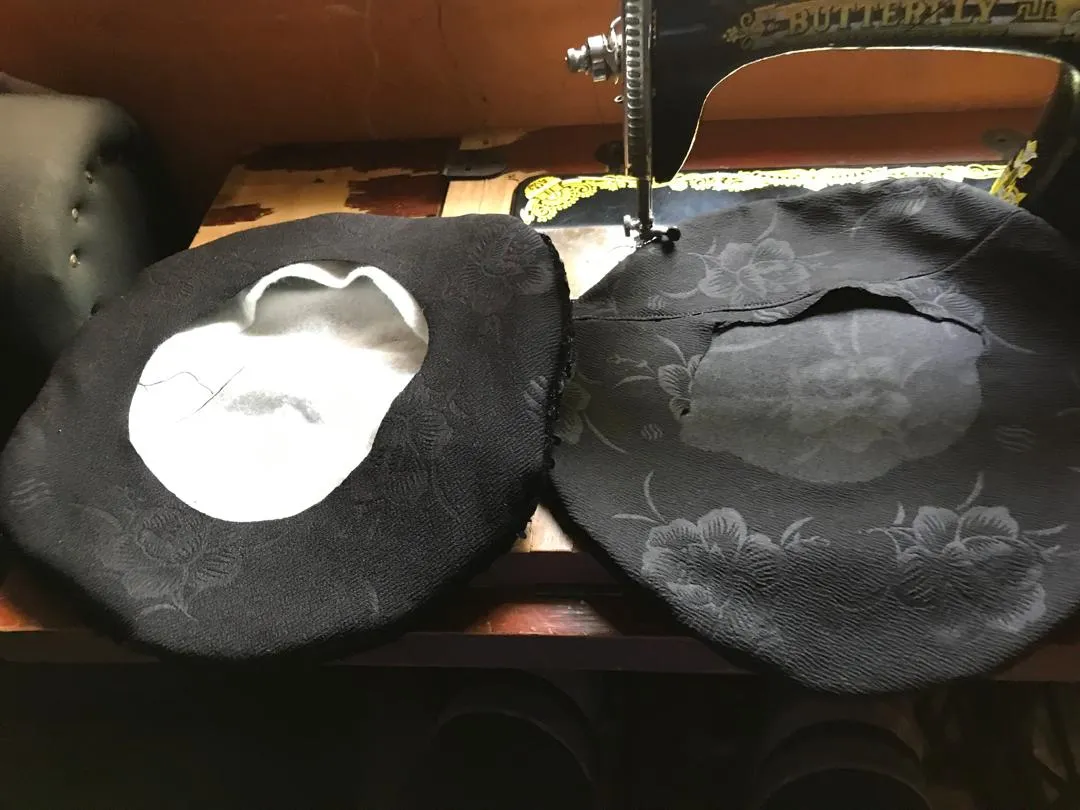
Followed by the sequence material then the inner lining and then another warden which have all been cut at the middle to create a space for our head. You can see the order of how I placed the wrong and side sides as against the warden .
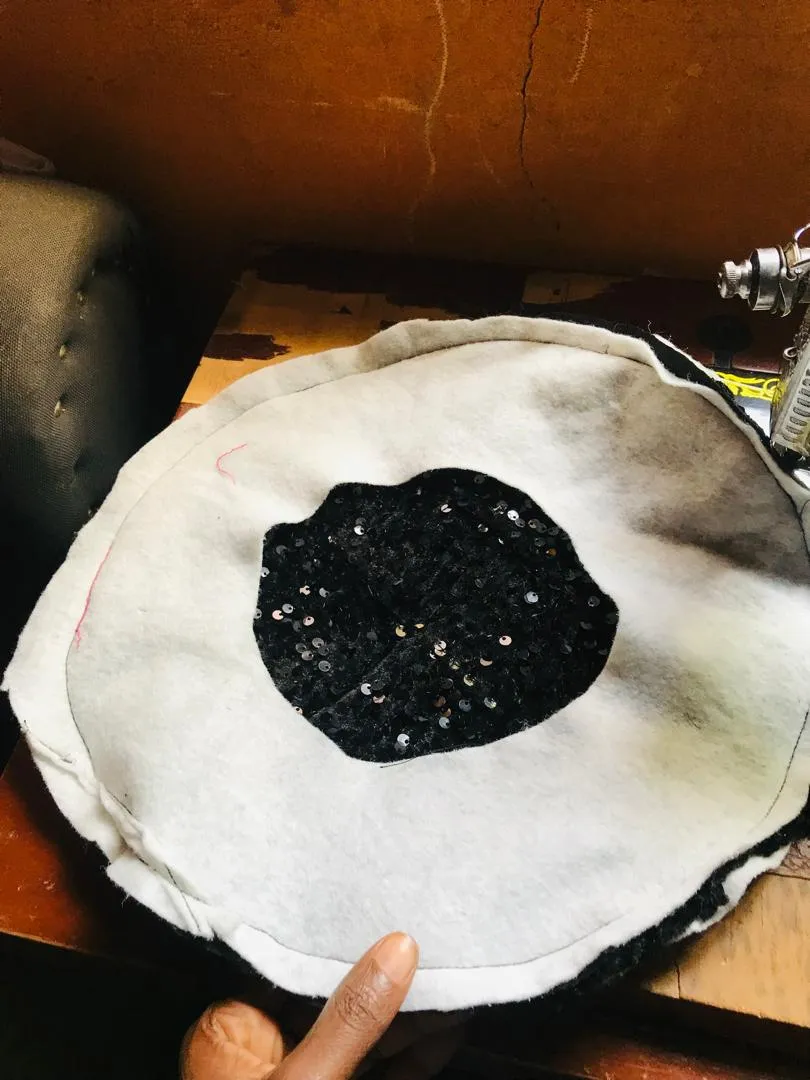
Next you stitch this round and turn it over.

Right here below you now have the berret body and the linings.
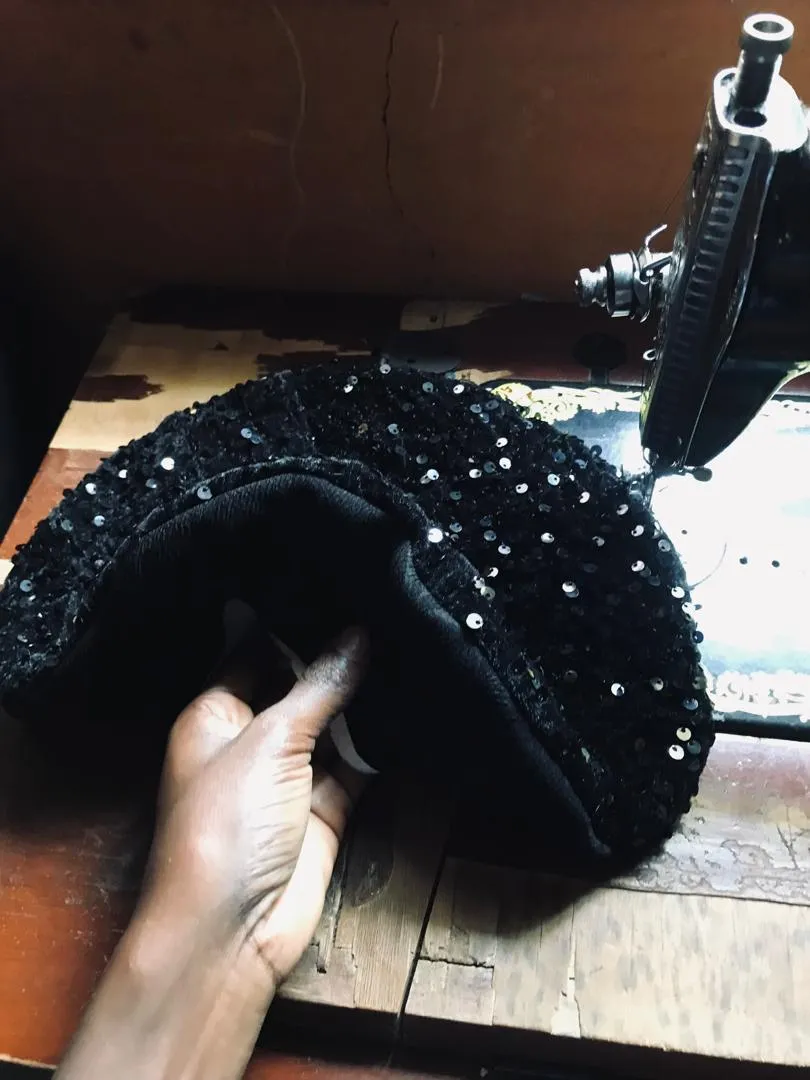
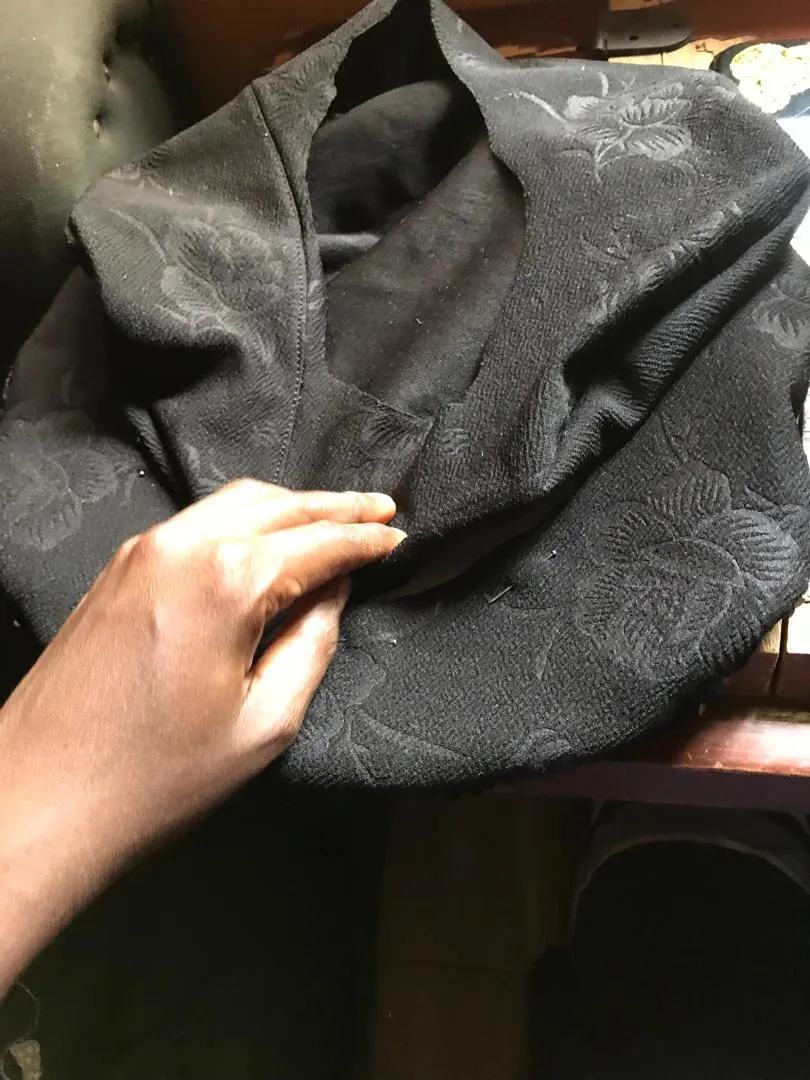
Next step is to simply insert the linings into the berey and have noth edges stitched together, this covers the surface of the inner warden.
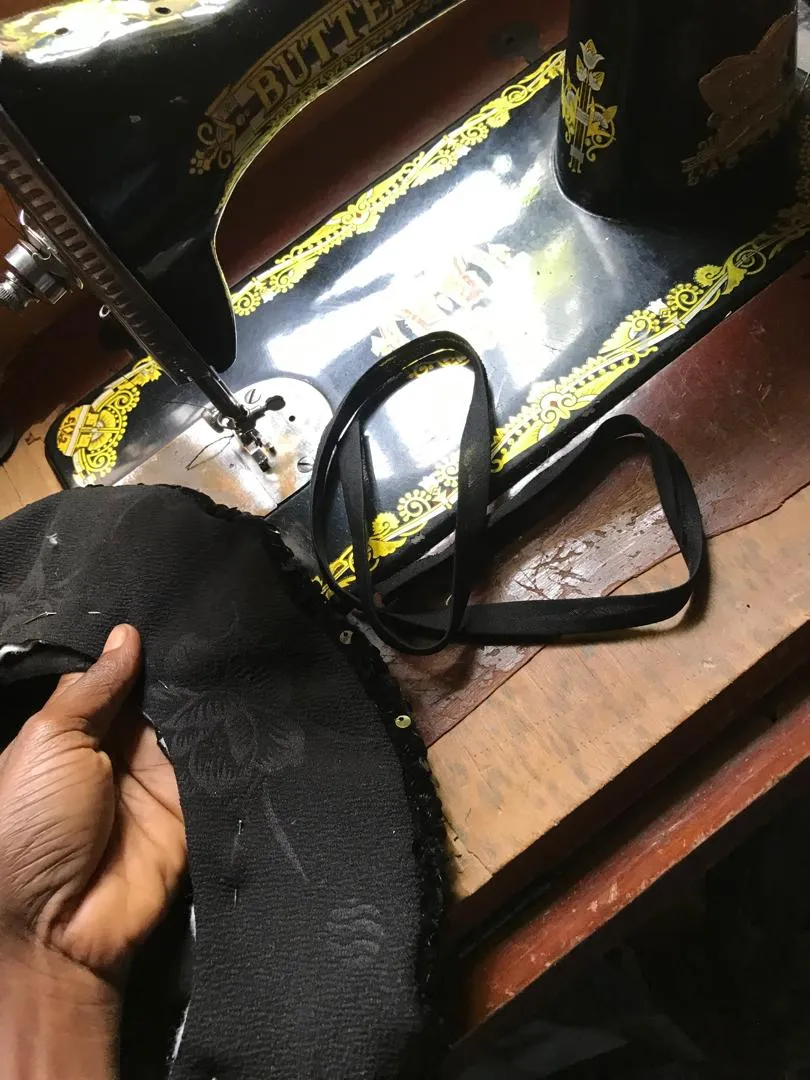
Final step is to tap the edges. You can either use a bias strip or cut a bit of fabrics that will make the edges a bit thicker not as thin as mine came out.
That was done and here goes how my beret looks. Only a good pressing with iron will do this scap some justice which I haven't been able to.