CINTA PARA TOALLA - Towel Tape
¡Hola amigos de hive!, aquí les traigo un nuevo proyecto.
Hello hive friends! Here I bring you a new project.
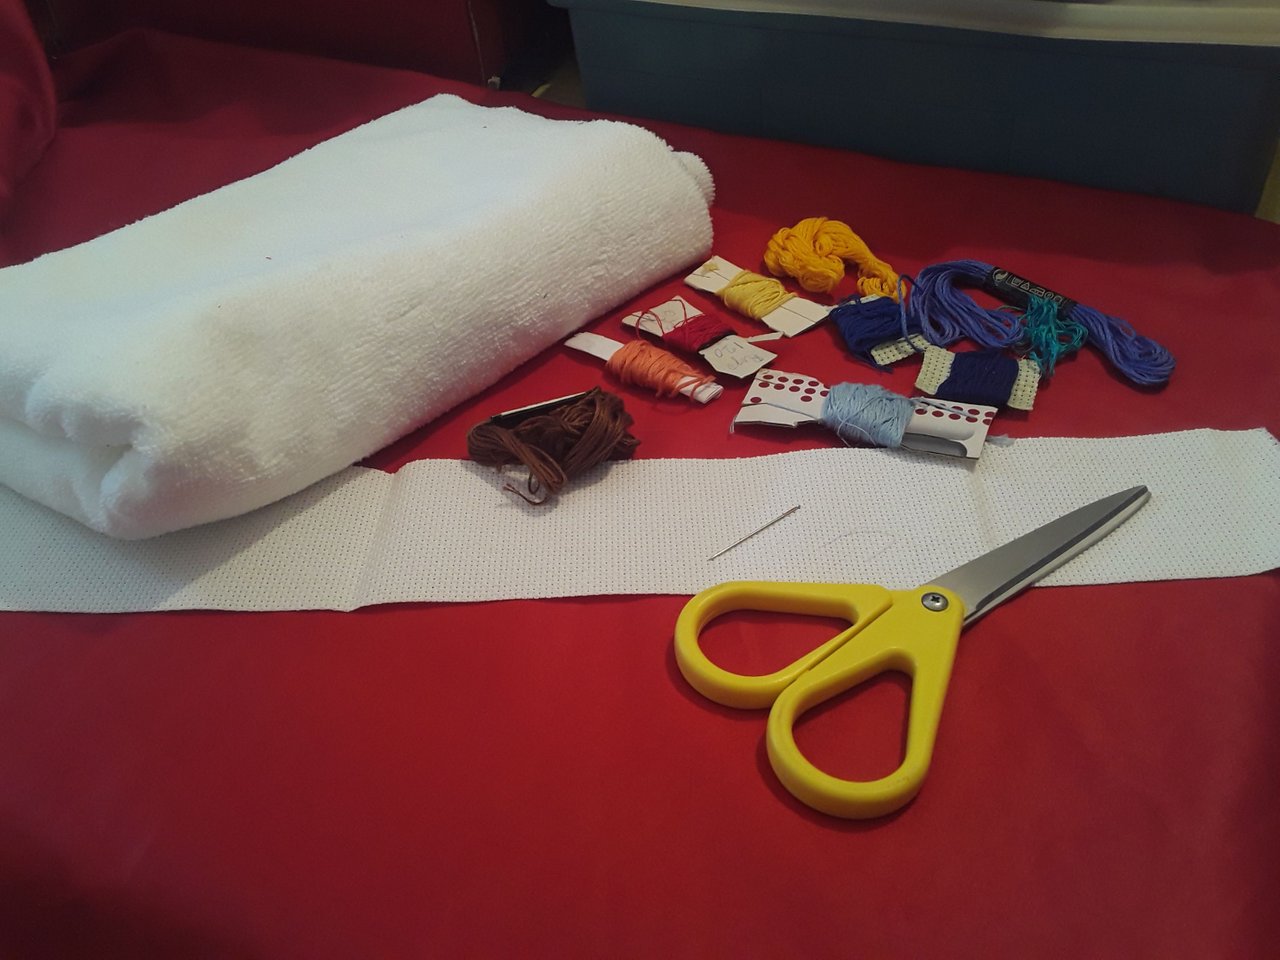
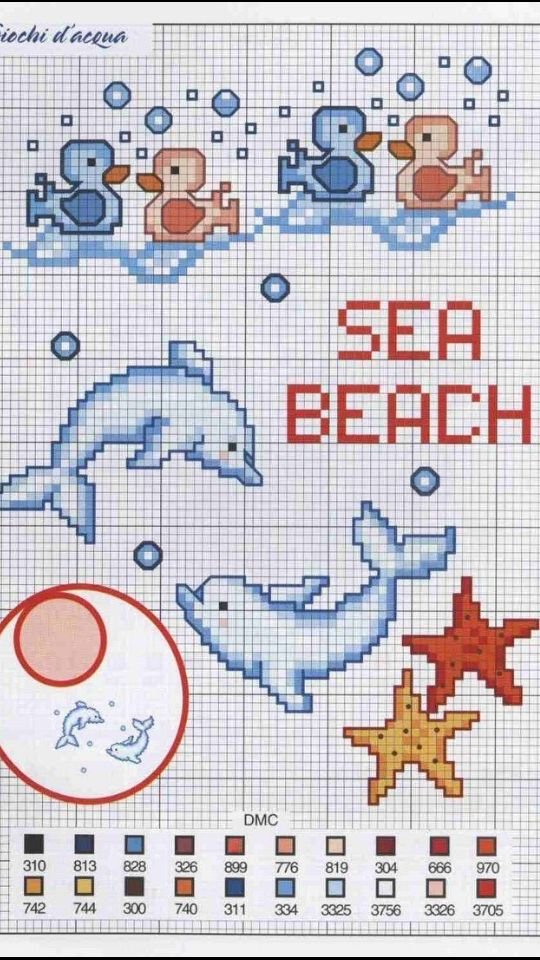
Para la realización de este proyecto vamos a necesitar una cinta de tela para bordar en punto de cruz de 45 cm de largo por 8 cm, hilos de bordar de los colores que indica el gráfico, en este caso utilizaremos hilos de varias tonalidades de azul, amarillo, naranja, rojo, rosa y marrón. Y una toalla de 40 cm de ancho X 60 cm de largo. Además, se necesitará un metro de cinta de raso de 1 cm de ancho para sellar las orillas de la cinta a bordar. Necesitaremos un gráfico del motivo que vamos a bordar, en este caso se utilizará un gráfico de un delfín y una estrella de mar, como referencia.
To carry out this project we will need a 45 cm long by 8 cm cross-stitch embroidery ribbon, embroidery threads of the colors indicated in the graph, in this case we will use threads of various shades of blue, yellow, orange, red, pink and brown. And a towel 40 cm wide X 60 cm long. In addition, a meter of 1 cm wide satin ribbon will be needed to seal the edges of the ribbon to be embroidered. We will need a graphic of the motif that we are going to embroider, in this case a graphic of a dolphin and a starfish will be used as a reference.
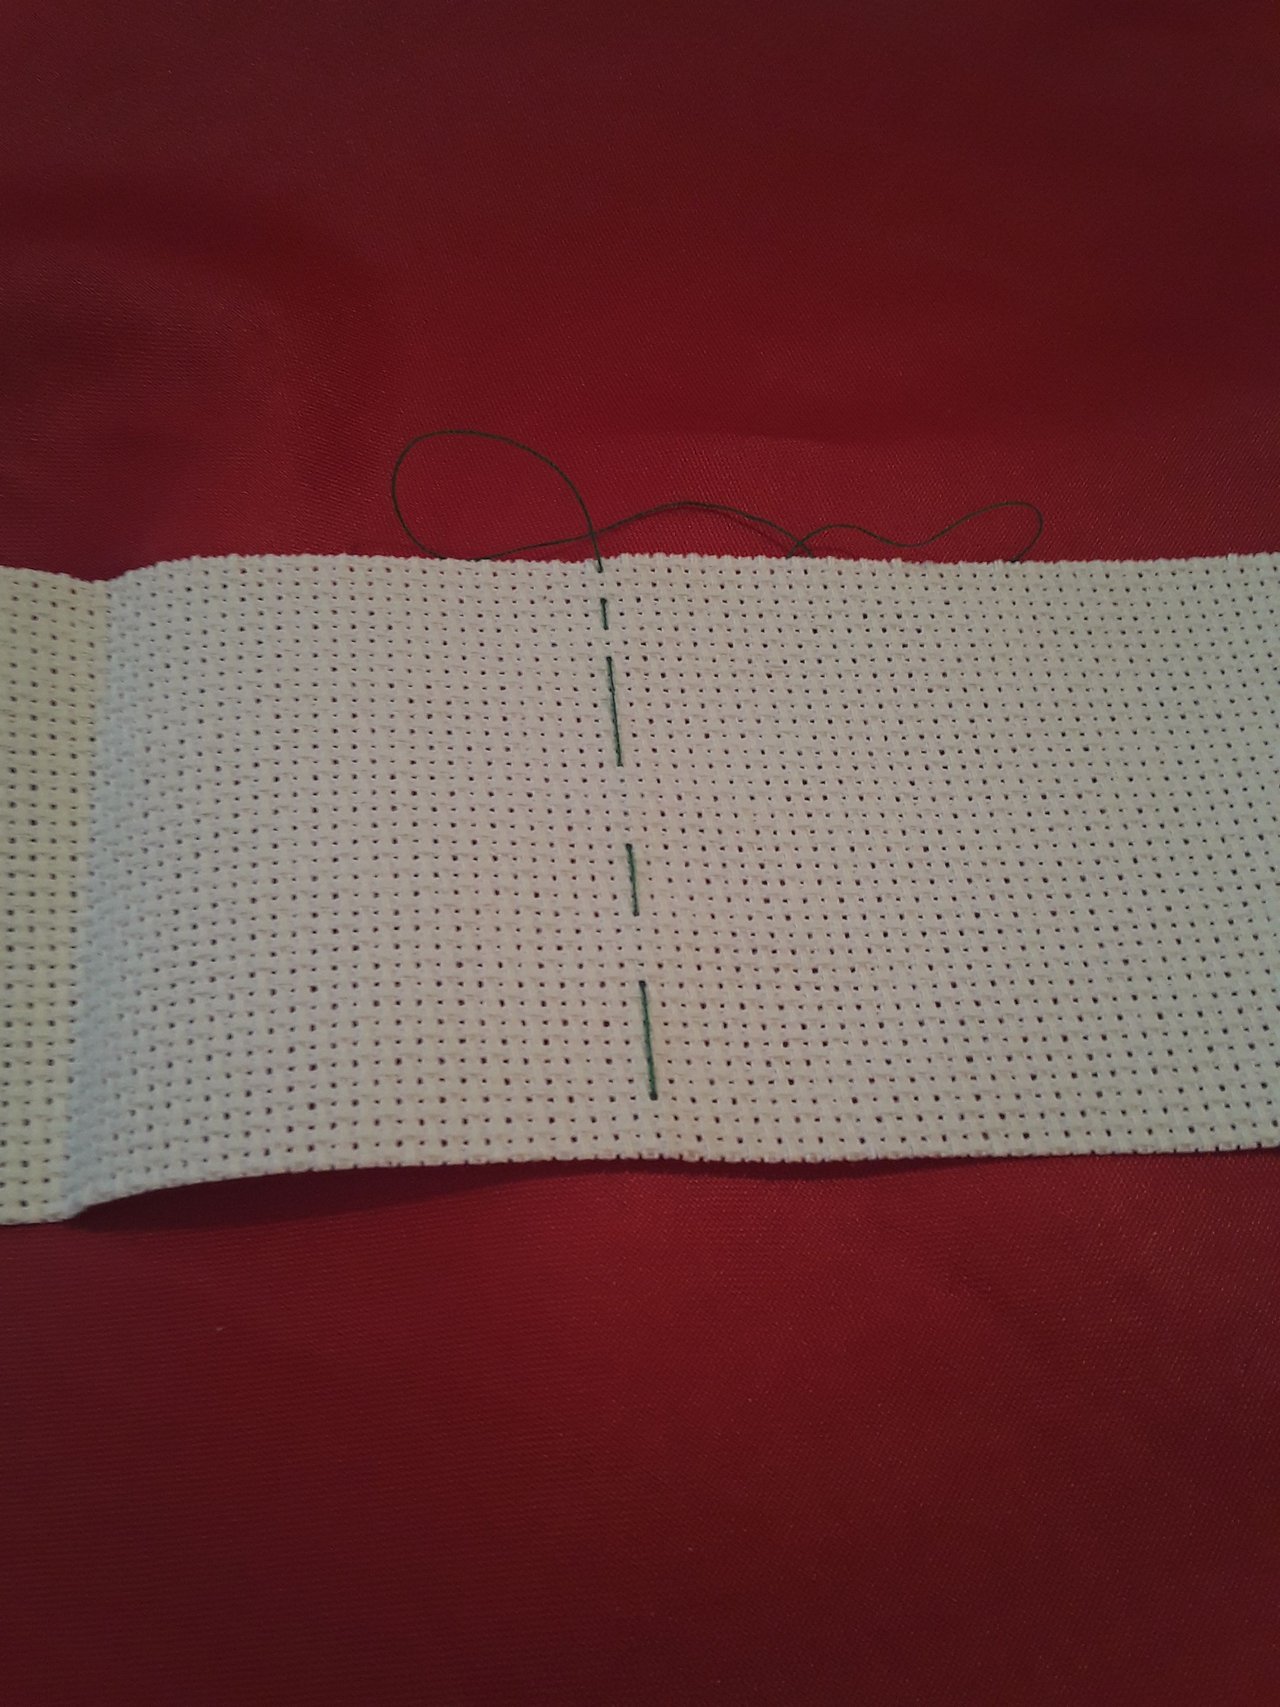
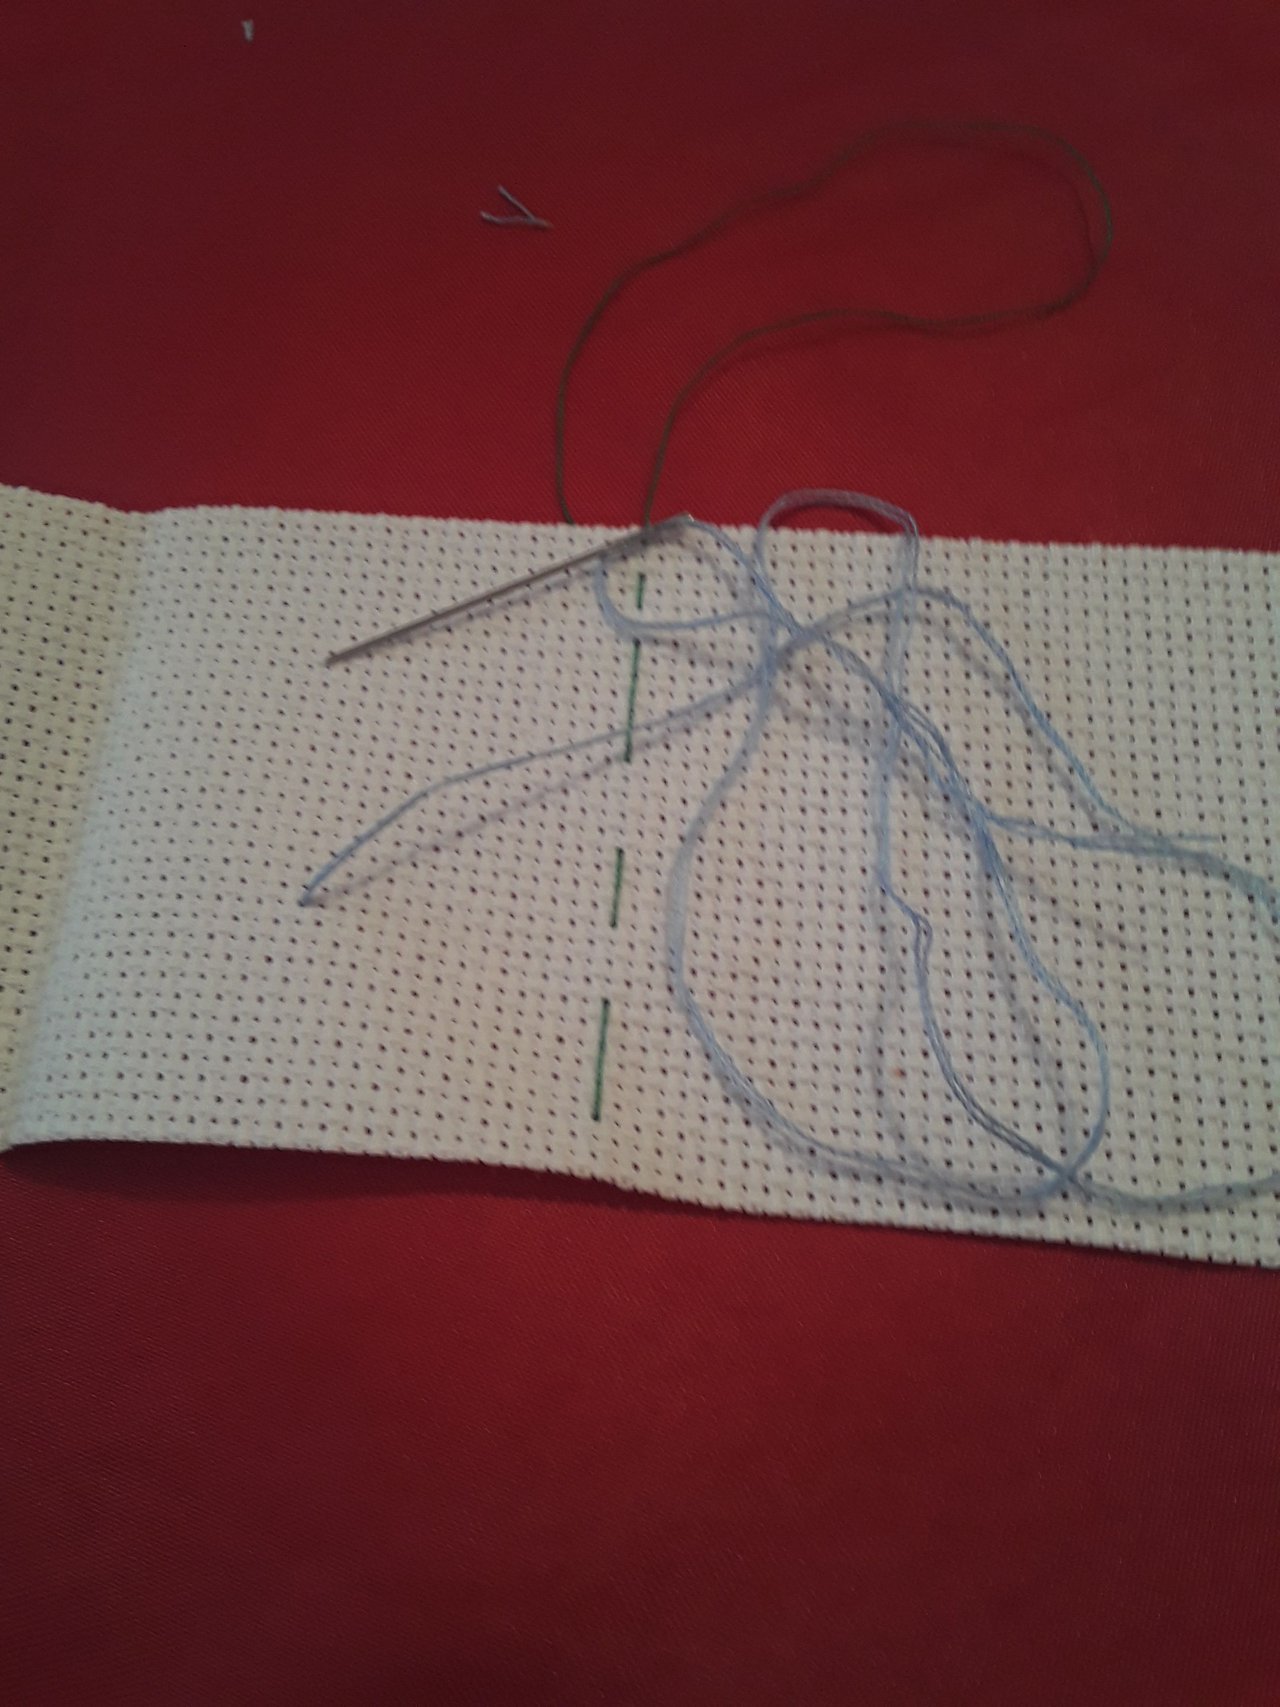
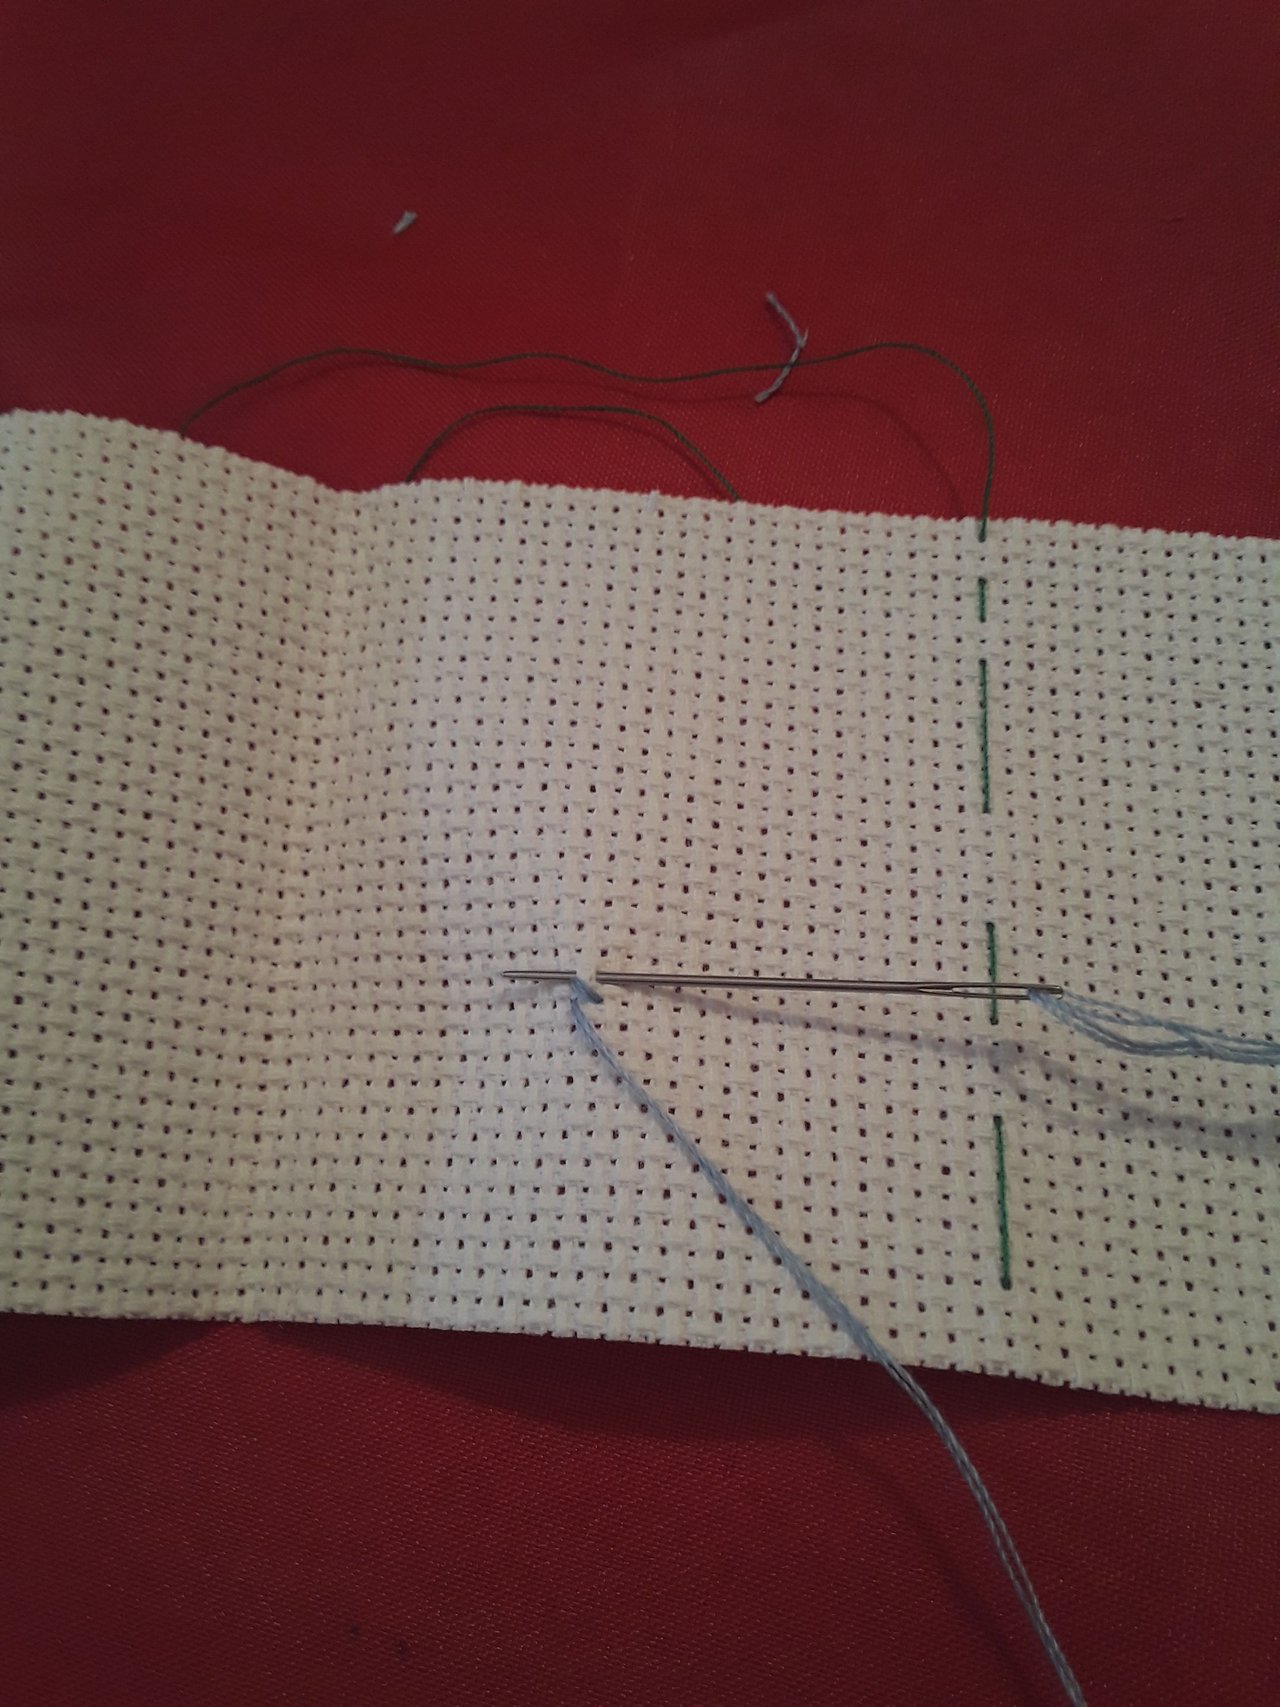
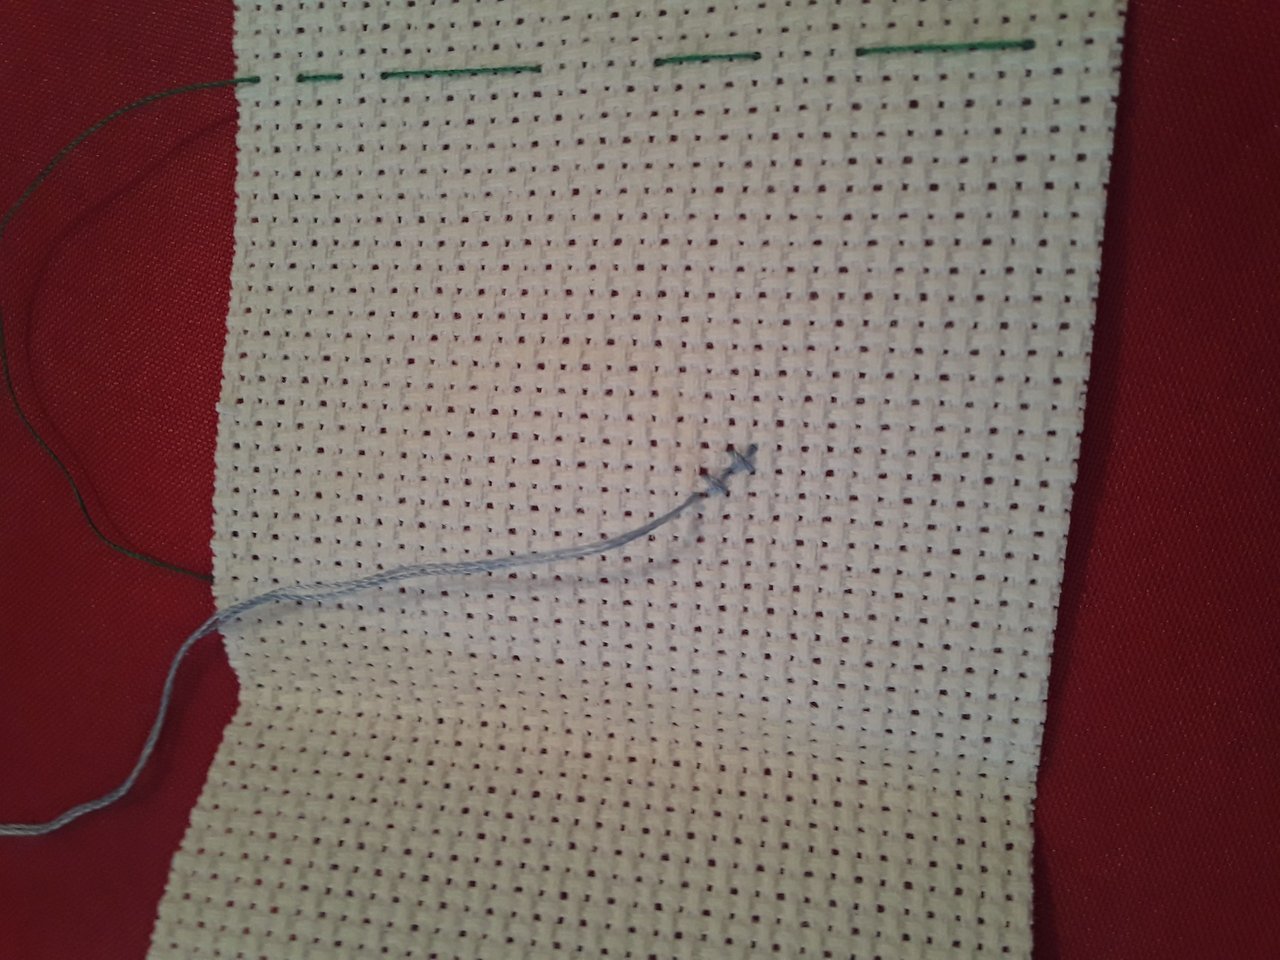
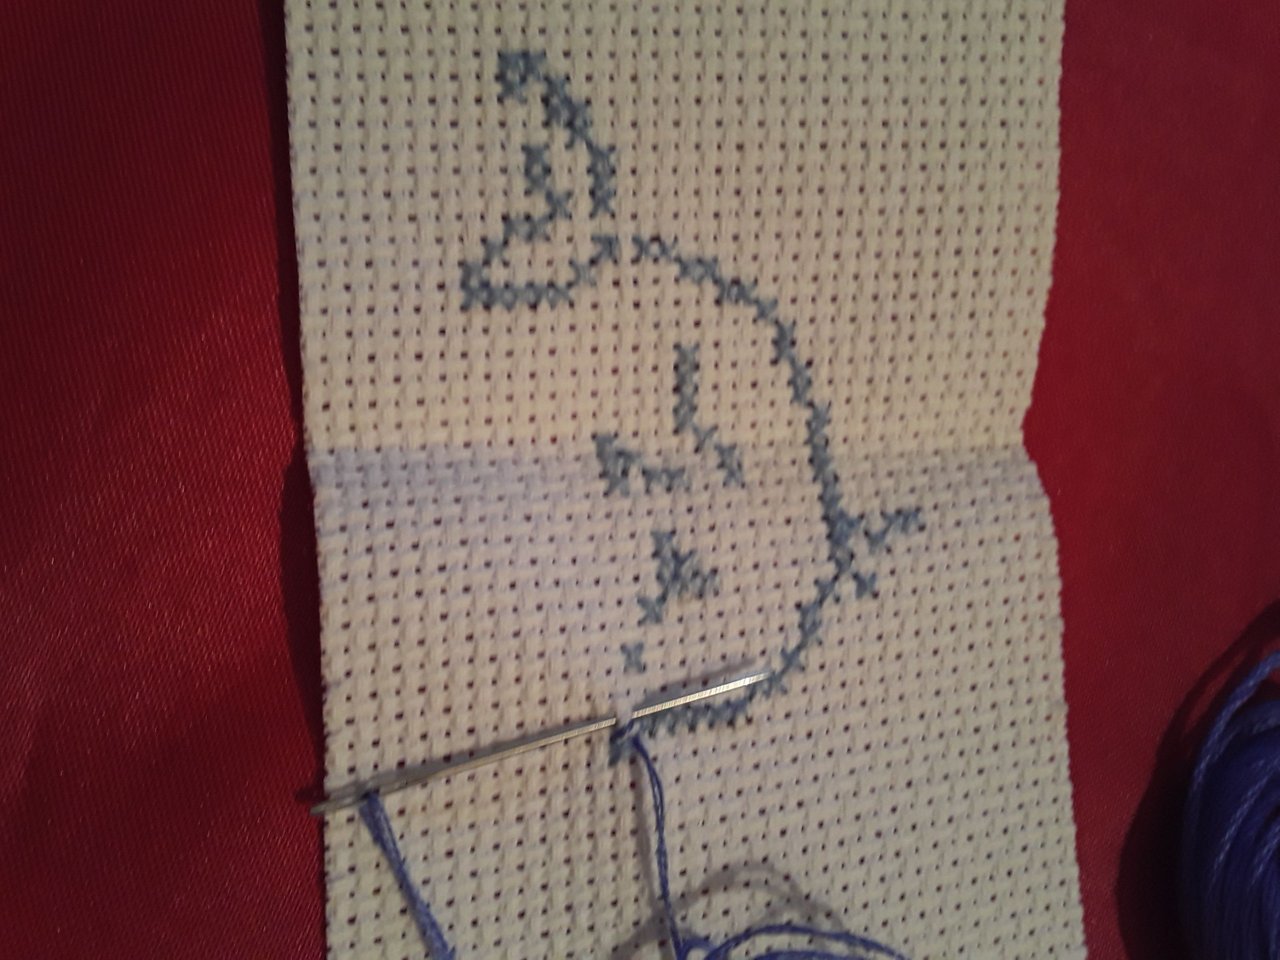
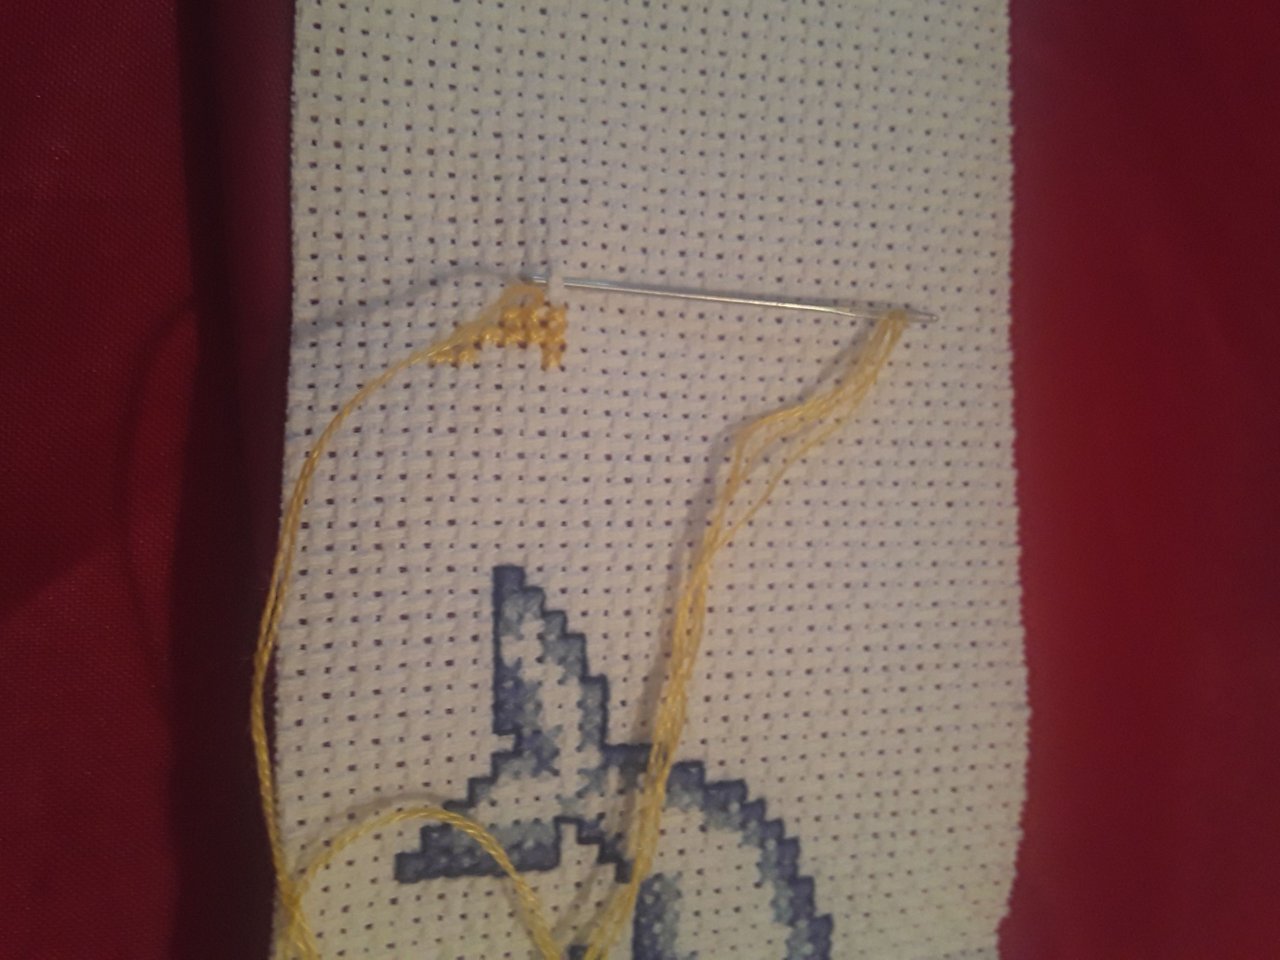
Para iniciar la labor vamos a doblar la tela por la mitad y la marcamos con unas puntadas de hilo. Enhebramos una aguja con el hilo azul claro (debemos colocar el hilo doble), contamos 15 cuadros desde la marca hacia la izquierda y 15 cuadros desde abajo hacia arriba y hacemos nuestro primer punto de cruz. Continuamos nuestro bordado según nos muestra el gráfico.
To start the work we are going to fold the fabric in half and mark it with a few stitches of thread. We thread a needle with the light blue thread (we must place the double thread), we count 15 squares from the mark to the left and 15 squares from the bottom to the top and we make our first cross stitch. We continue our embroidery as shown in the chart.
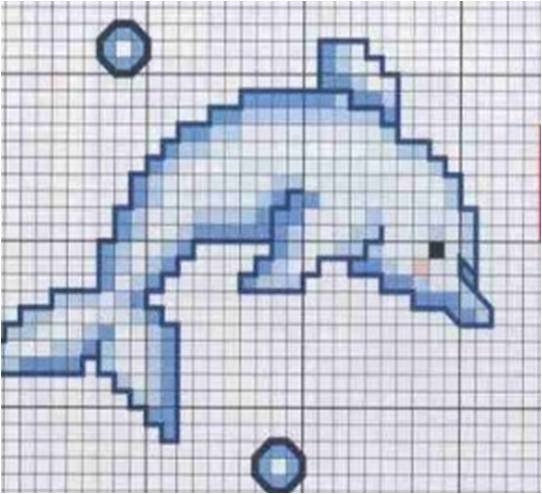
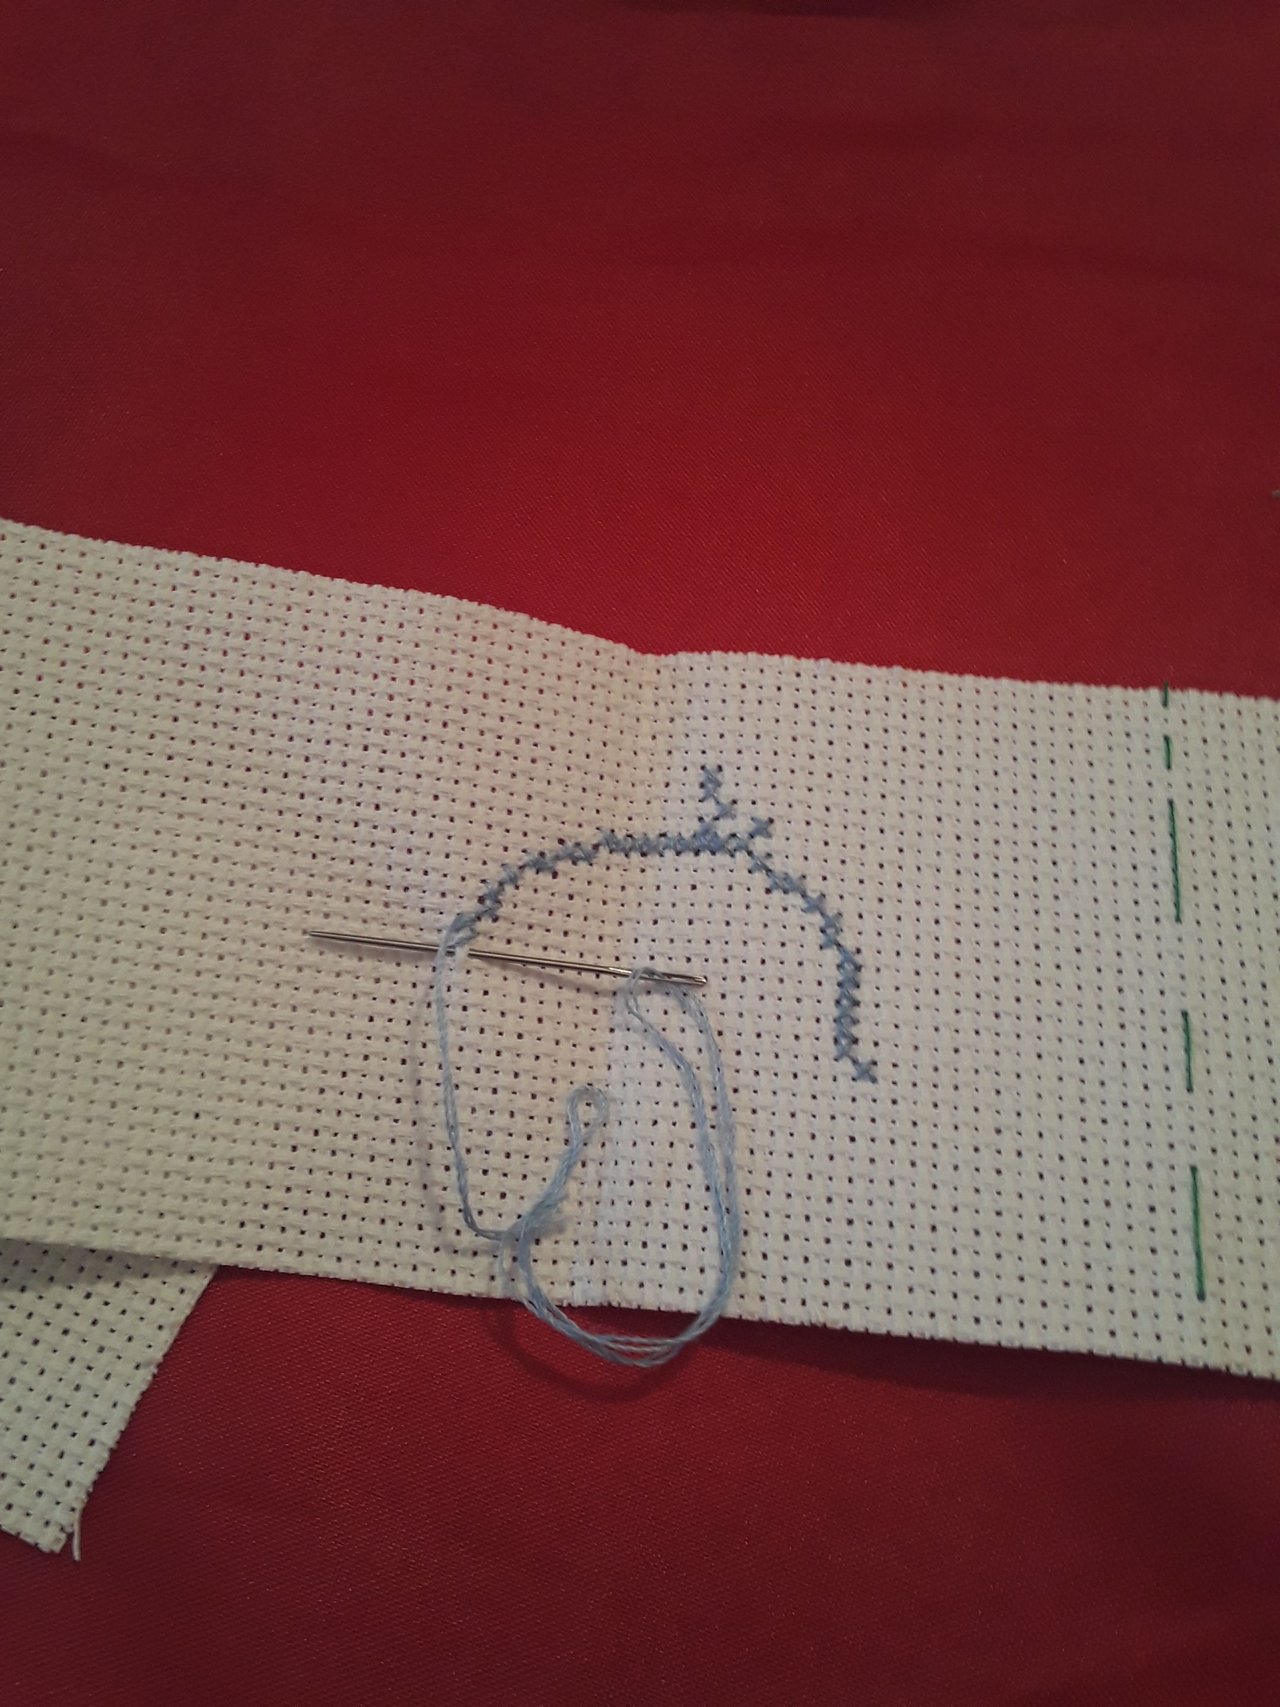
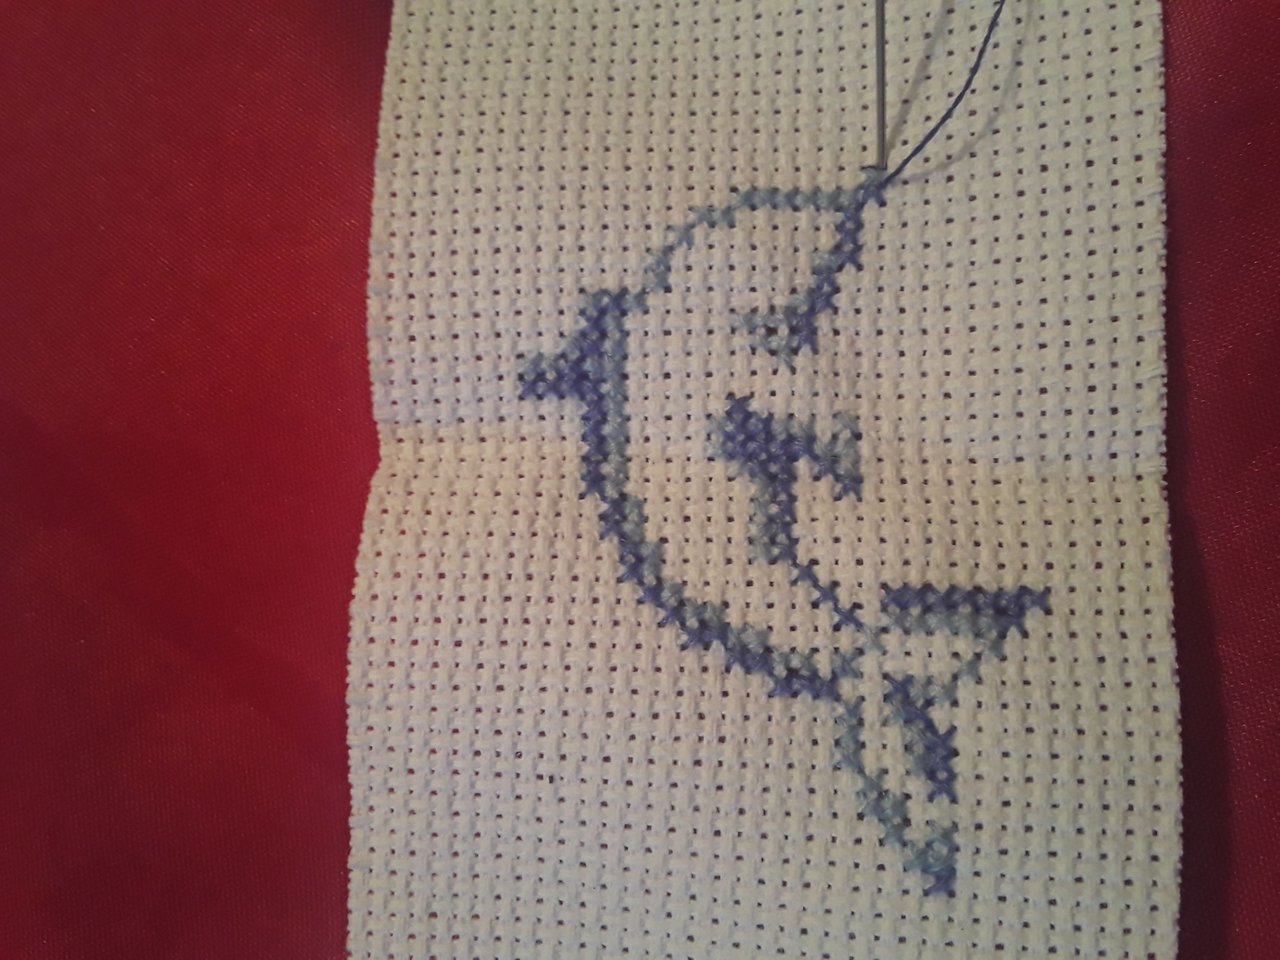
Una vez culminado el trabajo con el primer color, proseguimos con el siguiente tono de azul que se requiere para ir bordando el delfín.
Once the work with the first color is finished, we continue with the next shade of blue that is required to embroider the dolphin.
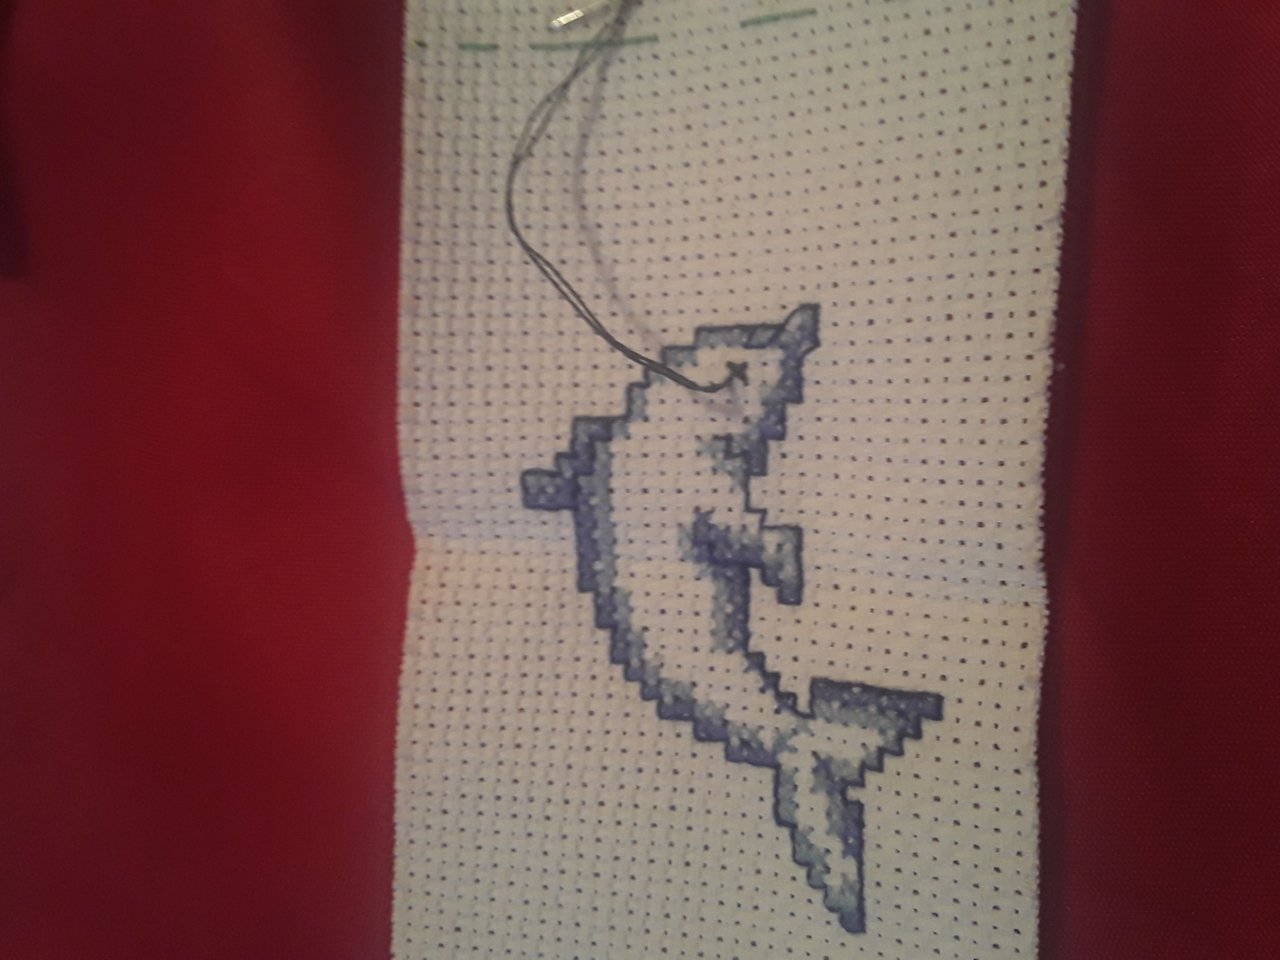
Para culminar con el cuerpo del delfín procedemos a hacer el contorno con el tono de azul más oscuro, con la aguja enhebrada con un solo hilo.
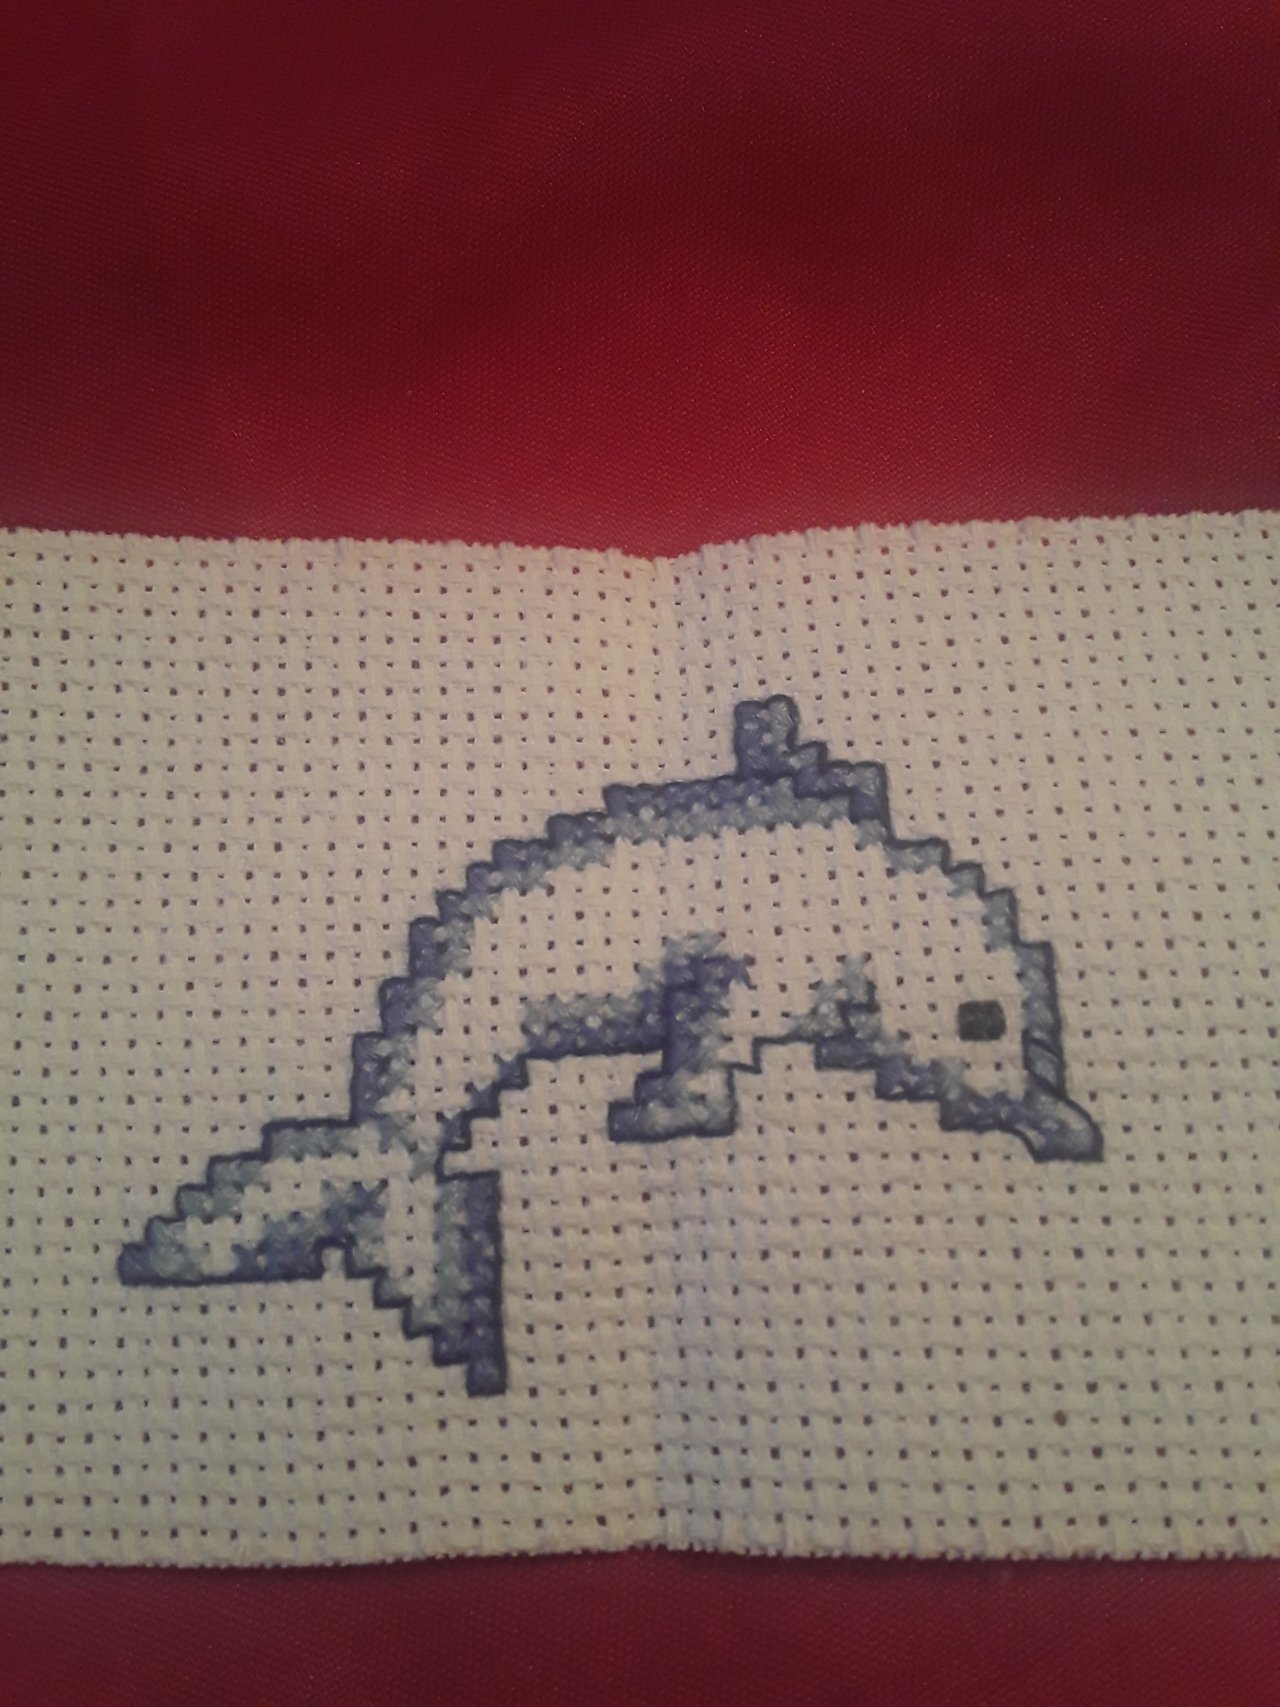
Para finalizar con nuestro delfín le hacemos el ojo, con un punto de cruz y sellamos. Ya tenemos nuestro primer delfín terminado.
To finish with the body of the dolphin we proceed to make the outline with the darkest shade of blue, with the needle threaded with a single thread.
To finish with our dolphin we make the eye, with a cross stitch and seal. We already have our first finished dolphin.
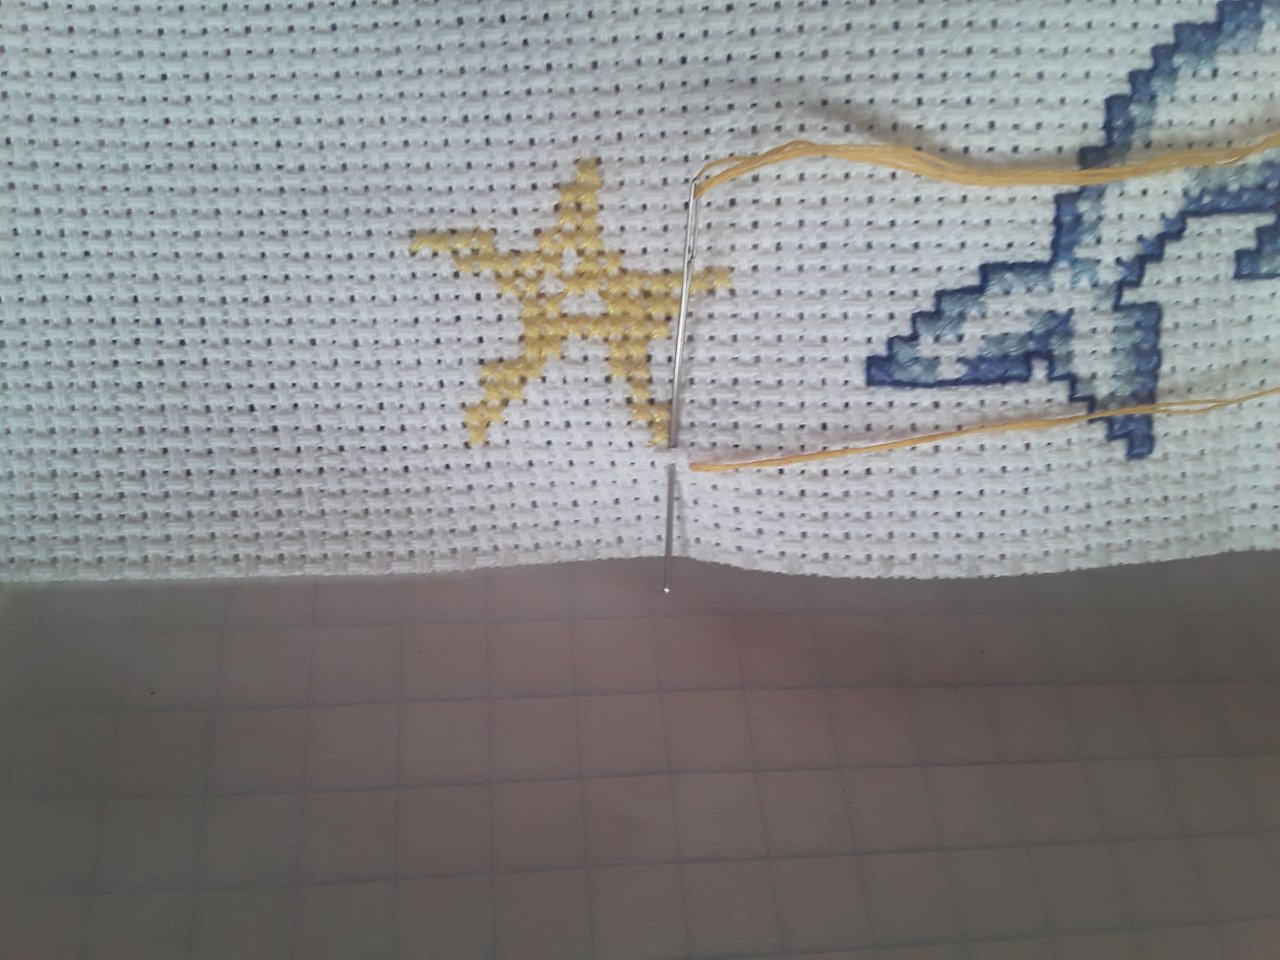
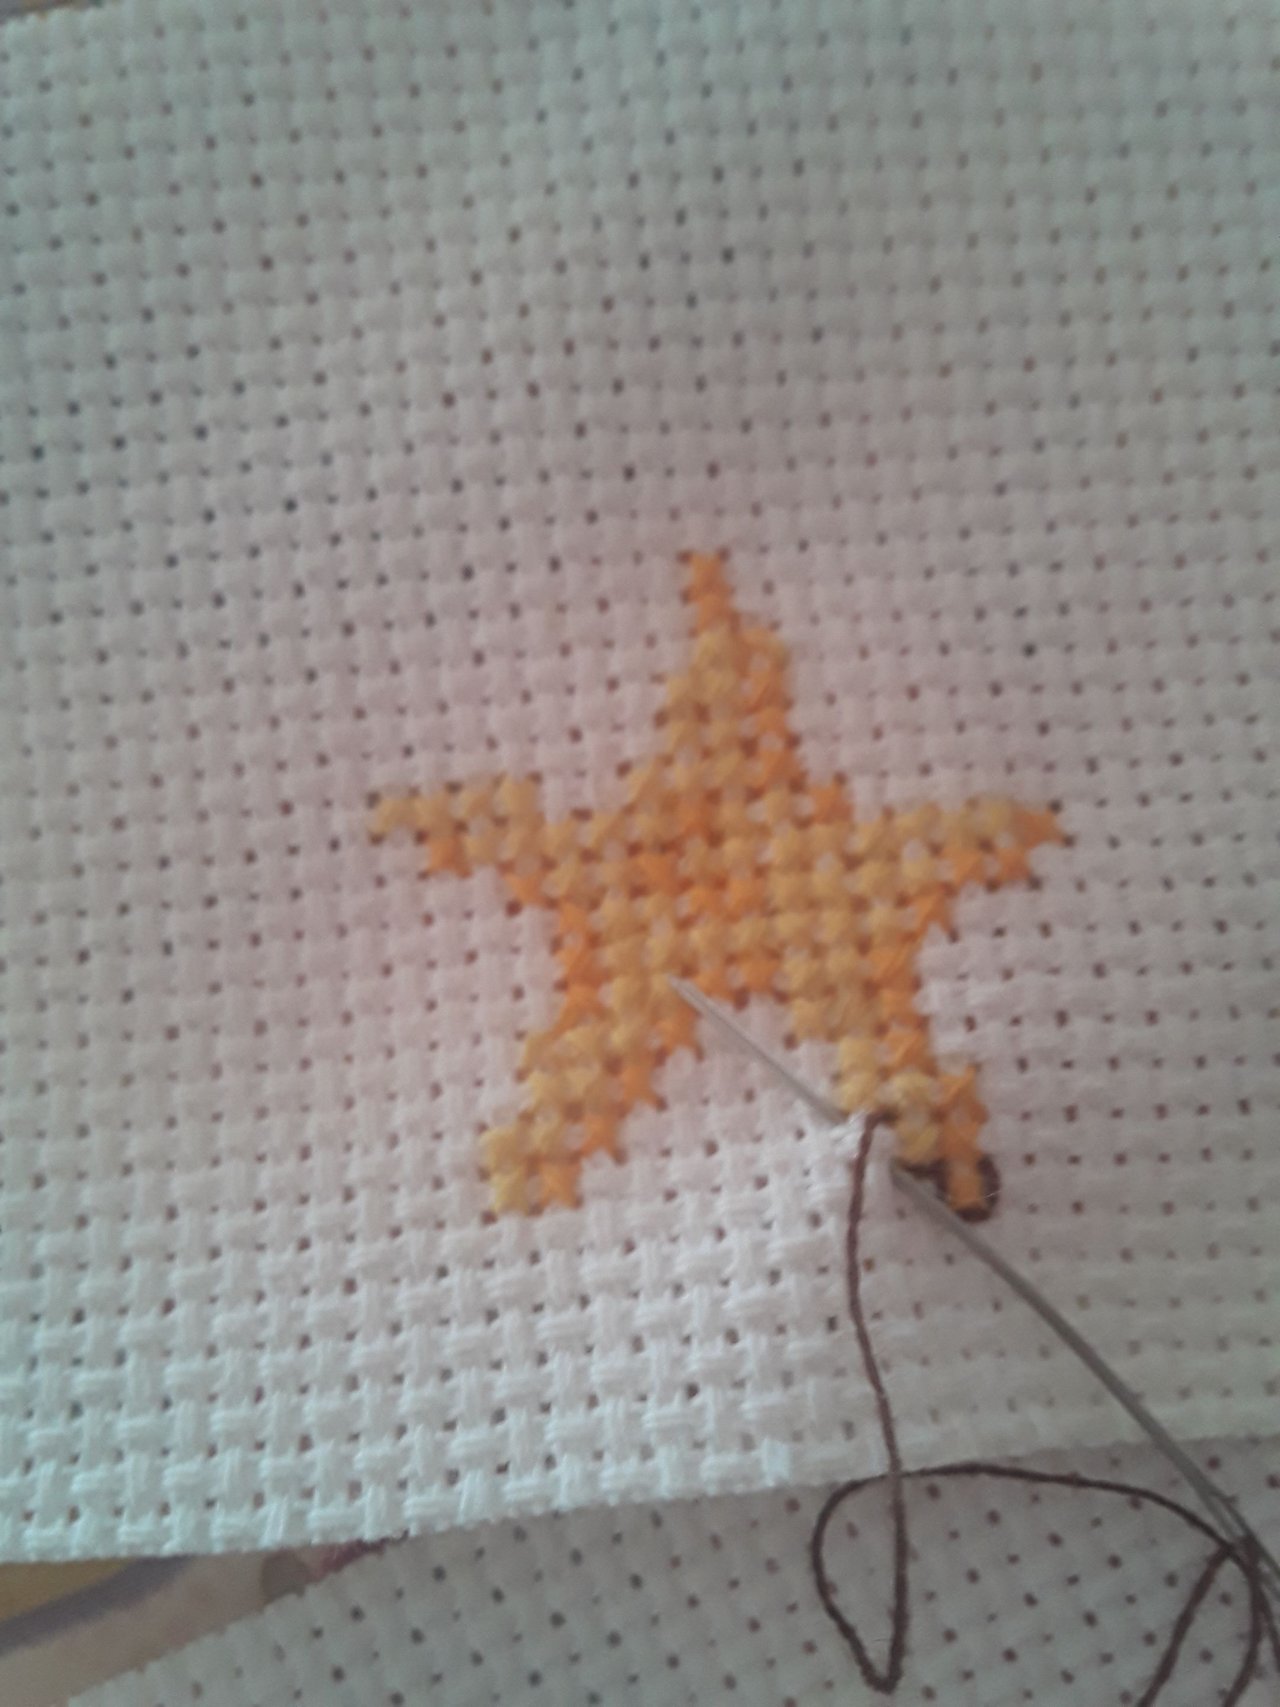
Procedemos ahora a bordar las estrellas de mar. Contamos 8 cuadros desde el último punto bordado en el delfín (la cola) y 8 cuadros de abajo hacia arriba e iniciamos nuestra labor con el color amarillo de nuestra estrella. Al finalizar con el color amarillo, trabajamos entonces, con el color naranja. Realizamos el contorno y ya tenemos nuestra primera estrella lista.
We now proceed to embroider the starfish. We count 8 squares from the last embroidered stitch on the dolphin (the tail) and 8 squares from the bottom up and we start our work with the yellow color of our star. At the end of the yellow color, we then work with the orange color. We make the outline and we already have our first star ready.
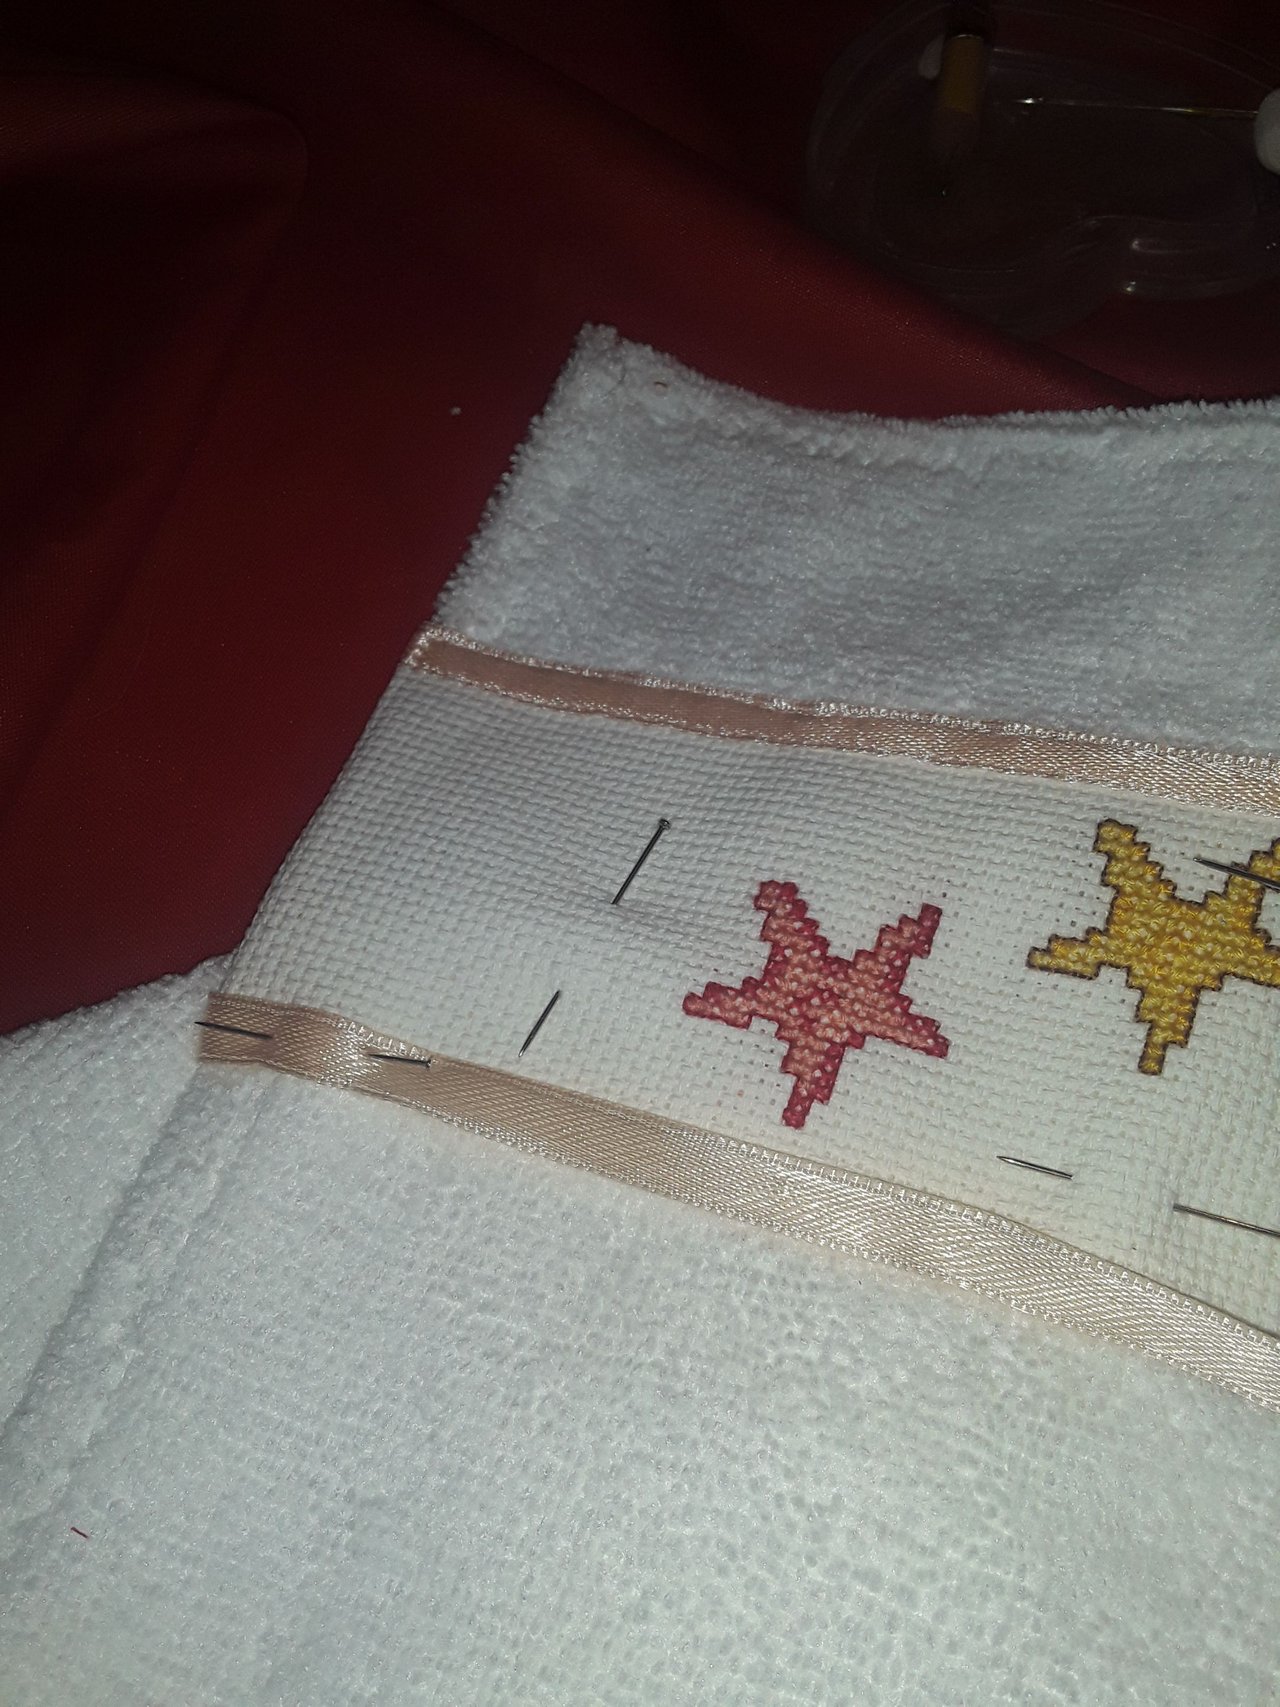
Procedemos con la otra estrella, de la misma forma que con la anterior, solamente variamos los colores. Aquí vamos a utilizar los colores rojo y rosa.
We proceed with the other star, in the same way as with the previous one, we only vary the colors. Here we are going to use the colors red and pink.
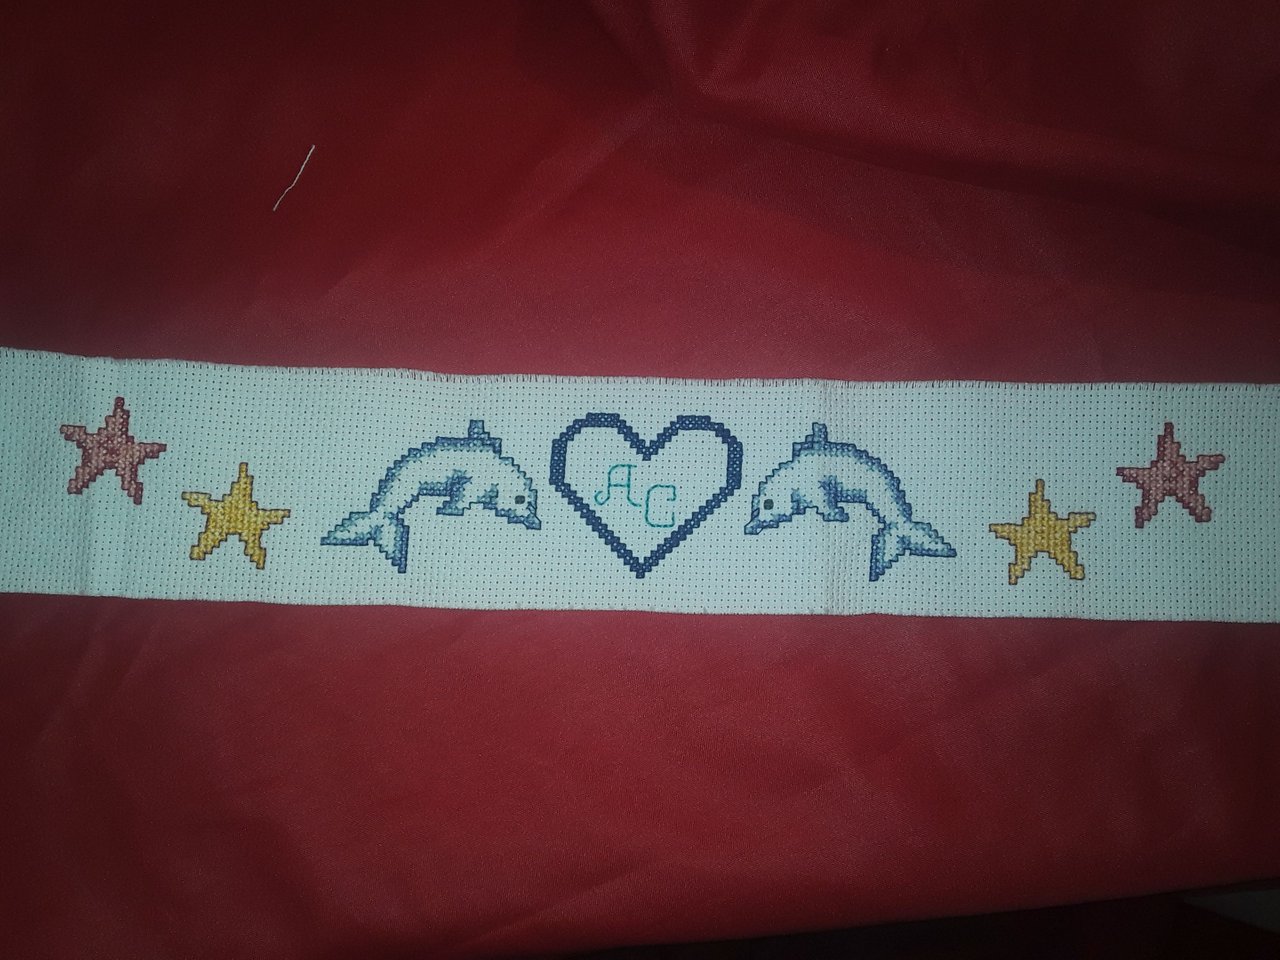
Ya tenemos la primera parte de nuestro proyecto realizado, ahora vamos a repetir toda la labor en el otro lado de la tela, utilizamos la técnica de espejo para bordar el delfín y las estrellas las bordamos igual.
We already have the first part of our project done, now we are going to repeat all the work on the other side of the fabric, we use the mirror technique to embroider the dolphin and the stars we embroider in the same way.
Cuando hago este tipo de trabajo, siempre dejo el centro para personalizarlo. En este caso bordé un corazón con iníciales, porque es para un regalo. Aquí se deja libertad para personalizar el trabajo.
When I do this type of work, I always leave the center to customize it. In this case I embroidered a heart with initials, because it is for a gift. Here freedom is left to customize the work.
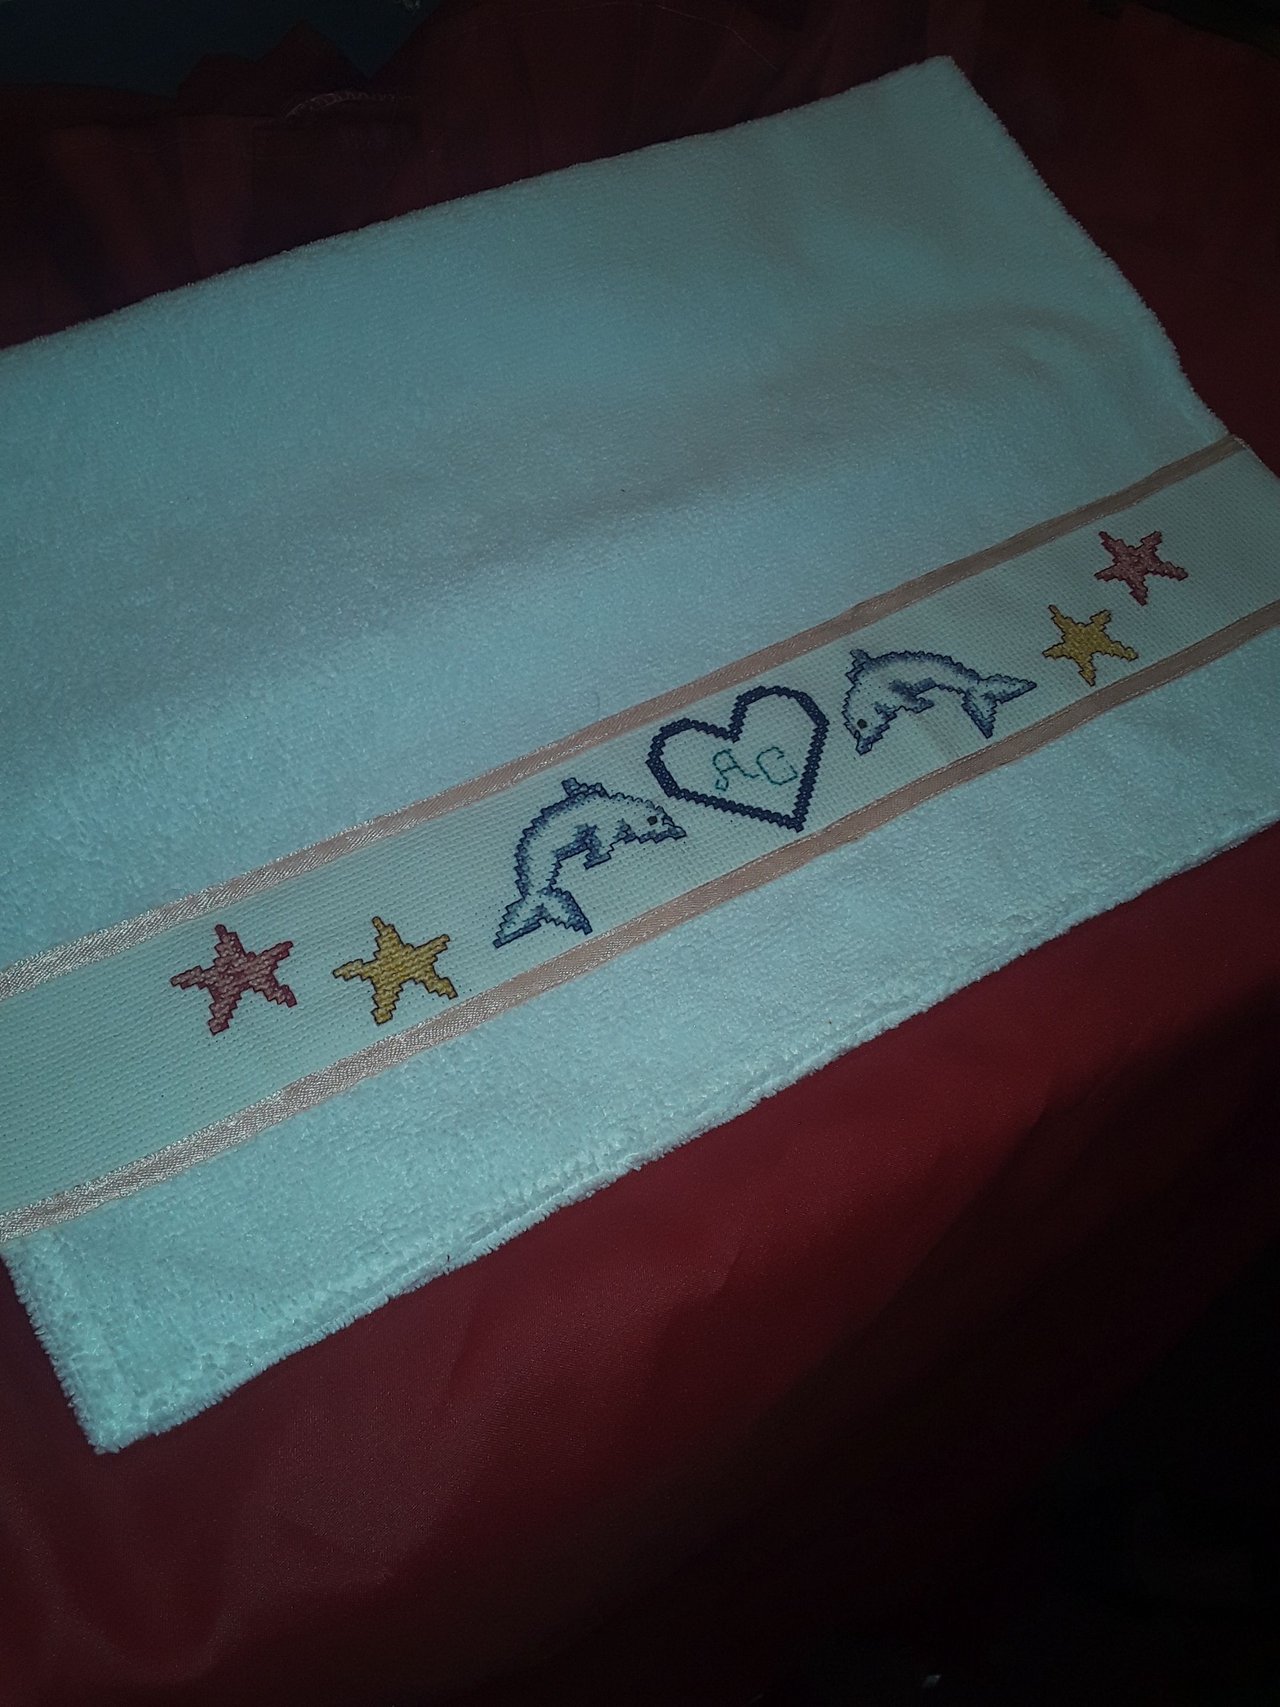
Una vez culminado el bordado, procedemos a colocarlo en la toalla. Ubicamos el centro de la toalla y el centro del bordado y dejando unos 5 cm desde la orilla de la toalla, fijamos el bordado. Empezamos a colocar la cinta de raso, primero un lado y luego el otro.
Y ya tenemos nuestro proyecto culminado. Una hermosa toalla para regalar.
Once the embroidery is finished, we proceed to place it on the towel. We locate the center of the towel and the center of the embroidery and leaving about 5 cm from the edge of the towel, we fix the embroidery. We begin to place the satin ribbon, first one side and then the other.
And now we have our project completed. A beautiful towel to give away.
Las fotos son propias
the photos are my own