Good morning hiveans and my fellow needle workers, this morning I will like to take you guys on a practical tutorial on how to cut and sew a double breasted waistcoat for as many that may find it useful or want to give it a trial.
I know there are several methods that can be adopted and still give good result but this is the method I always use and its working for me.
So I will be taking you through the process of how to cut and sew a double breasted waistcoat.
MATERIALS USED
- Grey Chinoz
- Paper stay
- Hair stay
- Linen
- Beltless hook
- Thread
MEASURING AND CUTTING PROCESS
Measurements to be taken when sewing a waistcoat
- Shoulder
- Chest (it must be firm, so I always take 2 inches out of the normal Measurements)
- Length (from Shoulder to waist point)
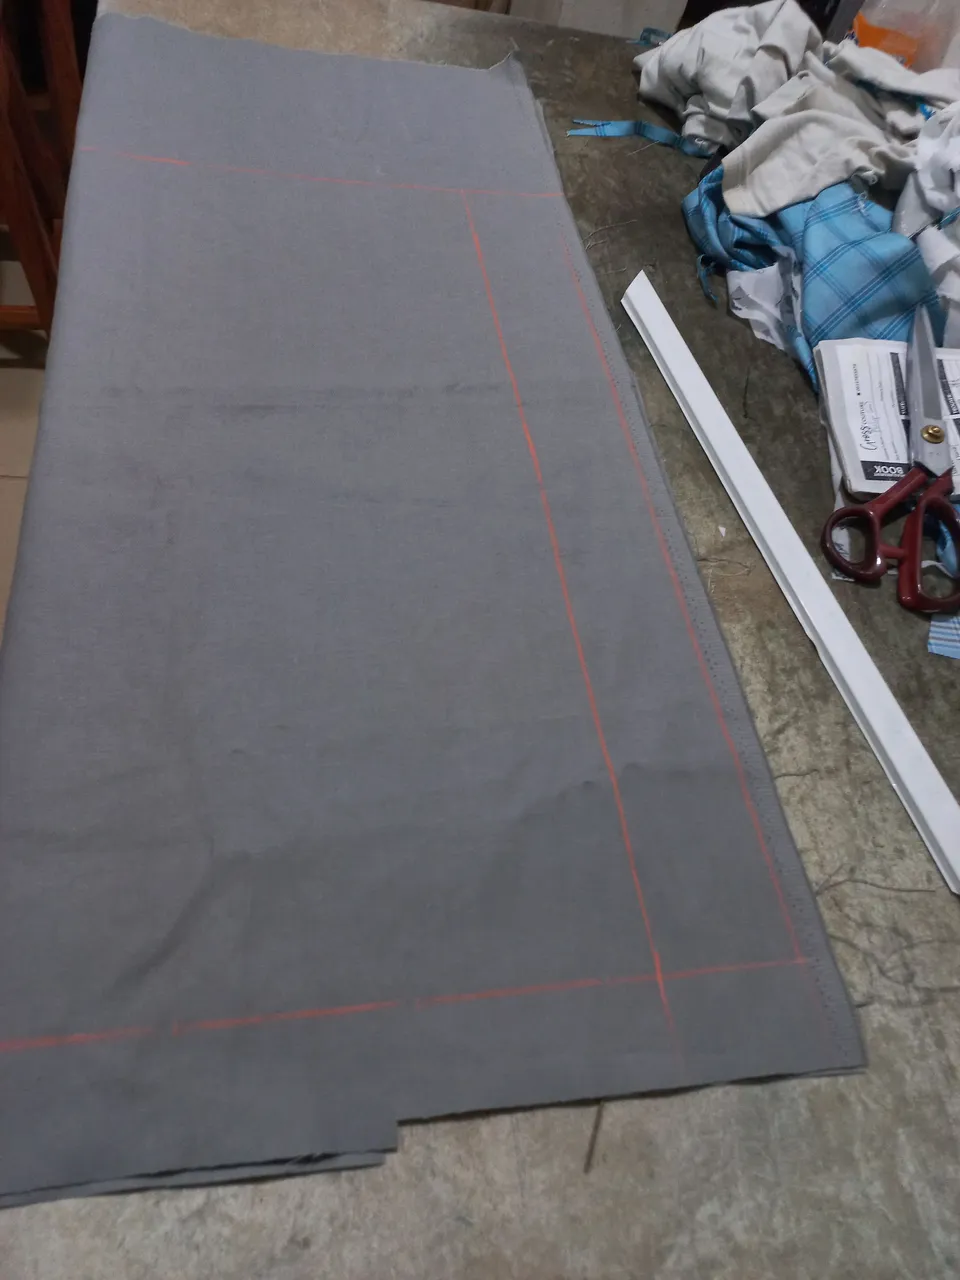
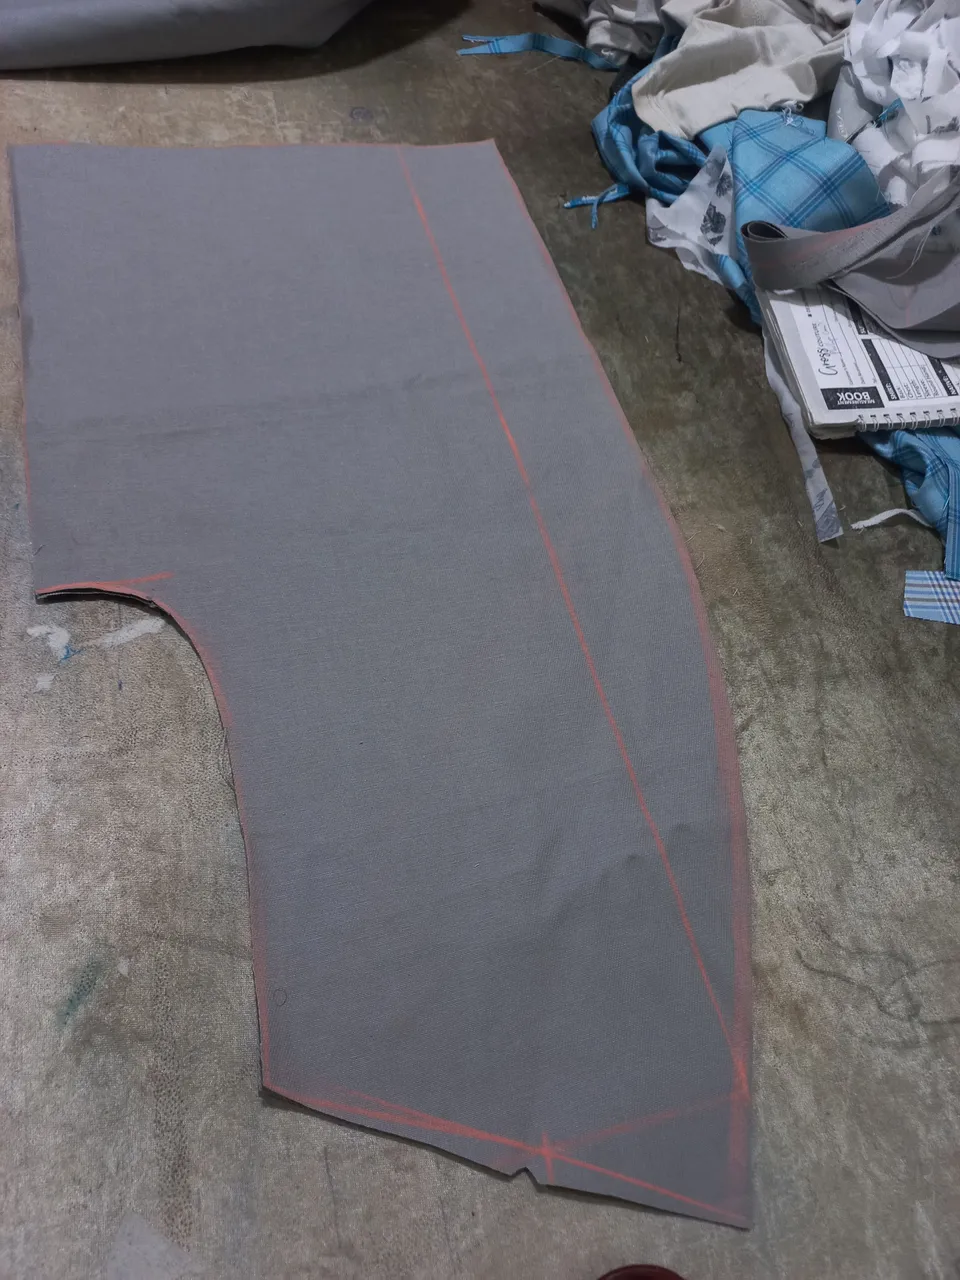
So first thing to do is putting the fabric tip together and place on the table, rulling a straight line, being double breasted, from the line I ruled I measure 3 inches inward and I rule again, so from that point I will Start my measurements.
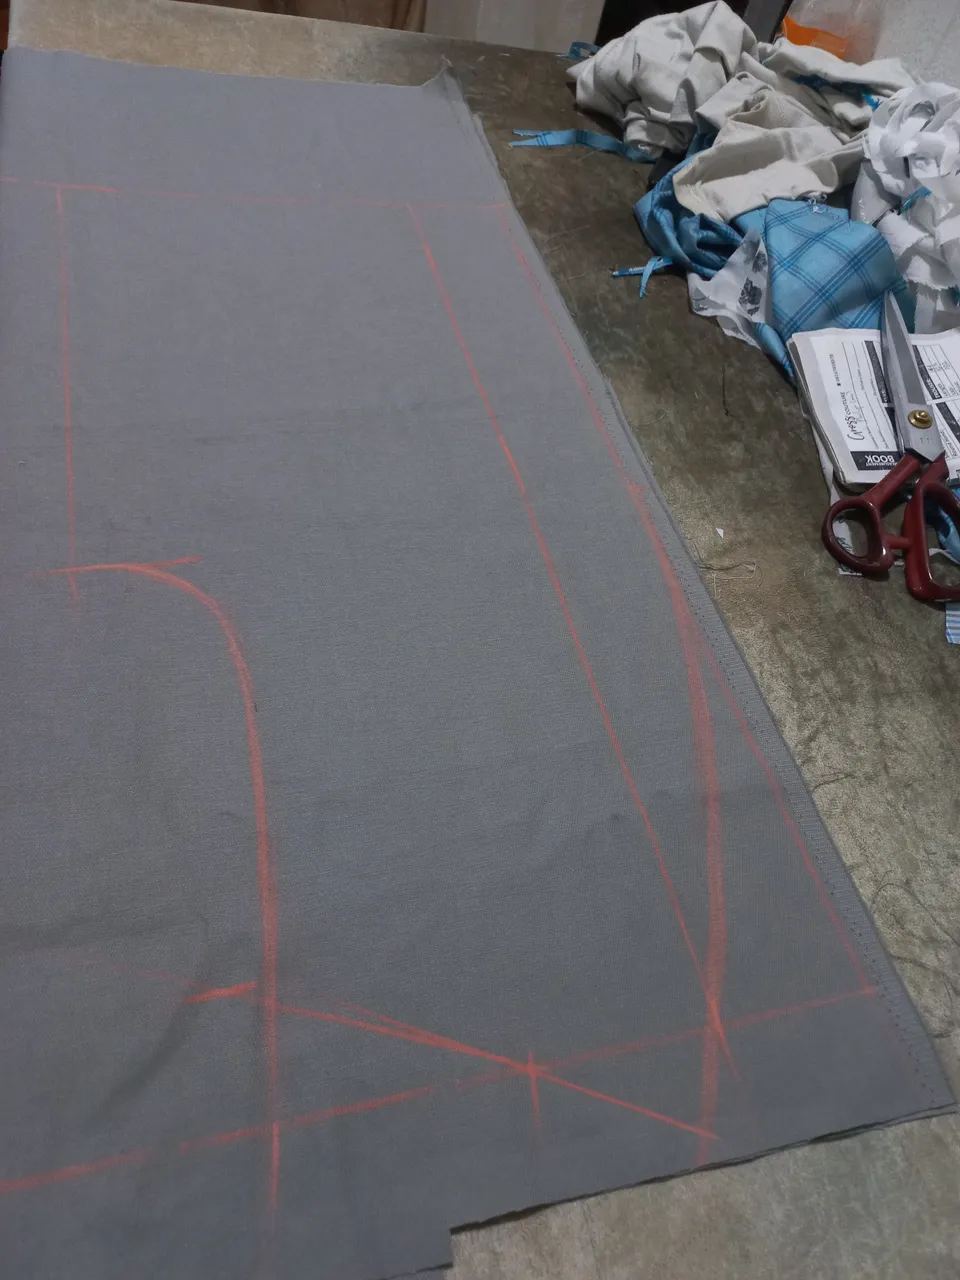
I measured the back and it's done this way: shoulder divided by 2 subtracting 1.5 inches, then I measured 4 inches forward from there, then from that point backward i measured the shoulder rest which is always 2 inches, then from that point I measured the armhole which is always bigger than that of shirt, which is 9 inches for an adult, then I measured the chest adding sewing allowances, then the Length and thereafter you joined the dotted line together and cut.
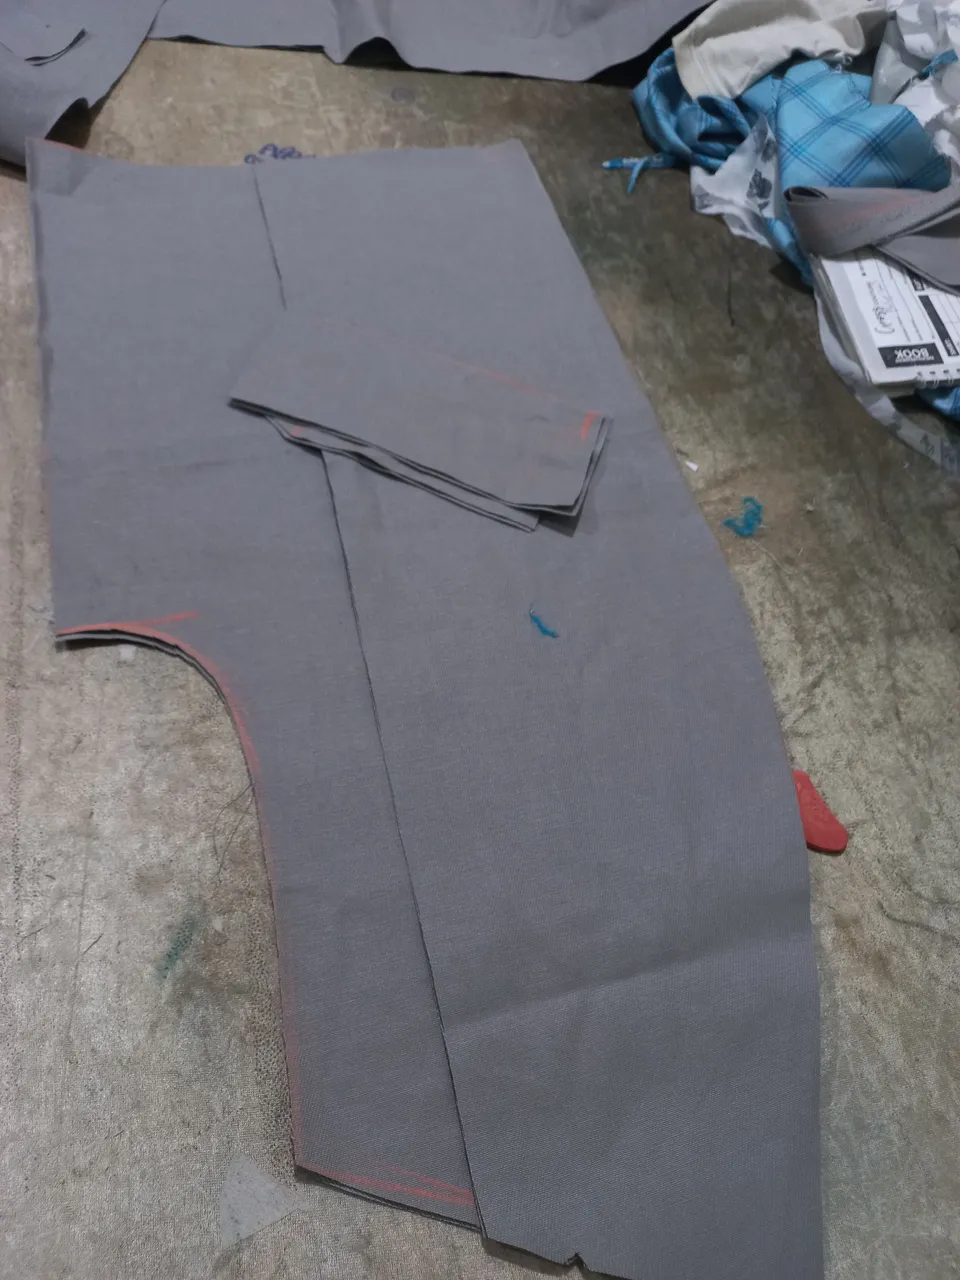
Then I cut the back using Linen.
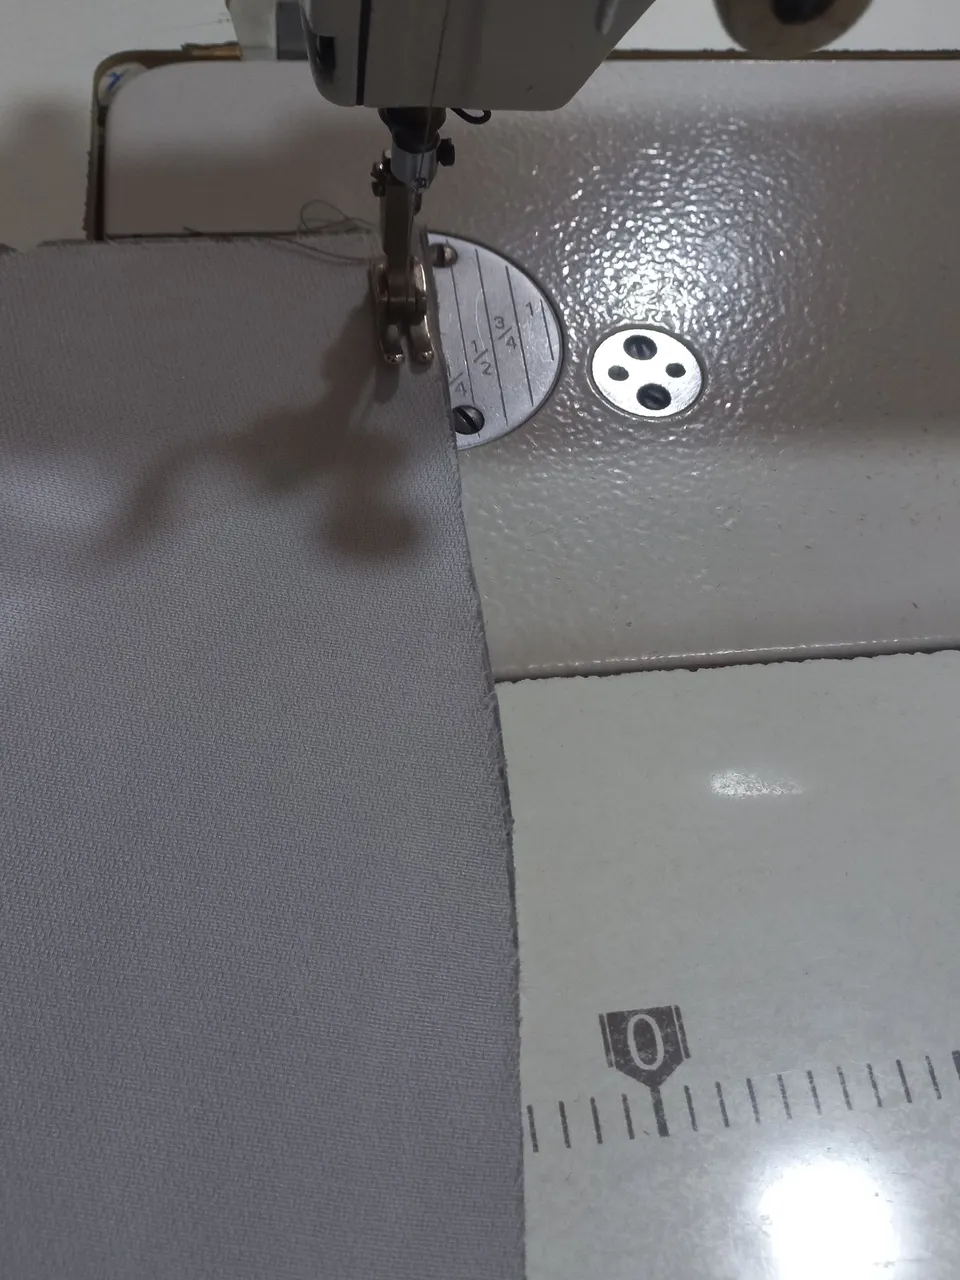
SEWING PROCESS
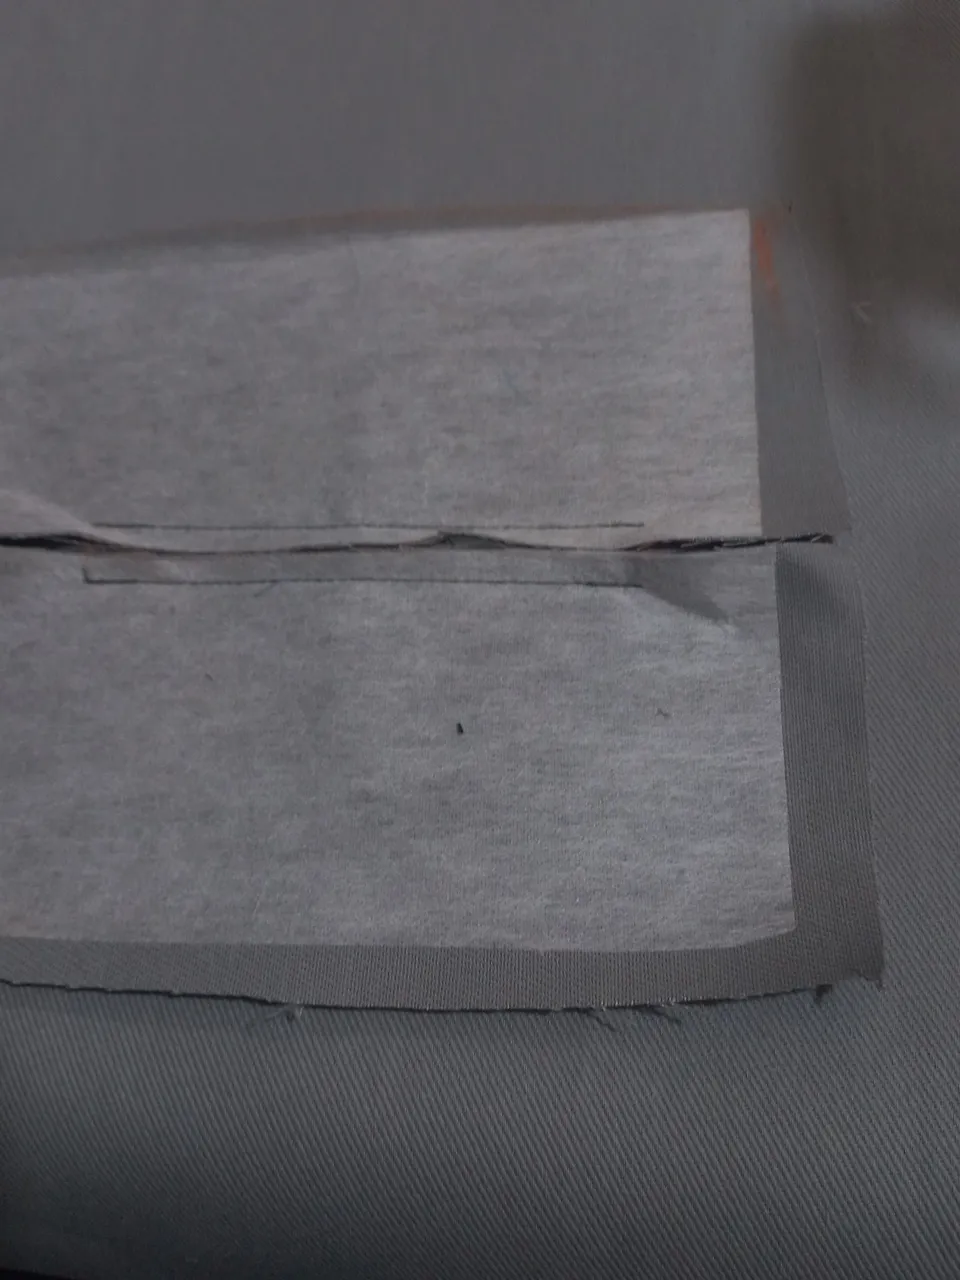
Before I went ahead sewing, I added hair stay to the fabric for smooth sewing, then I started sewing by fixing the pockets (measure 5 inches inward to get the pocket point so the flap won't cover the pocket) and turned the front after which you iron rigorously and put to shape.
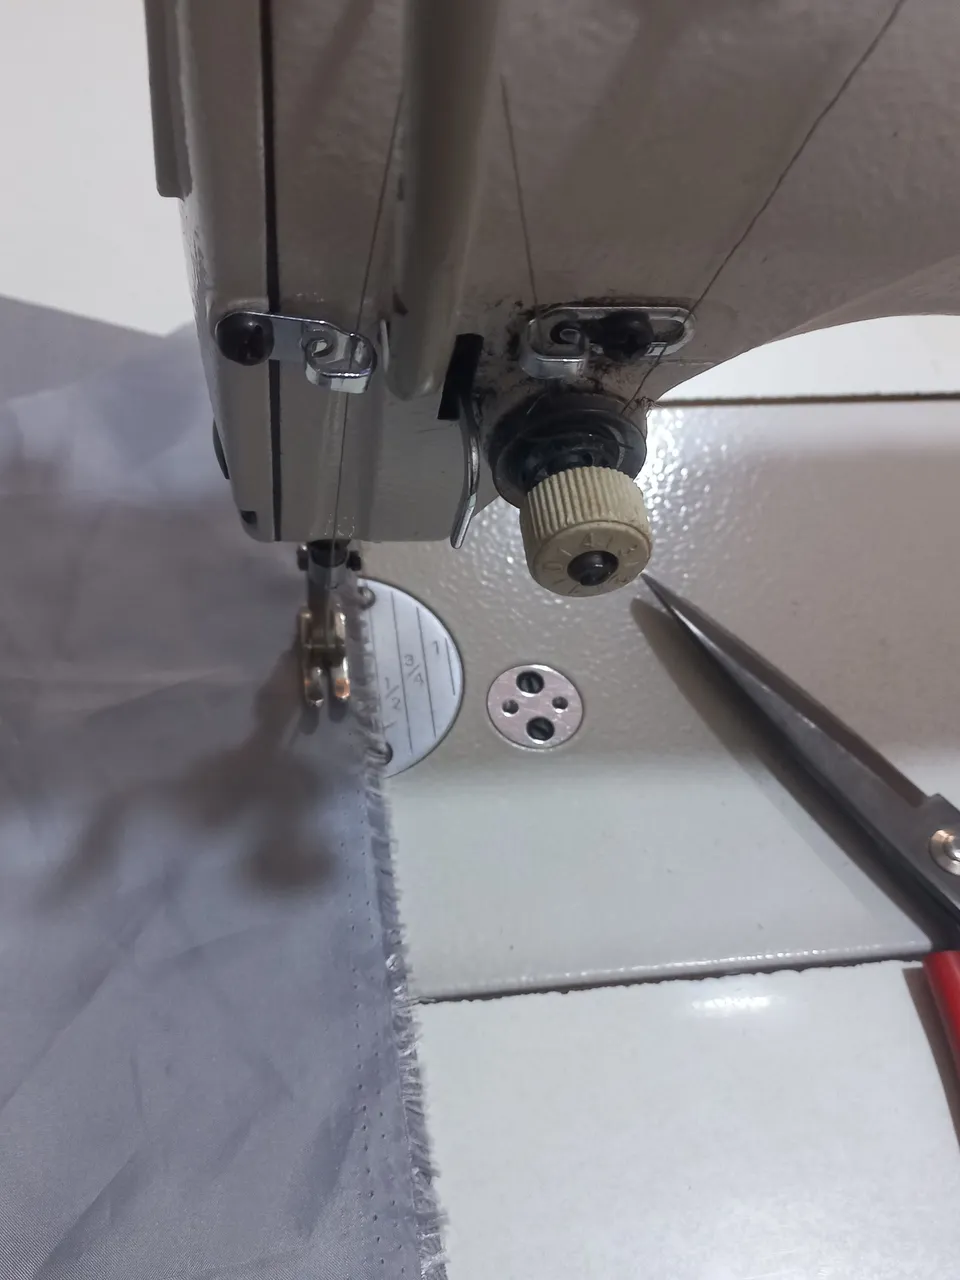
Then I joined to the back, and turned it outside, fixed the button and button holes.
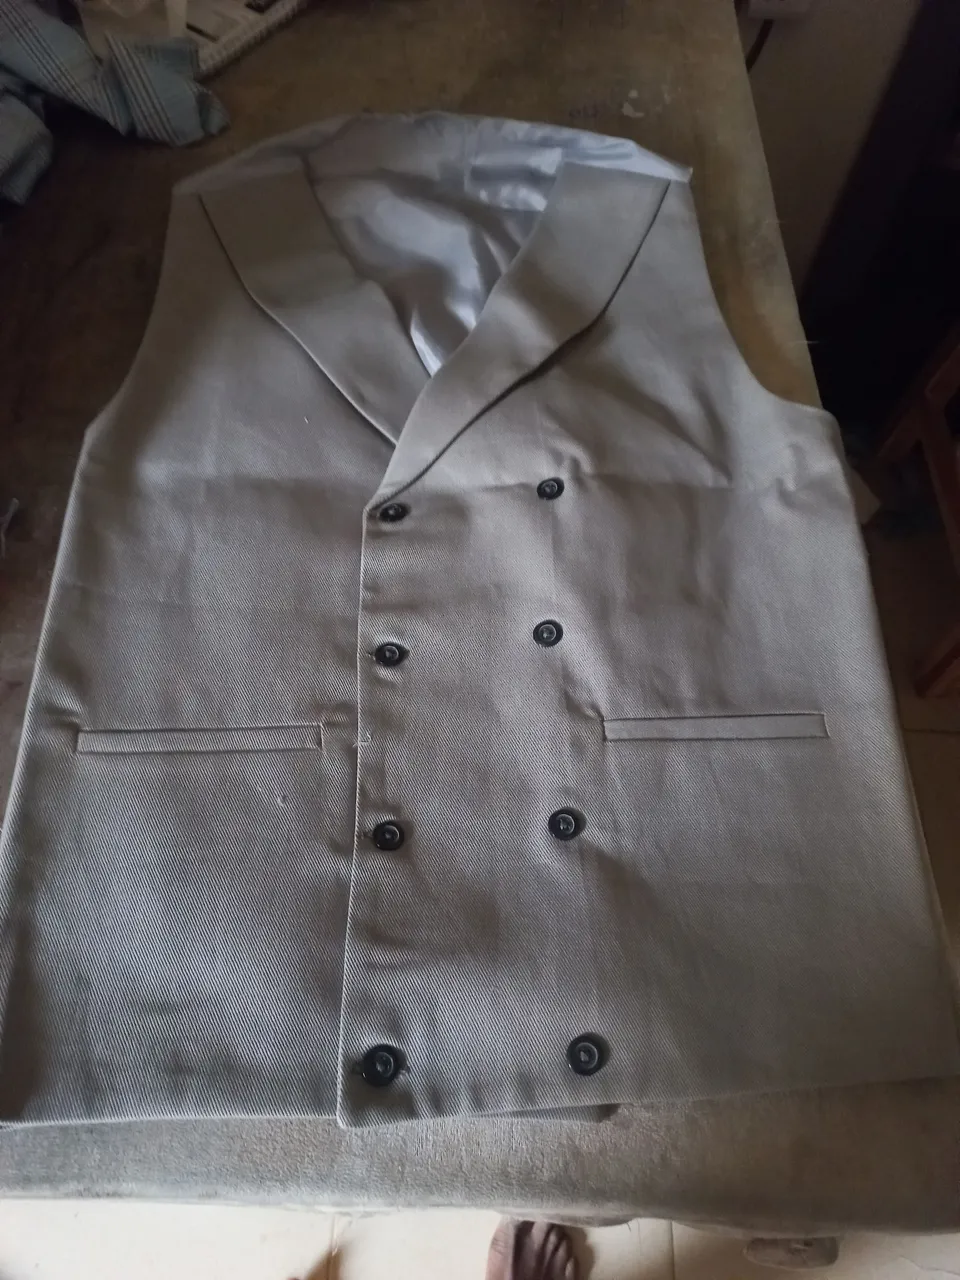
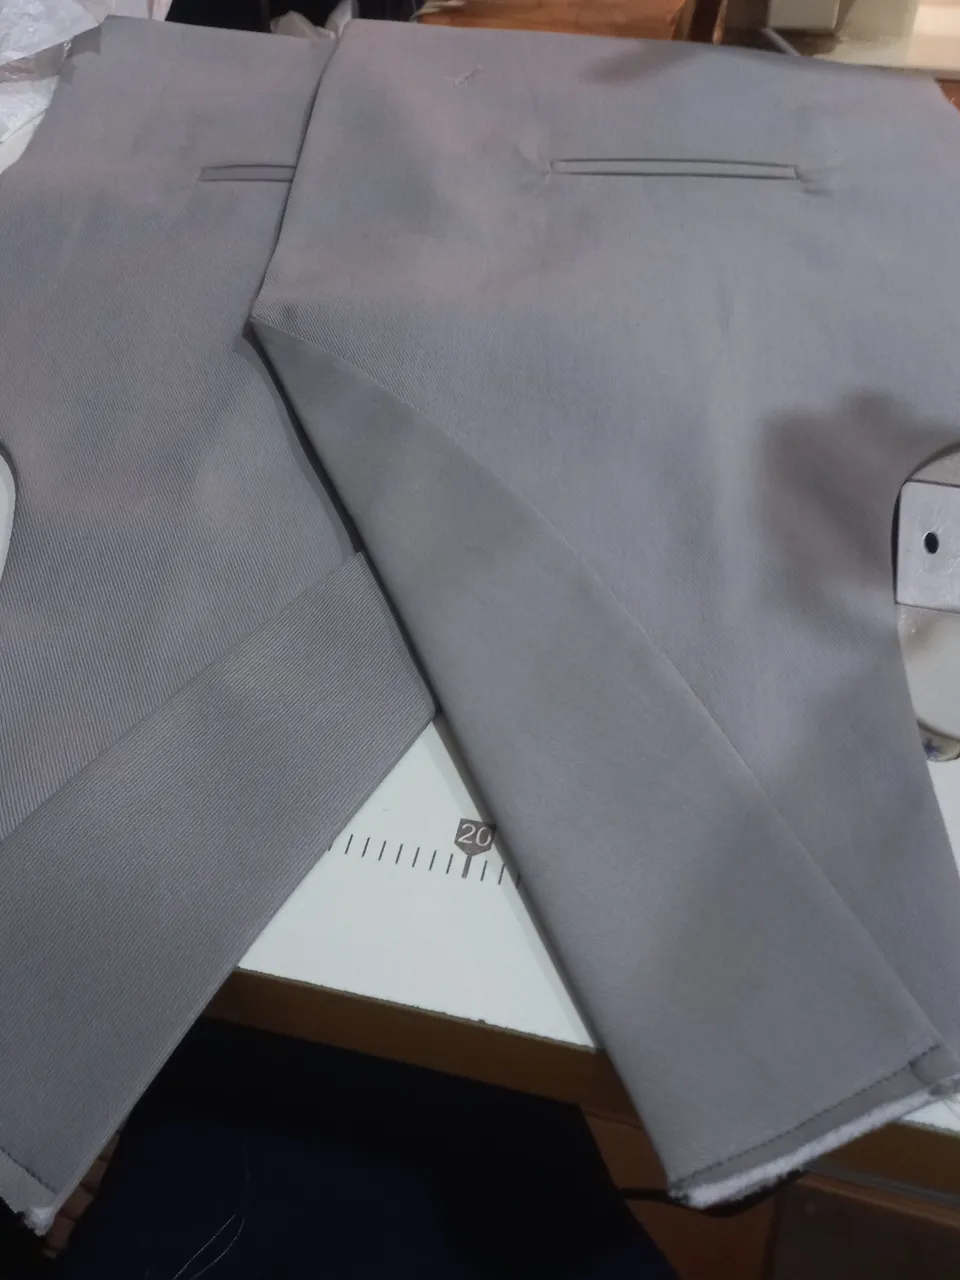
FINAL LOOK
I would love to read your comments, kindly make use of the comment box.
Thank you for always reading and supporting my post, do have a lovely day.