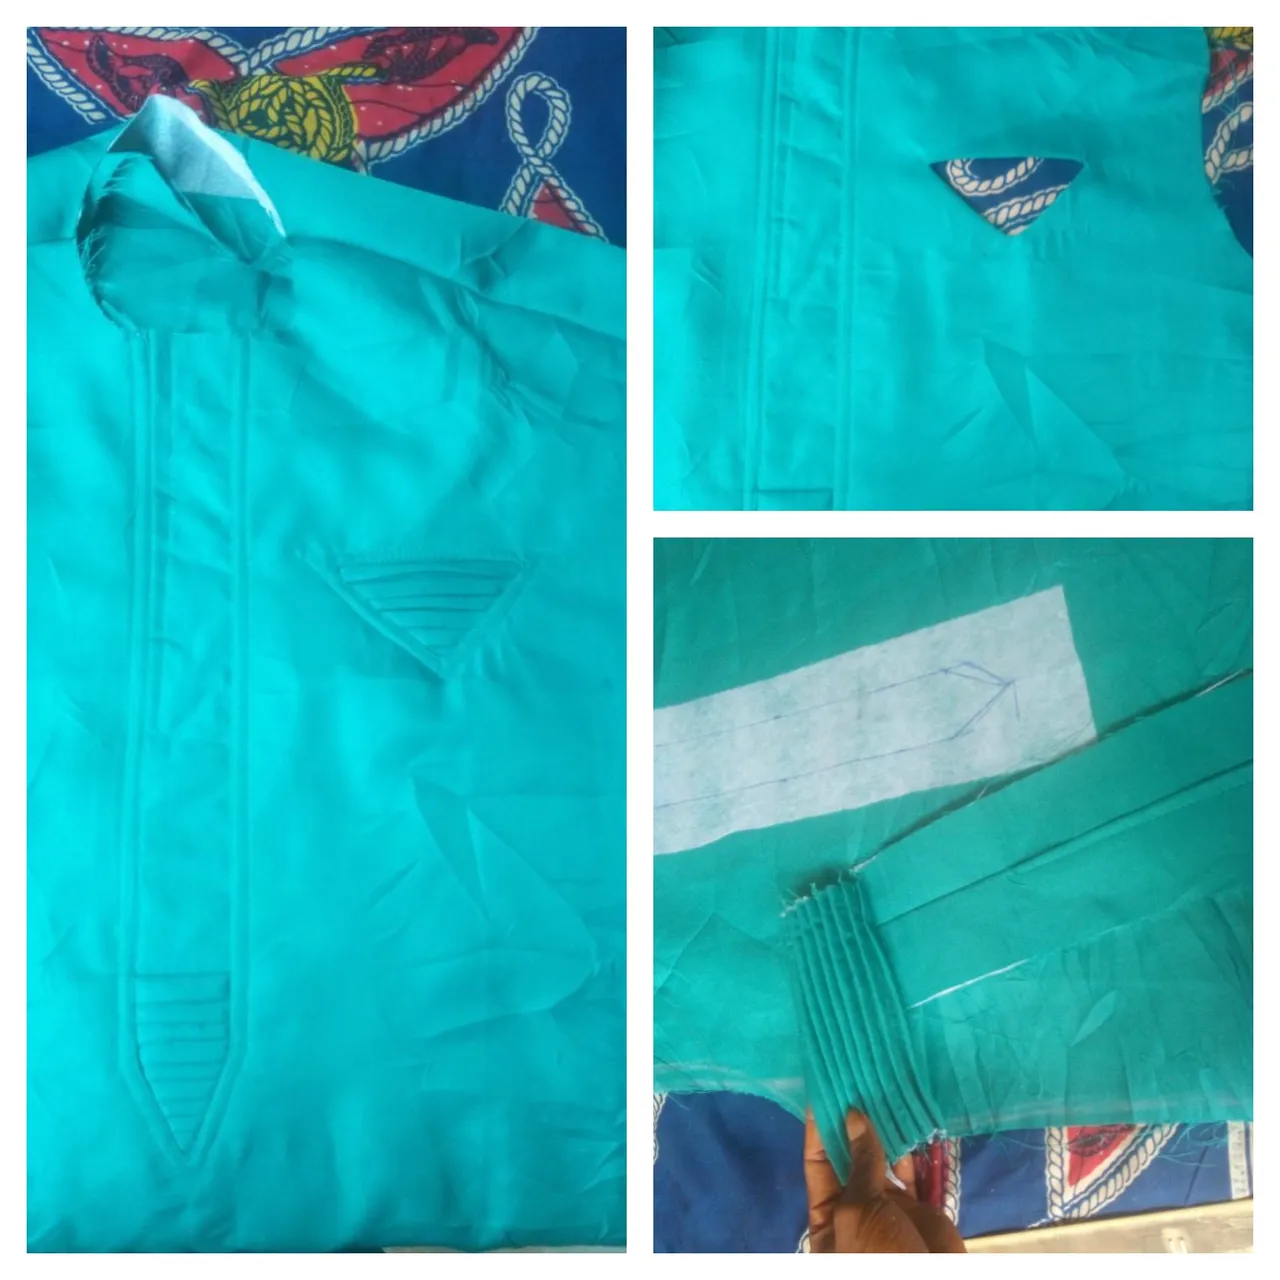
Morning guys this is my second post since joining this community ........ @smilestitches is back on your screen again..... Below here 👇are awesome pictures showing my latest fashion design so far.......... The first picture your seeing now is the already fixed flap and the pocket.
This patten of clothing is know as senetor or native wears, very common in this part of the world, people mostly use it for traditional ceremony
![1603087728576.jpg]
( )
)
HOW its made
As you can see for your self the front of this cloth is different from the normal and ordinary senetor wears you've been seeing, starting from the (flap) in case you don't know yet that centralized straight plot size of 1.5 in a tape is called flap in a senetor/native wears.
Now achieving this kind of flap is not that simple its needs carefulness, on like the one I will be showing you in my subsequent times (soon), so achieving this one, after your cutting and the plain front is ready, firstly u indicate with a sewing chalk the front and the back of the cloth correctly then you centralized the cloth.

Centralized in the sense that you fold the cloth into two then iron out a straight line in the middle then you cut a tissue gum and gum it in between the straight line so it won't be too shot for the flap to stick and not also a strong gum so it won't be too strong for the flap to come out, after you've gummed it you then use your tape to consider the size u want it to have and trace it which a pen or something that is bold to help u follow the straight line, lay a piece in the front and sew after that u cut off a bit to the already sewed line and turn it to the back then the shape will come out, after you've gummed the flap with paper gum (size 2 inch) and paste it in the middle and sew it to the cloth same applies to the side pocket as u can see it still the same method is what I used also to achieve it.
![1603087830401.jpg]
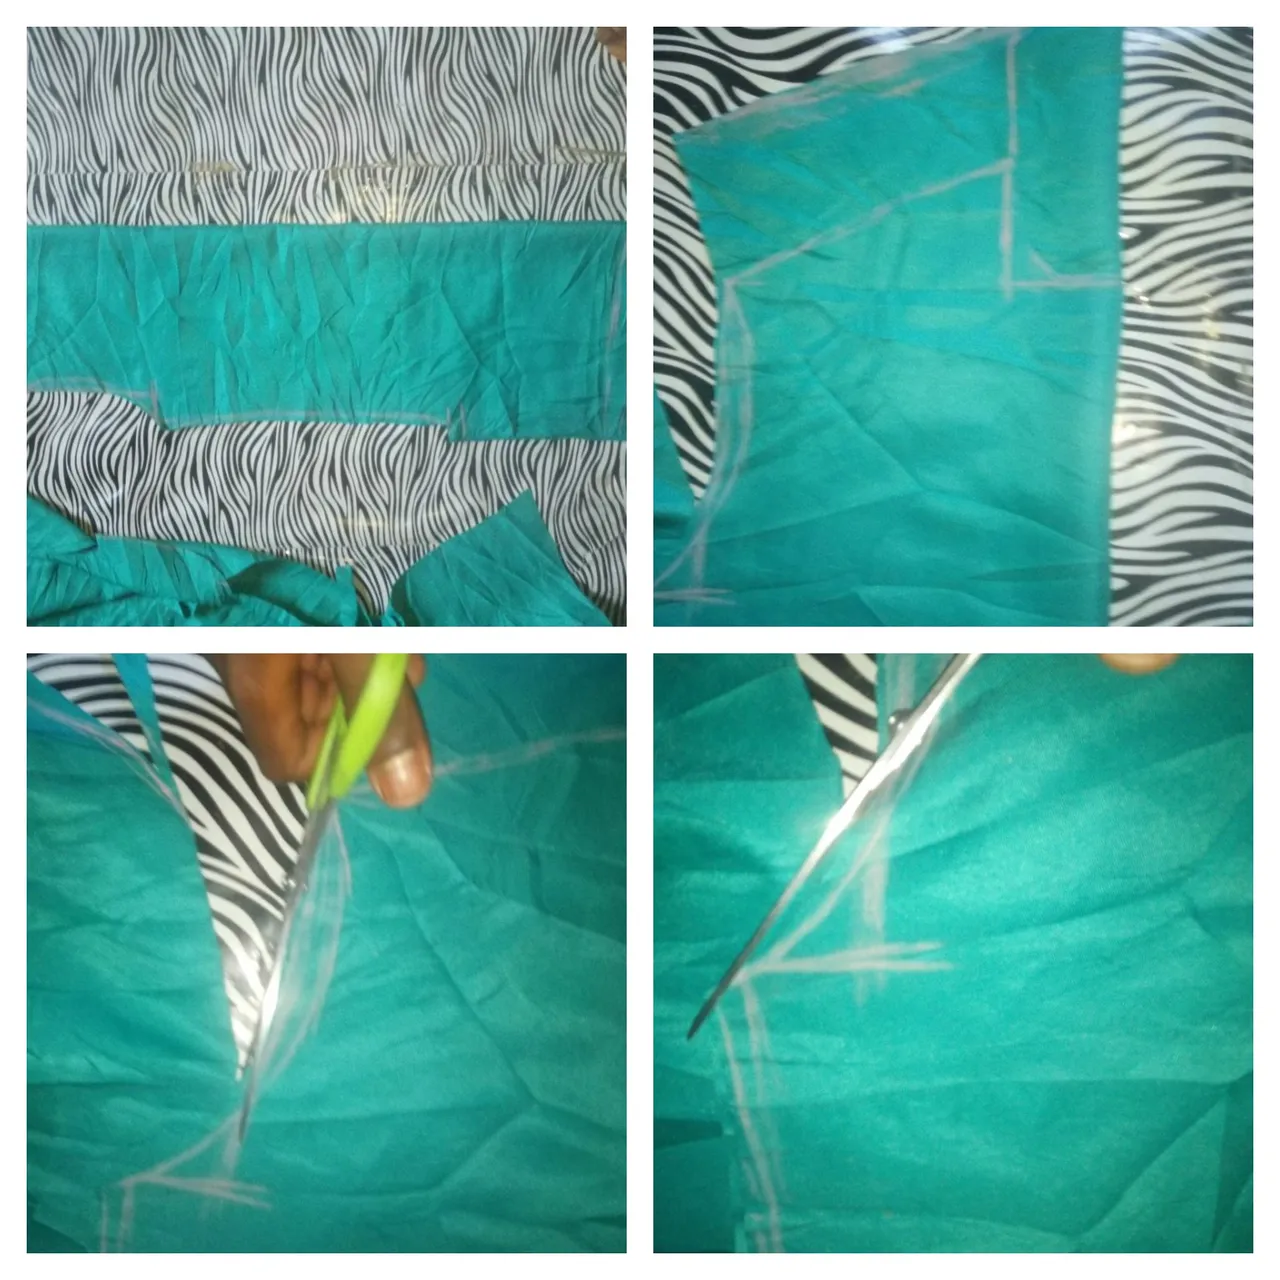
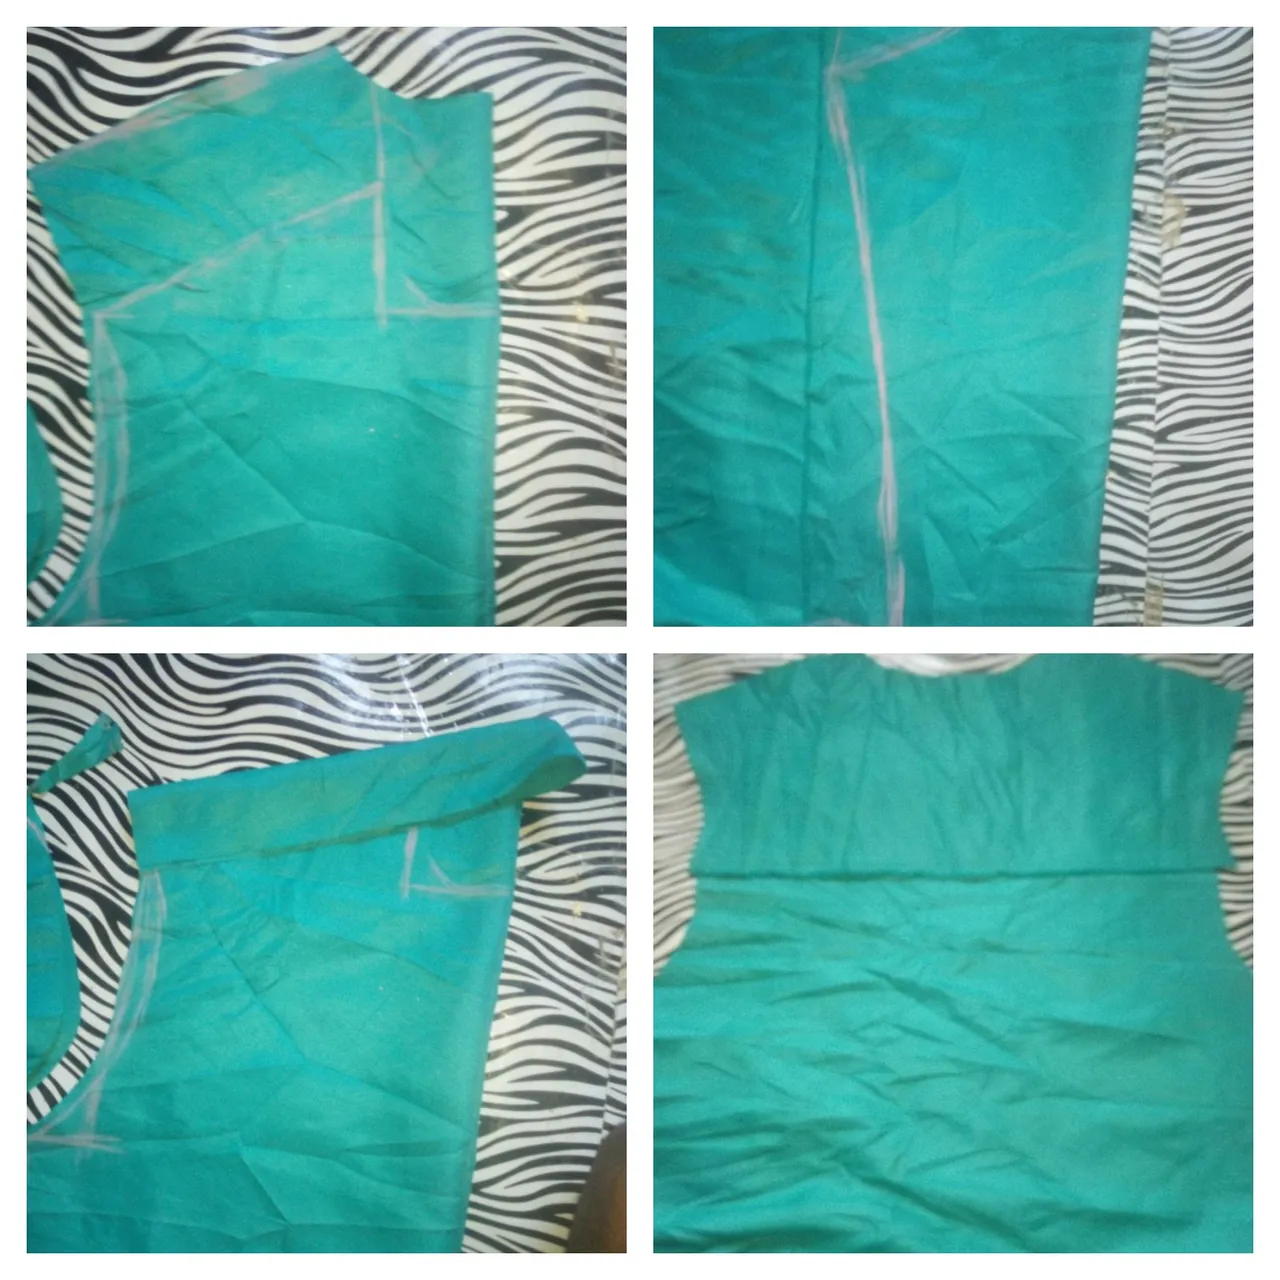
Now the cutting of the cloth, u fold the cloth into two and first measure the length of the person and add two inch at the button as the bending allowance, from the neck u measure with your tape 3 inch and mark, size 2.5 for the neck size and round then u measure out the shoulder and add half inches for the trimming when u want to fix the hand so you won't end up trimming out of the shoulder size of the person your making it for, then from where the should stopped after measurement you slop down 3 inches so give it a shape, and from the 3 inch you've marked with s chalk you add 6.5 inches according to how the person is fat 🙊,while you slop it from where you marked and stop the 3 inch from the shoulder you then slop it and form a corvette shape then you proceed to the person's body size you measured then add it to the cloth while put like 2 inches allowance then drop it to about 15 inch depending on how tall the person is 🙈, then cut off and start doing your own concepts, #exploring is the word!!!
( )
)
In conclusion:
When sewing you have to be observant and careful, just as a saying goes "think before you talk " same applies to sewing but my own way of putting it is "before you put scissors ✂️ in someone cloth, think how you want it to be first"😁, so you won't end up replacing someone's cloth ooooo, I repeat think first and be creative about what you want to achieve and also always be conscious when cutting a cloth, always follow the process carefully because every thing has its own measurements and also cut, take measurements according to the person's body size. Be smart and stay safe.... I heart you all❤💖