Like they use to say, practice make perfection, since I started learning how to crochet with the help of my mentor @abenad , I have make it compulsory that I will do this till I become a pro, no option to quit. After my first val project when I create a small white purse, I decided to finalist the single crochet method to create a beanie (head warmer) even though I know it is a long process and my first attempt, I still decide to give it a try. I had to watch different set of tutorials first just to know the steps used, at some point I was really confused, based on what I saw I thought it will be like 3-4 hours work with little yarn since they only use 1 balls of yarn in the video so I decided to use the only blue ball I had with me.
What I used
Crocheting hook(5.0mm)
3 balls of navy blue yarn
A pair of scissors
Yarn needle.
stitch markers
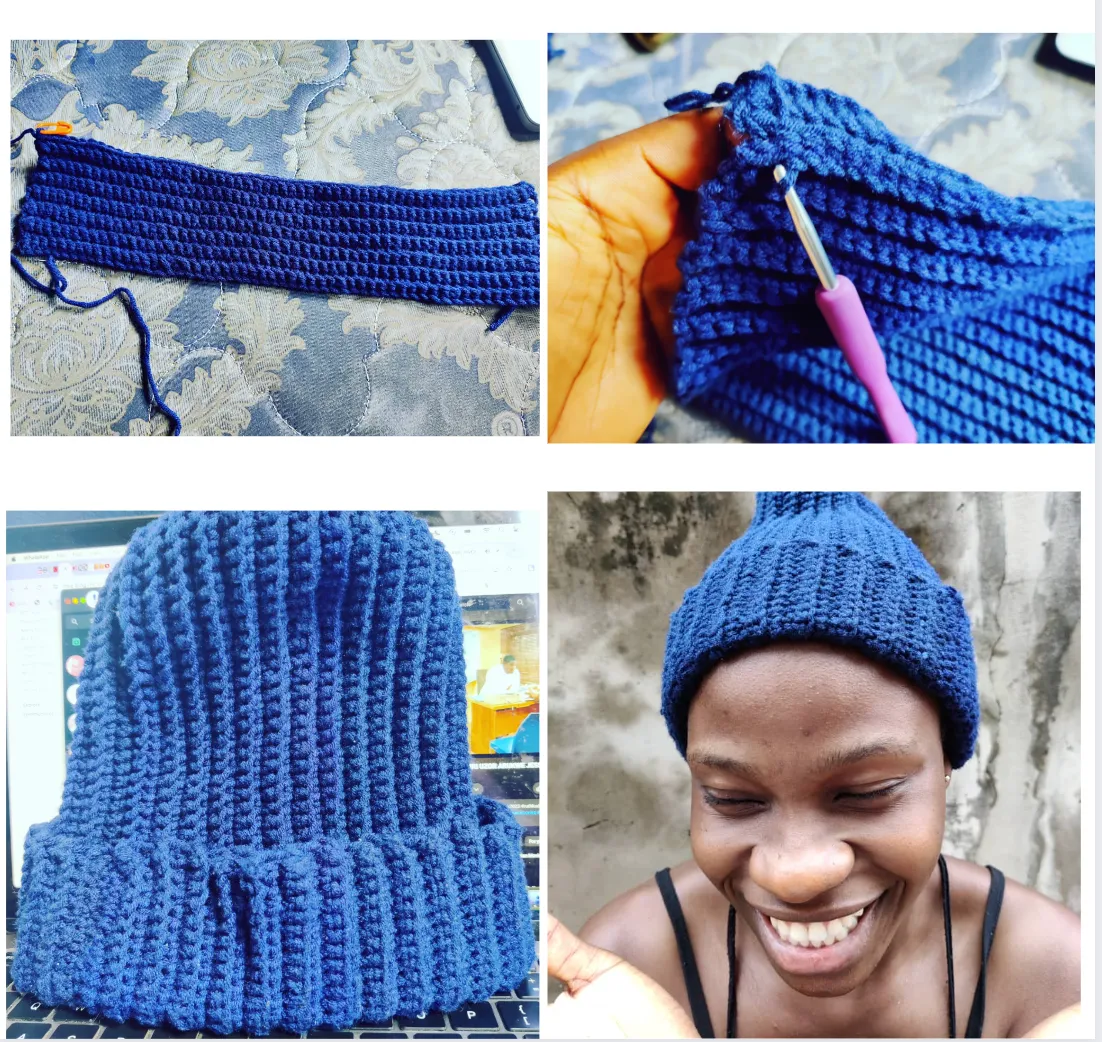
First, I had to make my slip knot, I was skeptical with the measurement mainly because I wasn't use to it yet, so I just decided to increase the chains I saw in the tutorial, they made 50 but I did 55 chains with the hope that it will really fit my head, I already learnt Single crochet so that was what I planned to use. After making the first 55 chains which serve as the foundation chain, then I used the back loop techniques to fill the rows, so i had to turn over the chains to see the backloop, inserted the hook and yarn over then pull to form 2 loops, yarn over again and pull through, this is what I did continuously till I reach the end of the row, I make sure I use stitch marker to indicate the end of the row so I won add or reduce to make it straight. After reach the end of the row, I chained 1 then turn it over to start the second row.
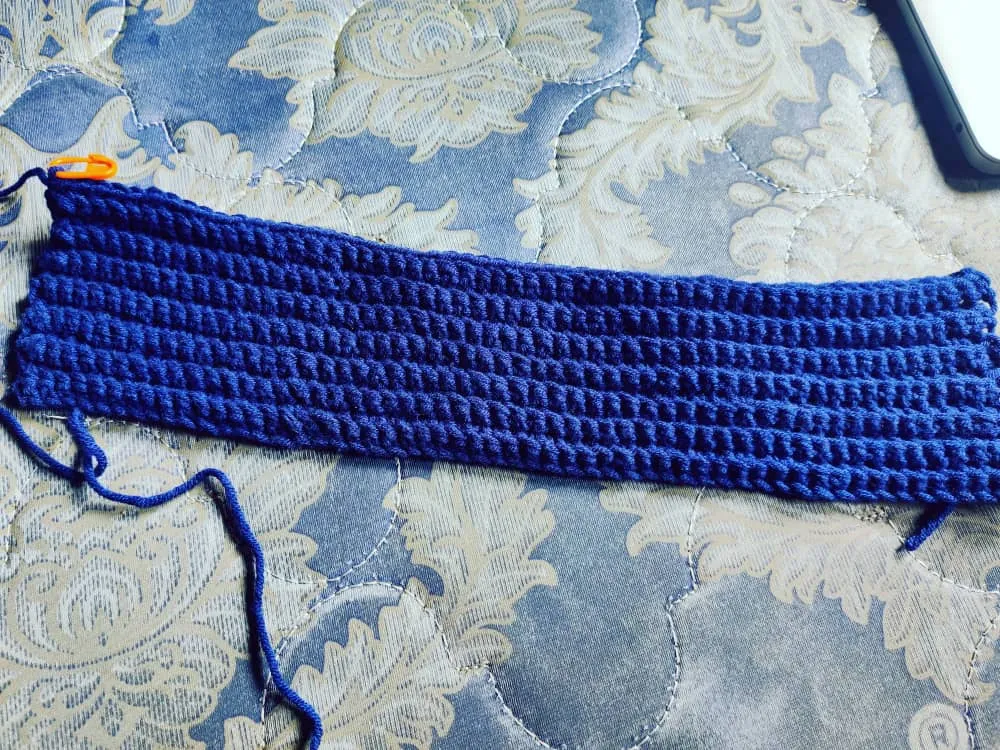
So I continued the same 1 single crochet in the back loop of each stitch till I formed each rows, at some point it wasn't easy because I got confused, loose some part and redo, so I keep doing the rows horizontally till it can wrap about my head.

I was somehow slow with it and it took me days to reach this part, had to get extra balls which I joined along the way. So at this point I folded it into two, it is really stretchy so I made up to 66 rows before it can fit in.
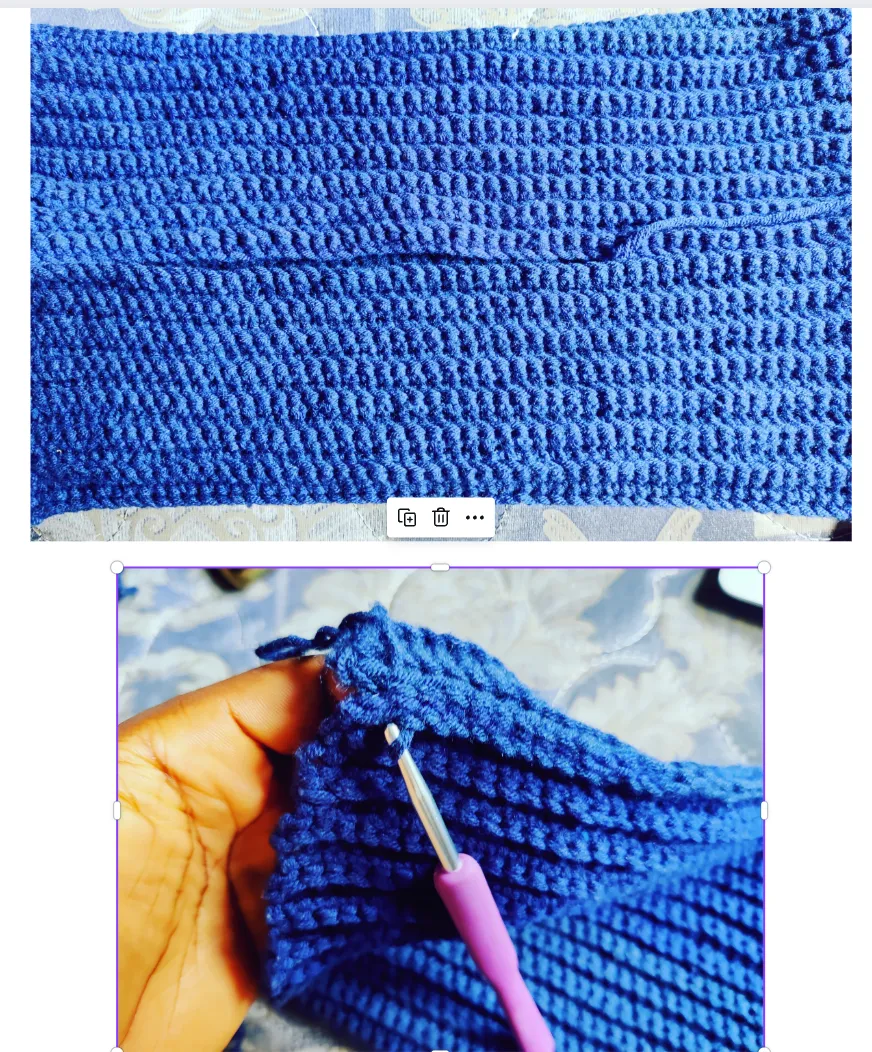
I folded the two end together and slip stitch, it was the major challenging part for me and I almost give up or I saw say feel teary, it is not that easy trying to figure something out but couldn't get it after many attempt, I note the top part, then did the brim section first, after adding 10 slip stitch for the brim part, then I turned it inside out and continue the stitch to stitch joining to the last end. The I use the yarn needle to make the top edge by putting the yarn in and out then I put everything tight together.
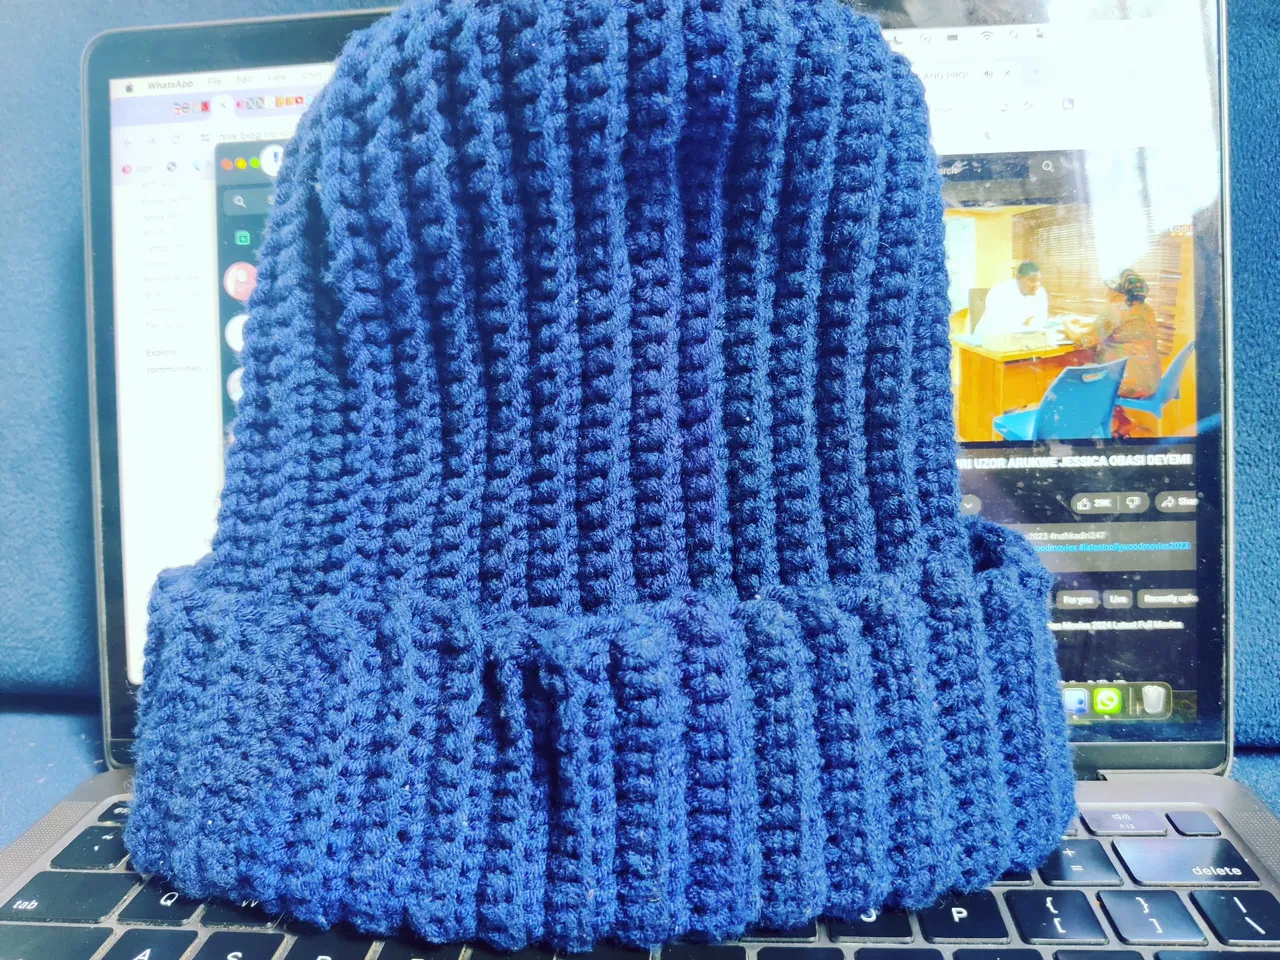
The final product, it actually look cool on my sis when she tried it out and already ready to steal it from me