Hola amigos de HIVE!
ESTE PASO A PASO TE SERVIRÁ TAMBIÉN DE DISTRACCIÓN Y ESTÁ DEMÁS DECIRLO, PUEDES PROMOCIONARLOS Y PORQUE NO?..... VENDERLOS !
Así que ya es hora de empezar...
Hello friends of HIVE!
THIS STEP BY STEP WILL ALSO SERVE YOU AS A DISTRACTION AND NEEDS TO SAY IT, CAN YOU PROMOTE THEM AND WHY NOT? ..... SELL THEM!
So it's time to start .
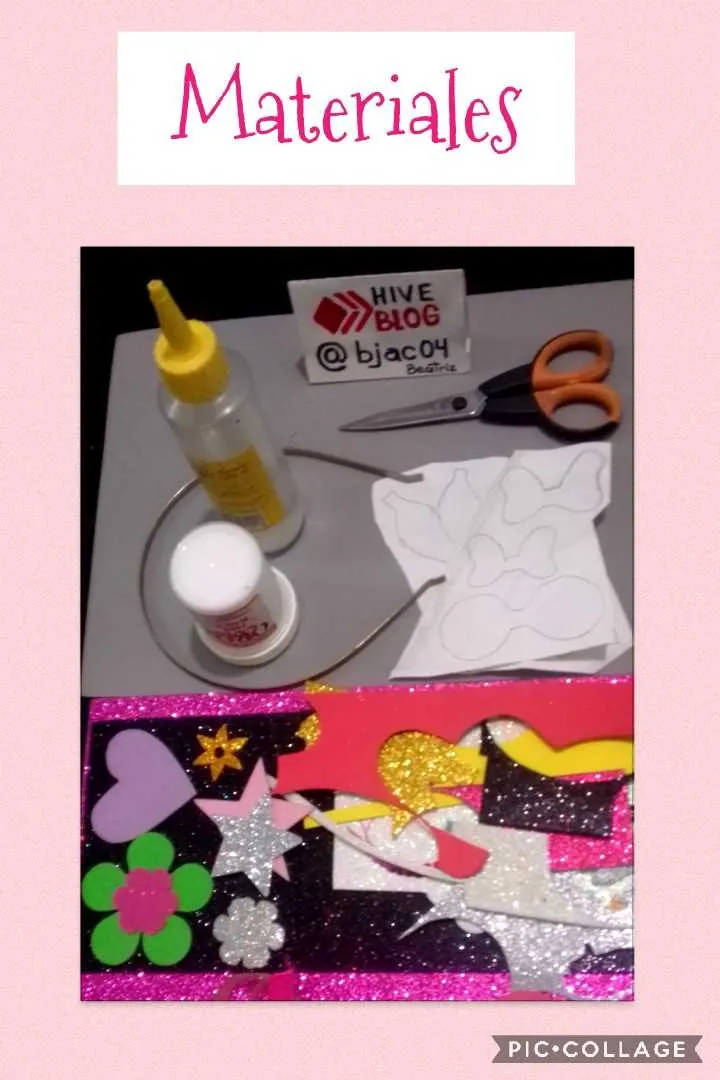
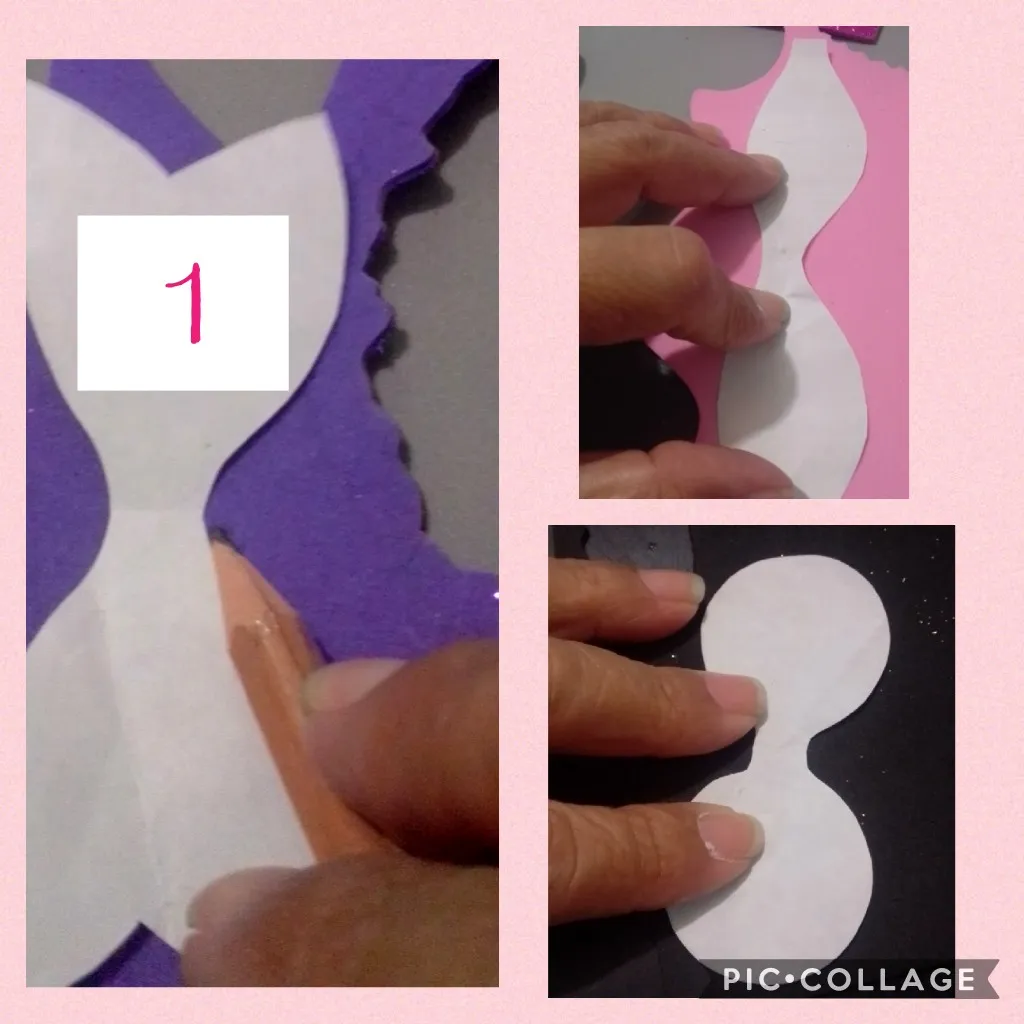
1)Marcamos los moldes en el foami.
- We mark the molds in the foam.
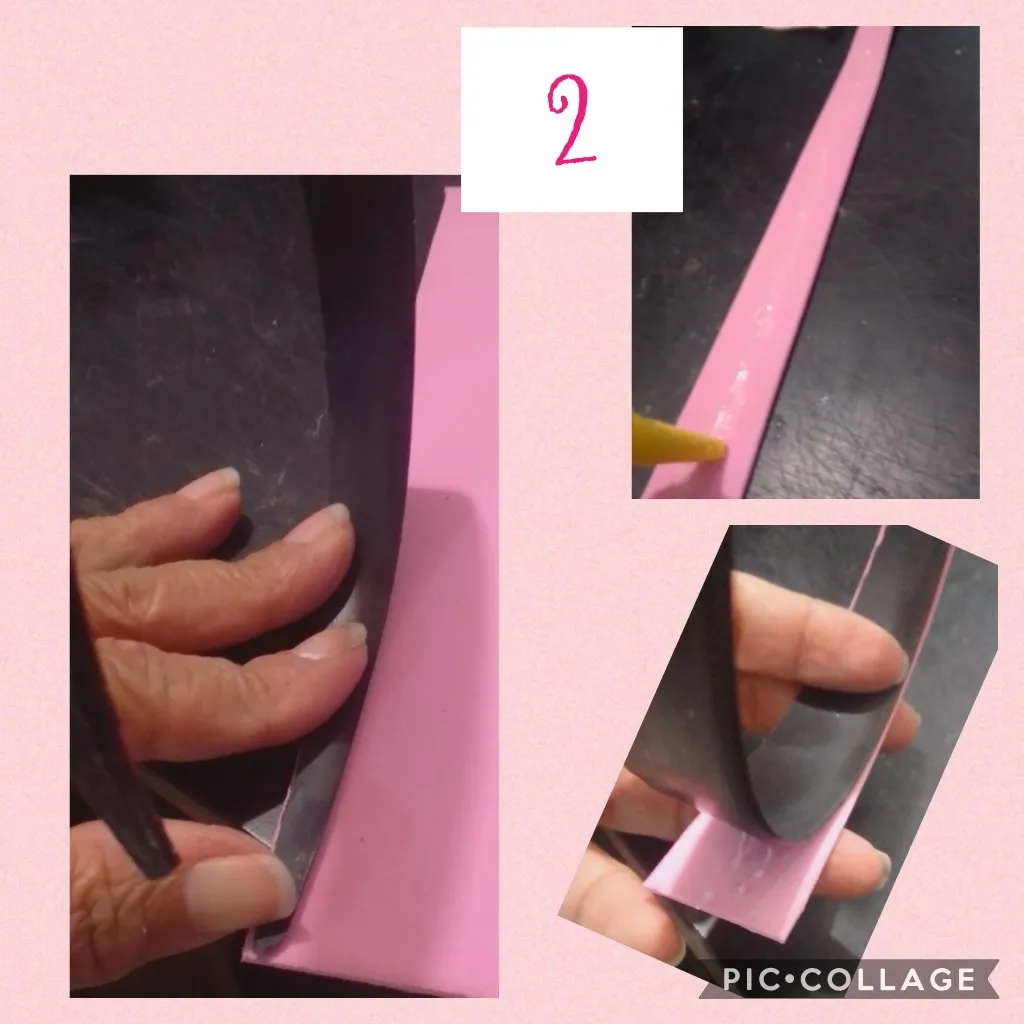
Marcamos en foami el contorno de todo el cintillo, para recortar y pegar al cintillo.
We mark in foami the outline of the entire headband, to cut and stick to the headband.
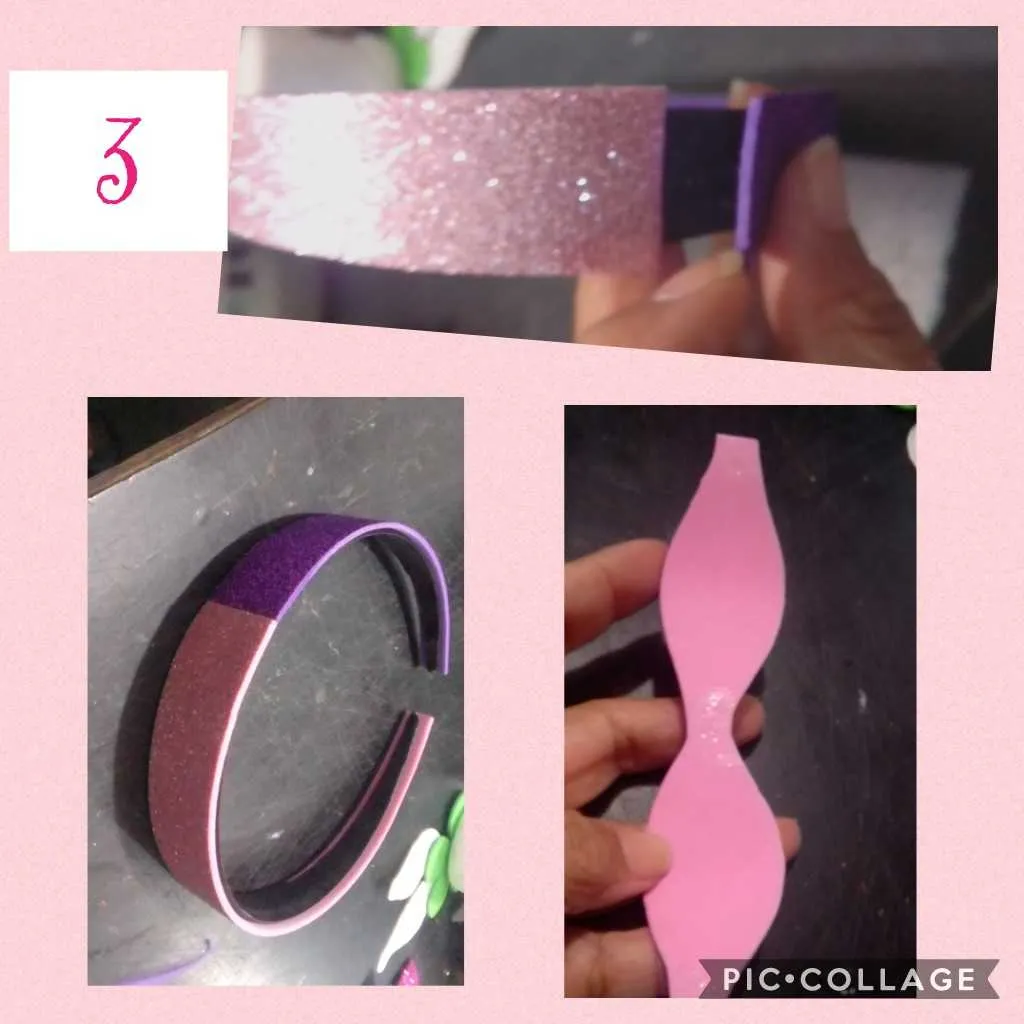
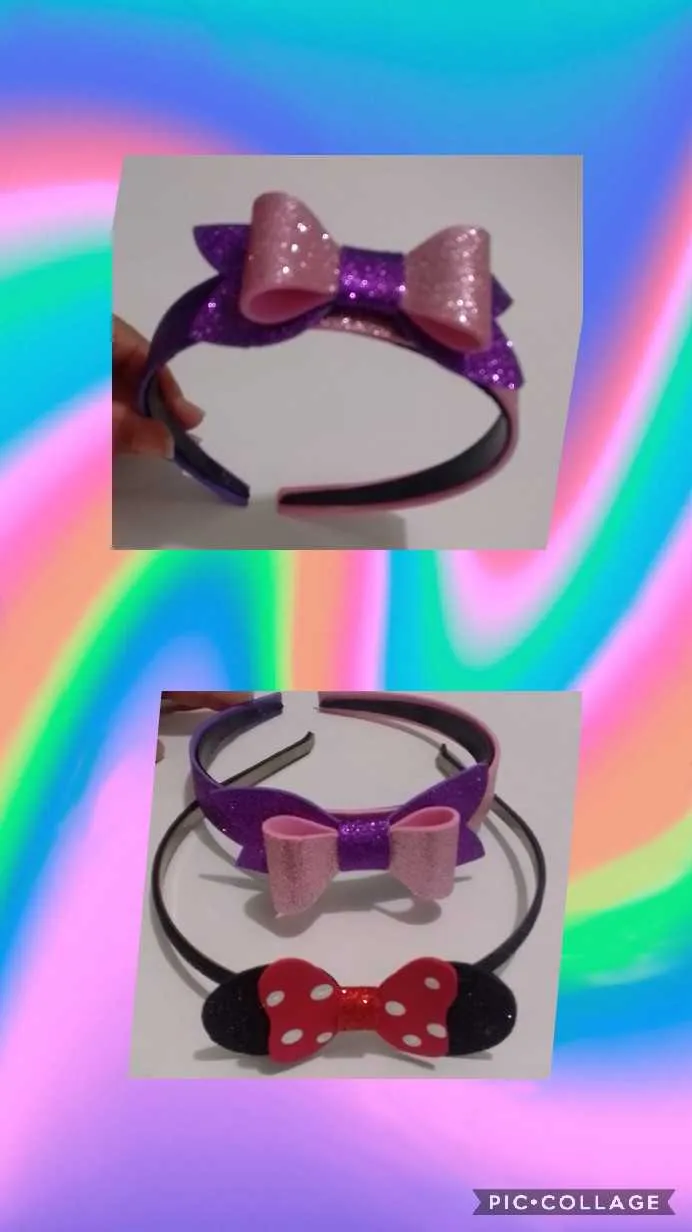
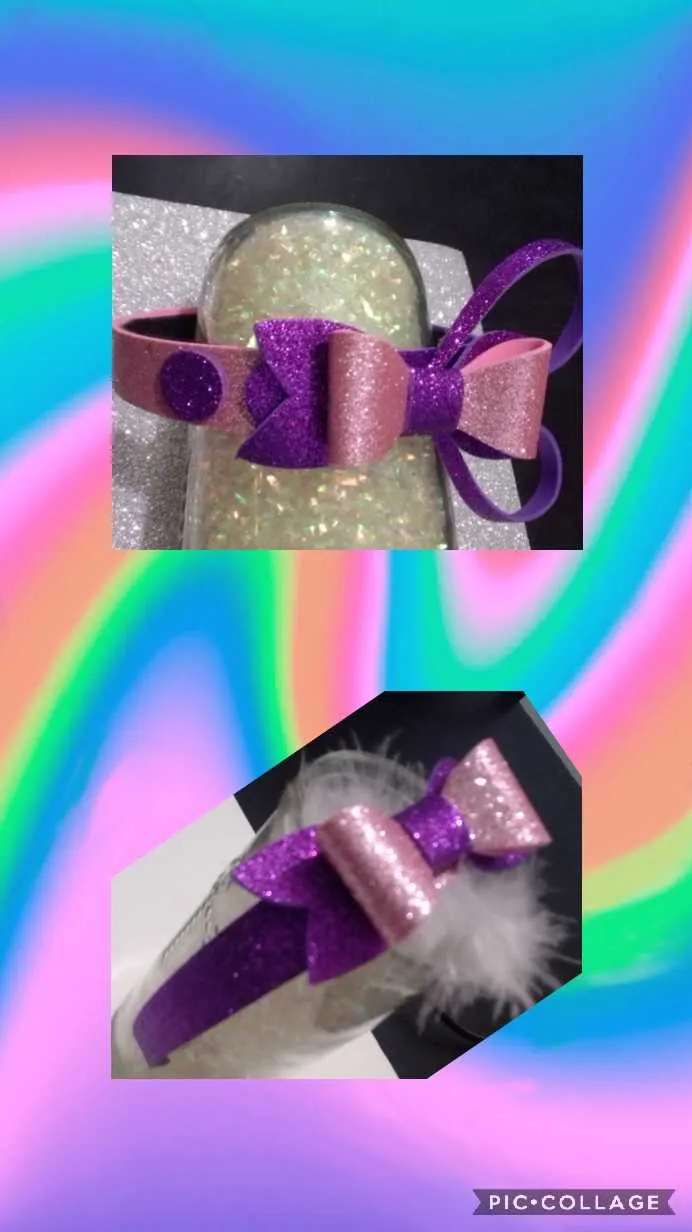
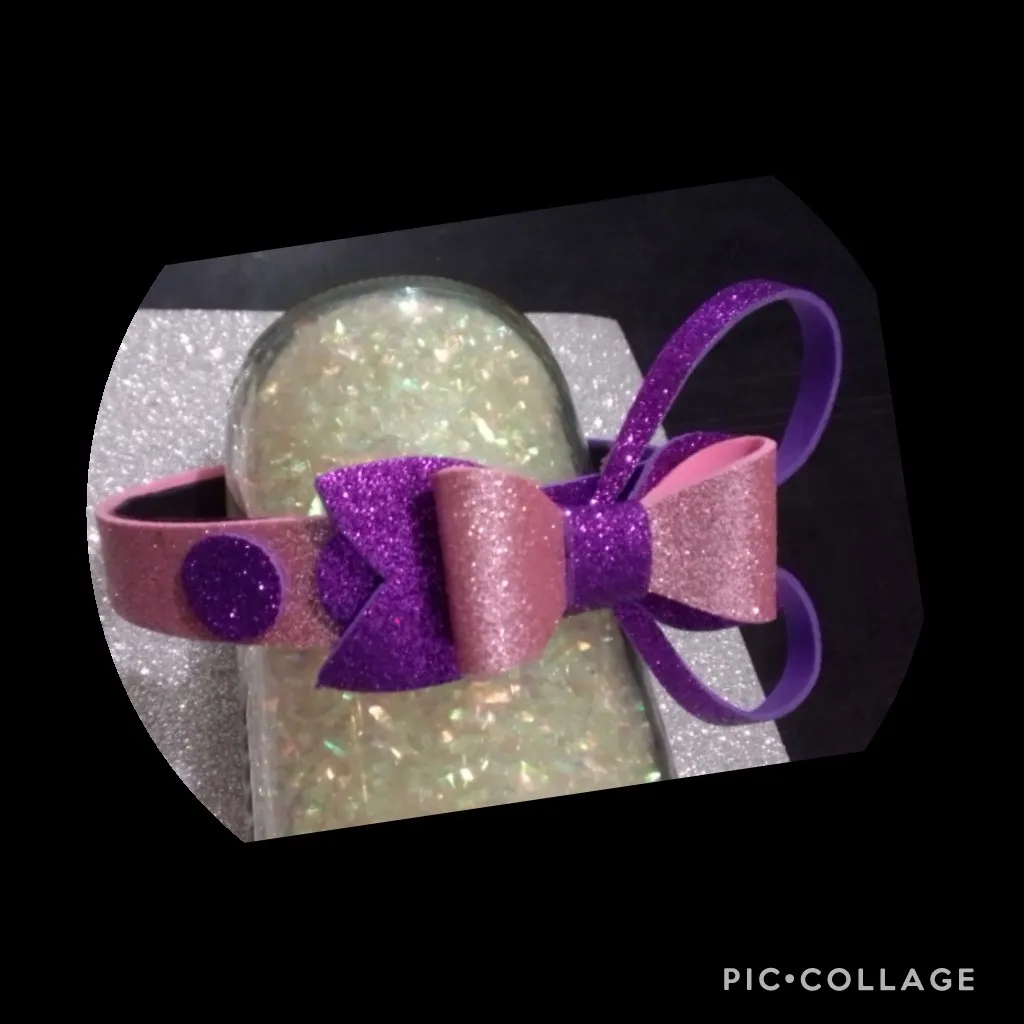
3 ) Forrado el cintillo, procedemos a armar el lazo.
- Lined the headband, we proceed to assemble the bow.
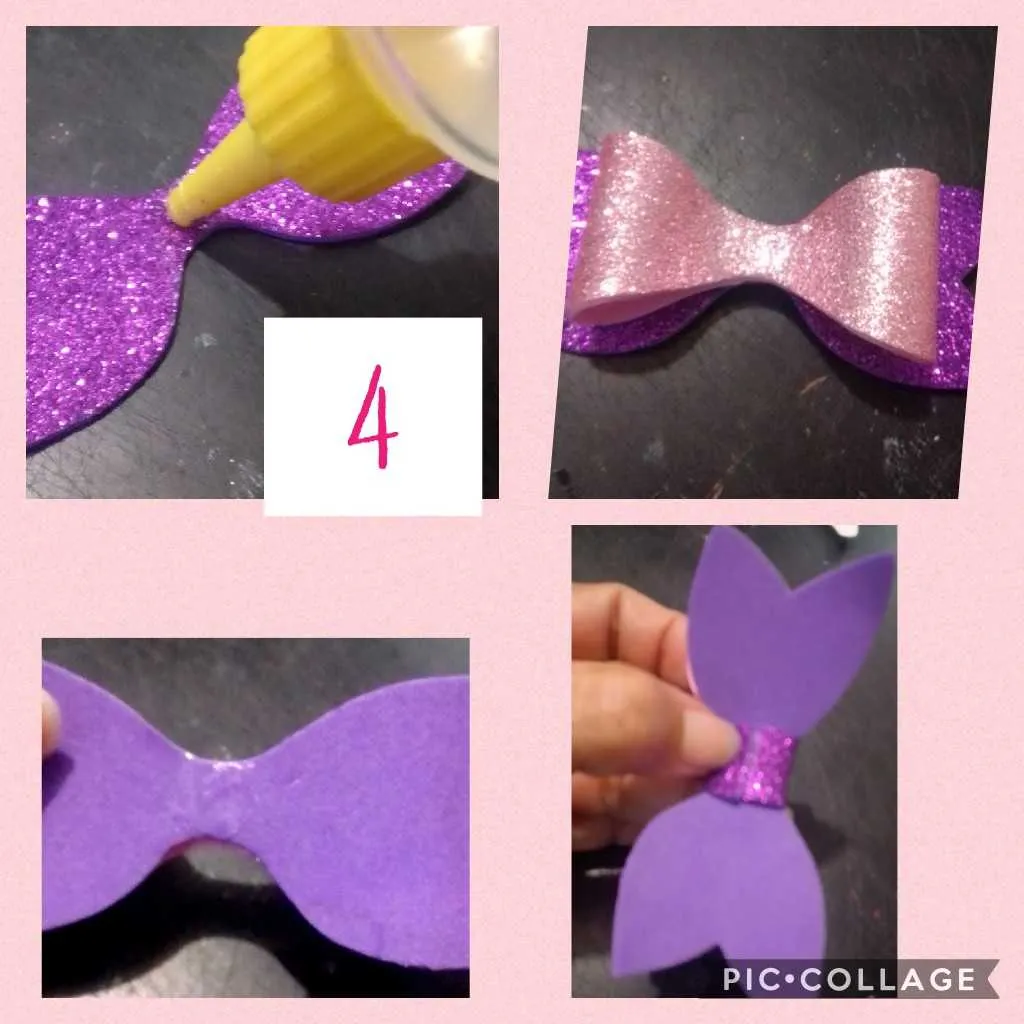
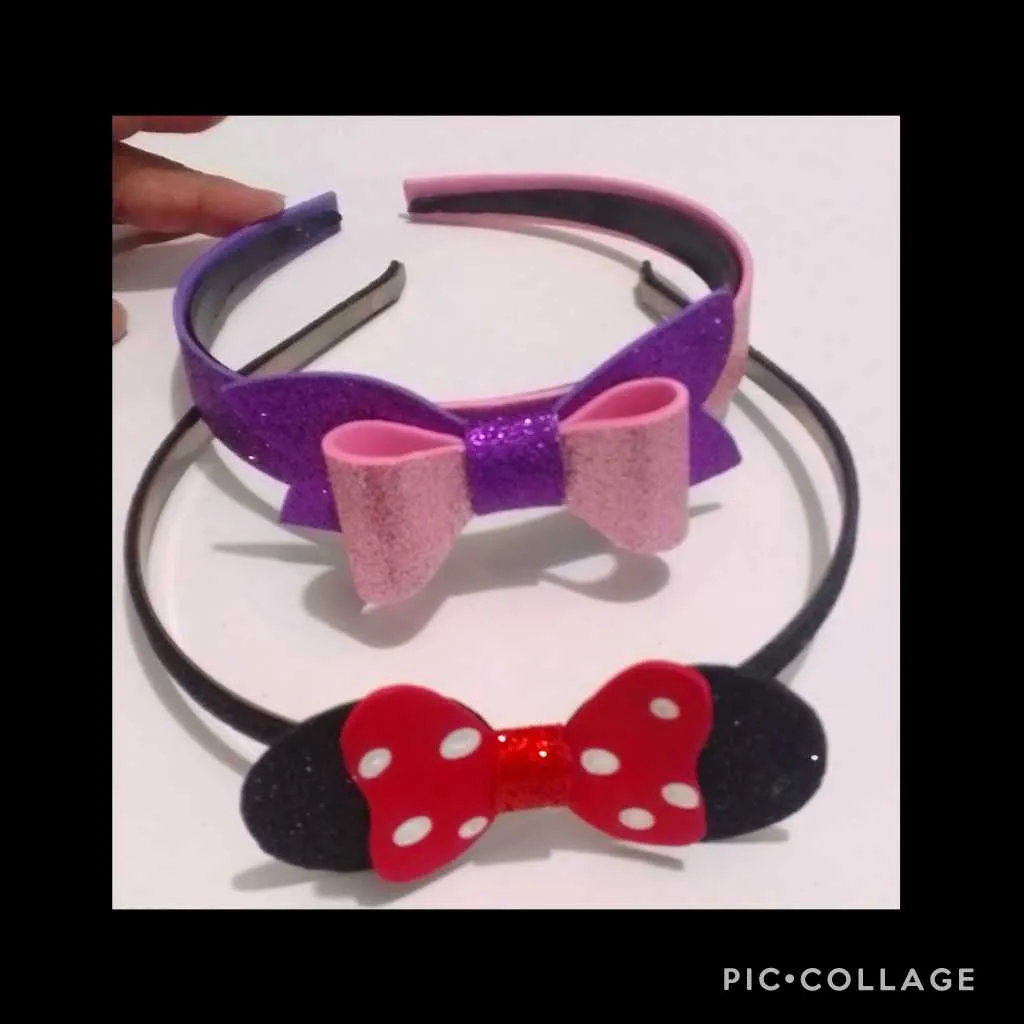
Primero cerramos el lazo rosado y pegamos en la base morada del lazo y por último pegamos una tira en el centro de 1 cm de ancho por 3 de largo.
First we close the pink bow and glue on the purple base of the bow and finally we glue a strip in the center 1 cm wide by 3 long.

- Ahora en la tira colocamos silicón para pegar al cintillo haciendo un poco de presión hasta que se fije bien.
YA TENEMOS ARMADO EL PRIMER CINTILLO! - Now on the strip we place silicone to stick to the headband making a little pressure until it sets well.
WE ALREADY HAVE ASSEMBLED THE FIRST RIBBON!
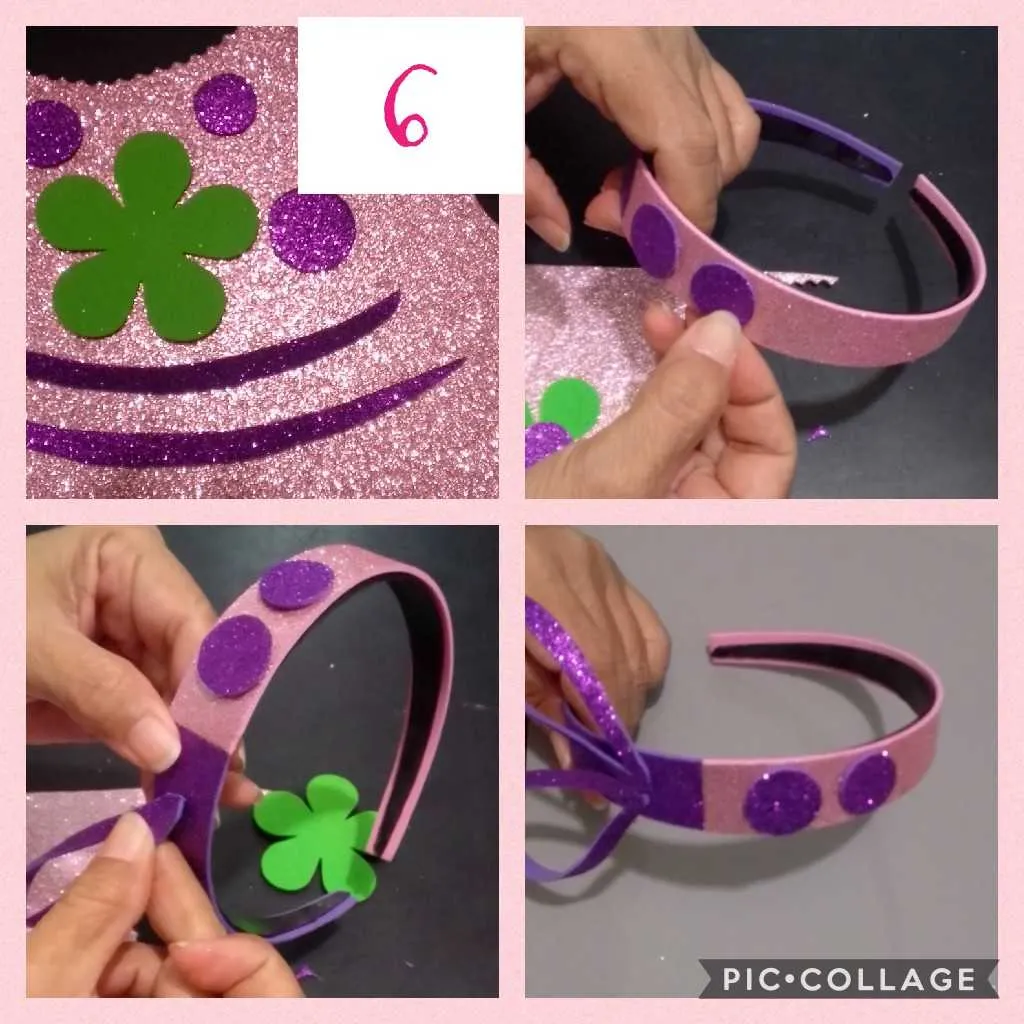
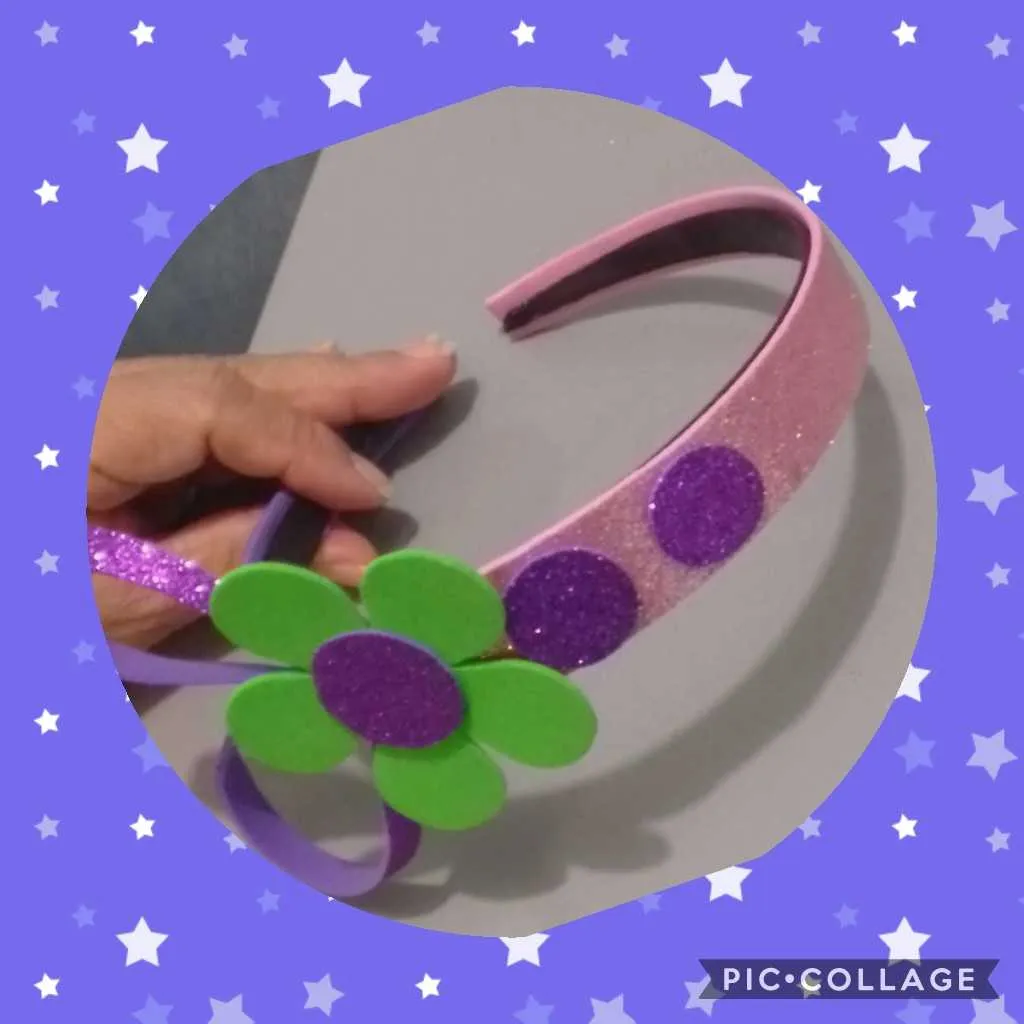
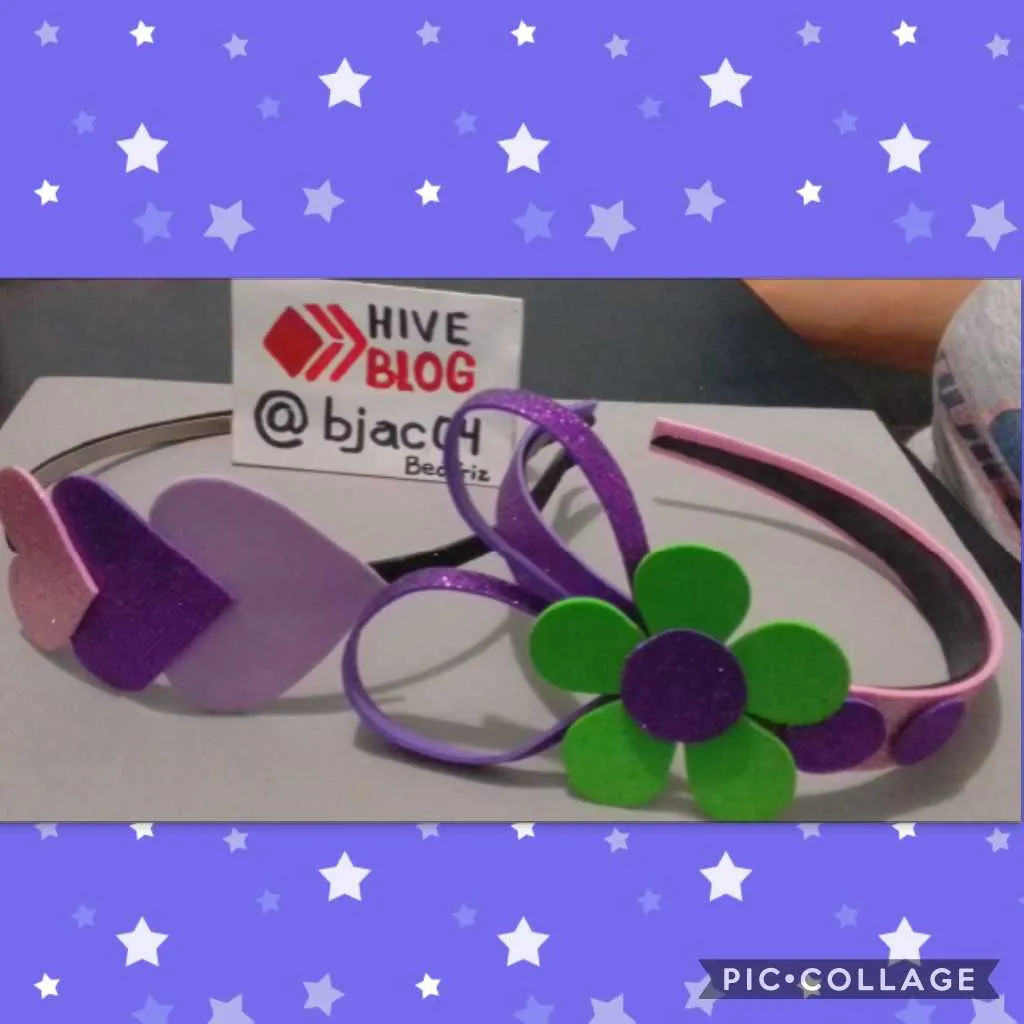
Aquí recortamos una flor, el centro, círculos y dos tiras en foami morado para armar dos lazadas, uniendo sus puntas y pegando al cintillo igual lo puedes forrar en los tonos de tu preferencia, igual pegamos los círculos.
Here we cut out a flower, the center, circles and two strips in purple foami to make two loops, joining their ends and sticking to the headband, you can also cover it in the tones of your preference, we still glue the circles.
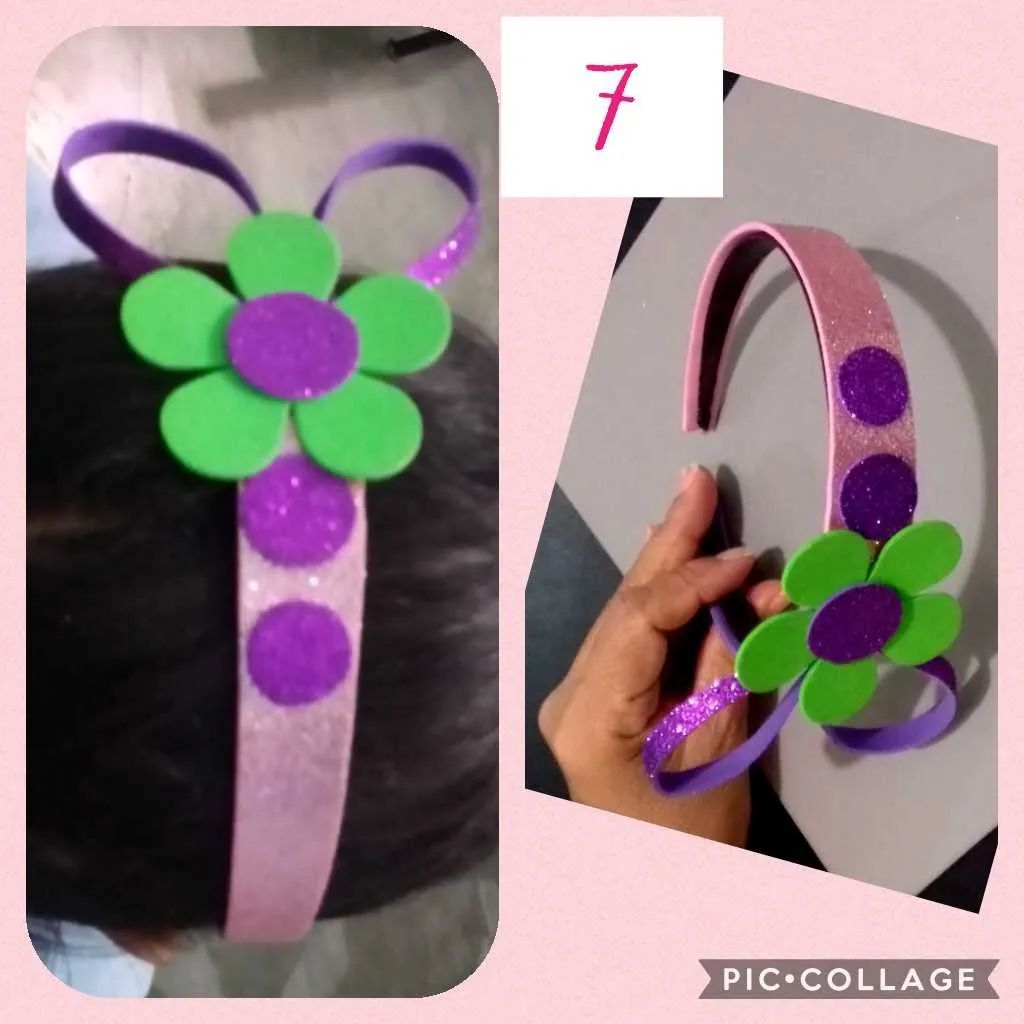
- Por último pegamos sobre las lazadas la flor y listo!
- Finally we stick the flower on the loops and that's it!
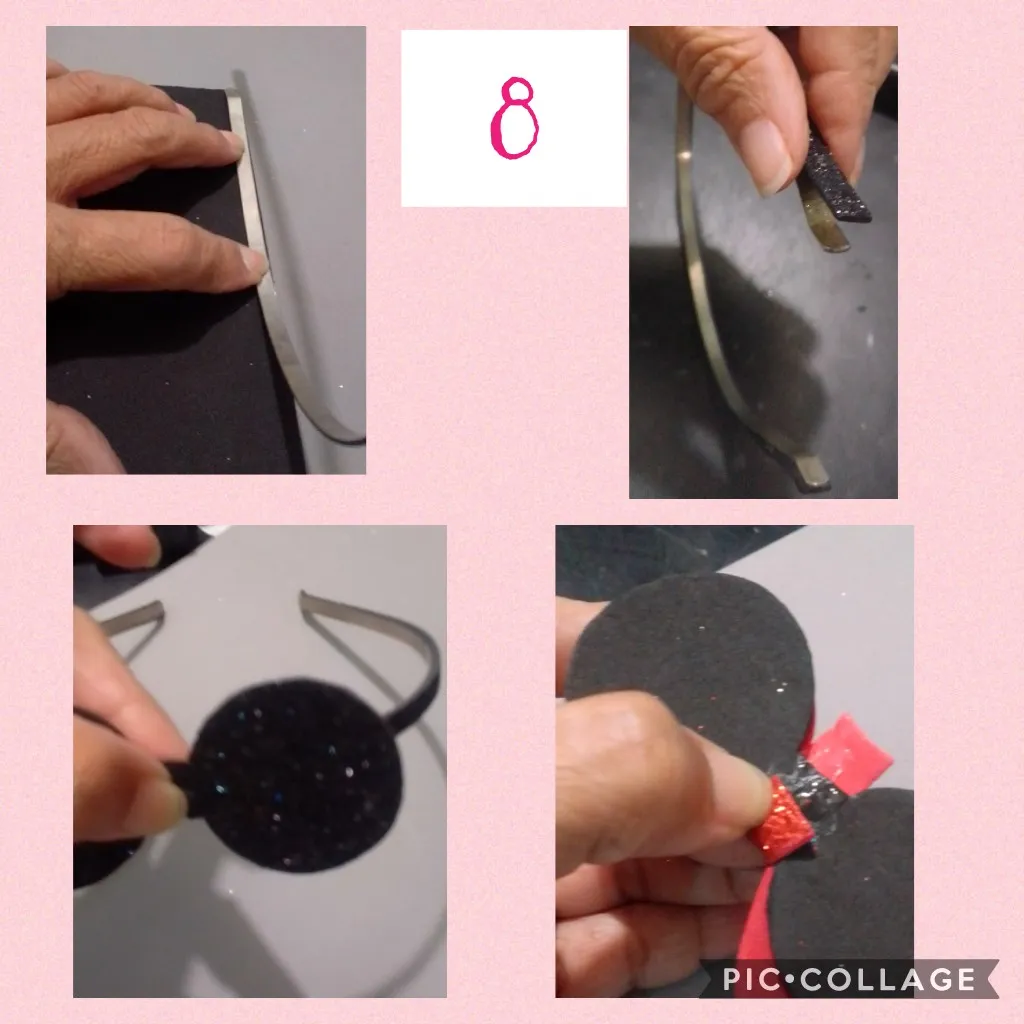
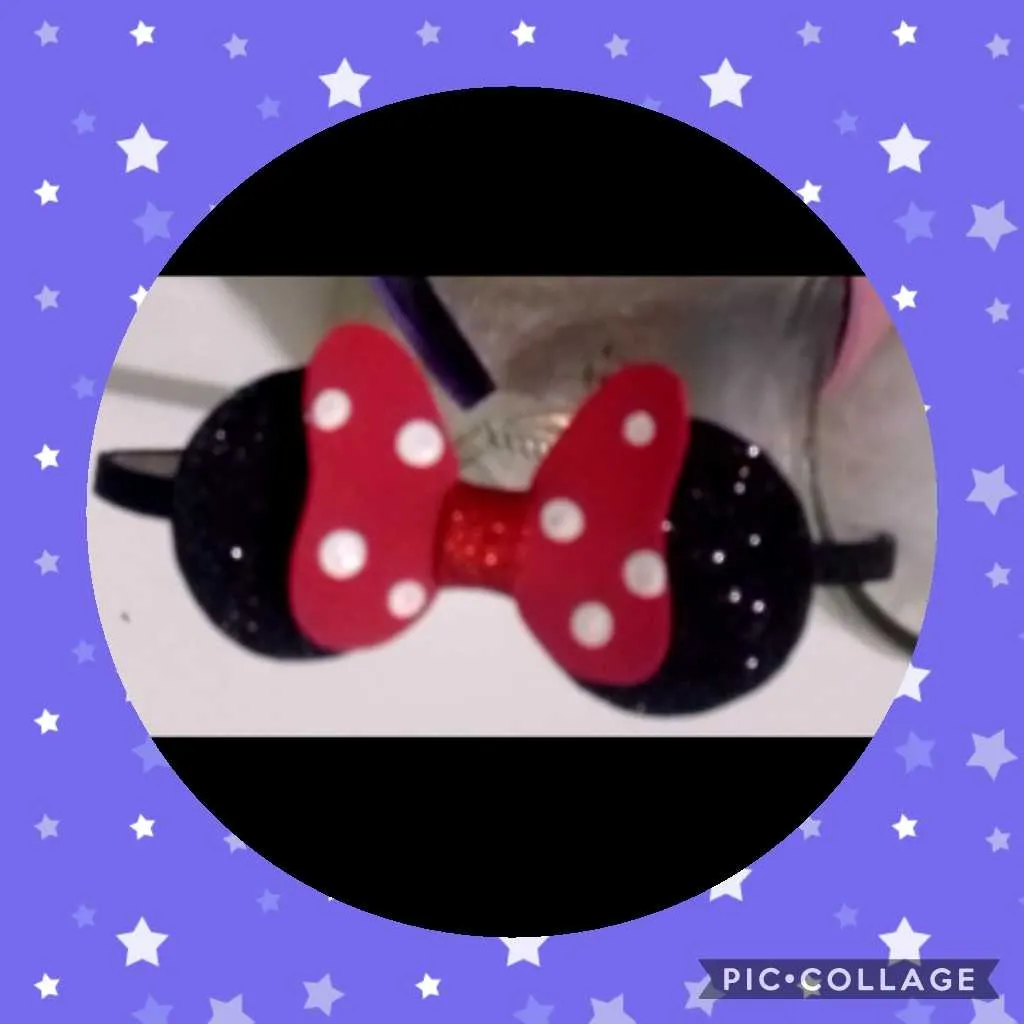
8)Aquí realicé igual procedimiento, marcando en el foami en ancho y largo del cintillo, para recortar ,pegar y así forrar el otro cintillo que decoraremos con la figura de las orejas de minnie mouse.
- Here I did the same procedure, marking the width and length of the headband on the foami, to cut, glue and thus line the other headband that we will decorate with the figure of the Minnie Mouse ears.
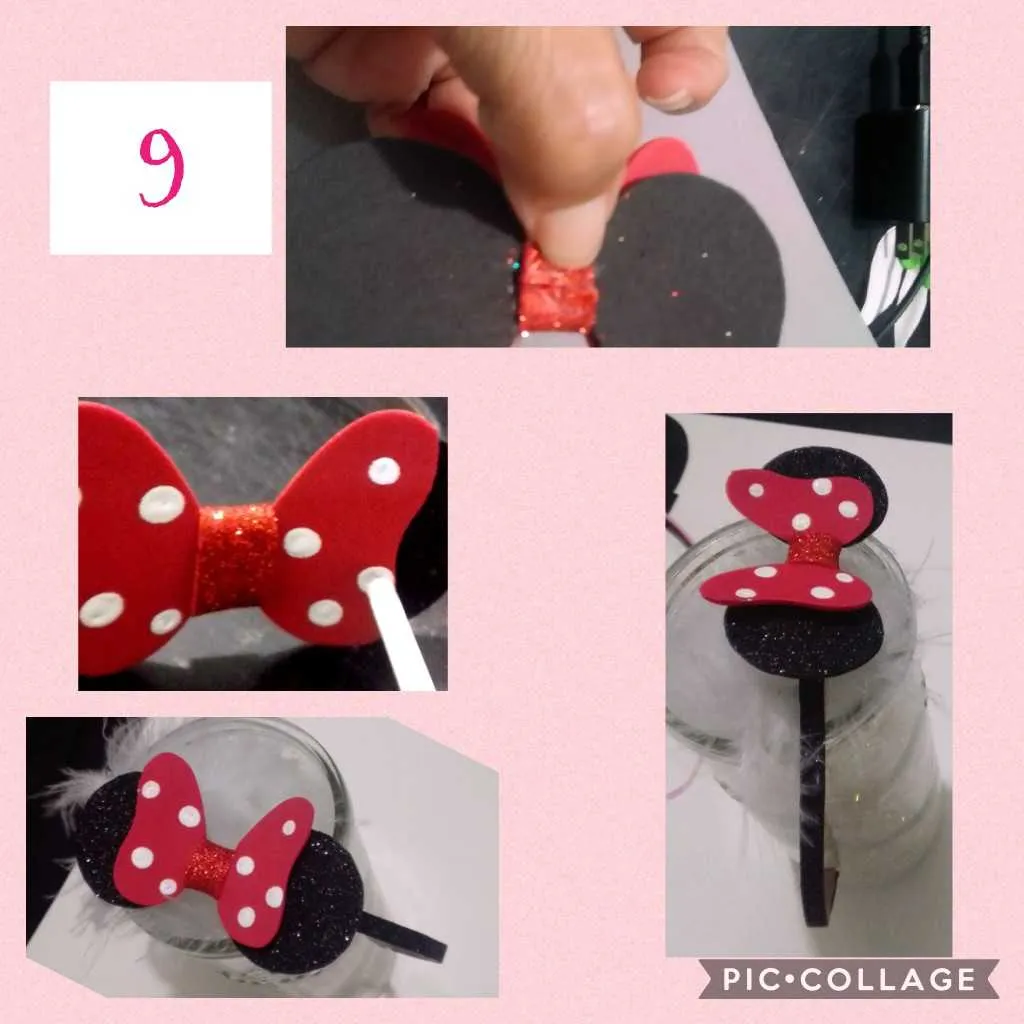
9)Después de pegadas las orejas y el lazo de mini, pintamos los lunares en blanco con un palito como se vé en la foto... dejamos secar y ya tenemos otro cintillo terminado!
- After glued the ears and the mini bow, we paint the polka dots in white with a stick as seen in the photo ... we let it dry and we have another finished headband!
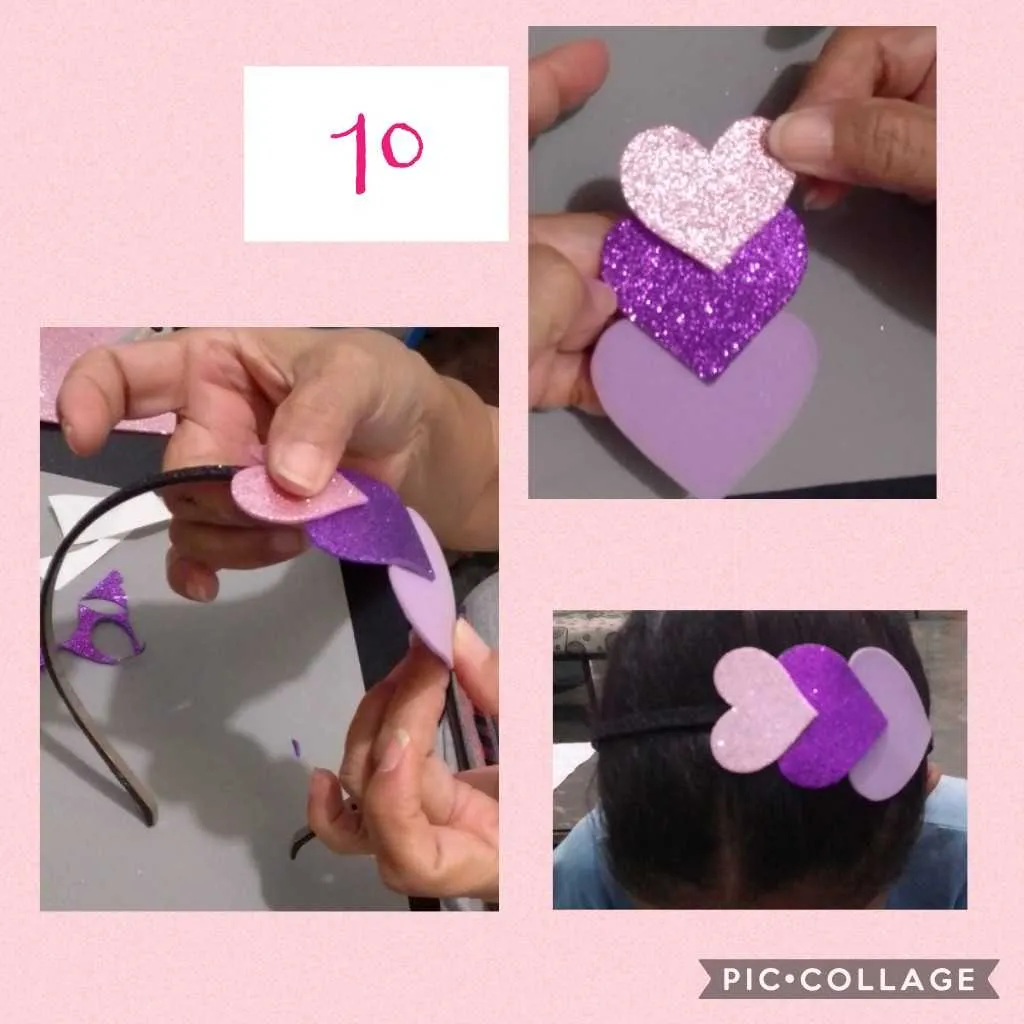
Miren que fácil y sencillo es realizarlos, una vez más forramos otro cintillo y decoramos con 3 corazones que pegamos uno sobre otro en tonos que combinen, todo está en la creatividad que tengas.
Look how easy and simple it is to make them, once again we line another headband and decorate with 3 hearts that we glue one on top of the other in matching tones, everything is in the creativity you have.
- Este otro modelo lo realicé con la base anterior y le añadí las lazadas que le dan un toque muy original...
- I made this other model with the previous base and added the loops that give it a very original touch ...
ESPERO LES GUSTE ESTE MI PASO A PASO!