Lo elaboré con retazos de tela, reciclando de una manga de camisa y un jeans, y lo hice para mi perrita que le encanta jugar, y como los juguetes para ellos son costosos, me propuse realizarle uno y ya verán el resultado.
Para ello usé los siguientes materiales:
Telas recicladas, algodón de relleno, hilos, aguja, tijera y máquina de coser ( también se puede coser a mano).
I made it with scraps of fabric, recycling a shirt sleeve and jeans, and I made it for my dog who loves to play, and since the toys for them are expensive, I decided to make one for her and you will see the result.
For this I used the following materials:
Recycled fabrics, cotton fill, threads, needle, scissors and sewing machine (can also be sewn by hand).
Y es hora de empezar con el procedimiento:
And it's time to start the procedure:
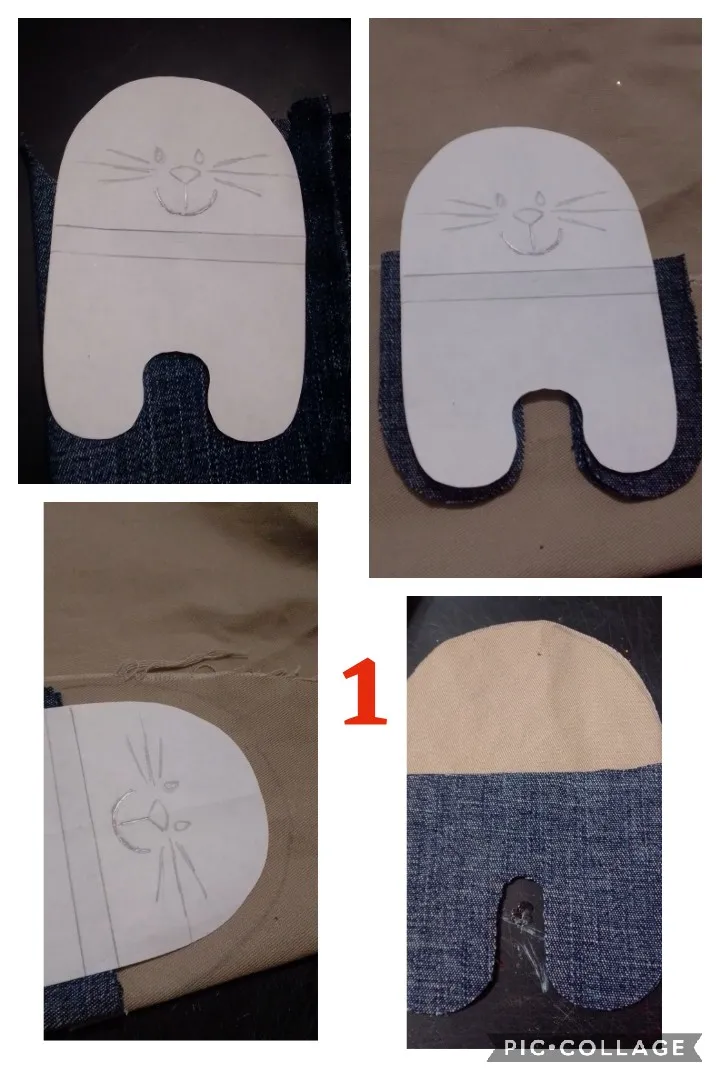
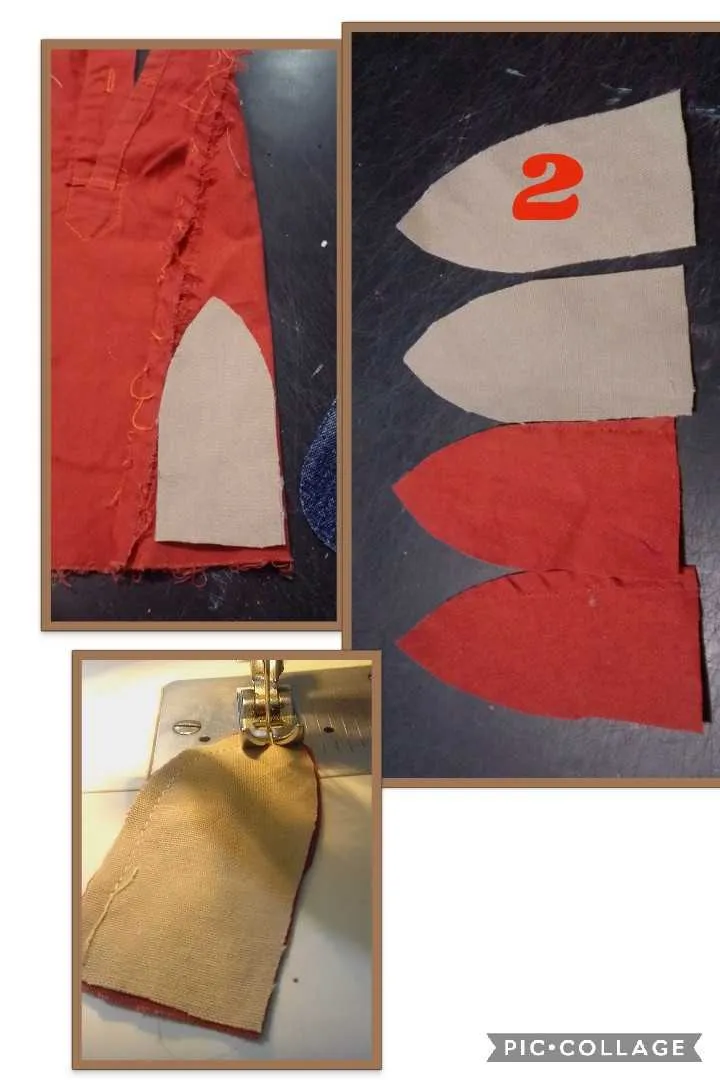
PASOS 1 Y 2:
-Tomamos el molde , marcamos y recortamos primero la parte del pantalón, dejando medio centímetro más para la costura.
-Hacemos el mismo procedimiento con la cabeza. ahí vemos las piezas cortadas que serían dobles.. (2 cabezas) y (2) pantalones..
- Luego recortamos las orejas, que igual serían dos (2) de cada color y que luego coseremos dejando la parte de abajo sin coser para poder voltear..
STEPS 1 AND 2:
-We take the mold, mark and cut the part of the pants first, leaving half a centimeter more for the seam.
-We do the same procedure with the head. there we see the cut pieces that would be doubles .. (2 heads) and (2) pants ..
- Then we cut out the ears, which would be two (2) of each color and then we will sew leaving the bottom part without sewing to be able to flip.

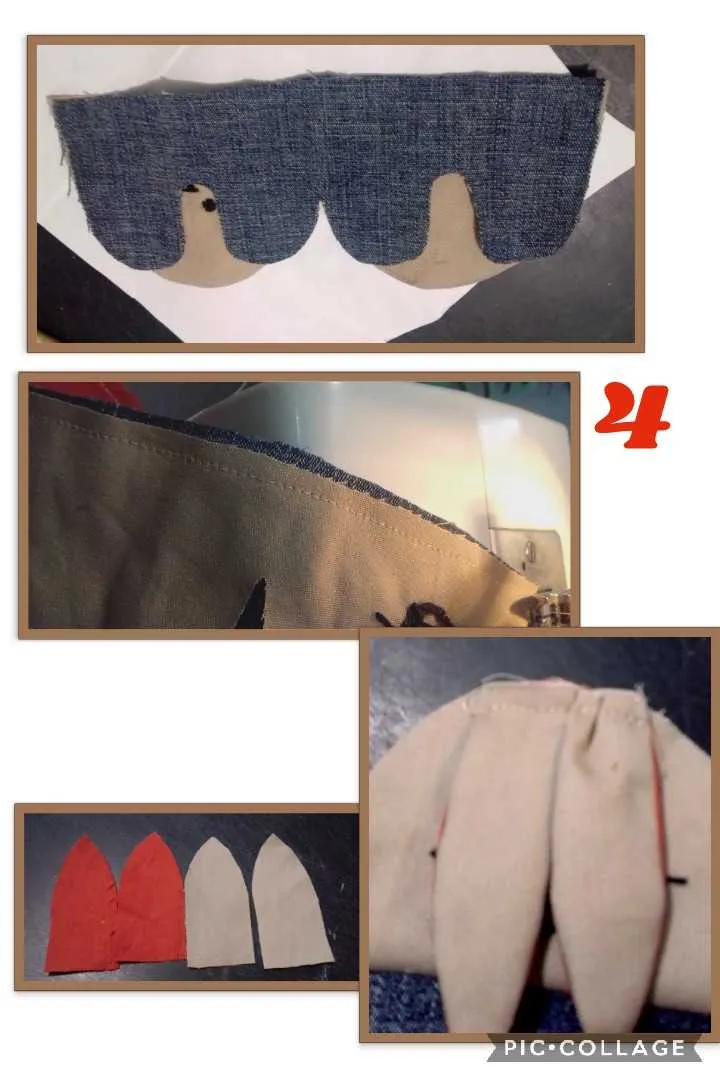
PASOS 3 Y 4:
-Ahora con un lápiz dibujamos la cara ayudandonos con una regla de círculos para que nos quede derecha la boquita y los ojos...
-Y con un hilo grueso de tejer empezamos a rellenar los ojos, naríz y boca.
- seguido, unimos cabeza con cuerpo, cosiendo colocando derecho con derecho por toda la orilla.
- Y después de tener cosidas también las orejas, volteamos y pegamos con una costura arriba en la cabeza (foto 4 parte baja).
STEPS 3 AND 4:
-Now with a pencil we draw the face helping us with a circle ruler so that our mouth and eyes are straight ...
-And with a thick knitting thread we begin to fill in the eyes, nose and mouth.
- followed, we join head to body, sewing, placing right with right along the entire edge.
- And after having also sewn the ears, we turn and stick with a seam on the top of the head (photo 4 lower part).
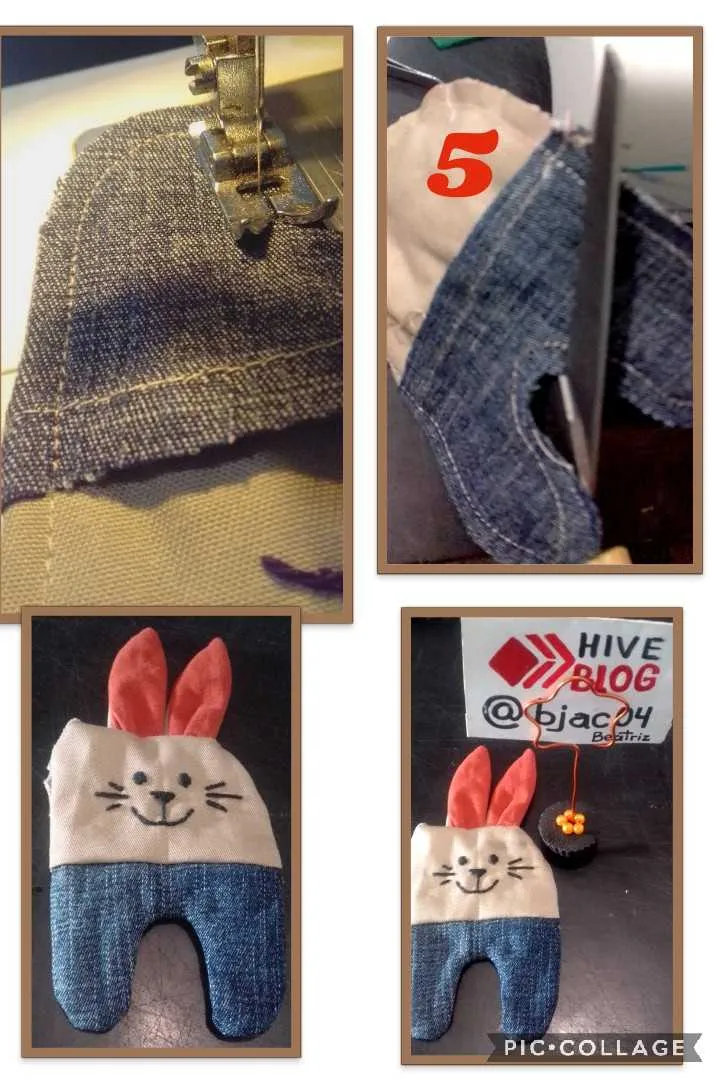
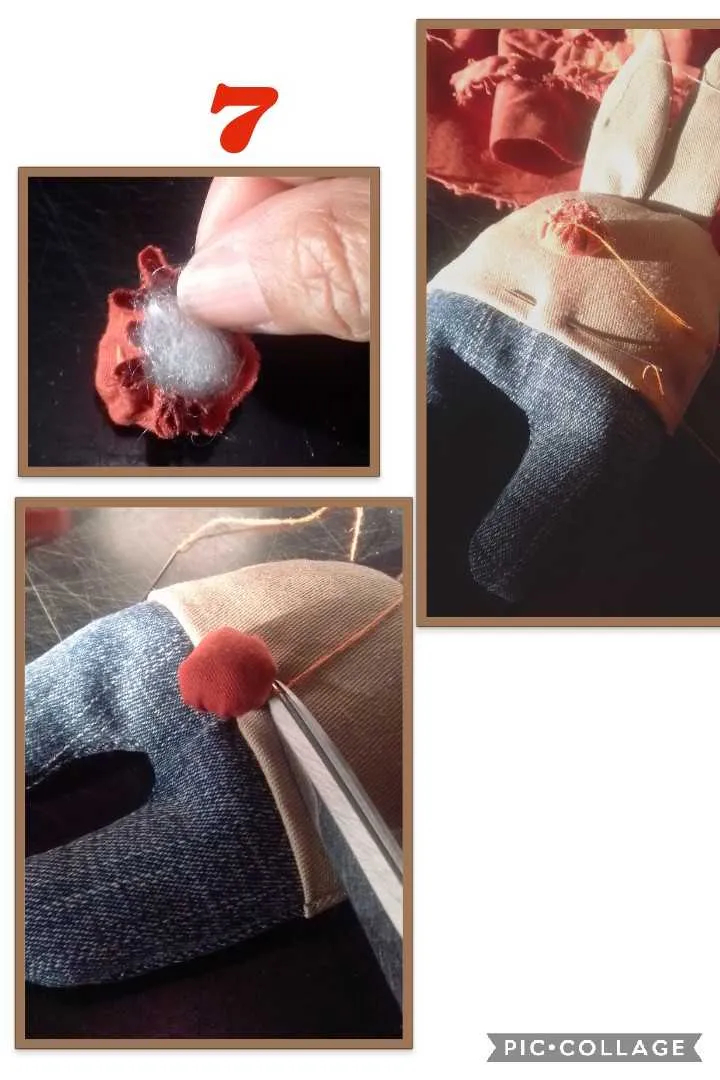
PASOS 5, 6 y 7:
-Ahora empezamos a coser por toda la orilla de las piezas y dejamos un orificio en la parte de arriba de la cabeza.
-En la parte de el pantalón haremos pequeños cortes para que al doblar no quede fruncido o arrugado.
Y volteamos el conejito.
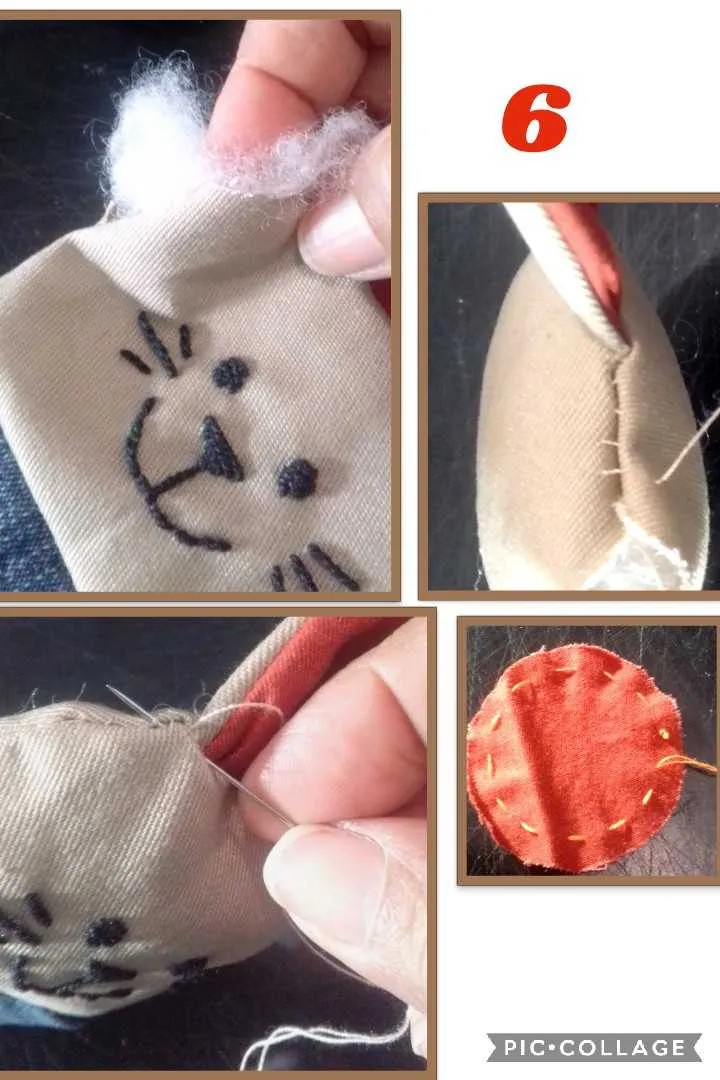
_ Procedemos a rellenar por el orificio, con algodón sintético antialérgico hasta que tome forma y quede gordito.
- Y cerramos el orificio con una aguja e hilo del mismo color de la tela para que no se vea la costura y rematamos bien para que no se abra el orificio.
-Hecho esto, recortamos un pequeño círculo el cual hilvanaremos con hilo por todo el alrededor y halaremos el hilo para meter algodón y formar una pelotica que será la colita, y rematamos pegando en la parte de atrás del conejito y por último cortamos el hilo sobrante.
STEPS 5, 6 and 7:
-Now we begin to sew along the entire edge of the pieces and leave a hole at the top of the head.
-In the part of the pants we will make small cuts so that when folding it is not gathered or wrinkled.
And we flip the bunny.
_ We proceed to fill through the hole, with antiallergic synthetic cotton until it takes shape and is chubby. - And we close the hole with a needle and thread of the same color of the fabric so that the seam is not seen and we finish well so that the hole does not open.
-Done this, we cut a small circle which we will baste with thread all around and we will pull the thread to put cotton and form a ball that will be the tail, and we finish by gluing on the back of the bunny and finally we cut the excess thread.
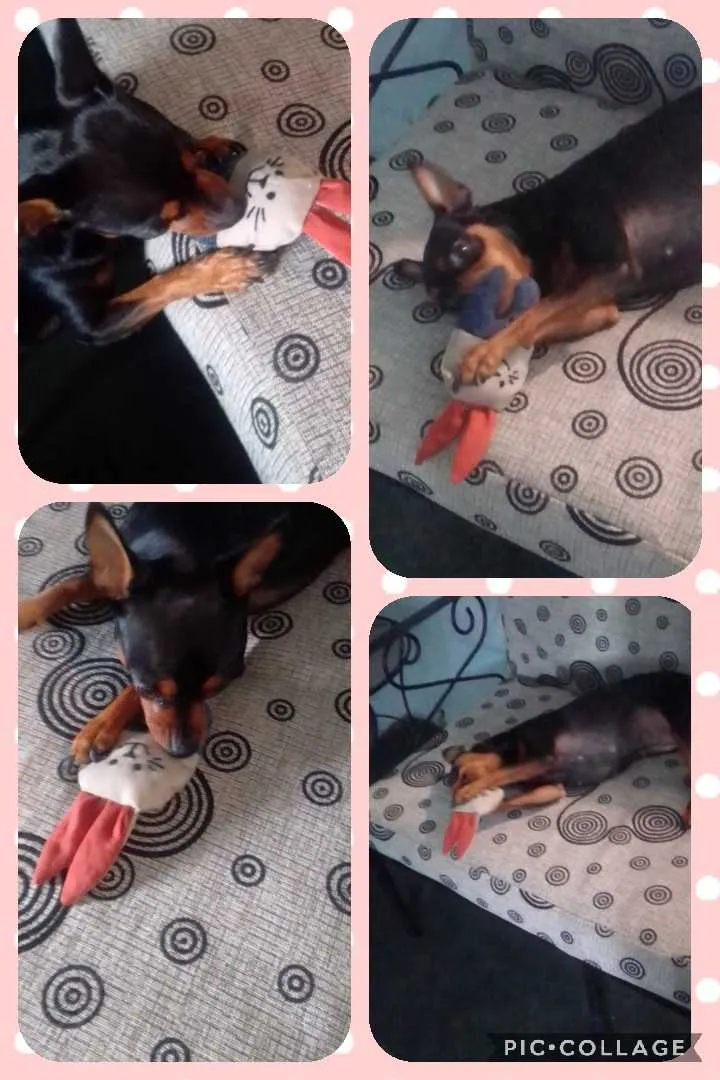
Así quedó terminado el conejito!
ESPERO LES GUSTE ESTE PASO A PASO Y TE ANIMES A HACERLO, POR INTERNET PUEDES BUSCAR EL MODELO QUE QUIERAS, LOS HAY DE TAMAÑOS Y COLORES DISTINTOS. Y LO MAS IMPORTANTE CONSIGUES LOS MOLDES CON SUS MEDIDAS...
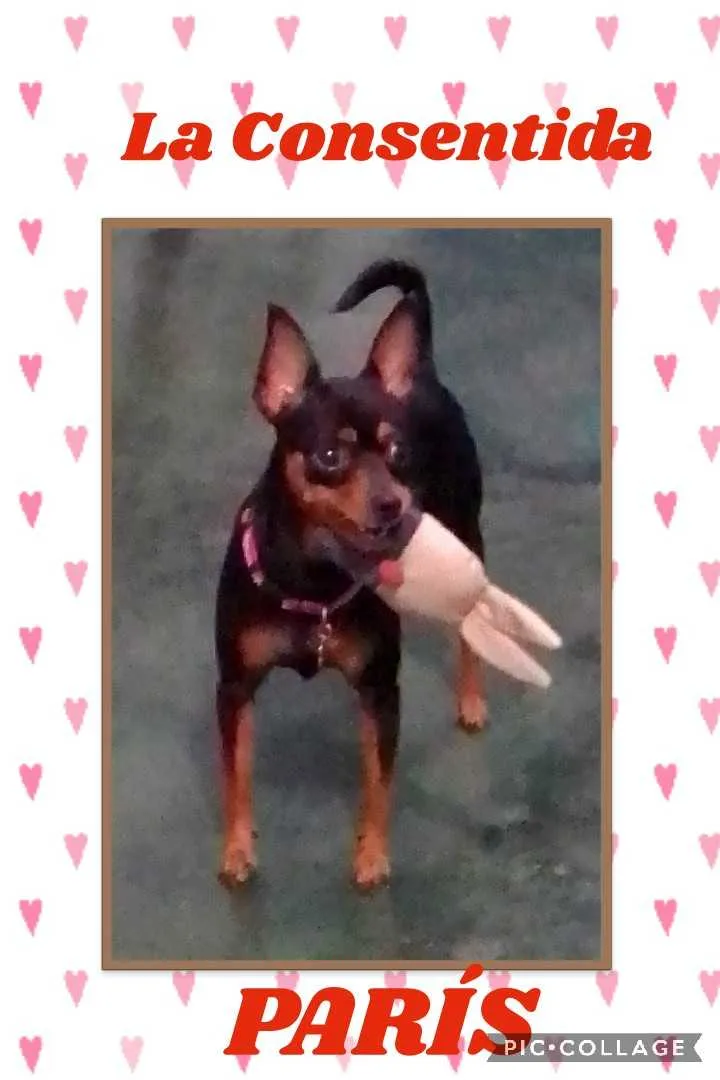
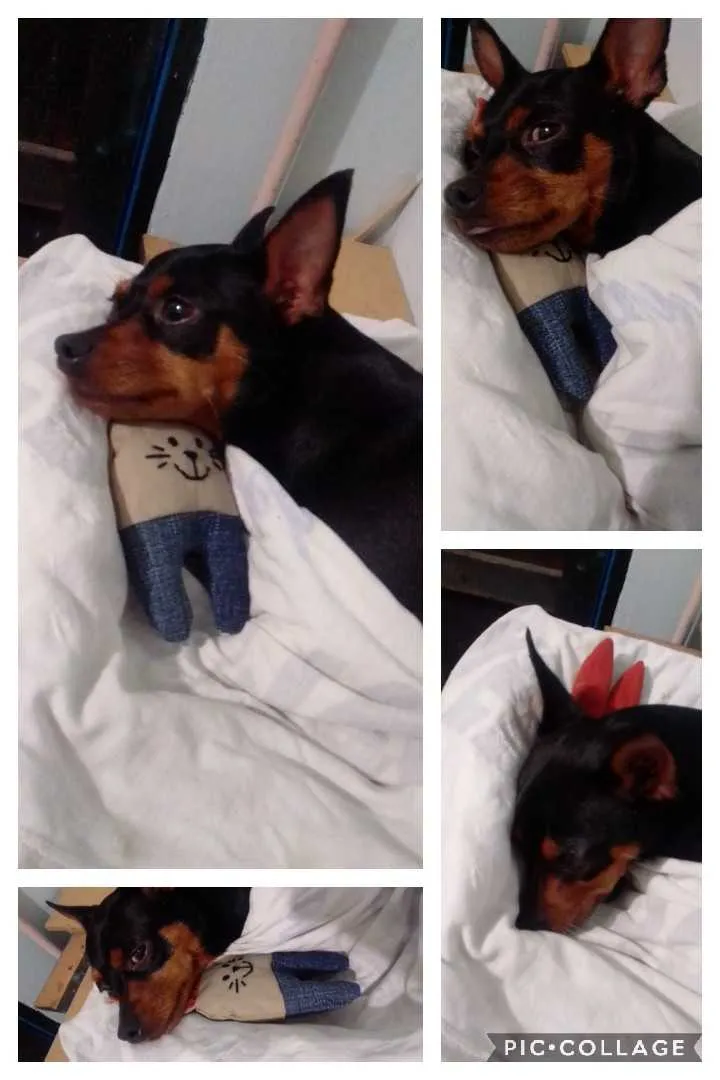
AHORA TE MOSTRARÉ LAS FOTOS DEL CONEJO CON SU FELÍZ DUEÑA..
NO TE LAS PUEDES PERDER....
This is how the bunny was finished!
I HOPE YOU LIKE THIS STEP BY STEP AND YOU ENCOURAGE YOU TO DO IT, ON THE INTERNET YOU CAN LOOK FOR THE MODEL YOU WANT, THERE ARE DIFFERENT SIZES AND COLORS. AND THE MOST IMPORTANT THING YOU GET THE MOLDS WITH YOUR MEASUREMENTS ...
NOW I WILL SHOW YOU THE PICTURES OF THE RABBIT WITH ITS HAPPY OWNER ..
YOU CAN NOT MISS IT....