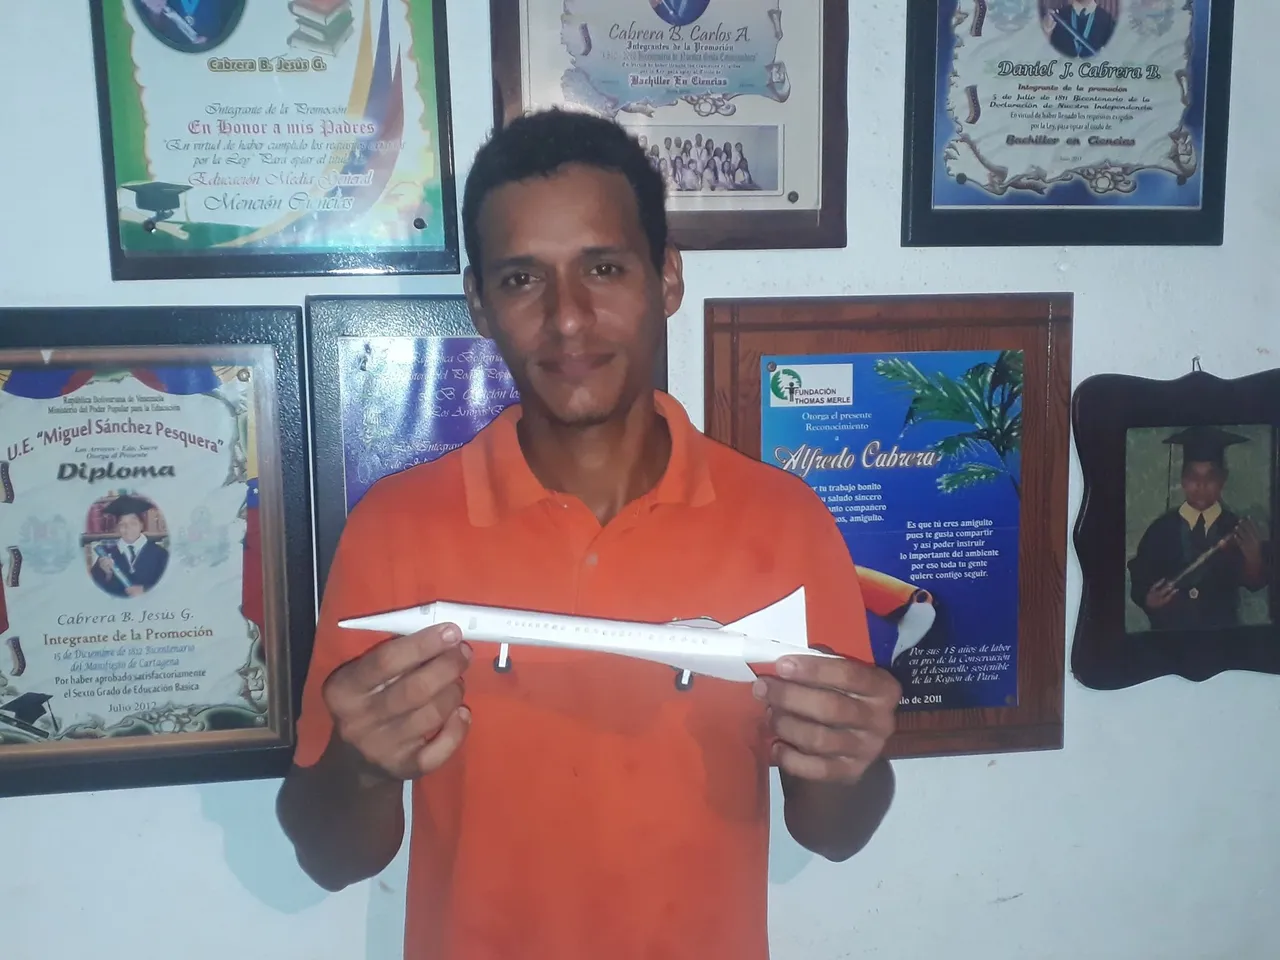
Hello hivers, I hope you are having a great time. Today I will show you how to make, in a very simple and practical way, a small representation of the first supersonic airplane to be used commercially, of course, I am referring to the impressive Concorde.
Hola hivers, espero la estén pasando estupendo. Hoy les mostrare como hacer, de una manera muy sencilla y práctica, una pequeña representación del primer avión supersónico en ser usado de manera comercial, por supuesto, me refiero al impresionante Concorde.

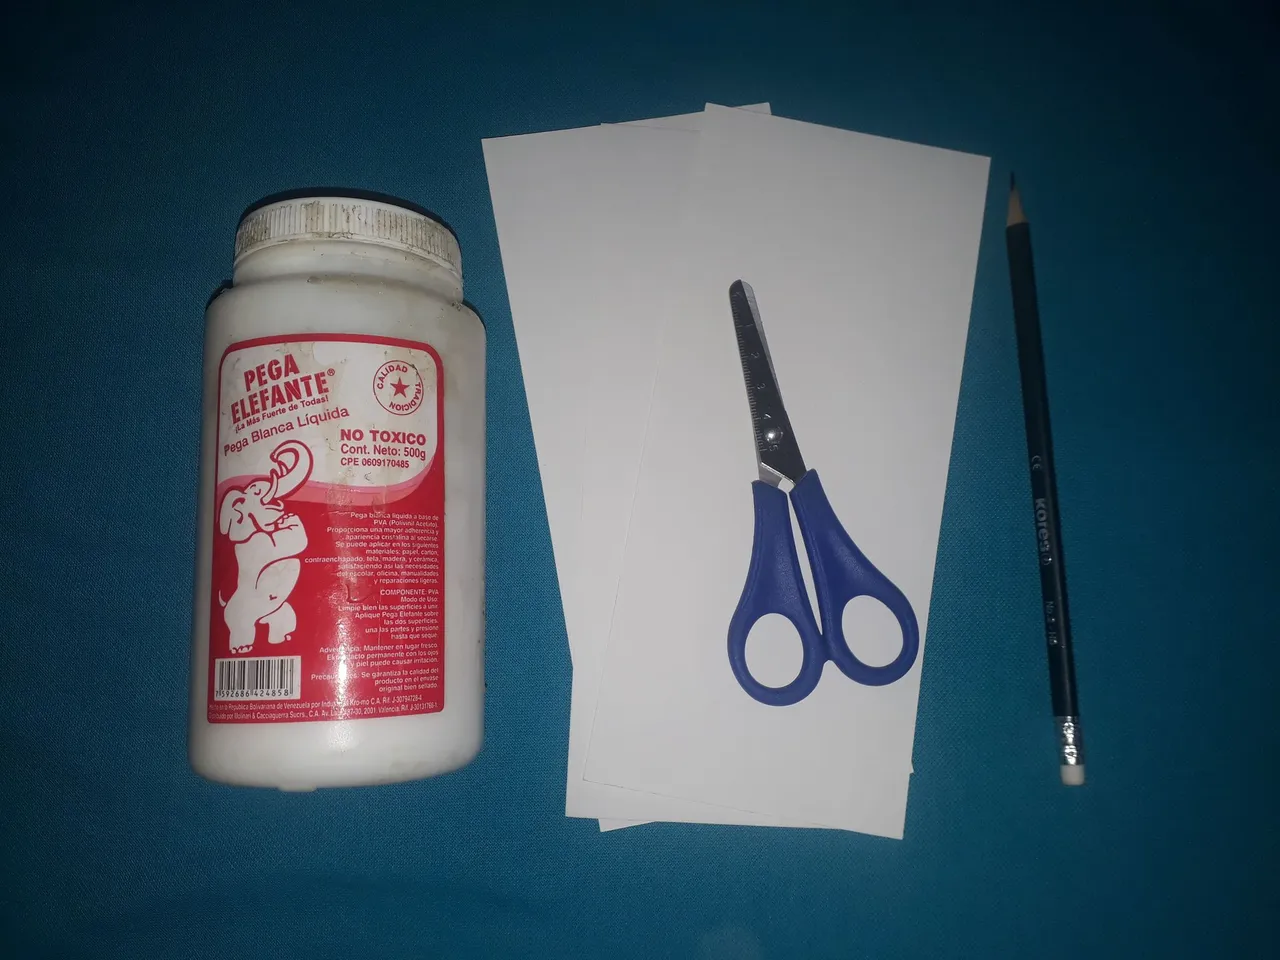
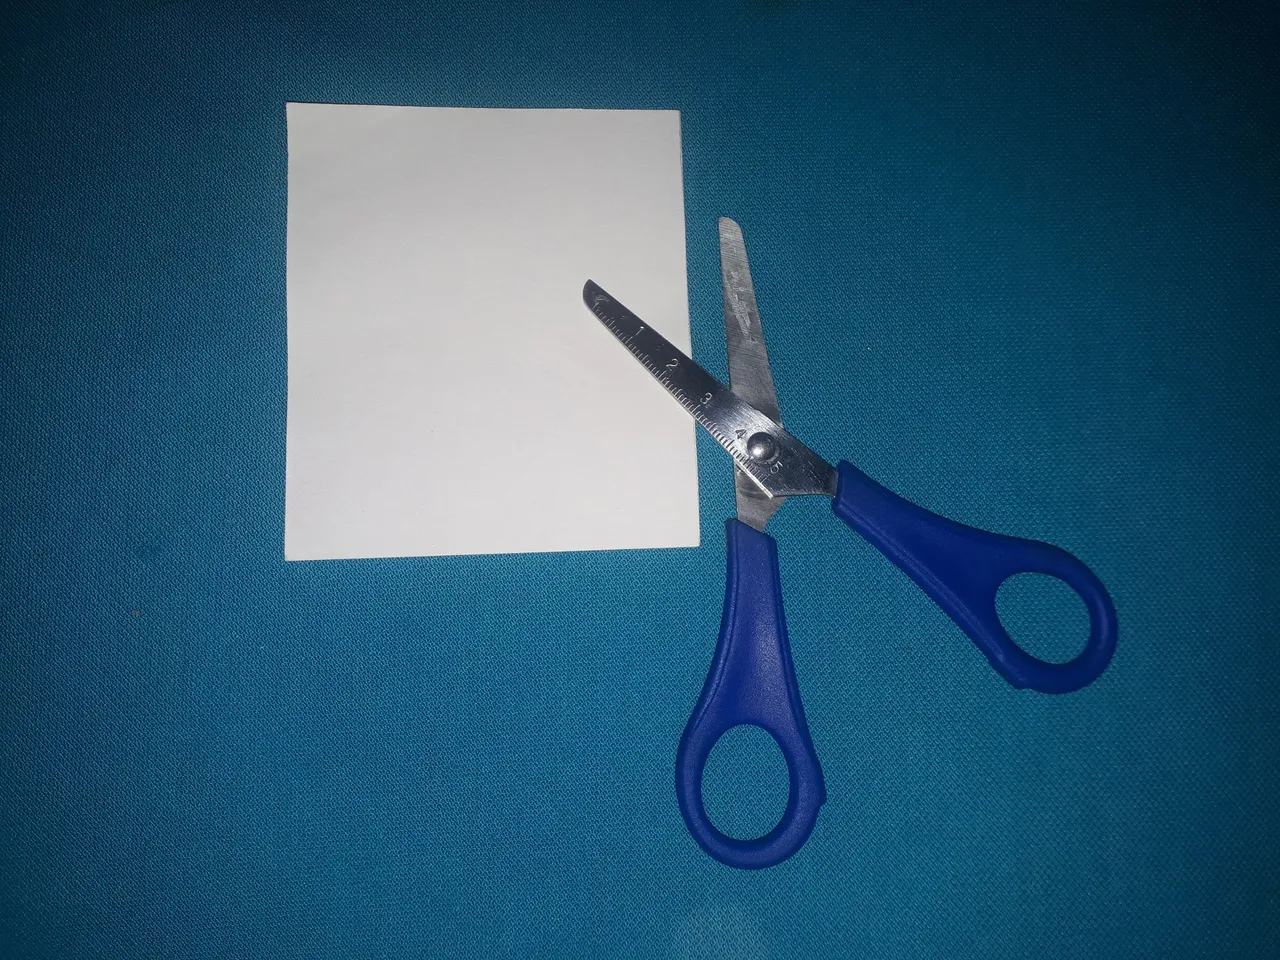
We will need the following materials:
Cardboard cutouts
Pencil
White glue
Scissors
Necesitaremos los siguientes materiales:
Recortes de cartulina
Lápiz
Pega blanca
Tijera
Steps to manufacture it:
Pasos para fabricarlo:
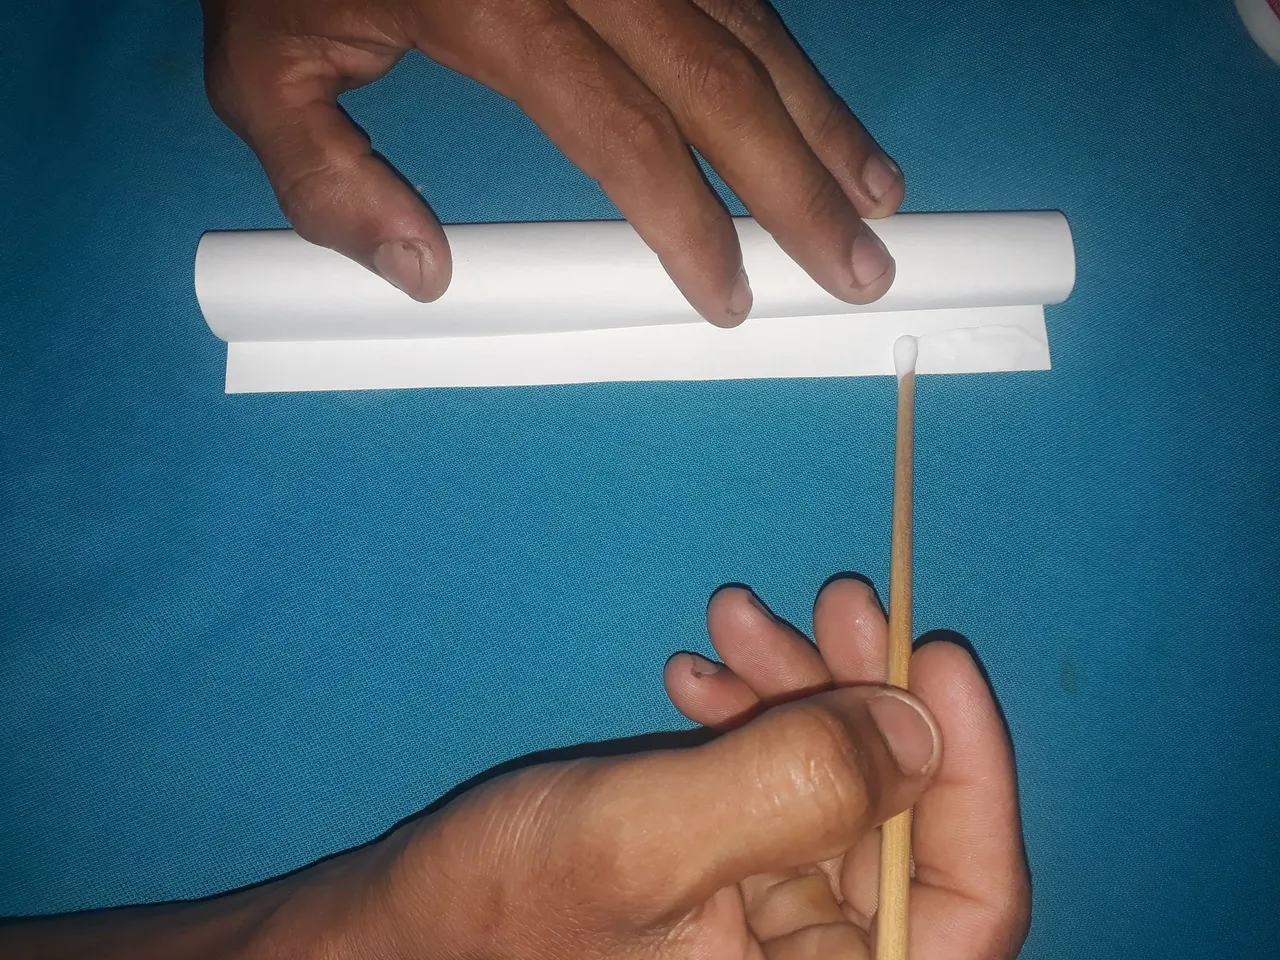
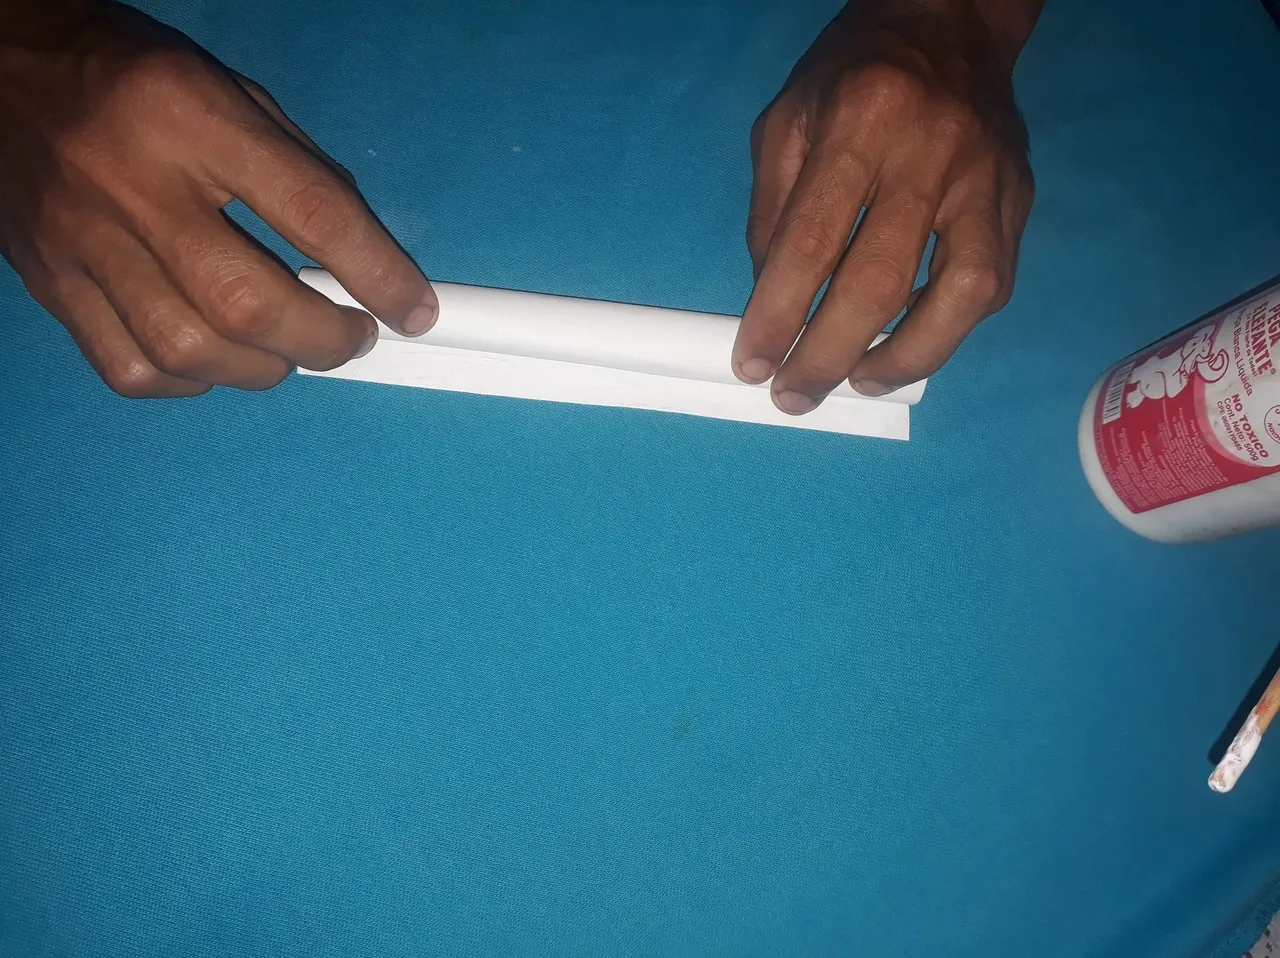
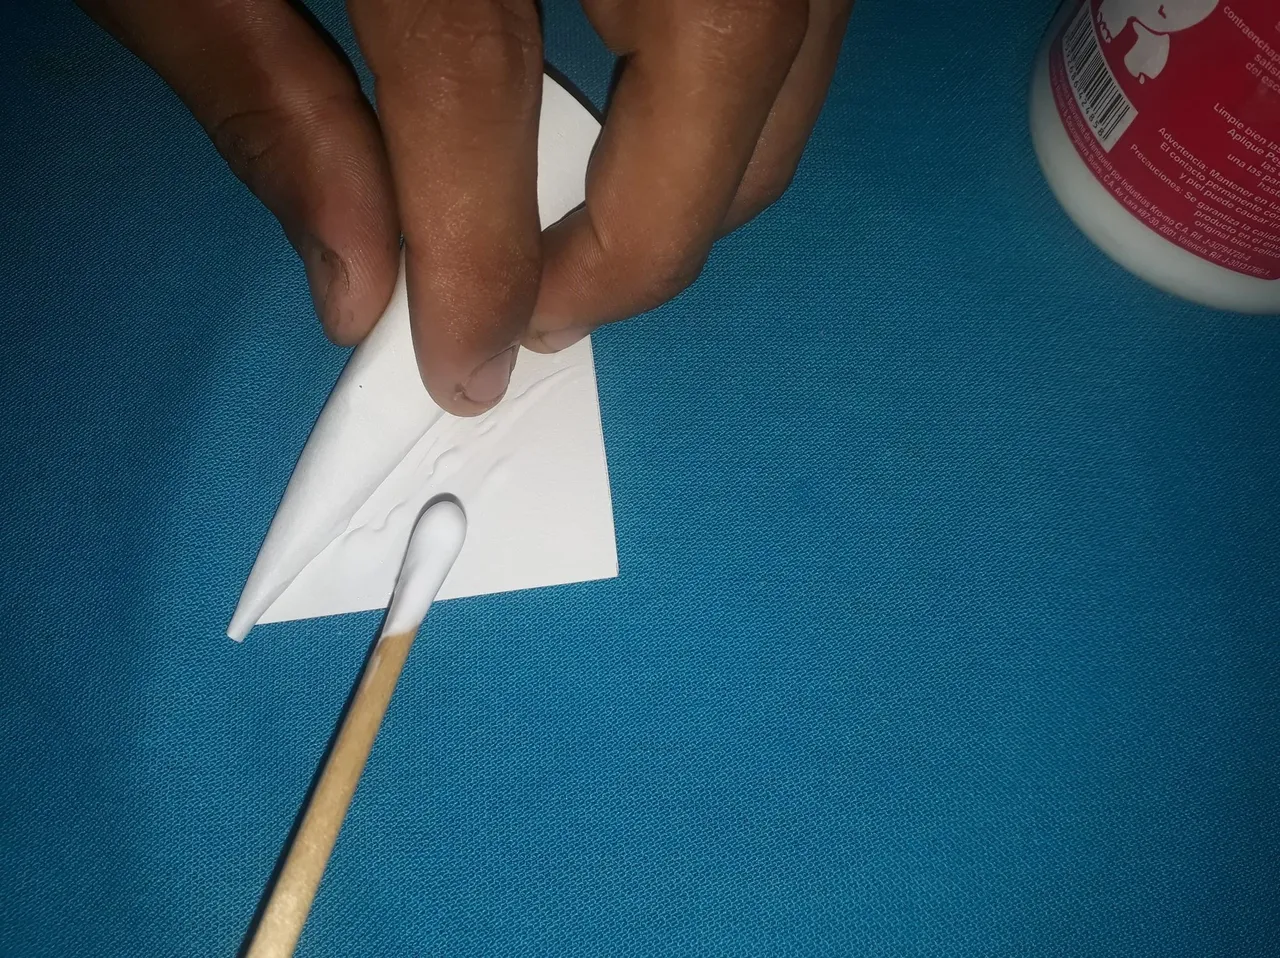
Step 1
We cut a piece of cardboard, roll it up and glue it to make the passenger cabin.
Paso 1
Picamos un pedazo de cartulina, la enrollamos y la pegamos para hacer la cabina de pasajero.
.
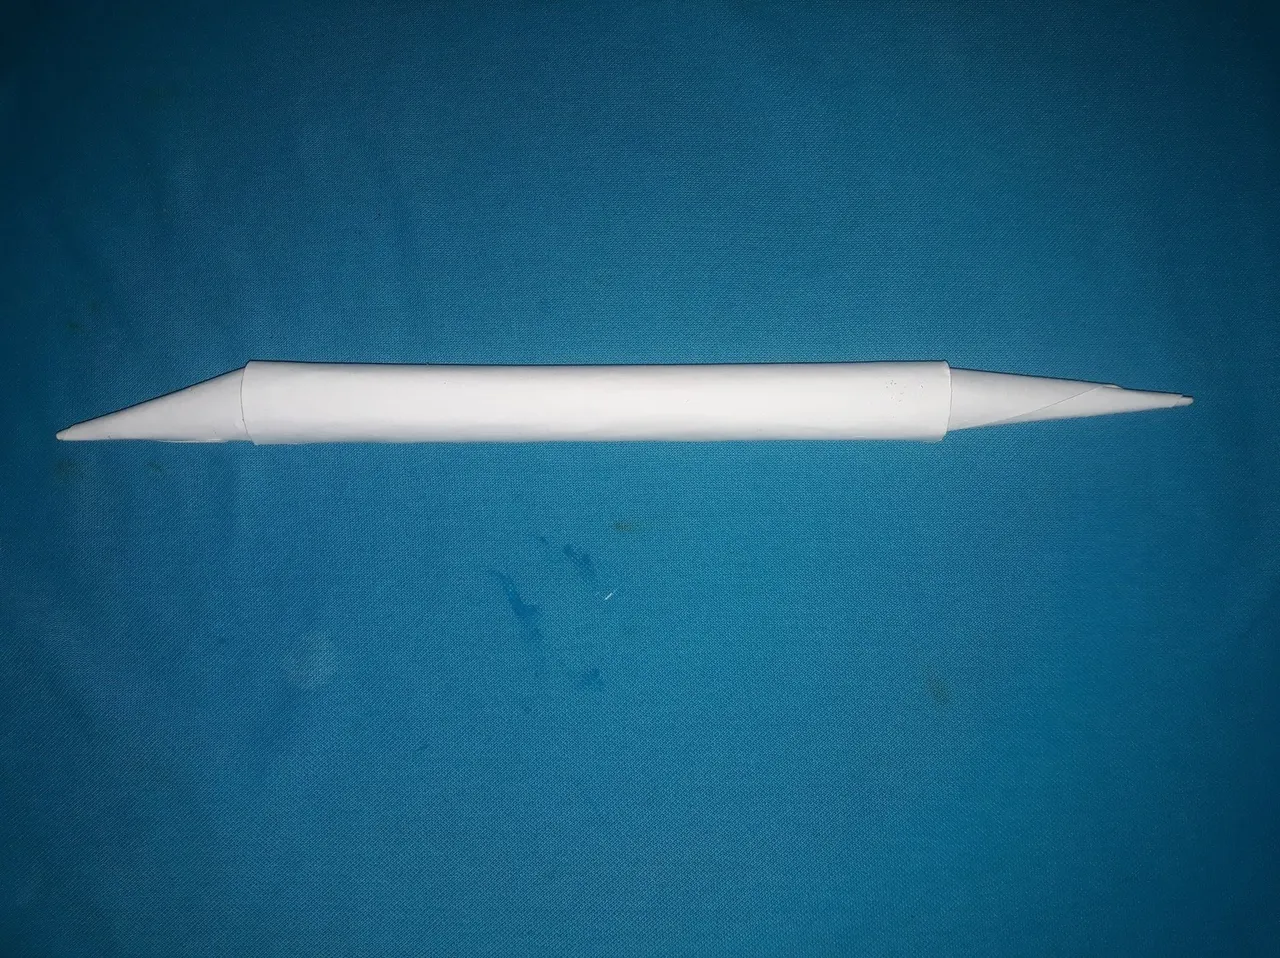
Step 2
Cut a piece of cardboard, roll it up to make the cockpit and then attach it to the passenger cabin. .
Paso 2
Cortamos un trozo de cartulina, la enrollamos para hacer la cabina del piloto y luego la unimos a la cabina de pasajeros.
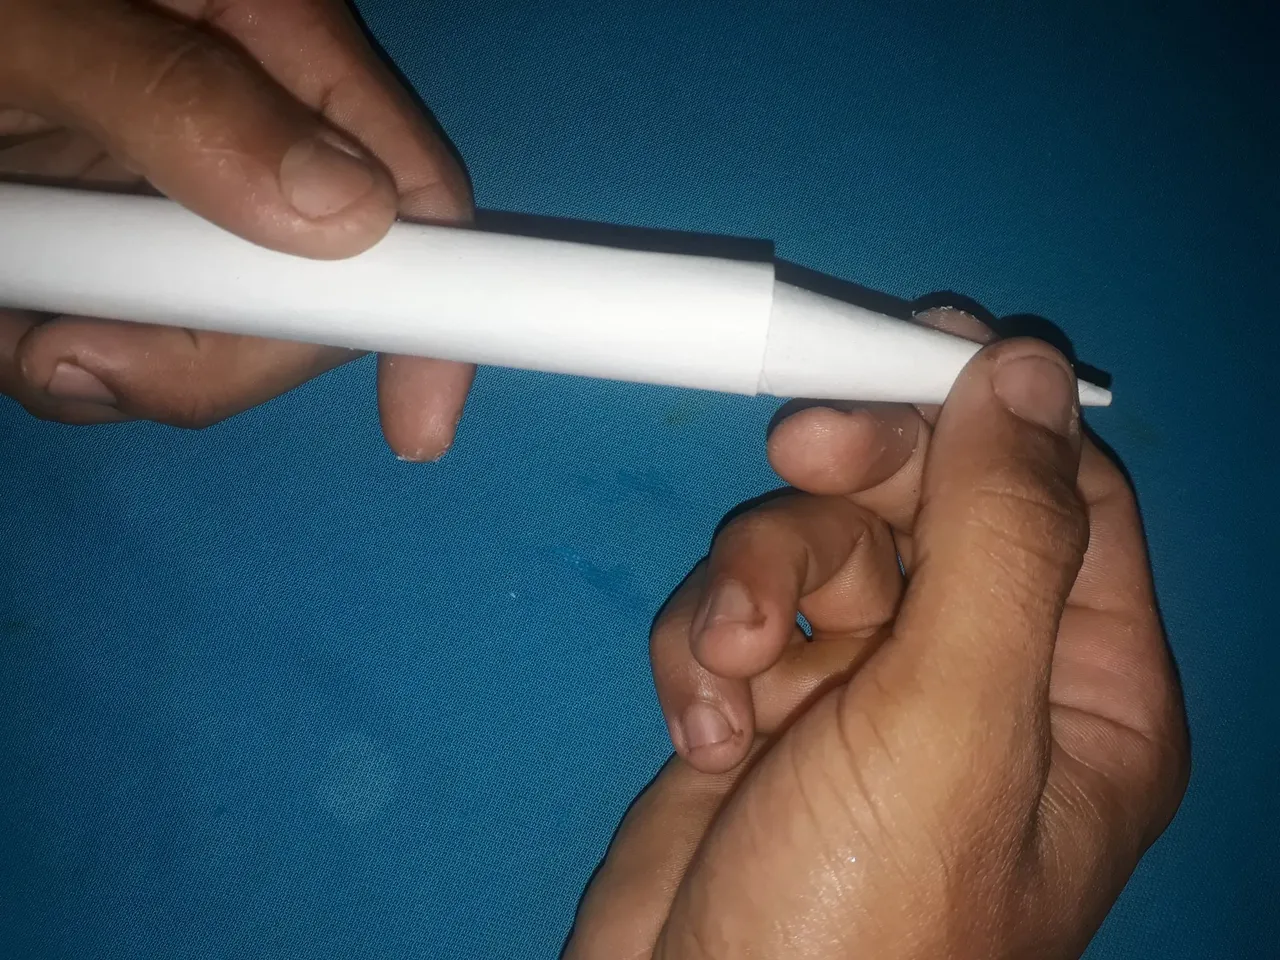
Step 3
It is similar to the second step, but this time we make it a little bigger, and glue it to the back of the passenger cabin.
Paso 3
Es similar al segundo paso, pero en esta ocasión la hacemos un poco mas grande, y la pegamos a la parte trasera de la cabina de pasajero.
Step 4
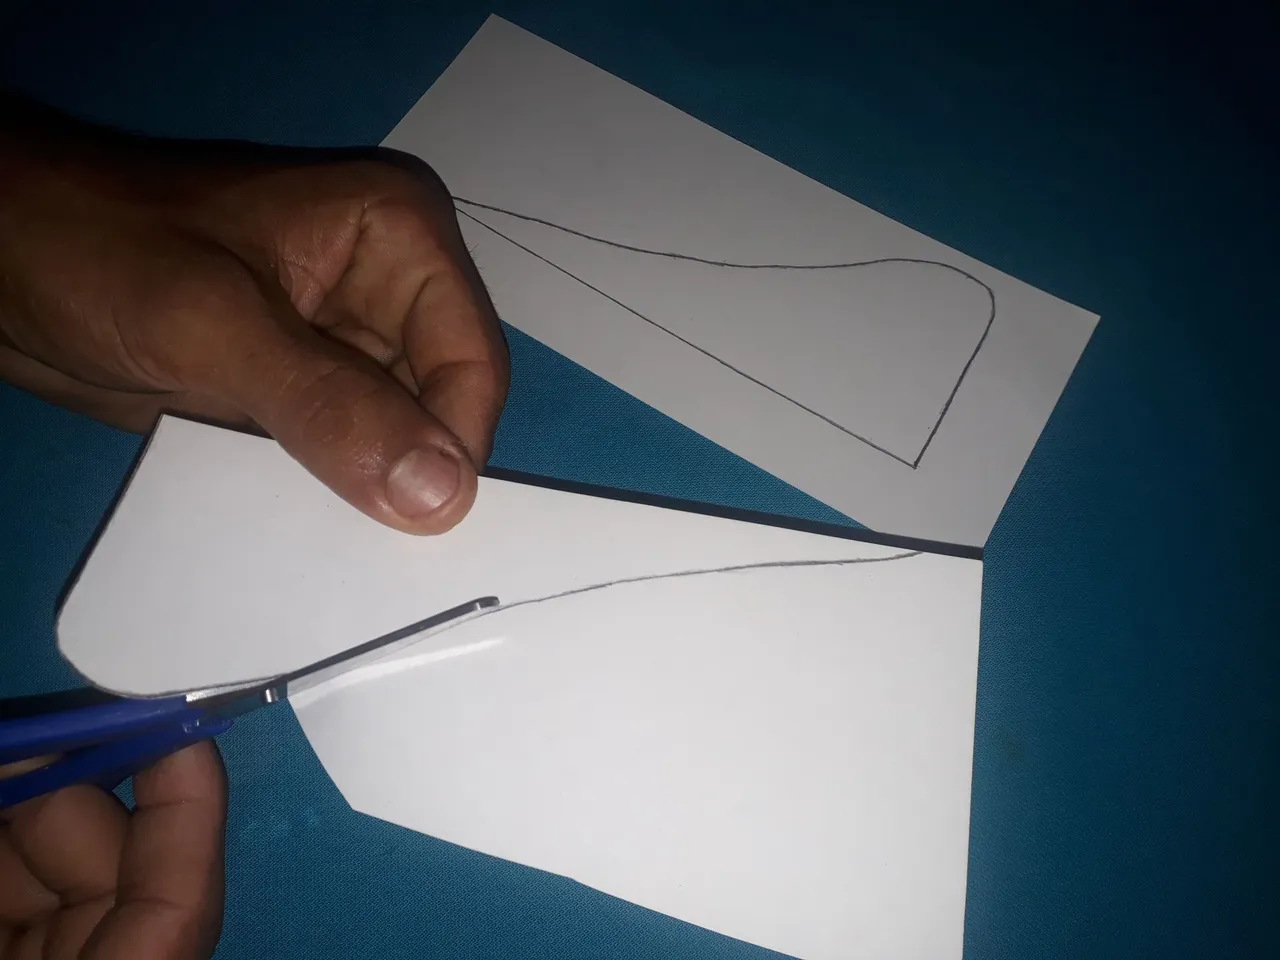
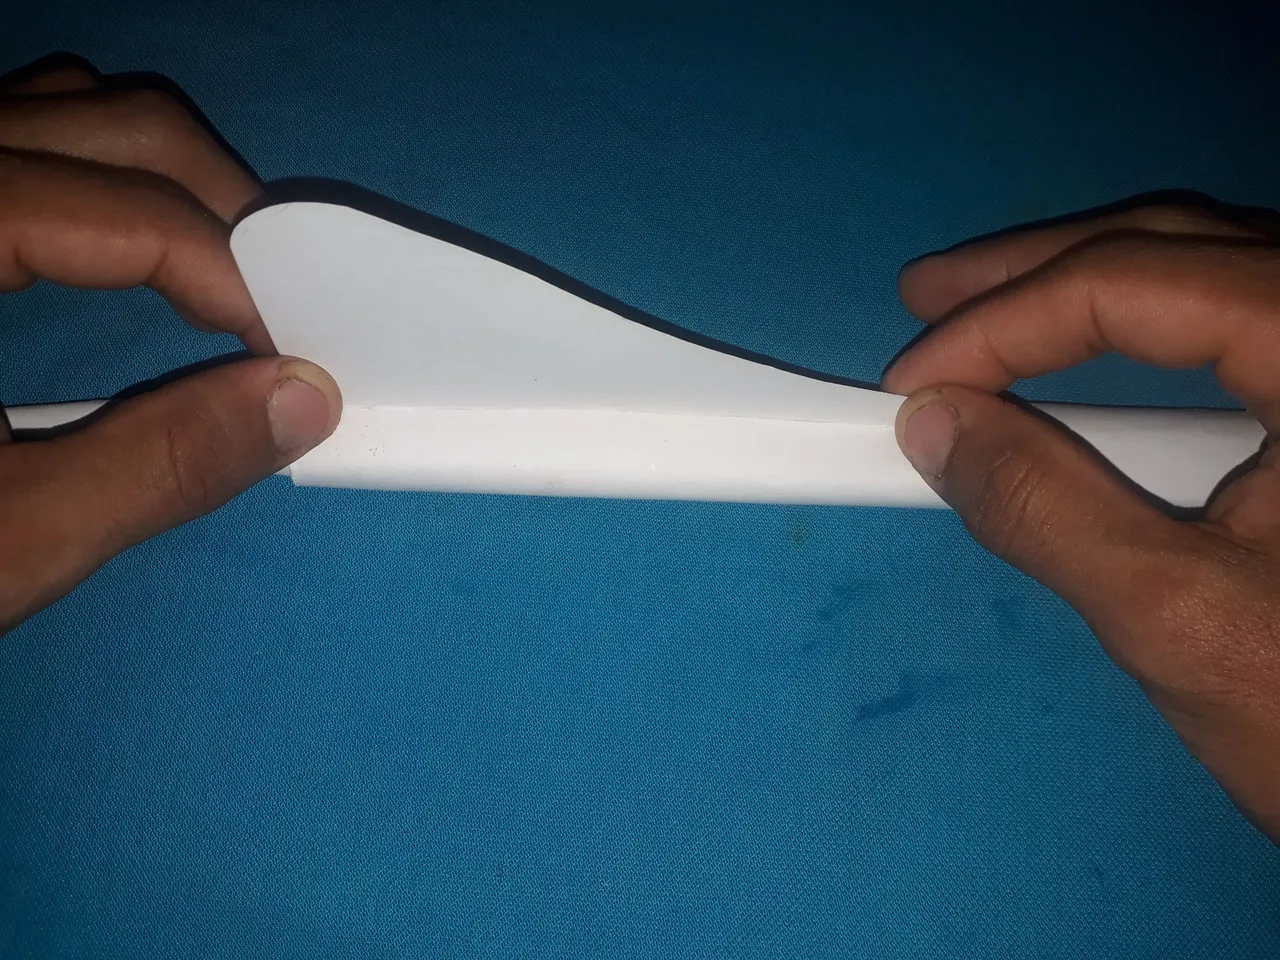
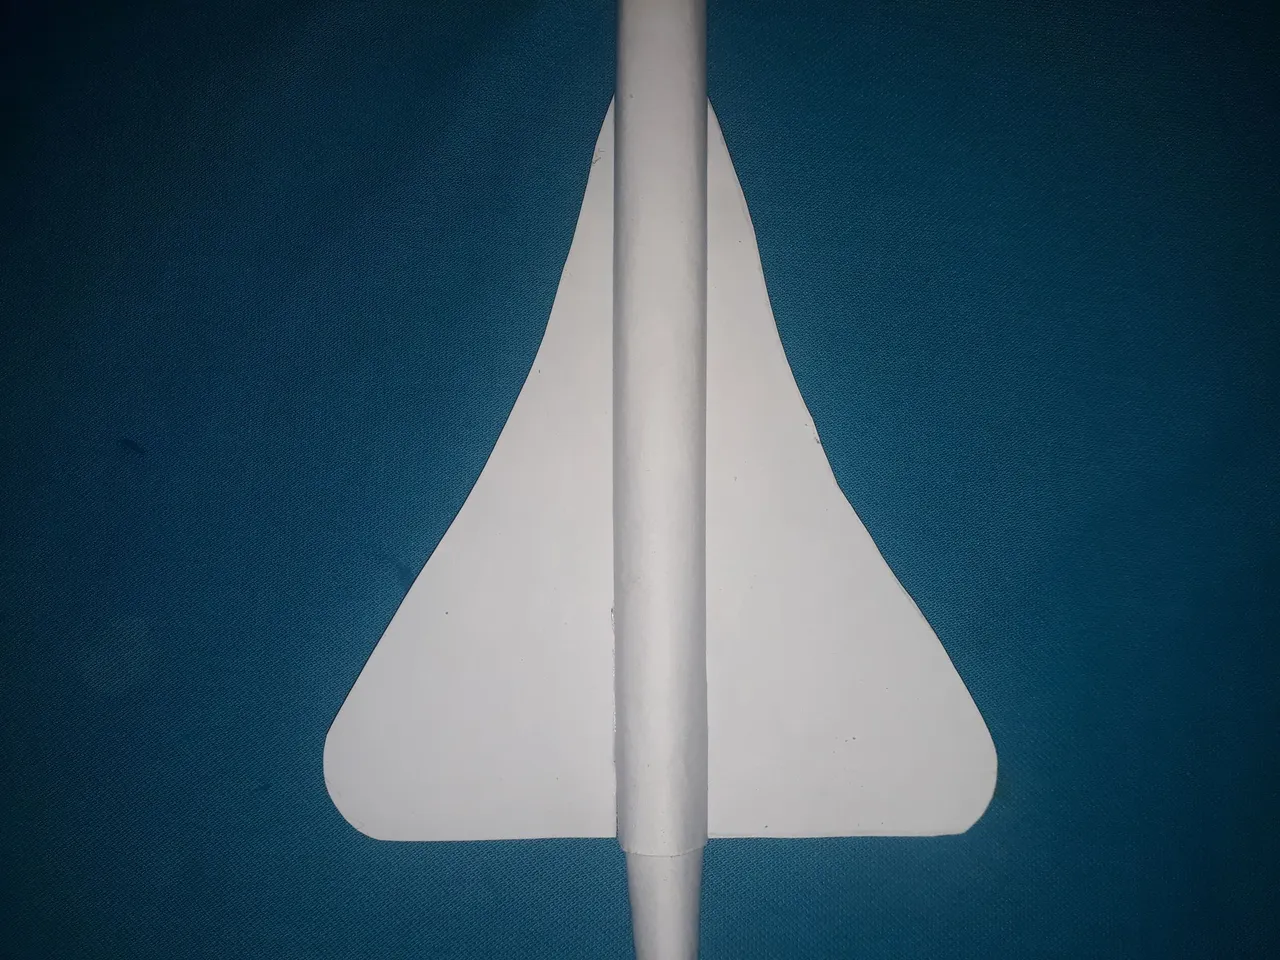
We cut two equal pieces of cardboard, which will be the wings of the aircraft and attach them to the cockpit.
Paso 4
Cortamos dos pedazos iguales de cartulina, que serán las alas de la aeronave y las unimos a la cabina.
Step 5
We cut a piece of cardboard to make the fin and glue it.
Paso 5
Picamos un trozo de cartulina para hacer la aleta y la pegamos.

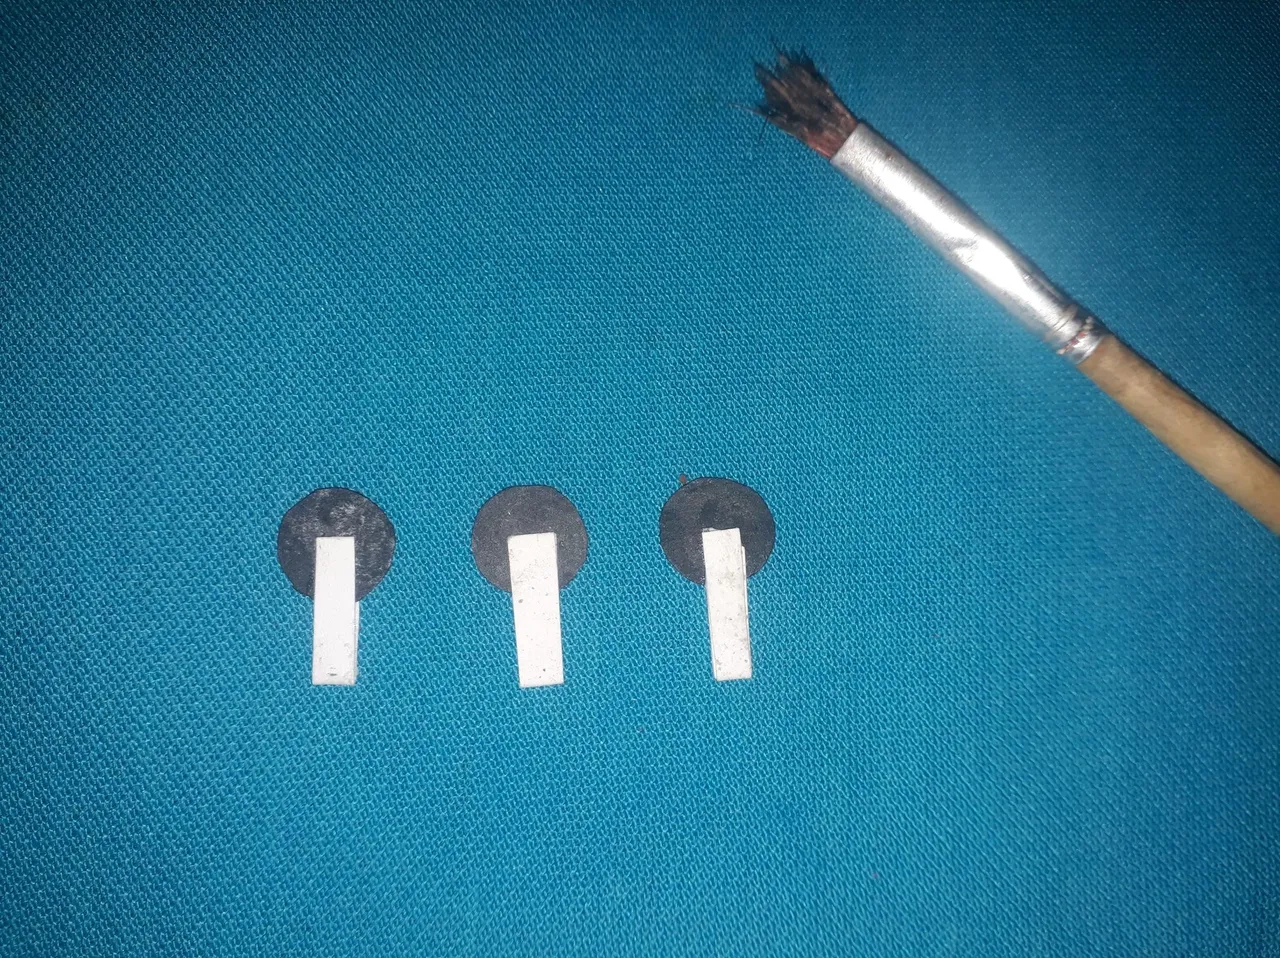
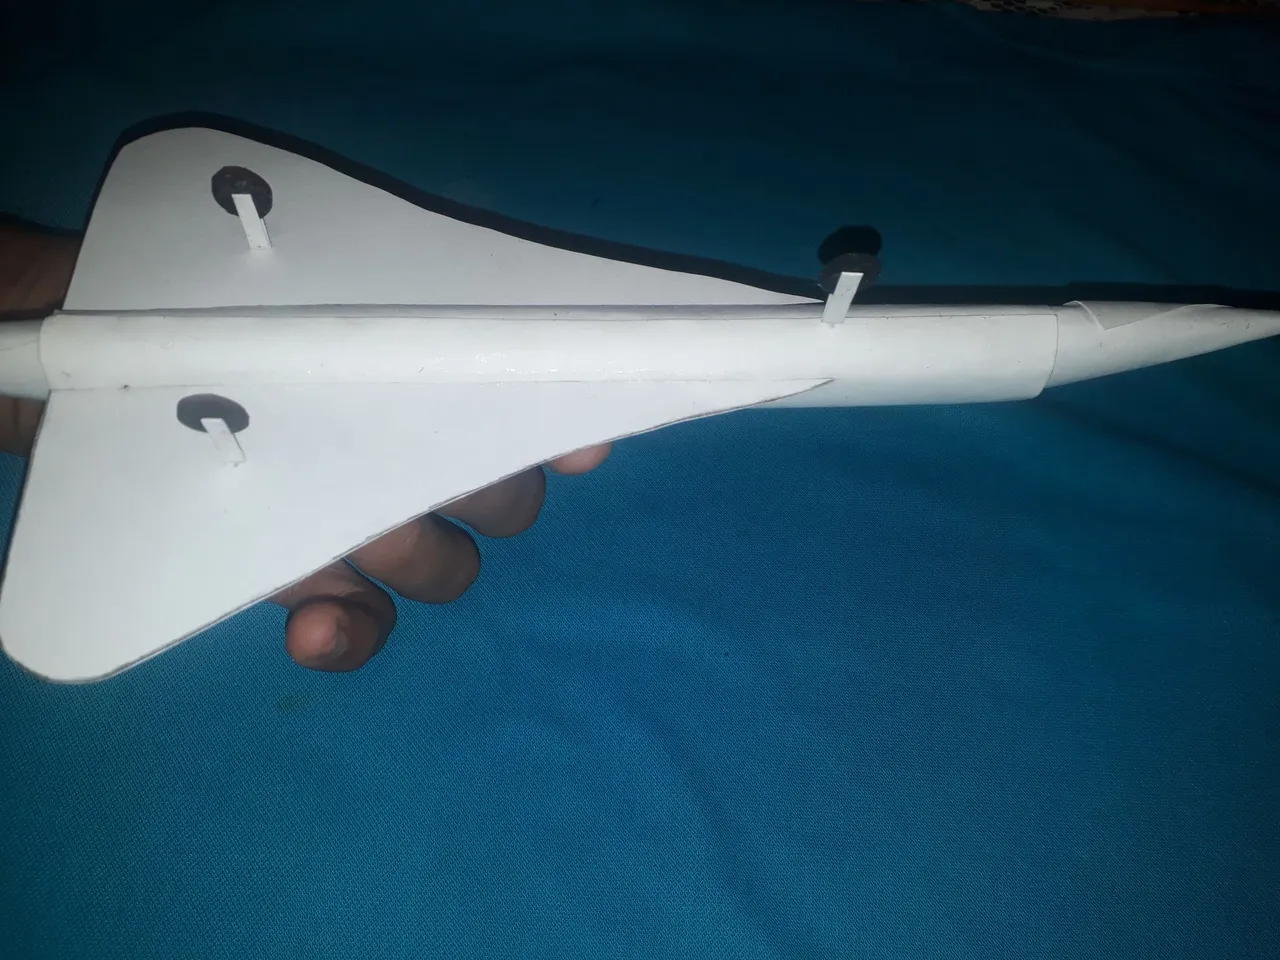
Step 6
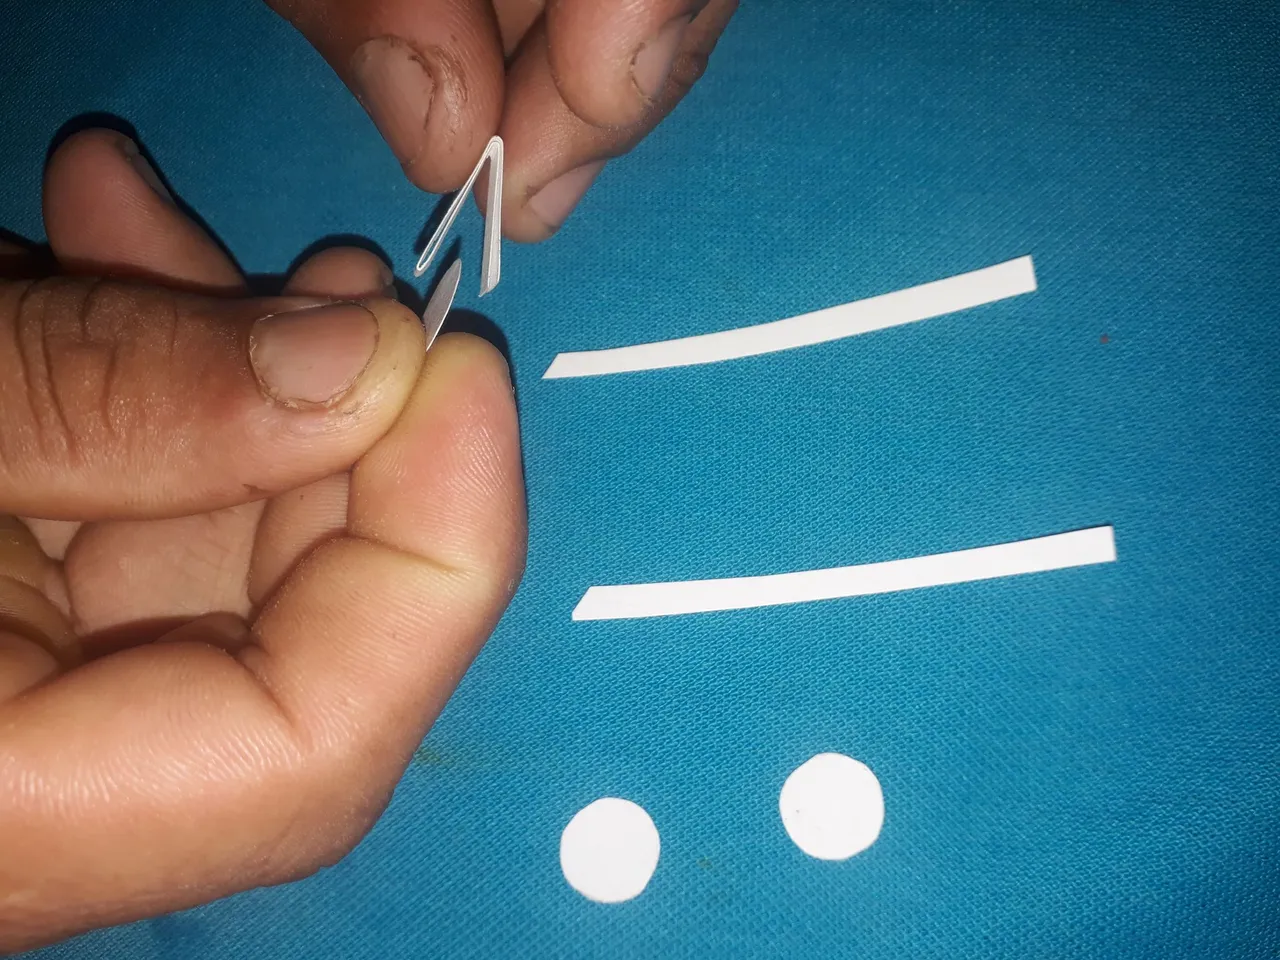
We cut three strips of cardboard and three pieces in the shape of a circle, put them together to make the wheels of the landing gear, paint them, and glue them to the body of the airplane.
Paso 6
Picamos tres tiras de cartulina y tres pedazos en forma de circulo, los unimos para hacer las ruedas del tren de aterrizaje, lo pintamos, y lo pegamos al cuerpo de avión.
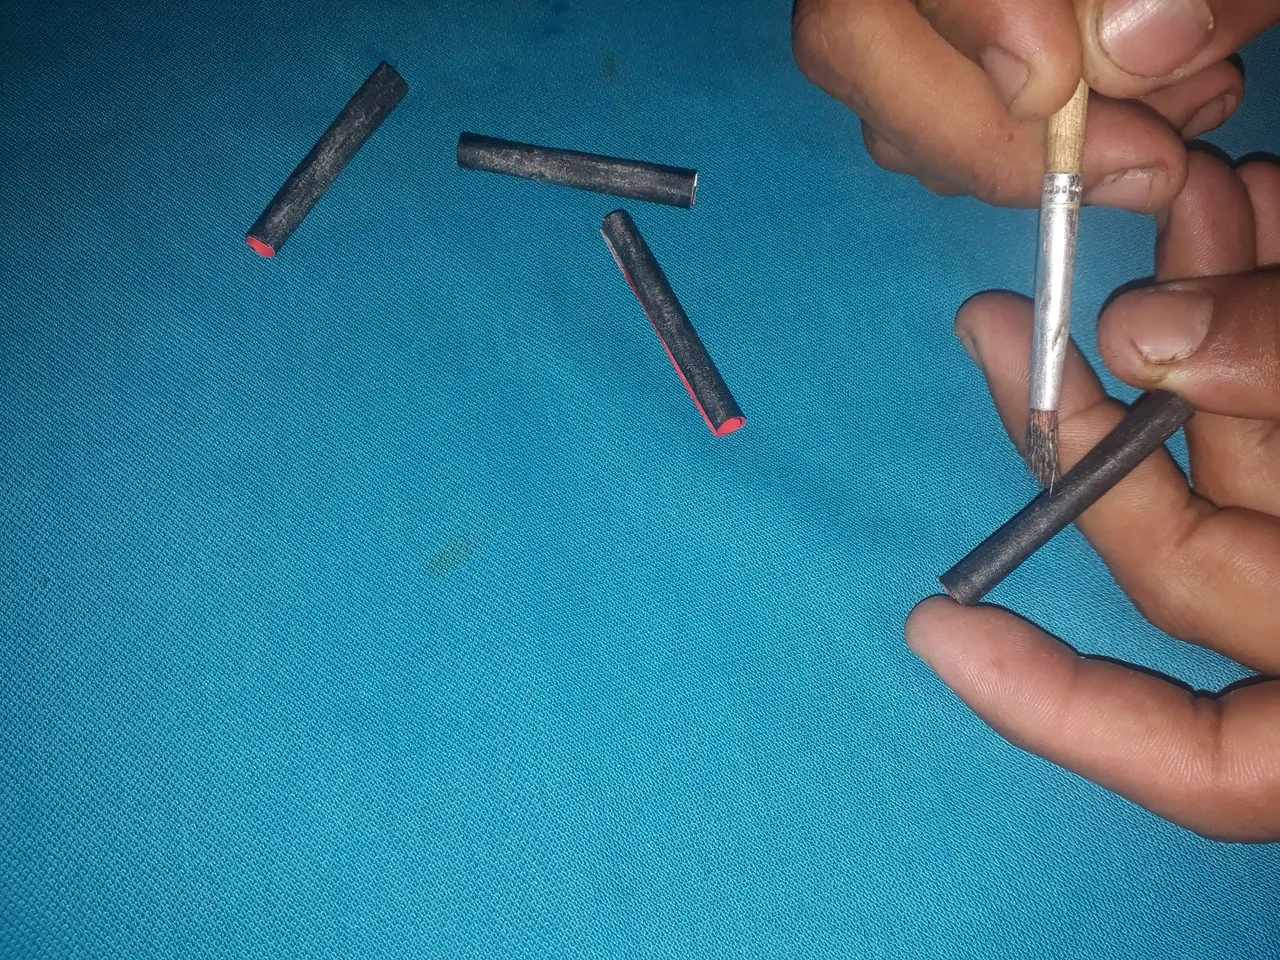
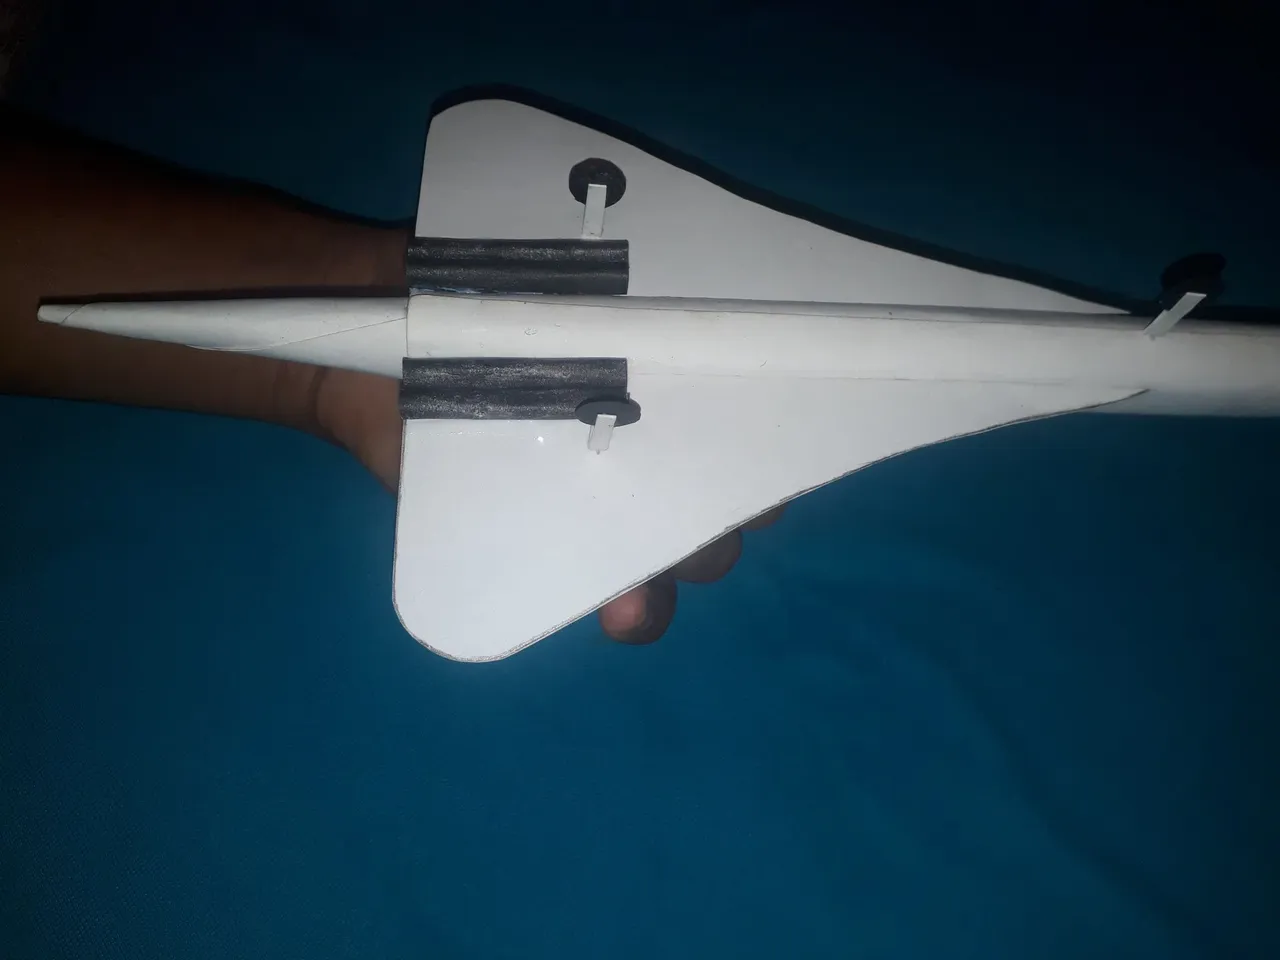
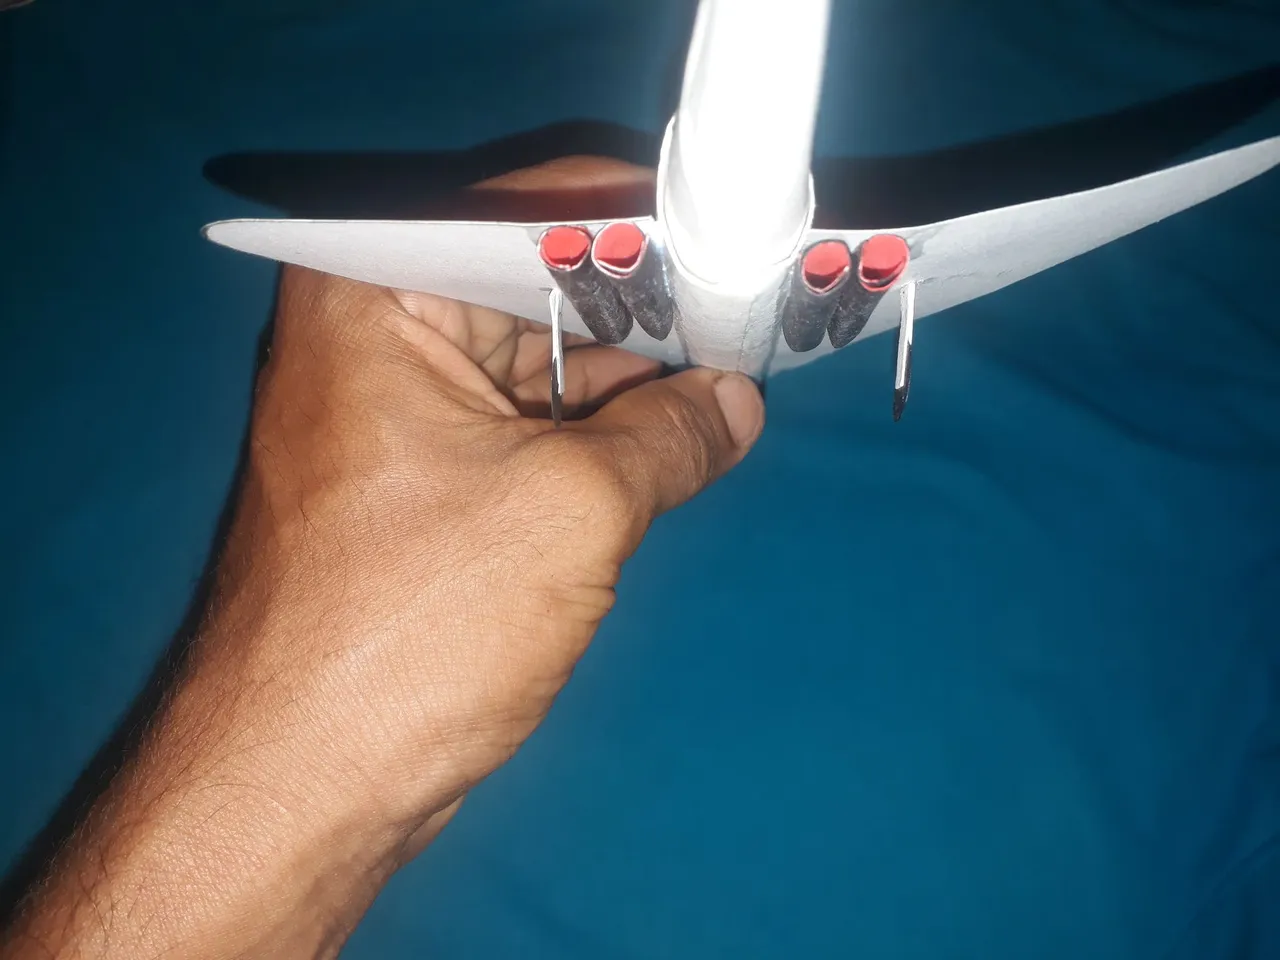
Step 7
Roll up four pieces of cardboard, which will be the motors, paint them and glue them together.
Paso 7
Enrollamos cuatro pedazos de cartulina, que serán los motores, los pintamos y los pegamos.
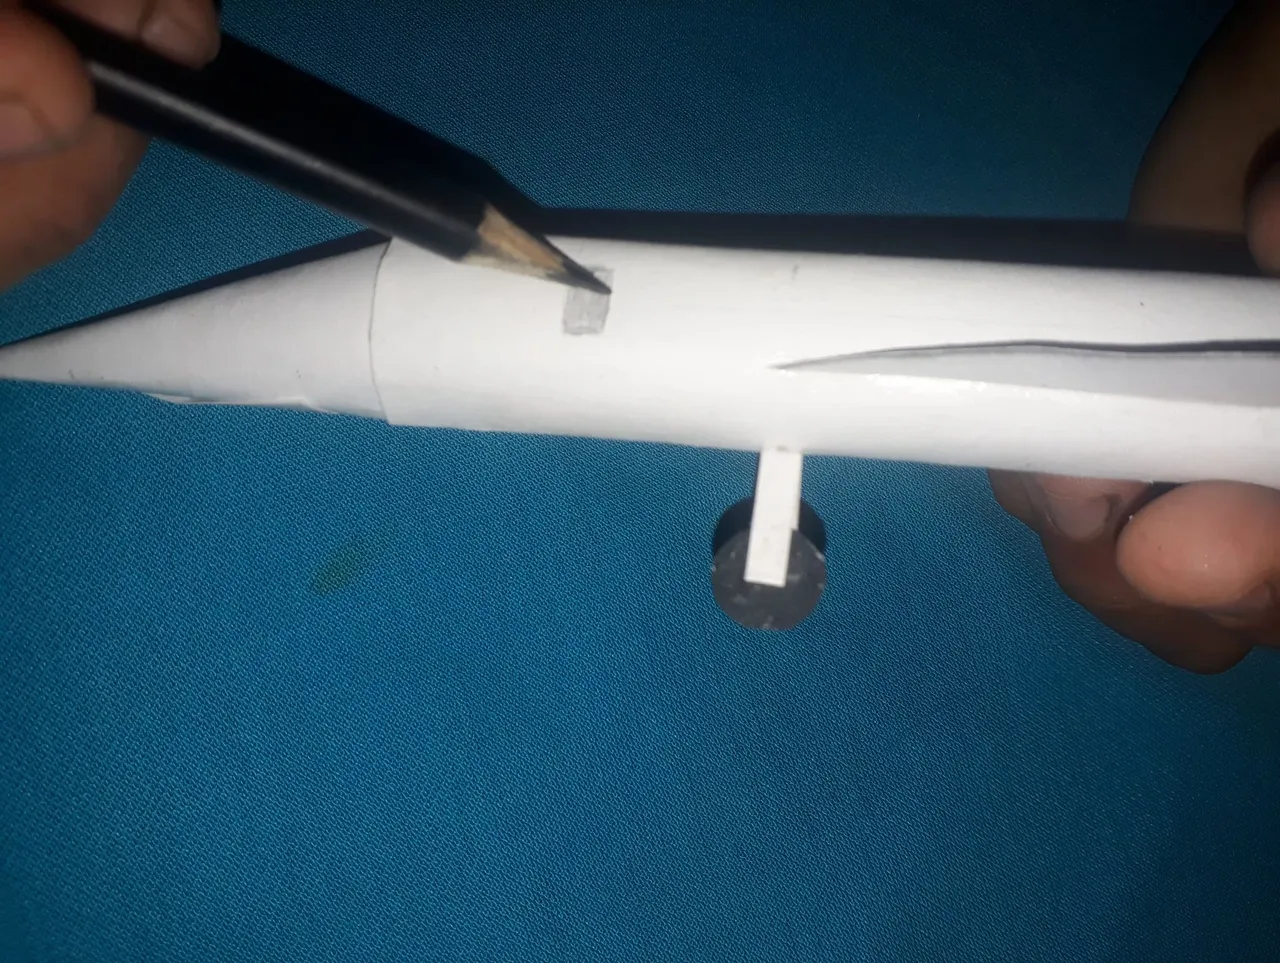
Step 8
Finally, with the help of a pencil we draw some characteristic lines of our aircraft.
Paso 8
Por último, con ayuda de un lápiz trazamos algunas líneas que son característica de nuestro aeronave.
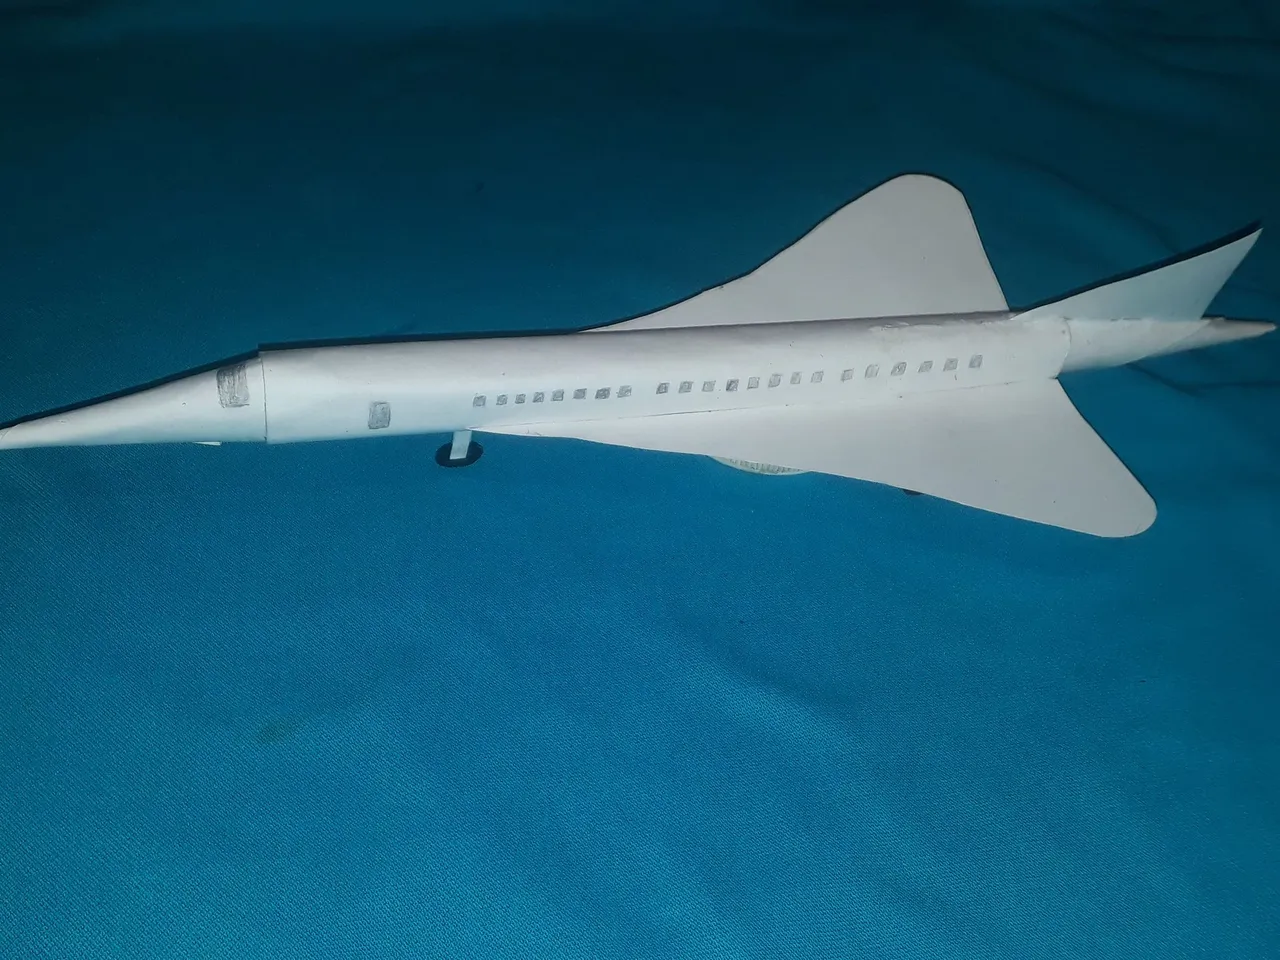
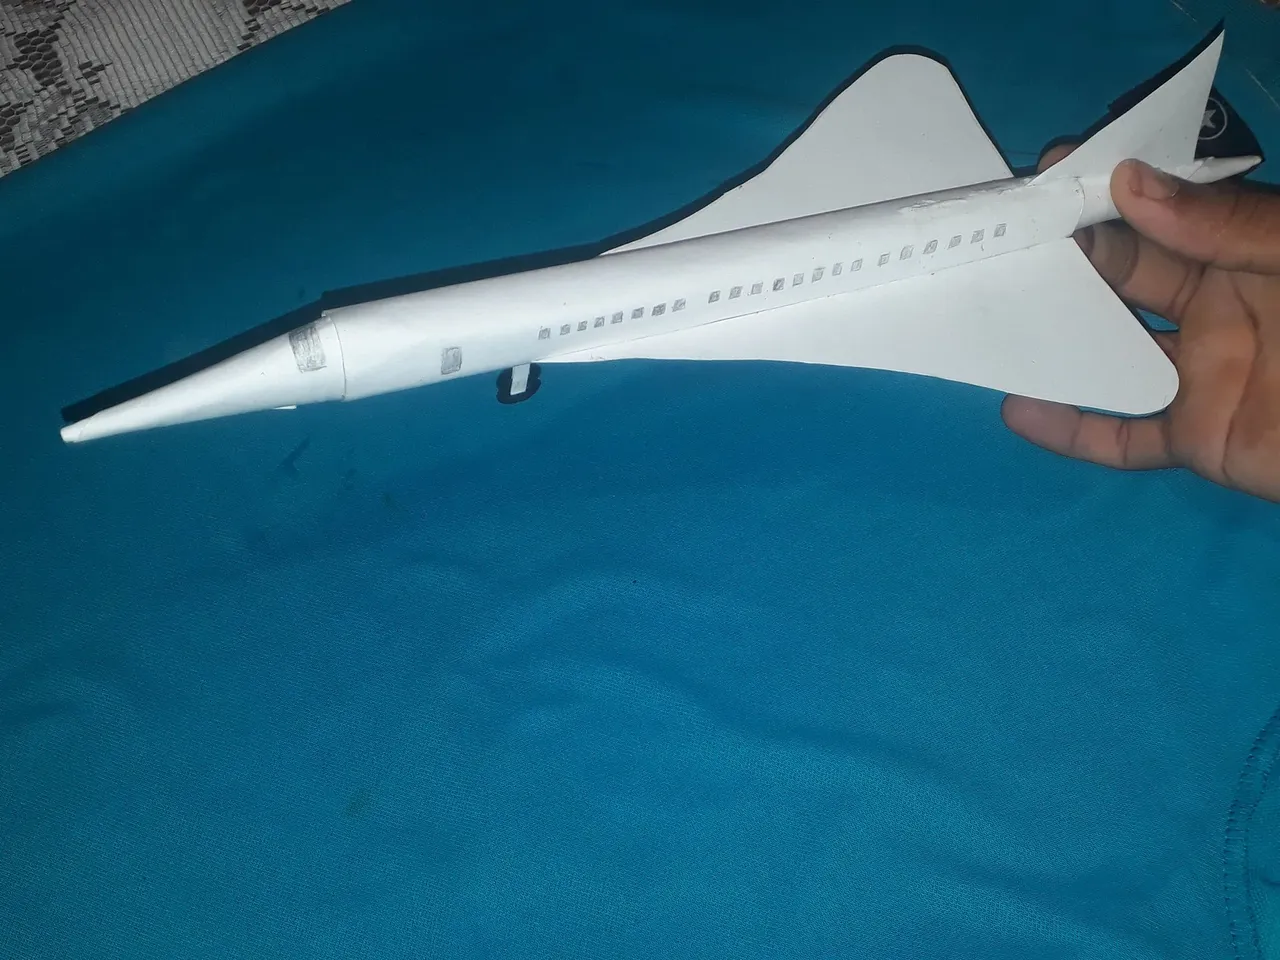
Now our ship is ready to take to the skies.
Ahora nuestra nave esa lista para surcar los cielos
Thank you very much for reading me!
This content was created with love for you, I hope you enjoyed it. See you next time.
¡Muchas gracias por leerme!
Este contenido fue creado con mucho cariño para ustedes, espero lo hayan disfrutado. Hasta la próxima.
Texto traducido con www.deepl.com
Todas las imágenes son de mi propiedad, fueron tomadas con un teléfono samsumg J7 Prime.