Feliz domingo por la noche mis amigos @Hive hoy les traigo una actividad fácil y divertida como es la construcción de un helicóptero con materiales de provecho, un objeto muy simpático e interesante para los mas pequeños de la casa, espero que les guste y puedan elaborárselo a los más chiquitos en su casa.
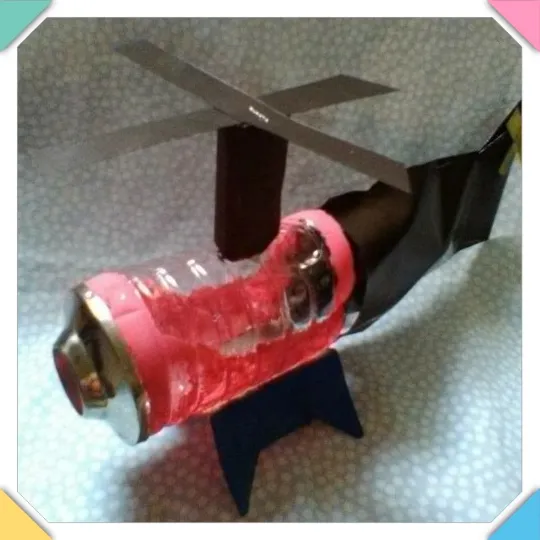
Happy Sunday evening my friends @Hive today I bring you an easy and fun activity such as building a helicopter with useful materials, a very nice and interesting object for the little ones of the house, I hope you like it and can elaborate it to the little ones at home.
Materiales:
- envase plástico
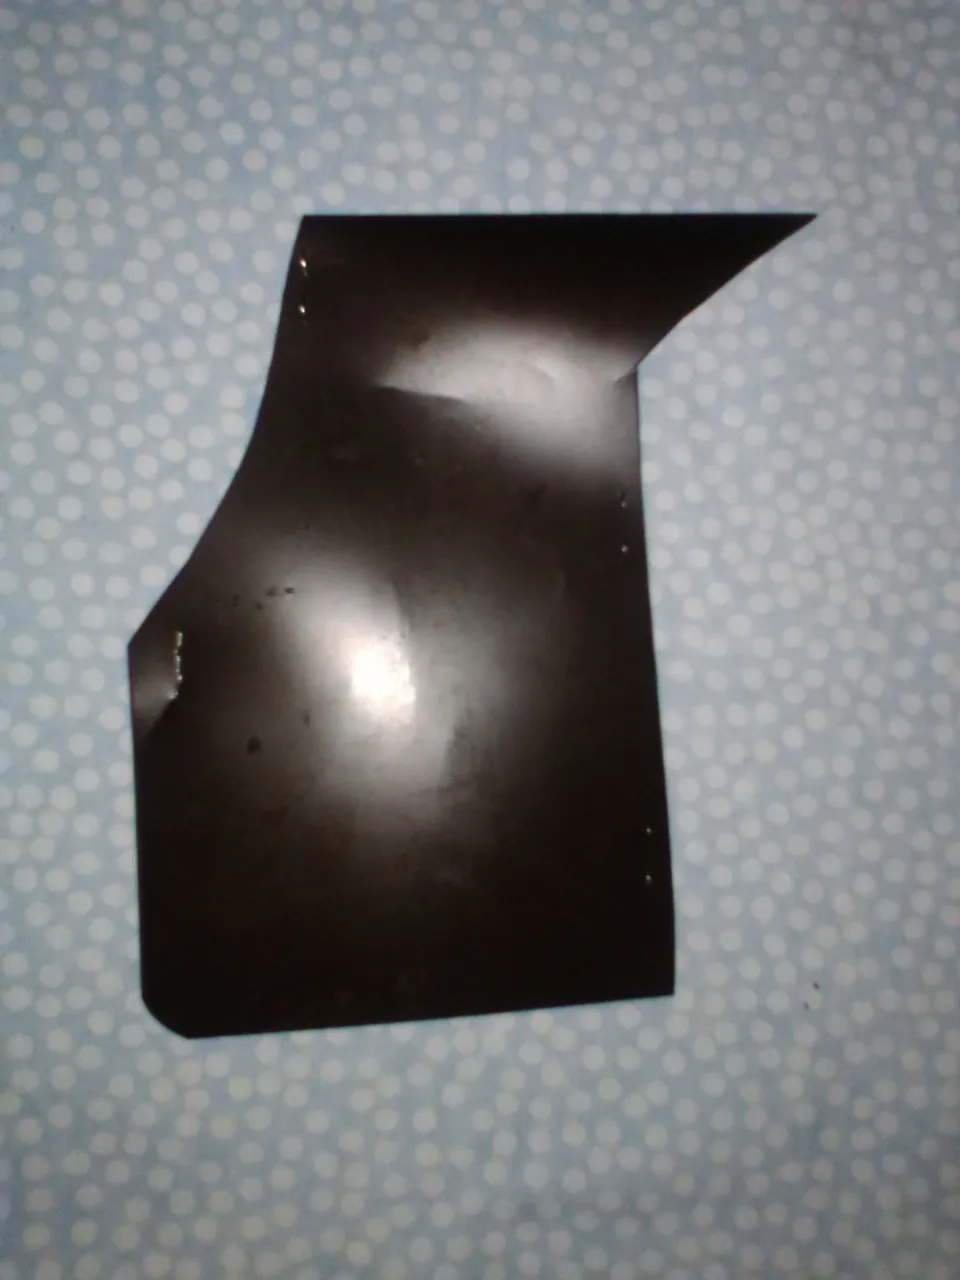
- lámina de radiografía
- grapadora
- tijera
- silicón
- regla
- recorte de cartón
- pinturas azul, rosada, amarilla y marrón
- pincel
- pieza de metal.
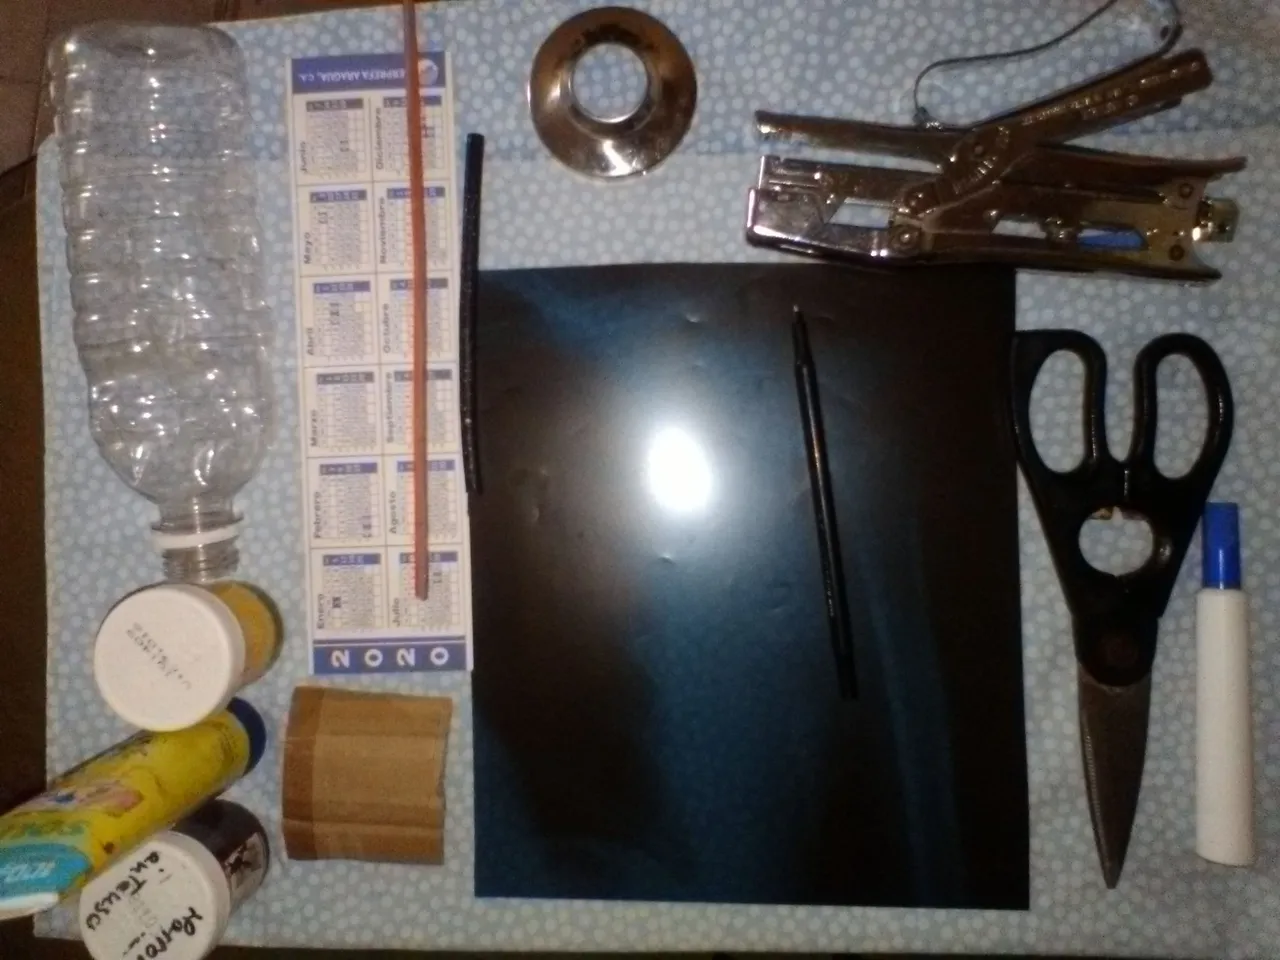
Materials:
- plastic container
- X-ray film
- stapler
- scissors
- silicone
- ruler
- cardboard cutout
- blue, pink, yellow and brown paints
- brush
- metal piece.
Pasos:
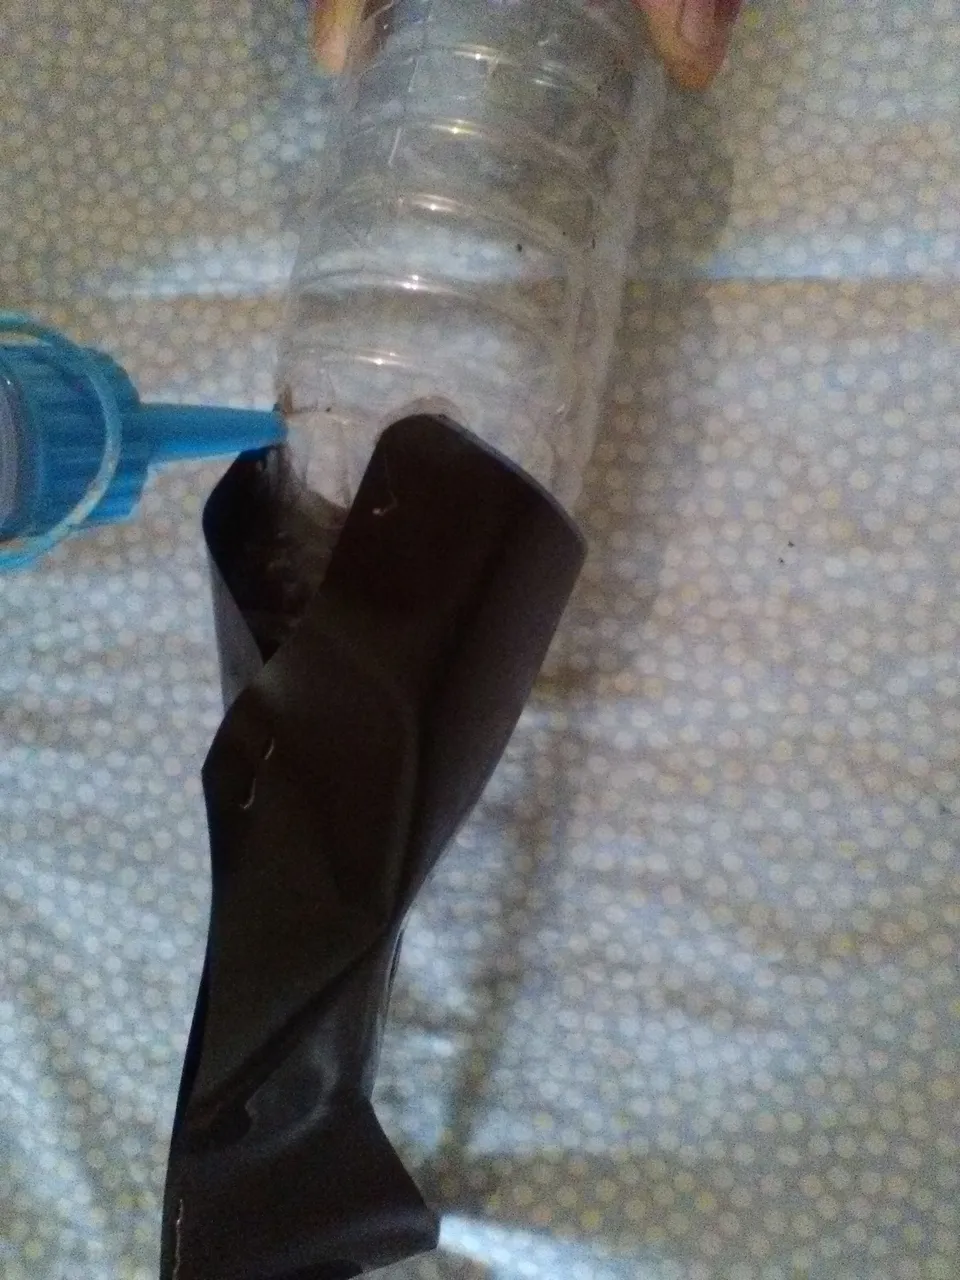
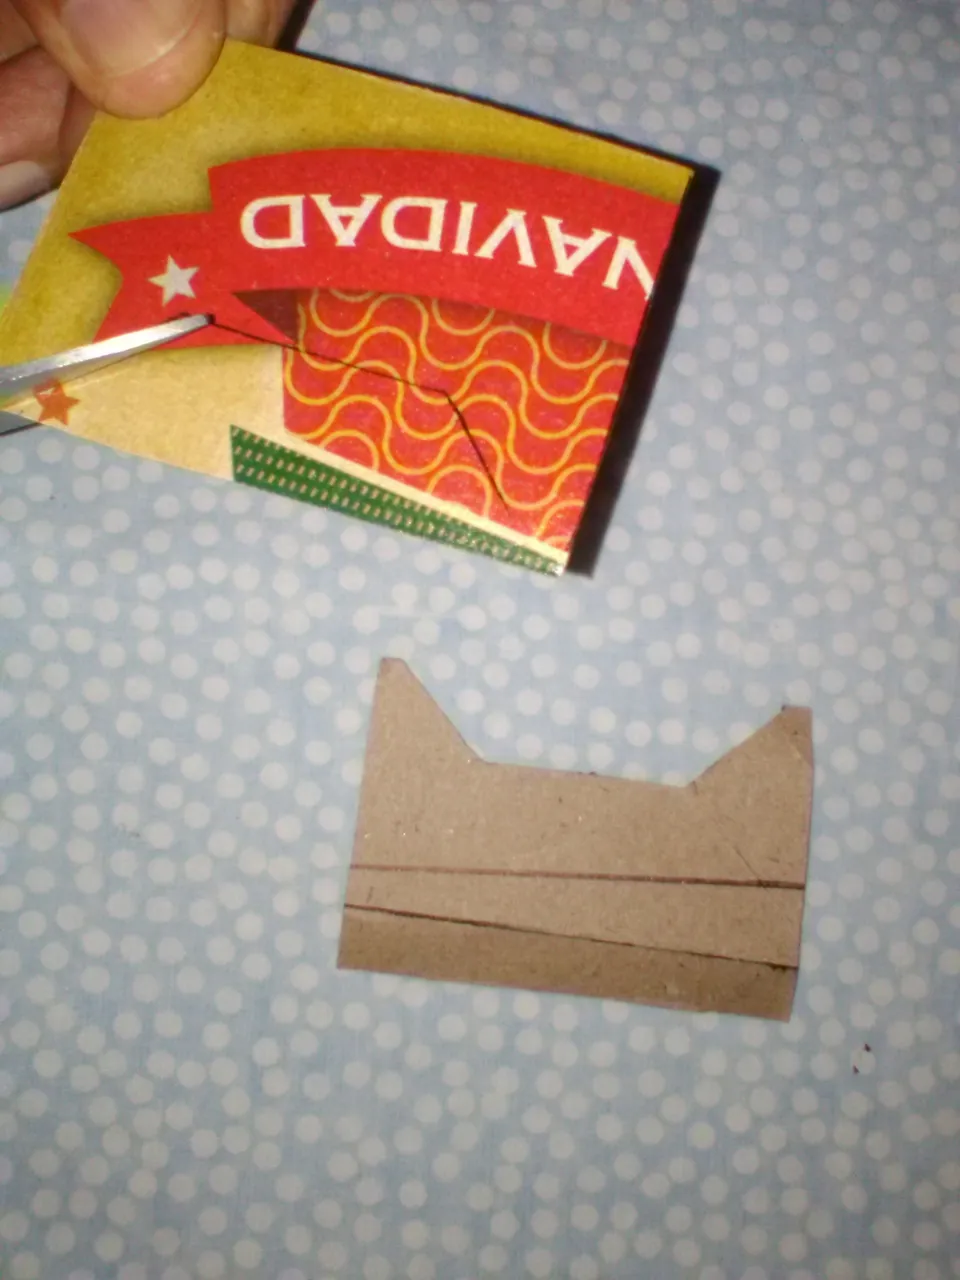
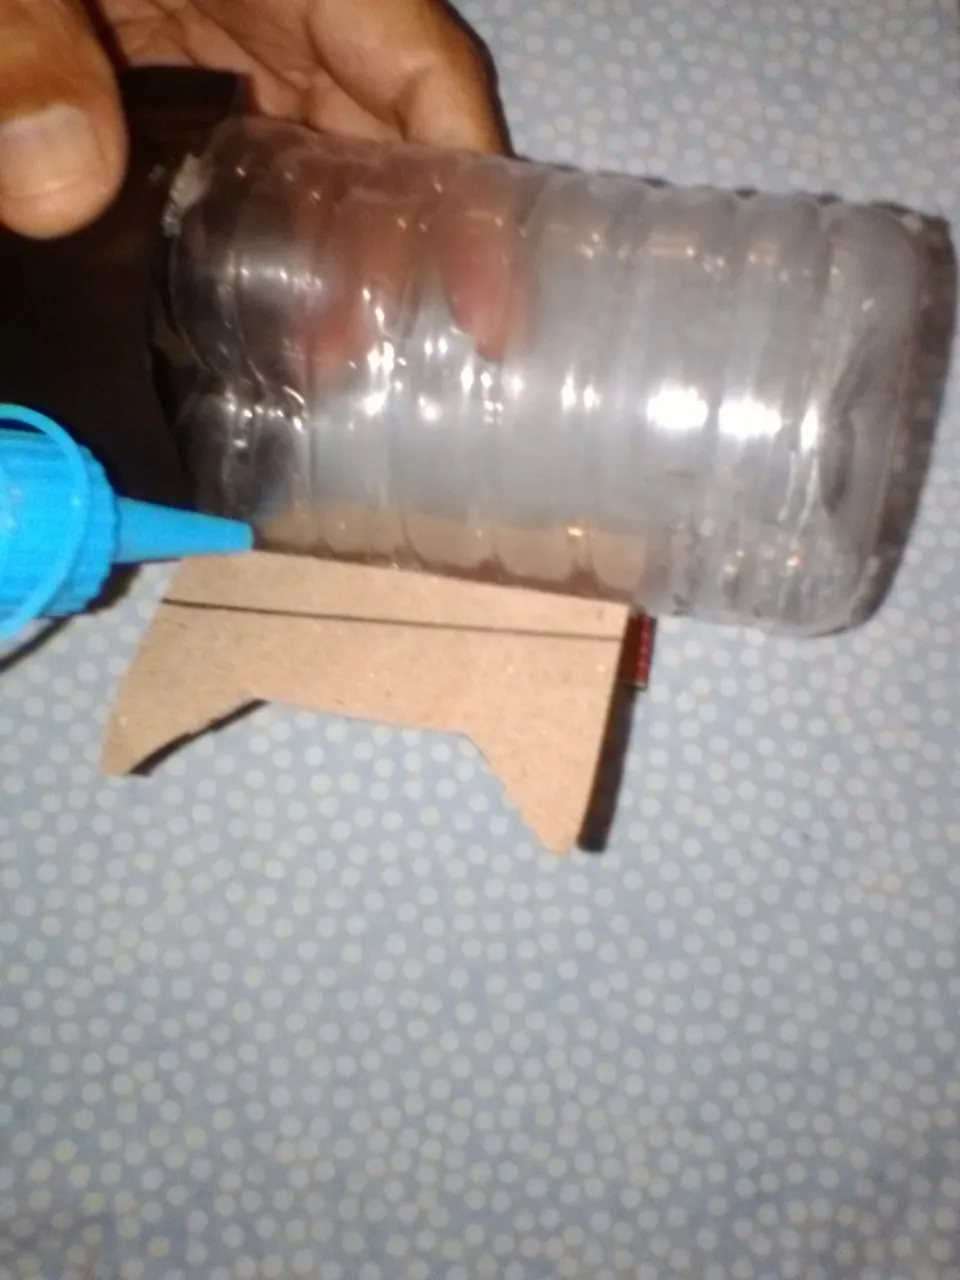
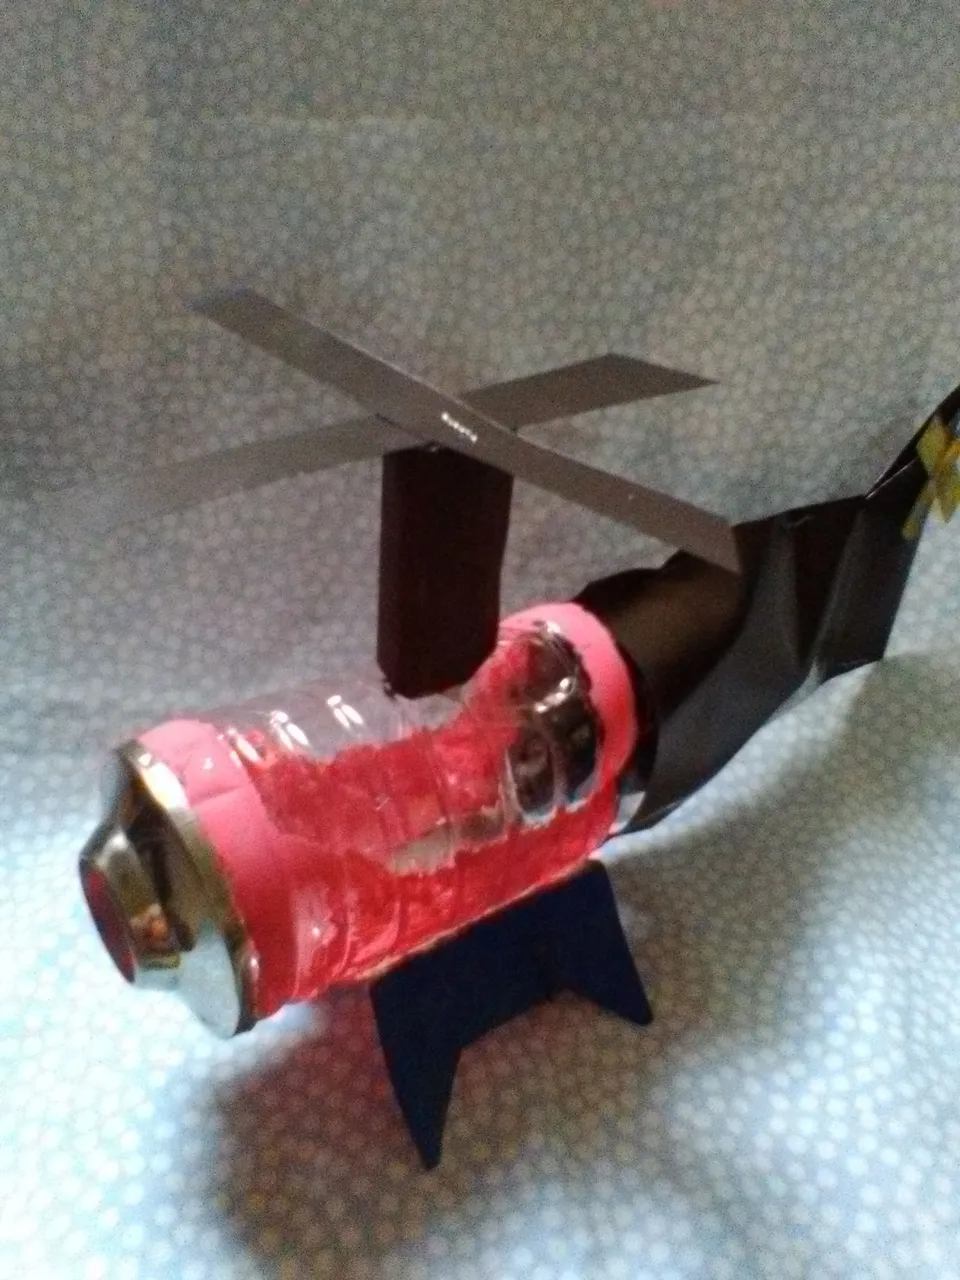
Iniciamos marcando en un cartón o cartulina la parte trasera del helicóptero, recortar seguidamente sacamos 2 caras de 14 x 8 cm en la lámina de radiografía y unir engrapando luego introducimos en la parte del pico del envase y fijar pegando además marcar, recortar en el cartón o cartulina 2 piezas de 7 x 4 cm que son los soportes del juguete pegamos en la parte de abajo del envase y pintamos de azul después pegar en la parte trasera del envase la pieza de metal luego recortar un rectángulo 5x 4 cm pegar el cartón y pintar de marrón posteriormente recortar las láminas 2 listones de 13 x 1 cm que son fijadas al cartón además 2 listones 5 x 1 cm engrapar en forma d cruz y sujetar en la parte de final de la base de làmina de la radiografía antes trabajada y para culminar pintar de rosado para darle mejor apariencia.
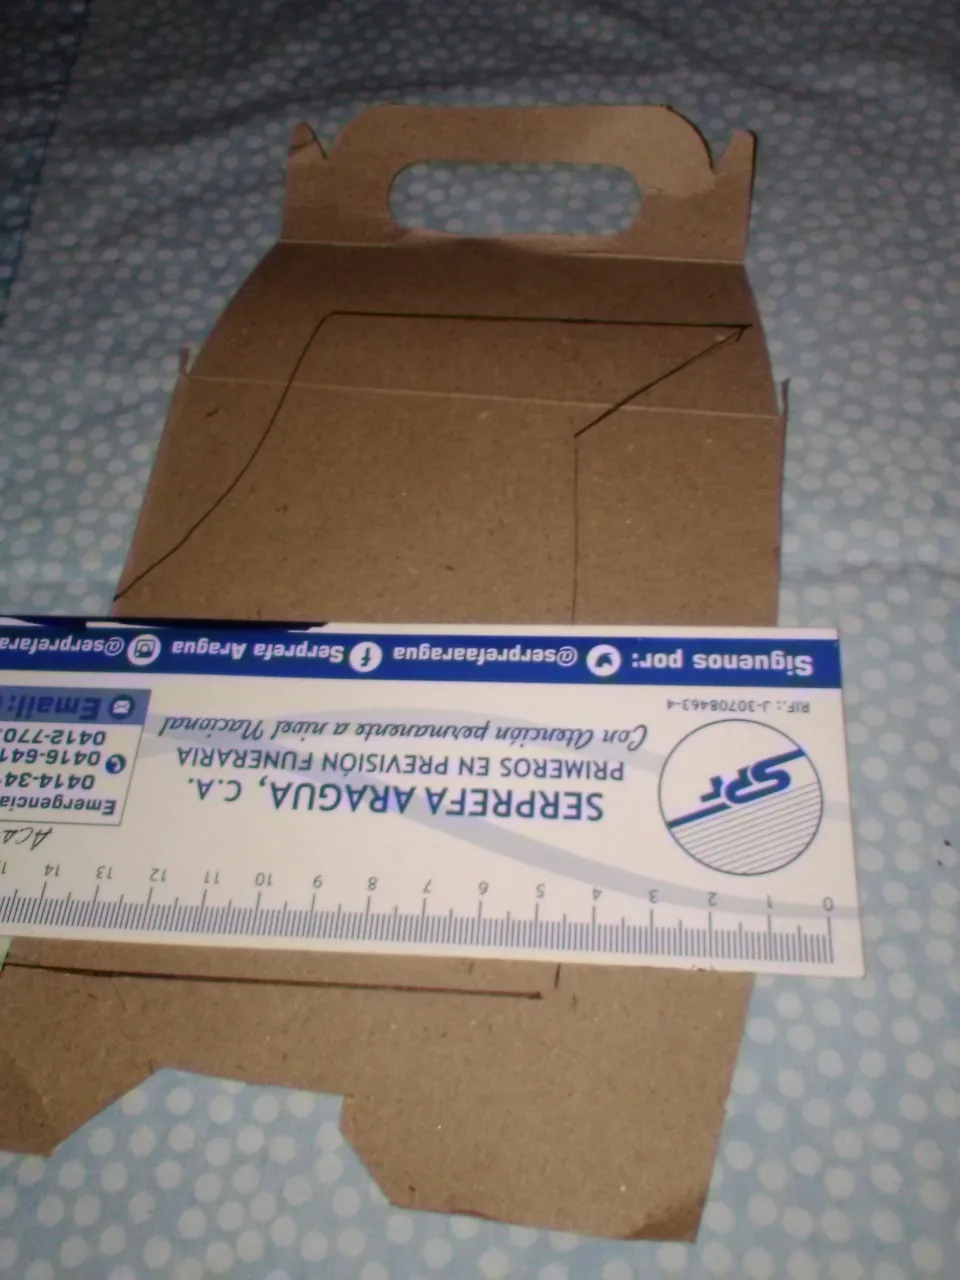
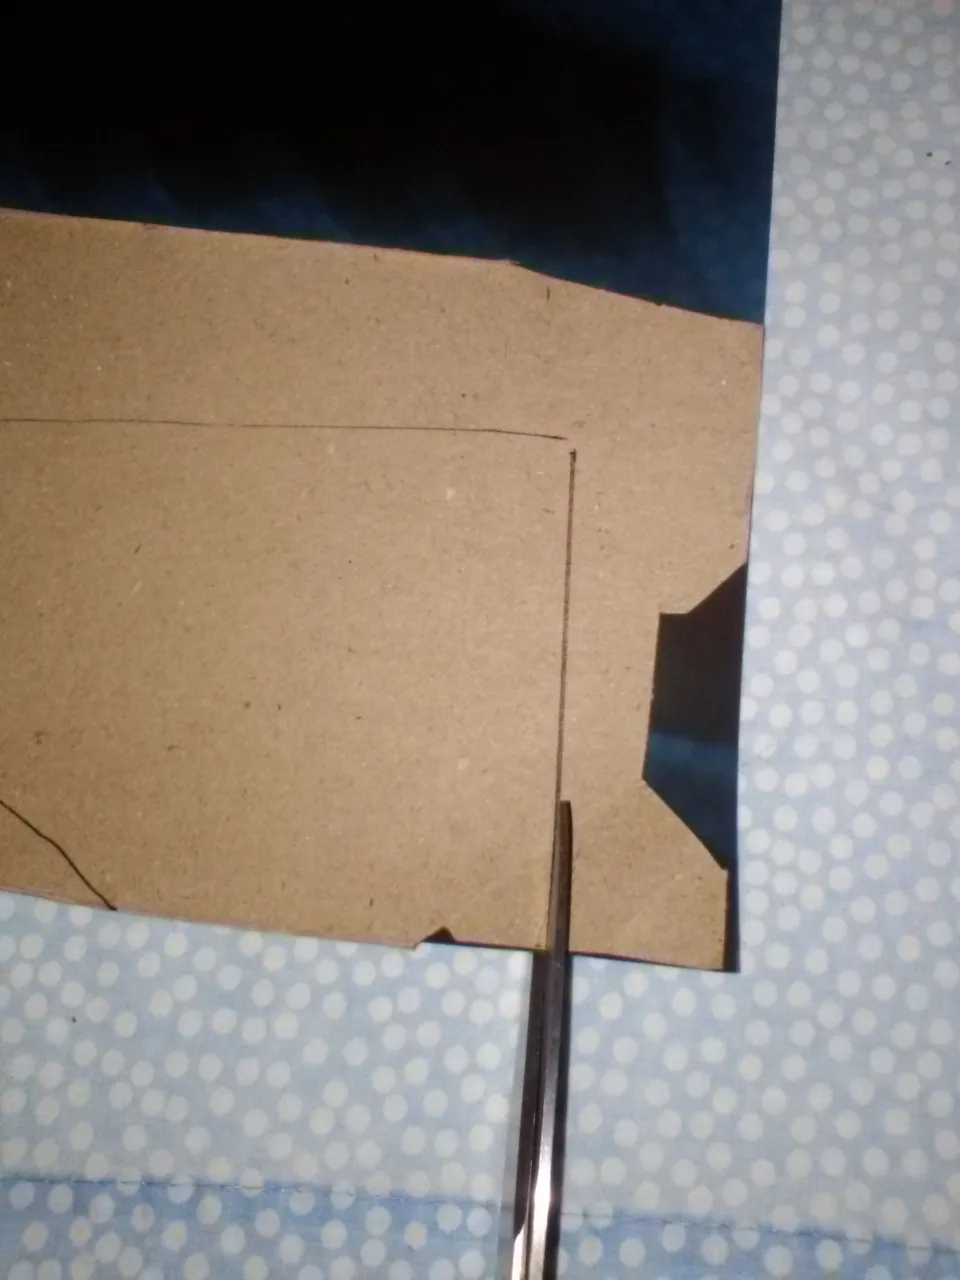

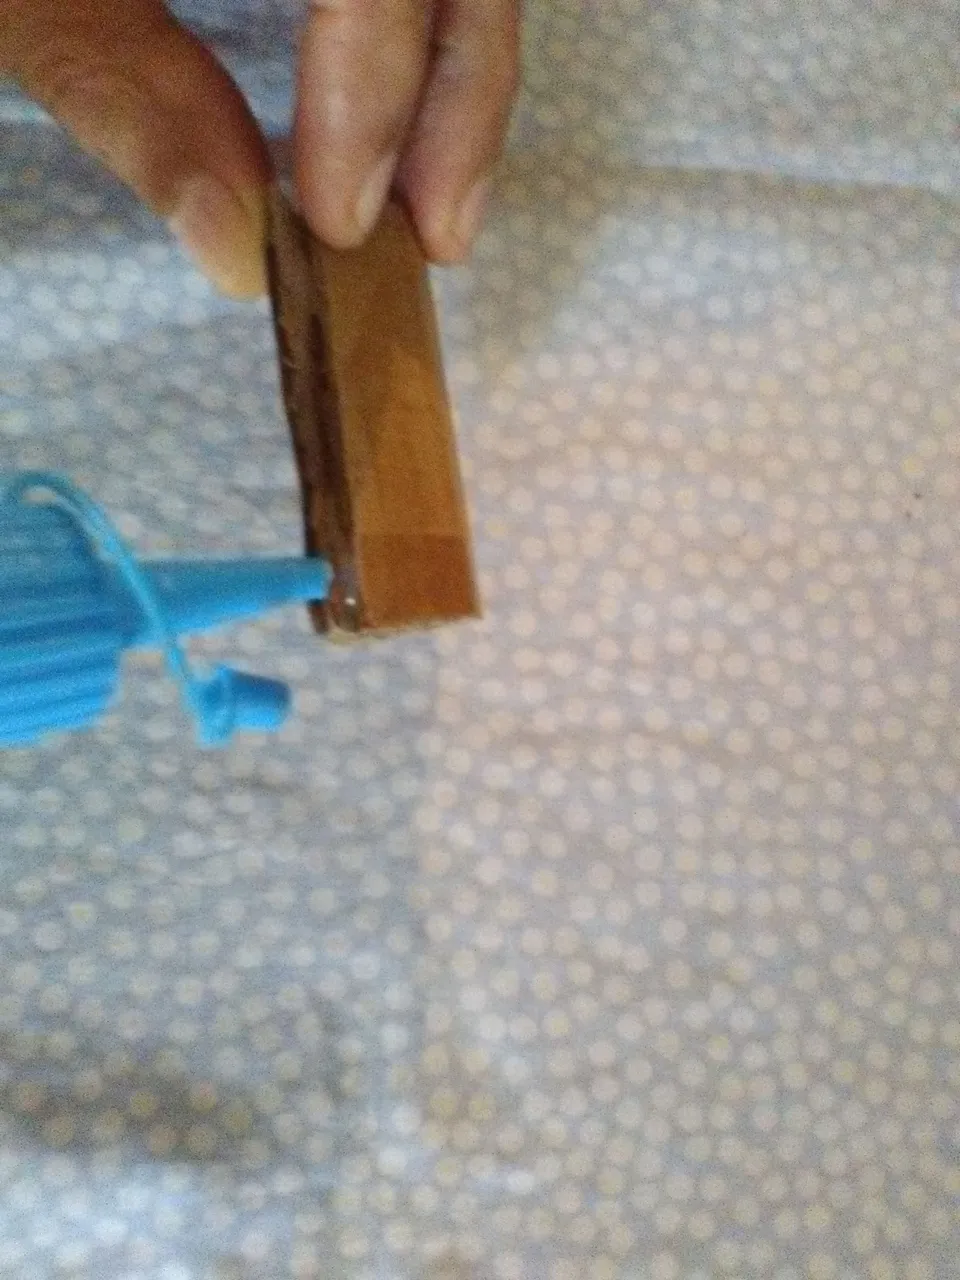
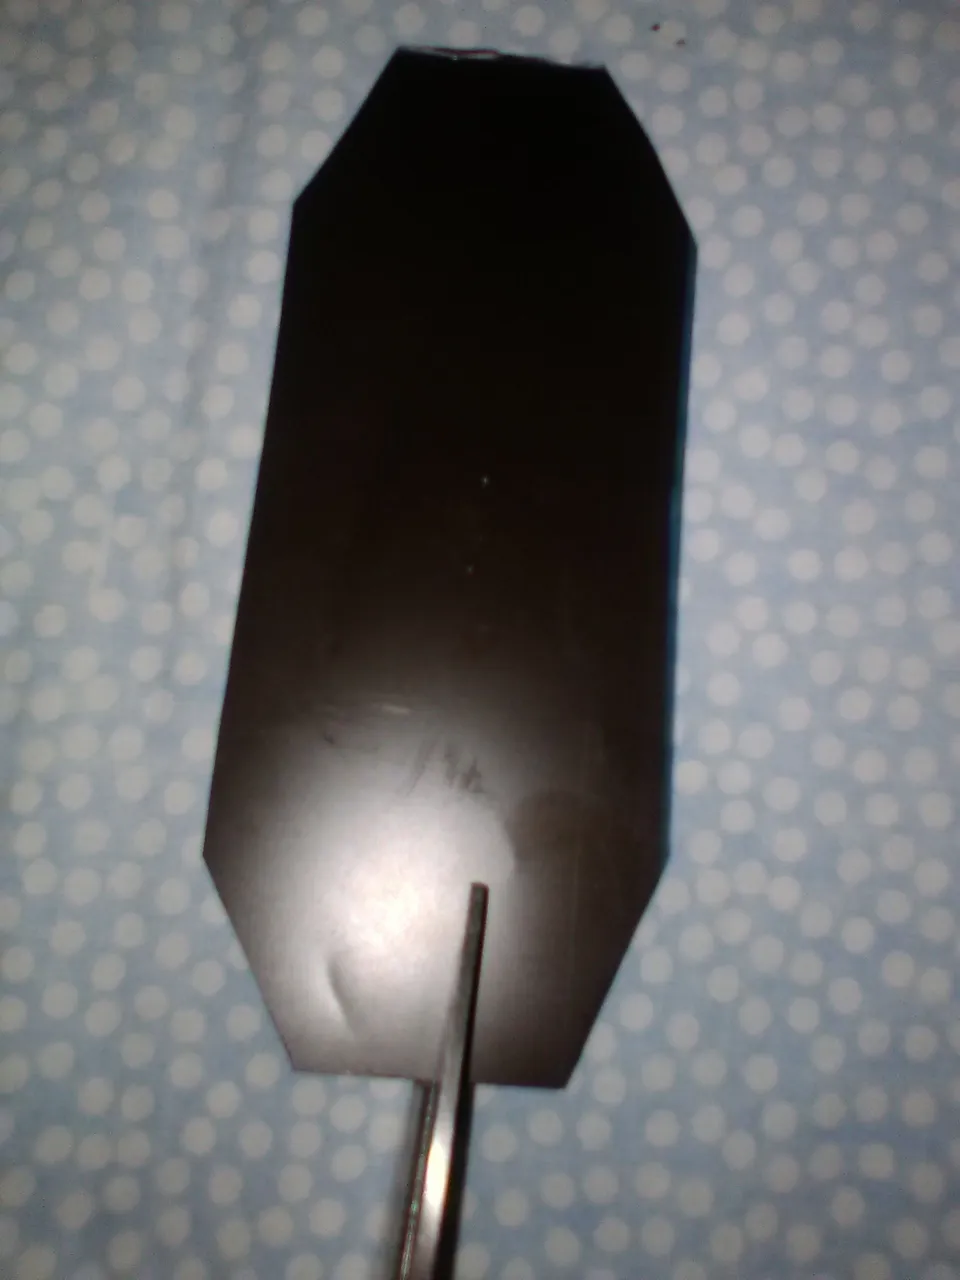

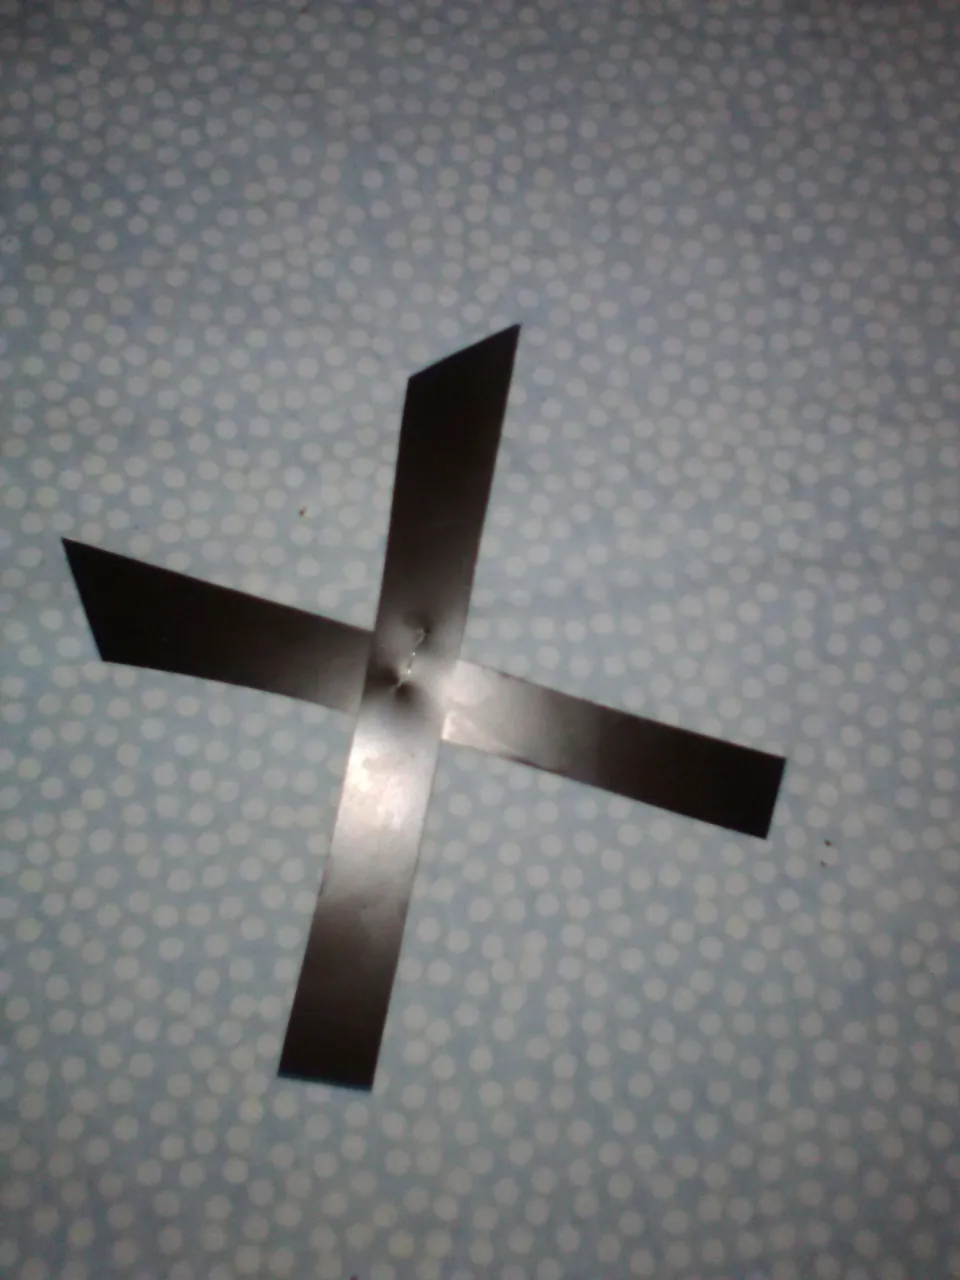
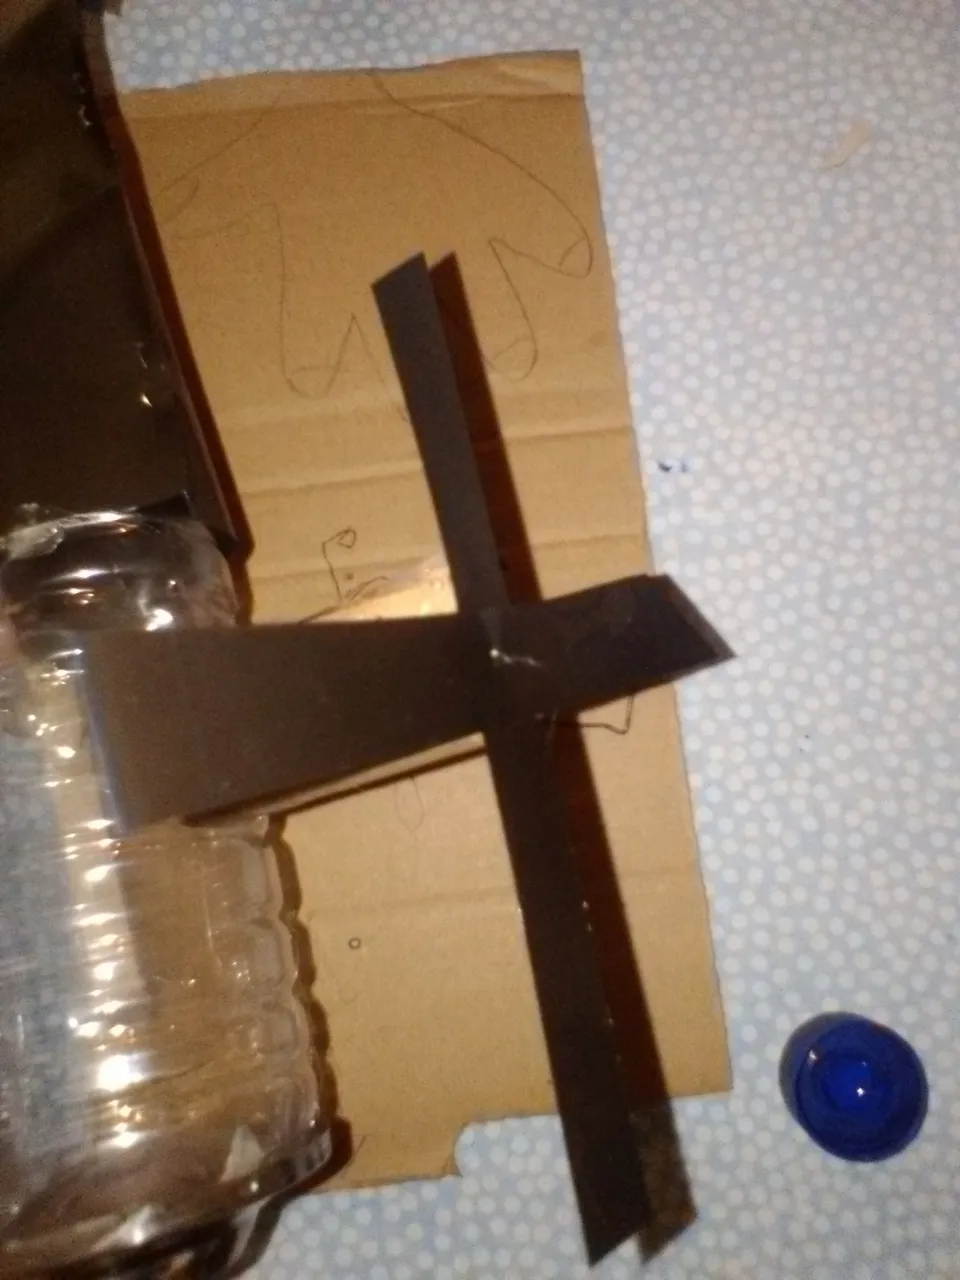
Steps:
We start by marking on a cardboard or cardboard the back of the helicopter, cut out then we take out 2 faces of 14 x 8 cm on the X-ray film and join stapling then we introduce in the part of the beak of the container and fix by gluing besides marking, cut out 2 pieces of cardboard or cardboard 7 x 4 cm which are the supports of the toy, glue on the bottom of the container and paint blue then glue on the back of the container the metal piece then cut out a rectangle 5 x 4 cm glue on the cardboard and paint brown. then cut out 2 strips of 13 x 1 cm that are fixed to the cardboard and 2 strips of 5 x 1 cm stapled in the form of a cross and fastened at the end of the base of the base sheet of the X-ray previously worked and to finish paint it pink to give it a better appearance.
Gracias por leerme y su valioso apoyo, será hasta otra oportunidad.
Thank you for reading me and your valuable support, I'll see you another time.
Fotos de mi autoría @elgatoshawua.
Photos by me @elgatoshawua.
Translated with www.DeepL.com/Translator (free version)