

Greetings dear friends. Welcome to all of you to my today's post.
I love crafts, I like to make flowers from all kinds of materials. Today I present you a good option less dangerous to create those thermoformed flowers that we like so much, remember: I present you the idea, you improve it.
It occurred to me to use my hair iron to give them shapes, because normally you use the iron to iron clothes, but I have had accidents with it, I have burned myself several times, so I decided to try with my hair iron and it works great, you just have to do it fast and giving touches to prevent the foami to the ceramic of the hair iron, so I recommend using ceramic irons, if you do not have this coating, the material can melt. Also, you must be very cautious with the handling of these devices when making this craft.
Join me and I will explain you how to make them, remember that you also have my video at the end of this post that you can visit.

Saludos queridos amigos. Bienvenidos sean todos a mi publicación de hoy.
Me encantan las manualidades, me gusta hacer flores de todo tipo de material. Hoy te presento una buena opción menos peligrosa para crear esas flores termoformadas que tanto nos gusta, recuerda: Yo te presento la idea, tú la mejoras.
Se me ocurrió usar mi plancha de cabello para darles formas, pues normalmente se usa la plancha de planchar ropa, pero he tenido accidentes con ella, me he quemado varias veces, así que decidí probar con mi plancha de cabello y funciona genial, solo debes hacerlo rápido y dando toques para evitar que se peque el foami a la cerámica de la plancha de cabello, por ello recomiendo usar planchas de cerámica, si no tiene este recubrimiento, el material puede derretirse. Así mismo, debes ser muy cauteloso con el manejo de estos aparatos a la hora de elaborar esta manualidad.
Acompáñame y te explico cómo hacerlas, recuerda que también tienes mi vídeo al final de este post que puedes visitar.
PASO A PASO / STEP BY STEP
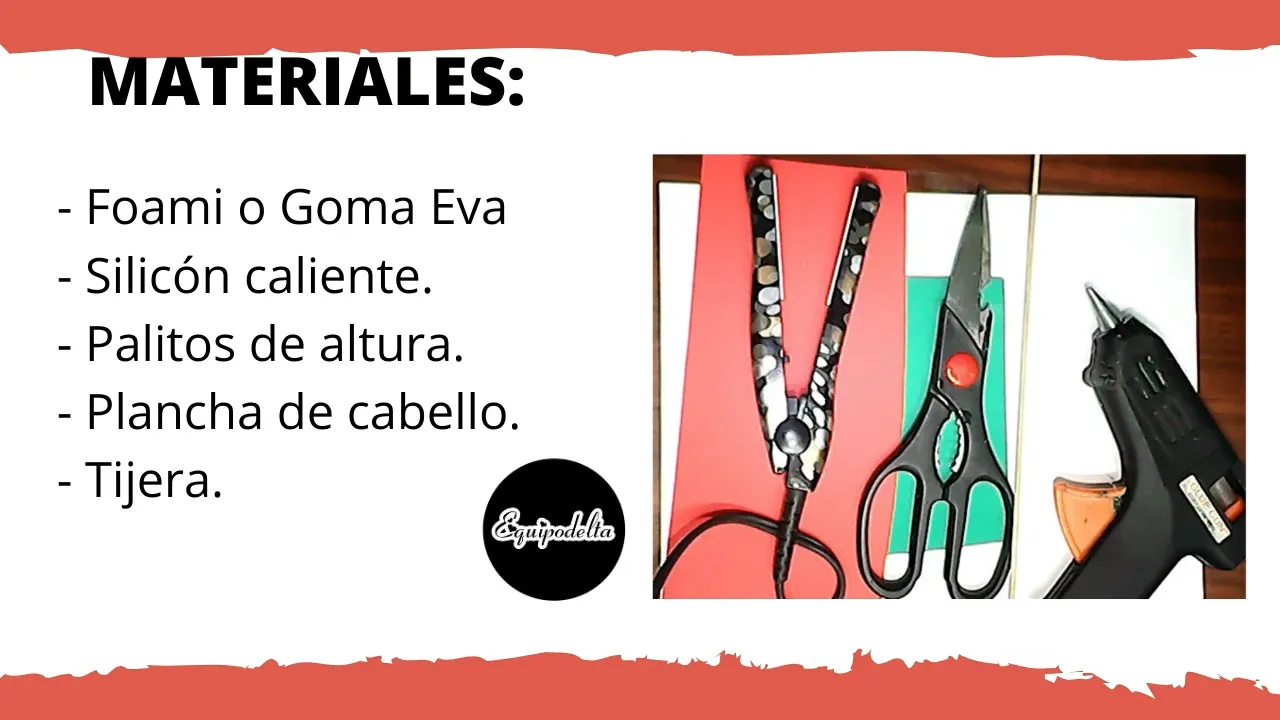
Materials:
- Foami or eva rubber.
- Hot silicone.
- Sticks of height.
- Hair iron
- Scissors.
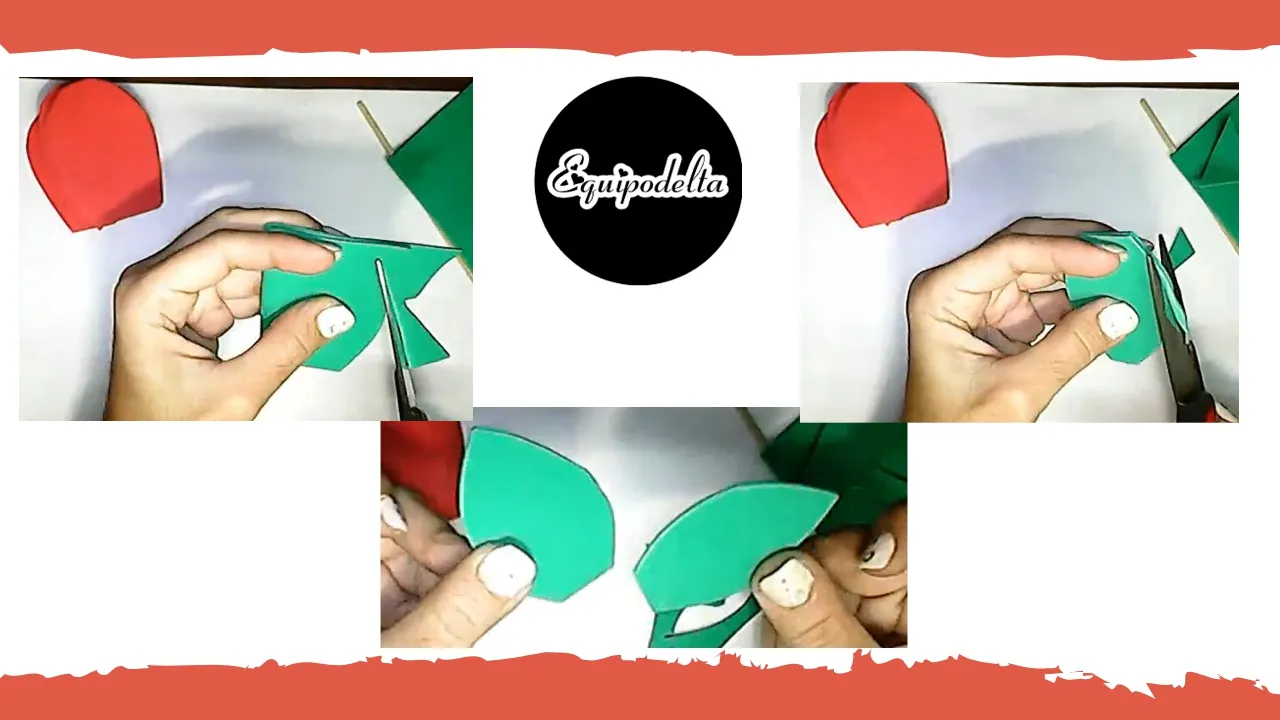
Step 1: Cut out the shape of some petals, enough to make a rose, you can use the foami color of your choice, then cut out two leaf shapes in green foami.
Paso 1: Recorta la forma de unos pétalos, los suficientes como para armar una rosa, puedes usar el color de foami de tu preferencia, luego recorta dos forma de hoja en foami de color verde.
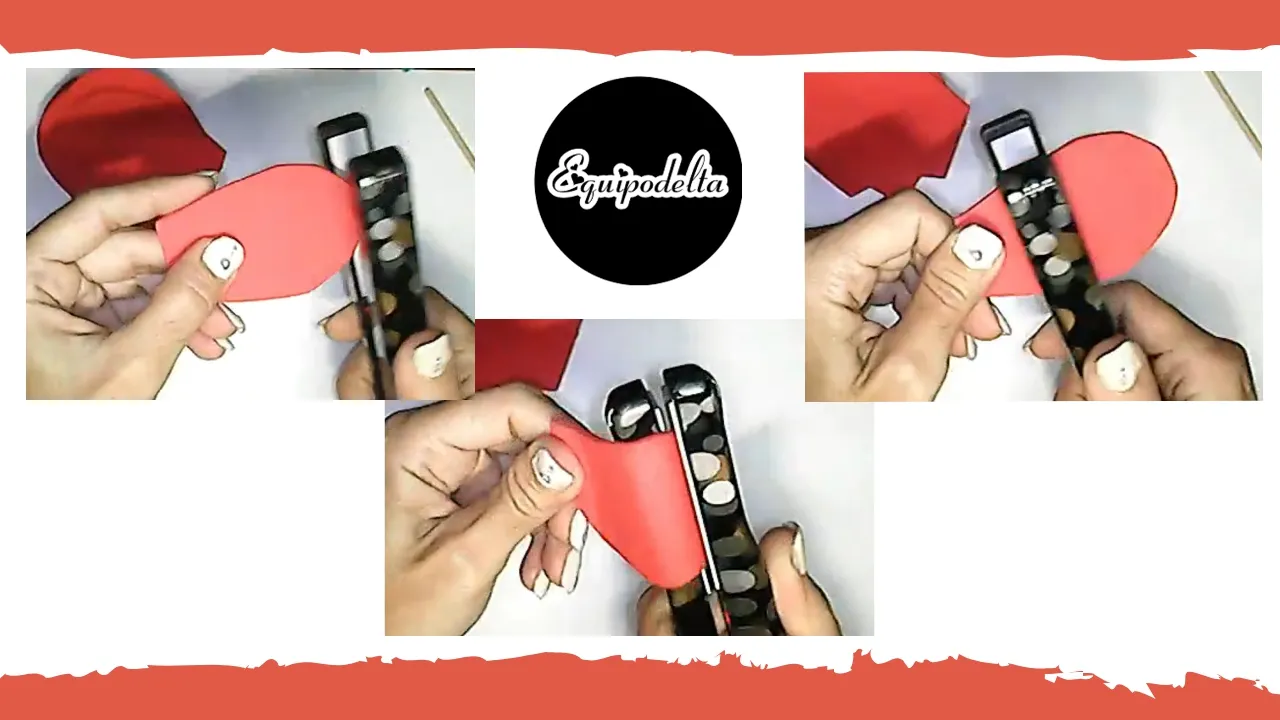
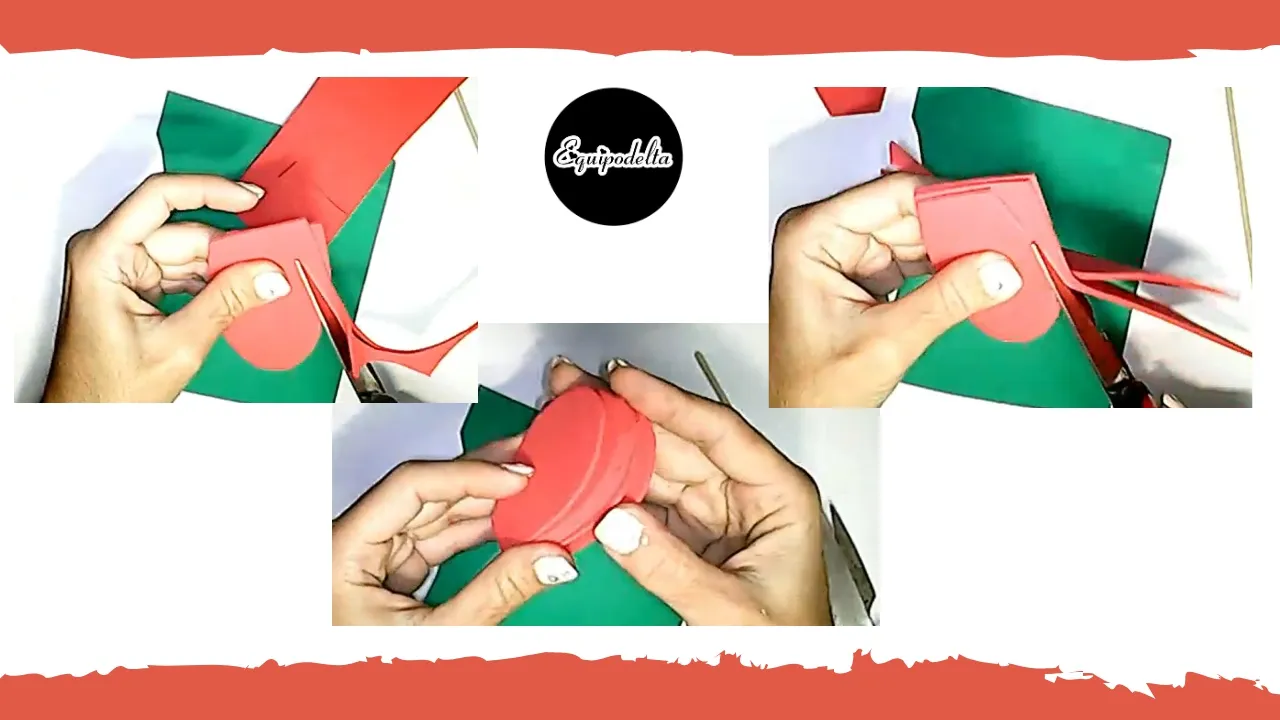
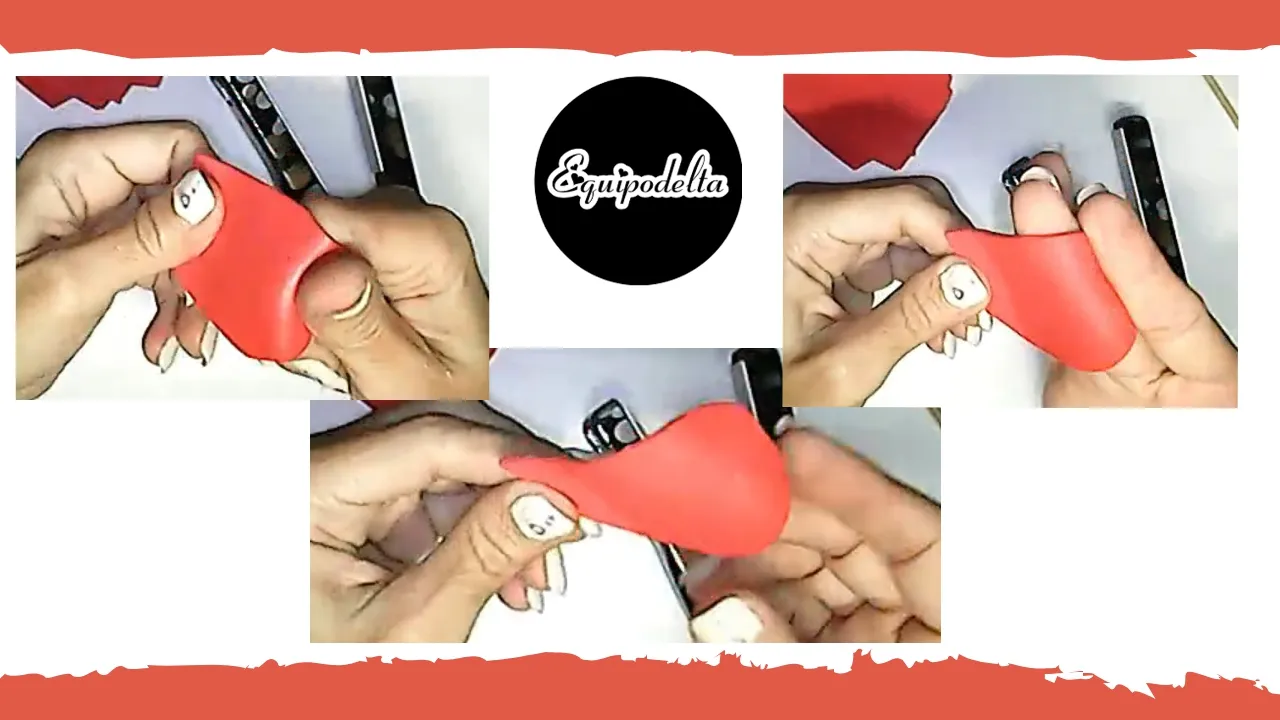
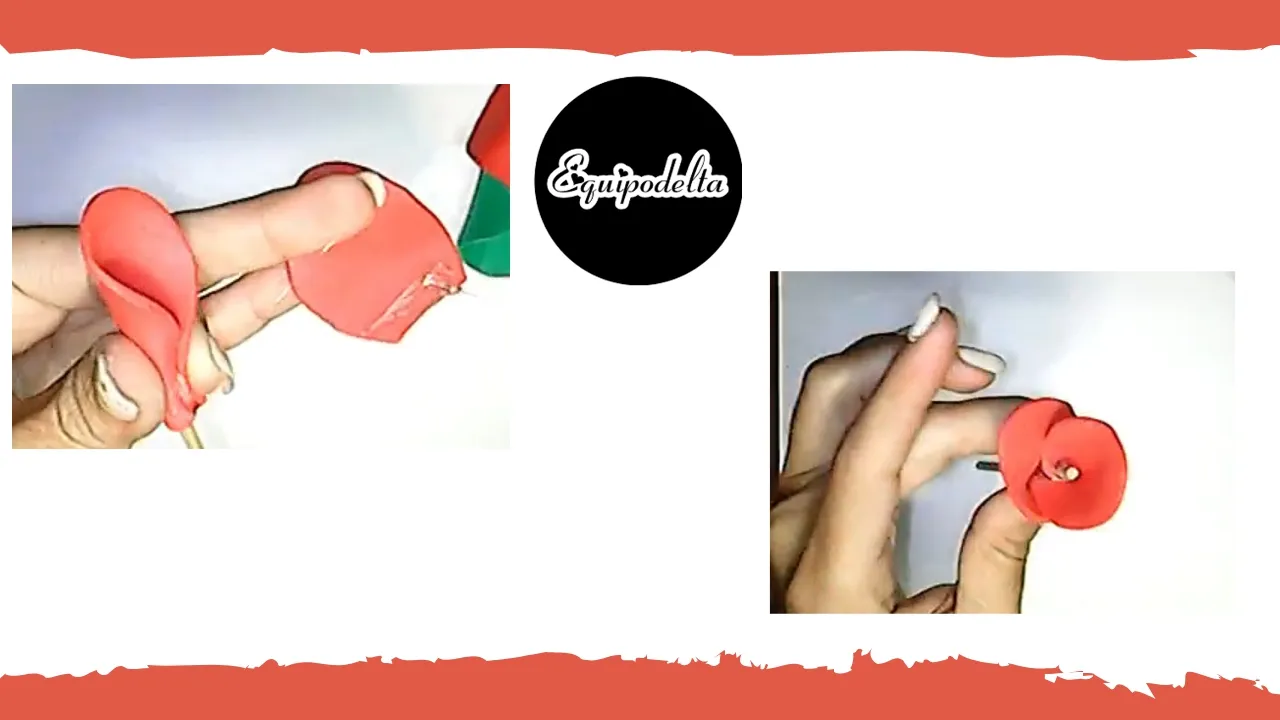
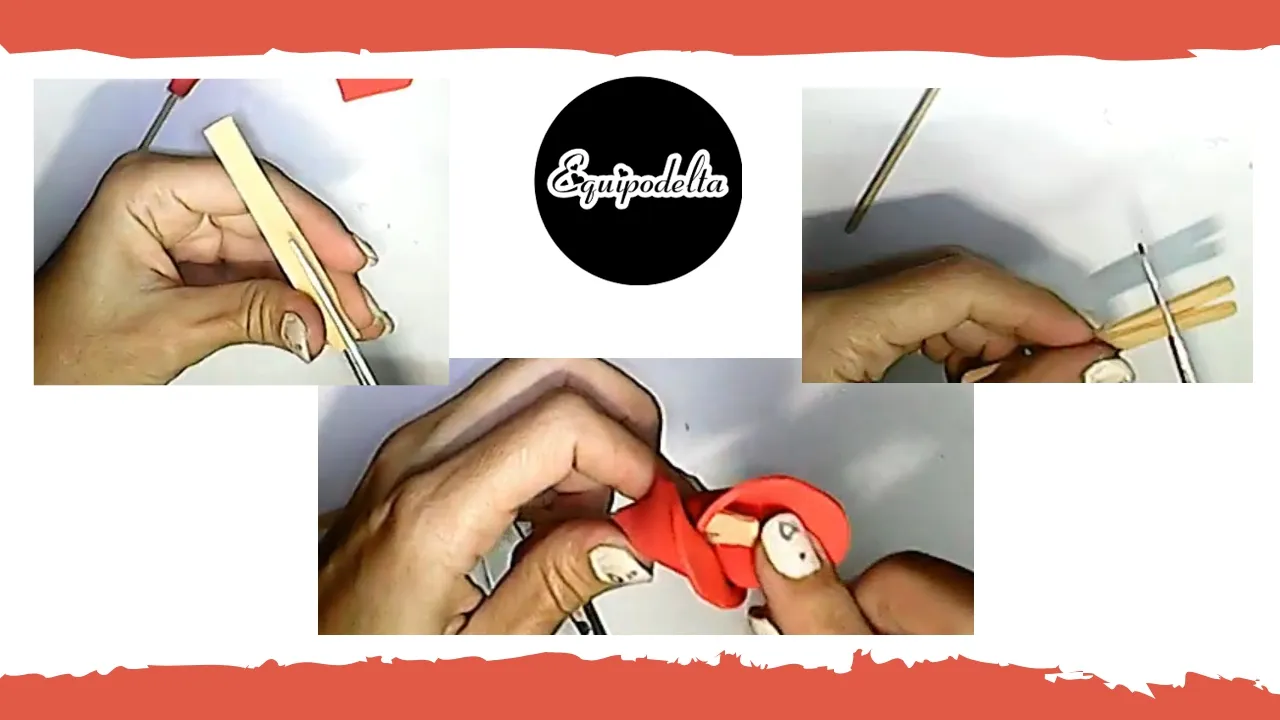
Step 2: Mold each petal, giving light touches with the hair iron on the foami, it is not necessary to make any pressure, when you notice that the foami changes color and becomes brighter, very carefully mold with your fingers, be careful in this part you could burn yourself. Each petal should be shaped wavy outwards.
Paso 2: Moldea cada pétalo, dando ligeros toquecitos con la plancha de cabello sobre el foami, no es necesario hagas ninguna presión, cuando notas que el foami cambia de color y se torna más brillante, con mucho cuidado moldea con tus dedos, sé cuidadoso en esta parte podrías quemarte. Cada pétalo debes dar forma ondulada hacia afuera.
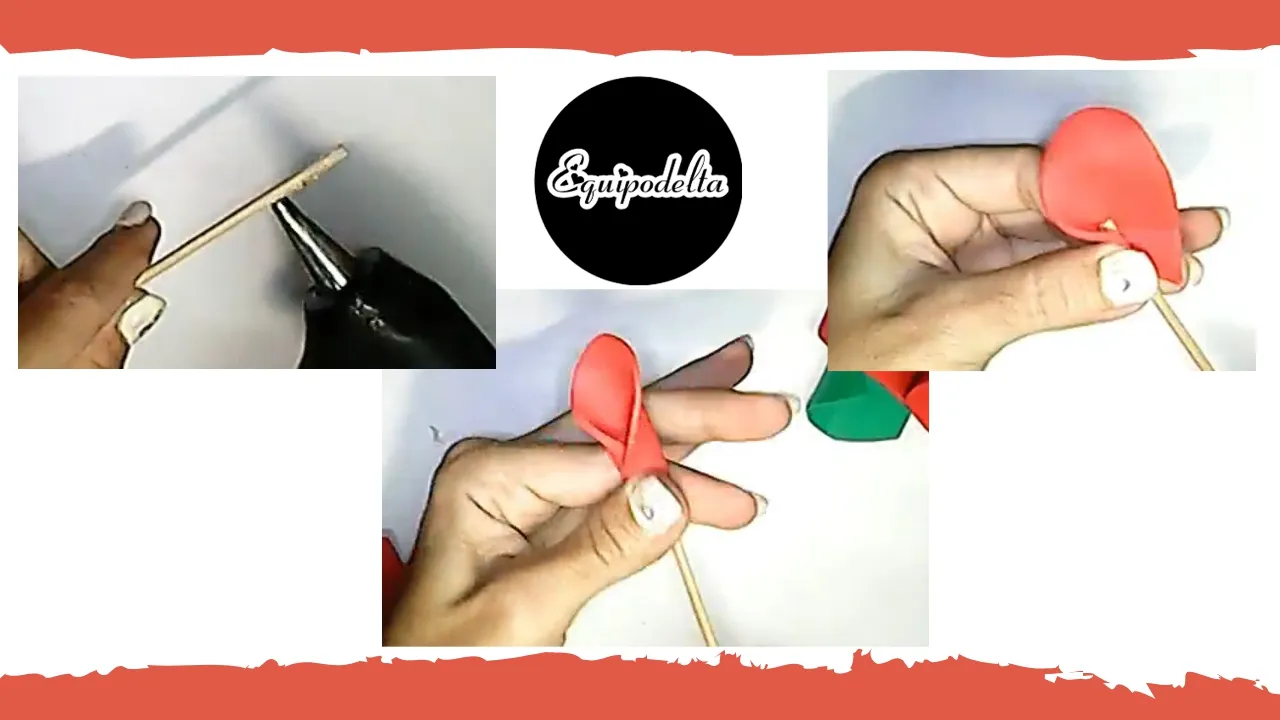
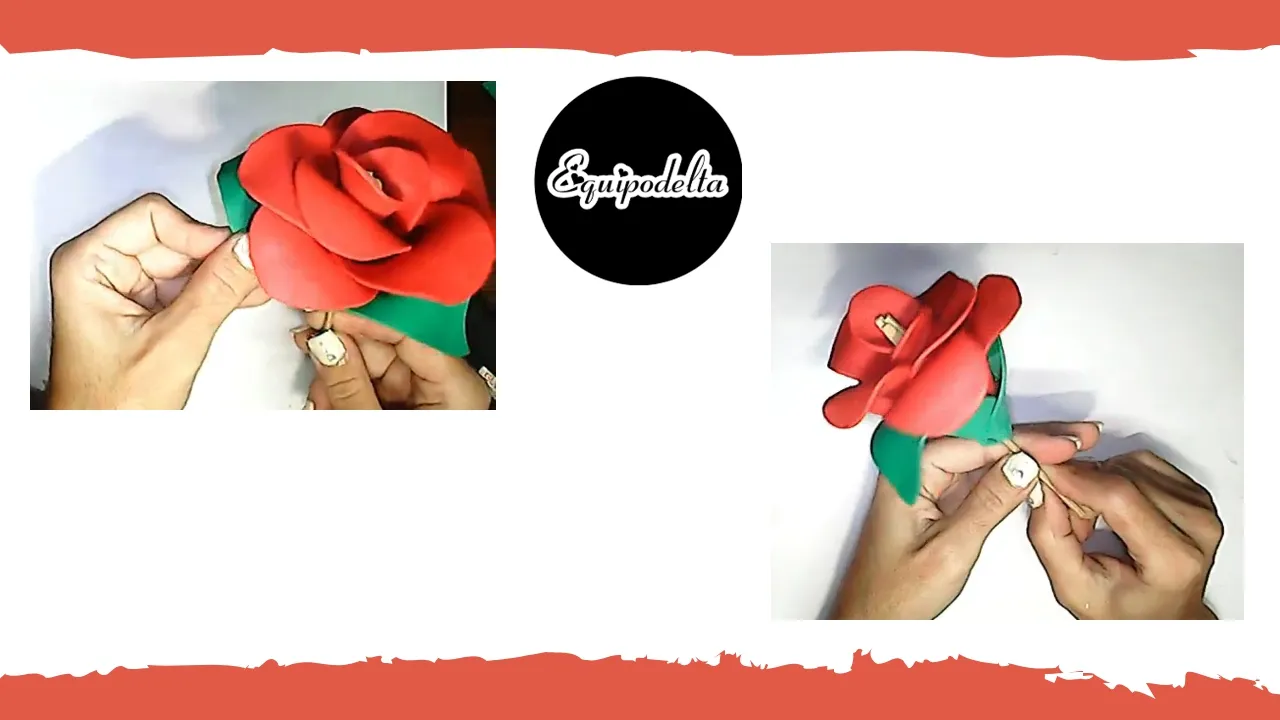
Step 3: Place a dot of hot silicone on the height stick, then place more glue on a petal, we will create the first closed petal, with the foami turn the height stick completely around.
After it is fixed, you can place the next petal covering the empty position, in the same way, going around the first petal.
Paso 3: Coloca un punto de silicón caliente sobre el palito de altura, luego coloca más pegamento en un pétalo, crearemos el primer pétalo cerrado, con el foami da vuelta completa al palito de altura.
Luego de que quede fijo, puedes colocar el siguiente pétalo cubriendo la posición vacía, de la misma forma, dando vuelta por al rededor del primer pétalo.
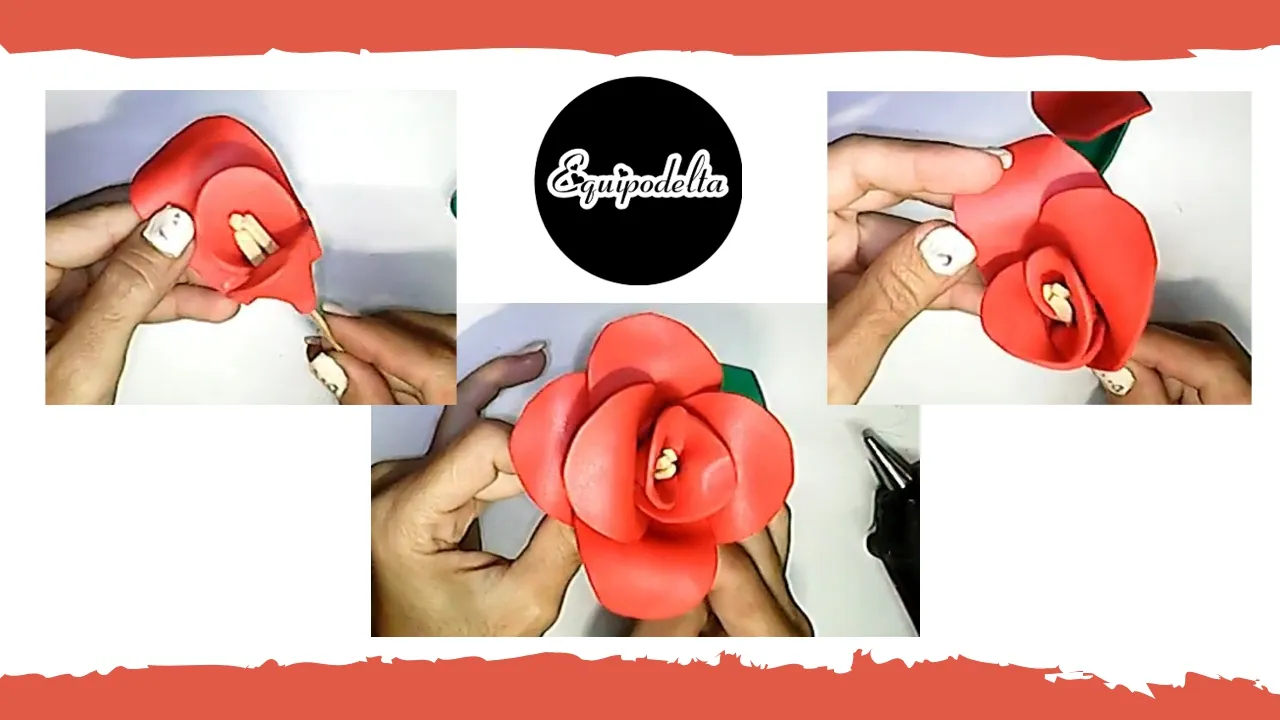
Step 4: Make the pistils to cover imperfections and the tip of the height stick. With a yellow foami cut some thin strips and then glue them in the center of the flower.
Step 5: Continue gluing each petal covering the empty areas, repeating the previous steps.
Paso 4: Hacer los pistilos para cubrir imperfecciones y la punta del palito de altura. Con un foami de color amarillo recorta unas tiras delgadas y luego pegas en el centro de la flor.
Paso 5: Sigamos pegando cada pétalo cubriendo las zonas vacías, repitiendo los pasos anteriores.
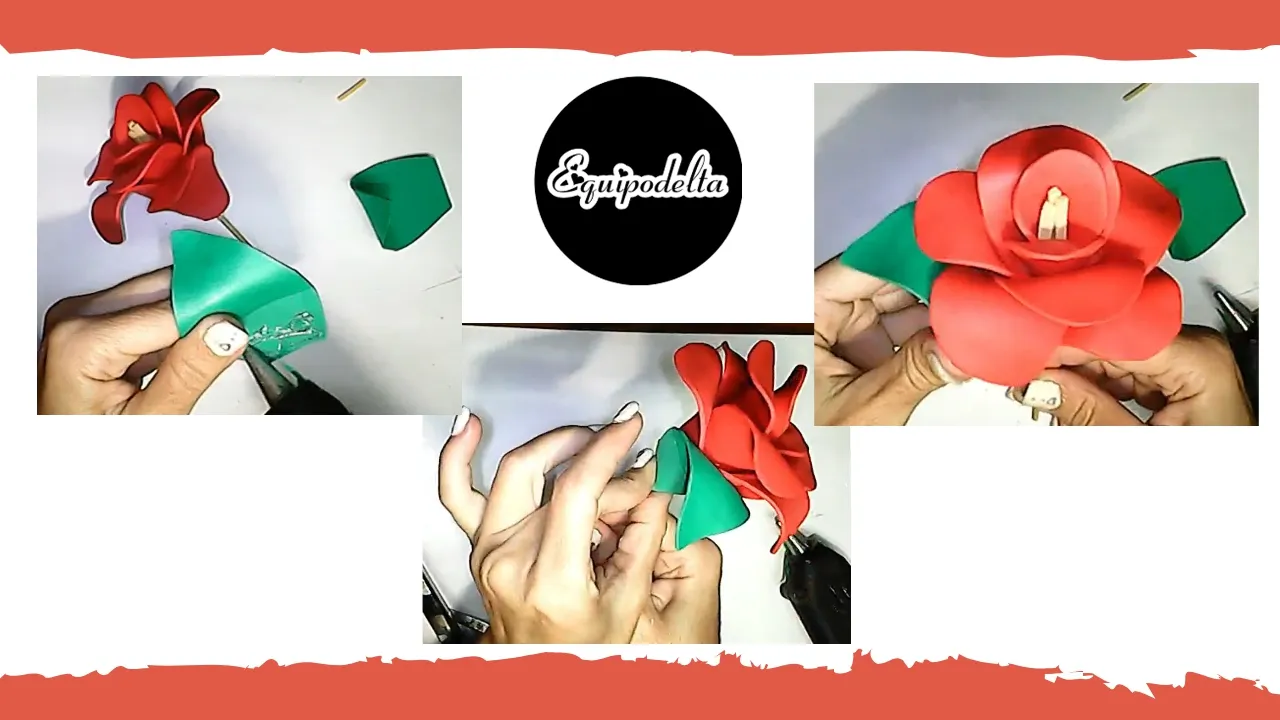
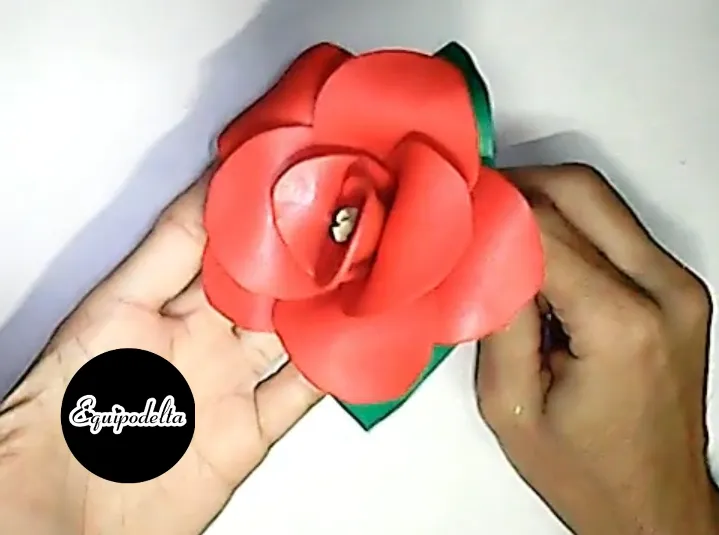
Step 6: After completing the flower, closing the empty spaces, it corresponds to glue the leaves, in the same way in the empty spaces, taking into account that the other leaf, you must place it at the other end.
Paso 6: Luego de completar la flor, cerrando los espacios vacíos, corresponde a pegar las hojas, de igual forma en los espacios vacíos, teniendo en cuenta que la otra hoja, debes colocarla en el otro extremo.
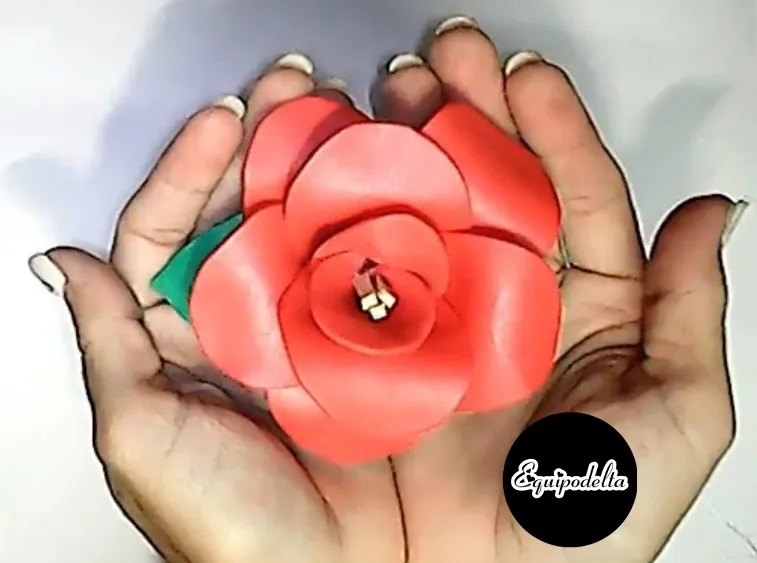
The process is very simple, the only thing you have to do is to be careful.
I hope you like my project today, remember that you have my video process in case you have any doubts.
See you in my next publication.
El proceso es muy sencillo, lo único que debes es ser cuidadoso.
Espero te guste mi proyecto de hoy, recuerda que tienes mi vídeo proceso por si te queda alguna duda.
Nos vemos en mi siguiente publicación.
Detalles Técnicos / Technical Details
Program: MediBang Paint Pro.
Graphics tablet: Huion (Usb Pen Tablet).
Pictures and vídeo of my own. Web Cam Omega.
Designs and images courtesy of Canva
Music Vídeo:
––––––––––––––––––––––––––––––
Campfire by Roa
Creative Commons — Attribution 3.0 Unported — CC BY 3.0
Music promoted by Audio Library
––––––––––––––––––––––––––––––
My Youtube Channel
Mi canal Youtube, tiene un montón de tutoriales muy útiles para ti.
My Youtube channel, has a lot of very useful tutorials for you.
![]() 👉
👉 ![]() 👉
👉 ![]() 👉
👉  👉
👉 ![]() 👉
👉 
