Welcome to my blog
Bienvenidos a mi blog
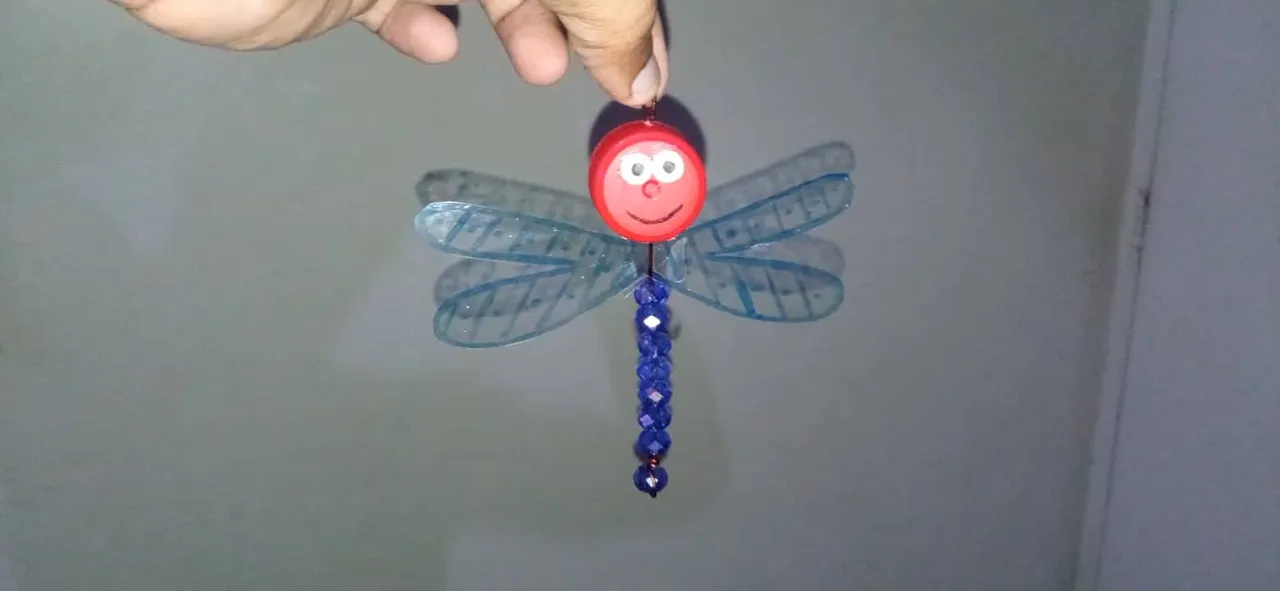
Good friends of Hive, in this beautiful night I bring you how to make a beautiful dragonfly to use as a keychain or simply to decorate the plants of our home, made with recycled materials and easily accessible. I hope the material is to your liking, without more to say, let's start!
Buenas amigos de Hive, en esta hermosa noche les traigo como realizar una hermosa libélula para usar como llavero o simplemente para adornar las plantas de nuestro hogar, hecho con materiales reciclados y de fácil acceso. Espero el material sea de su agrado, sin más que decir ¡¡¡Comencemos!!!
The materials we will use are as follows:
Los materiales que usaremos serán los siguientes:
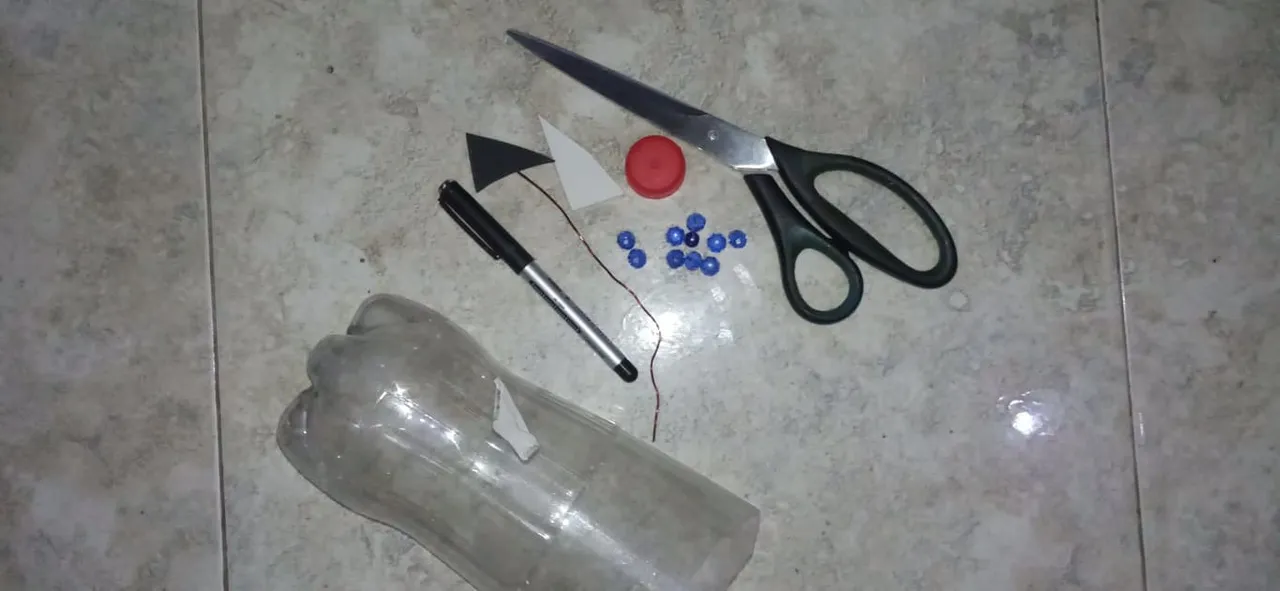
Materials:
- Plastic bottle
- Scissors
- Marker
- Plastic lid
- Wire
- Jewelry stones
Materiales
- Botella de plastico
- Tijera
- Marcador
- Tapa plastica
- Alambre
- Piedras de bisutería
PROCEDURES // PROCEDIMIENTOS:
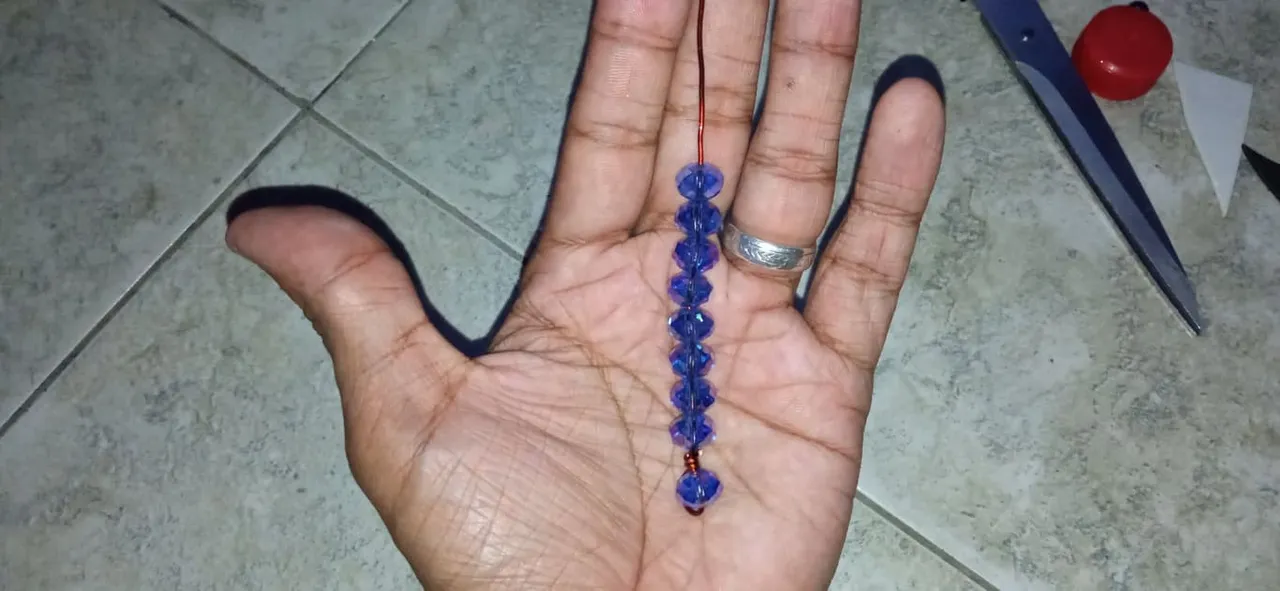
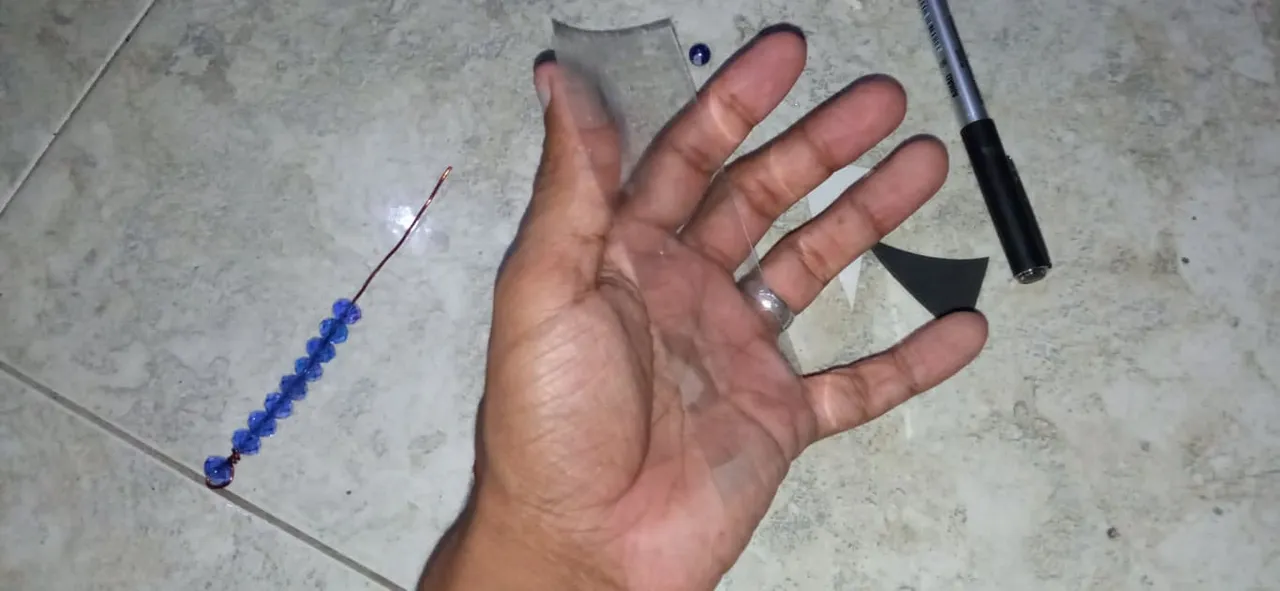
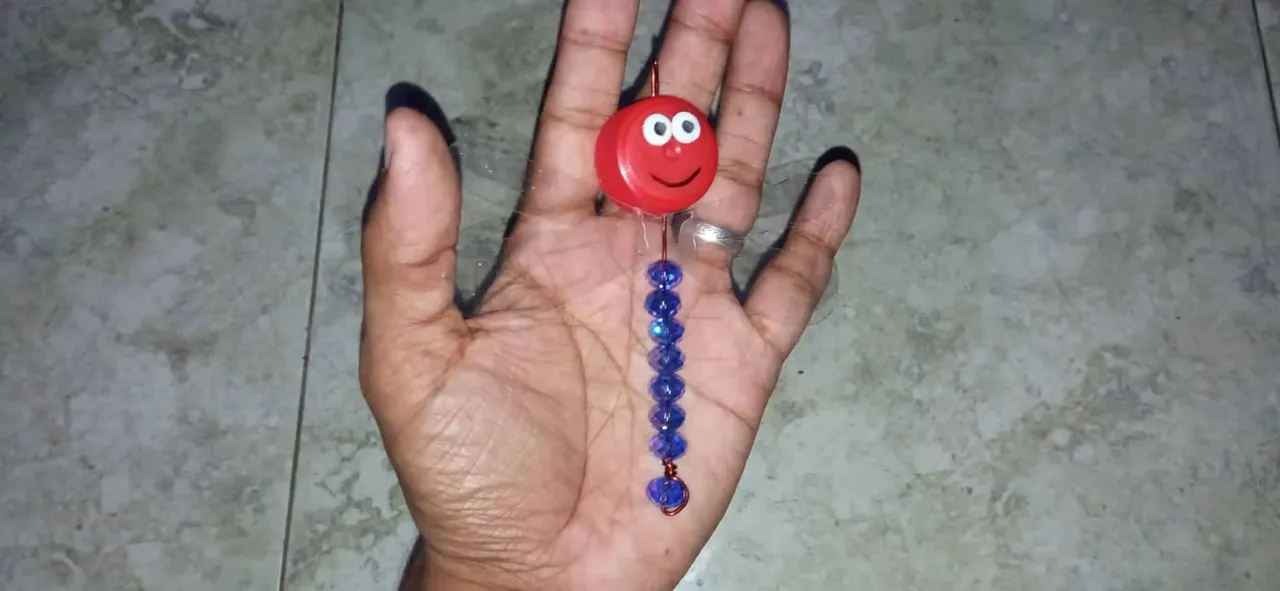
STEP #1: We place one of the costume jewelry stones on the wire and tie it around the wire, then we add as many stones as we like.
PASO #1: En el alambre colocamos una de las piedras de bisutería y la amarramos dándole vuelta al alambre, seguidamente agregamos la cantidad de piedras que gustemos.

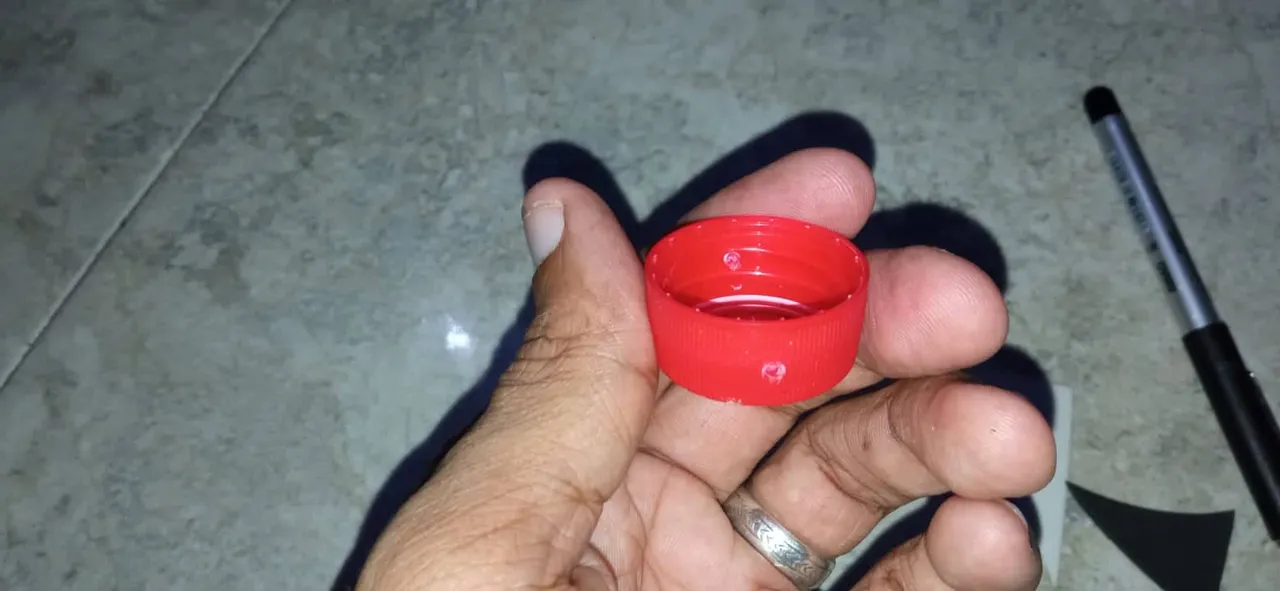
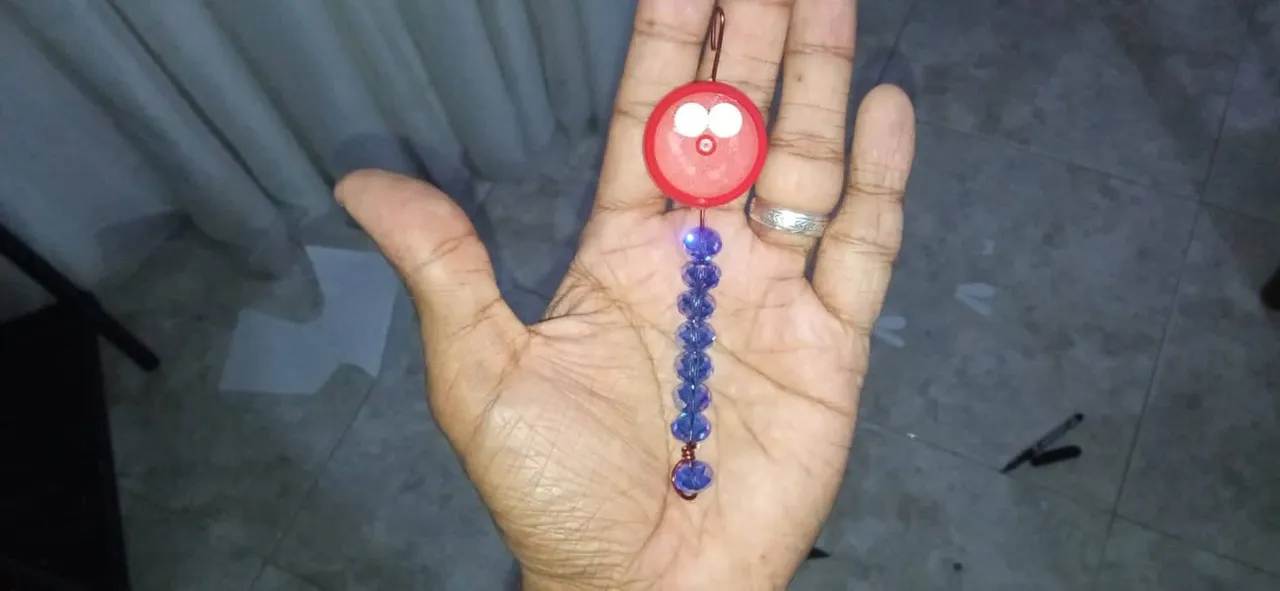
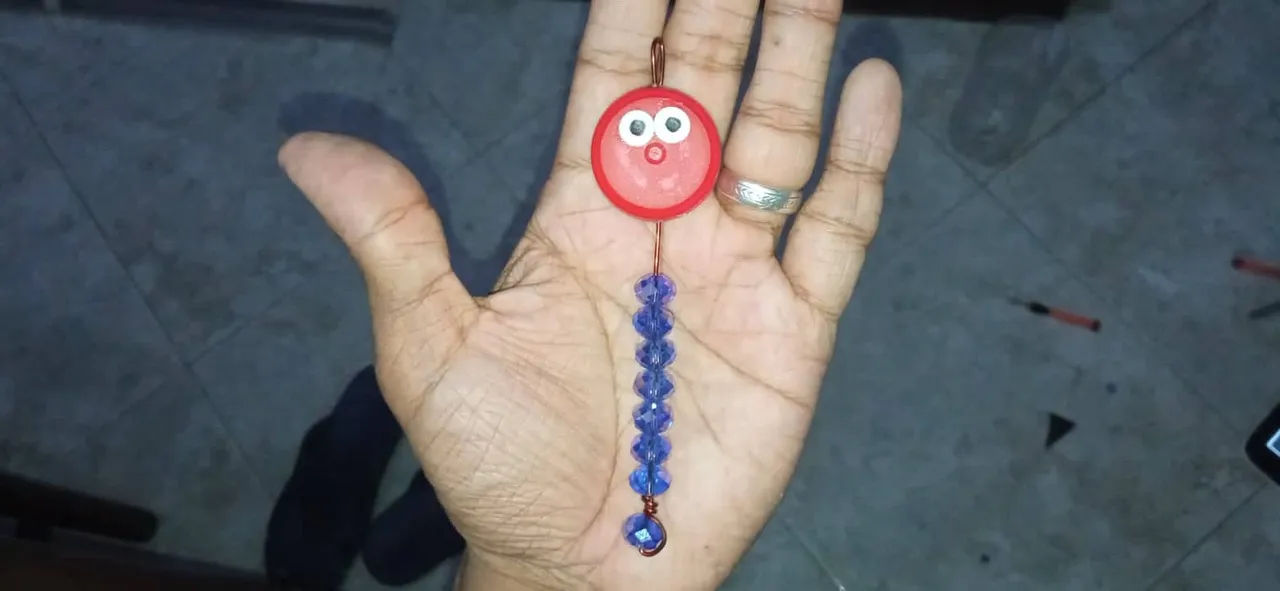
STEP #2: To the plastic lid we make a hole through which the wire will pass, after placed, at the other end of the wire we make a loop or handle. We cut out the eyes in foami, glue them to the lid and with a black marker we paint the black of the eyes.
PASO #2: A la tapa platica le hacemos un agujero por donde pasara el alambre , luego de colocada, en el otro extremos del alambre hacemos una vuelta o agarradera. recortamos los ojos en foami, pegamos a la tapa y con un marcador negro pintamos lo negro de los ojos.
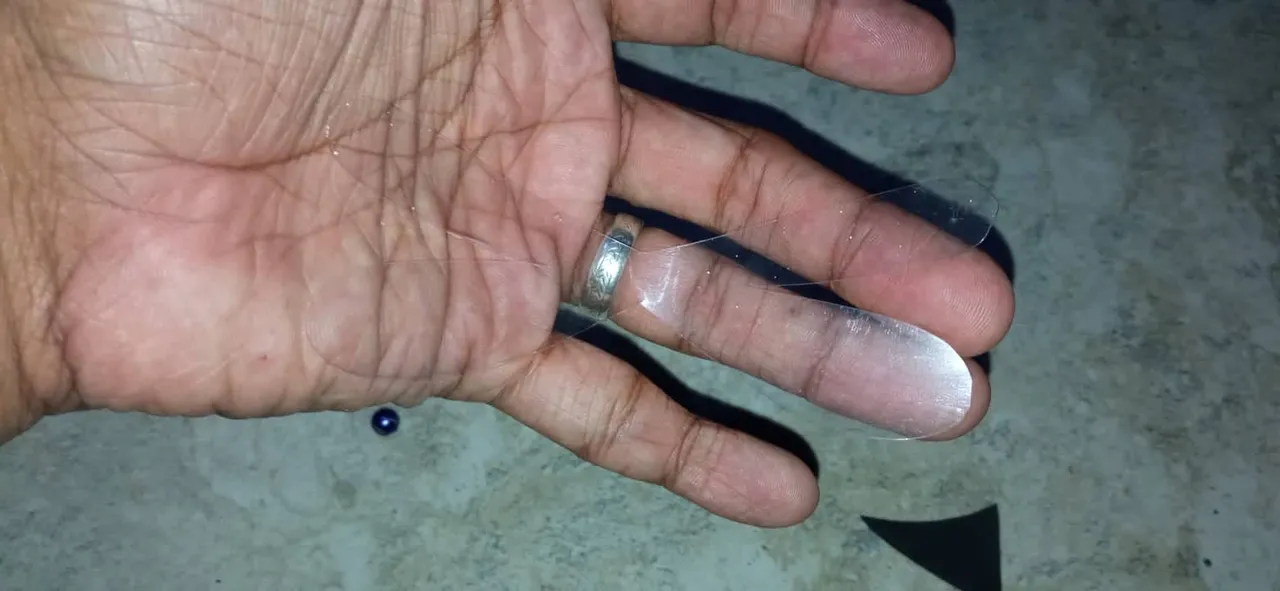
STEP #3: We cut a piece of the plastic bottle to obtain a rectangle, which we will use to make the wings of our dragonfly.
PASO #3: Recortamos un pedazo de la botella plástica para obtener un rectángulo, el cual usaremos para hacer las alas de nuestra libélula.

STEP #4: With hot silicon and a small rectangle we glue the wings.
PASO #4: Con silicon caliente y un pequeño rectángulo pegamos las alas.
STEP #5: With a blue permanent marker we add details to our dragonfly
PASO #5: Con un marcador permanente azul agregamos detalles a nuestra libélula
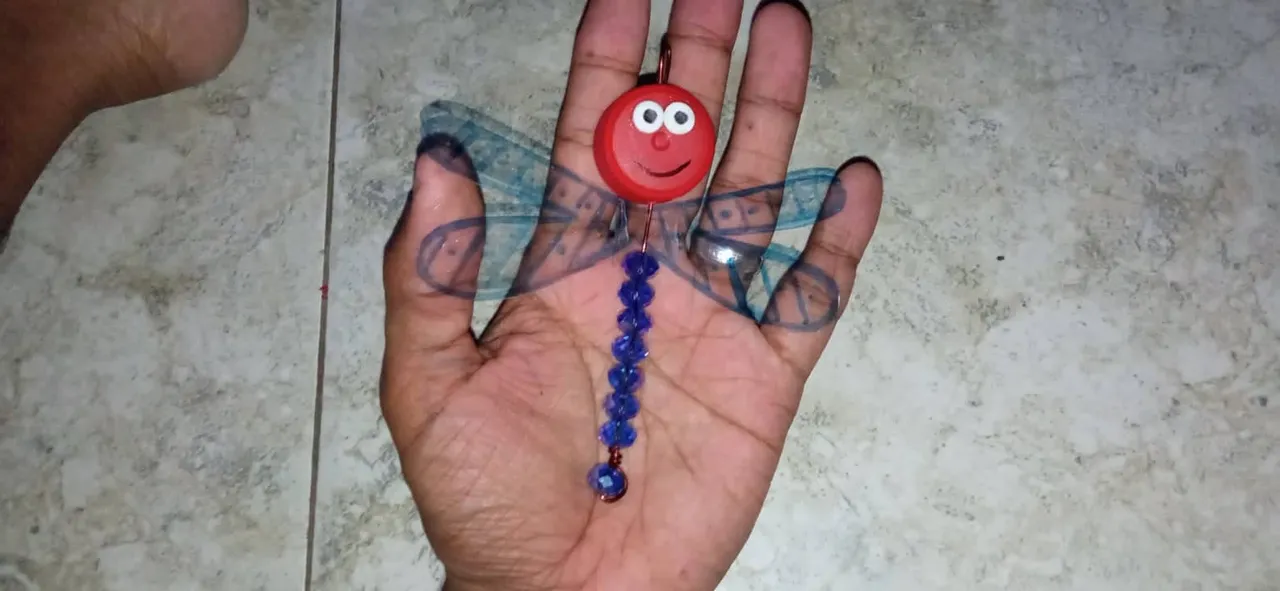
And so we end our beautiful dragonfly.
Y así damos por terminado nuestra hermosa libélula.
If you have any questions, suggestions or recommendations, let me know in the comments. I will be happy to read them.
Alguna duda, sugerencia o recomendación, déjamelas saber en los comentarios. Estaré encantado de leerte.
Thank you for visiting my blog and I hope you like the material. See you next time.
Gracias por visitar mi blog y espero que el material sea de su agrado. Nos vemos la próxima publicación.

RESOURCES USED
Photograph taken by Redmi note 8
Crop and edit images in Paint
Banner created in PowerPoint 2010
Screenshots taken by Lightshot
RECURSOS UTILIZADOS
Fotografía tomadas por Redmi note 8
Recorte y edición de imágenes Paint
Banner creado en PowerPoint 2010
Capturas de pantalla realizadas por Lightshot

crafts spanish creativecoin curangel rocky1 ocd blocktrades
spanish diyhub blocktrades crafting upmewhale manualidad ocd