En nuestros hogares muchas veces hace falta algo para decorar tu sala de estar pero a veces el dinero no alcanza te traigo un arreglo con una rama seca y materiales de reciclaje muy económico.
In our homes many times something is needed to decorate your living room but sometimes the money is not enough I bring you an arrangement with a dry branch and very cheap recycling materials.
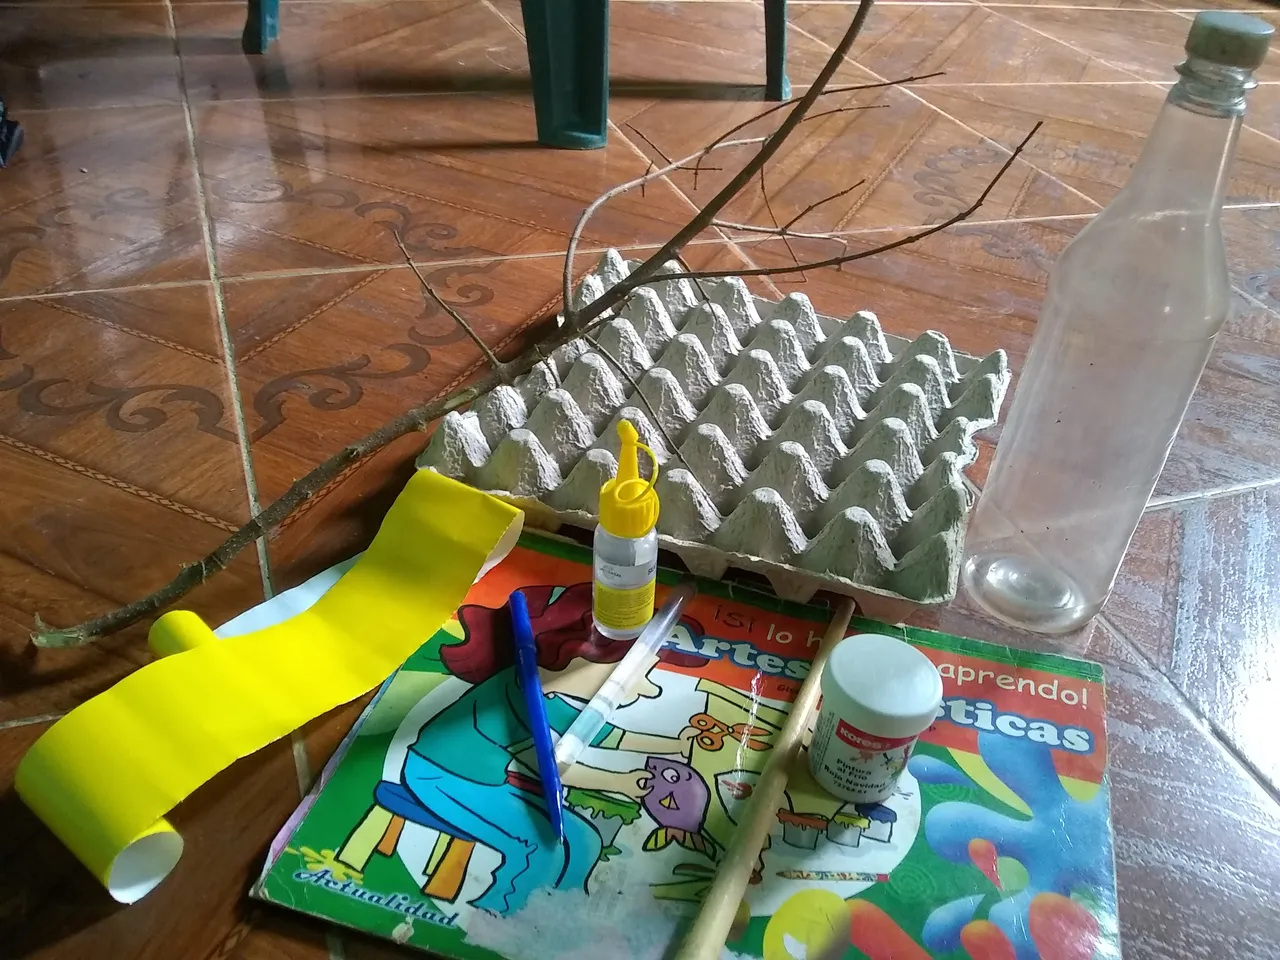
Materiales:
Cartón donde vienen los huevos
Tijera
Papel reciclado verde o de cualquier color
Silicón líquido y en Barra
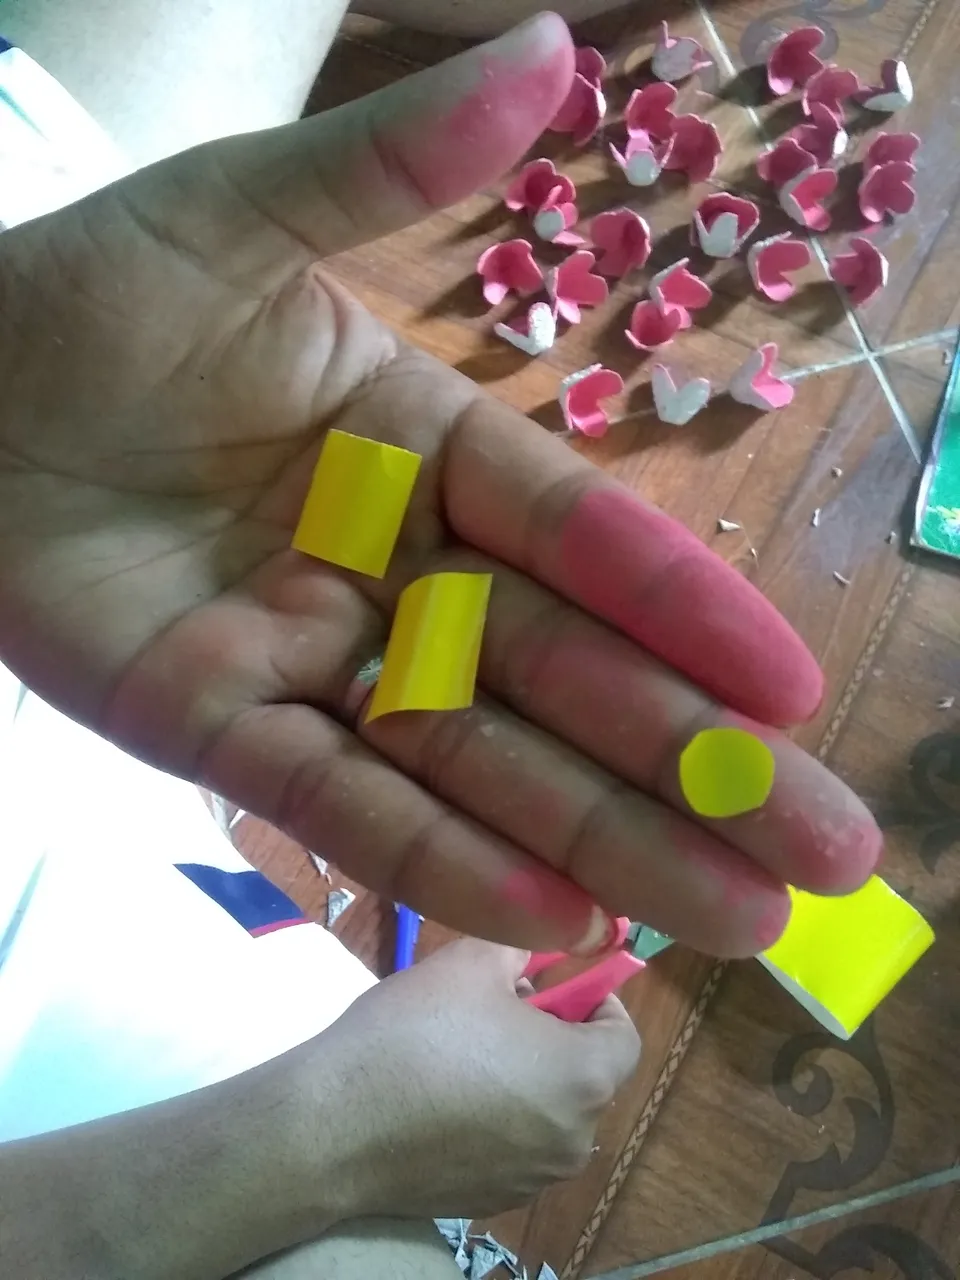
Papel amarillo
Pintura fucsia
Lapiz
Una rama de un albor seco
1 botella de plástico
Tierra
Piedras.
Materials:
Carton where the eggs come
Scissor
Green or any color recycled paper
Liquid and Stick Silicone
Yellow paper
Fuchsia paint
Pencil
A branch of a dry dawn
1 plastic bottle
land
Stones
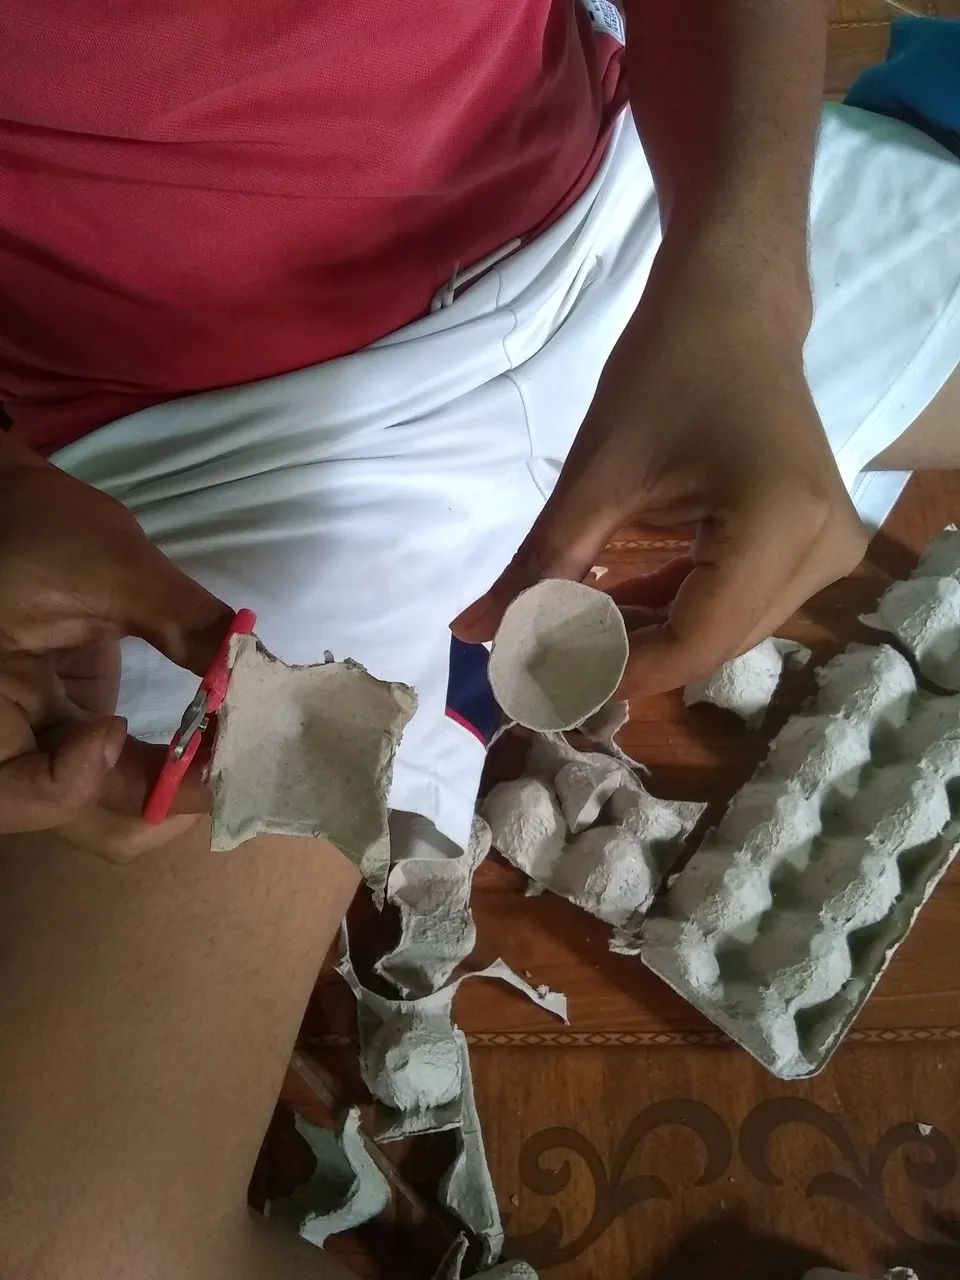
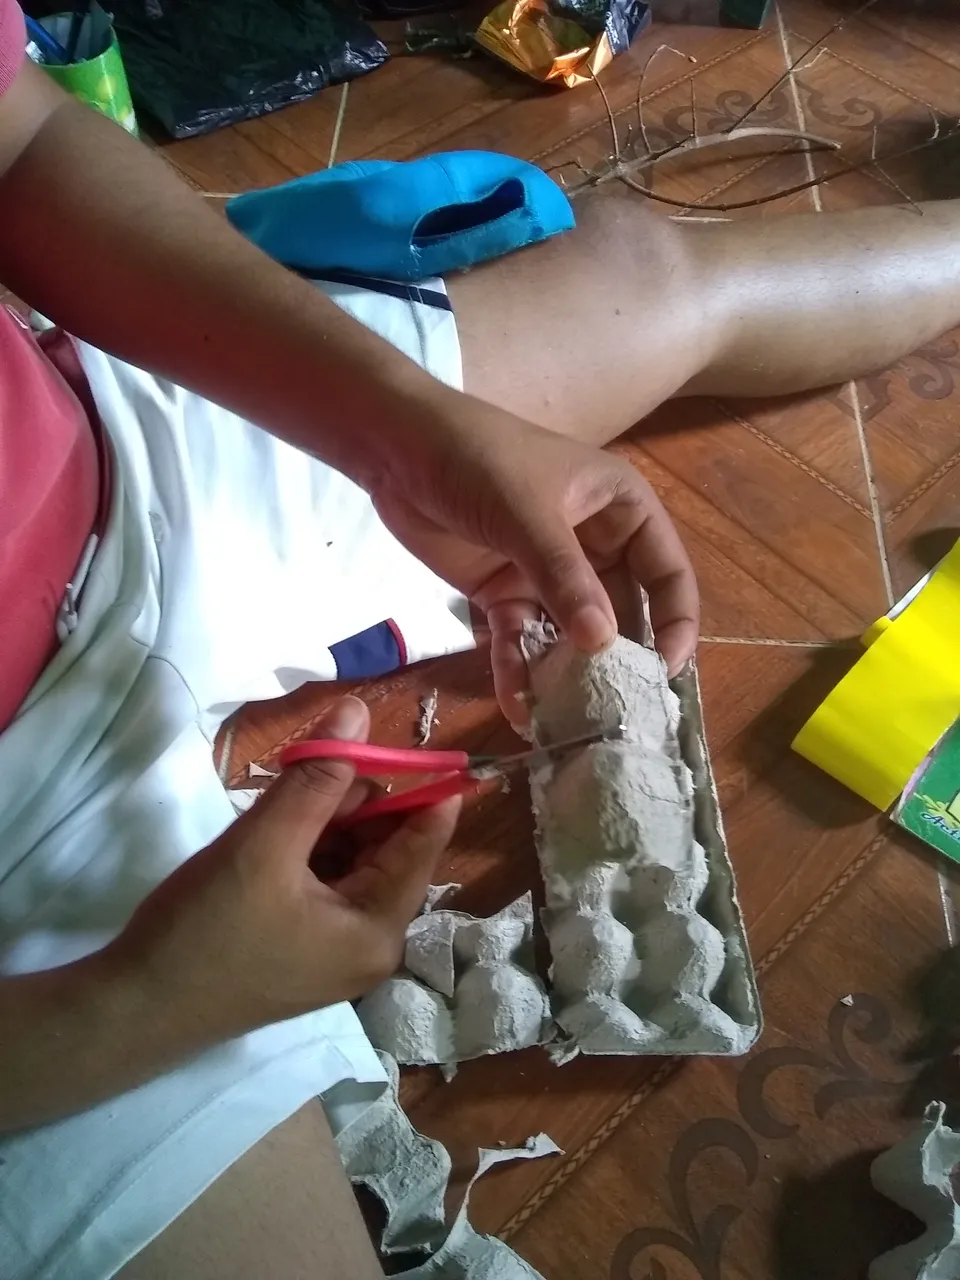
Paso 1:
El cartón del huevo se recorta se sacan cada uno de los espacios que tiene dónde van los huevos.
Step 1:
The egg carton is cut out each of the spaces where the eggs go are removed.
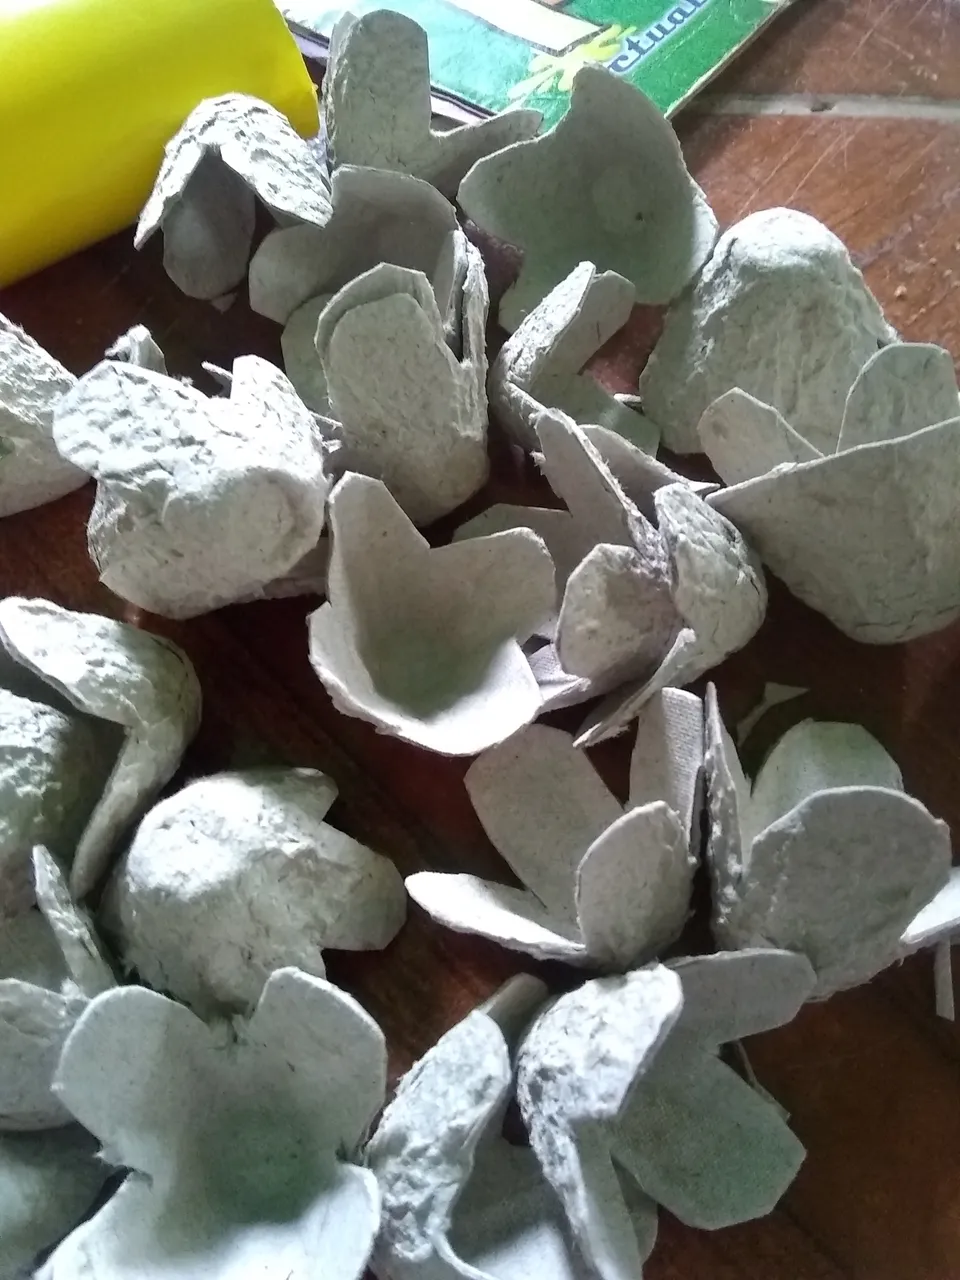
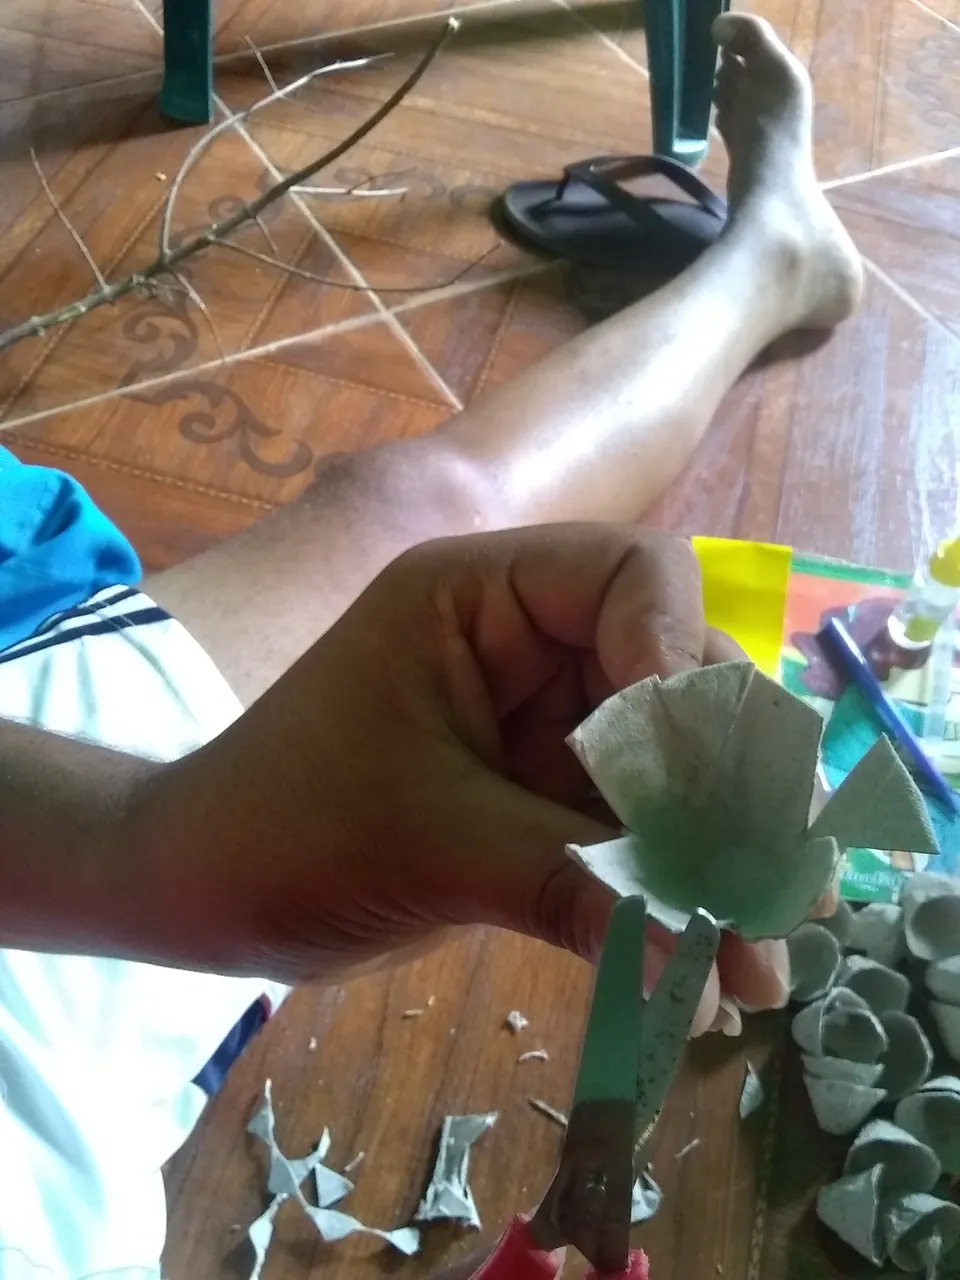
Luego se le da forma de flores a cada uno utilizando la tijera.
Then each one is shaped into flowers using the scissors.
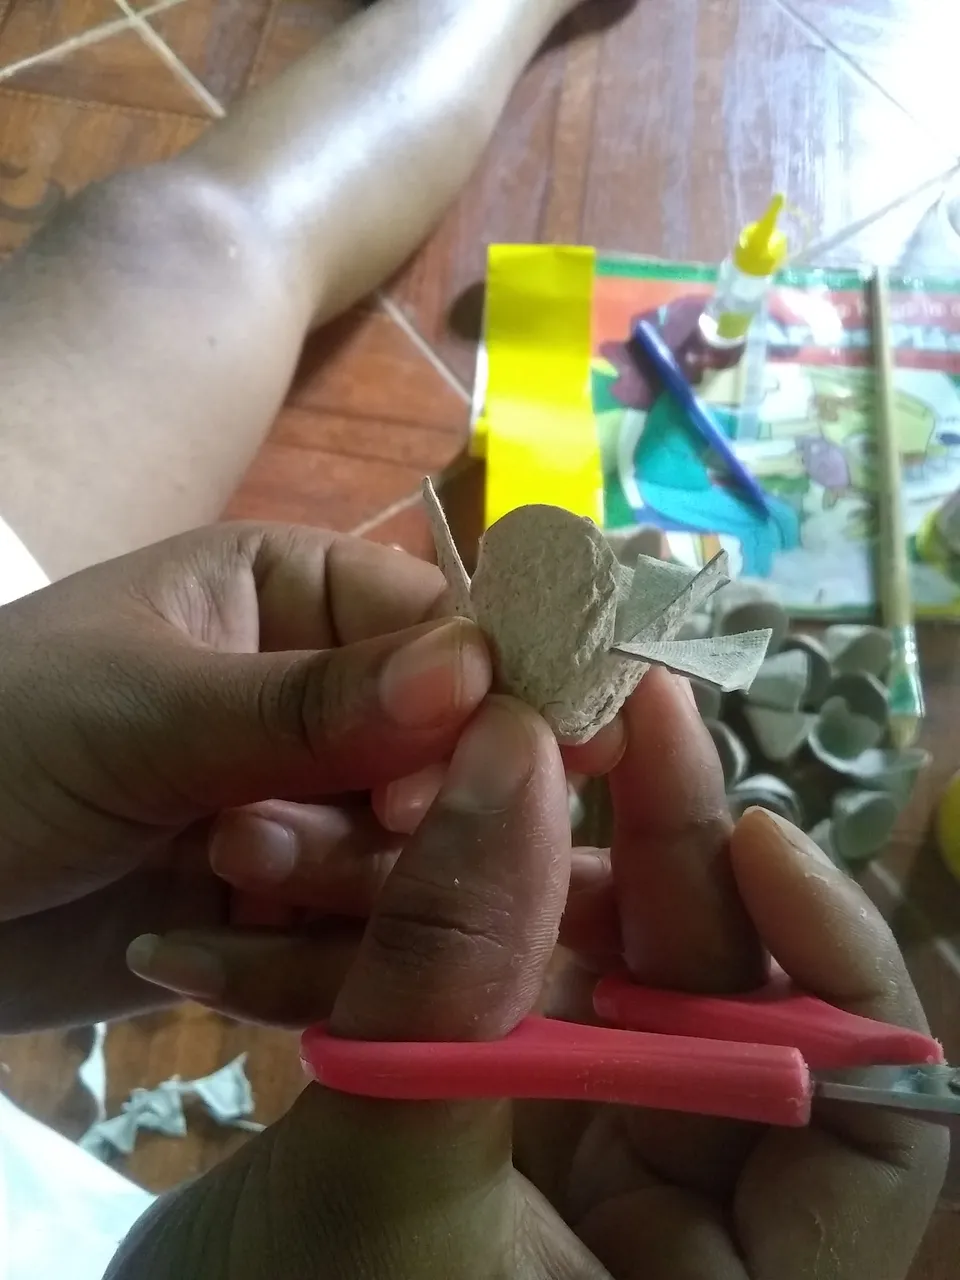
Se recortan pequeños círculos con el papel amarillo los cuales se pagarán en el centro de las flores ya recortadas.
Small circles are cut out with the yellow paper which will be paid in the center of the already cut flowers.
Paso 2: se toma el pincel y se pintan todas las flores de cartón por dentro y por fuera del color de su preferencia en este caso es fucsia.
Step 2: take the brush and paint all the cardboard flowers inside and outside the color of your choice, in this case it is fuchsia.
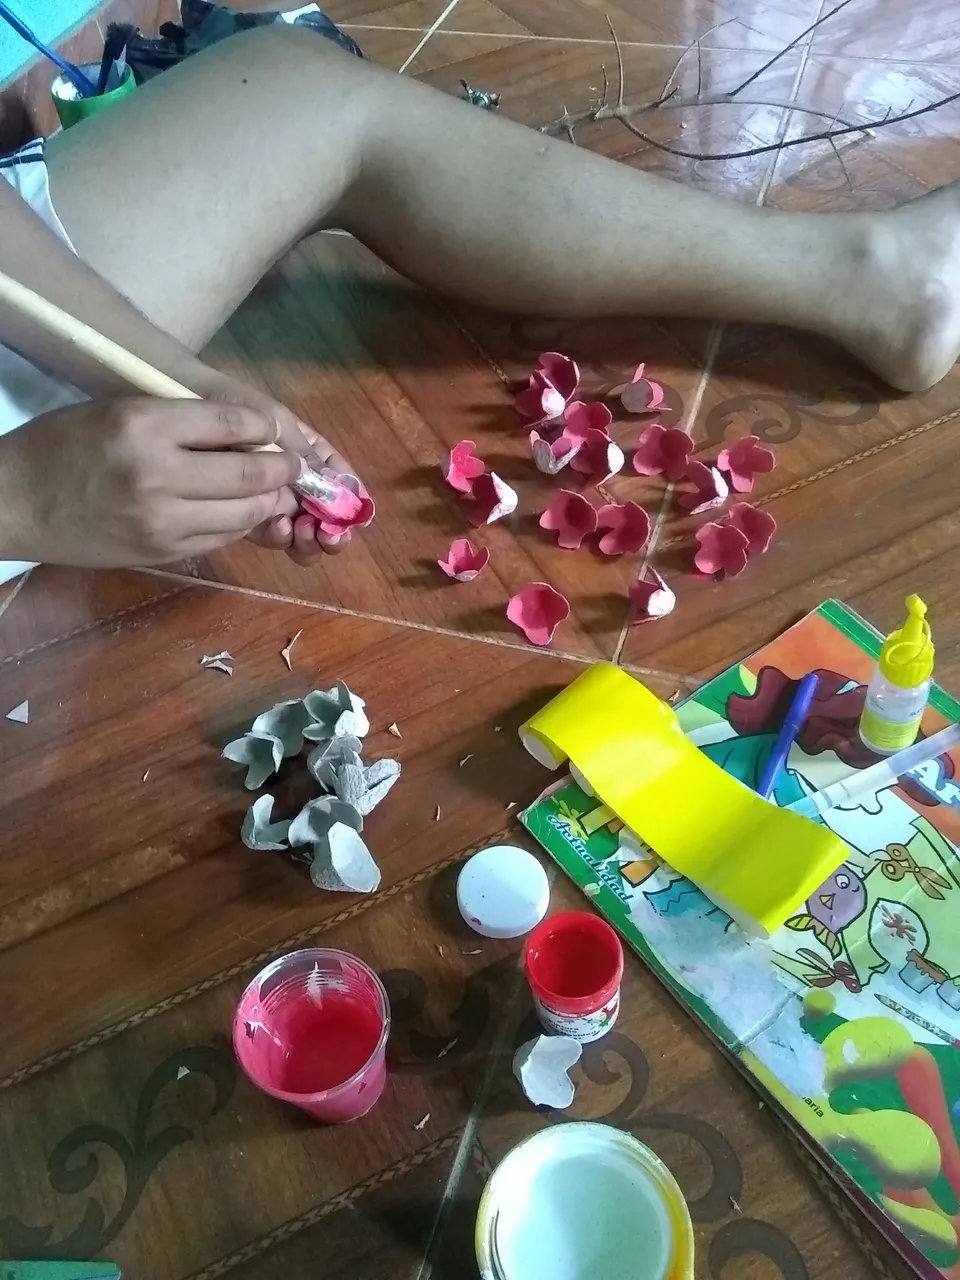
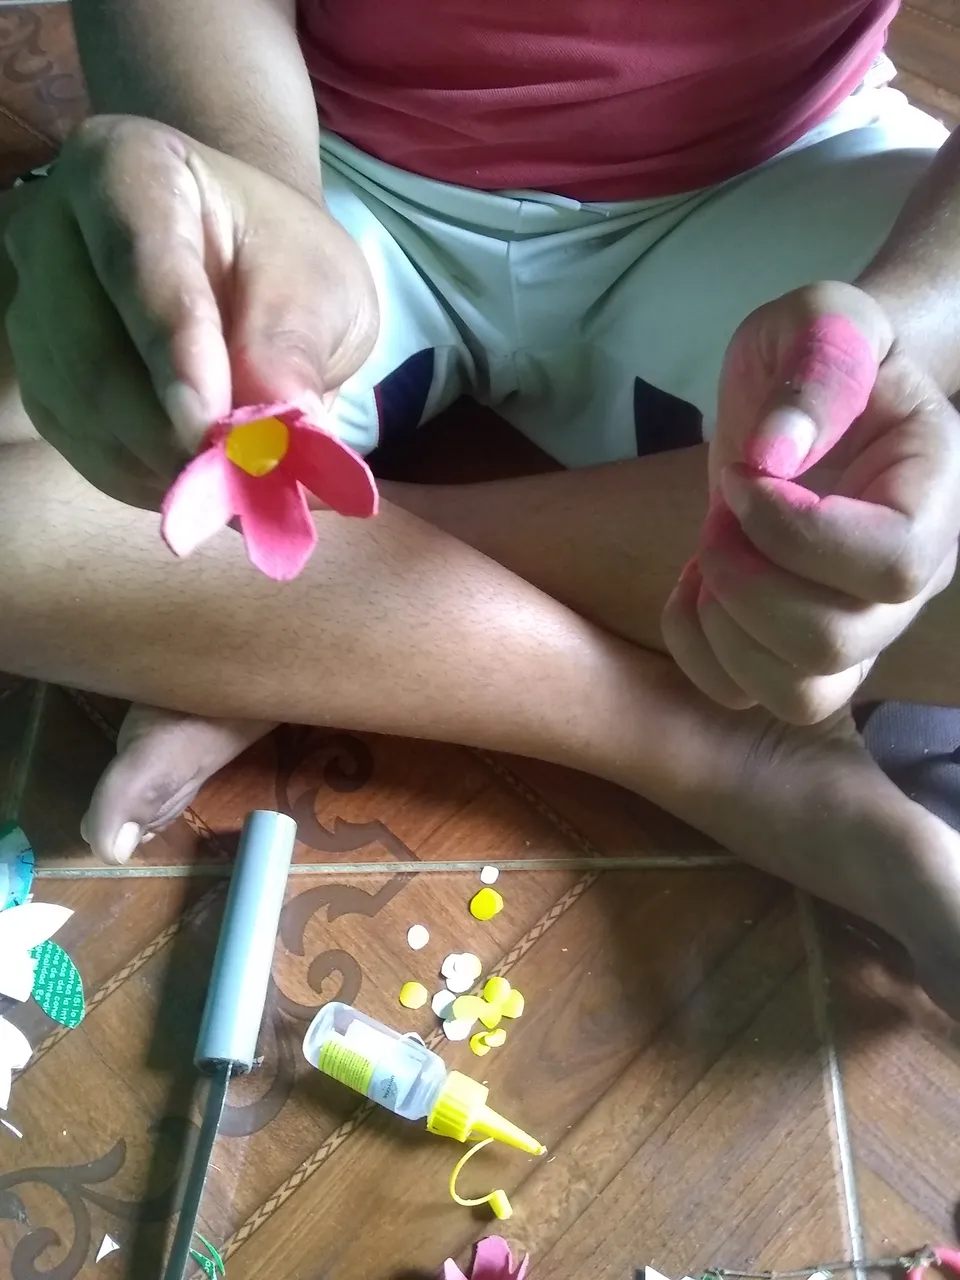
Después que se secan las flores se le pegan los círculos ya recortados en el centro con cilicon liquido y así quedan formadas nuestras flores.
After the flowers are dried, the already cut circles are glued in the center with liquid cylinder and our flowers are thus formed.
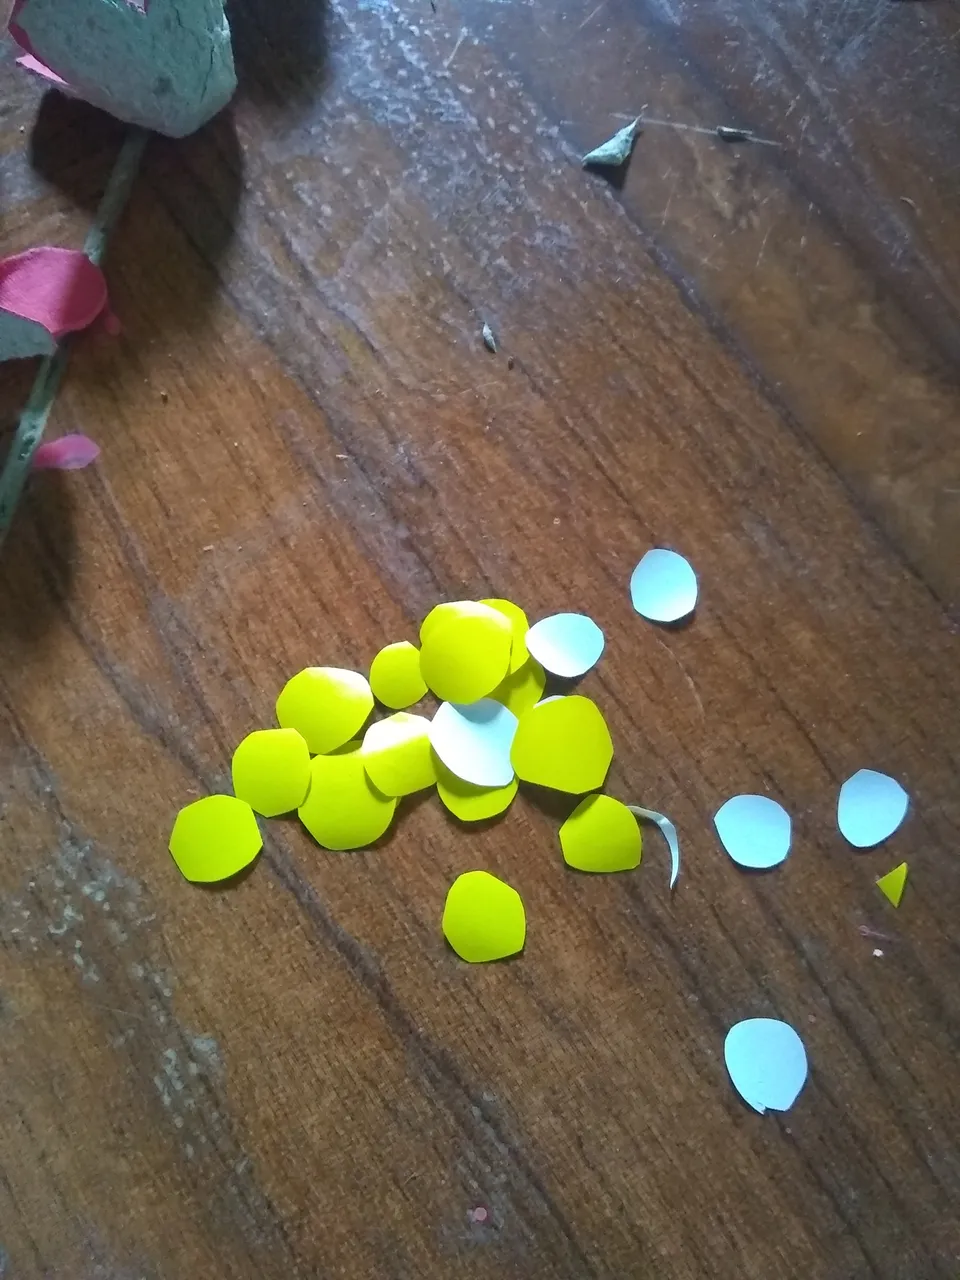
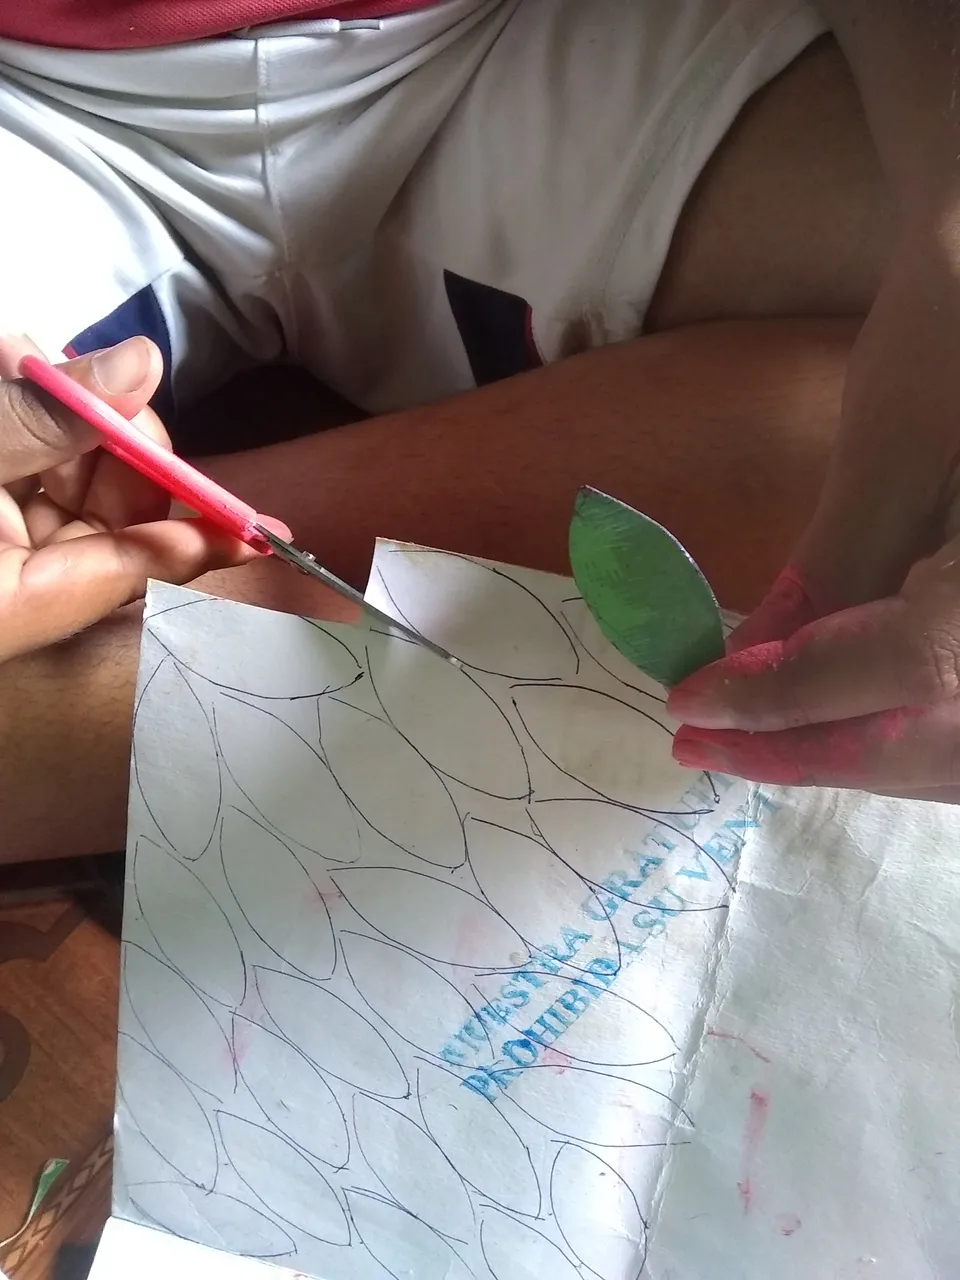
Paso 3: En el papel reciclado verde se dibujan las hojas que le vamos a colocar a nuestra rama y luego se recortan.
Step 3: On the green recycled paper, the leaves that we are going to place on our branch are drawn and then cut out.
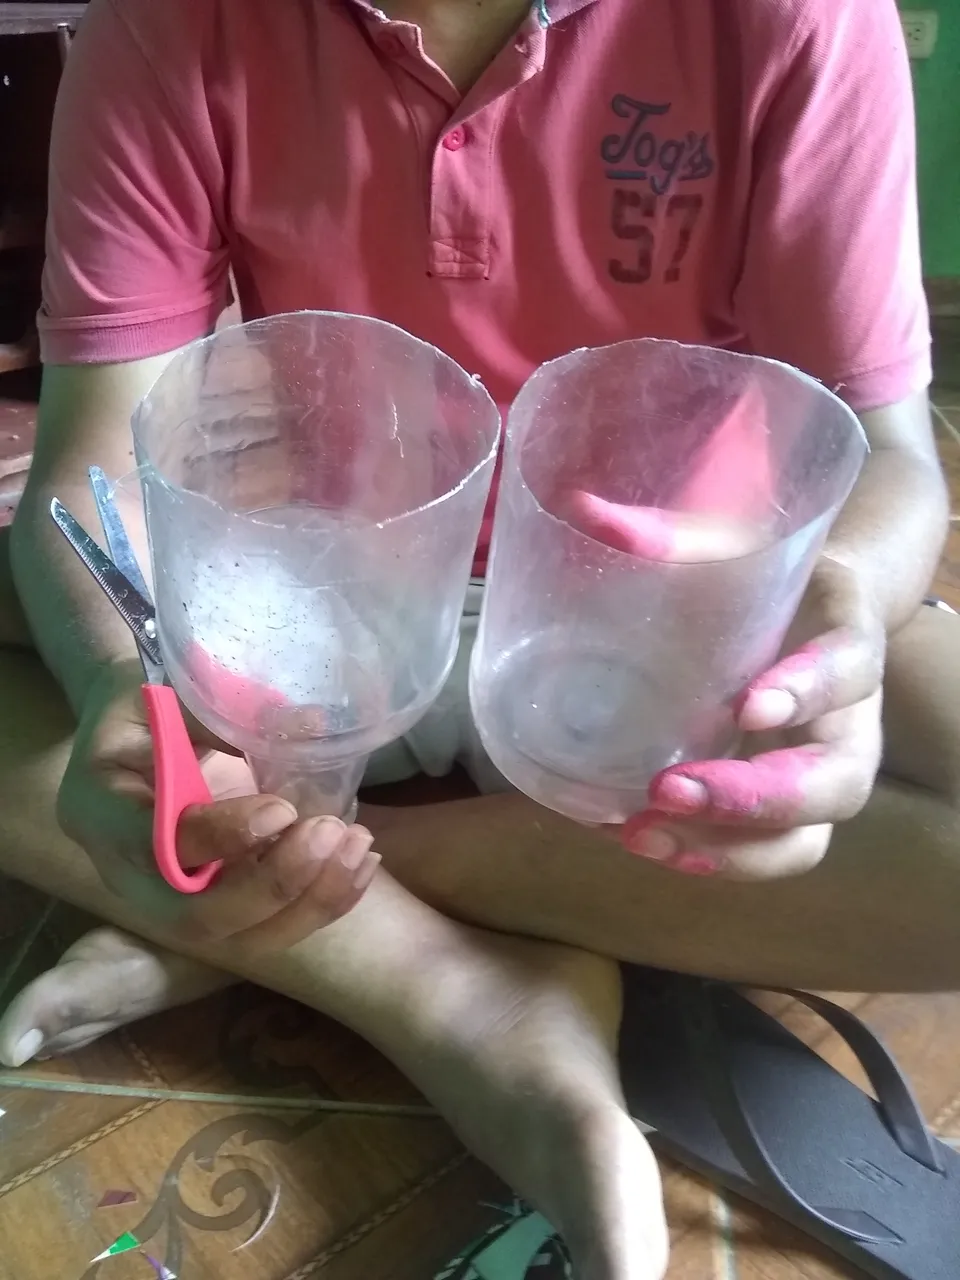
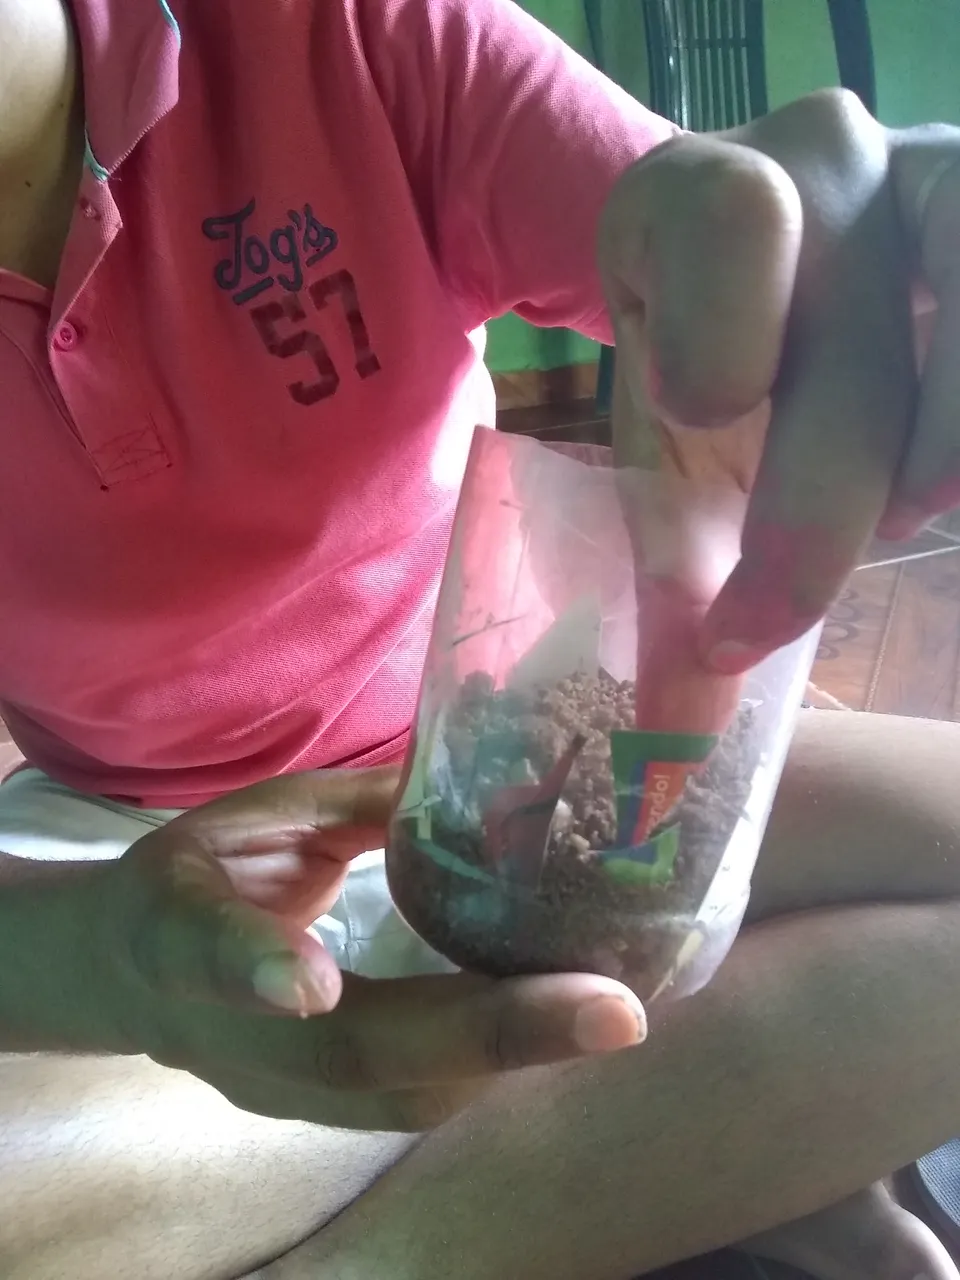
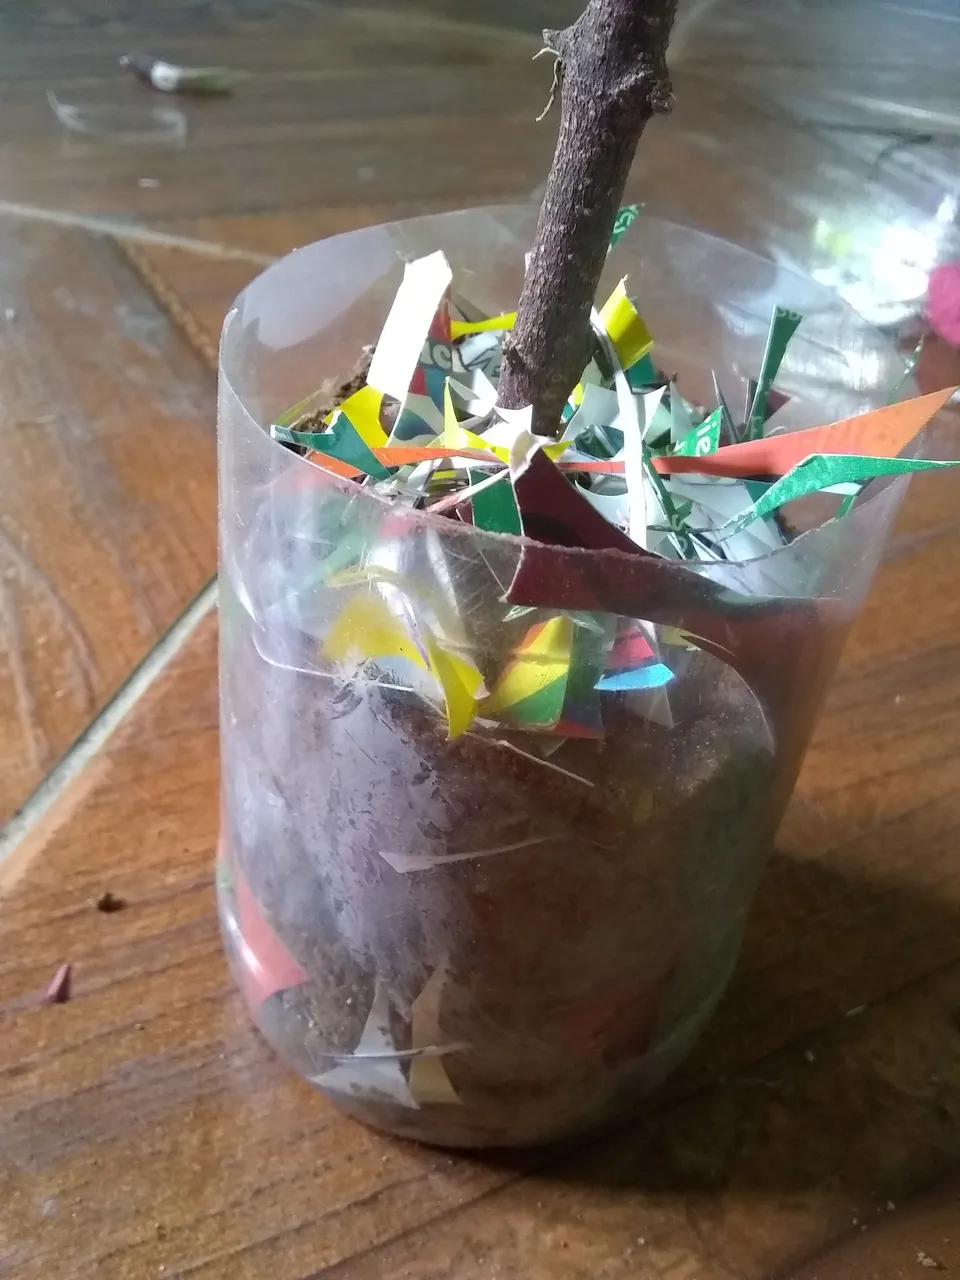
Paso 4: La botella plástica se pica por la mitad y se utiliza la parte de abajo, se mete la rama y se rellena con las piedras y la harina, se le mete por los lados pedacitos de papel.
Step 4: The plastic bottle is chopped in half and the bottom part is used, the branch is inserted and filled with the stones and the flour, pieces of paper are put through the sides.
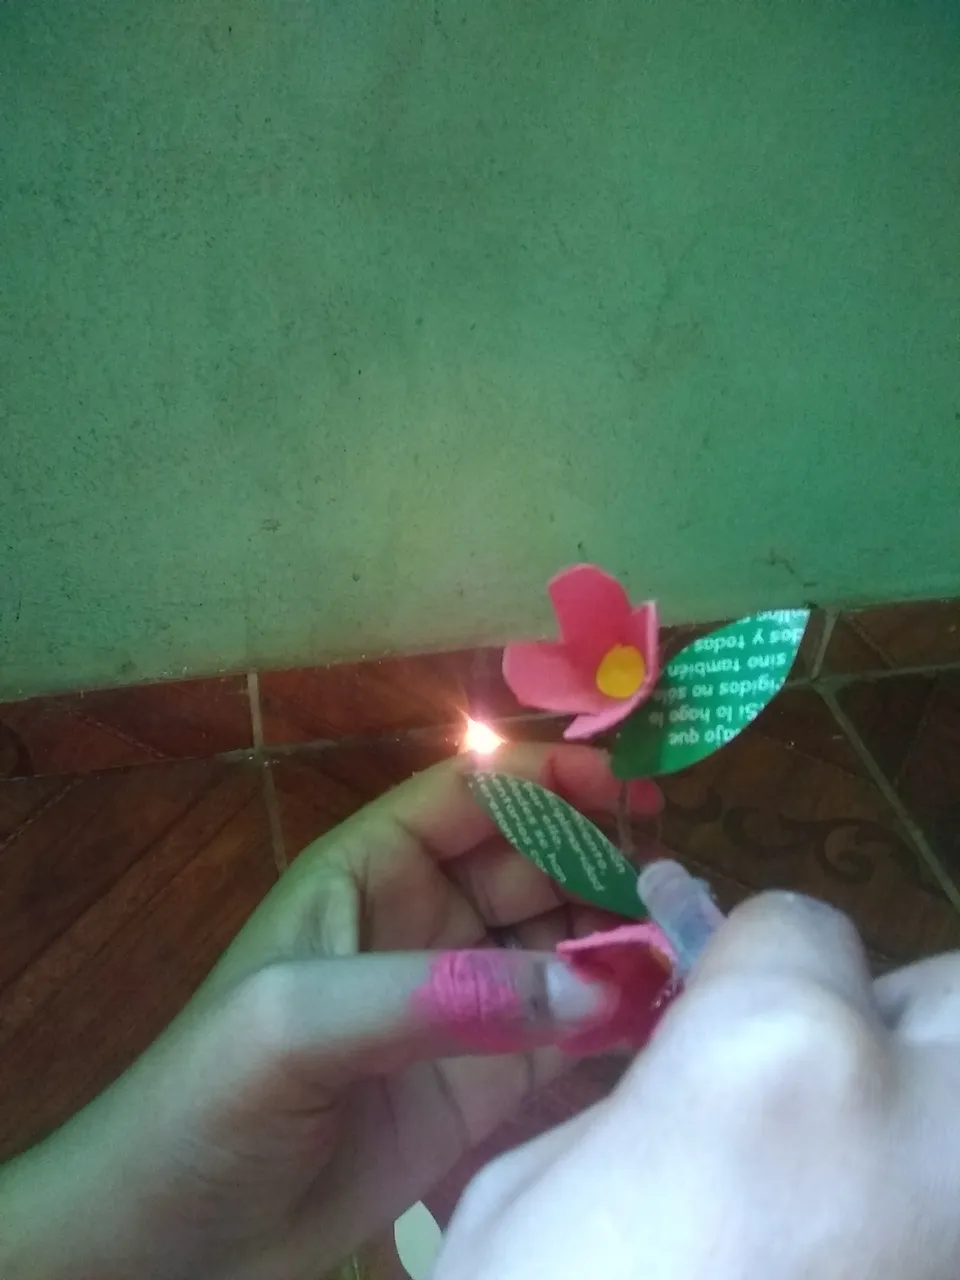
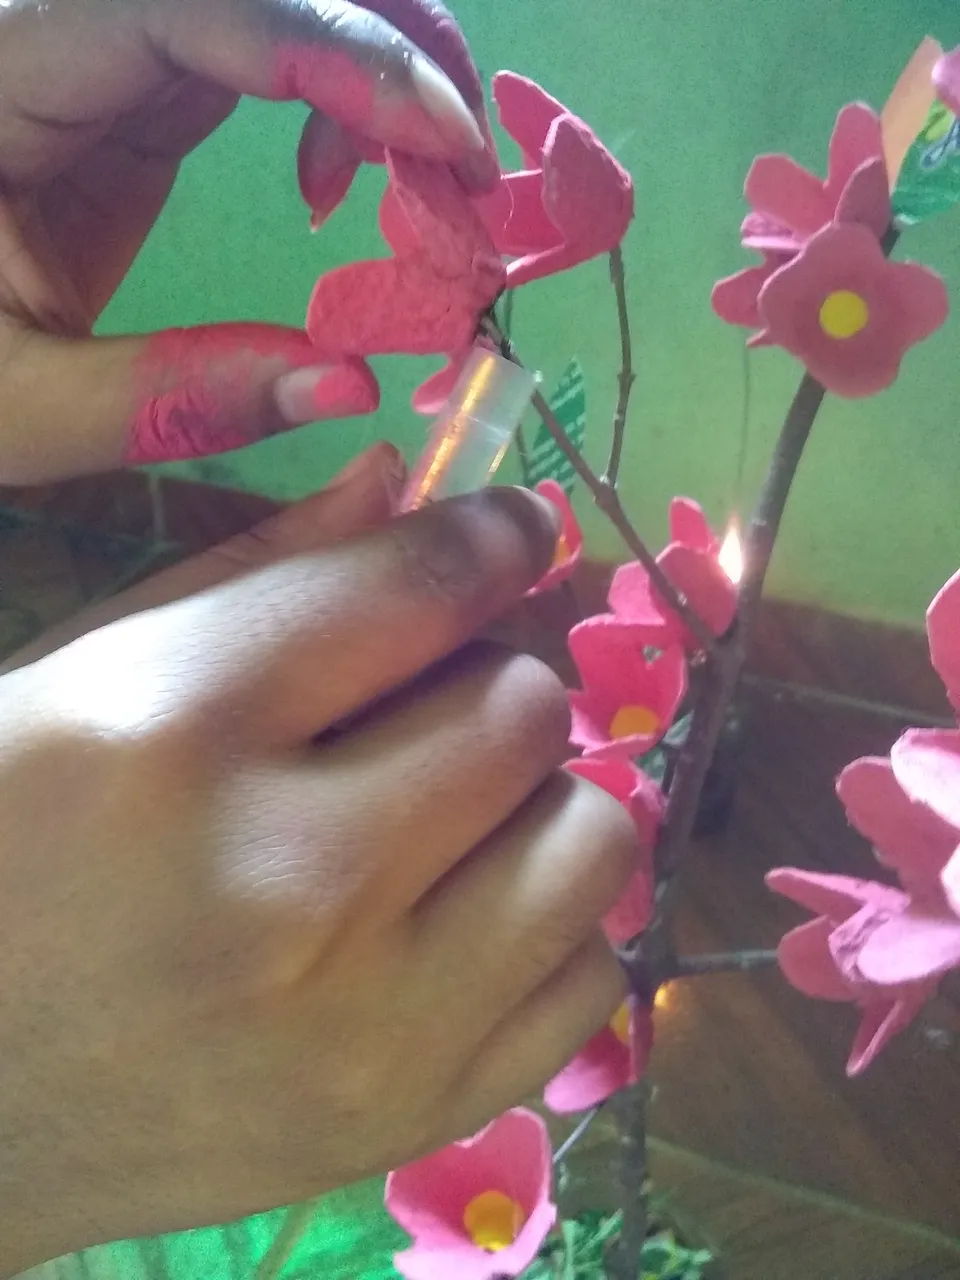
Paso 5: Ya elaborado todo los otros paso se comienza armar nuestro arreglo se comienzan a pegar primero las flores en todas las ramitas sin recargarlas con tantas flores ( se recomienda trabajar con el silicón en barra ) facilita más el trabajo, luego se comienzan a pegar las hoja en cada una de las ramas.
Step 5: Once all the other steps have been prepared, we begin to assemble our arrangement, we begin to glue the flowers on all the twigs first without recharging them with so many flowers (it is recommended to work with the silicone stick) it makes the work easier, then they begin to glue The leaves on each of the branches.
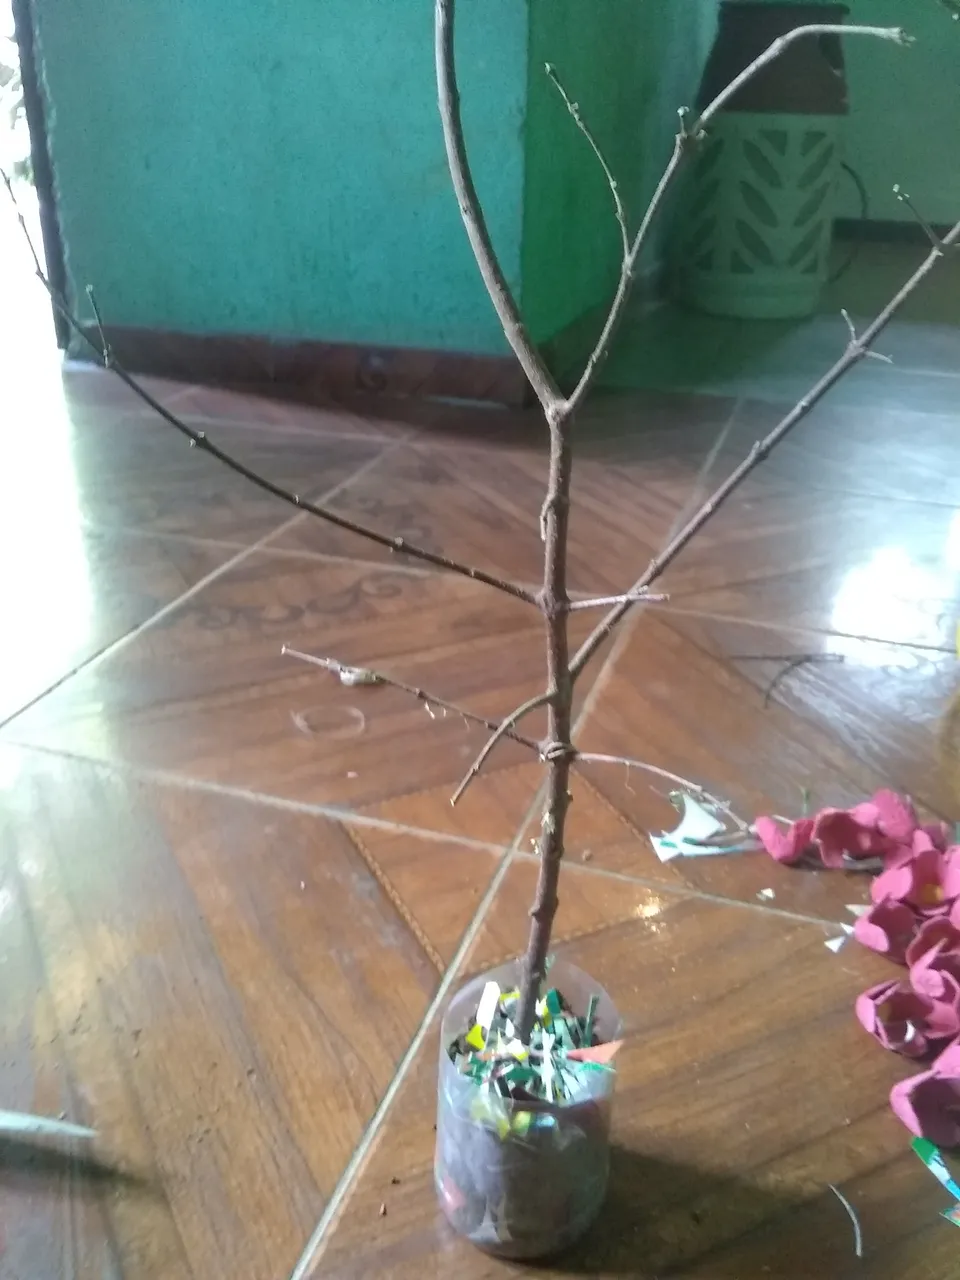
Paso 6: con los residuos de los papeles picado se lo ponemos sobre la tierra que pusimos en la botella.
Step 6: with the waste of the shredded papers we put it on the earth that we put in the bottle.
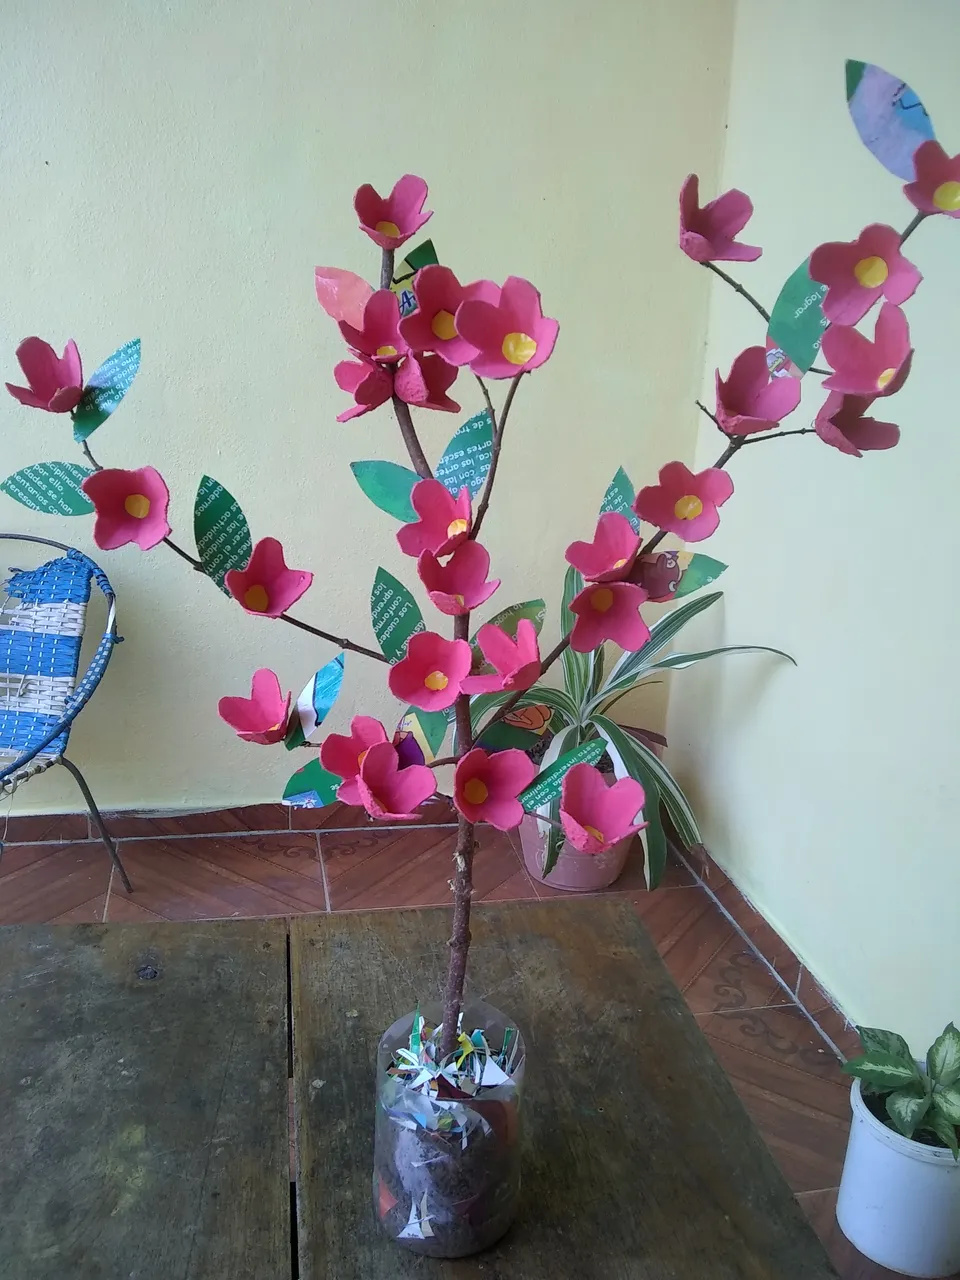
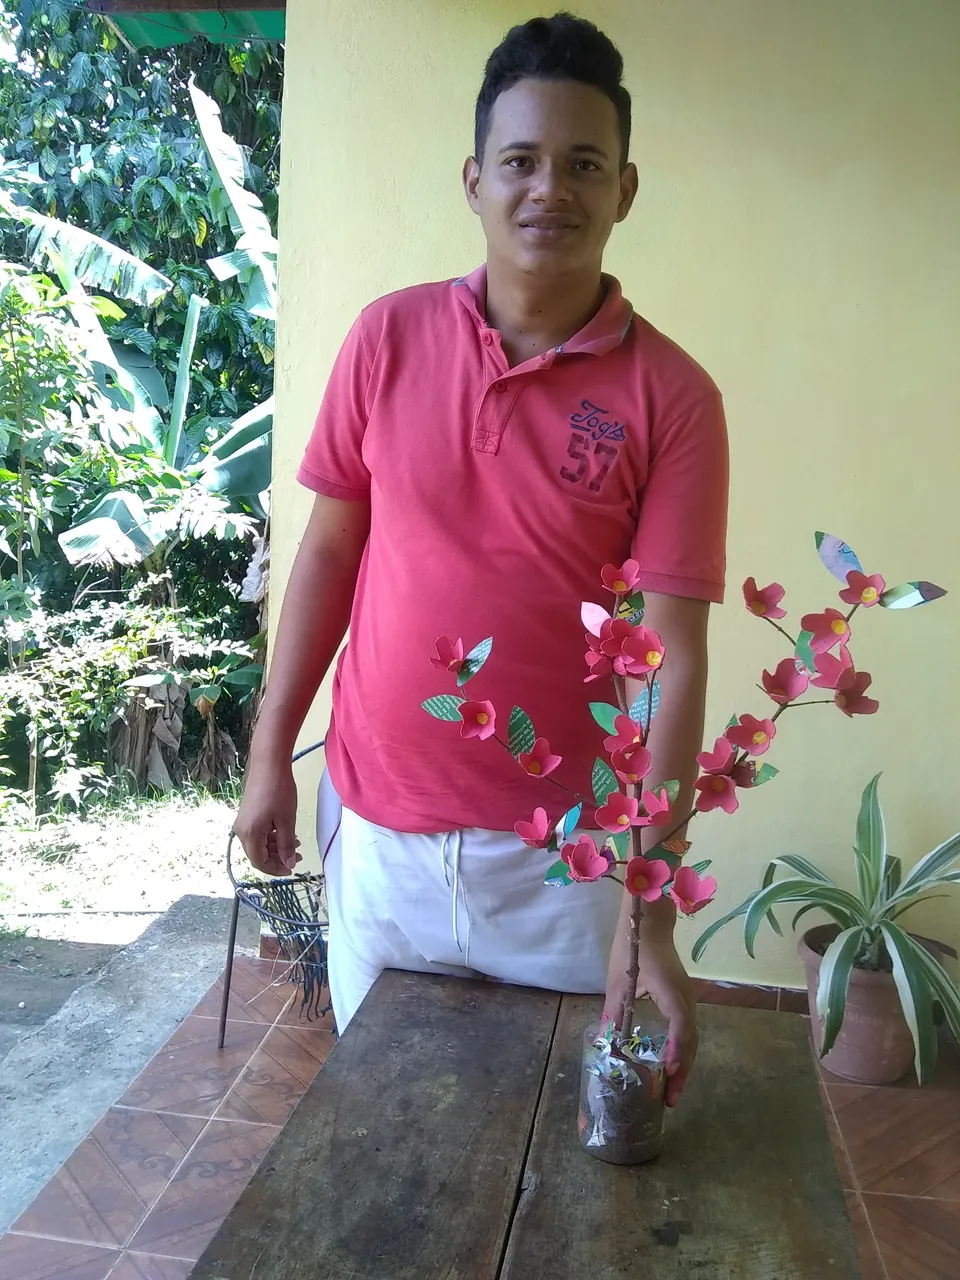
Así queda nuestro hermoso arreglo con rama seca espero les guste mucho.
This is how our beautiful arrangement with a dry branch looks, I hope you like it a lot.