Hello and welcome to my first post for the Build-It community! I like to avoid too much meaningless filler, so I'll simply say that I hope someone finds this useful.
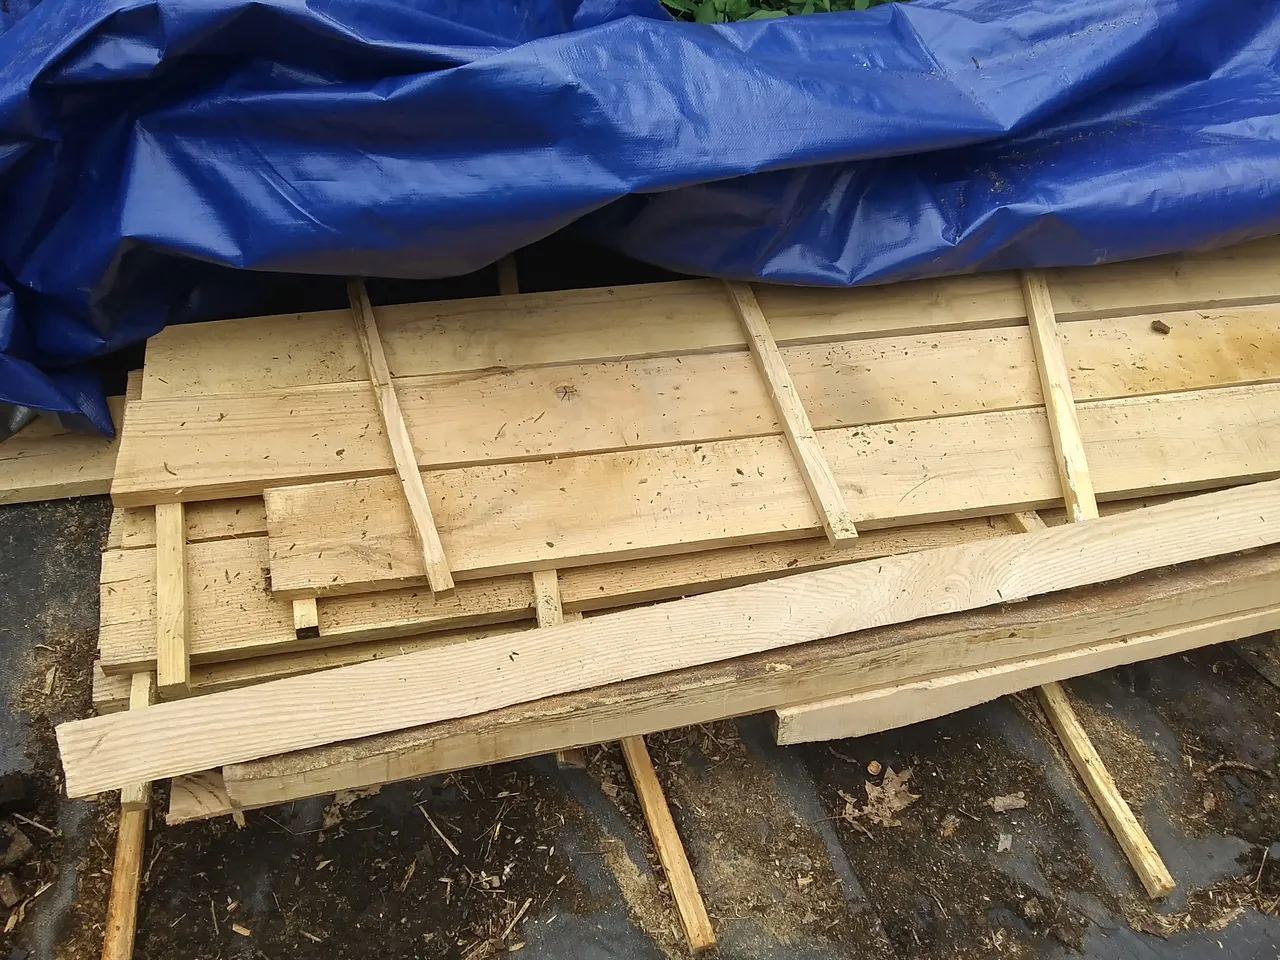
I have been milling my own boards with a chainsaw mill for a few years now, and finally had enough extra lumber to install some shelves in a cubby space in my upstairs bathroom. These are ash boards, 3/4" thick and 6" wide. I cut these for building more square foot garden beds.
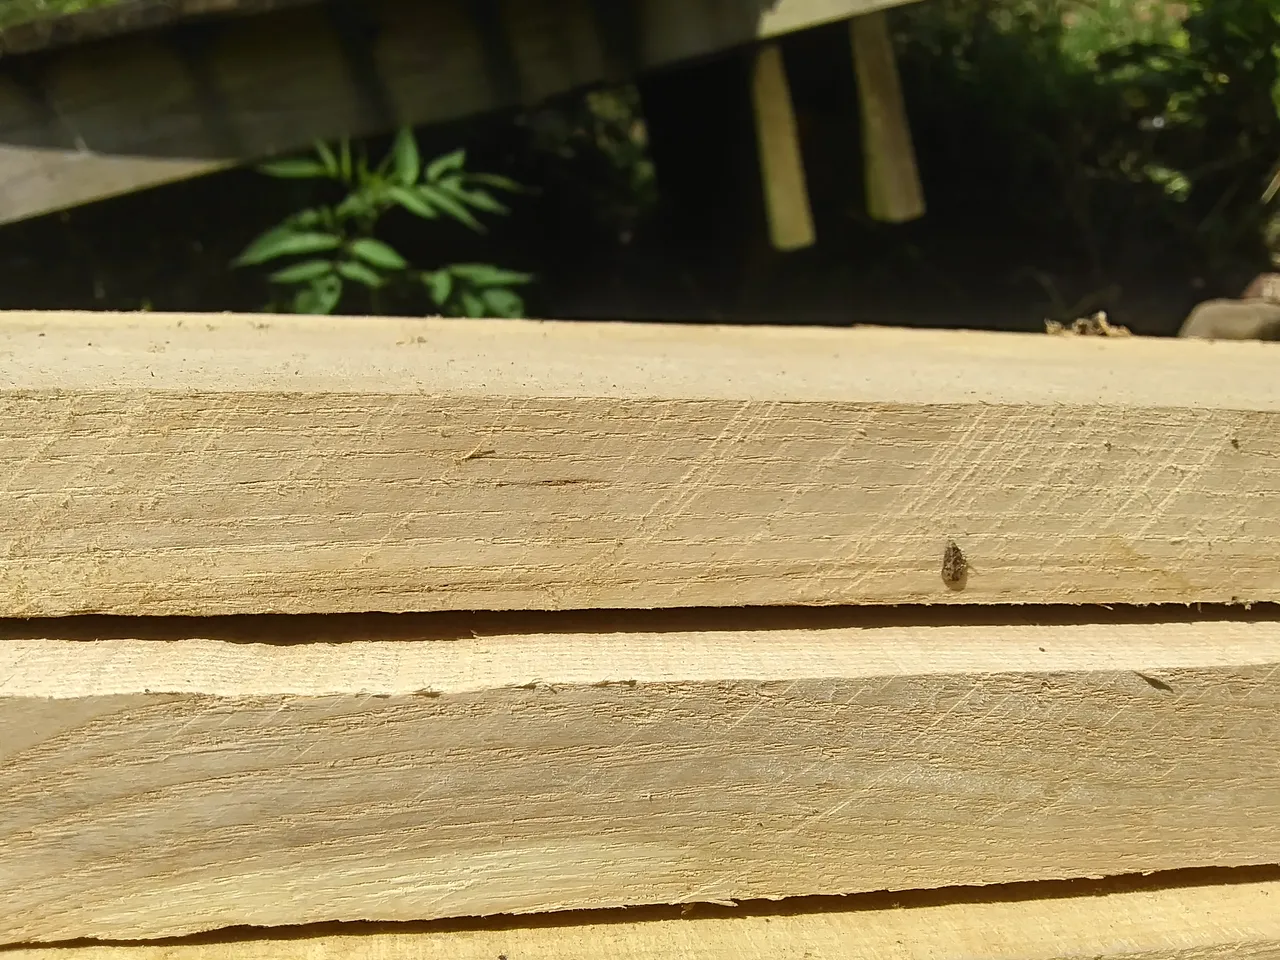
While milling these boards, I was also testing different chain configurations. You can see in the picture below that the top board has smoother, flatter surface than the bottom board. I picked a few of these less-rough cut boards for my shelves. Since I'll just be using them for work clothes, I'm not going to bother putting them through the planer.
Many of these started out as 9' - 12' boards. These are all ends that are left after cutting those longer boards down for other projects. The trees around here are not terribly straight, so my log length is mostly determined by how much straight length I have available.
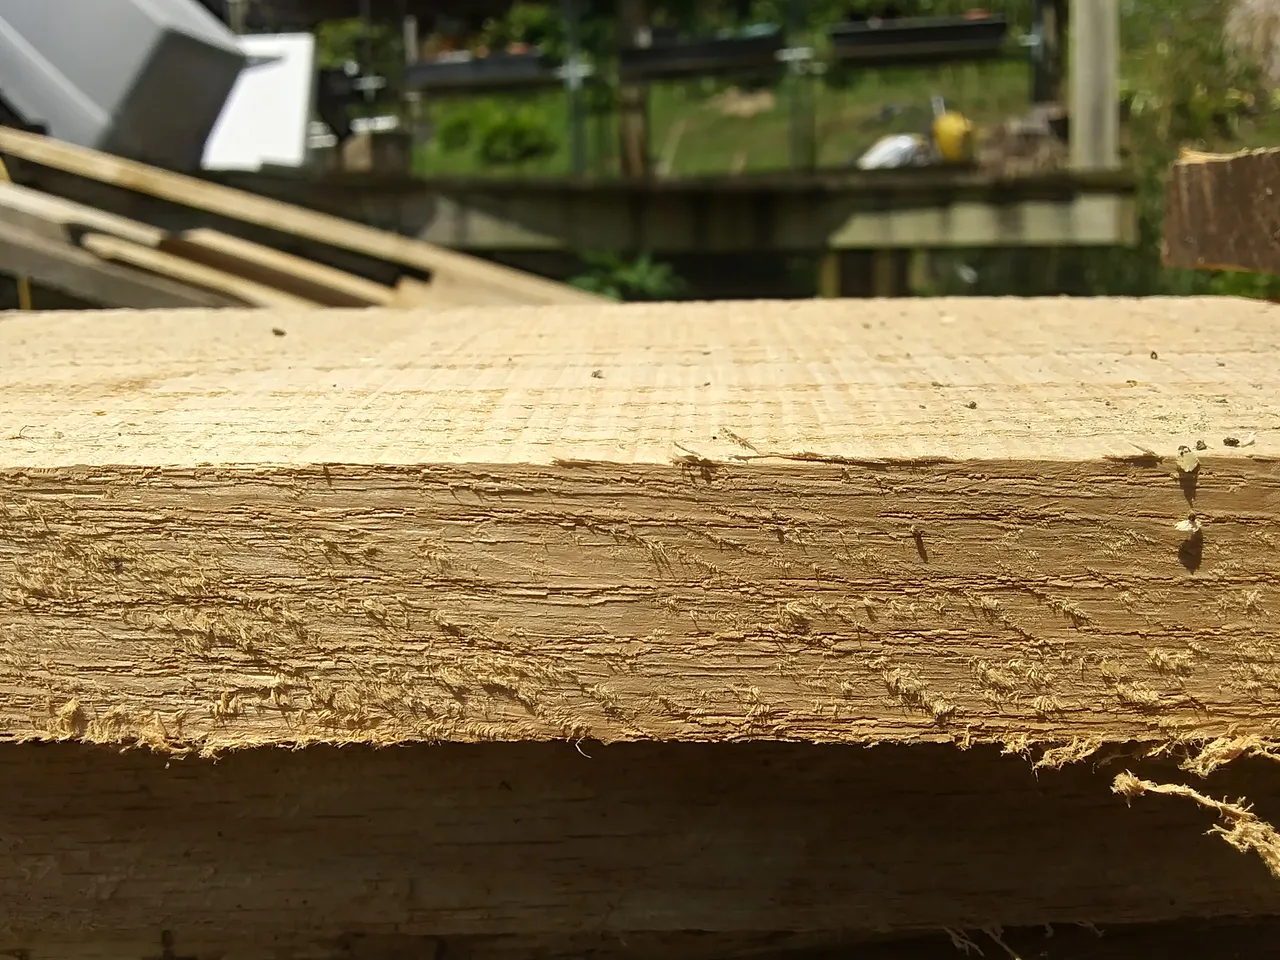
As you can see, the boards are reasonably smooth but still have a lot of splinters sticking out.
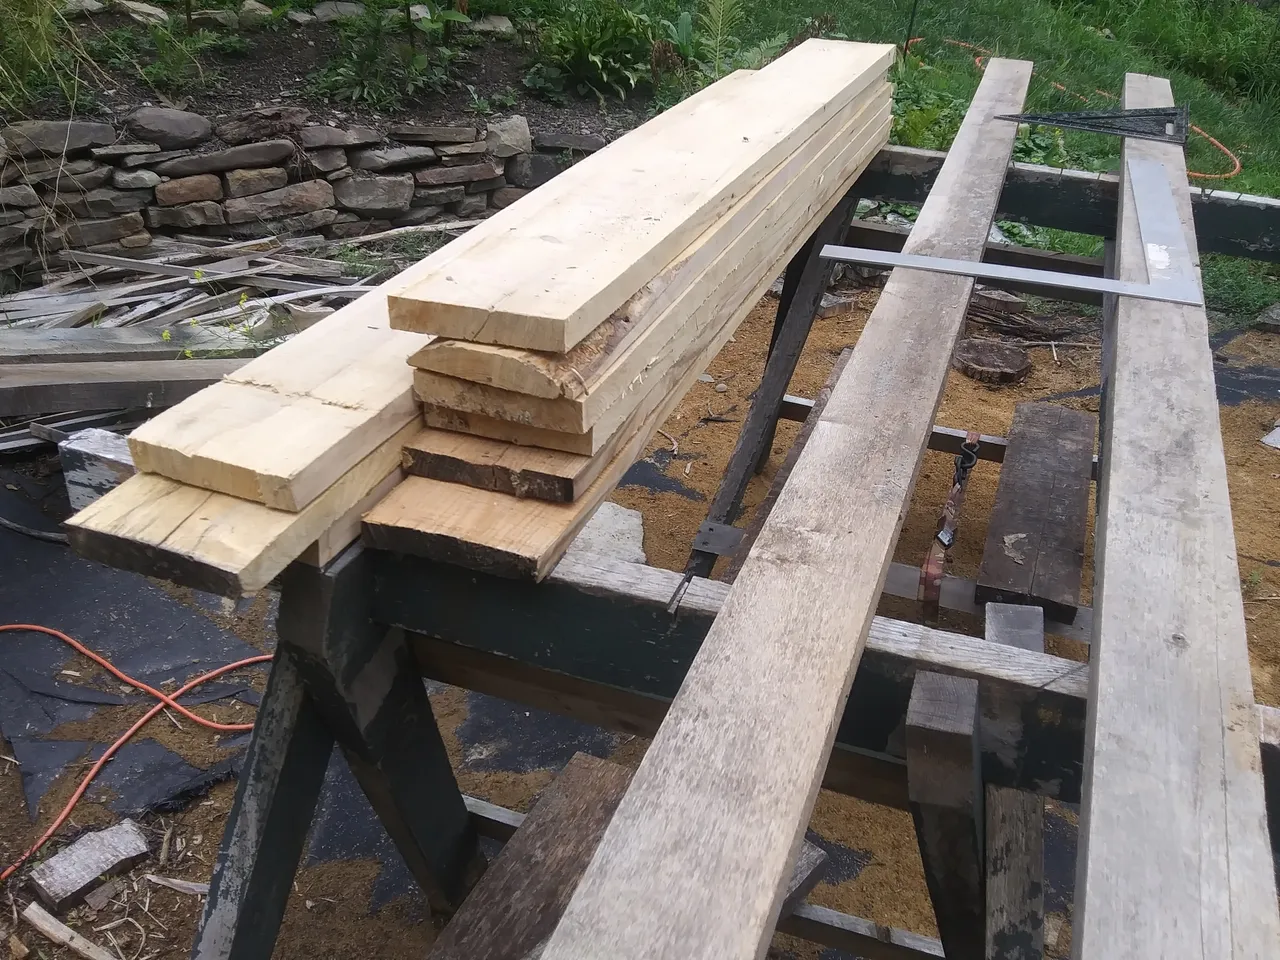
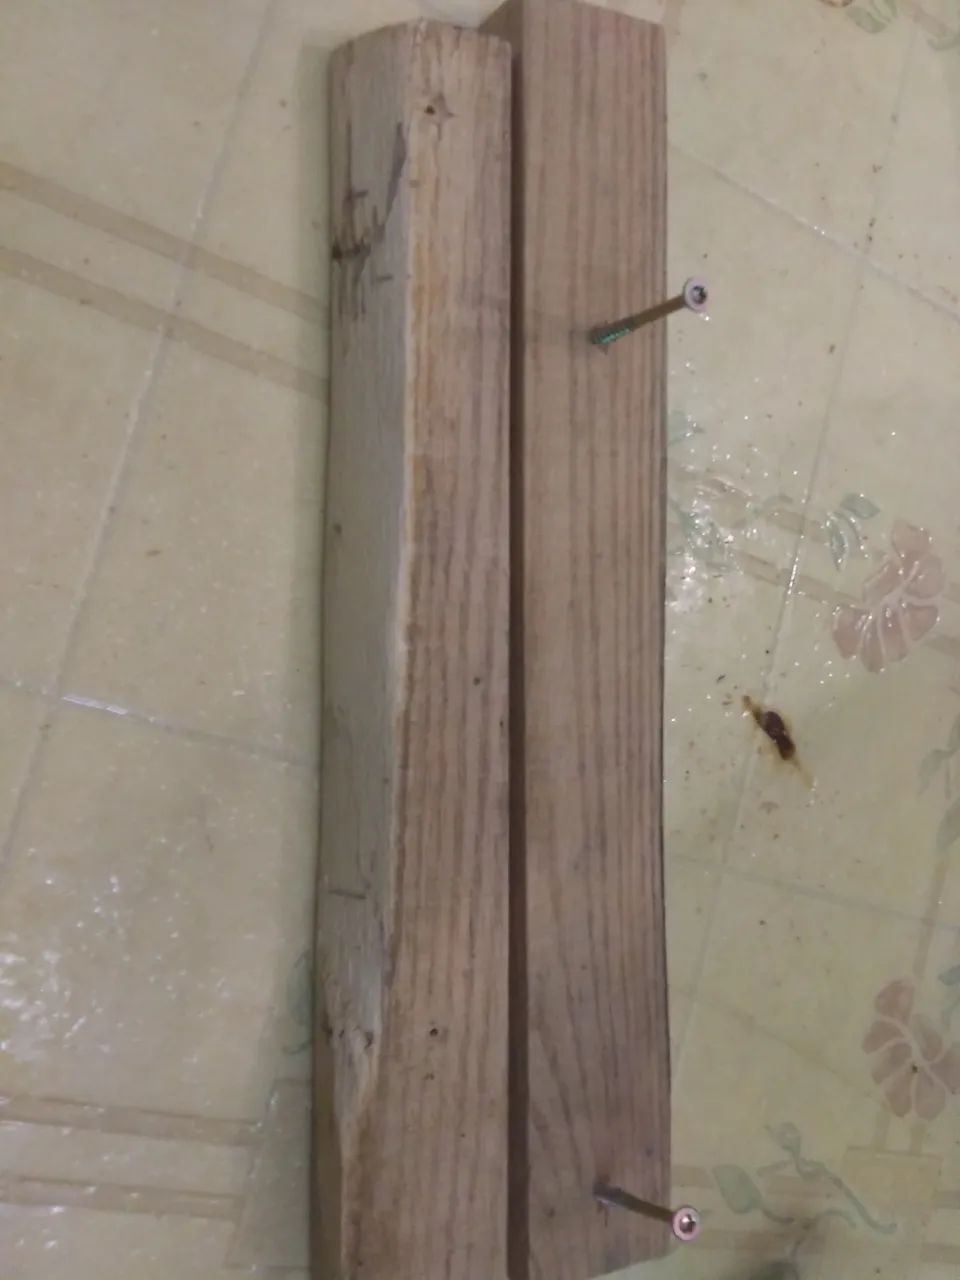
I go over everything quickly with a small hand block and 80 grit, just enough to make the boards comfortable to handle with bare hands. These skinnier pieces in the picture below were cut out of live edge scraps left over from cutting the other boards down to 6".
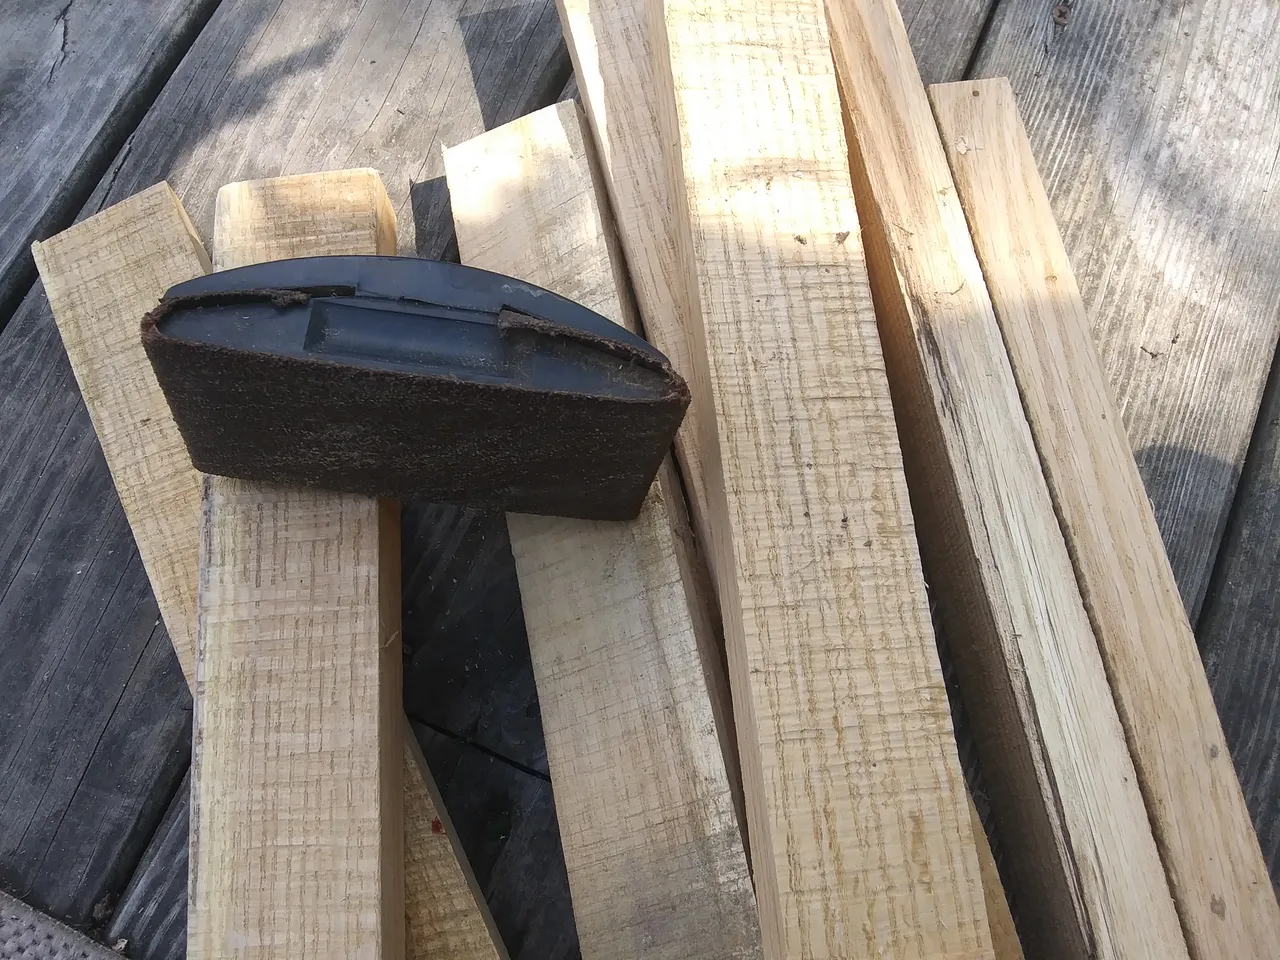
I wasn't fussy about how rough the finish was for the skinny boards... they're simply cleats to hold up the shelves.

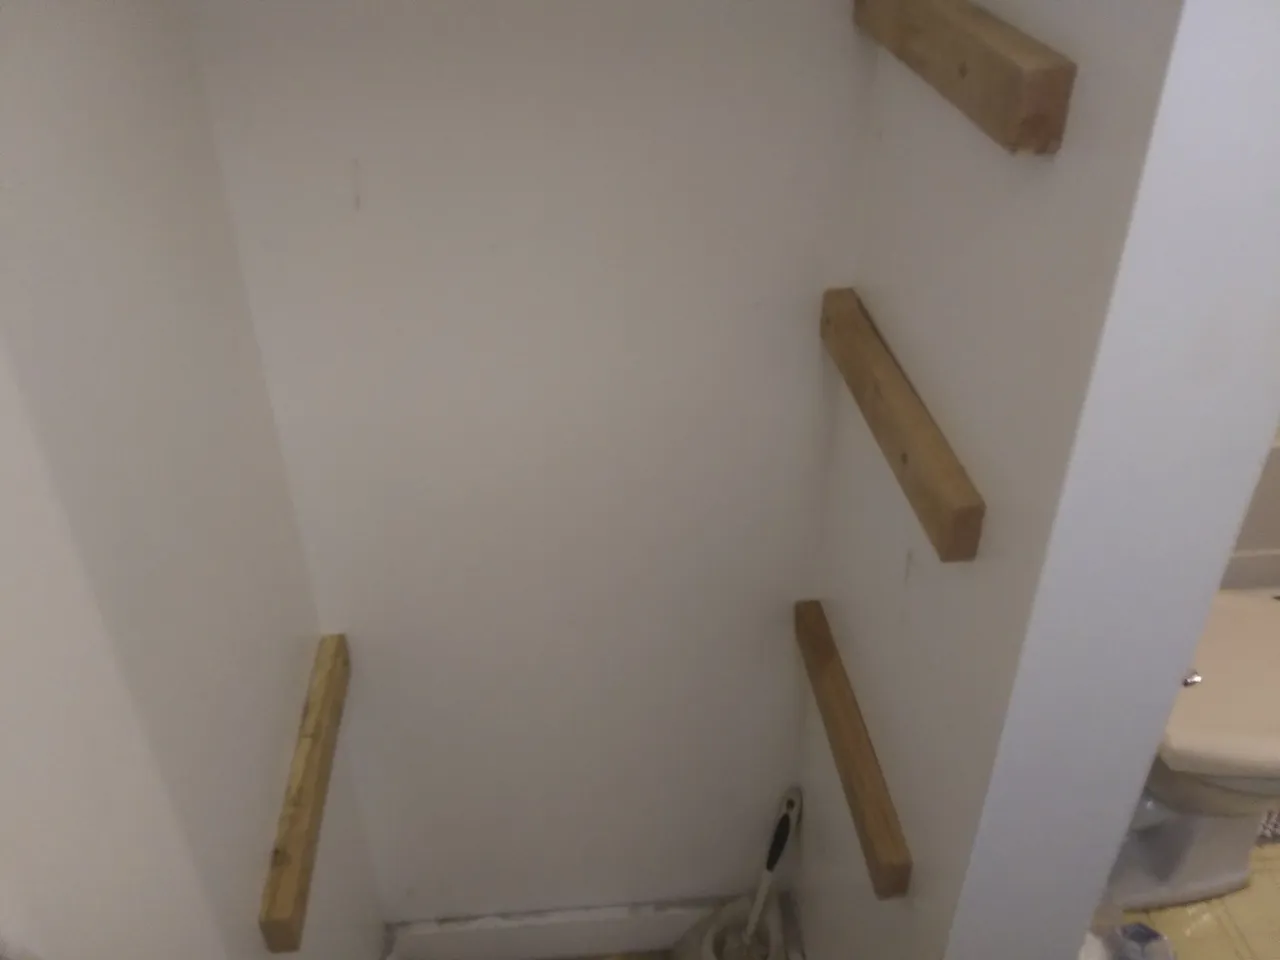
I didn't get pictures of my process for finding studs without a stud finder, but it is fairly straightforward. I first try to make an educated guess about where studs should be by finding one at an electrical outlet, and measuring from that stud in 16" increments. To make sure the stud is there, I use a very small drill bit or finish nail (less than 1/16" diameter) and poke it into the sheet rock. If you miss the stud on the first try, move left or right in 1" increments, poking holes until you find it. Try to do this in a place that will be behind your cleats once they're installed, so the holes are covered.
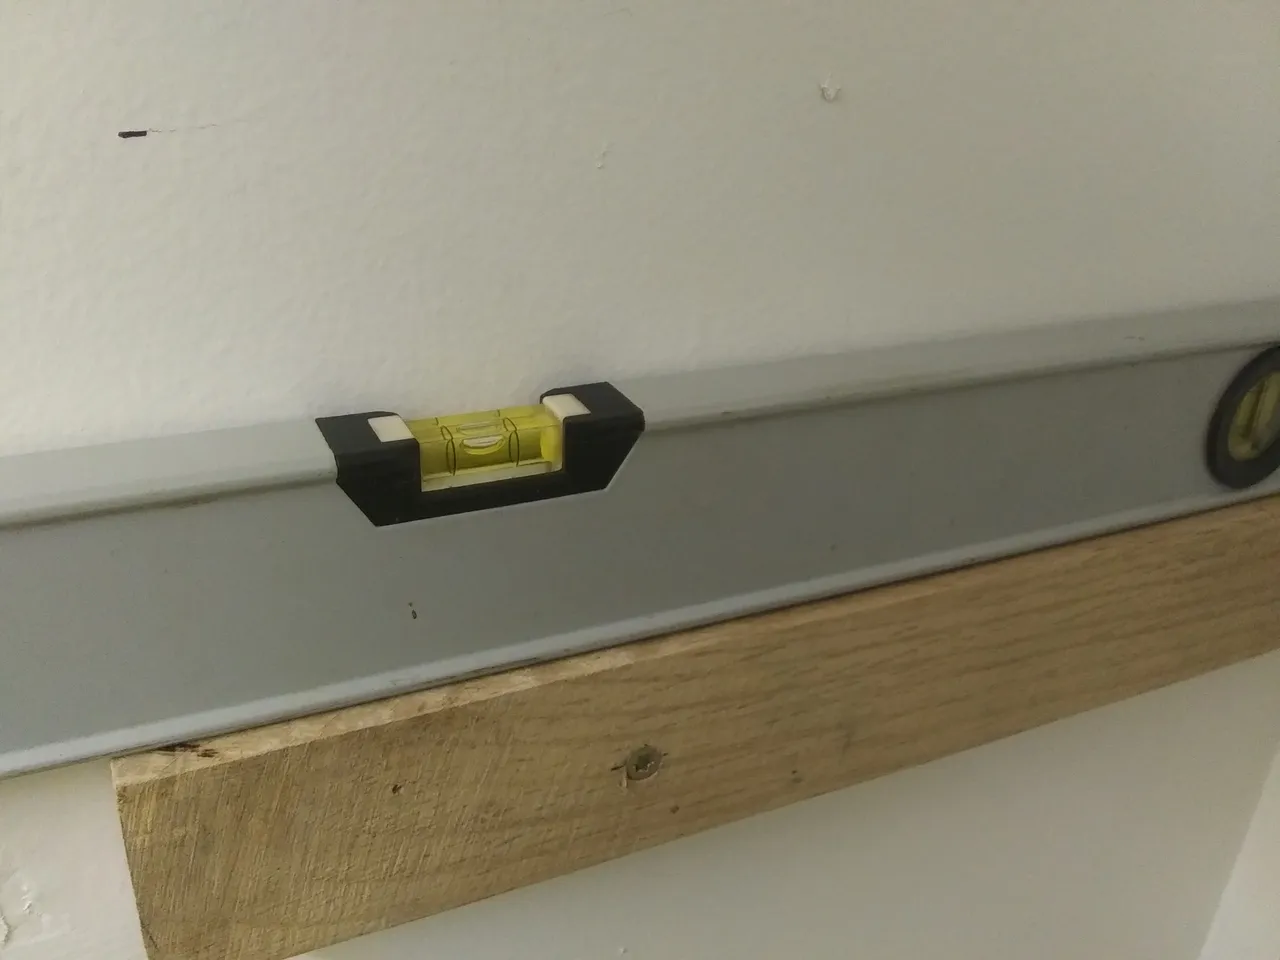
I level and install the bottom cleat on each side, then simply measure up from those and mark the wall for each set of shelves. Put a mark near the front and back for each cleat, then simply install them to the marks. It doesn't hurt to double check that they are all level, but if you measured and marked properly, everything should be reasonably close.
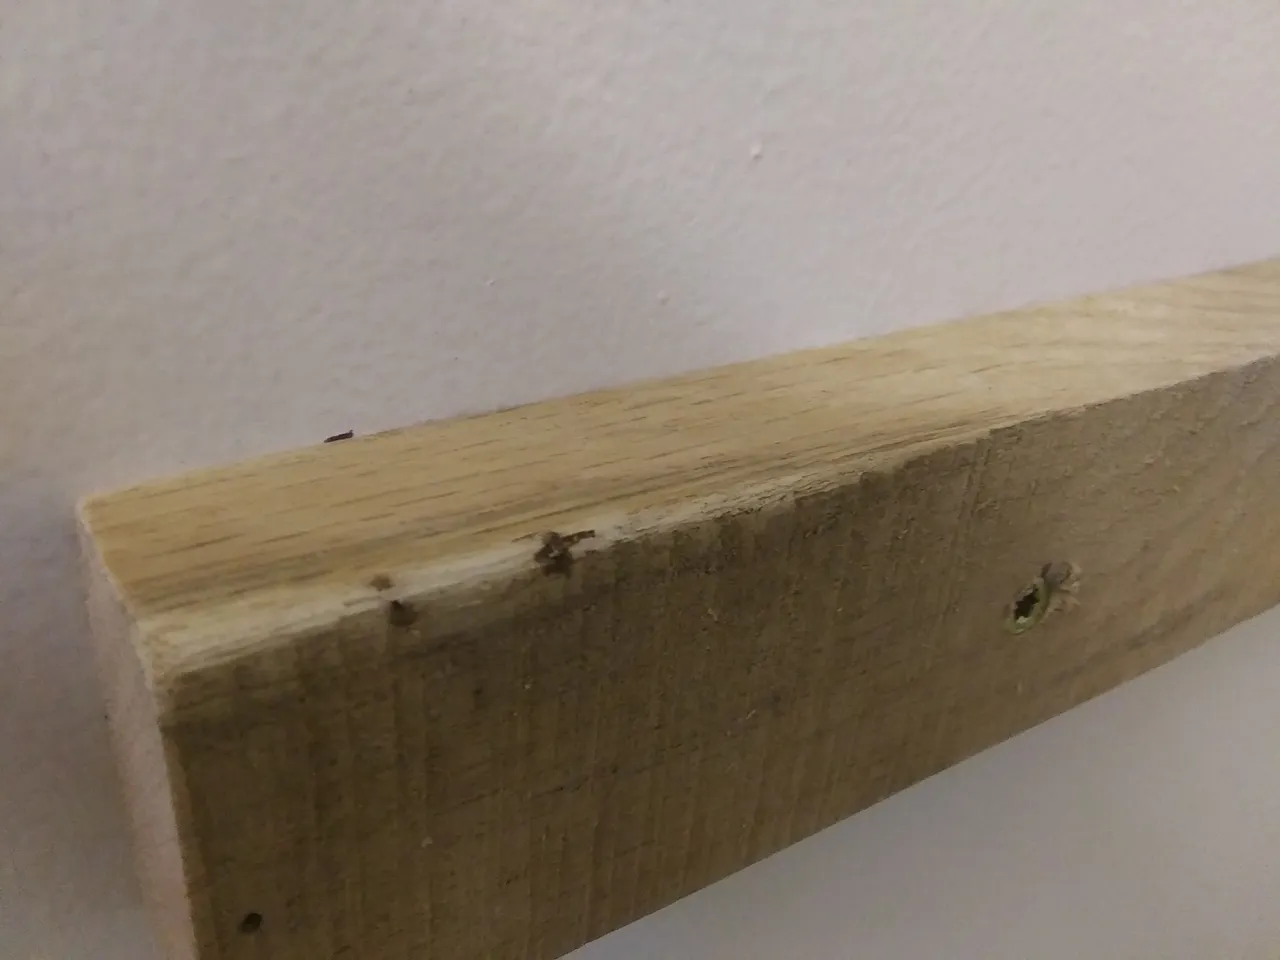
Because I'm using hardwoods, it's very important to pre-drill holes in the boards. This is also good practice if you're using pine, but not as necessary.
Once the holes are drilled, you can start your screws so they are already in place while you align the board. This make solo installation a lot easier.
This goes very quickly after your bottom cleats are set and leveled. This entire install took less than 3 hours.
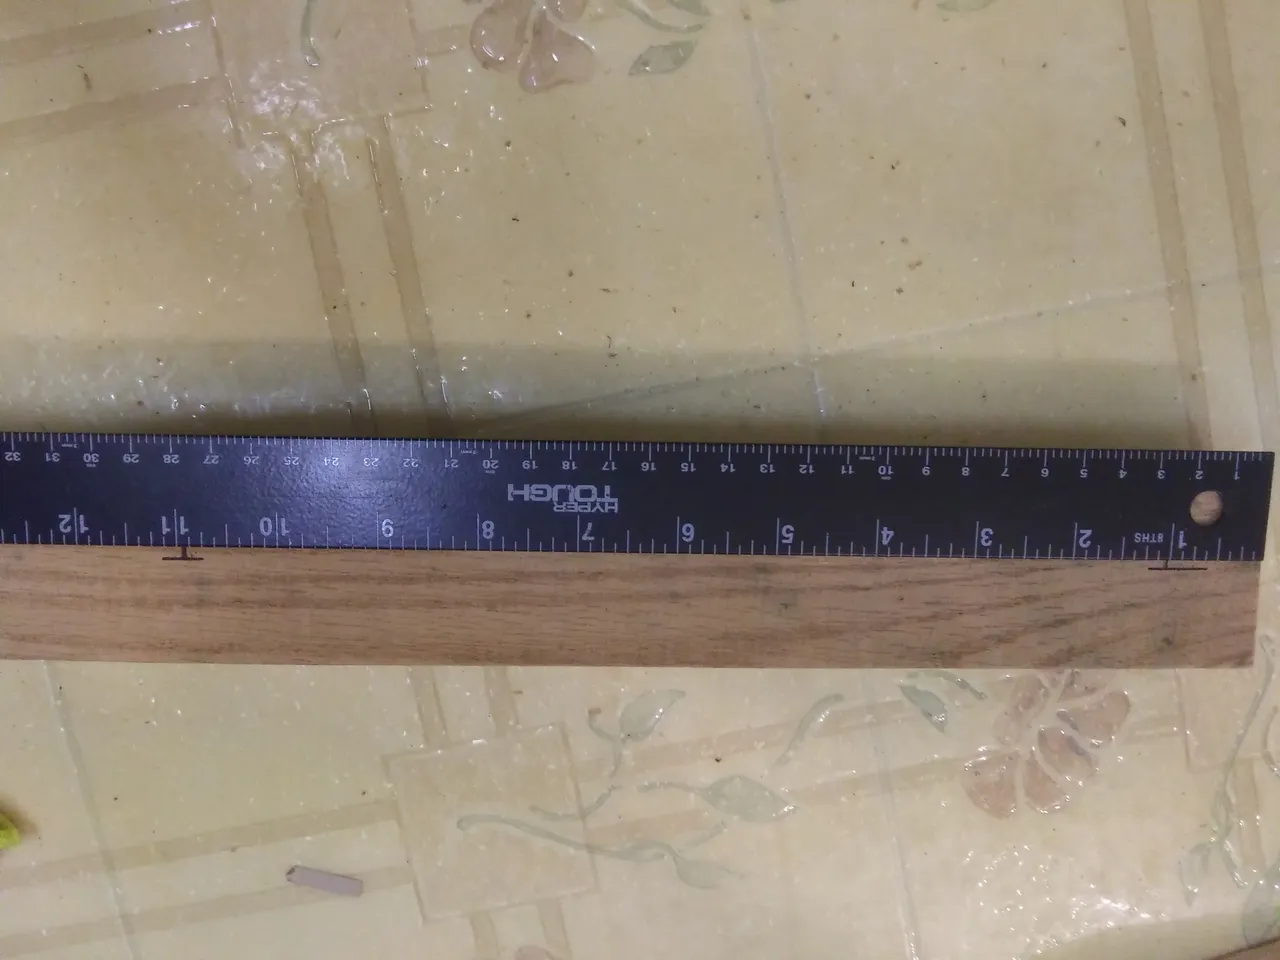
I cut the shelf boards 1/4" smaller than the space they needed to fill, to make them easy to install without scratching up the walls. I didn't fasten the shelf boards to the cleats for this install, since I'll probably want to plane and stain these next time I use the planer.
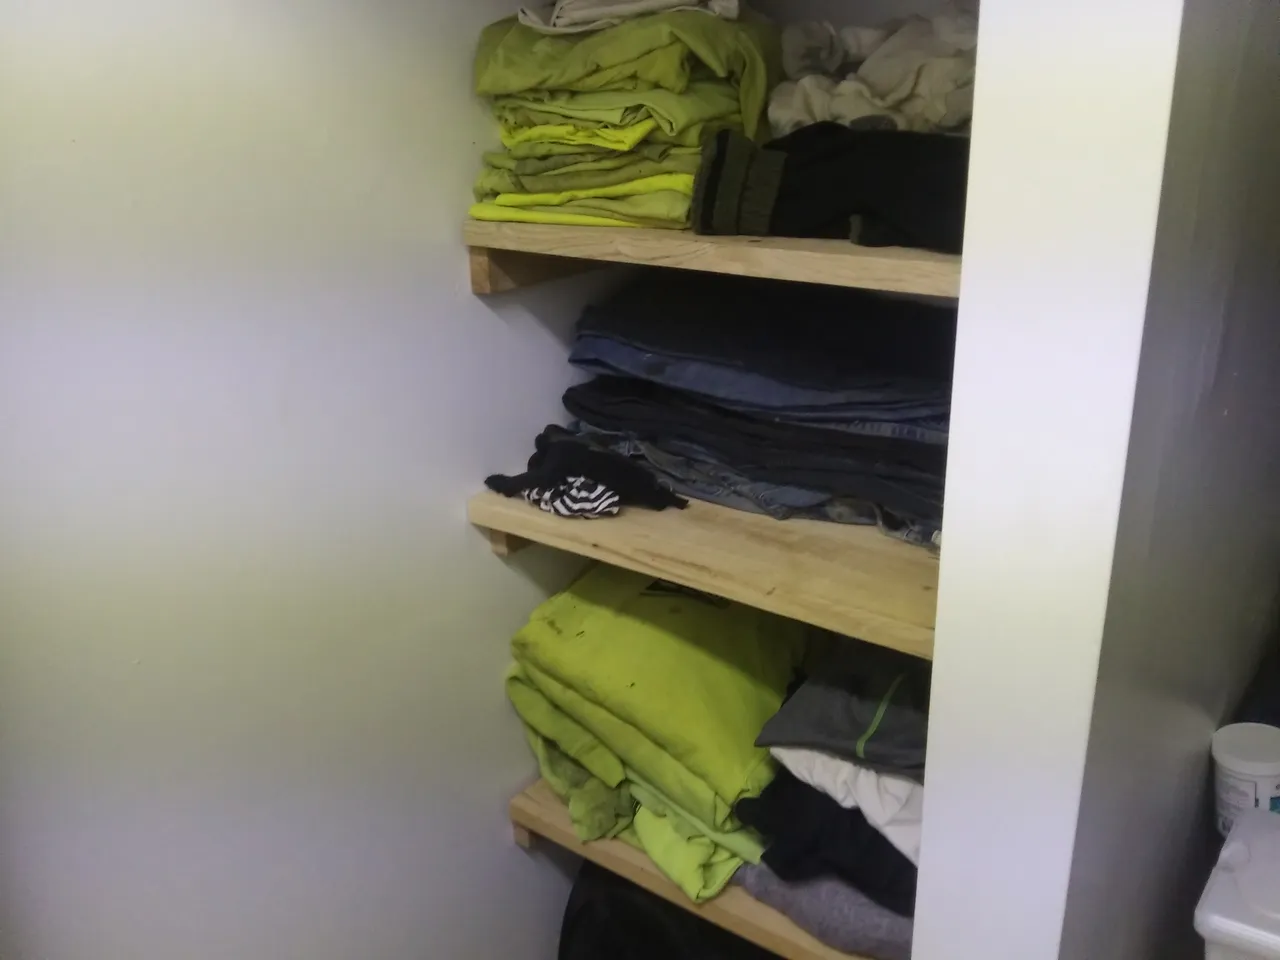
Naturally, you can make the shelves whatever height you desire and have room for. My favorite thing about building stuff for yourself is that you can tailor it to your exact needs. You can see here that the space under my bottom shelf exactly fits the height of my work clothes hamper (the black thing), and the height of each shelf fairly perfectly accommodates the clothes that are on it.
This method should work well for building shelves in most small spaces, including closets. If your shelf span gets to be greater than 3', some center supports may be necessary.
If you need specific information about maximum loads and other engineering knowledge, use the internet. There is a wealth of tools out there to help you figure out exactly what type and size of board you might need for a specific application.
If you would like to know more about the chainsaw mill, you can see my earlier post here.
Thank you for your time, I hope you enjoyed reading, or learned something if you didn't. Questions and comments are always appreciated, and I hope to see you back for the next post!