I love photography and wish I was good at painting or drawing-I'm not!But recently some photo friends of mine discovered Solarfast dye and we realised we could create unique pieces of art from our photos.These works are a fresh change from just printing photos and give you creative license to produce one off pieces on either cotton or natural fabrics or cotton paper(print making paper).The print made below is on print making paper and has a real old school vintage look to it.It could equally be printed on a t-shirt-awesome for a unique gift.It is not a screen print.

So how does it work?Solarfast dyes only develop and become permanent on exposure to the sun(UV rays)
When an object is placed on paper or fabric containing the dye and the material is placed in the sun for around 10 minutes the areas covered by the object remain undeveloped while the rest of the material turns the permanent colour of the dye-essentially you are producing a contact negative of the object(s).These objects can be solid-like rocks,lace,leaves,stamps,insects,flowers-so a Solarfast project is also really fun for children as it is simple to use and the results are awesome.With a bit of practise kids can produce some really cool art using just the dye ,print making paper,and for even better results a perspex or plastic sheet to press the objects firmly to the dyed paper.Plus they are outside in the sun learning a bit of natural magic!
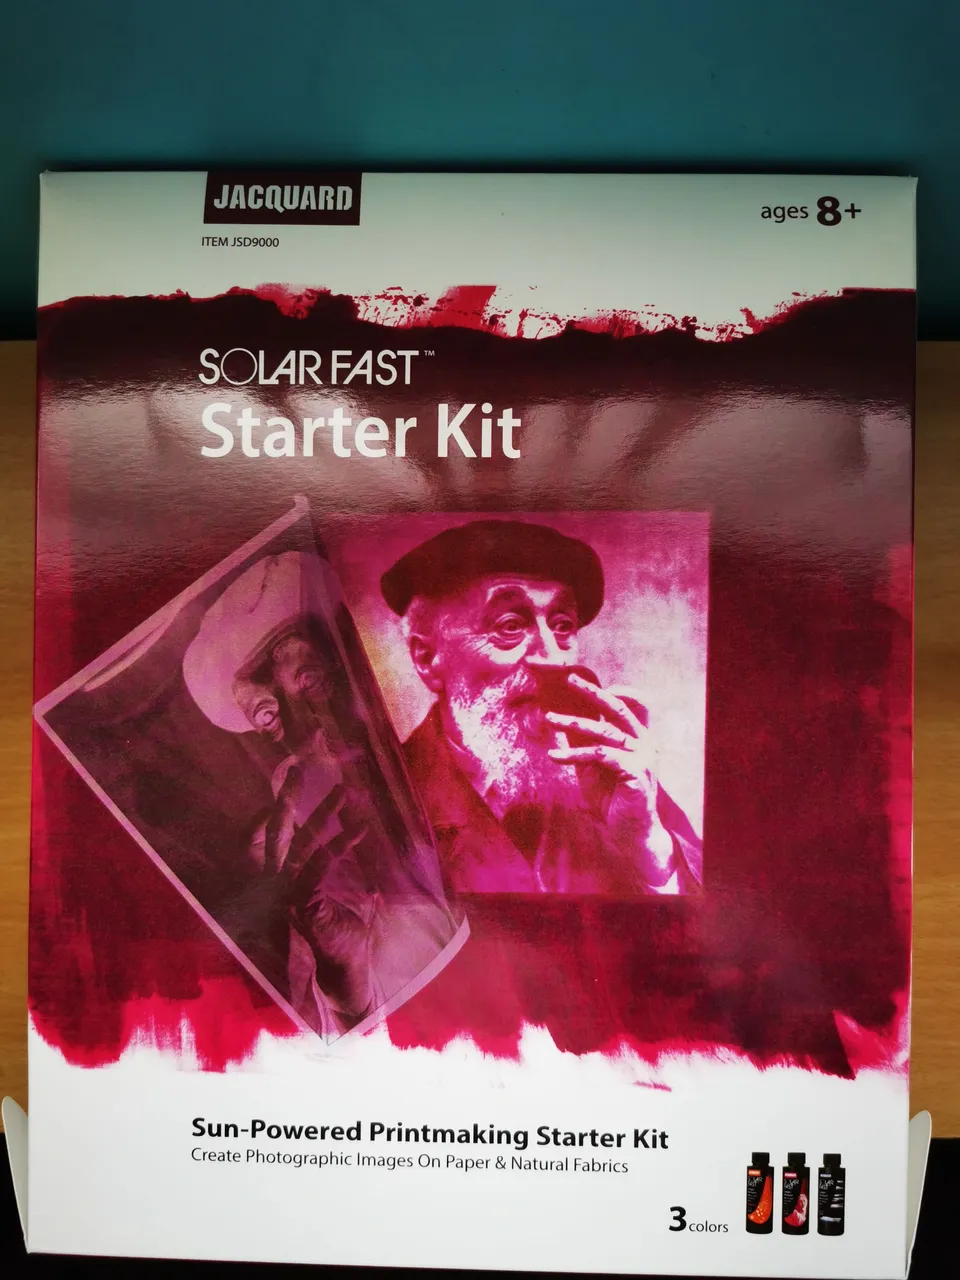
The use of photos to make art needs a kit including sheets of plastic film as well as dyes of different colours and a fixing agent.Starter kits cost around $70 N.Z. and give you a choice of 3 dye colours plus all the stuff you need to make many prints.There are actually 14 colours of dye available in the regular kits which cost more.
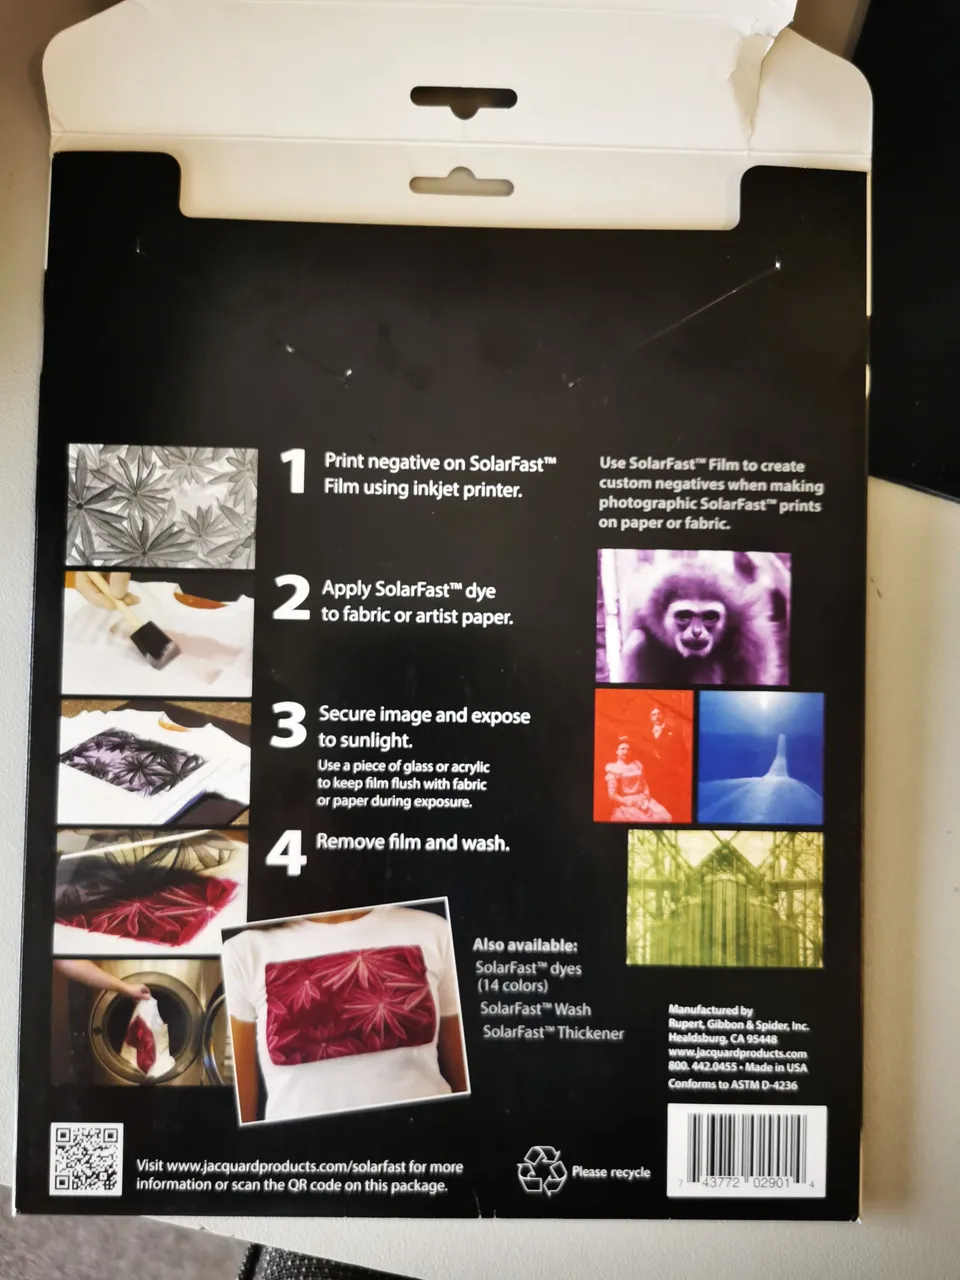
The process in simple steps
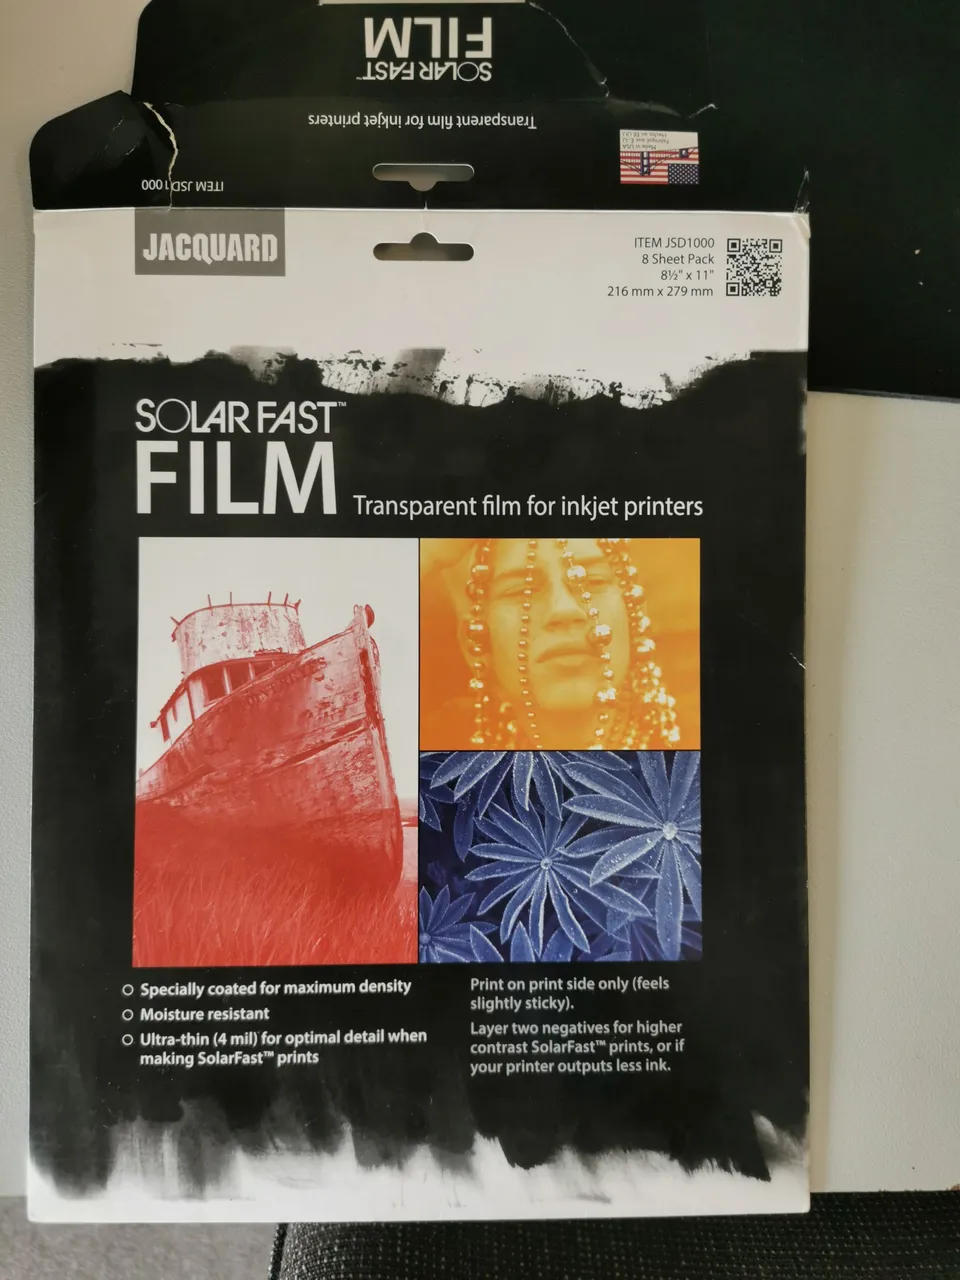
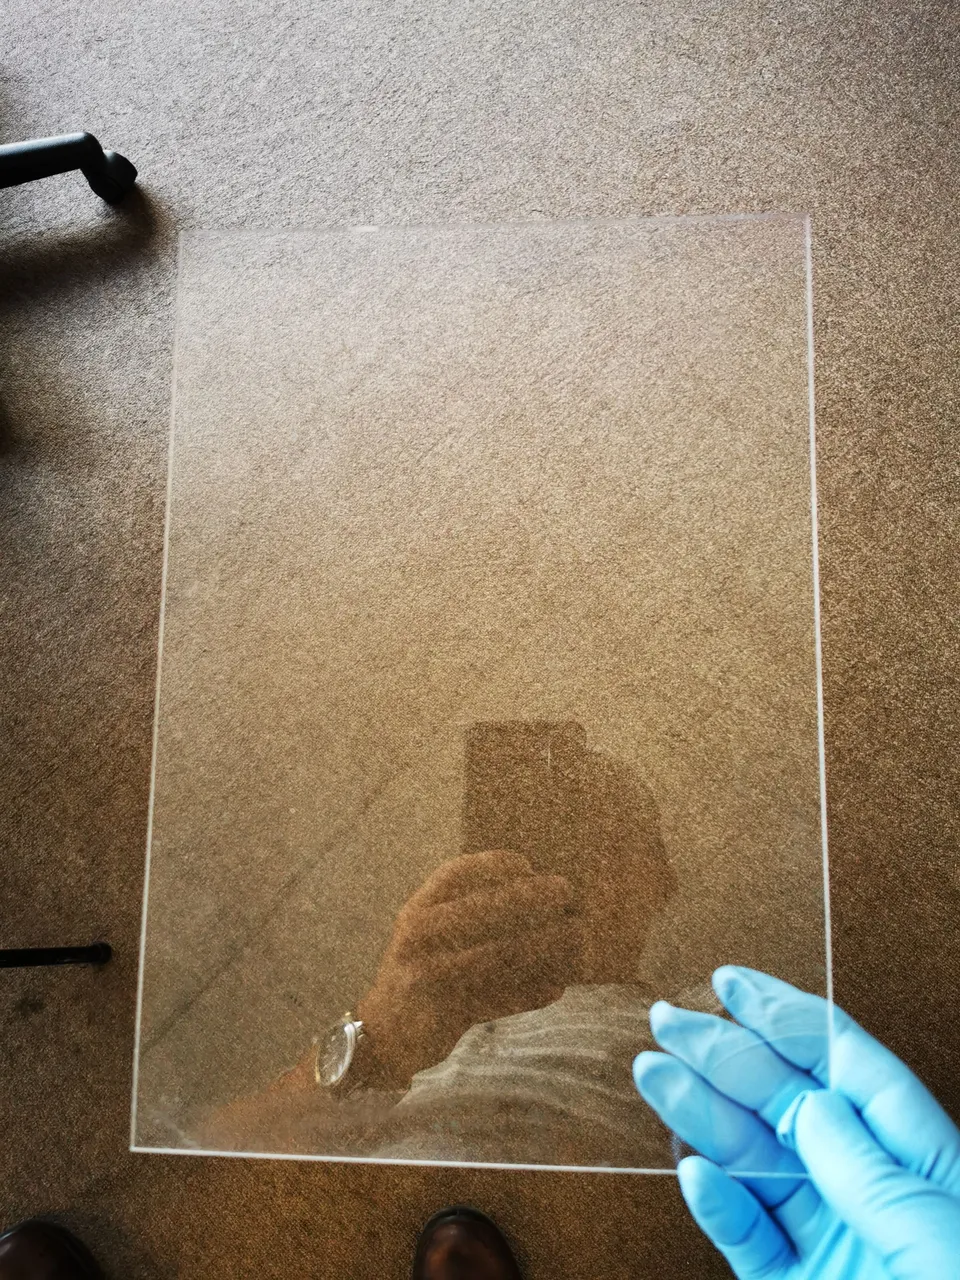
The plastic film.This is to make a negative of the photo you want to print on an ink jet printer.
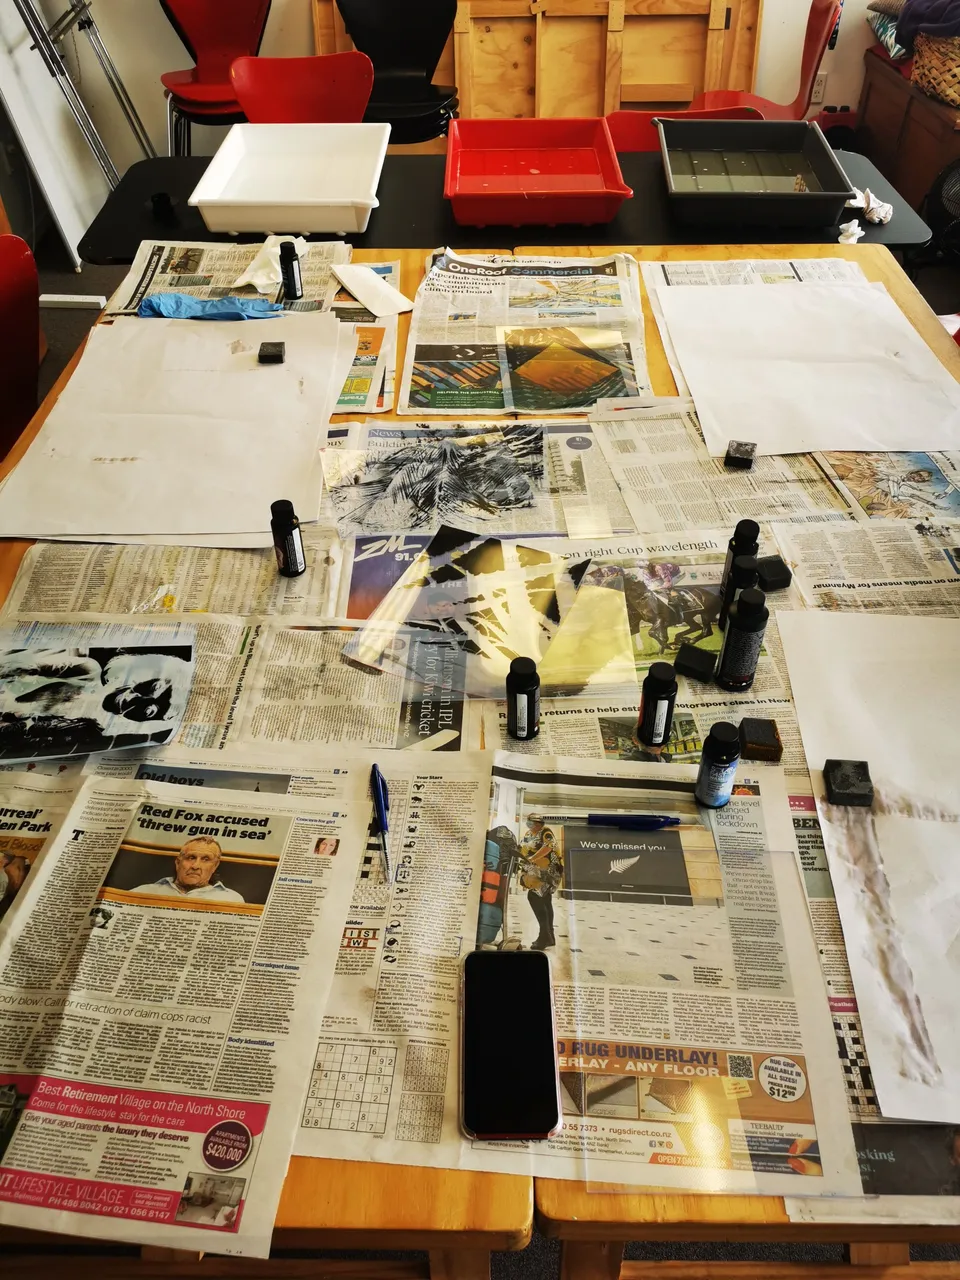
Our Solarfast Project studio-because there were a few of us we needed a big table.Cover the table with newsprint to stop dye stains and give each person a station.The trays contain water and fixing agent which stops the dye denveloping and fixes it permanently.Looks like a darkroom but this is instead a lightroom!
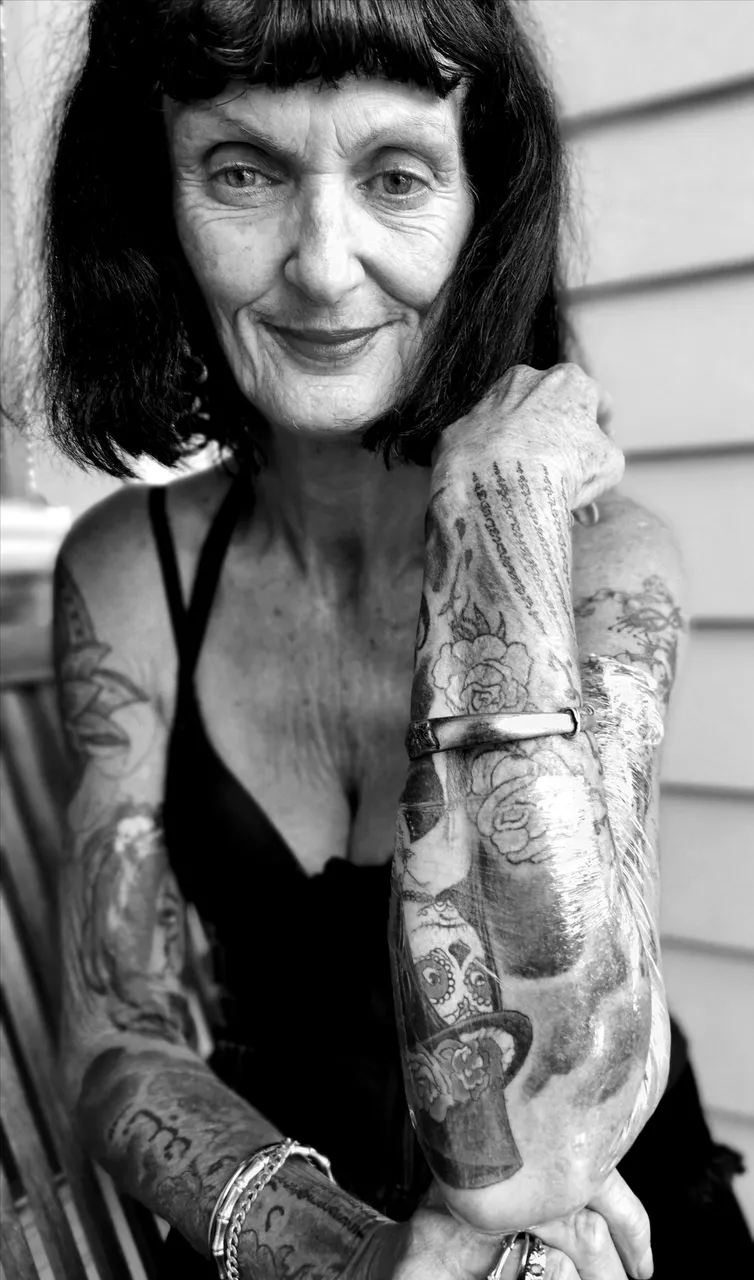
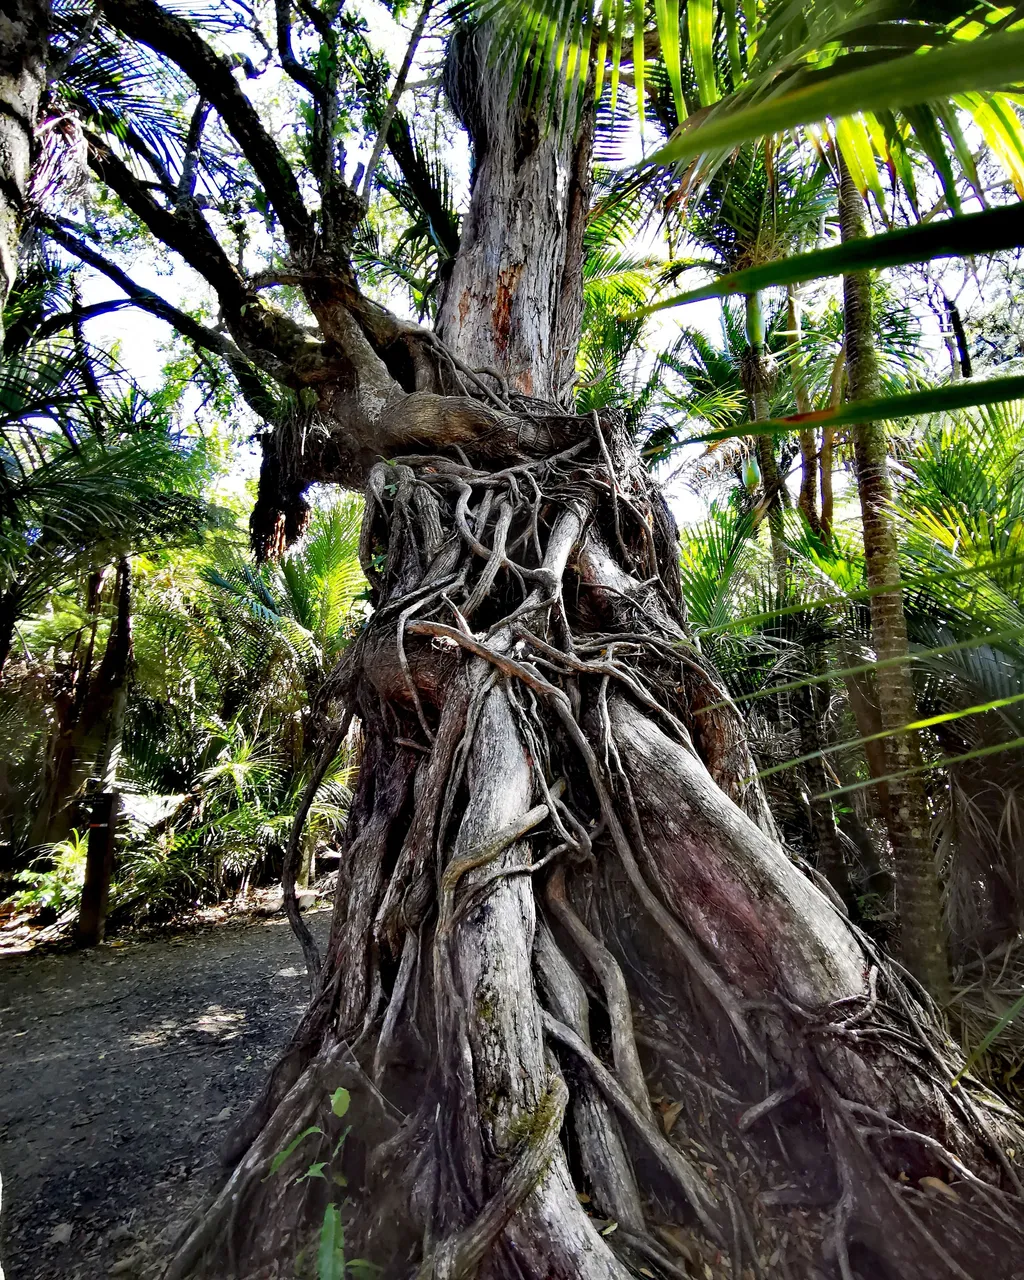
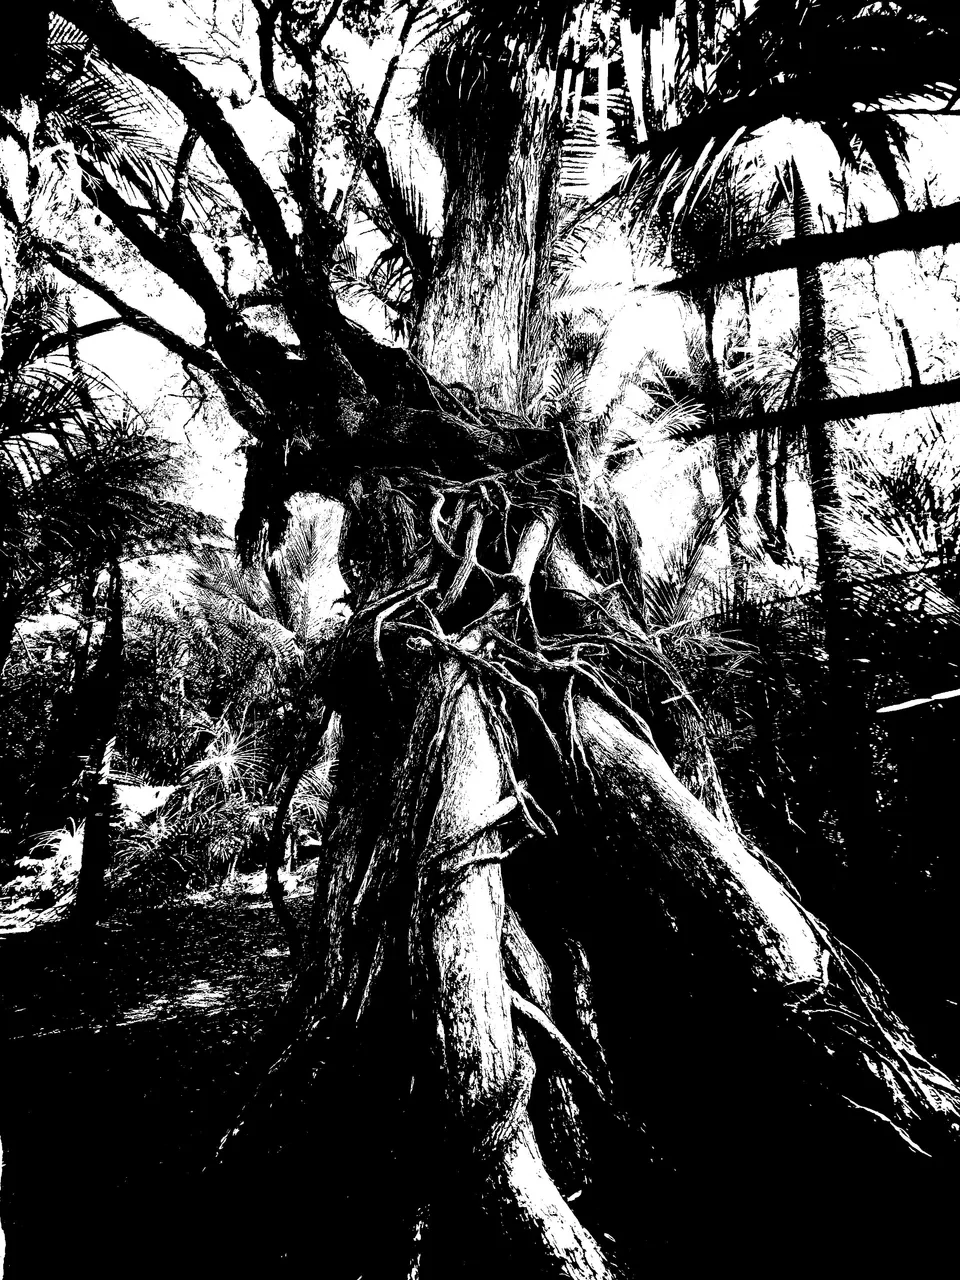
The 1st step is to print a negative of your photo image.Best results come from a high contrast monochrome image because the sharper the contrast the better the detail in the final print.-see below.The monochrome image is inverted with photo editing software to create a negative and printed on the Solarfast film sheet from the kit.Below is the original image.
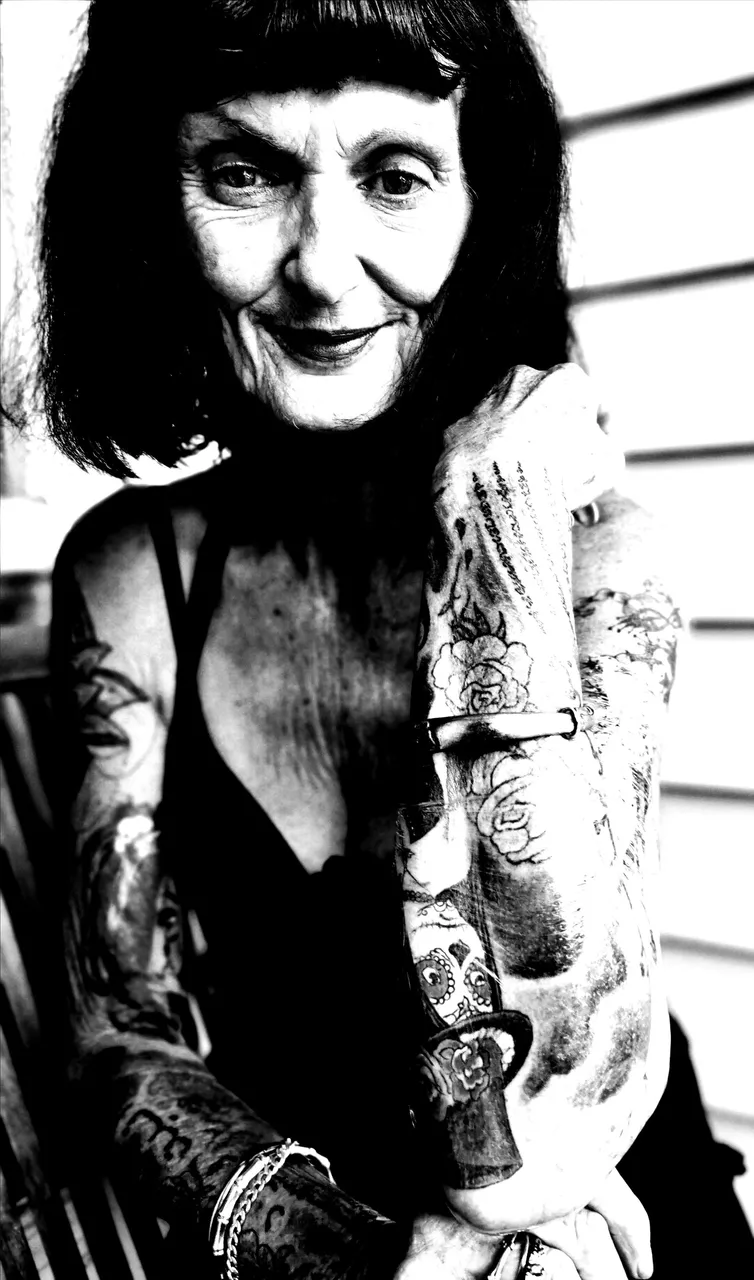
High contrast image
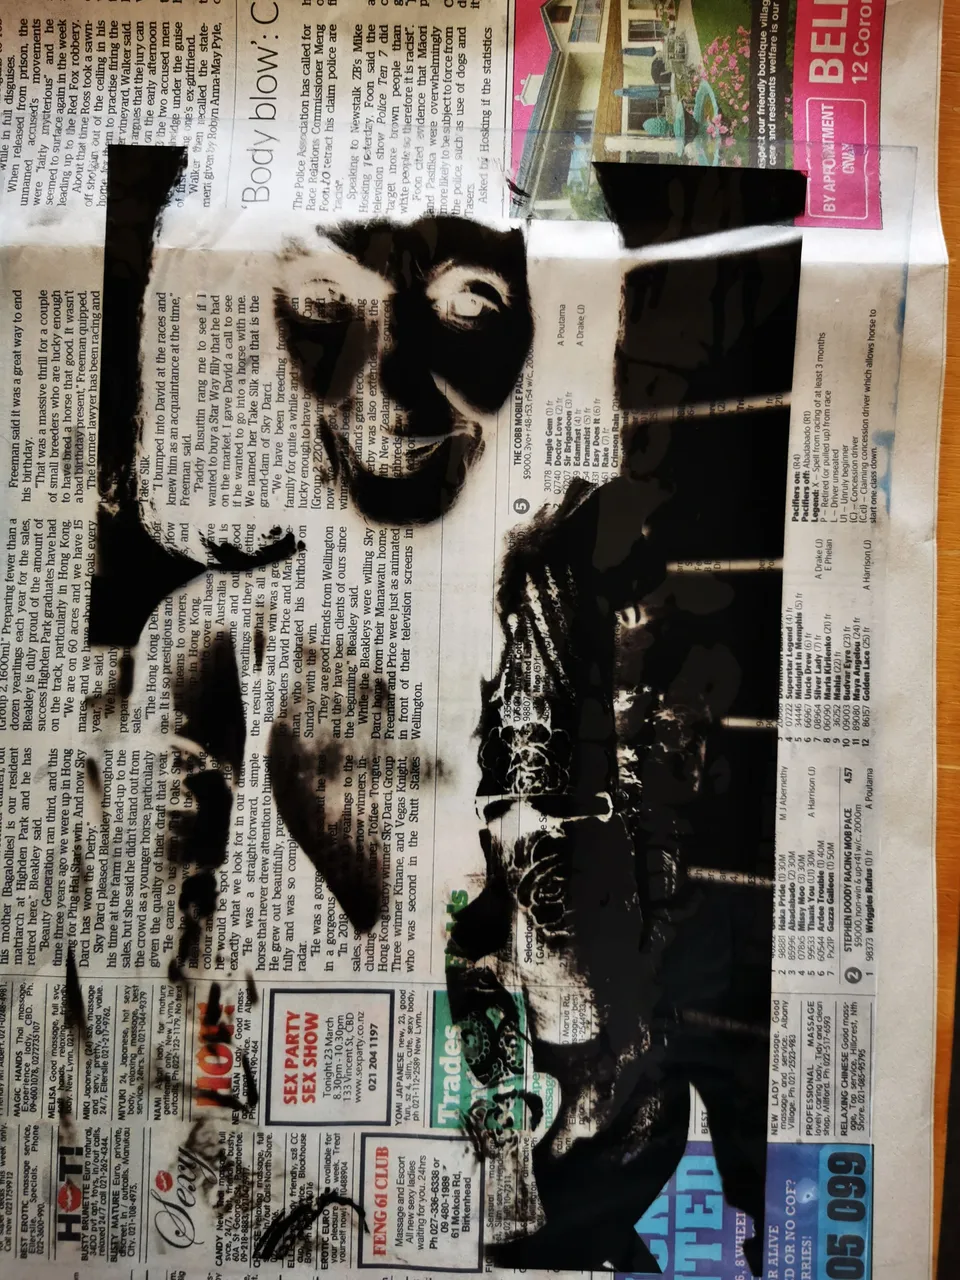
Solarfast sheet negative printed on film supplied in kit by standard ink-jet printer.
Next use the supplied gloves!You need these to protect your hands from dye and just to keep everything clean.
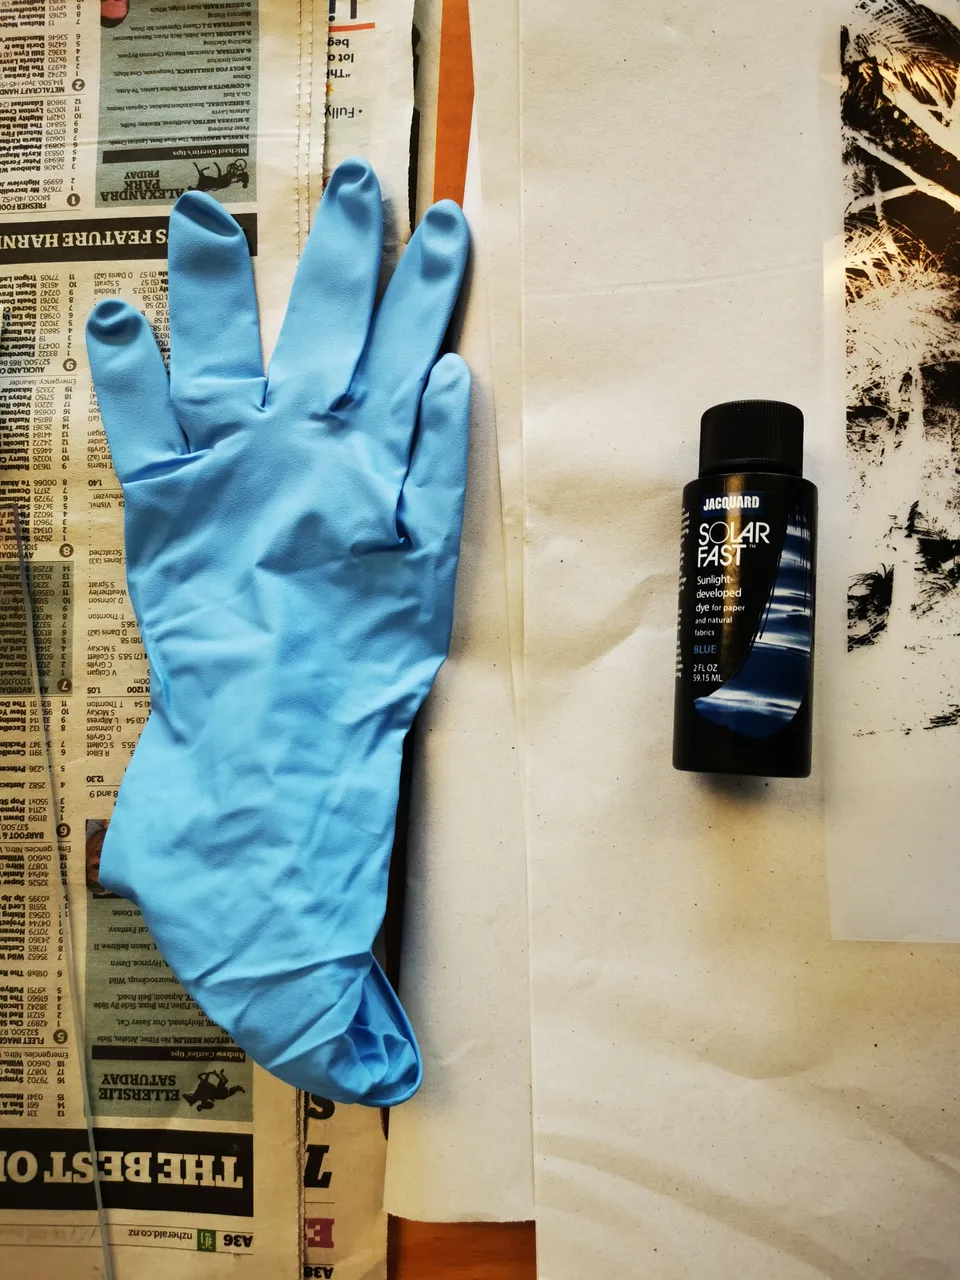
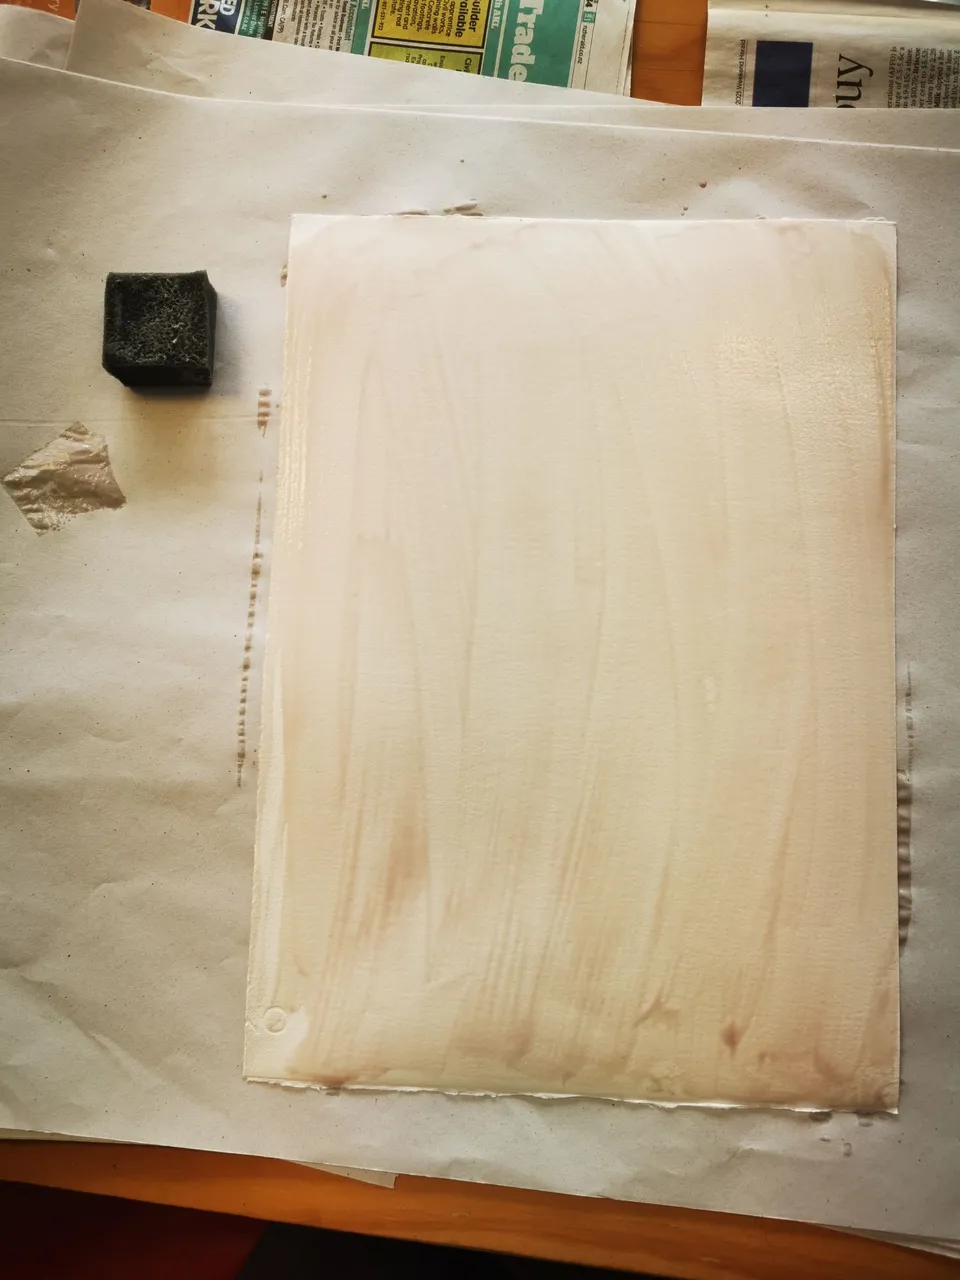
Next choose your dye colour and spread evenly and thickly on print making cotton paper or natural fabric with the sponges supplied..It will appear greyish/colourless until it is put in sunlight.If you want texture and uneven effects you can smear it or smudge borders or whatever you want.Practise brings different results.
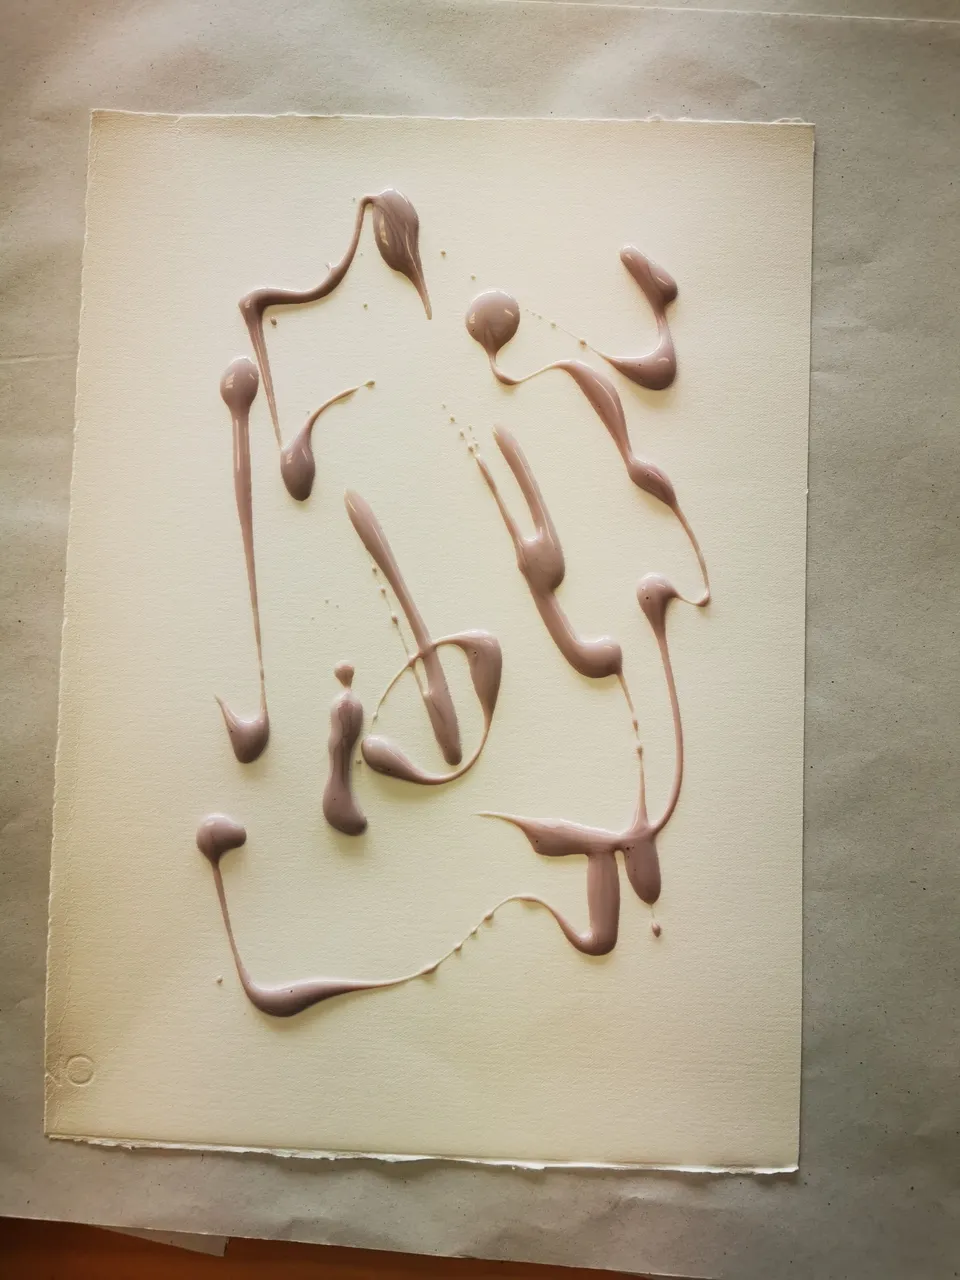
Spread dye with sponge.
Next you need a piece of perspex or glass to press the negative film sheet onto the paper so it stays evenly spread on the paper.You need a sunny day.
Place the piece of print making paper with the negative film and the perspex out in the direct sunshine(no shadows over the paper!) on a towel or piece of cardboard to keep it flat and clean.On a sunny day 10 mins will develop the dye-you will see areas exposed to the sun gradually becoming brighter and permanently dyed.Cloudy days 20 mins.
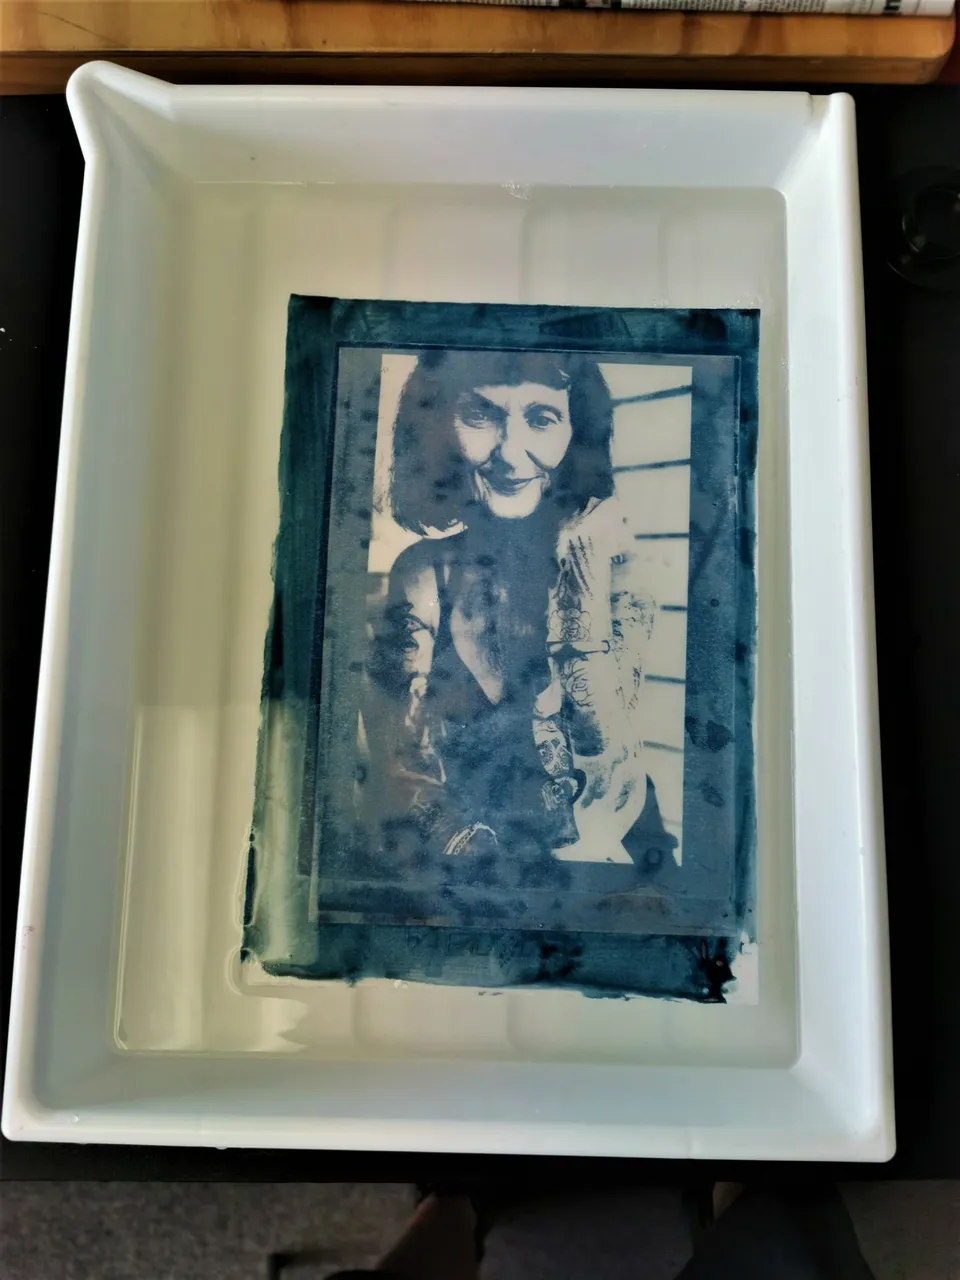
The paper with negagtive film sheet and perspex on top after being in the sun for 10 mins.You can see the borders of the exposed paper are completely coloured by the developing blue dye.

Next step is to carefully remove the negative film sheet from the print paper and gently wash the paper in the supplied fixing agent and water for 10 mins,stirring now and then.This stops the dye developing in sunlight and permanently fixes it.If you have printed on fabric-a T-shirt or dress you add the fixing agent to a washcycle or a bucket and agitate for 10 mins.Then hang in shade to dry.Gently put negative film sheet somewhere safe for more uses.
The result is actually a contact negative of the negative-it has become the original image from the photo.
Gently let the fixing agent drain off the image-don't rip the paper as it is fragile when wet.Place on a drying rack or flat surface in the shade to dry.
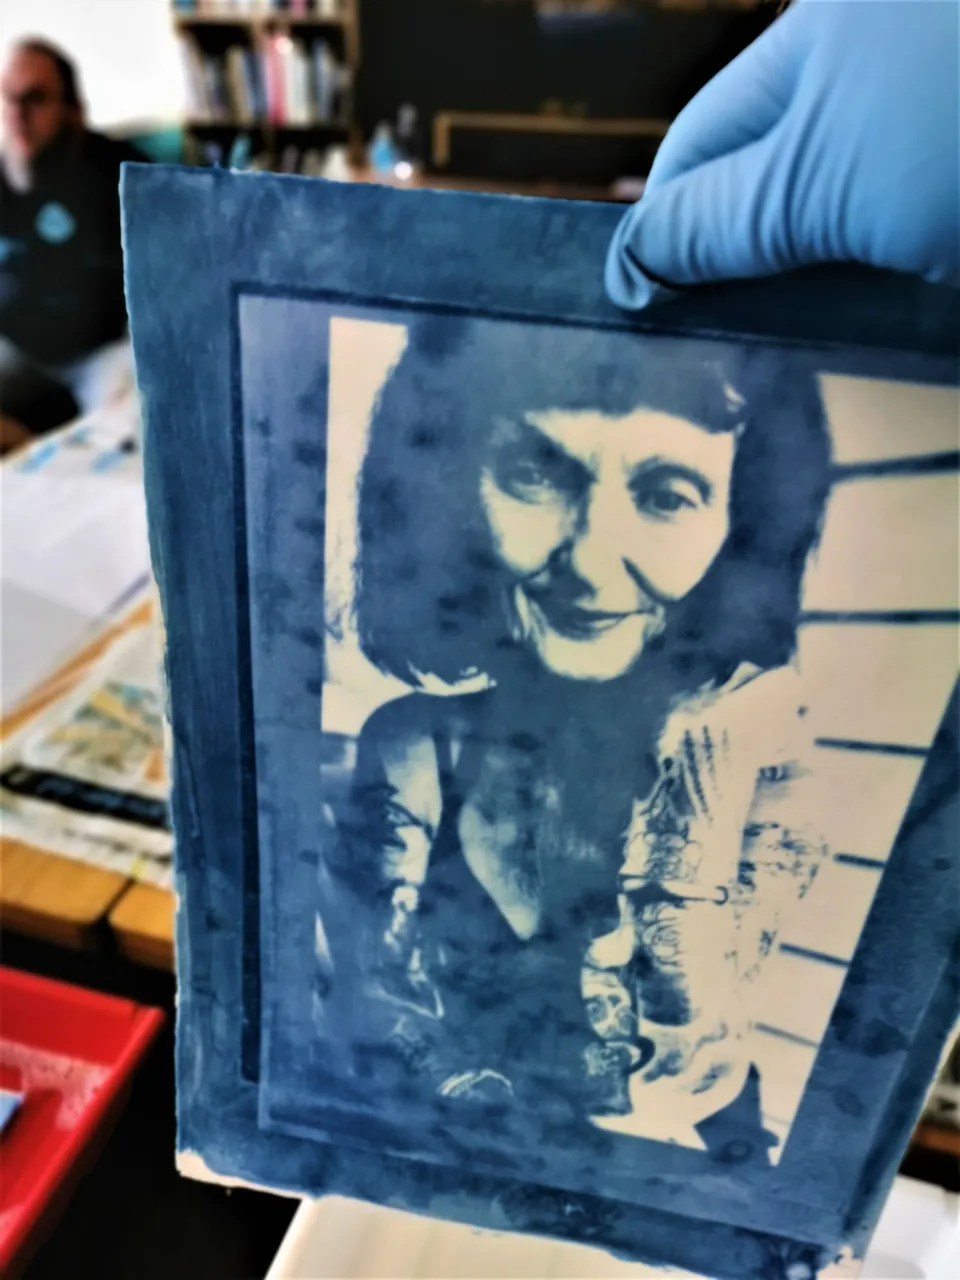
The final print after drying.A very retro vintage feel-Sepia colour highlights this even more than the blue I chose for this.This was my birthday present for the lady in the photo-still inking up at 65.Her favourite colour is blue.It has an archival look and great quality Italian print making paper that means it will last and not fade.
Another photo and the final Solarfast print
 Monochrome image
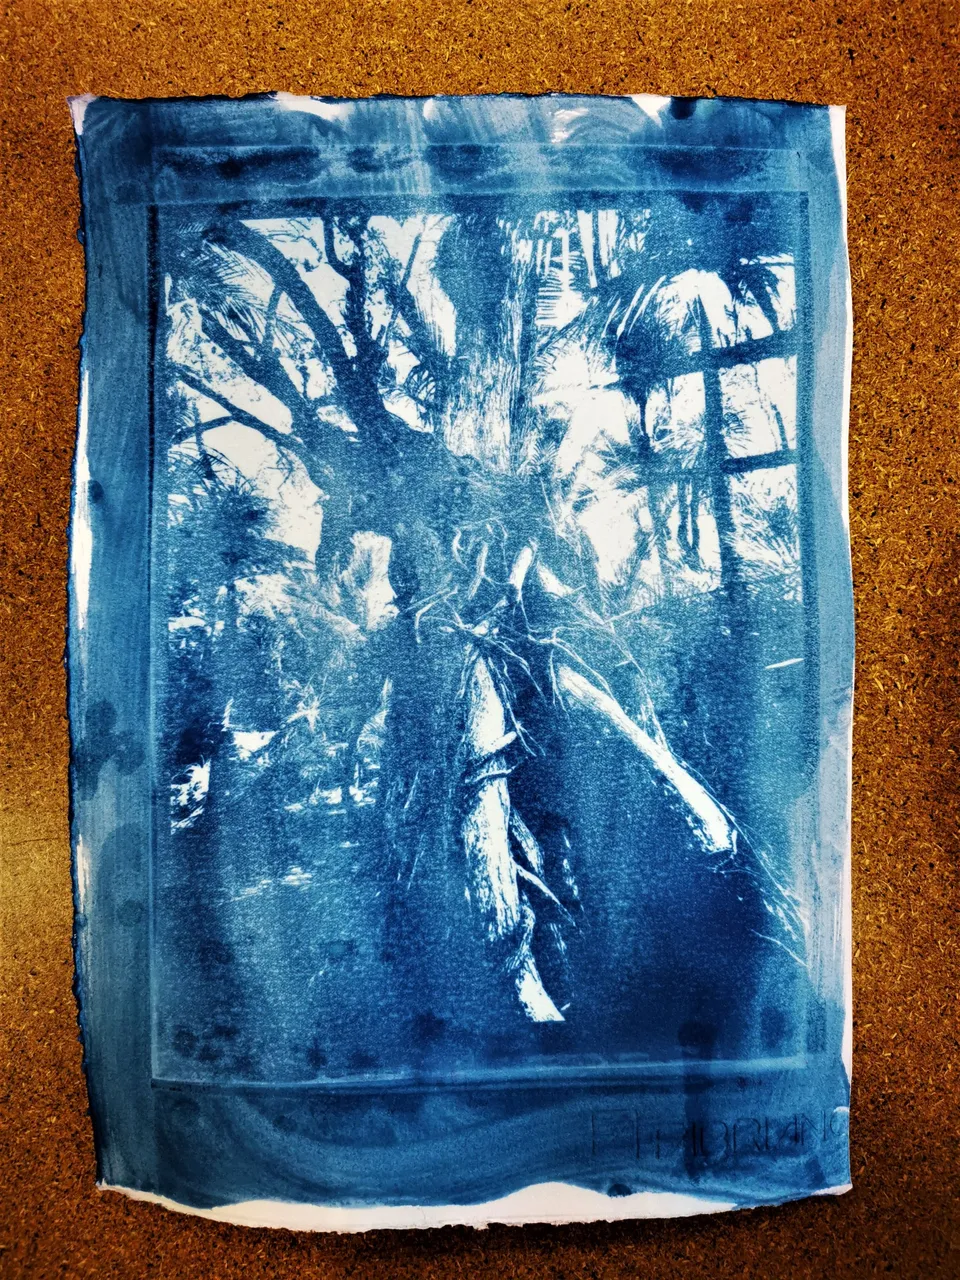
So there is the way to create your own individual art pieces from just about anything.The better the quality of the print making paper, and/or the fabric,the better the ink-jet printer,and the contrast and detail of the original photo or item-the better and more finely detailed will be the result.It is actually very easy to follow the steps in the Starter kit and you only need household items to do this project..It is really fun for kids and yes even big kids like me.Some images may not come out how you wanted them to at first but that is why there is enough material in the kit to practise until you get proficiency at your technique.Try it!!