

¡Buenos días querido visitante artesano💖🫂!espero estén pasando una mañana maravillosa iniciando una vez más la semana y con las energías bien cargada y con nuevas ideas y nuevos proyectos .
Good morning, dear artisan visitor💖🫂! I hope you are having a wonderful morning starting the week once again with your energies fully charged and with new ideas and new projects.
For a new tutorial today I bring you the cutting and sewing of a plus size or Xl blouse, we are going to be making an elegant model for meetings, job interviews and more, I will be using a stretch fabric to make it much easier to place, this design is for a friend who really likes this type of elegant blouses and that precisely to her they look very good on her body, the sleeve design is simple almost the same as the flannels, and although it is the first blouse that I make in this model it was another challenge for me that I am so used to the comfort of making simple garments, but there is always a first time and the opportunity to innovate our ideas styles and adapt to our clients, at first I said that I could not be able to do it but I set a goal and I want to fulfill it which is precisely to learn to make clothes in haute couture, and well if I have the machines to work I only needed the desire and the disposition that everything was going to turn out very well and well I would have the practice, say no and at the same time give up both thoughts They were fighting, but I said that if I didn't try, I would never do it, so I joined this challenge once again, which I finally completed with satisfaction, and I'm showing it to you. Enjoy the tutorial.🥰❤️

Materiales:// Materials:
- 1 metro de tela strech
- Tijeras
- Alfileres
- Máquina de coser
- Medida como referencia para cortar la blusa o unos patrones
- Hilo
- 1 meter of stretch fabric
- Scissors
- Pins
- Sewing machine
- Reference measurement for cutting the blouse or patterns
- Thread
Pasos a seguir://Steps to follow:
Paso 01
Step 01
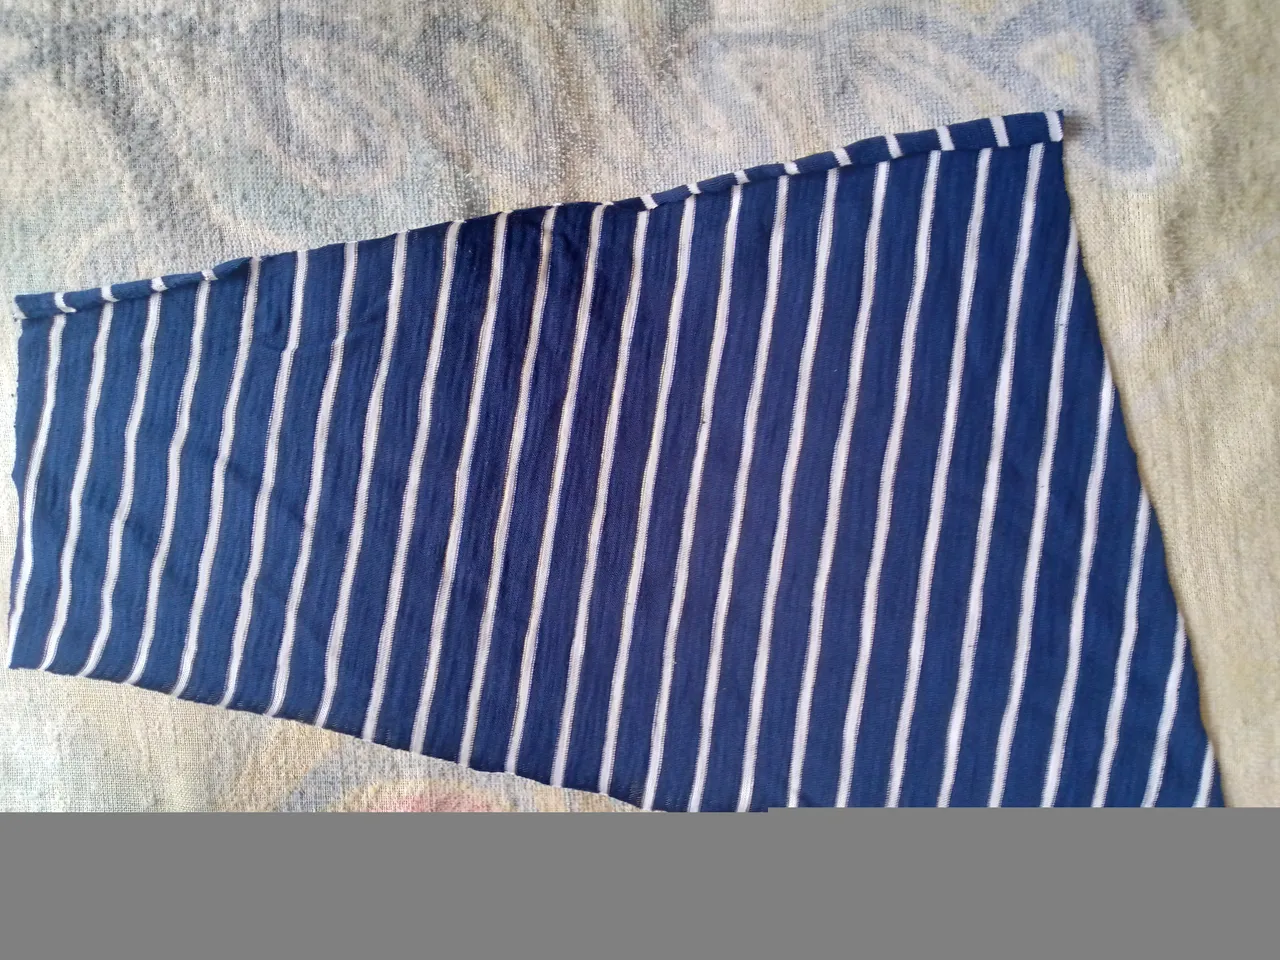
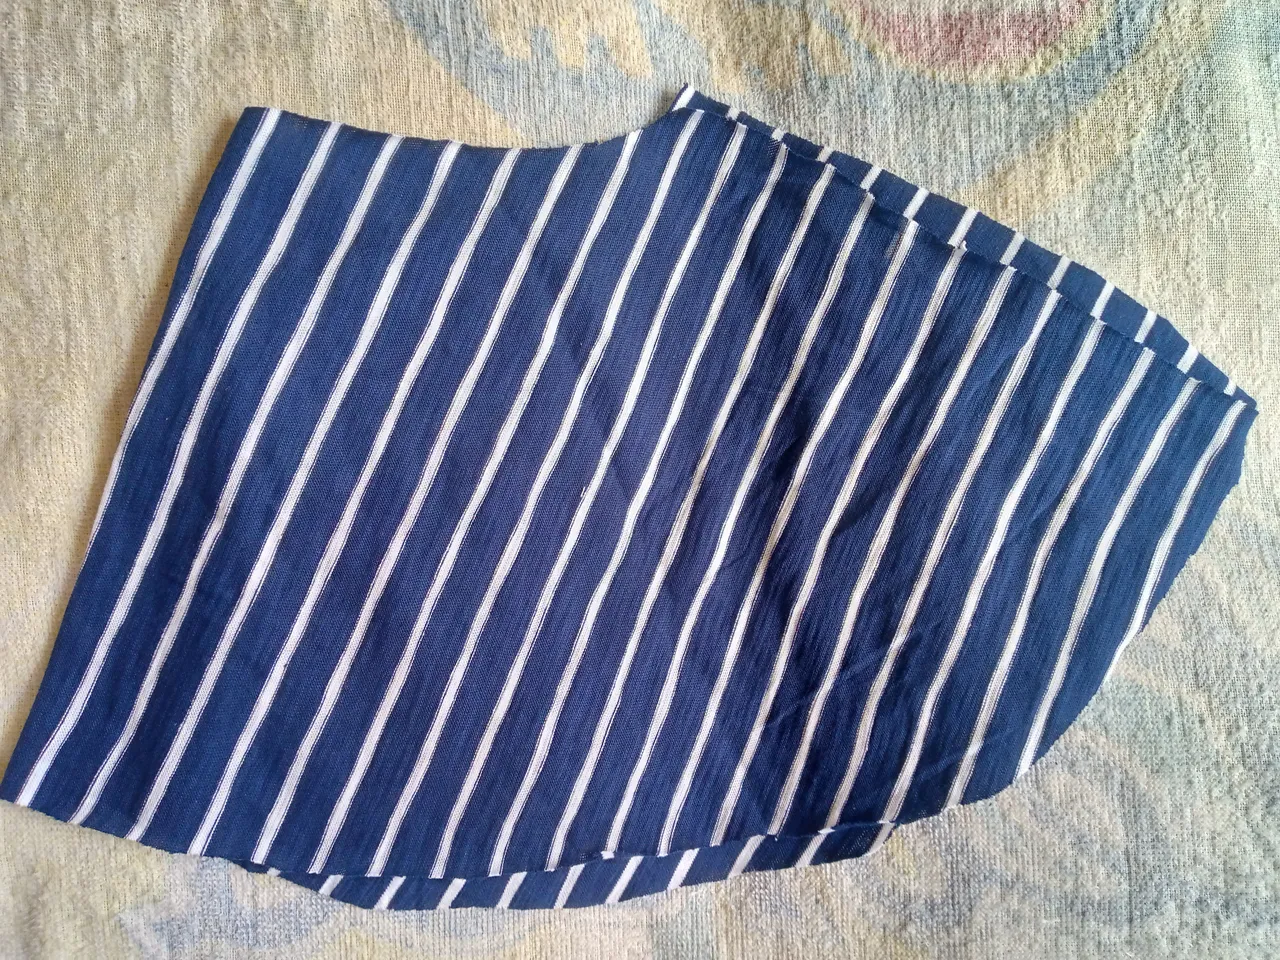
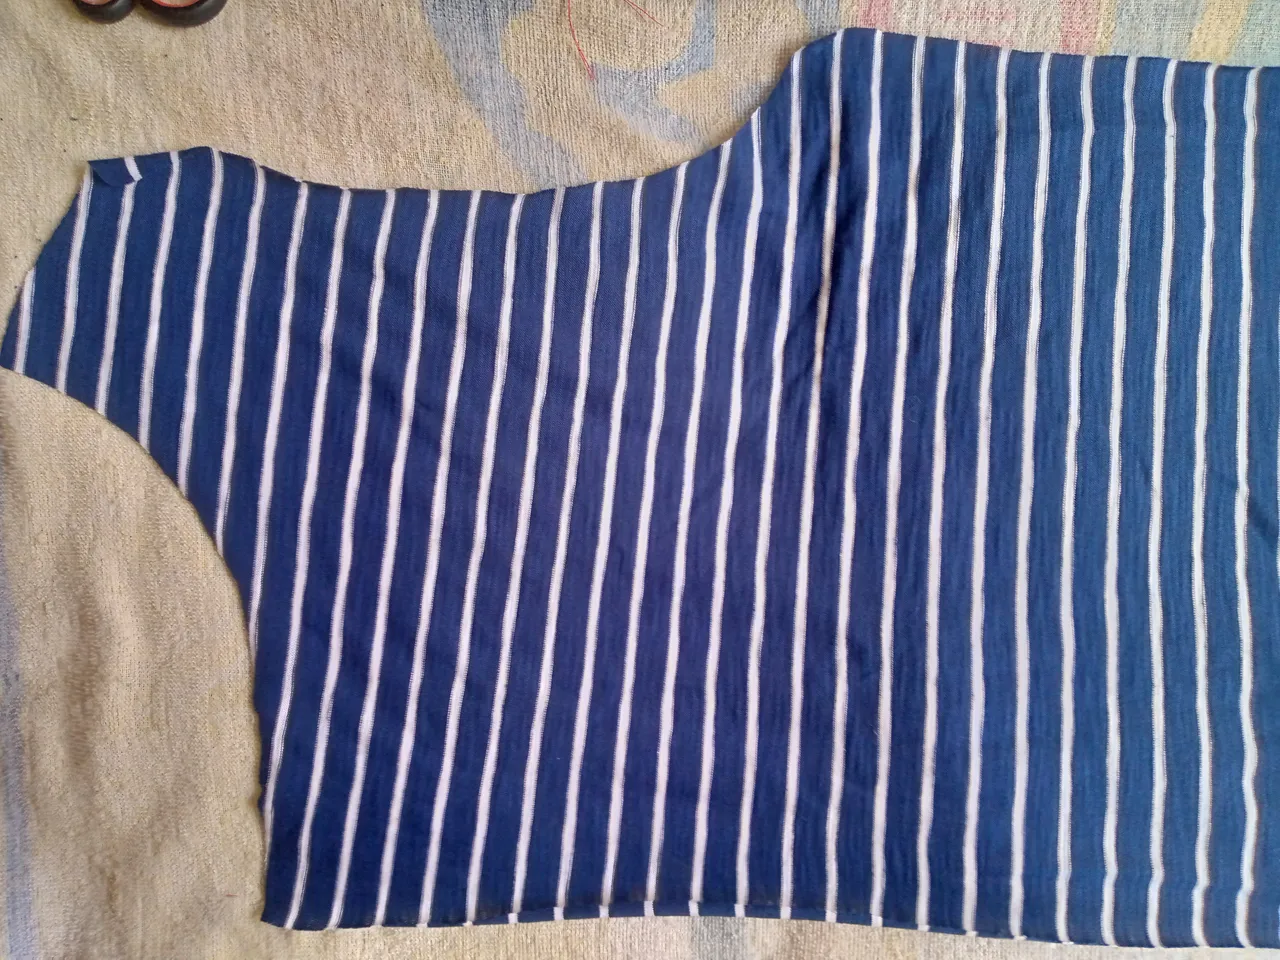
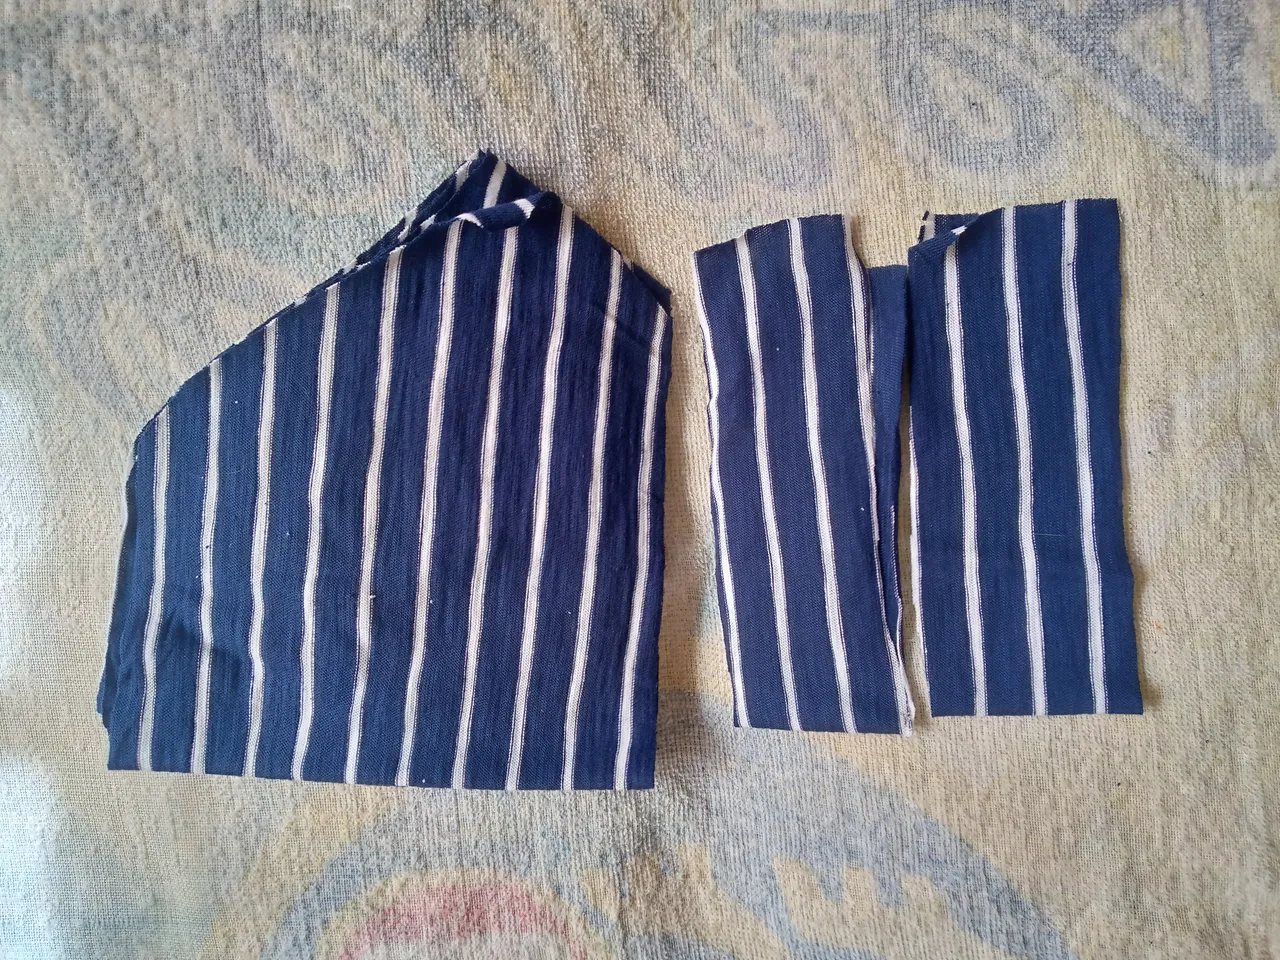
To cut the blouse I took a model as a reference to guide me and make the cutting of my fabric much easier with this, then I cut two pieces, one in the front and one in the back, but the cut of the front piece has an opening to the right, that is, a cut in half because this model will be made with a flare at the neck and another above the shoulder precisely on the right side, we cut the flare of the semi-circular neck that is the same size, we also cut the flare with an inclined cut on the other side of the shoulder, the sleeves and the biases of the sleeves.

Paso 02
Step 02
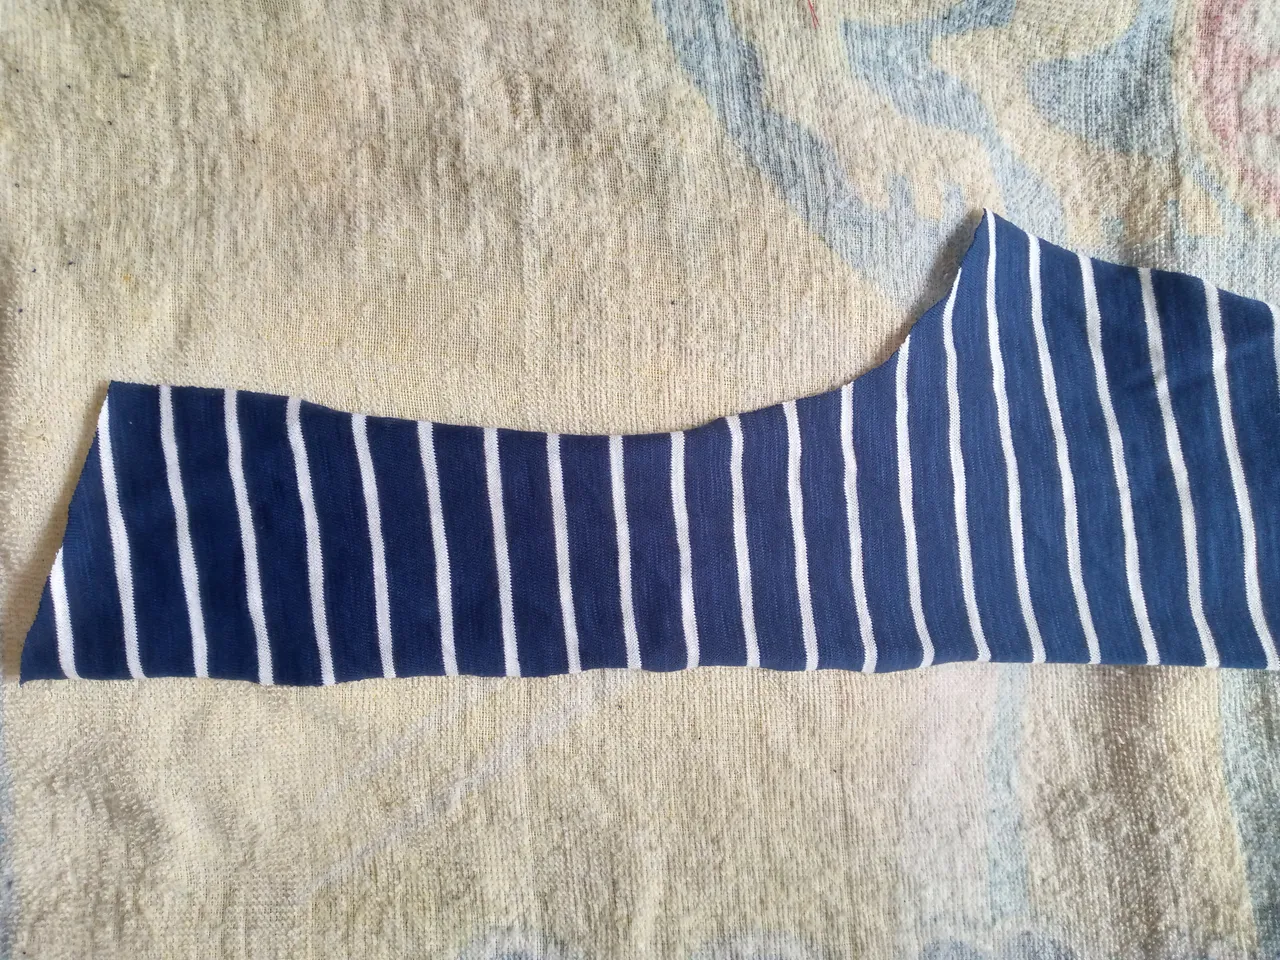
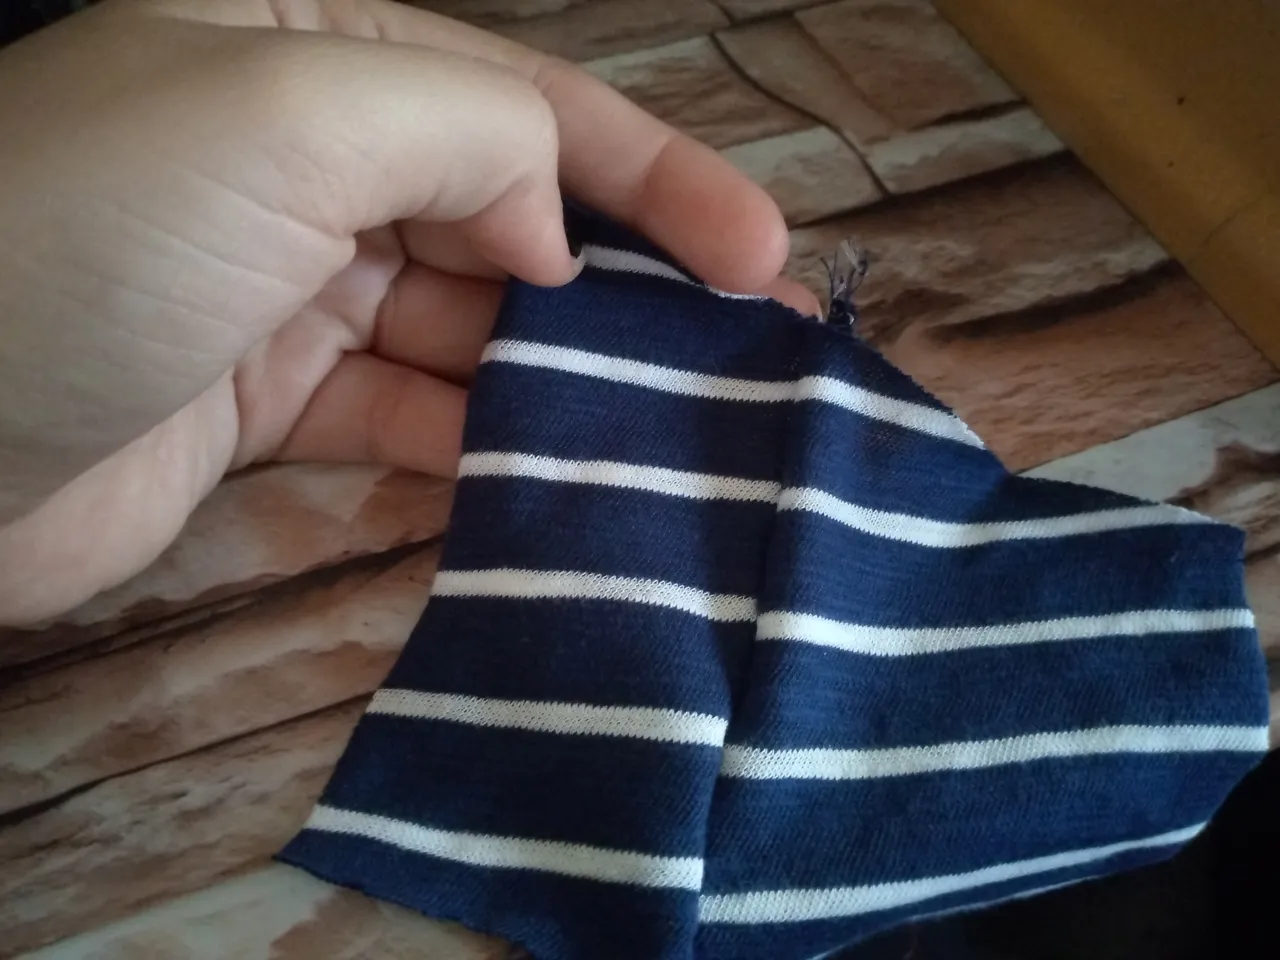
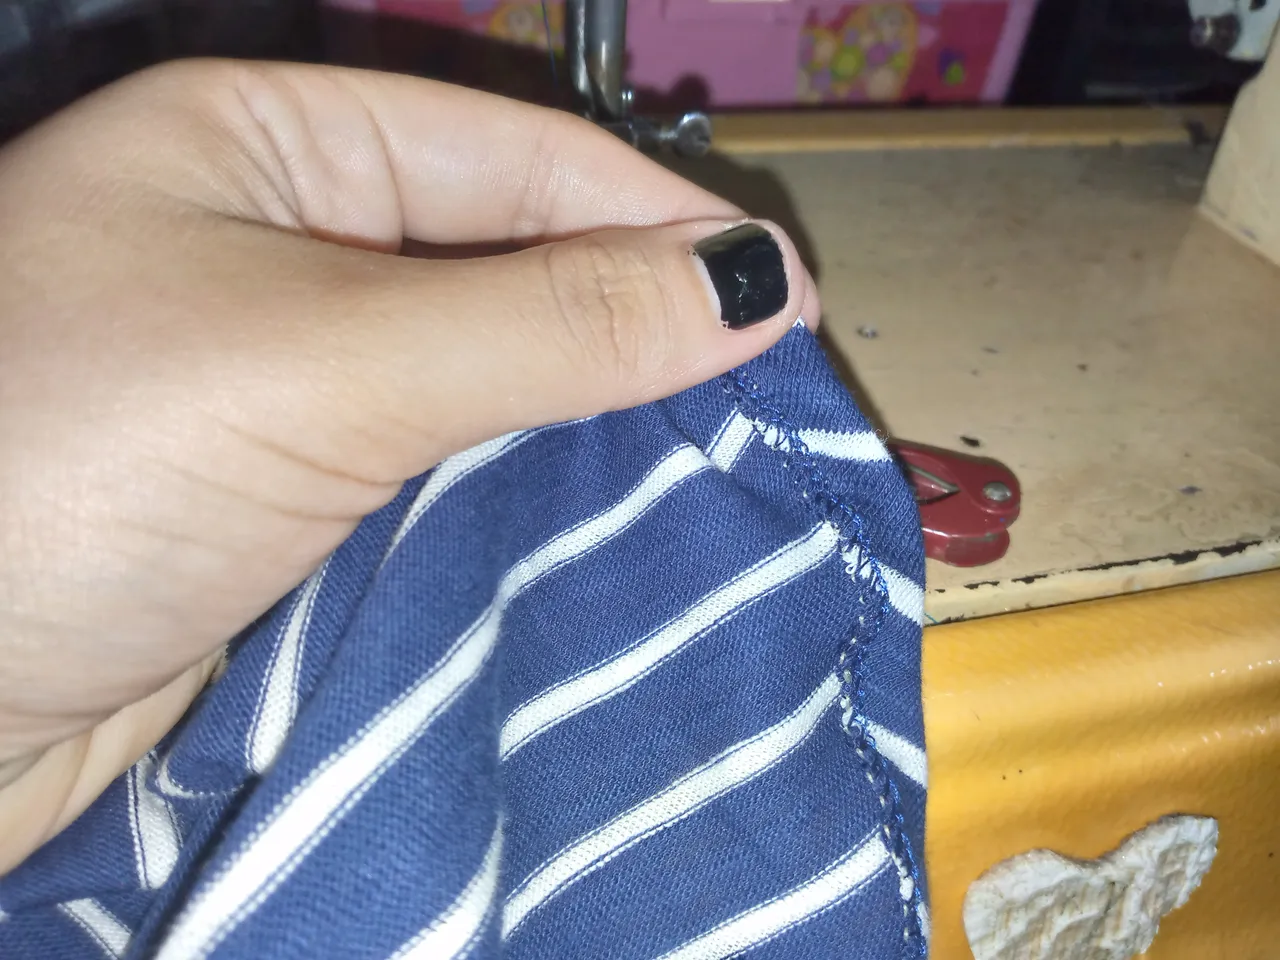
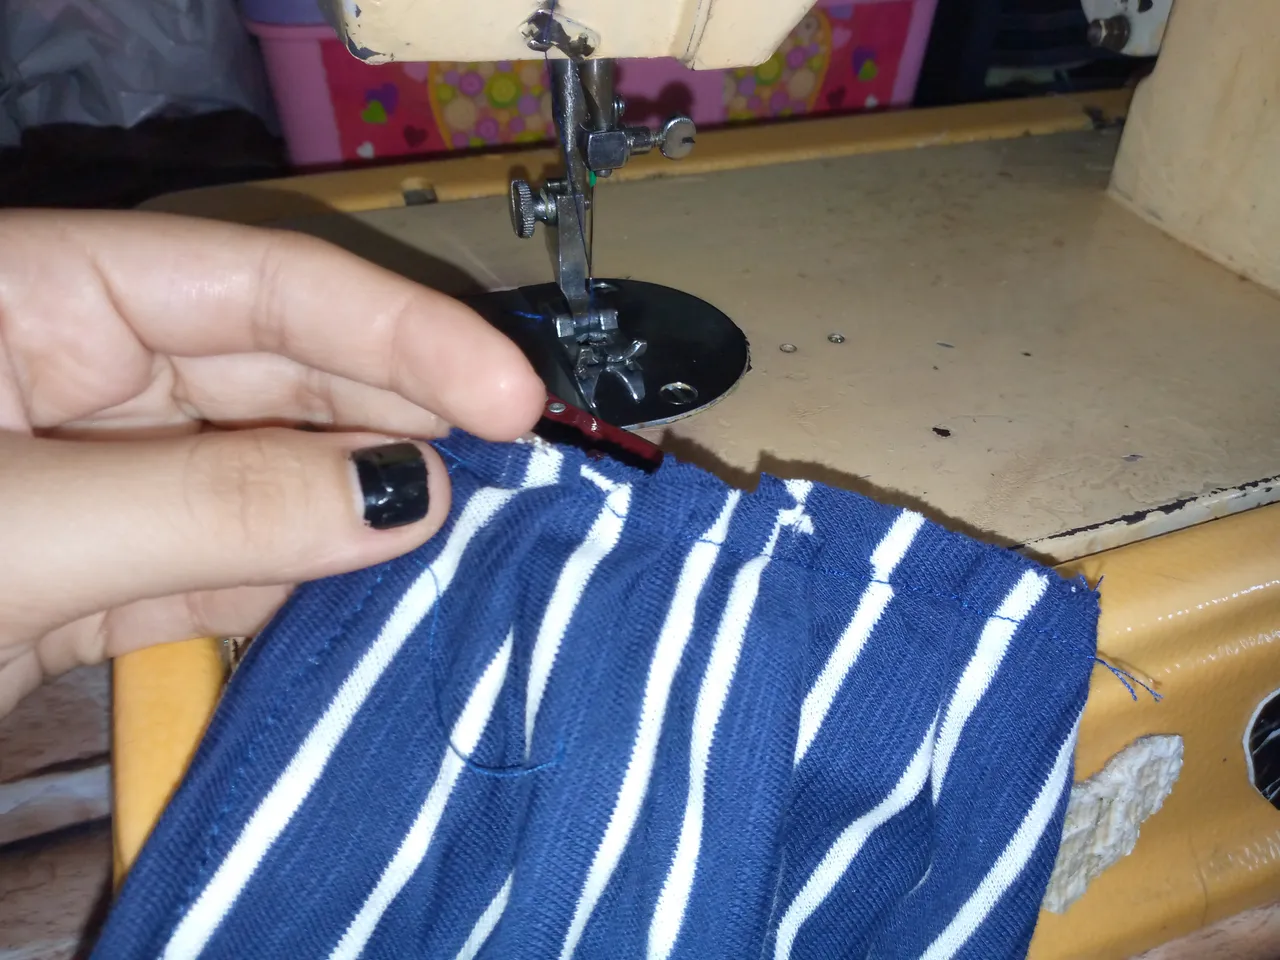
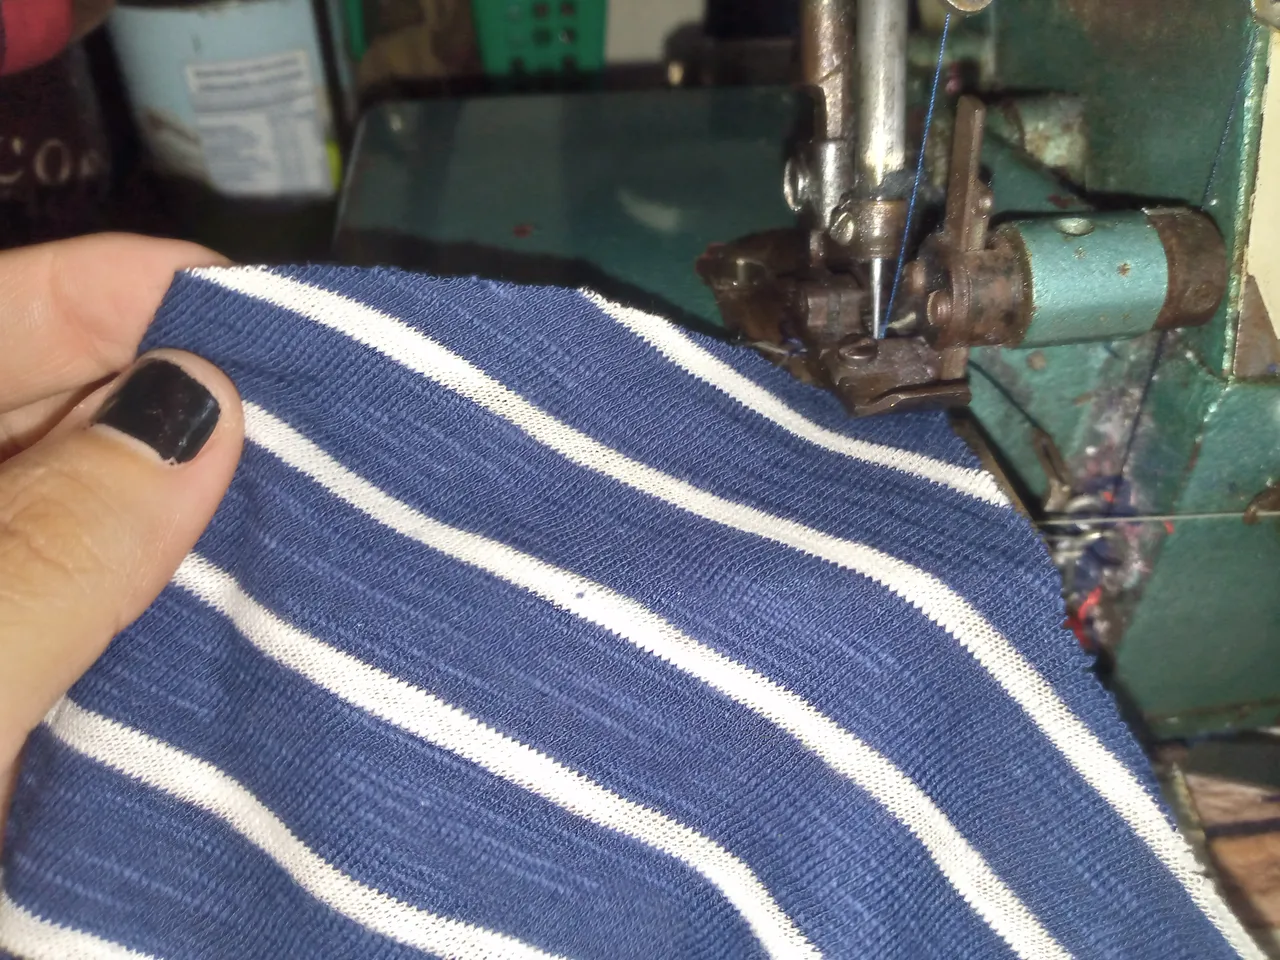
We will now sew the right side part. We will start sewing there because on that side it is important that we cut the flare before joining the shoulder piece. So I sewed a small piece to the right with an overlock along the bottom and sewed with a straight seam afterward to seal the overlock seam. Then I will sew the flare with an inclined cut in that part above the shoulder edge, gathering it a little above to give volume to the flare. That is what we want, the flare to be wide and at the same time have shape.
Paso 03
Step 03
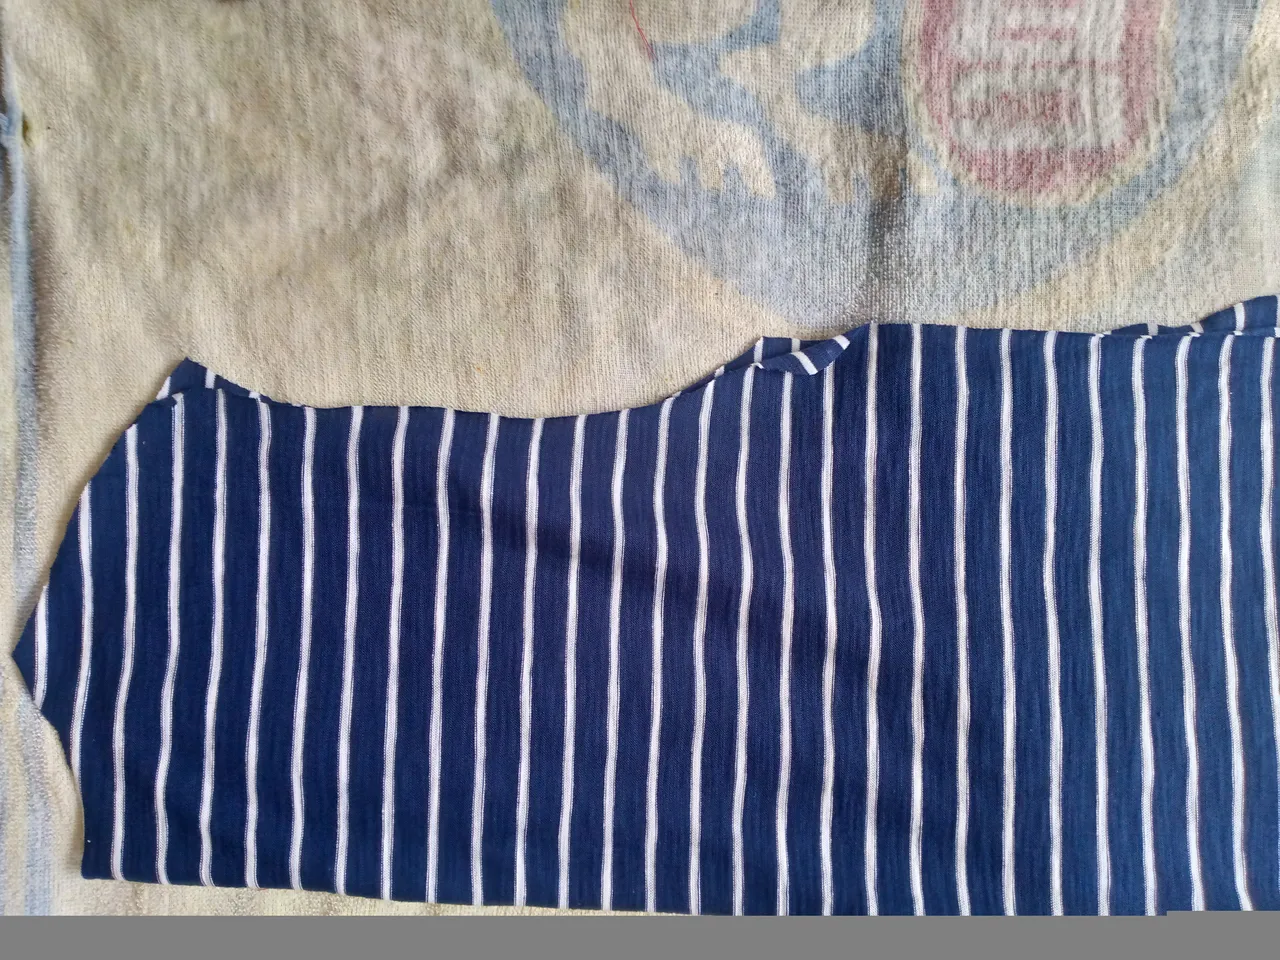
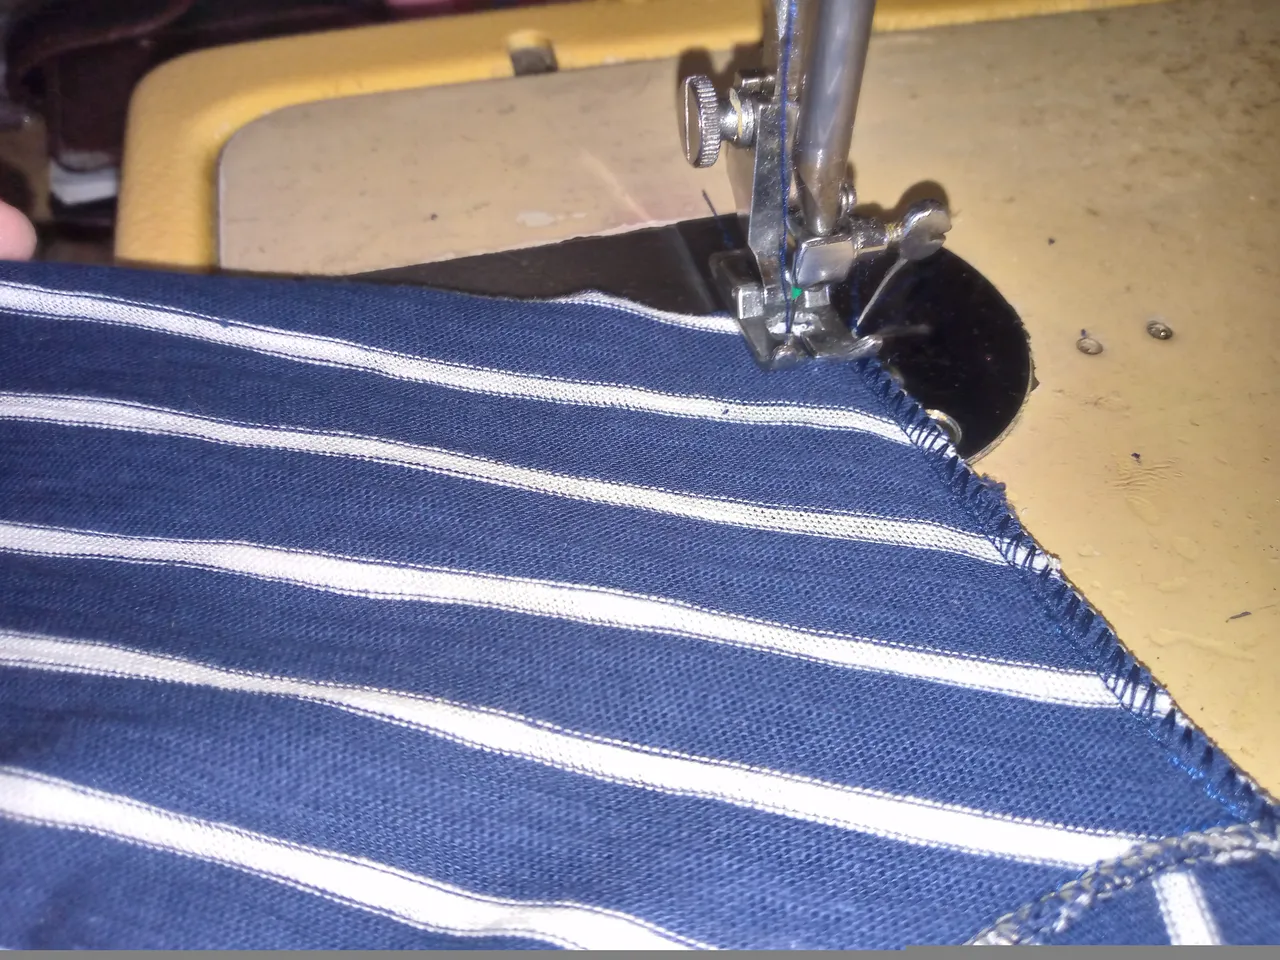
We then join the piece that we have sewn together with the left front piece, leaving the edges unstitched. Then we sew the flare in one corner of the shoulder on the right side and do the same step that we did previously with the inclined flare, gathering it at the top. Then we sew the flare to gather it and make it fall towards the right side. We finish with a straight seam and hem our flare of at least 1 cm.

Paso 04
Step 04
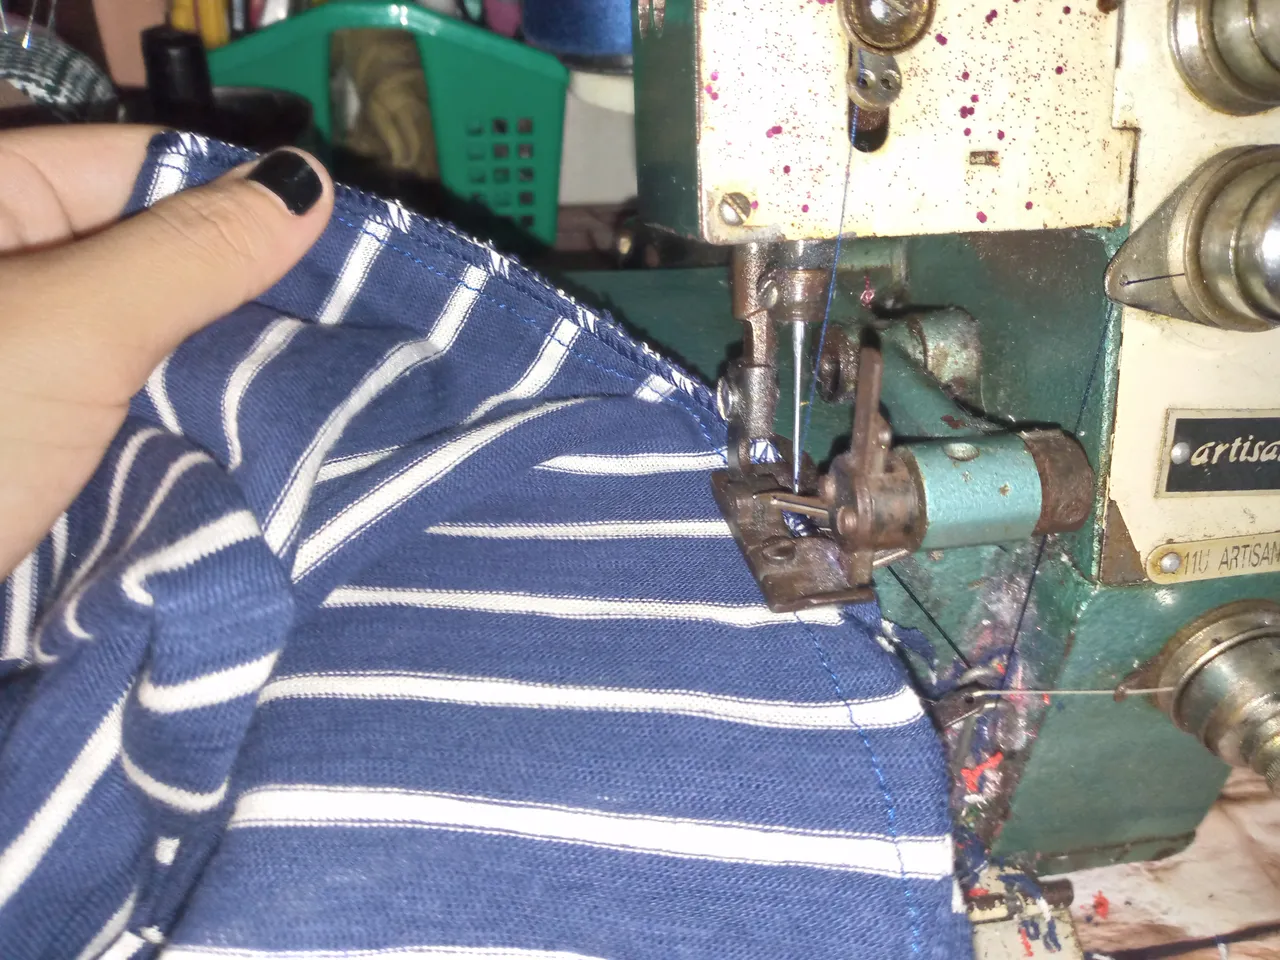
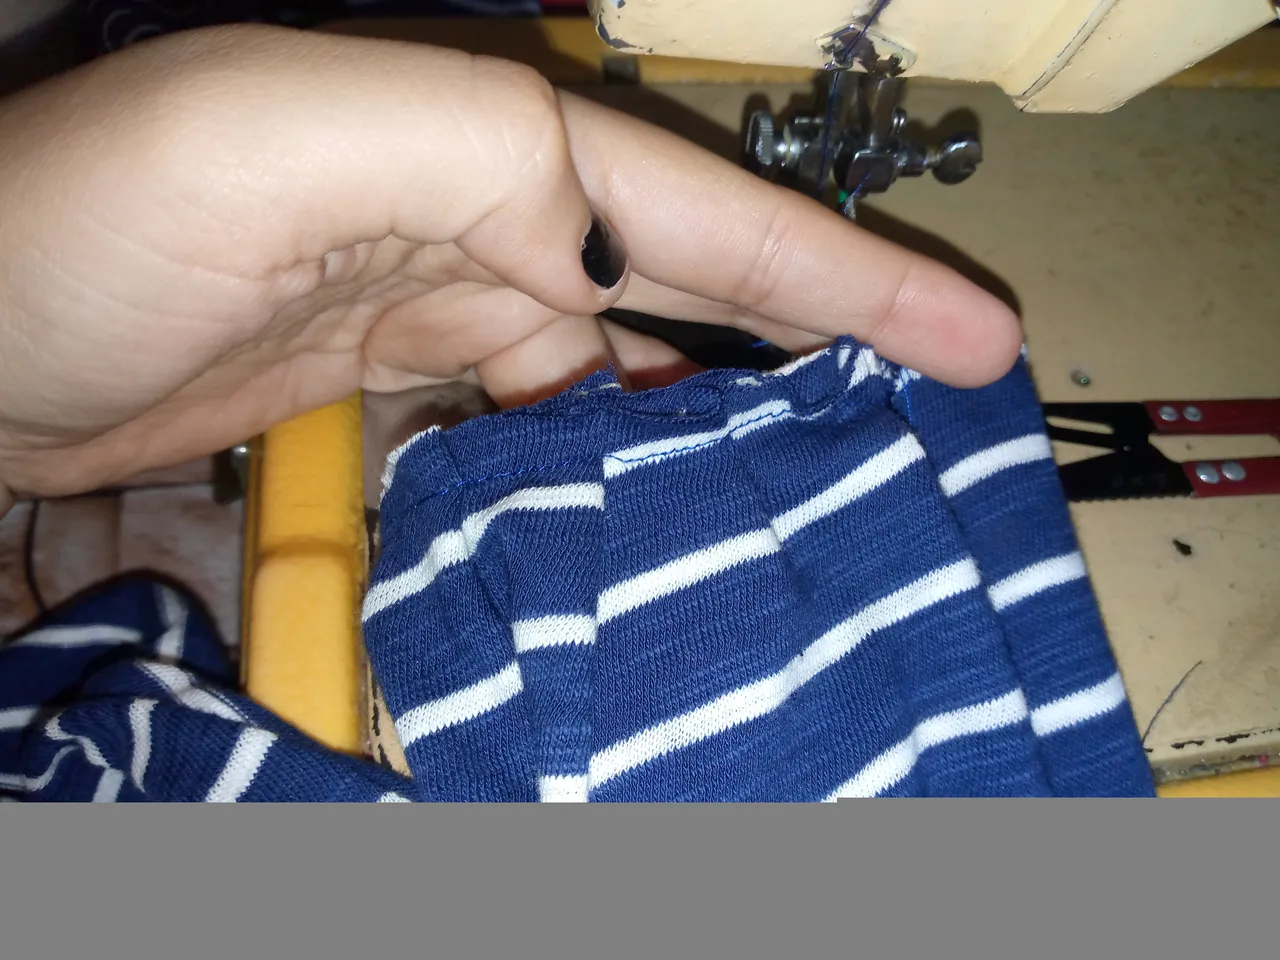
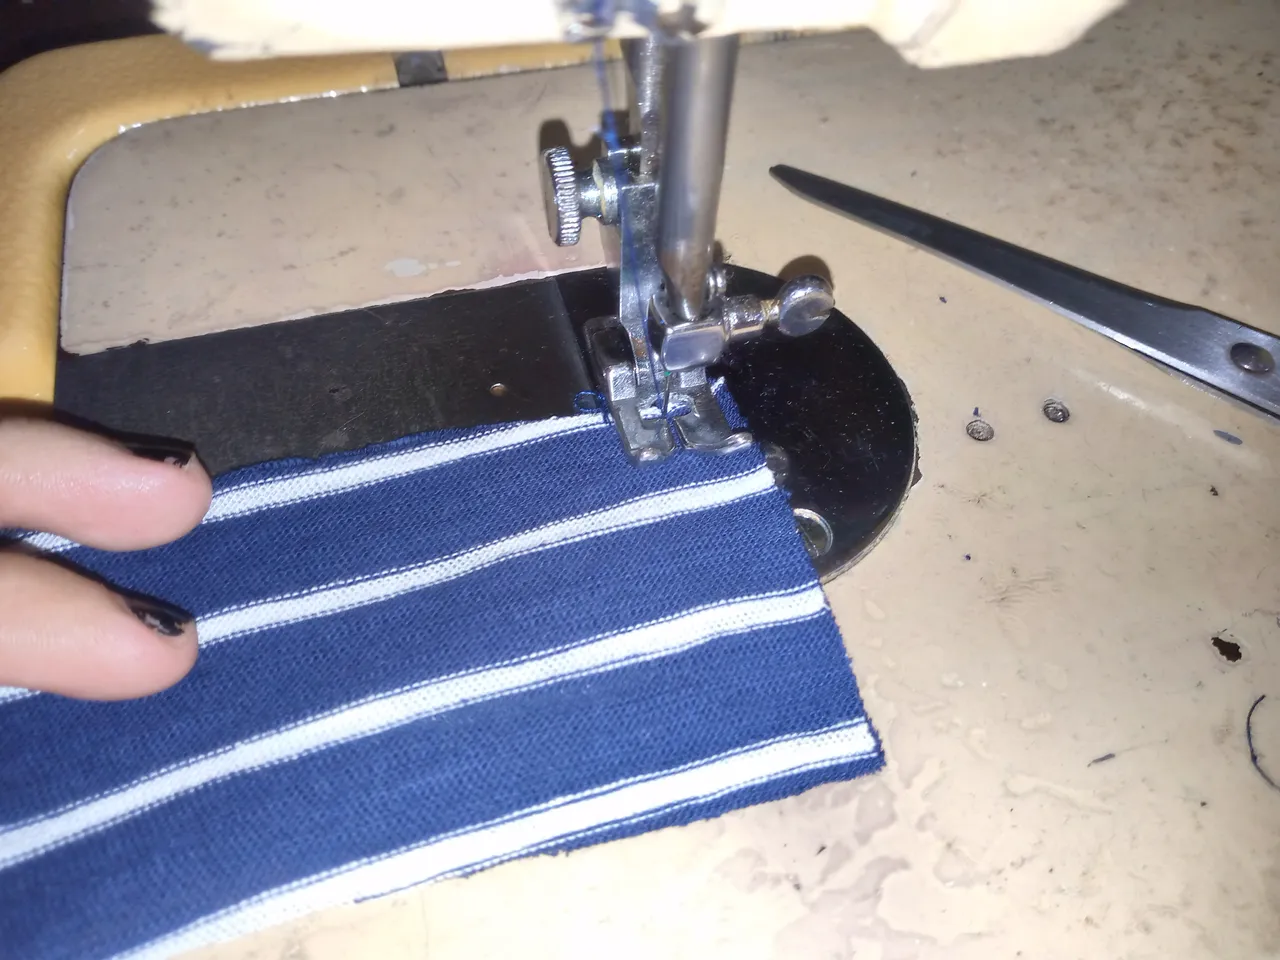
Finally and to conclude with our step by step I joined the pieces of the blouse to the shoulders and sewed the sleeves to the armhole and then joined the sides and sew from the tip of the sleeve to the bottom of my blouse, passing a straight seam as well and sealing this part, we are going to join the pieces of the bias of each sleeve at the edge we fold inwards and sew around the entire outline of the sleeve, we do the same with the other sleeve as well and then we go and sew the hem with an overlock and make a 2 cm hem inwards and sew with a straight seam and that's it.
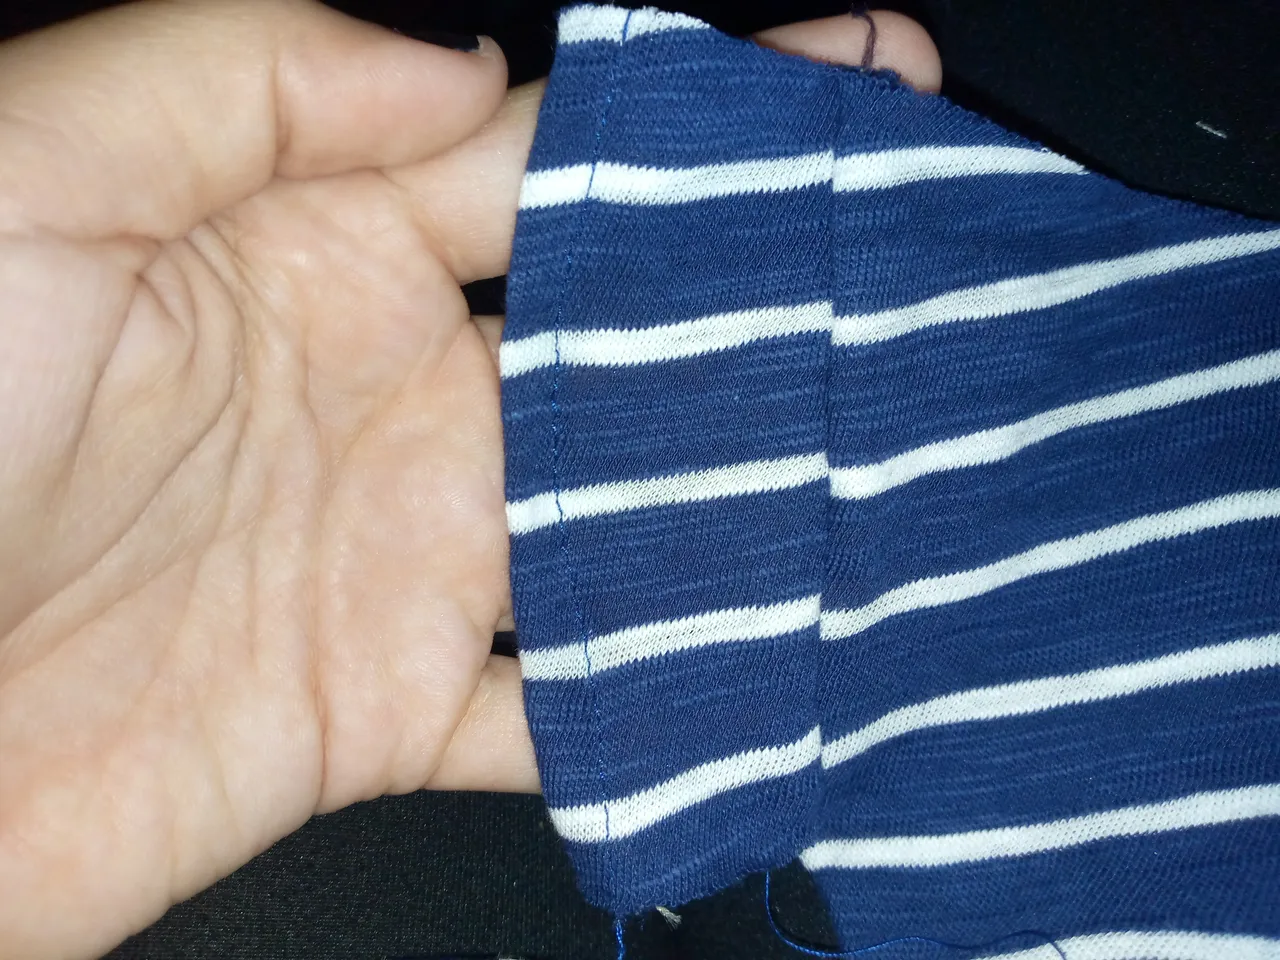
Resultado:// Result:
In this way I have finished my blouse, I wanted to add a detail on the right side precisely where the inclined flight is, I added a shiny buckle so that the detail of the flight would stand out more and it would look more elegant, since the model I had also had a nice decoration in this part, so it was ready to use 🥰👚This is a beautiful blouse and I would be happy to know that you loved this work and this sewing design, I wish you many blessings and a happy day and we will read each other in another sewing and crafts tutorial, greetings 🥰❤️🪡🧵.


Creating things with love 🌷❤️
🦋✨ All the images in this publication are my author ,📱taken with my TecnoSpark8C cell phone |📸Photos edited in PicsArt and Canva. Text translated in Google Translate.
