

Good morning my dear friends, I hope you are having a great day today 🥰 I want to share with you the very creative process of how I made a long skirt with soft, non-stretch fabric. I really like this type of skirt because it fits the body, A-line cut. If you have small hips, this type of skirt will help you a lot to enhance your figure and waist. You can wear it with sweaters and simple, solid-color blouses because the fabric I chose is printed.
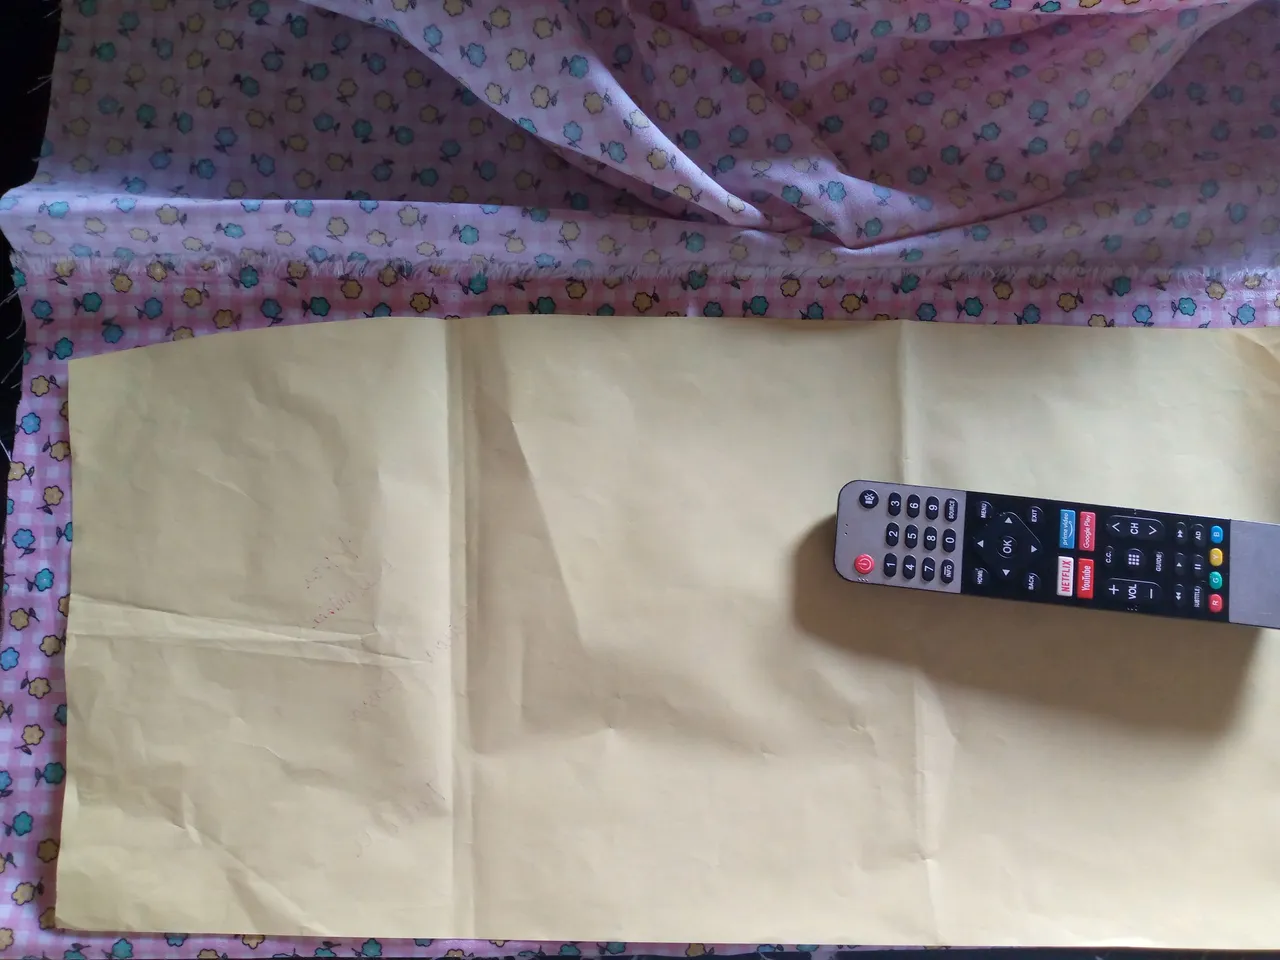
To make this tutorial easier I have chosen to use my basic straight skirt patterns with darts at the waist and at the top of the waist of the back piece, I made these patterns using my precise and exact measurements, if you already have your basic skirt pattern then you will see that it will be much easier for you to make a long skirt, just take the length that is missing from your pattern and that is what we are going to add to the long skirt from the measurement of our legs down or simply where we want the skirt to reach, this time I made it so that it reached above my ankles.

Materiales:// Materials:
- 1 metro de tela
- Máquina de coser
- Medida como referencia o patrones
- Hilo
- Tijera y alfileres
- Tiza para costura
- Cierre de 30 cm de largo
- 1 meter of fabric
- Sewing machine
- Measurement for reference or patterns
- Thread
- Scissors and pins
- Sewing chalk
- 30 cm long zipper
Pasos a seguir://Steps to follow:

Paso 01
Step 01
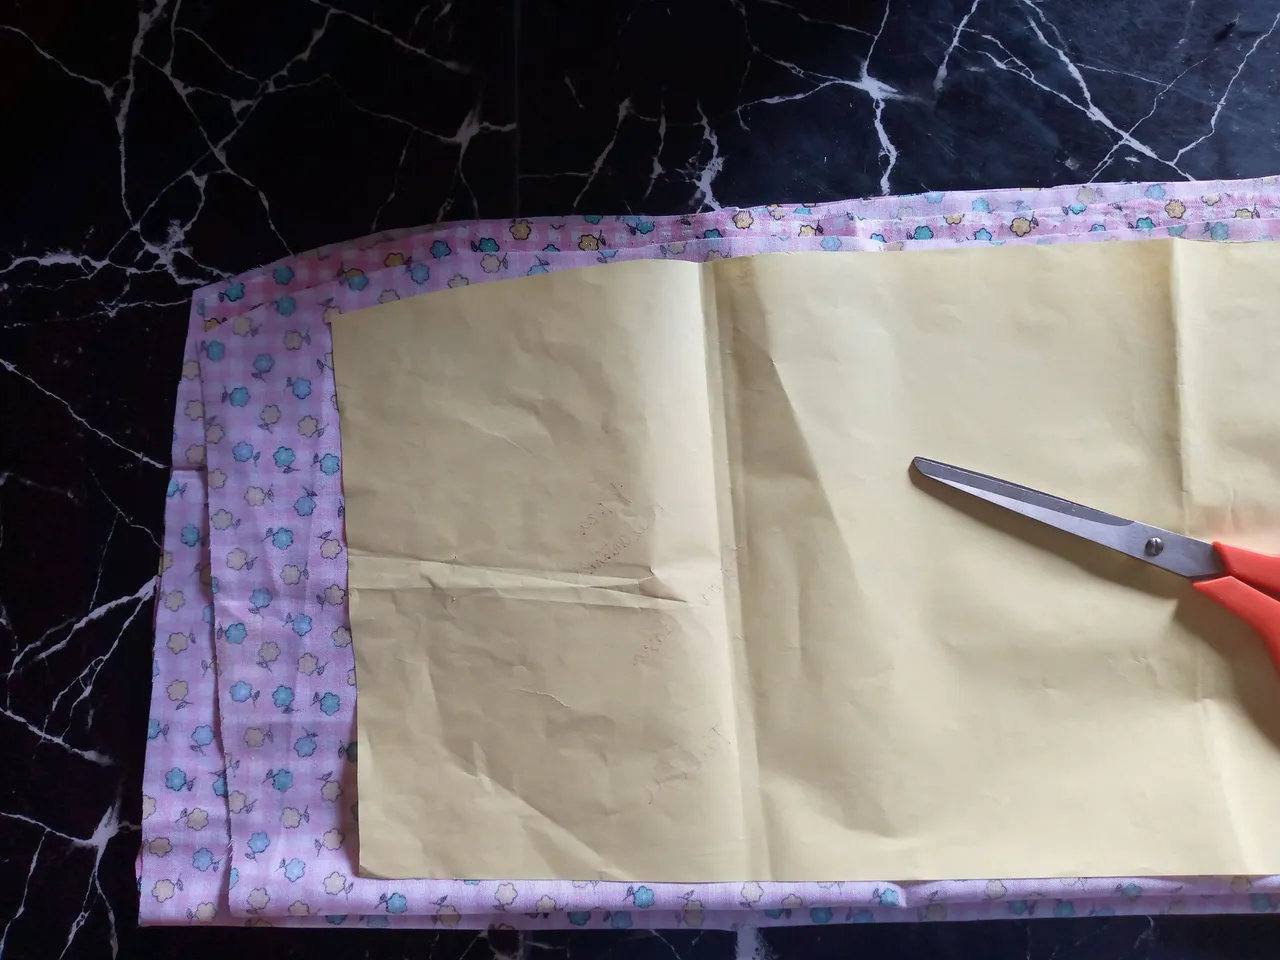
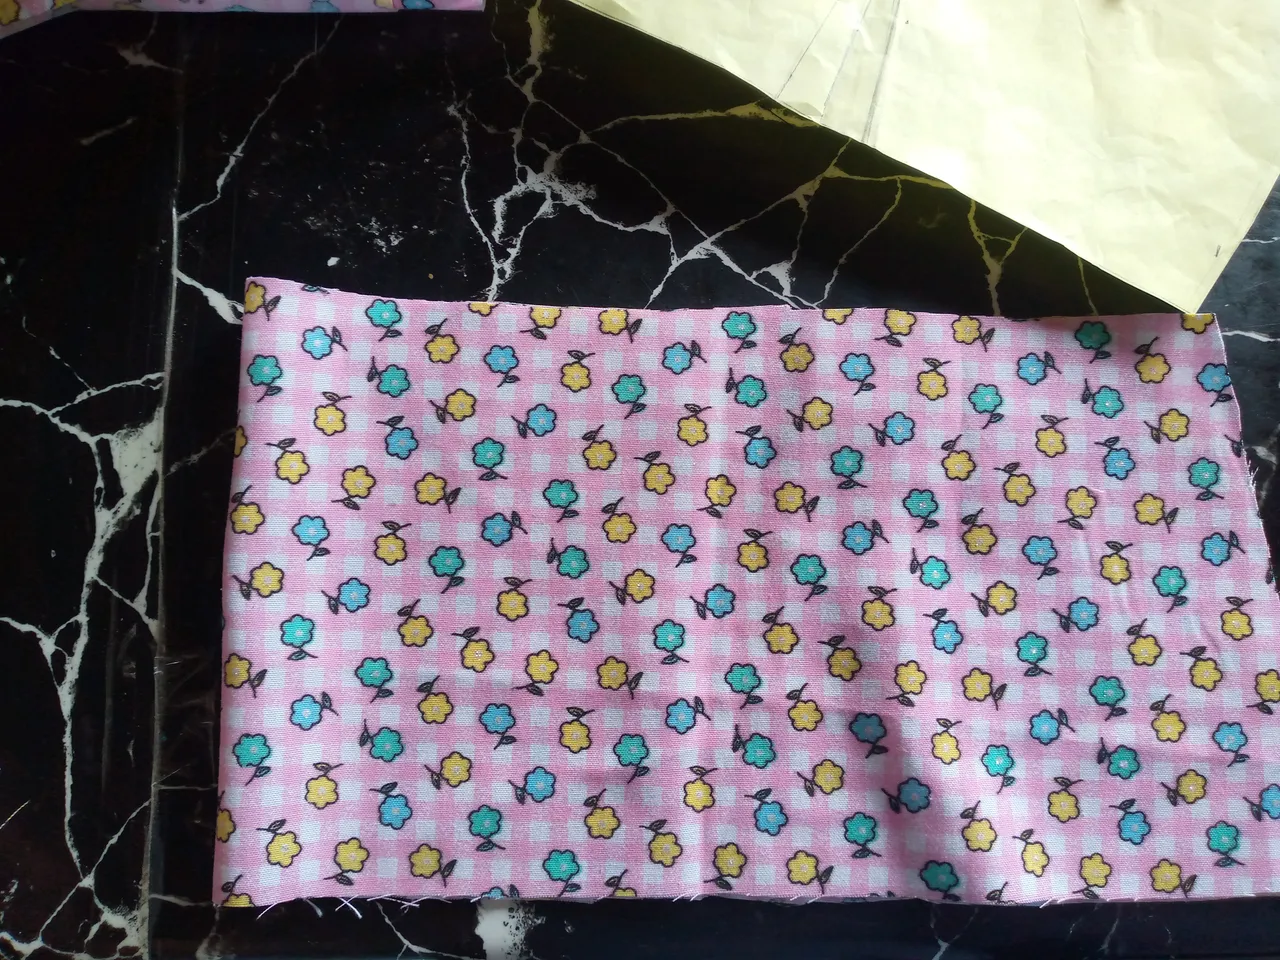
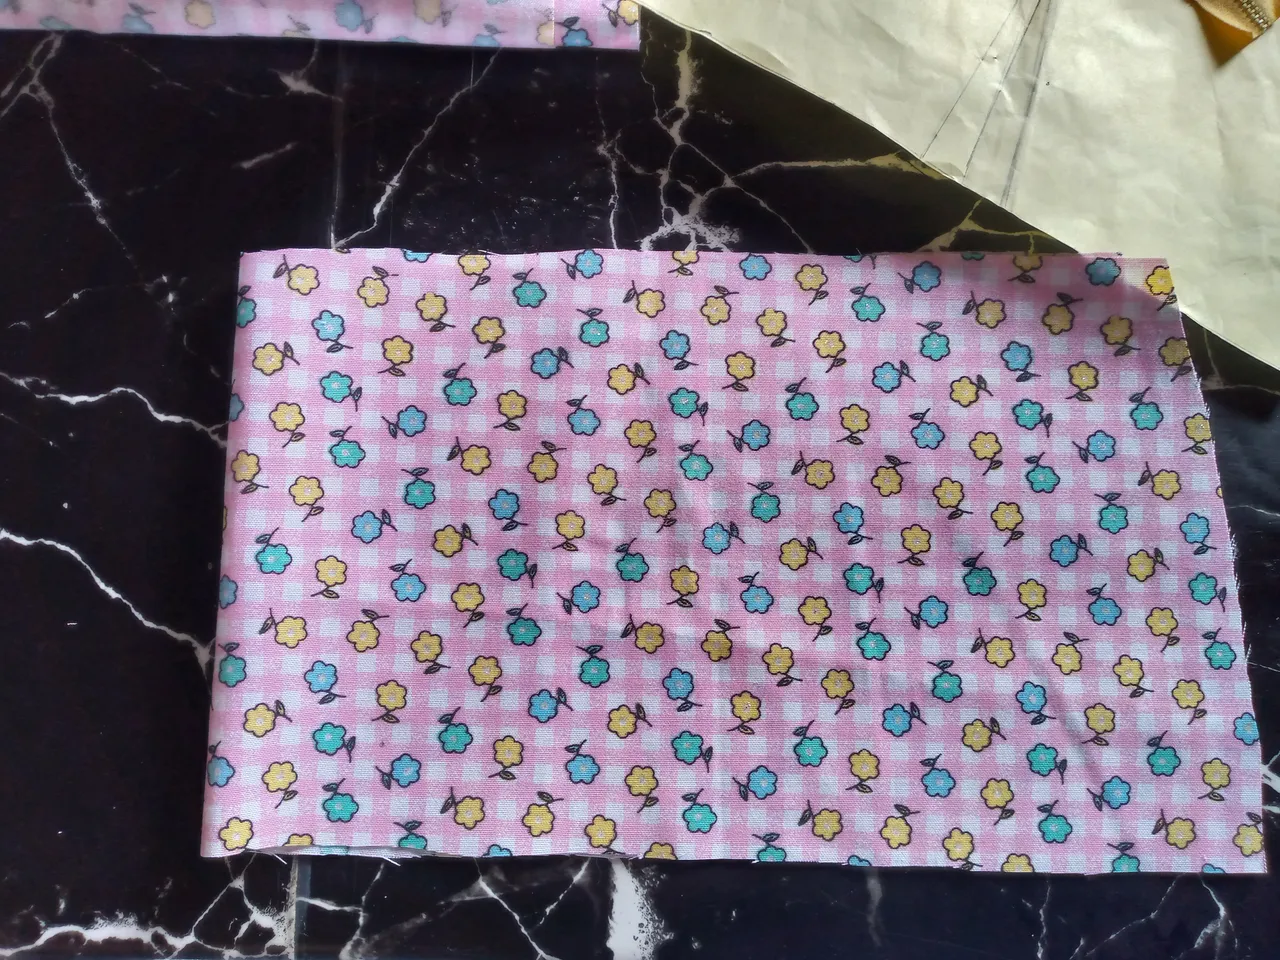
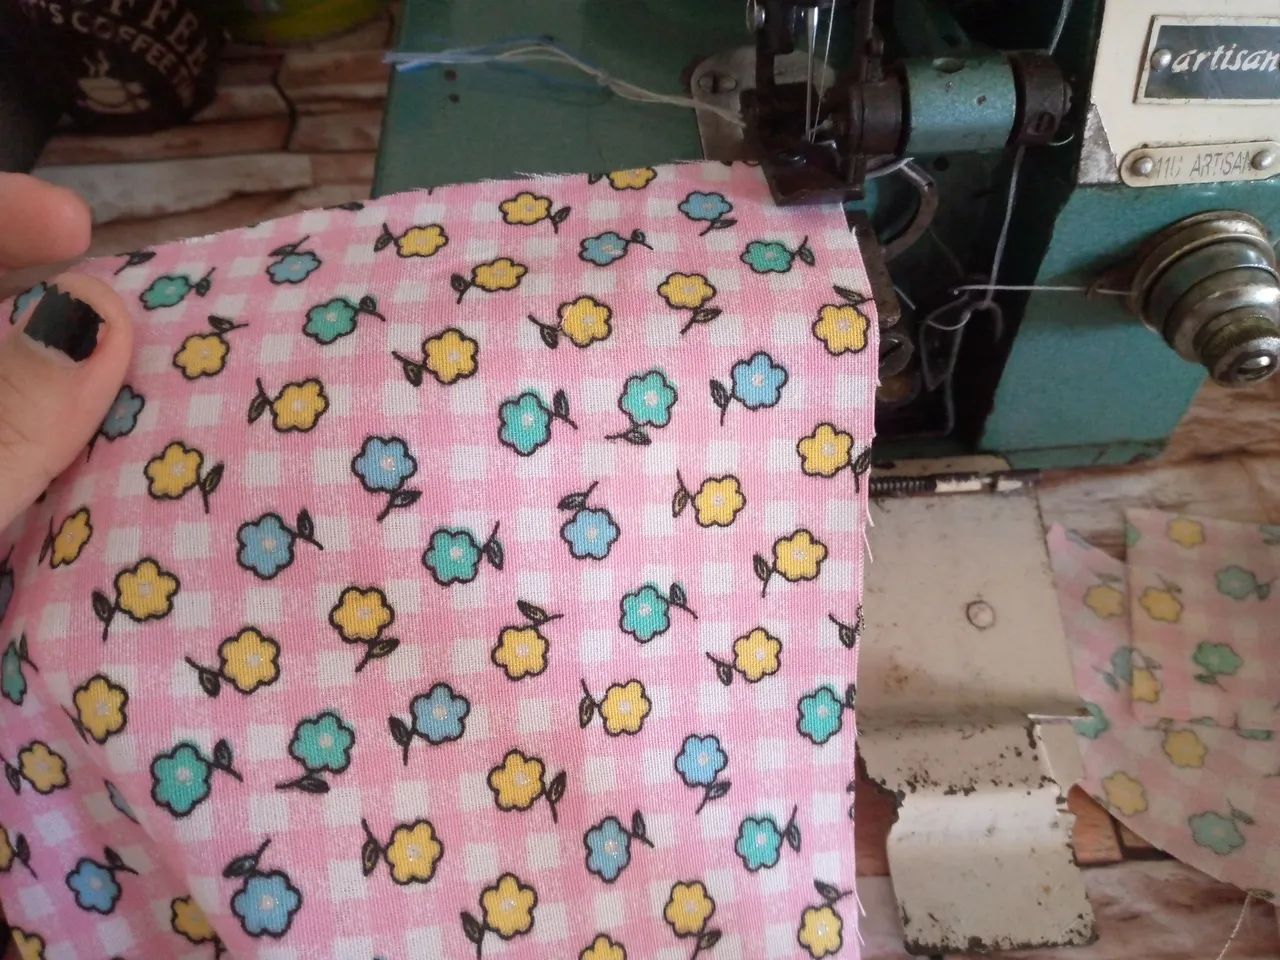
We cut the corresponding pieces for each side of the skirt as a front and back piece and as I want my skirt to have the closure on the right side I will not be using a button, we are simply going to cut two pieces in the middle of the waist to reinforce precisely this part of the closure, then we cut other small pieces as our closure I will place it completely down the sides I needed to reinforce it.

Paso 02
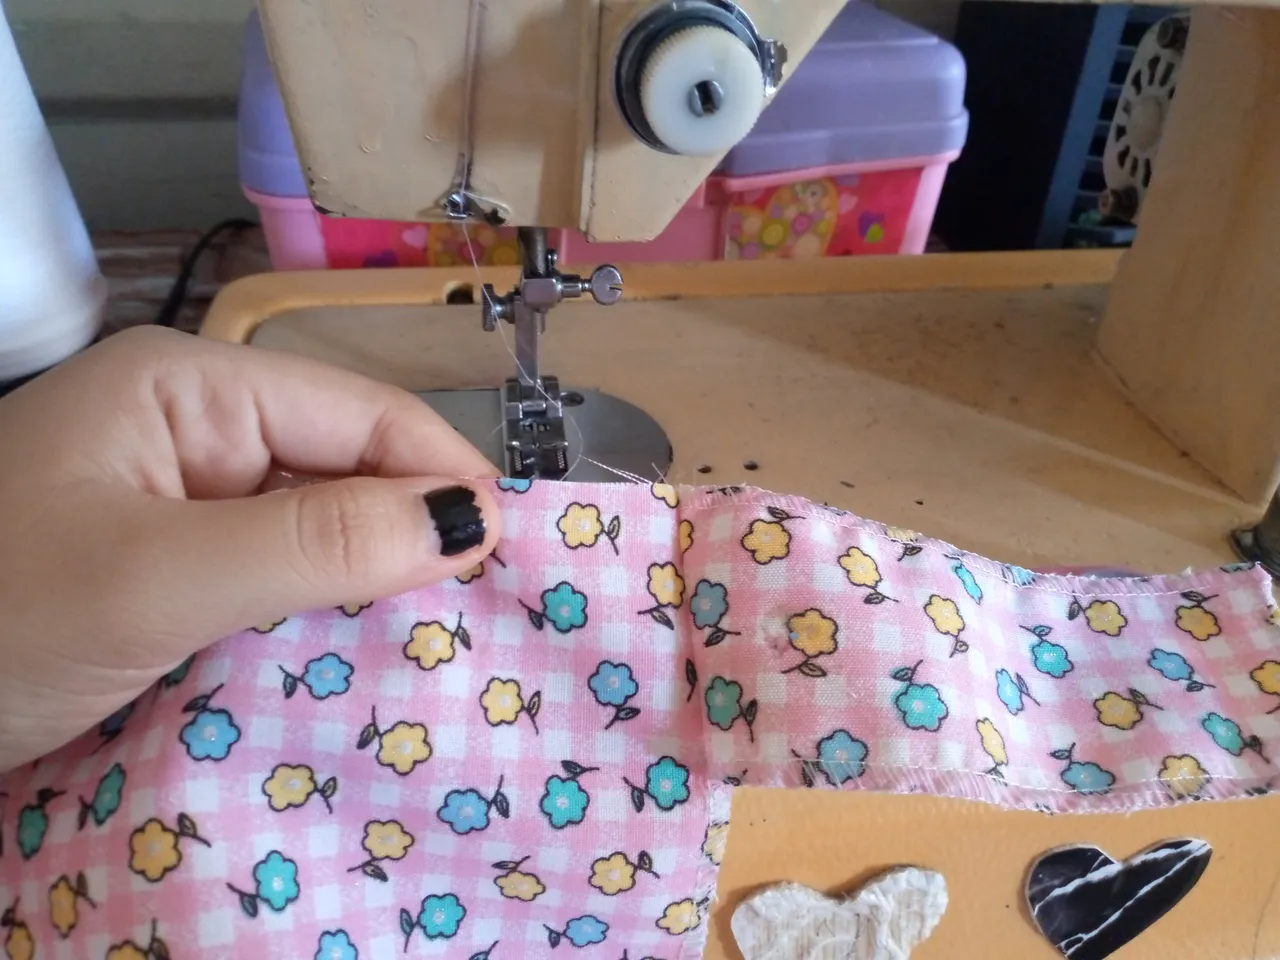
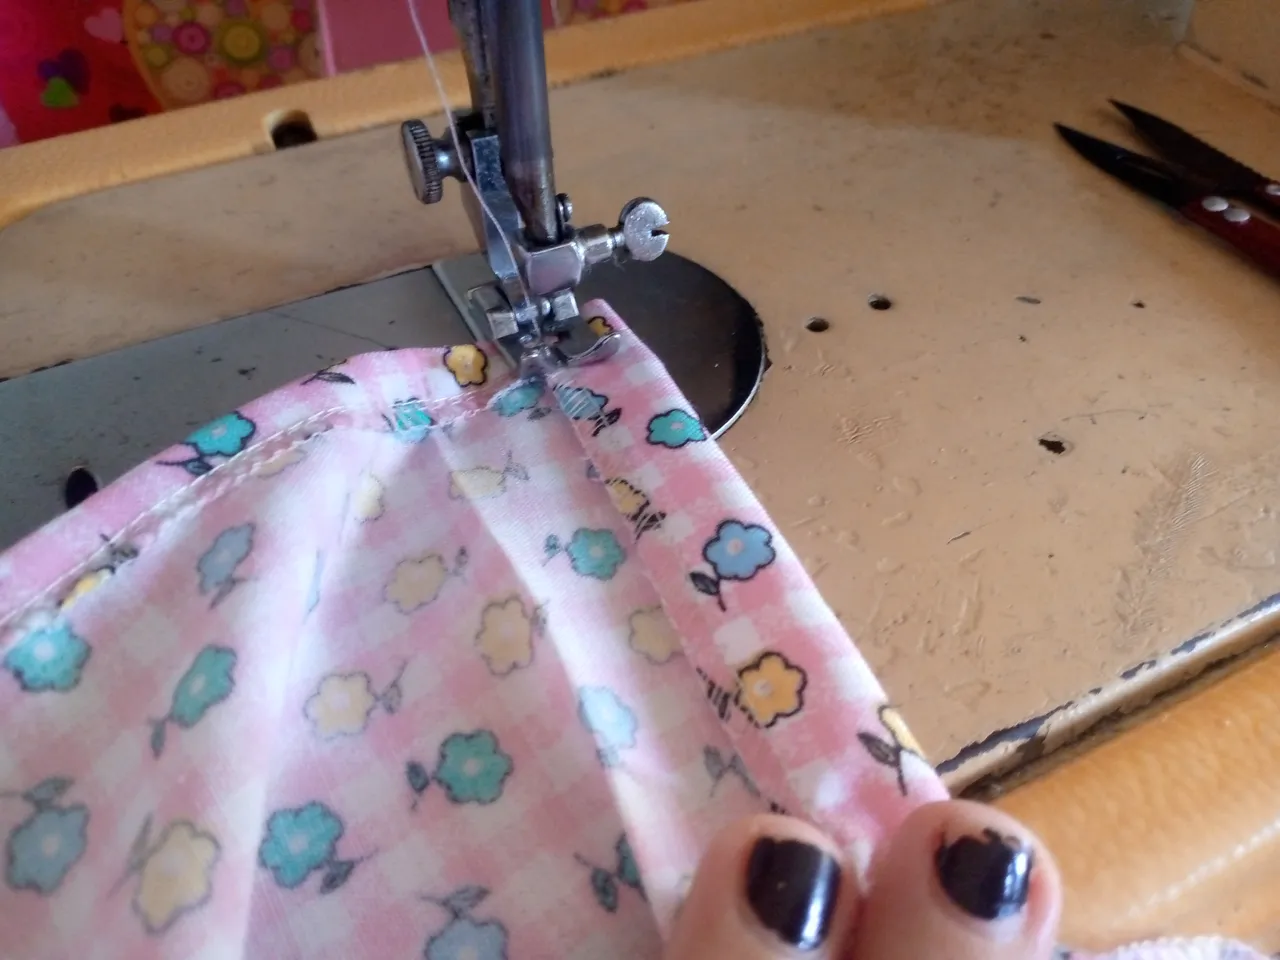
Step 02
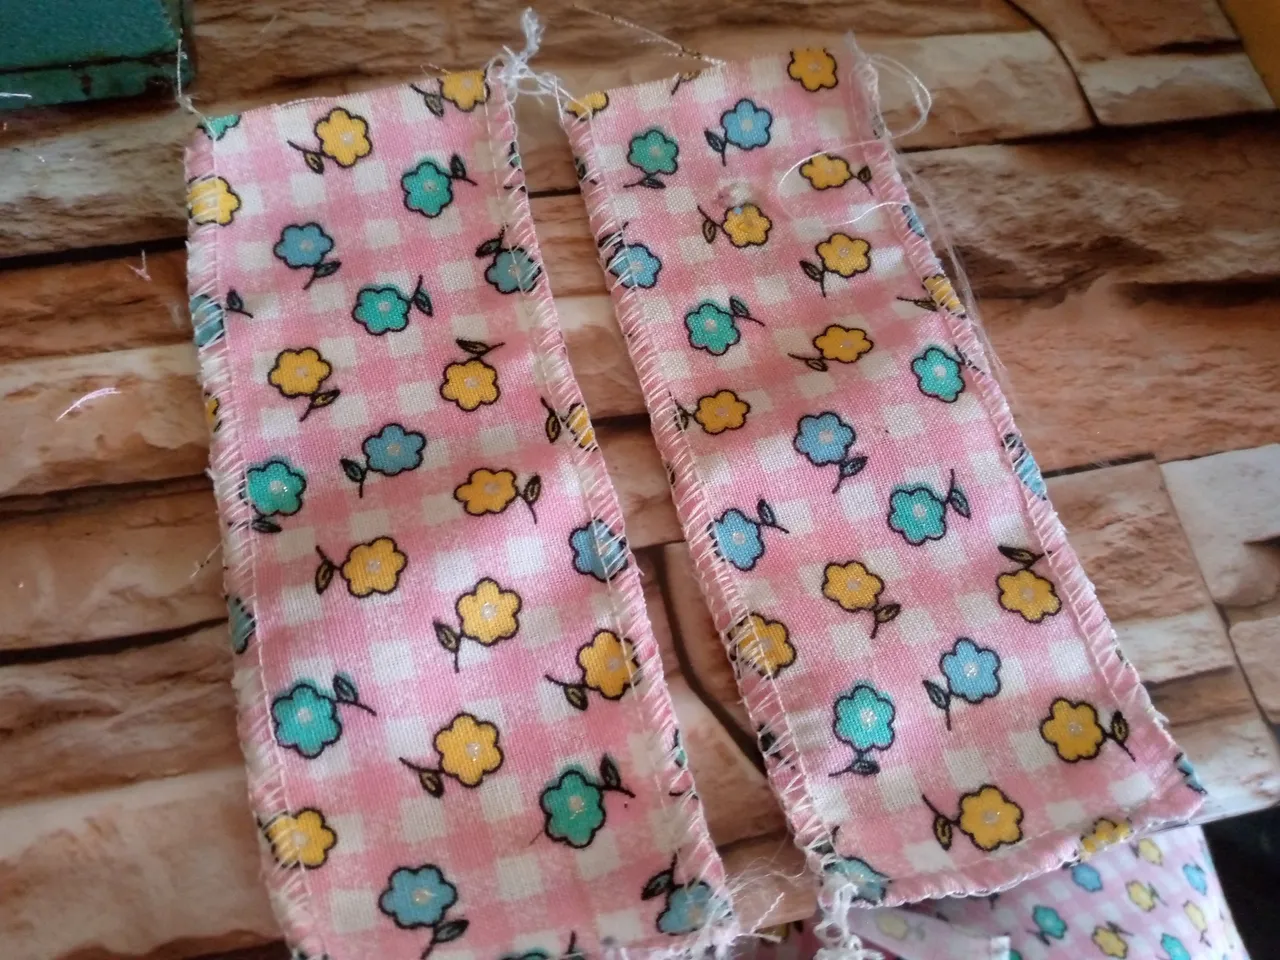
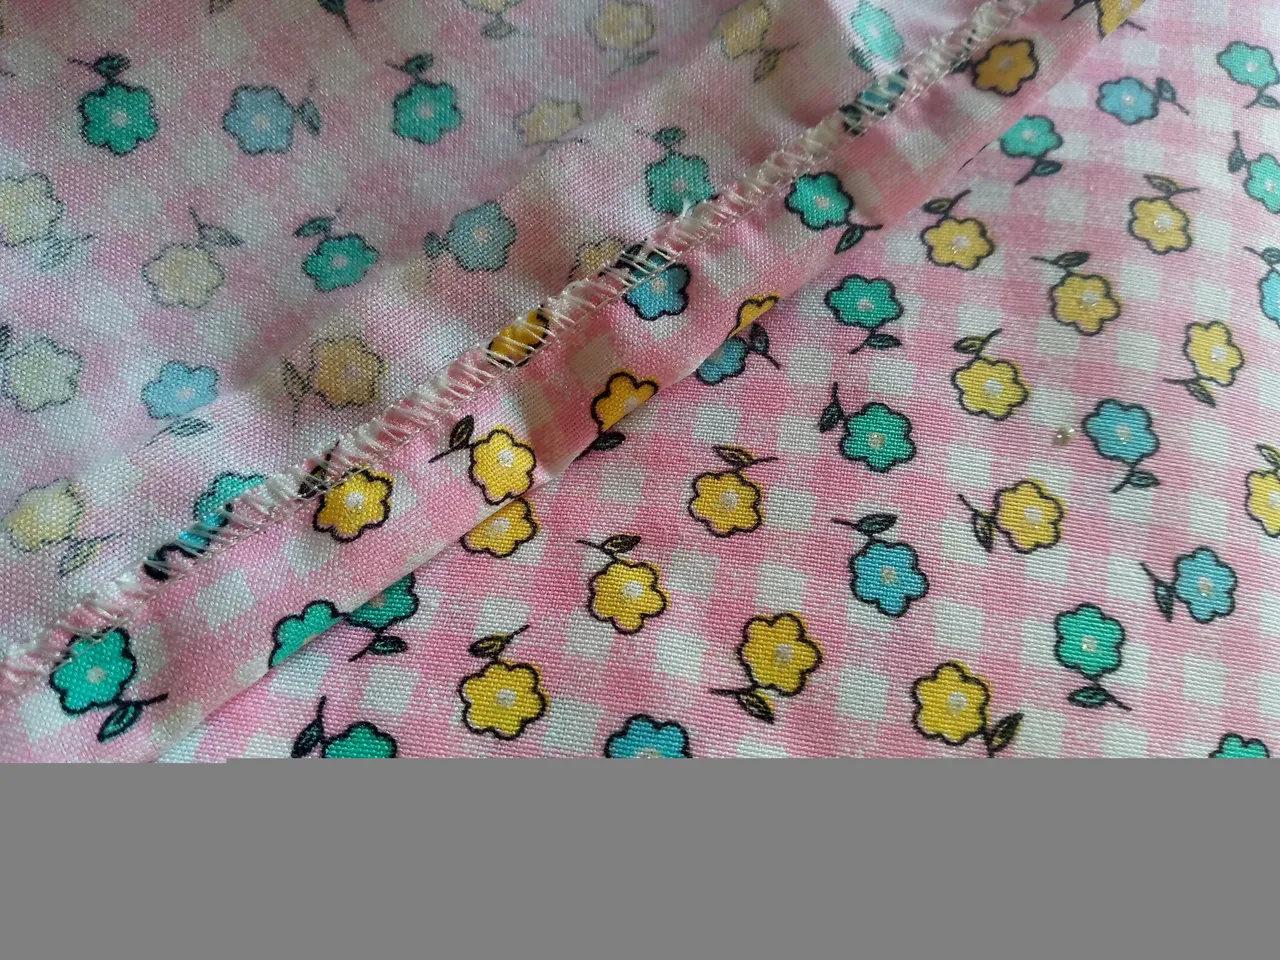
I started by sewing the edges of the skirt at once with an overlock stitch or you can do it with a zig zag in this case I will use my machine to make my work easier, then I will eat the pieces where the closure goes along the edges to prevent the fabric from fraying, then with our sewing chalk what I will do is mark the 7 cm long dart for the front piece and 9 cm long for the longer back piece once I place it on the front pieces like the pieces that go inside up to the middle of the waist, I proceed to sew each dart is 3 cm wide plus the contour of our waist.
Paso 03
Step 03
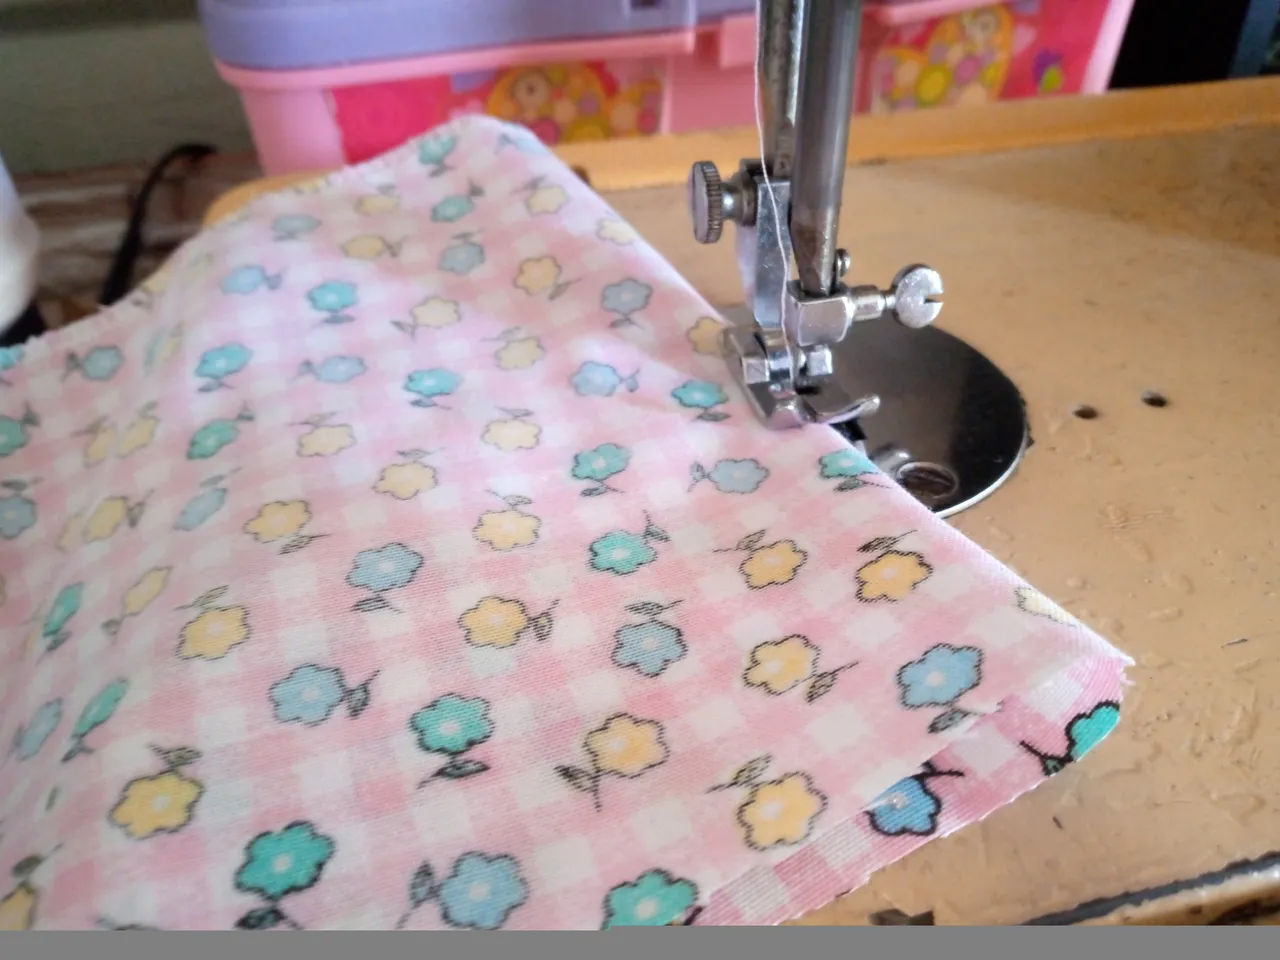
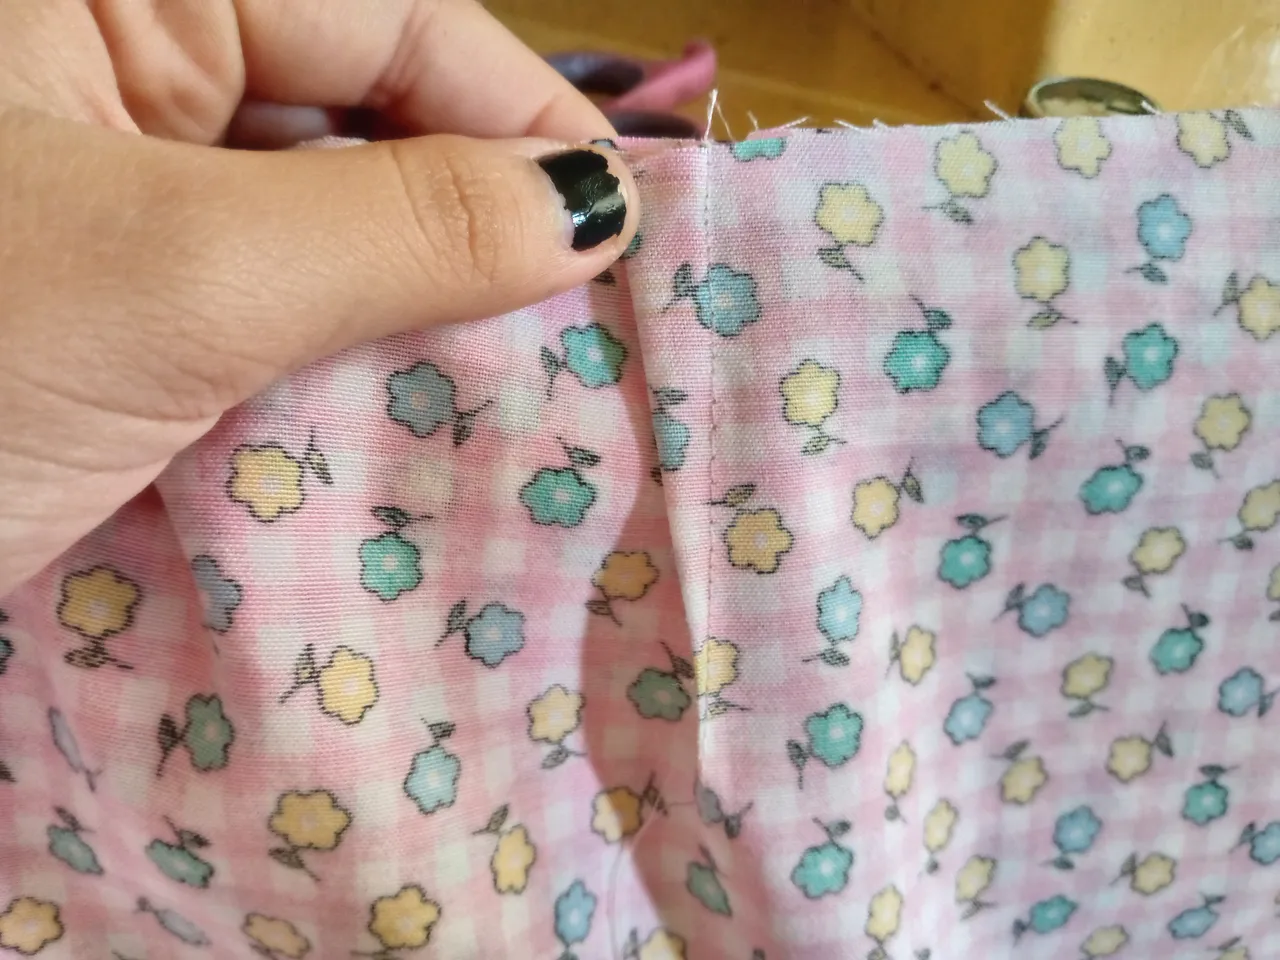
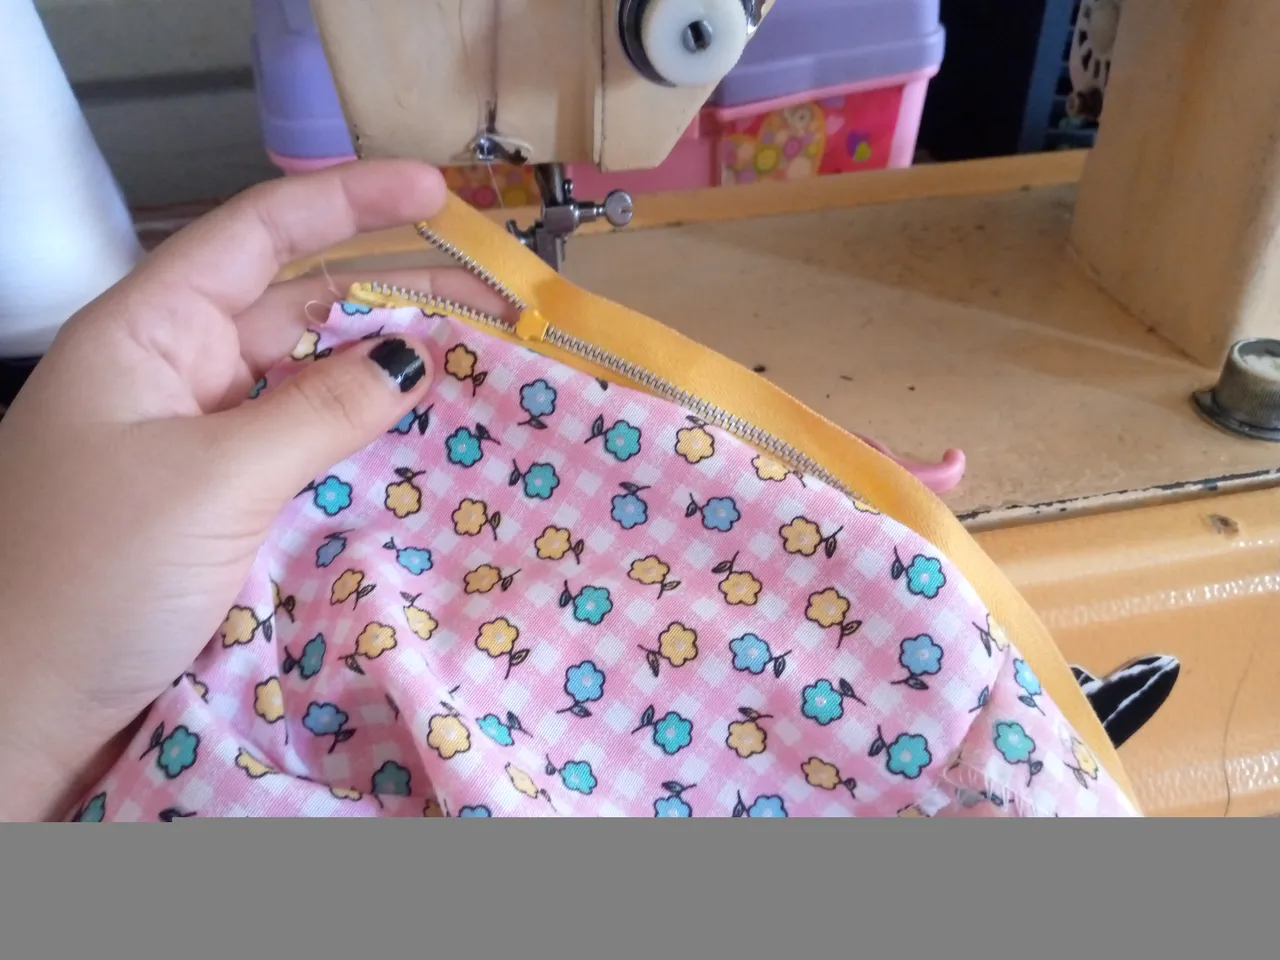
Once I finish sewing the dart on both pieces, what I will do is sew the edge of the piece on the inside that goes up to the middle of the waist and add one of the small rectangular pieces because as I told you, the closure was going to go there, I proceed to sew the fabric to the skirt on the underside, turn it over and I will baste the closure so that it will be easier for me to sew it on the machine, once I finish, I sew the closure on both sides with a straight seam along with the pieces and so that the closure does not come loose, I will sew it at the tip with a needle and thread to prevent it from coming loose.

Paso 04
Step 04
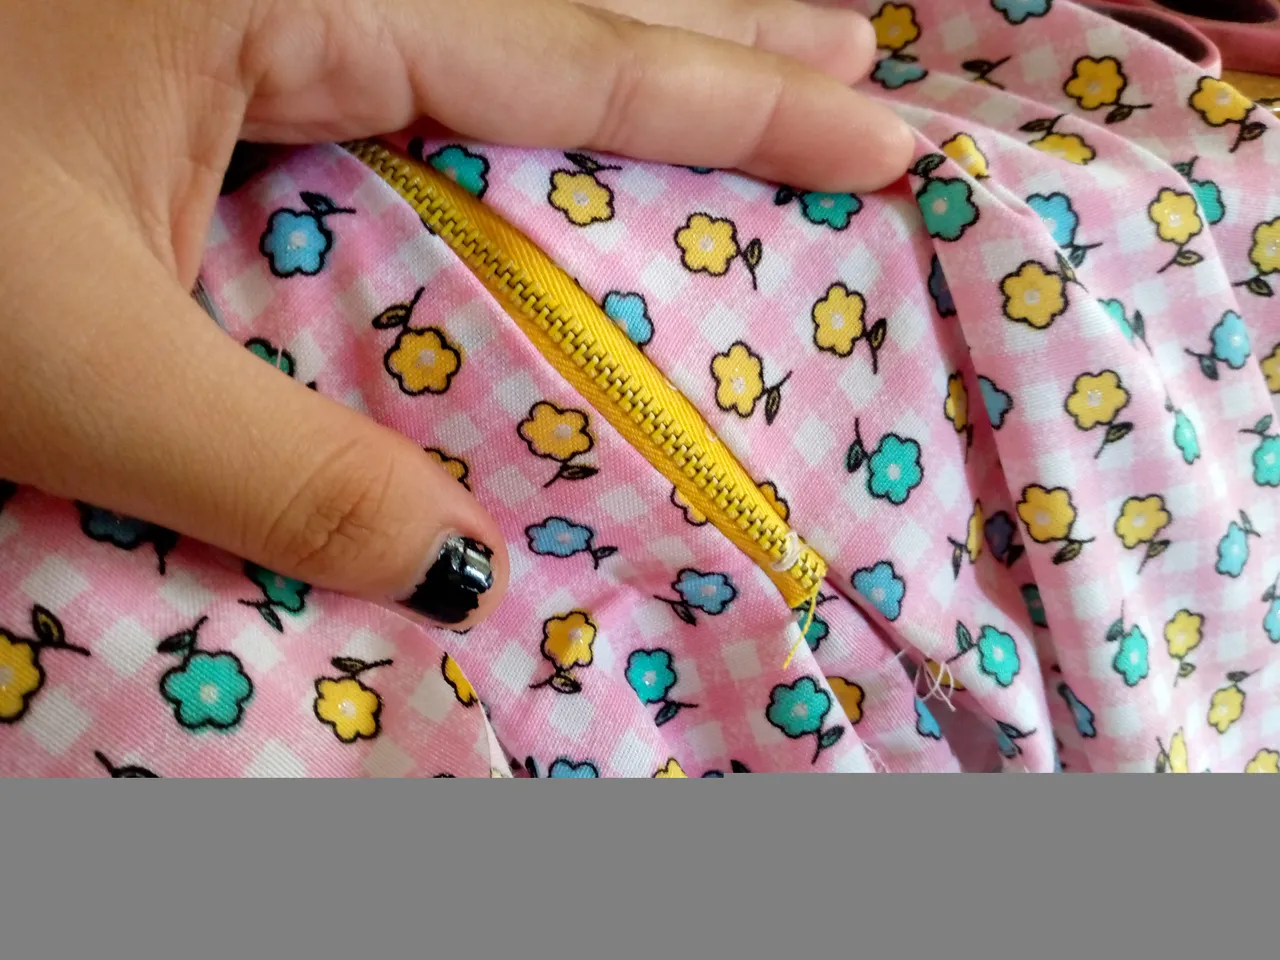
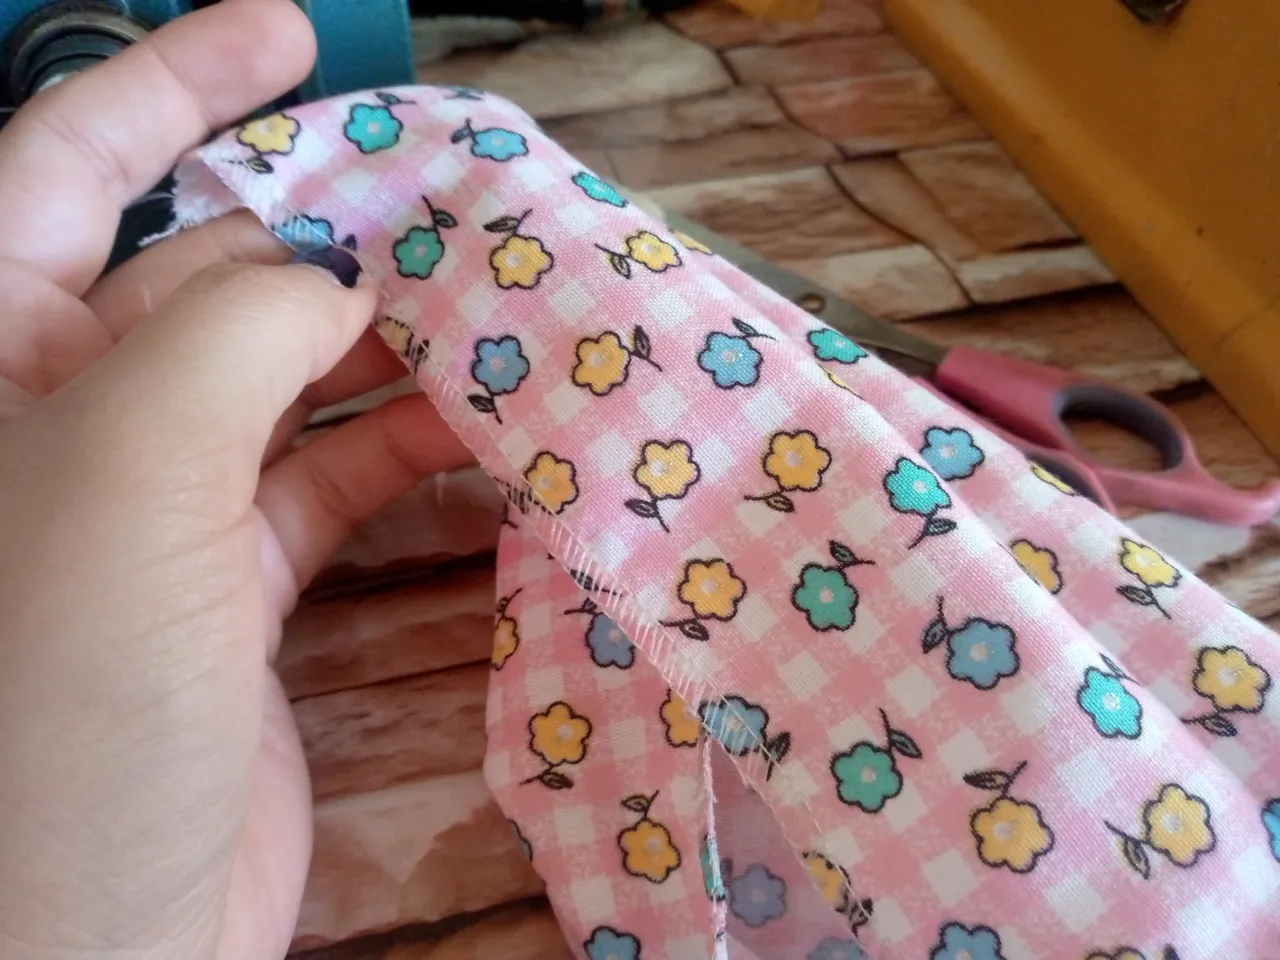
Finally, after sewing and joining the pieces and sewing the closure, I re-sewed it over with a straight seam. Then I joined the skirt, taking it to the bottom, leaving 20 cm of length unsewn. We sew on the other side and then sew the hem to finish.
Resultado:// Result:
Así nos quedan los resultados d e nuestra falda básica sencilla pero larga, fué muy sencilla de coser y con el cierre del lado derecho es muy práctica para colocar y cómoda 🥰espero te haya gustado muchísimo tanto como a mi confeccionar para mí una falda de cierre se que la usaré mucho y combinar cualquier prenda que resalte mucho el estampado tan bonito que se aprecia de la tela y delicado 🌸✨💖🥰...Hasta aquí ha concluido este tutorial creativo ,me alegraría saber que te ha gustado ,me despido de ustedes deseándoles feliz tarde y que se cuiden de las lluvias.
This is how we have the results of our simple but long basic skirt, it was very easy to sew and with the closure on the right side it is very practical to put on and comfortable 🥰 I hope you liked it as much as I did making a skirt with a closure for myself. I know I will use it a lot and combine it with any garment that really highlights the beautiful and delicate print that can be seen on the fabric 🌸✨💖🥰... This is where this creative tutorial has concluded. I would be happy to know that you liked it. I say goodbye to you wishing you a happy afternoon and that you take care of yourself from the rain.


Creating things with love 🌷❤️
🦋✨ All the images in this publication are my author ,📱taken with my TecnoSpark8C cell phone |📸Photos edited in PicsArt and Canva. Text translated in Google Translate.
