Hola amigos un placer saludarles en esta bonita noche✨🌙 | Hello friends, it's a pleasure to greet you on this beautiful evening✨🌙
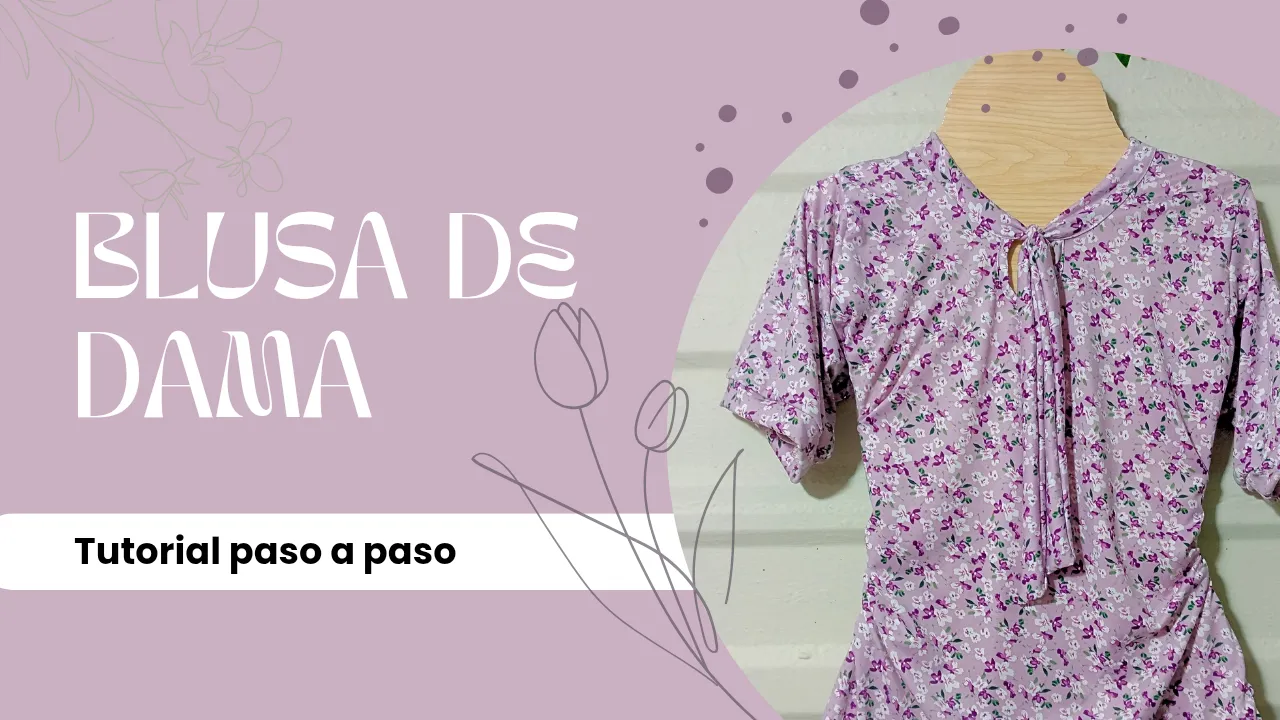
Quiero enseñarles a hacer esta bonita delicada y elegante blusa de dama con tela microdurazno que se amoldan perfectamente al cuerpo,este estilo de blusa quise hacerla para mí abuela porque ella le gusta este diseño de blusa con el cordón de la misma tela en la parte del cuello le gusta porque aunque sea una tela para confeccionar prendas para estar en casa o casuales hace que se vea elegante como a ella le gusta así que una vez escogió el modelo ya solo me quedaba a mi ponerme manos a la obra de esta confección cuánto antes ya que mi mamá al visitarla se la va a hacer llegar.
I want to teach you how to make this beautiful, delicate and elegant ladies' blouse with micropeach fabric that fits perfectly to the body. I wanted to make this style of blouse for my grandmother because she likes this blouse design with the cord of the same fabric in the neck area. She likes it because even though it is a fabric to make clothes to be at home or casual, it makes it look elegant as she likes. So once she chose the model, all that was left for me to do was get to work on making this garment as soon as possible since my mother will send it to her when she visits her.
Para hacer esta blusa usé aproximadamente un metro de tela ya que no quería que ni me hiciera falta como siempre así que para evitarme esa molestia pues decidí hacerla con un metro ya luego podía ver si sobraba o no telas para los detalles porque es talla l 🤭,así que espero les guste mucho este tutorial y el proceso sencillo de esta bonita blusa que puedes hacer en casa y con tus máquinas,los invito a que se queden a leer este tutorial.
To make this blouse I used approximately one meter of fabric since I didn't want to even need it as usual, so to avoid that inconvenience I decided to make it with one meter and then I could see if there was any fabric left or not for the details because it is size L 🤭, so I hope you like this tutorial a lot and the simple process of this pretty blouse that you can make at home and with your machines, I invite you to stay and read this tutorial.


Materiales: | Materials:
- 1 metro de tela (Microdurazno 🍑)
- Hilo
- Máquinas de coser
- Tijeras
- Alfileres
- 1 meter of fabric (Micropeach 🍑)
- Thread
- Sewing machines
- Scissors
- Pins
Pasos a seguir: | Steps to follow:
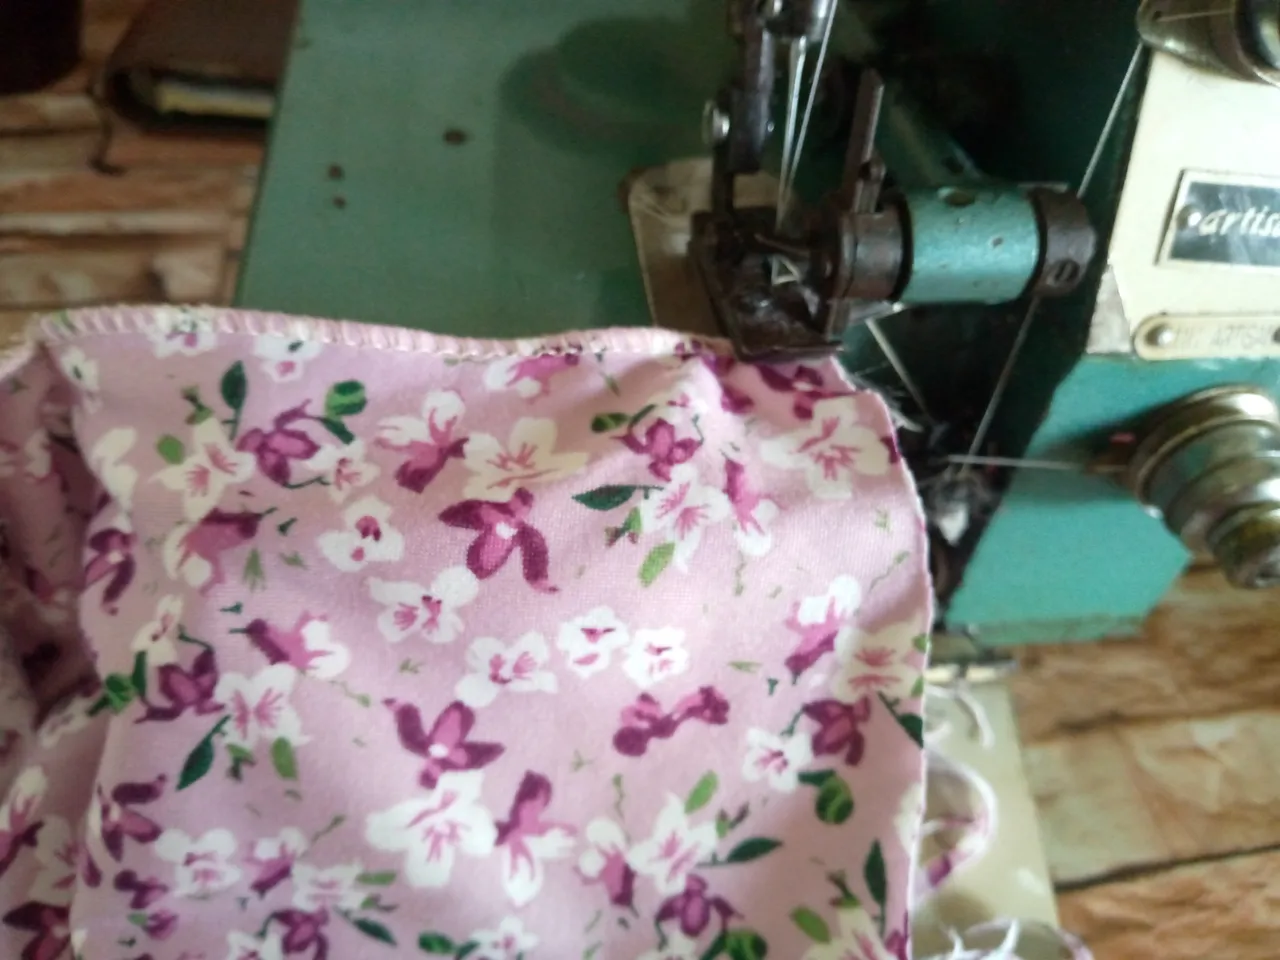
Paso 01
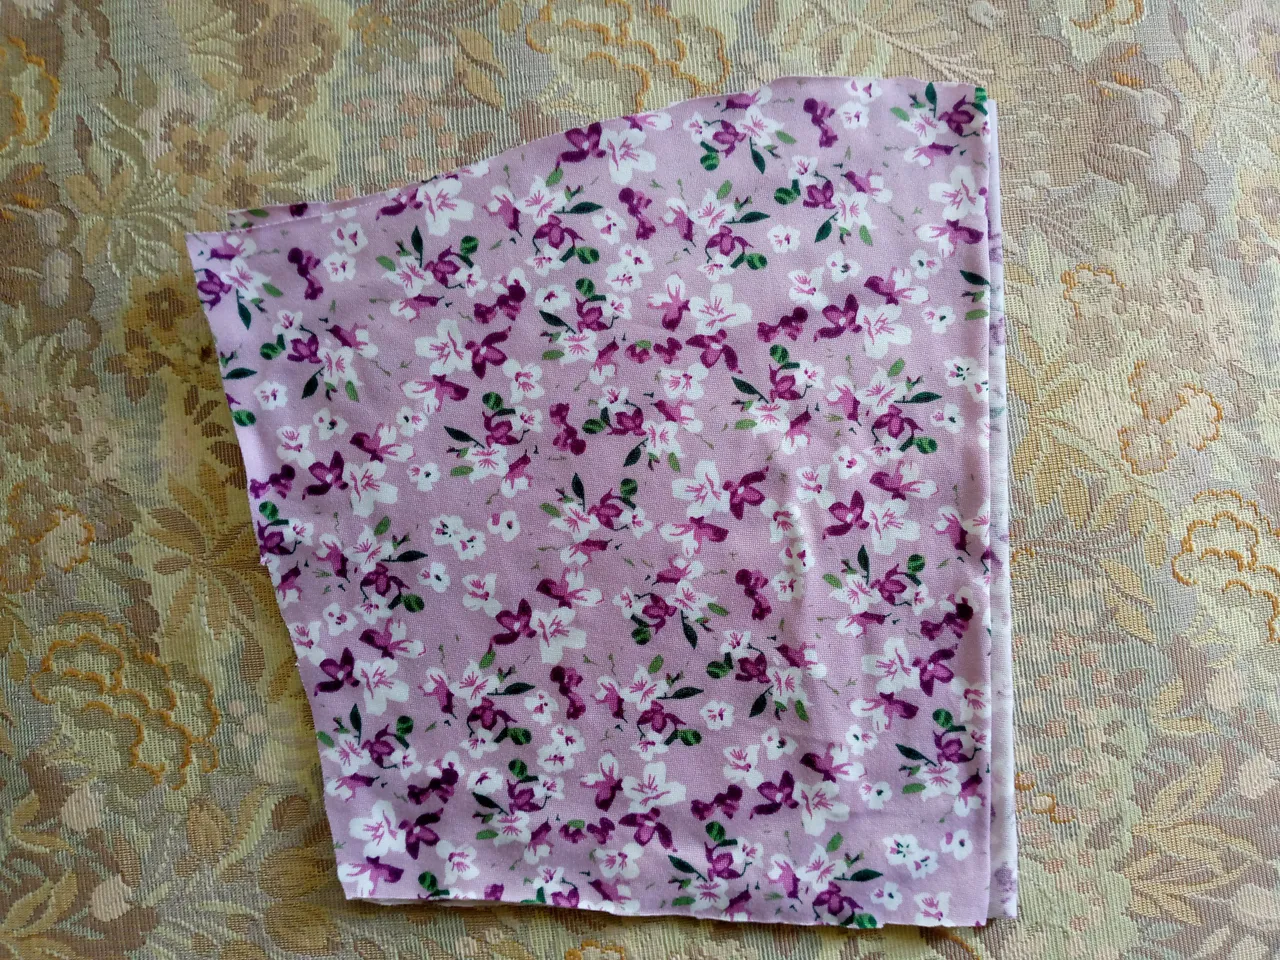
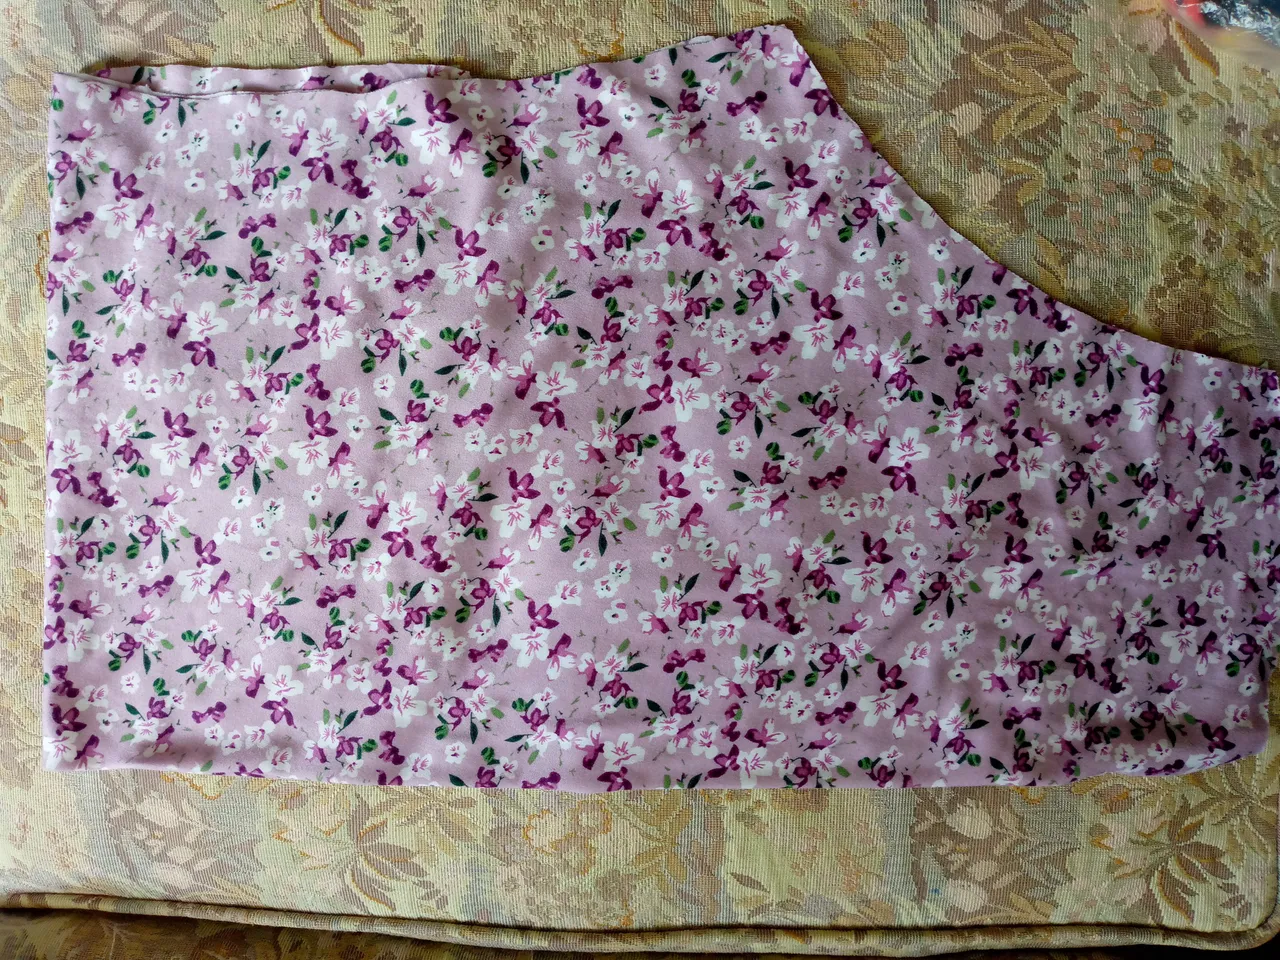
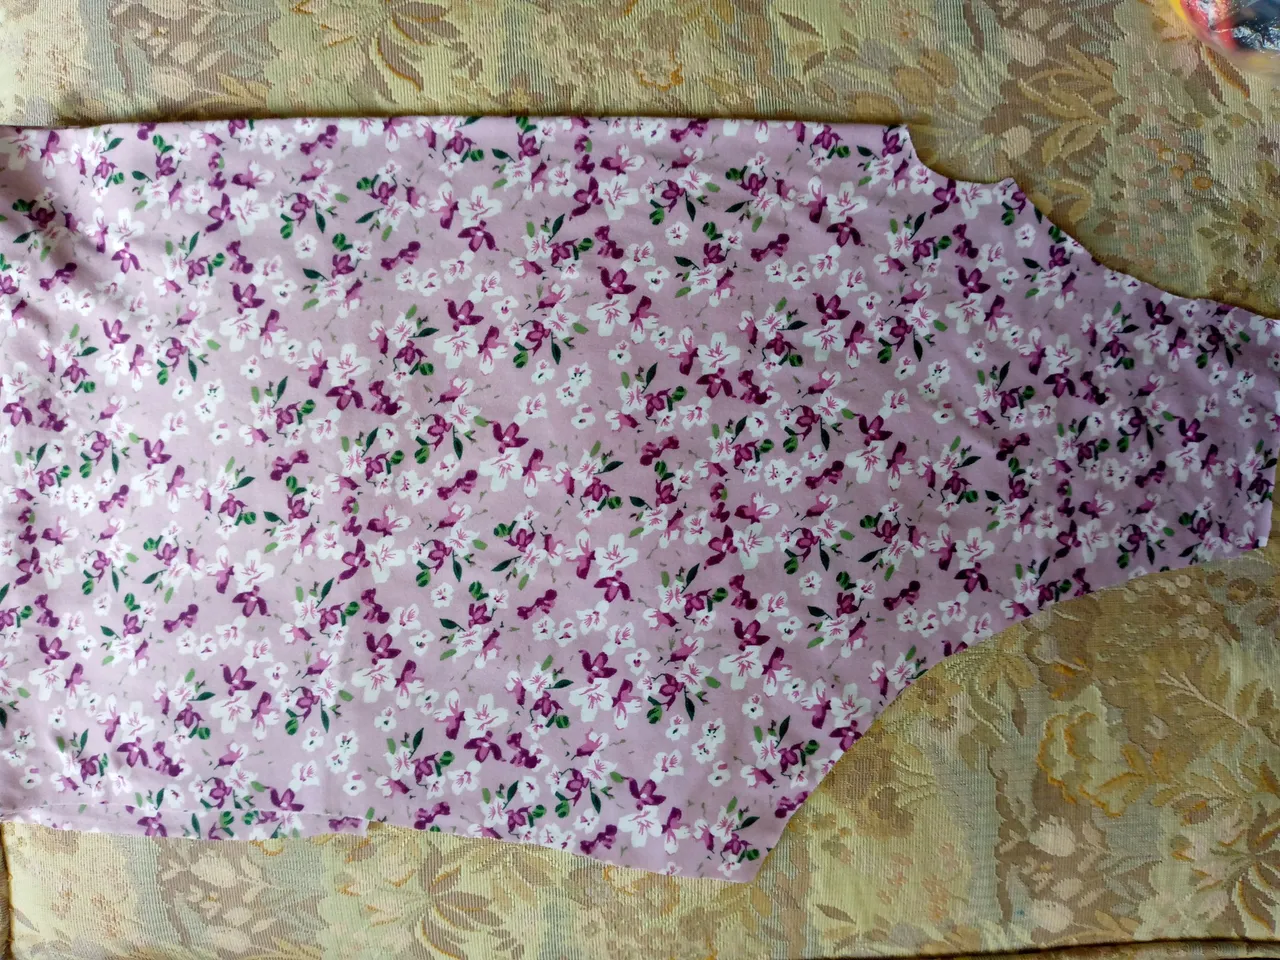
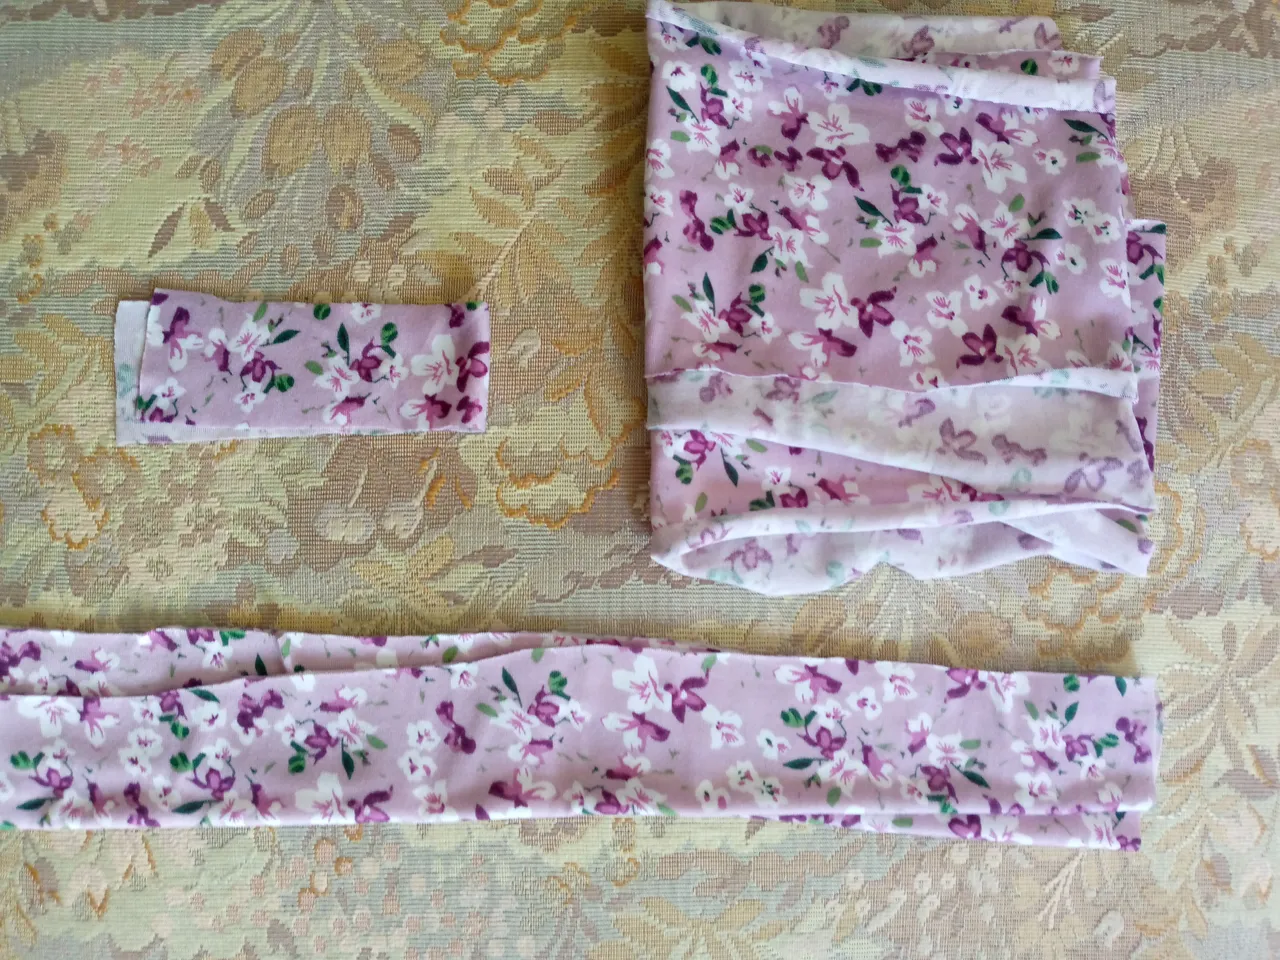
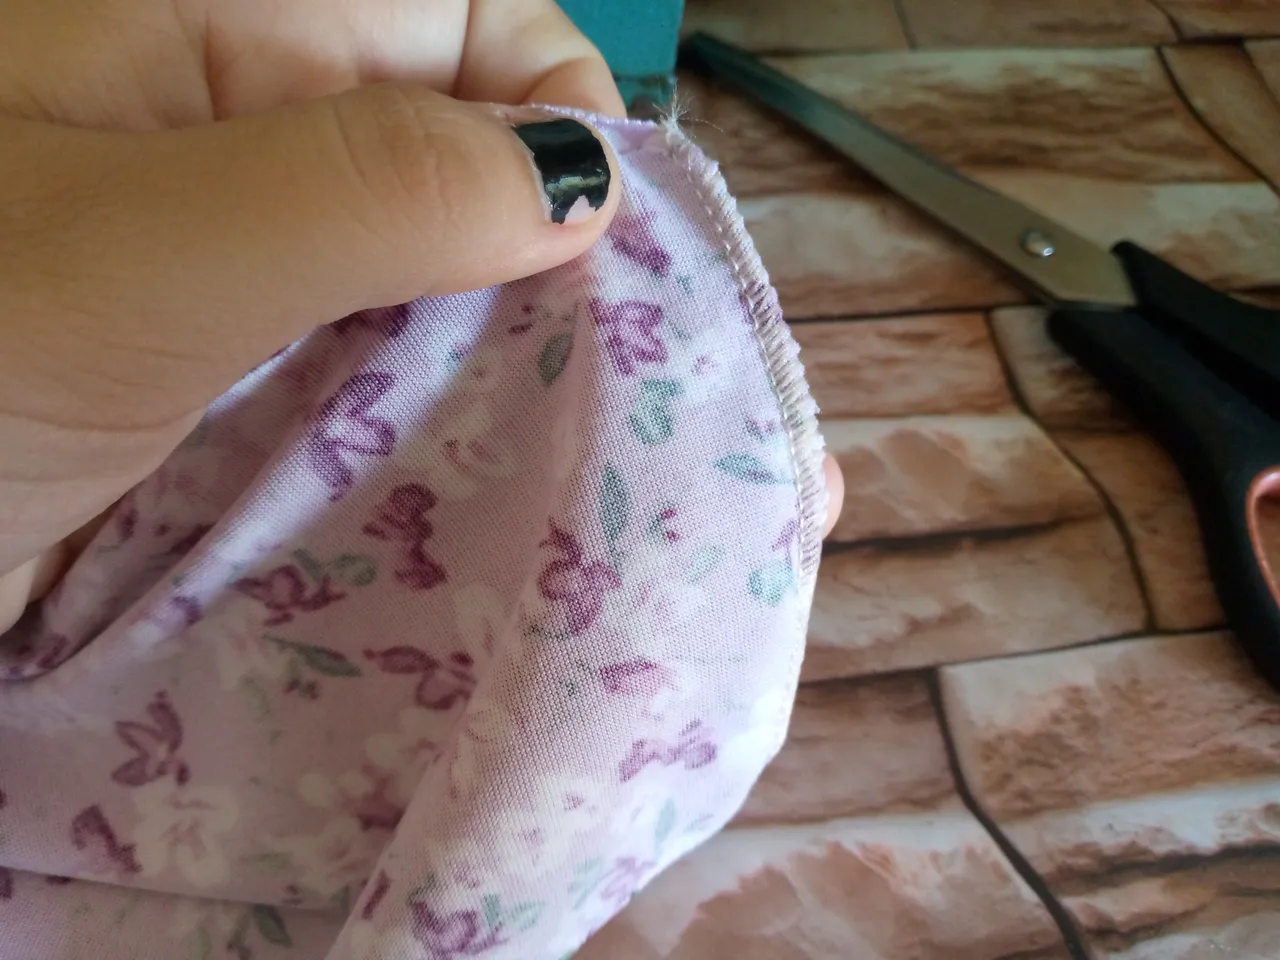
Estaremos tomando una medida como referencia o patrones accesibles de blusas casuales para poder cortar las piezas correspondientes de mi blusa,para ello tomé mi tela la doblaré y empezaré a cortar las piezas del talle delantero y de atrás ,la pieza delantera le haré la caída del cuello más el horificio del cuello que es un círculo,estaremos cortando también las dos mangas el sesgo o bias de la parte baja del cuello osea el que va por el contorno del horificio luego una tira completa doble que es la que coseremos en el cuello esta puede ser del largo que gustes , también cortamos los dos bias de las mangas,estuve pensando que mi abuela le gusta mucho las blusas abiertas de los lados así que pues al coserla simplemente allí cosemos hasta donde queramos que llegue el largo de la blusa en ese casi yo marqué con tiza 13 cm de largo hasta donde cosería para saber.
Step 01
We will be taking a measurement as a reference or accessible patterns of casual blouses to be able to cut the corresponding pieces of my blouse, for this I took my fabric I will fold it and begin to cut the pieces of the front and back waist, the front piece I will make the fall of the neck plus the neck hole which is a circle, we will also be cutting the two sleeves the bias or bias of the lower part of the neck, that is, the one that goes along the contour of the hole then a complete double strip which is the one that we will sew on the neck this can be the length you like, we also cut the two bias of the sleeves, I was thinking that my grandmother really likes blouses open on the sides so when sewing it simply there we sew to where we want the length of the blouse to reach in that case I marked with chalk 13 cm long to where I would sew to know.
Paso 02
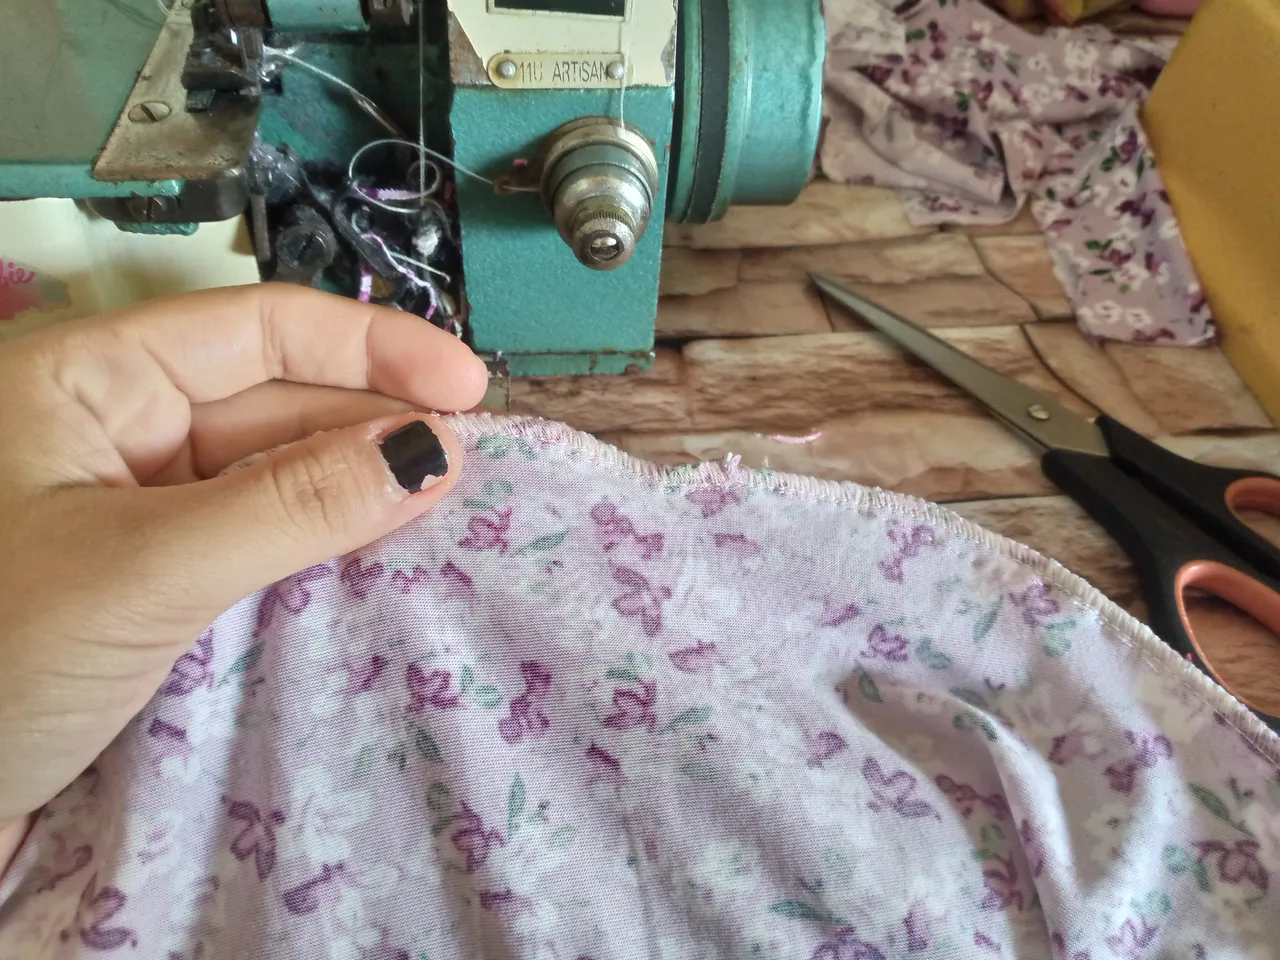
Pasaremos ahora a coser la parte de los hombros arriba en este caso cosí con overlock luego con costura recta ,para luego coser las mangas a el contorno de mi sisa luego cerramos la blusa de los costados y cosemos de la punta de la manga hasta donde hemos marcado con la tiza hasta allí cosemos y vamos a ir reposando con costura recta para que nuestra costura overlock no se abra,una vez cosimos allí abrimos la parte de abajo y cosemos el borde con overlock o zig zag justo en la abertura.
Step 02
We will now sew the upper part of the shoulders, in this case I sewed with an overlock, then with a straight seam, and then sew the sleeves to the outline of my armhole. Then we close the blouse on the sides and sew from the tip of the sleeve to where we have marked with chalk, until there we sew and we will rest with a straight seam so that our overlock seam does not open. Once we sew there, we open the bottom part and sew the edge with an overlock or zig zag right at the opening.

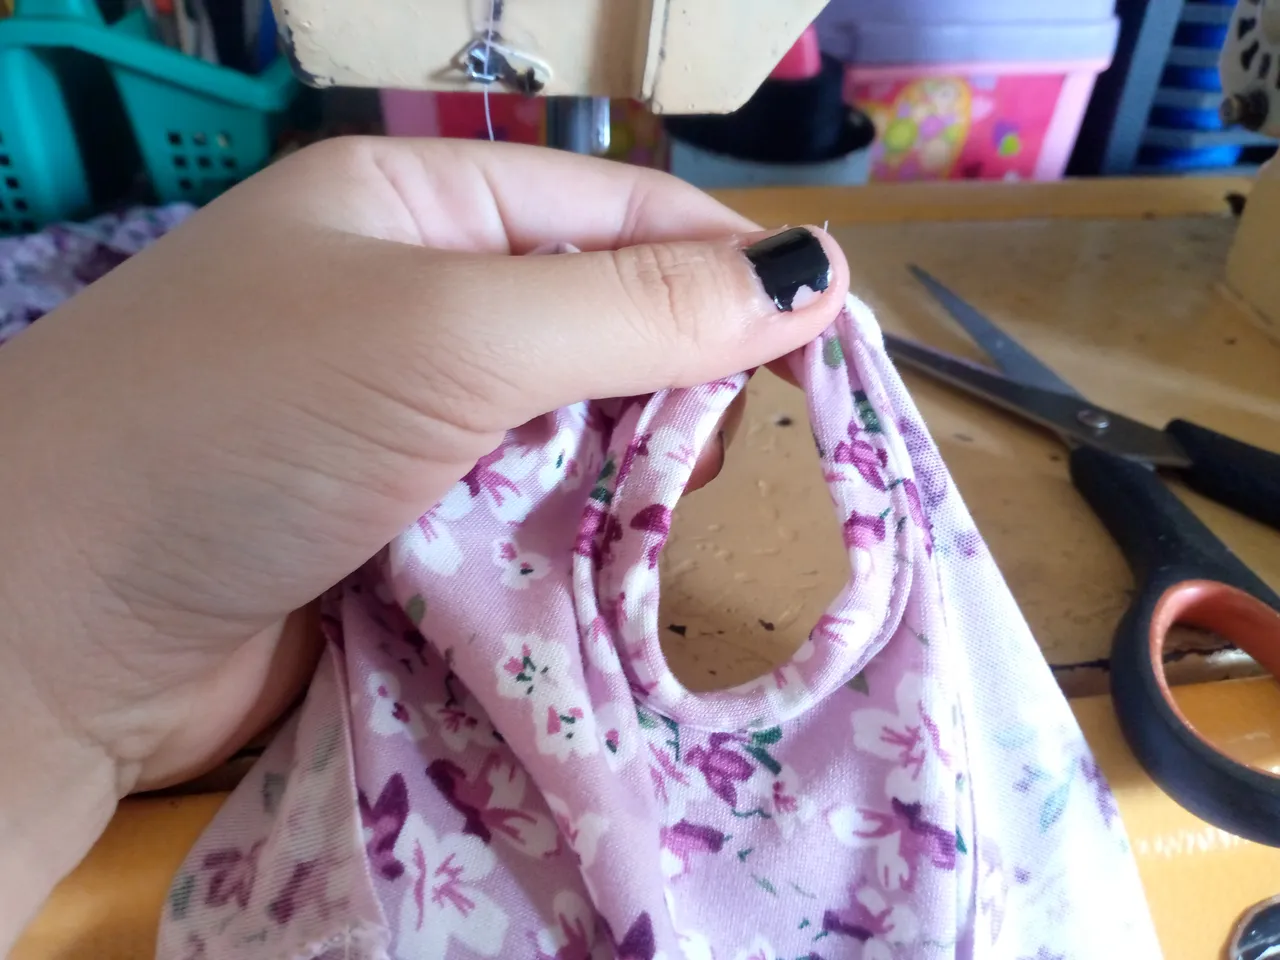
Paso 03
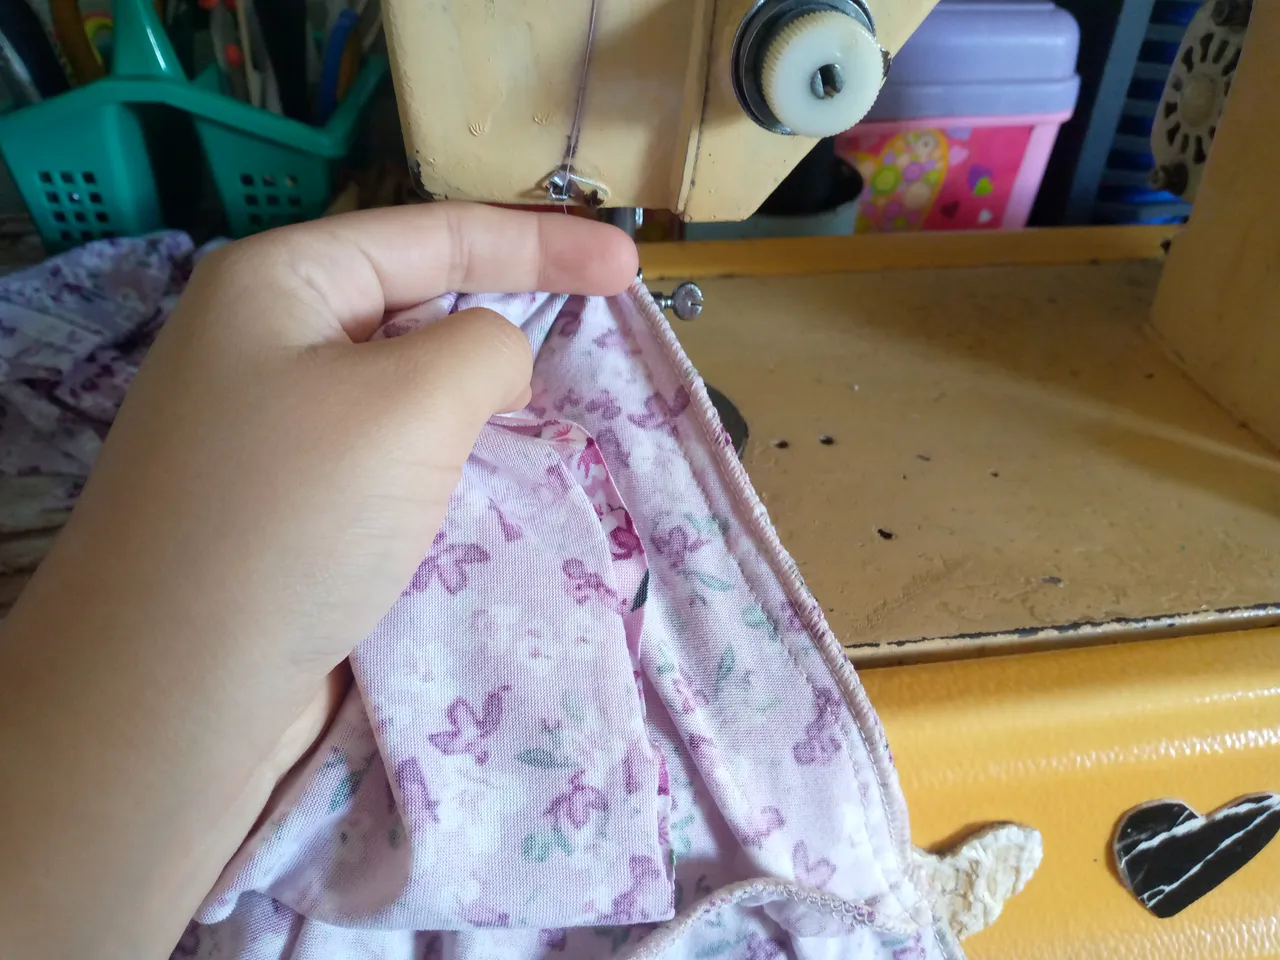
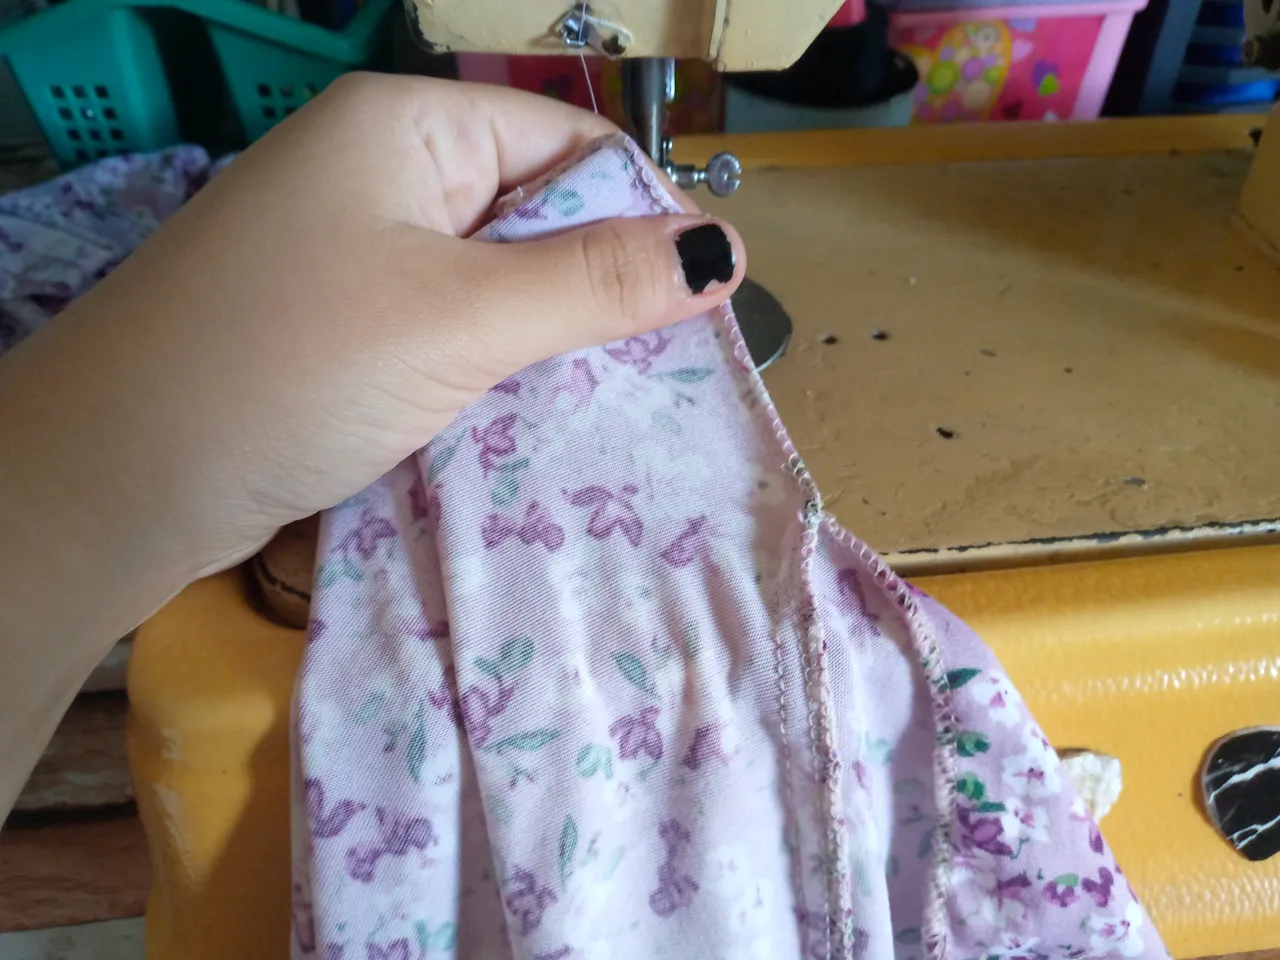
Después que cosimos la parte del borde de la abertura vamos a coser el borde para hacer el dobladillo de mi blusa luego vamos a coser el sesgo de la parte del horificio de la blusa de adentro hacia afuera reposando por encima el bias , después vamos a coser el bias de las mangas uniendo cada extremo las piezas doblamos y cosemos el borde estirando poco a poco.
Step 03
After we sew the edge of the opening, we are going to sew the edge to make the hem of my blouse. Then we are going to sew the bias of the hole part of the blouse from the inside out, resting the bias on top. Then we are going to sew the bias of the sleeves, joining each end of the pieces. We fold and sew the edge, stretching it little by little.
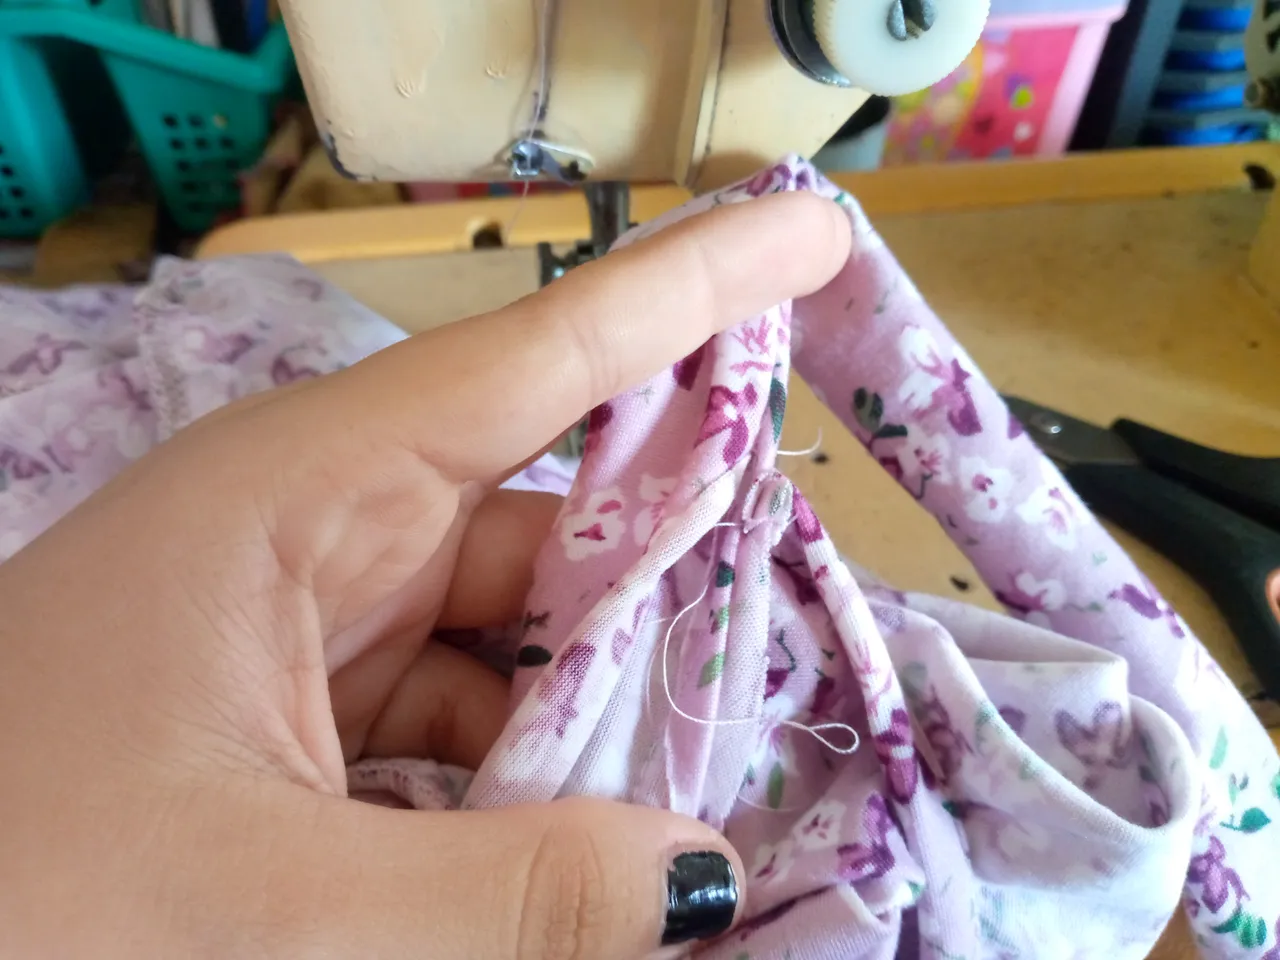
Paso 04
Ya luego pasé a coser el bias del cuello para ello mediré el ancho del cuello y mediré después en el bias y marco de ambos lados y allí hasta los extremos de afuera coseremos el la tira y lo volteamos ,la parte donde no hemos cosido la vamos a ubicar de adentro hacia afuera con alfileres y cosemos así de adentro hacia afuera y por fuera simplemente vamos a revisar con costura recta de esa forma nos queda el bias grueso de la parte del cuello y hacemos el nudo como adorno oara que se vea mas elegante.
Step 04
Then I went on to sew the bias of the neck for this I will measure the width of the neck and then measure on the bias and frame of both sides and there to the outside ends we will sew the strip and turn it over, the part where we have not sewn we will place it from the inside out with pins and sew like this from the inside out and on the outside we will simply check with a straight stitch in this way we have the thick bias of the neck part and we make the knot as an ornament so that it looks more elegant.
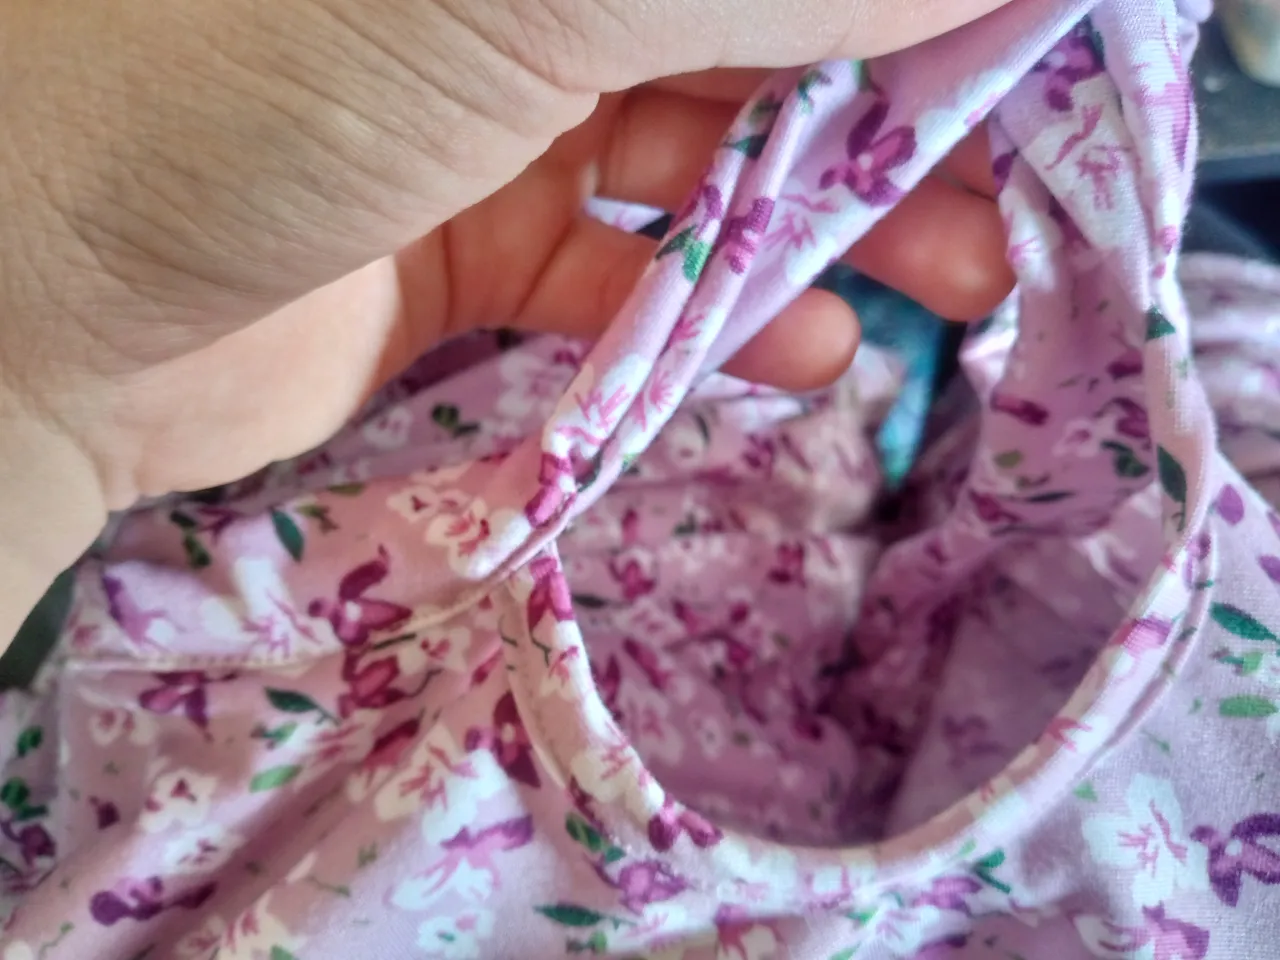
Resultado: | Result:
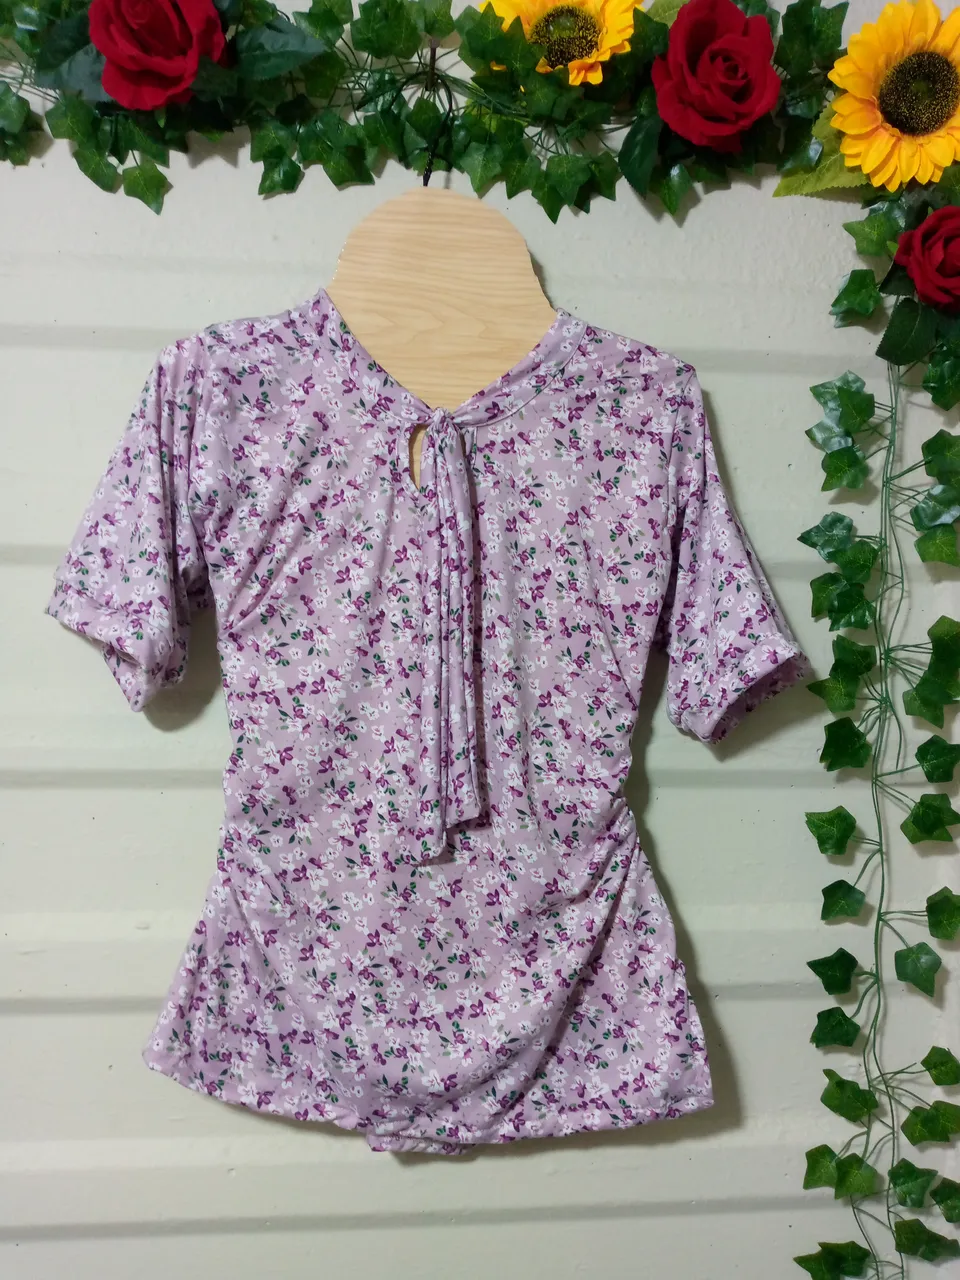
Finalizamos de coser esta blusa y así ya se puede apreciar el resultado final ,espero les haya gustado muchísimo el proceso de esta bonita confección a mi la verdad me gustó porque a pesar de ser sencilla el modelo lo hace ver simplemente elegante 😍👚💖. Cuéntame que tal te ha parecido esta blusa y si te gustaría usarla 😉...
We've finished sewing this blouse, and now you can see the final result. I hope you really enjoyed the process of making this beautiful piece. I really liked it because, despite being simple, the pattern makes it look simply elegant. 😍👚💖. Tell me what you think of this blouse and if you'd like to wear it. 😉


Creando las cosas con amor🌷♥️ | Creating things with love🌷♥️
🦋Todas las imágenes de esta publicación son de mi autoria✨ tomadas con mi celular TecnoSpark8C |📸Fotos editadas en PicsArt y Canva. Texto traducido en el traductor de Google.
🦋 All the images in this publication are my author✨ ,taken with my TecnoSpark8C cell phone |📸Photos edited in PicsArt and Canva. Text translated in Google Translate.