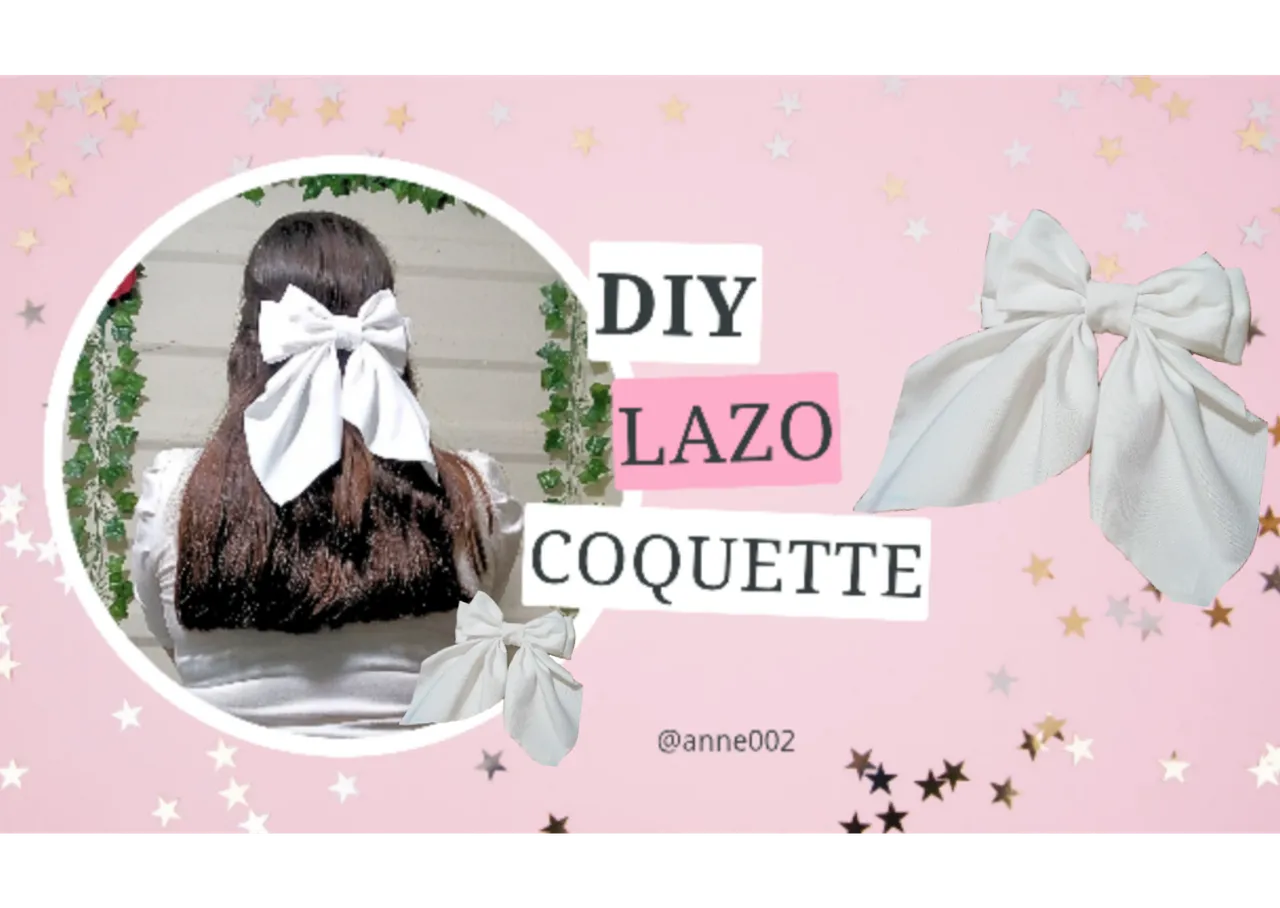
🧶Bienvenido al mundo del DIY conmigo,un placer saludarles ☺️✨🎨. | 🧶Welcome to the world of DIY with me, a pleasure to greet you ☺️✨🎨.
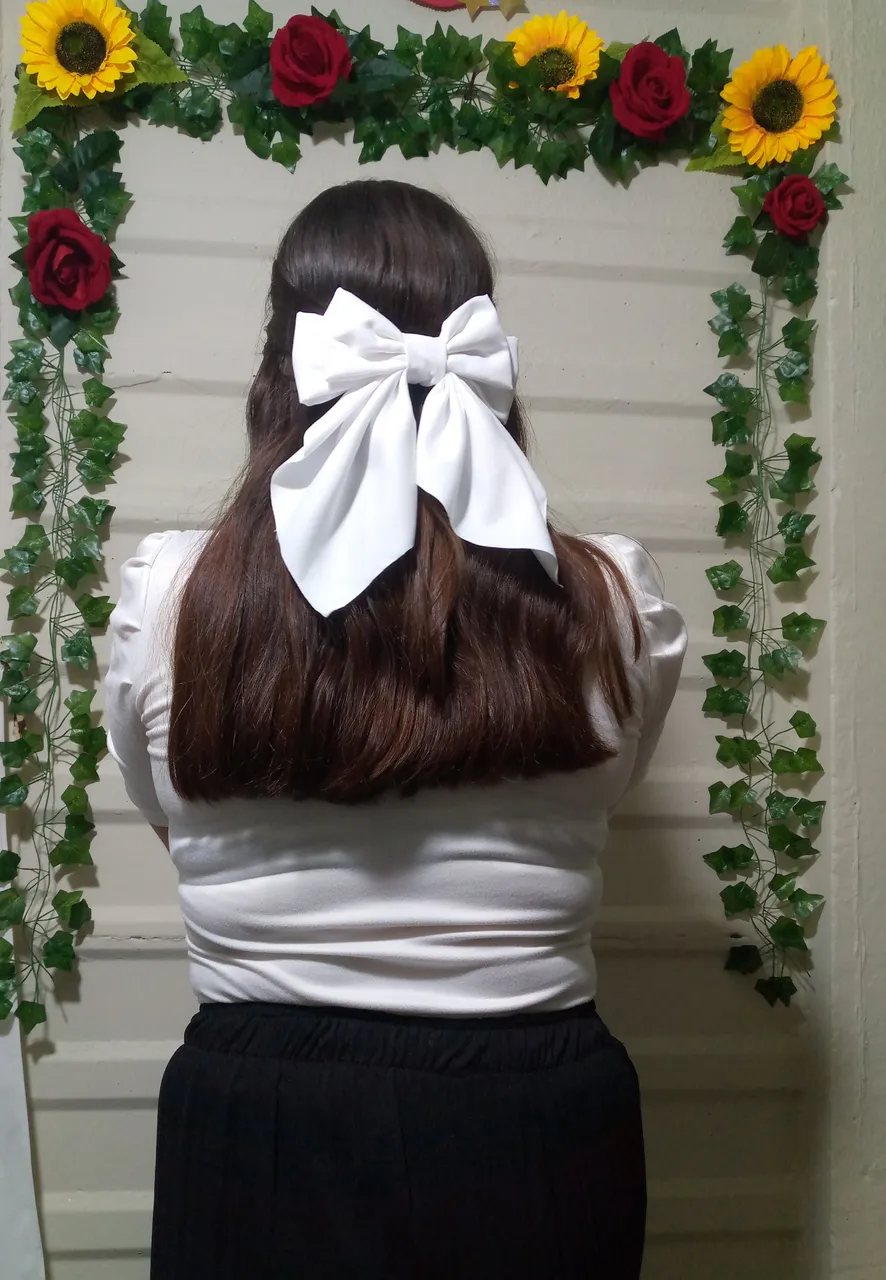
One of the things that these days I have tried to put more effort into my outfits are accessories like chokers made by me, and mainly these Coquette bows that I have always loved a lot since I learned to make them on my own 😍 I feel that they give my designs a more romantic and unique touch, of course each bow is different and I use scraps of different colors to make new combinations and combine them with different styles of clothing, from my collection at the moment I have three that I like a lot, in this case this white one that I made, a black one with rhinestones and another one in pink in a nude tone that was the first one I made and that was honestly simple for me.
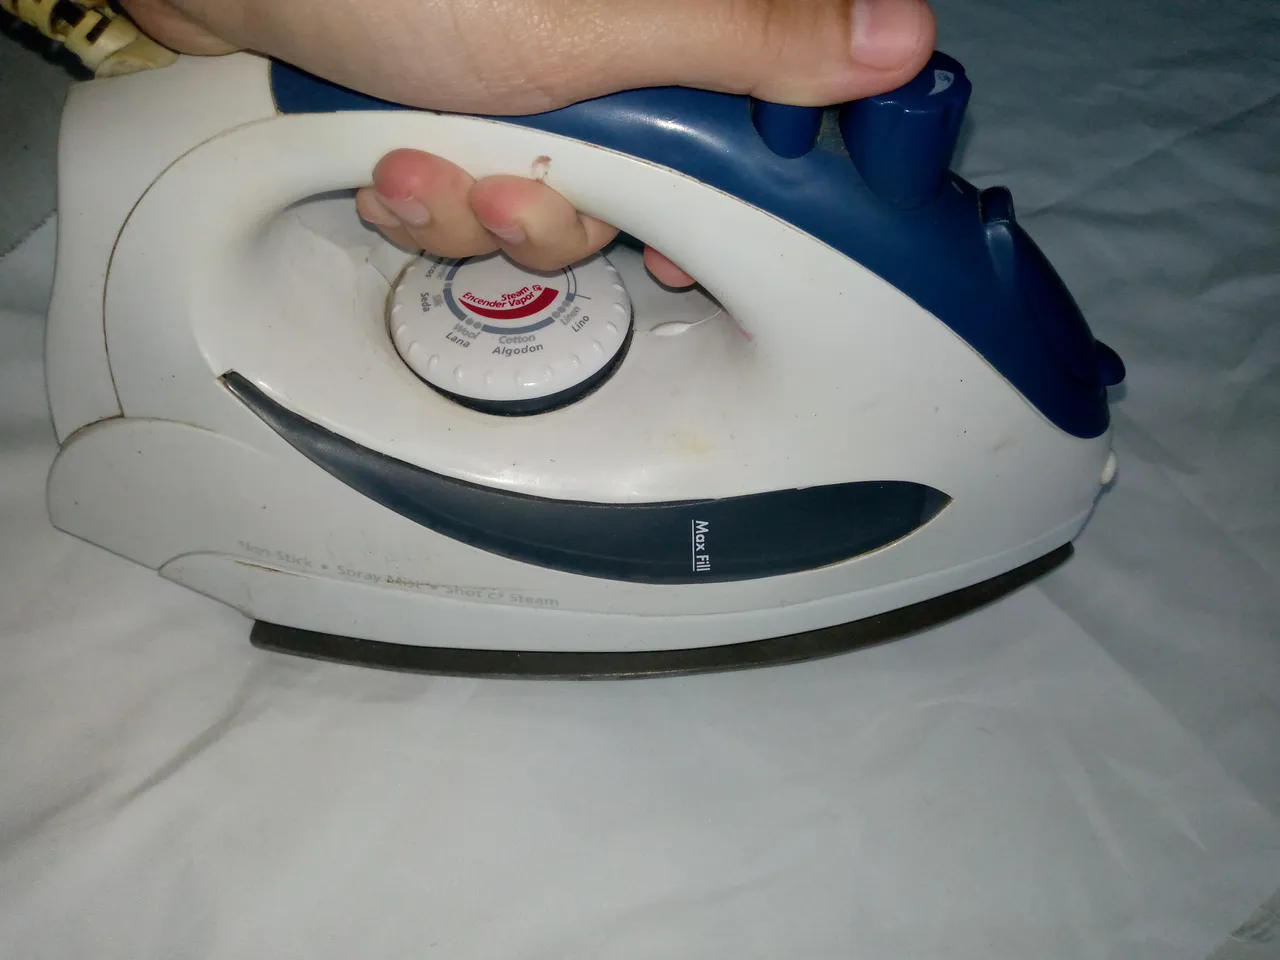
Although at first I did not know how to do it, the truth is that after unstitching the pieces of the bow many times I realized that for this work to be good it is necessary to use our clothes iron and iron the pieces before being able to sew. This way the work will be much easier and they will not struggle like I did to sew the pieces because I have sewn them by hand. I feel that the finish is better and details such as sewing the pieces by machine may not be missed, the results are much better when we sew the pieces with patience, but before I tell you how it turns out, check for yourself the process of how to make this beautiful bow, a bow that you can make with different types of fabric and with scraps that you have at home is the most satisfying, see you in the final results 😎.

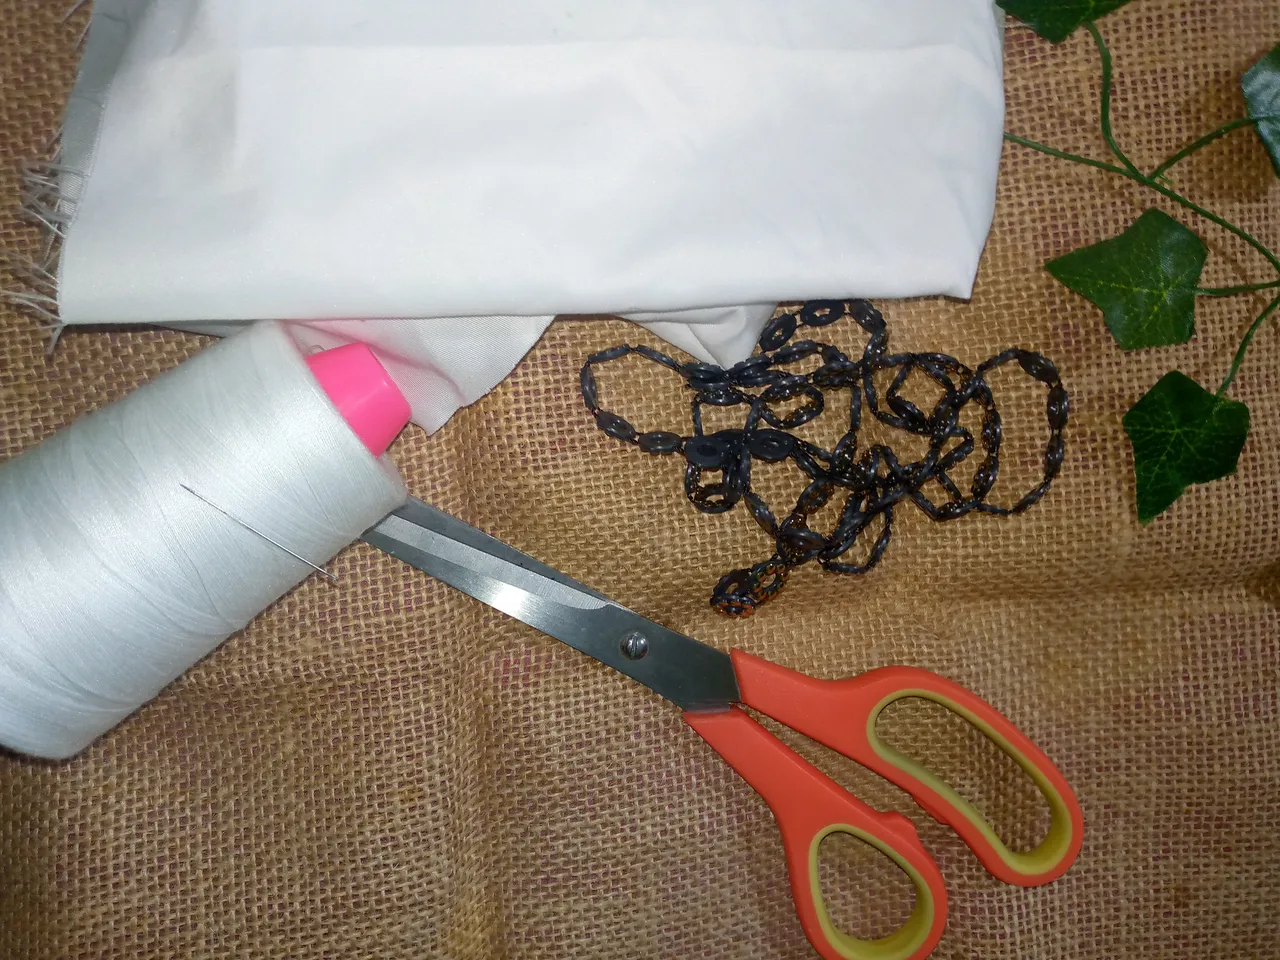
Materiales: | Materials:
| Español | English |
|---|---|
| •Retazos de tela | •Scraps of fabric |
| •Hilo y aguja | •Thread and needle |
| •Tijera | •Scissors |
| •Plancha de ropa | •Ironing |
| •Encendedor | •Lighter |
Pasos a seguir: | Steps to follow:
Paso 01
Step 01
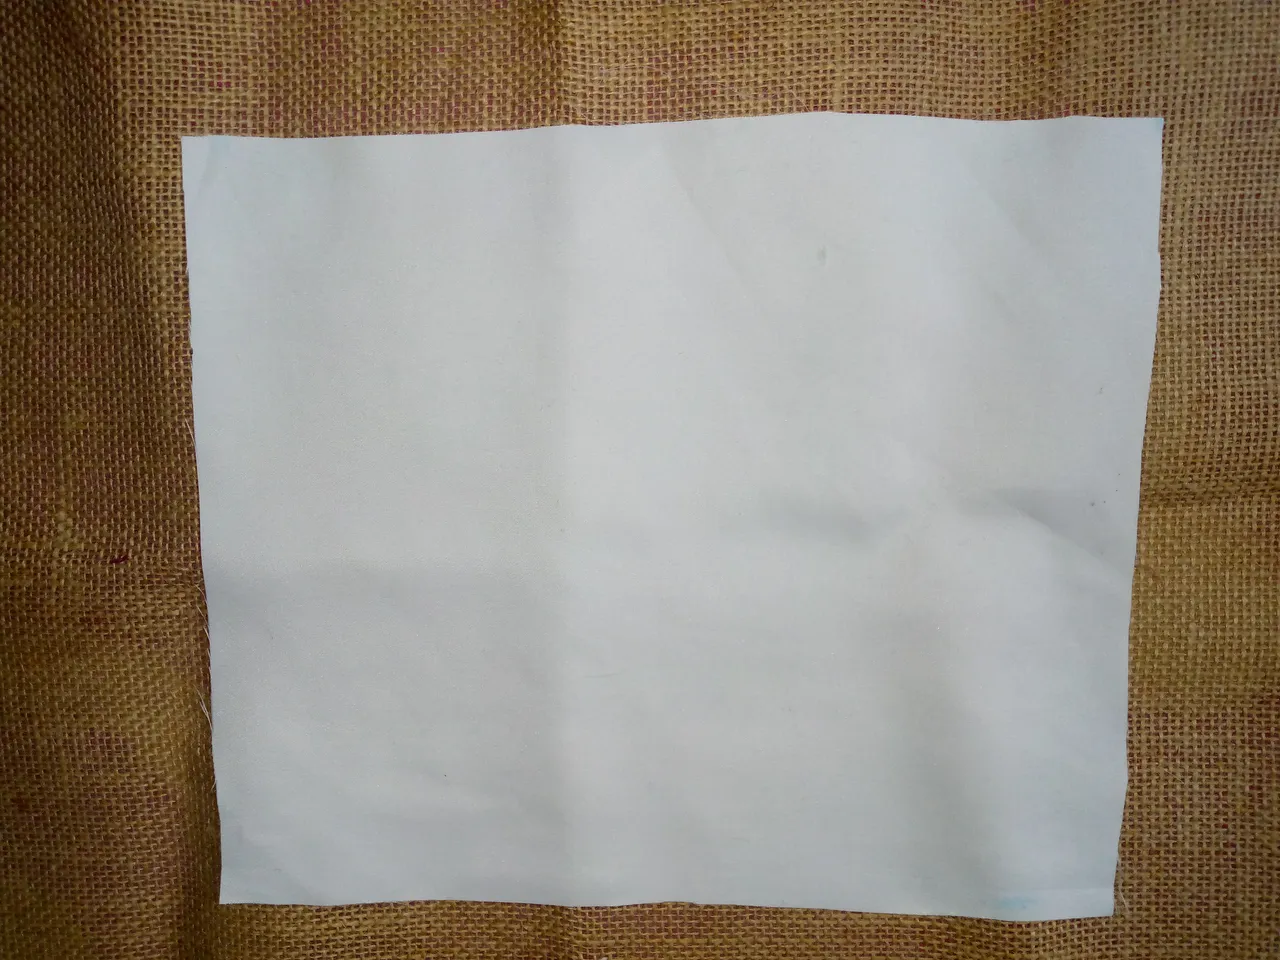
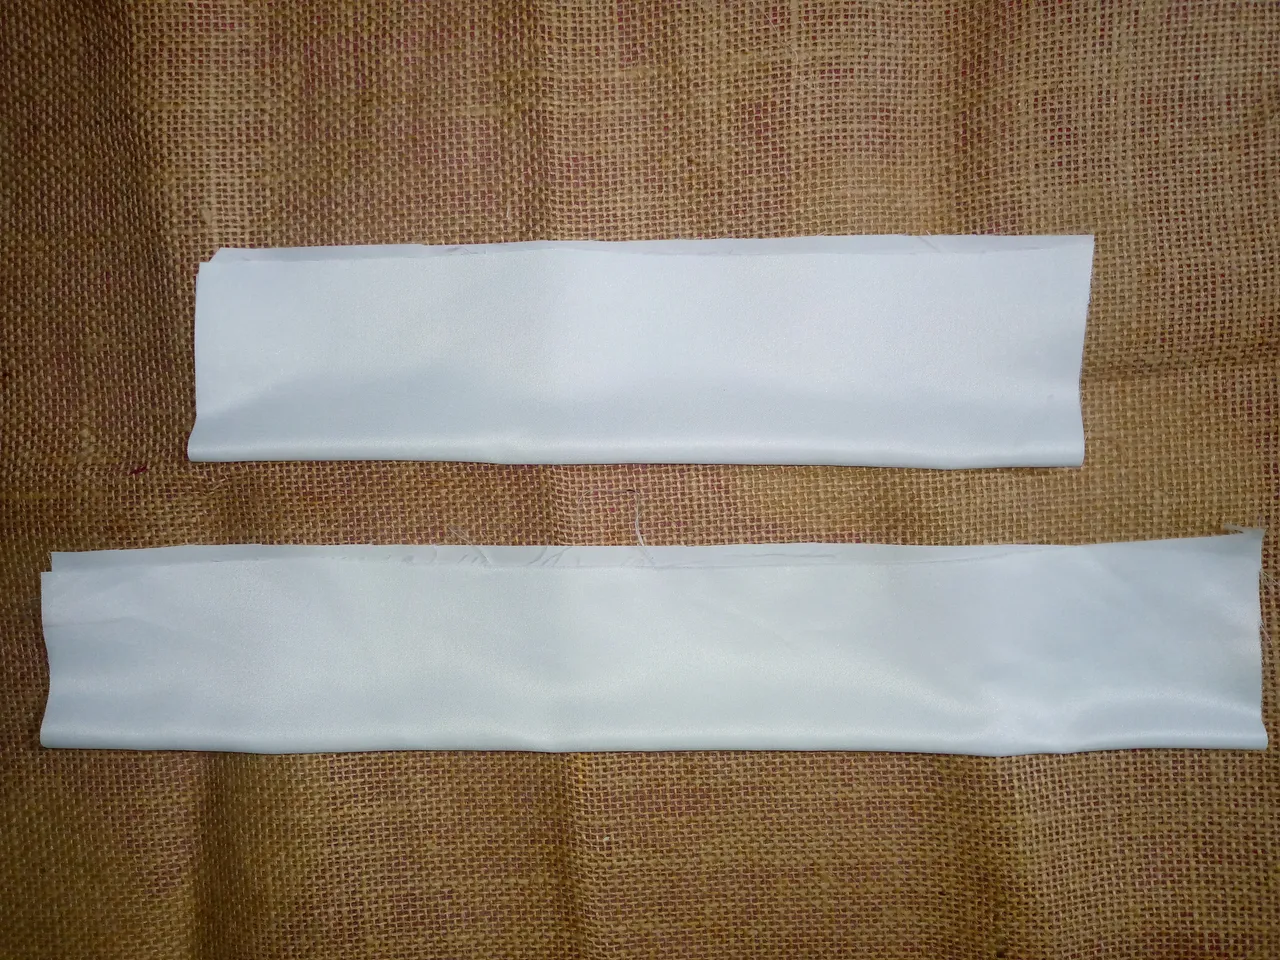
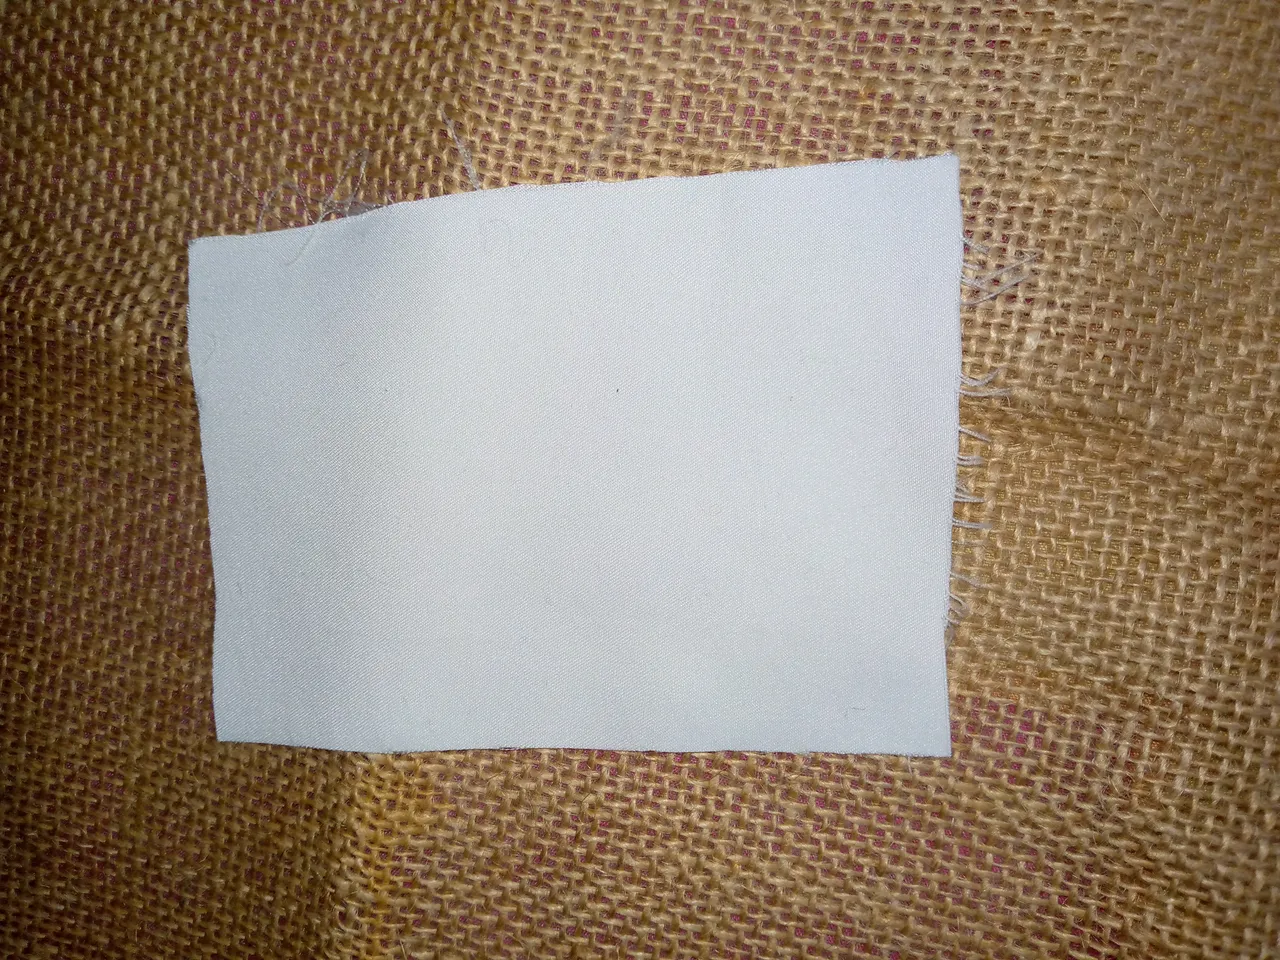
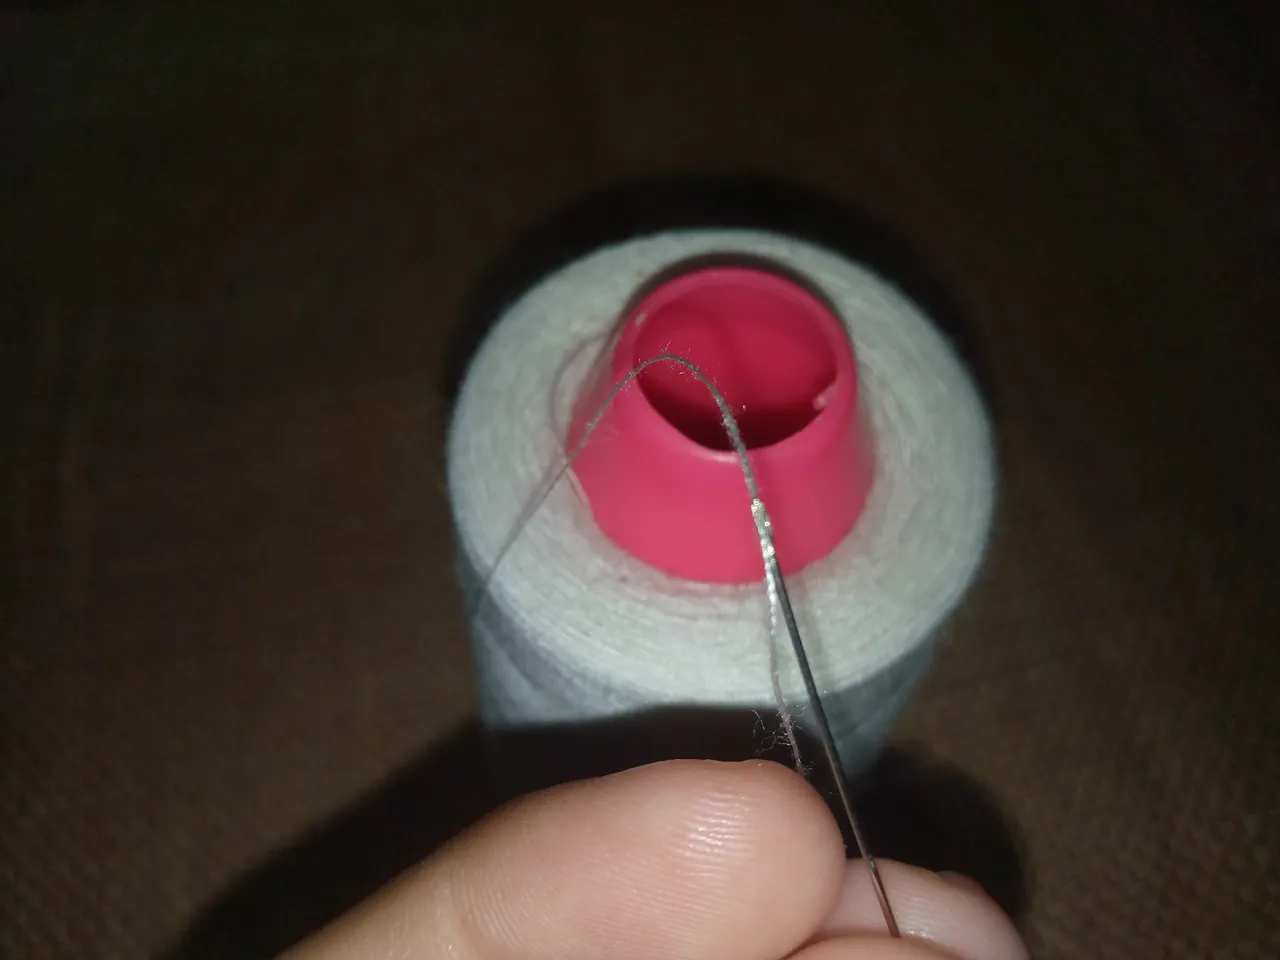
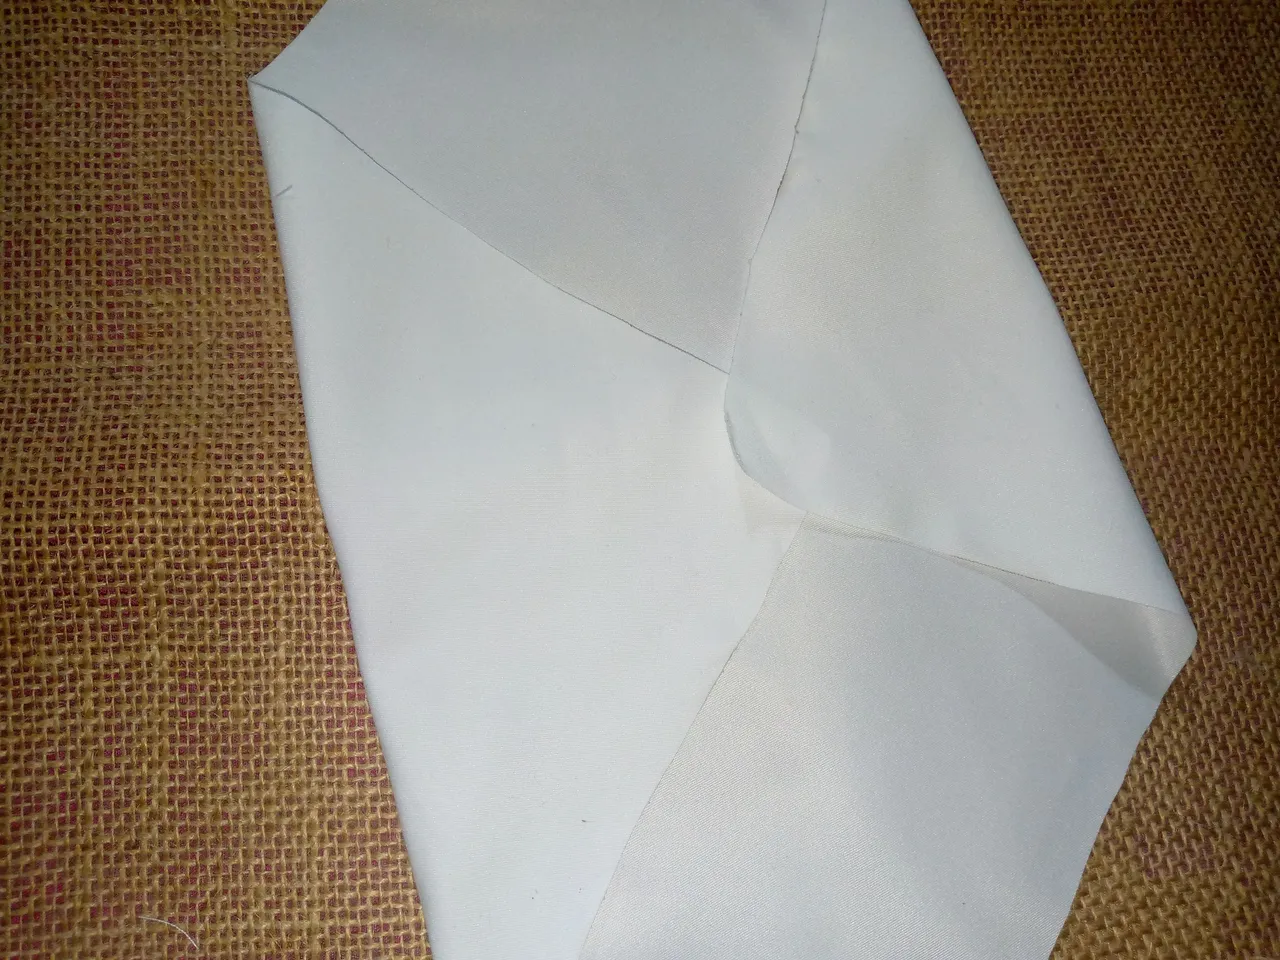
First we are going to iron the fabric or scrap of fabric as I mentioned at the beginning for a better finish, then we spread it on a flat surface and the first piece that I will be cutting will be a square 30 cm long x 30 cm wide then we will cut the pieces of the top the first is 25 cm long x 10 cm wide the second 20 cm long x 10 cm wide, for the union of the bow I will cut a rectangle 8 cm wide x 10 cm long, those are the pieces that we will use to make our bow and I begin to thread my needle with thread to start sewing ... 🎀
Paso 02
Step 02
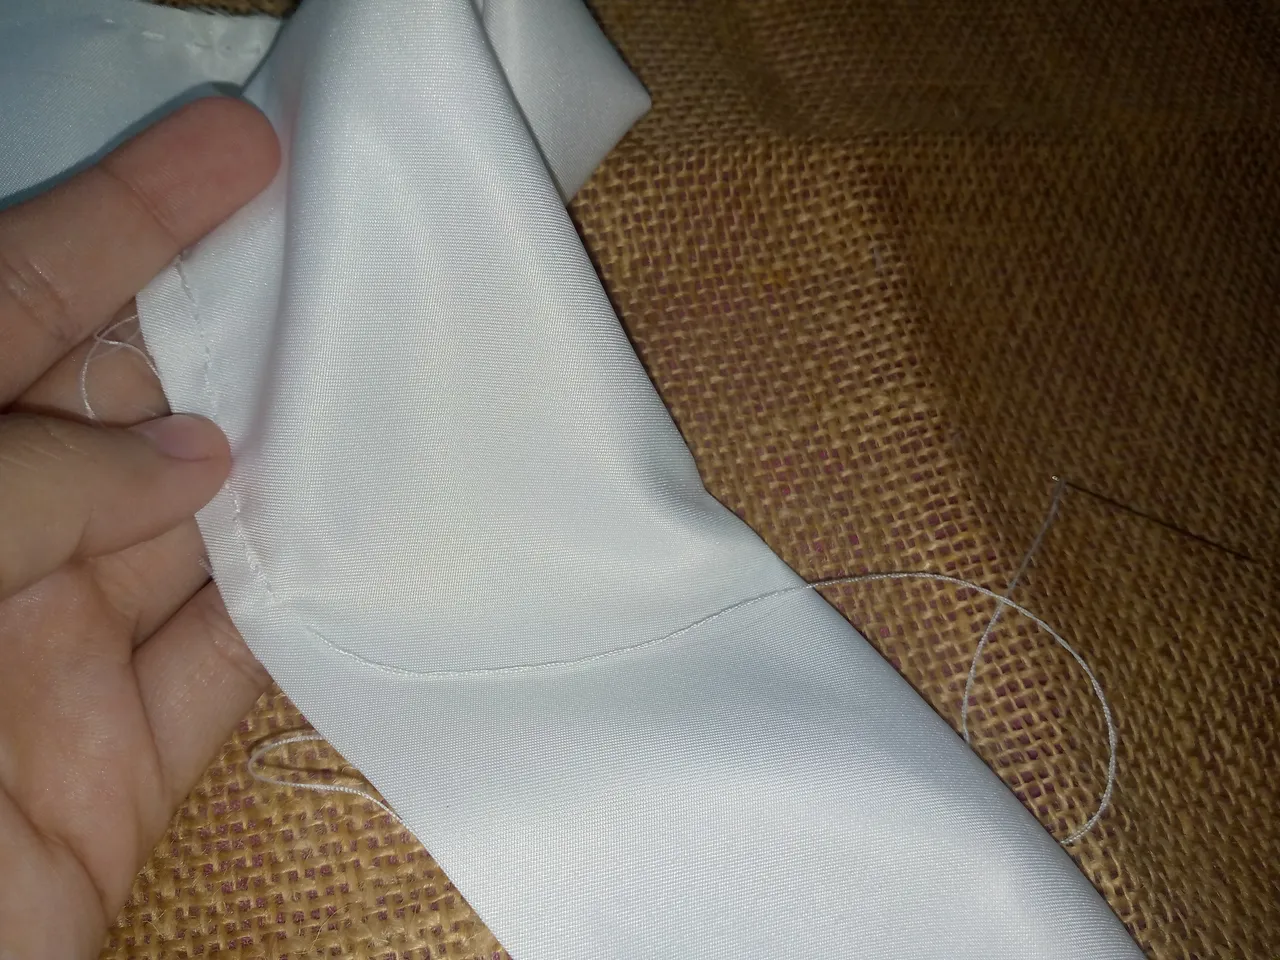
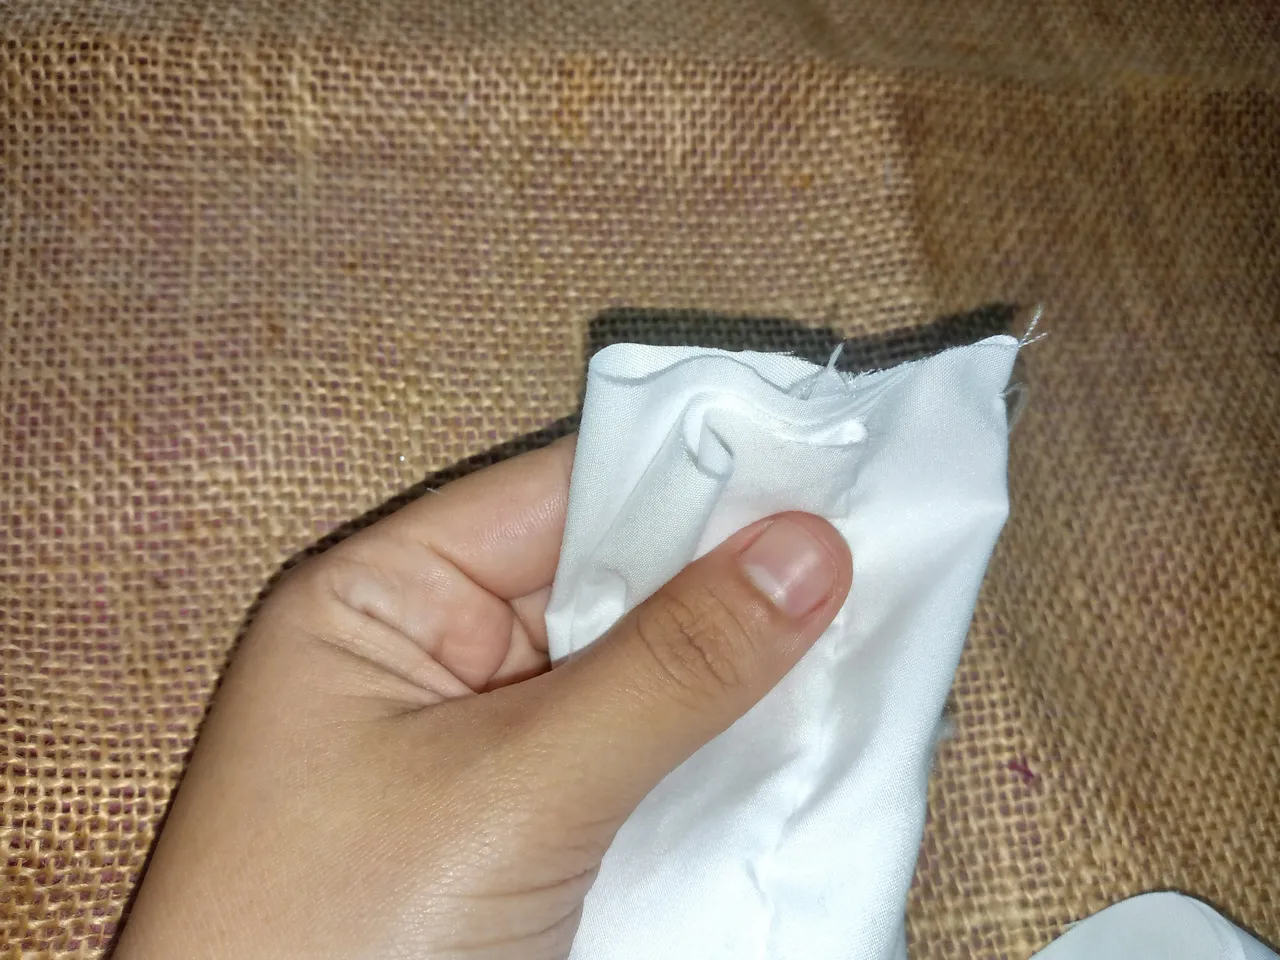
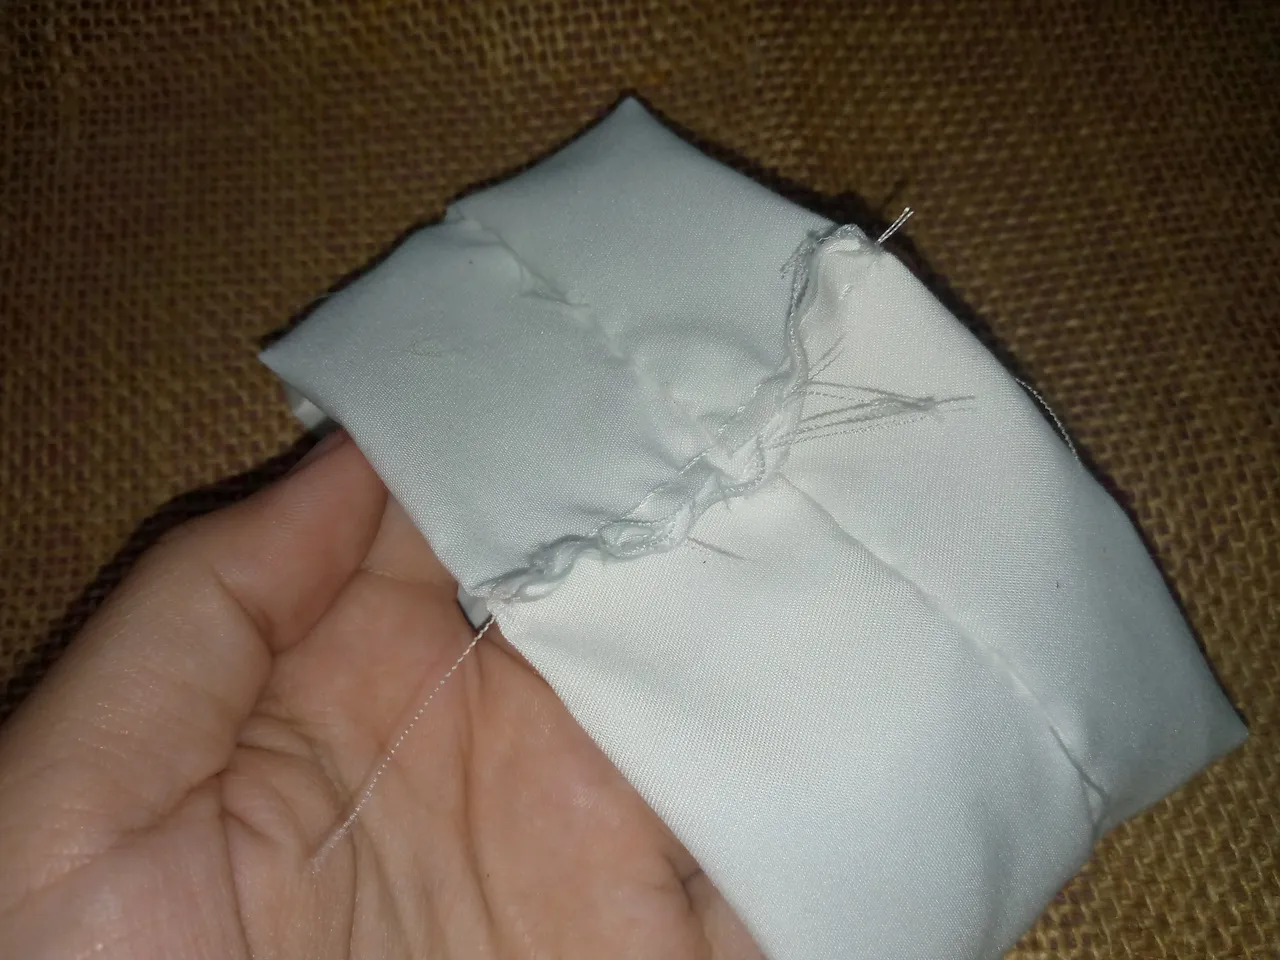
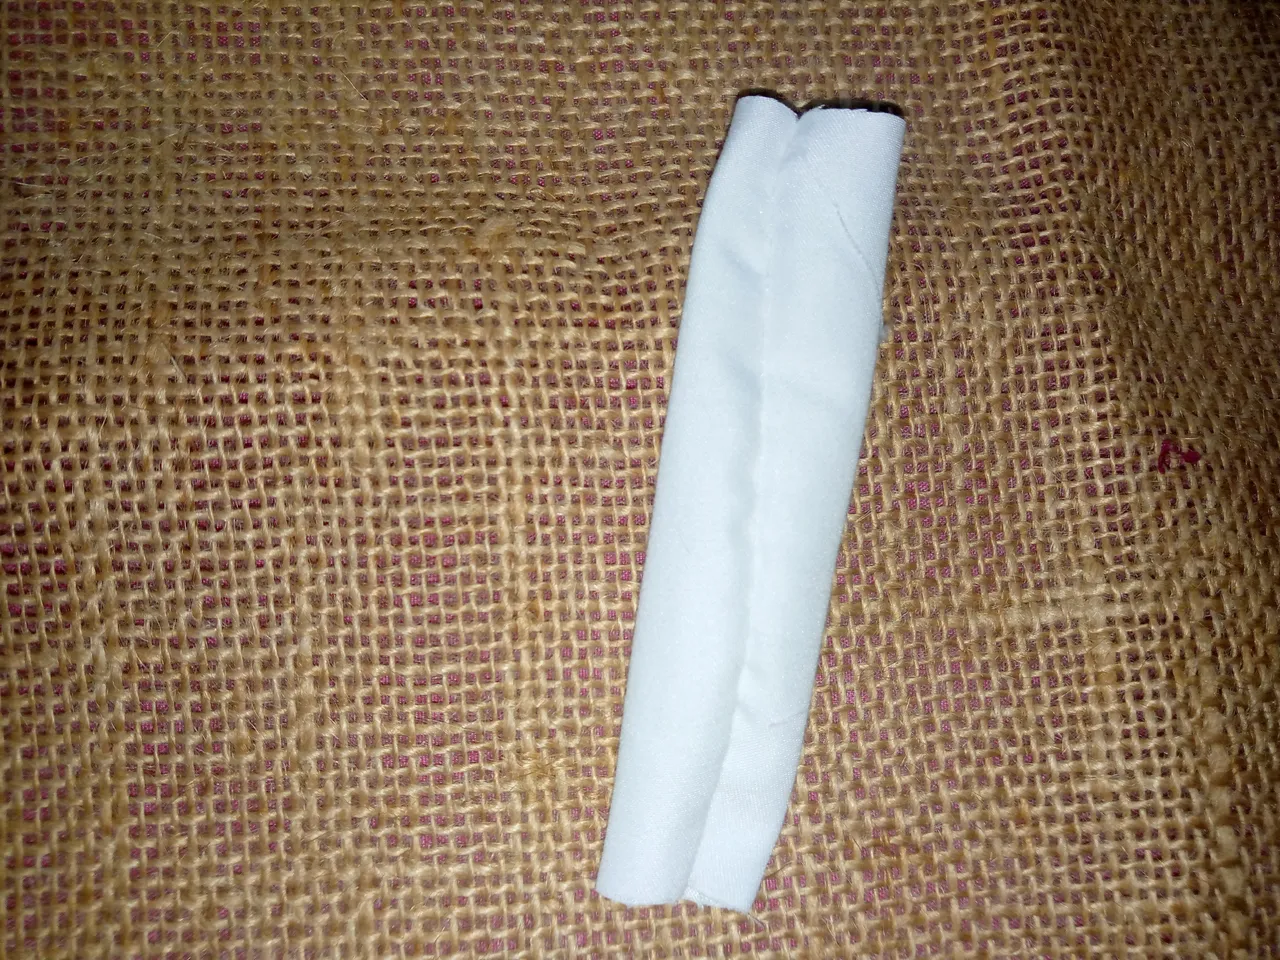
I proceed to sew first the pieces of the top part along my length. I will be sewing with patience to prevent the fabric from wrinkling easily because when the fabrics do not stretch this tends to happen to us a lot, so to avoid it I recommend you sew it with a lot of patience leaving 1/2 cm of seam, once I sewed the two because as the bow is double what I will do is take the lighter and burn the ends and then join each end of each one so that they stay together and prevent the thread from fraying at the ends. For this I used the lighter, I sewed the piece that joins the bow in the same way and simply turned it over.
Paso 03
Step 03
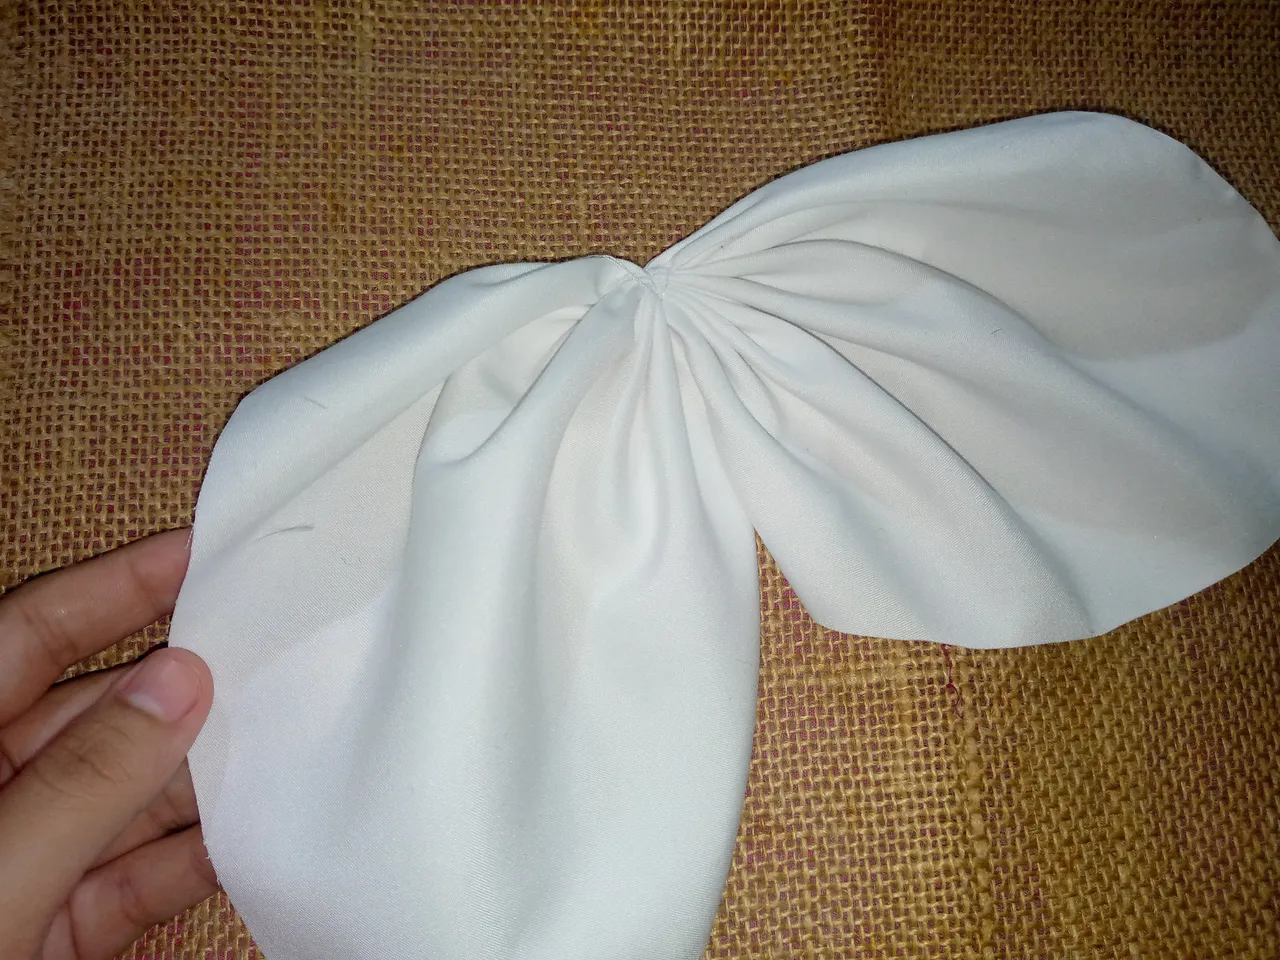
It's time to put together our bow and for this I have taken the square, the first piece that I cut at the beginning and what I will do is fold each tip of two corners inwards and simply sew them in the middle, gathering them well so that it is assembled, then we will make this gathering by placing one piece on top of the other and turning the thread several times as necessary so that it does not come undone, then we will join these pieces together with the one below the bow.
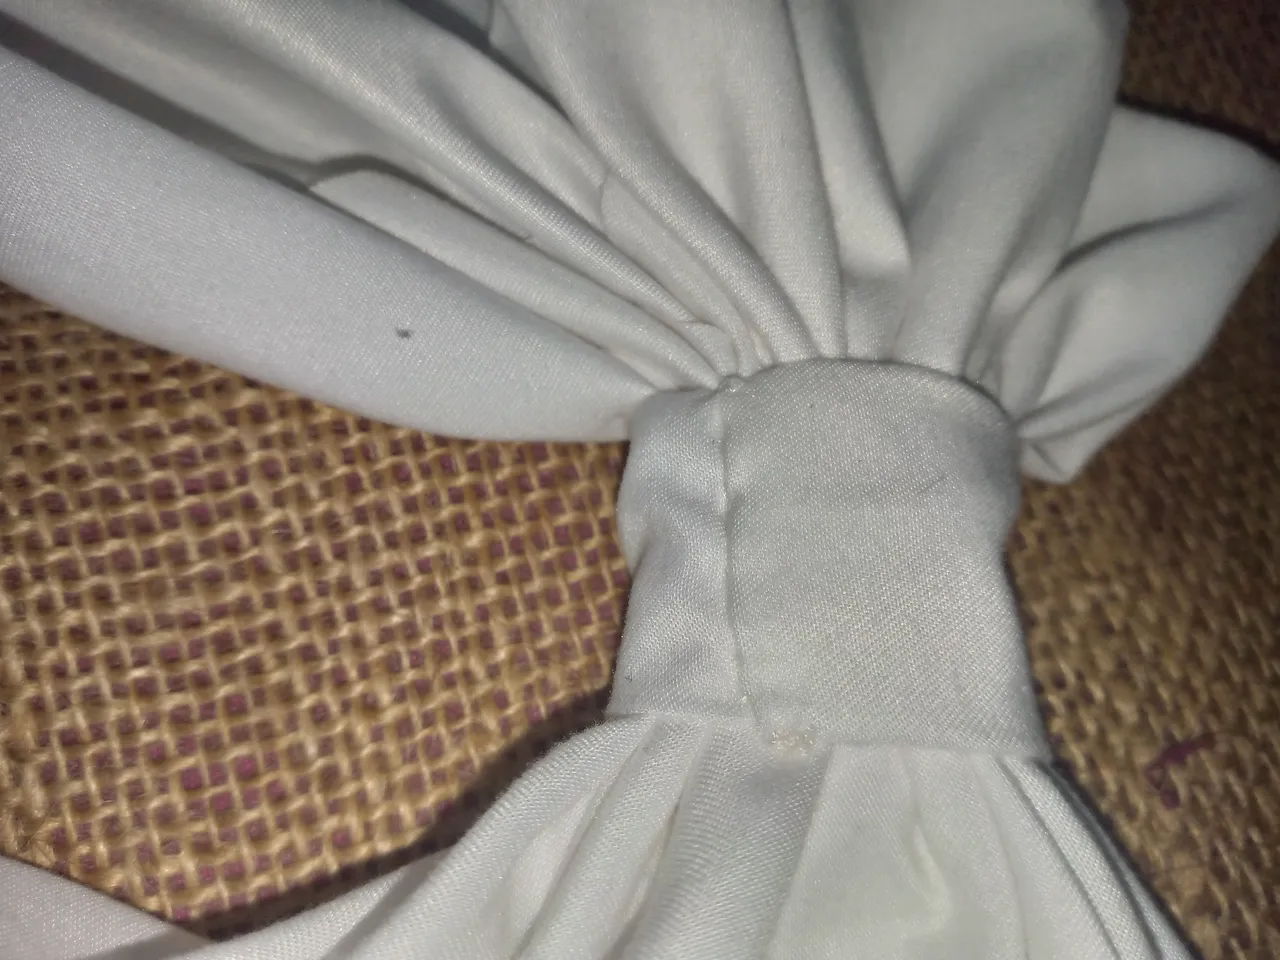
Paso 04
Step 04
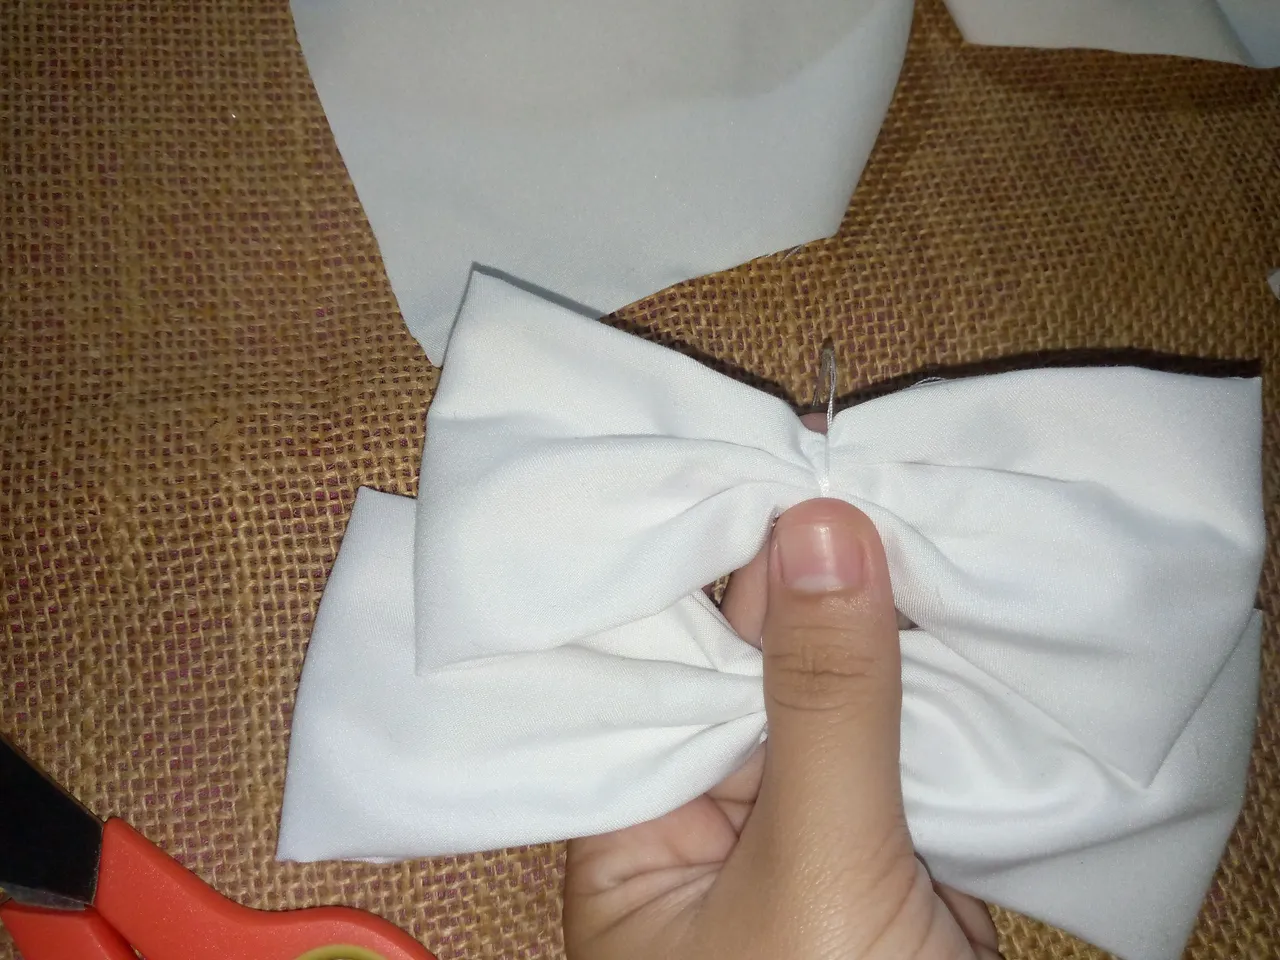
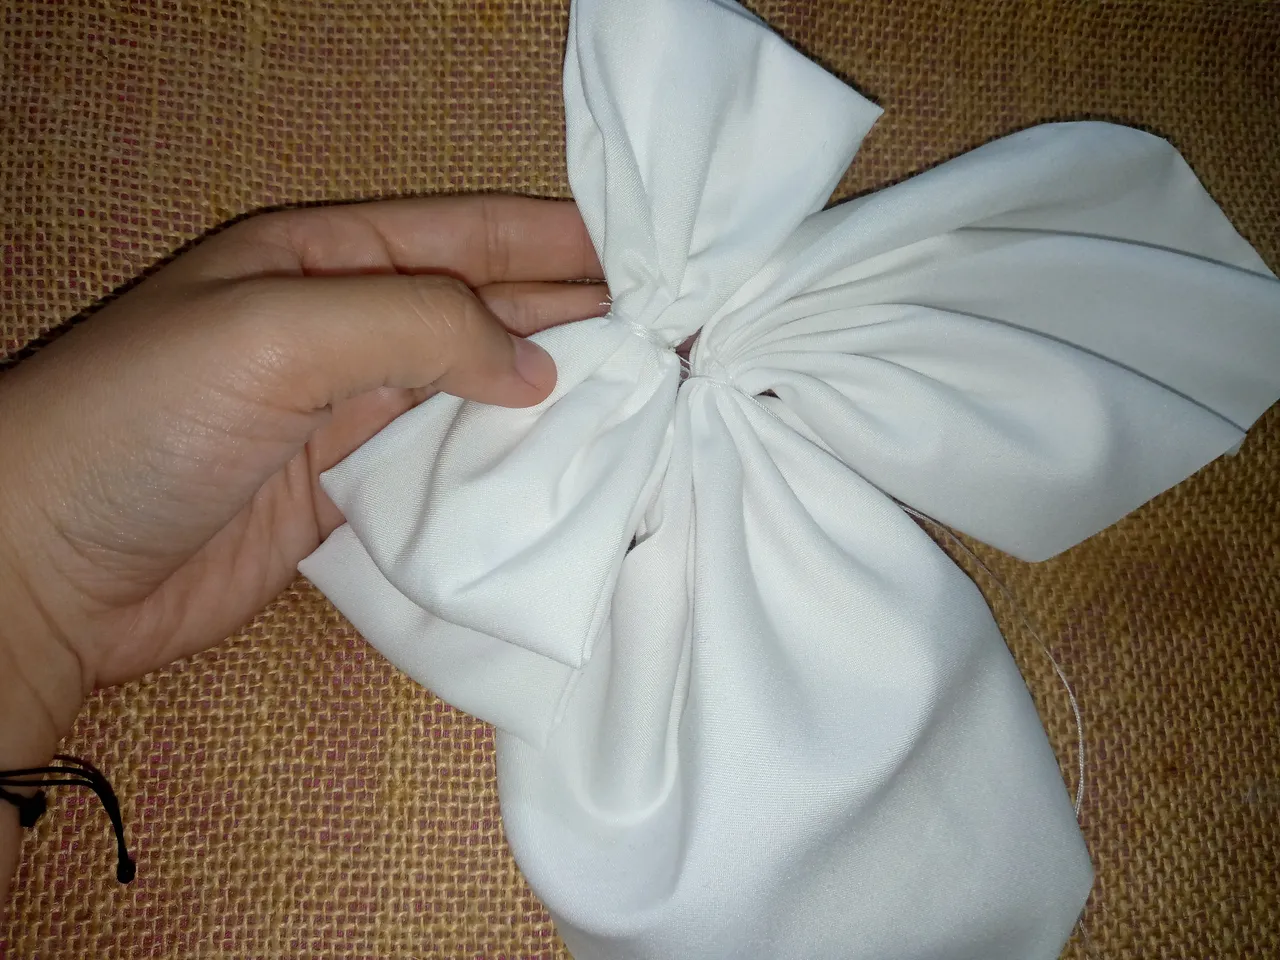
Finally I joined them and only sewed the piece that joins the bow. I sewed it with an invisible seam on the back so that it fits snugly. As I will always change the dart on this bow, I simply did it this way so that we have the opening in the back of the piece that joins the bow so that it is easier for me to change the dart. This way we finish the bow.
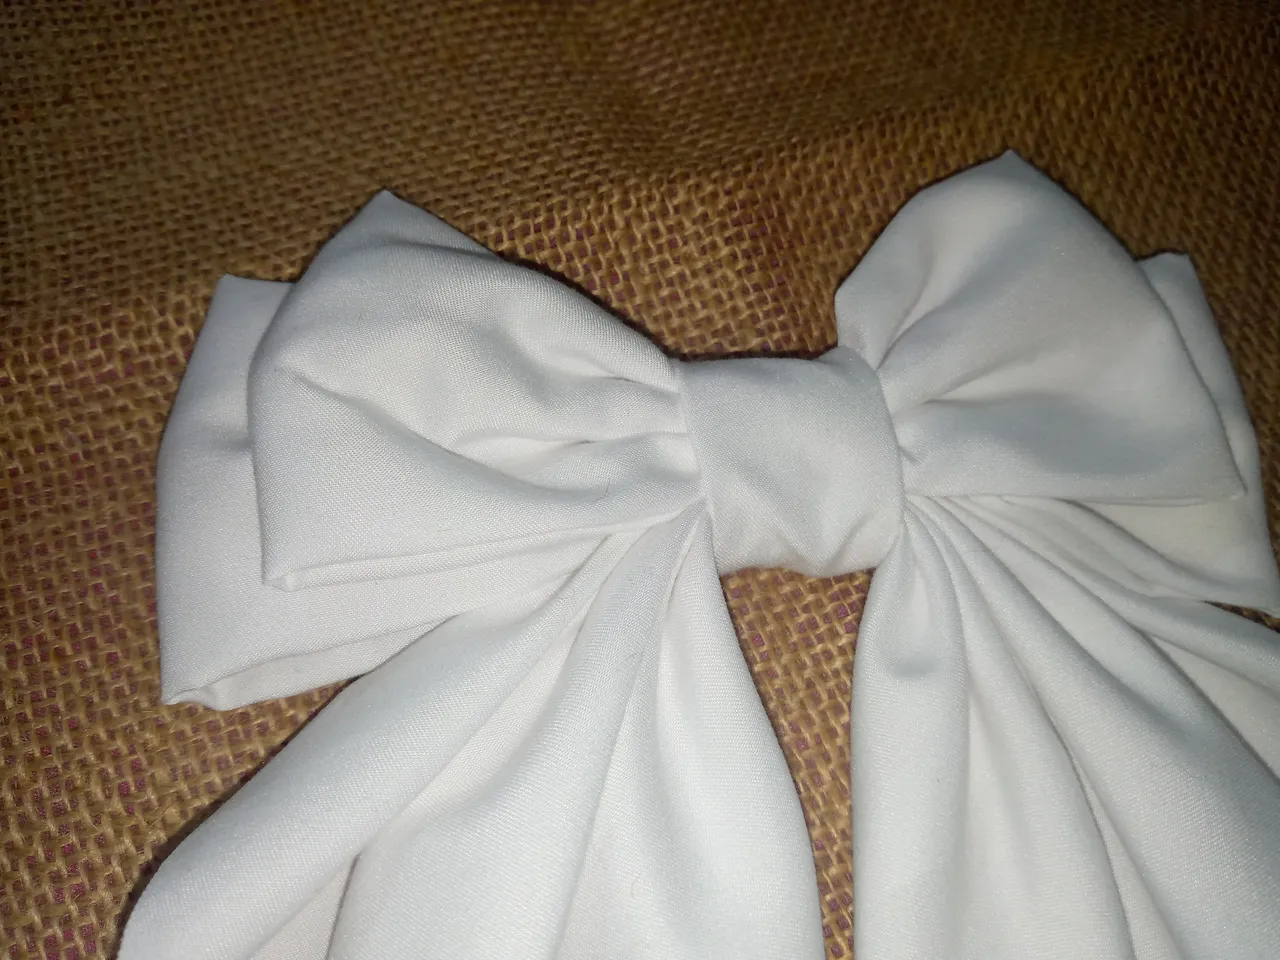
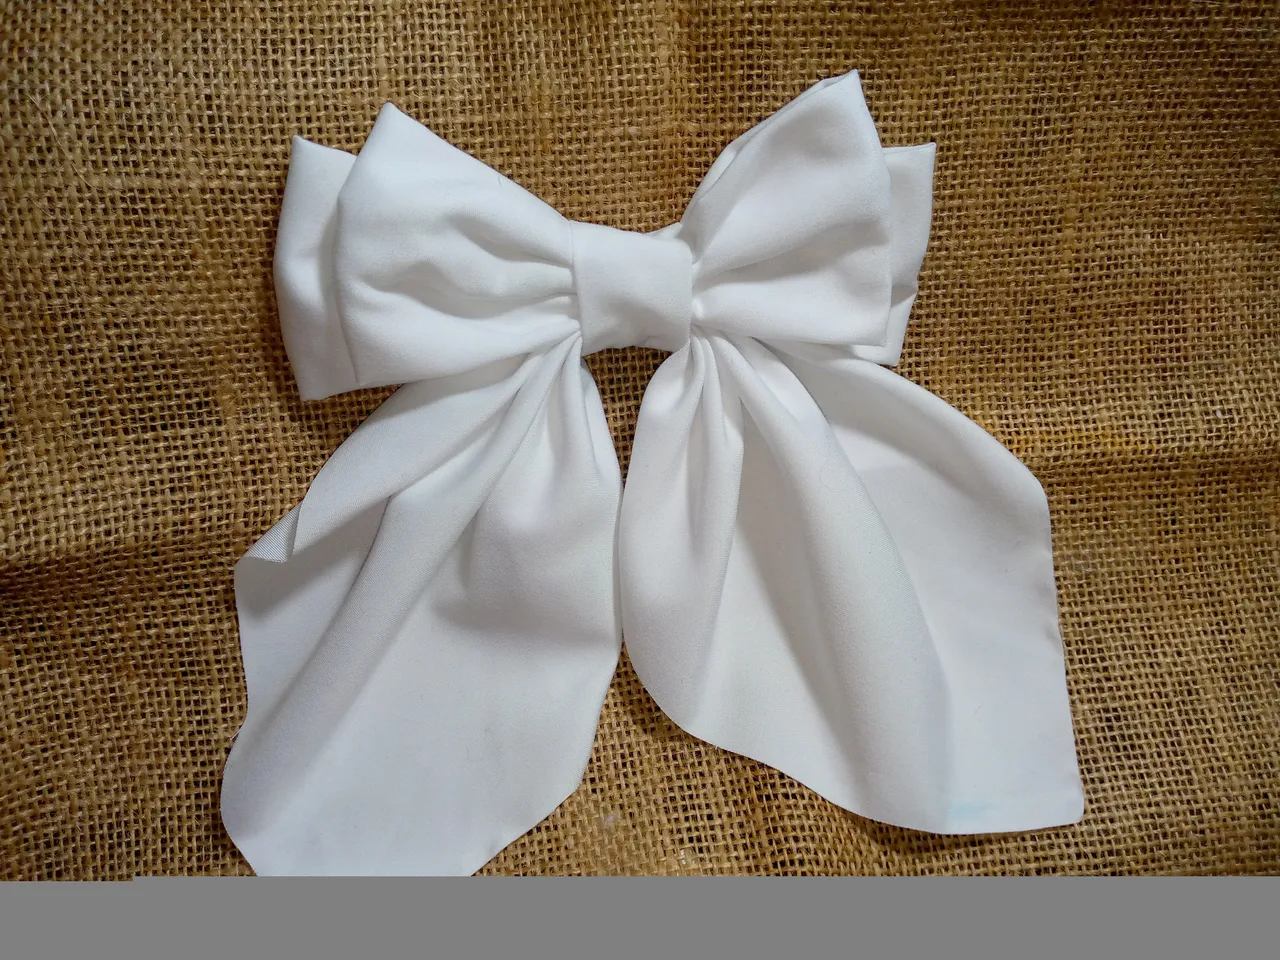
Resultado: | Result:
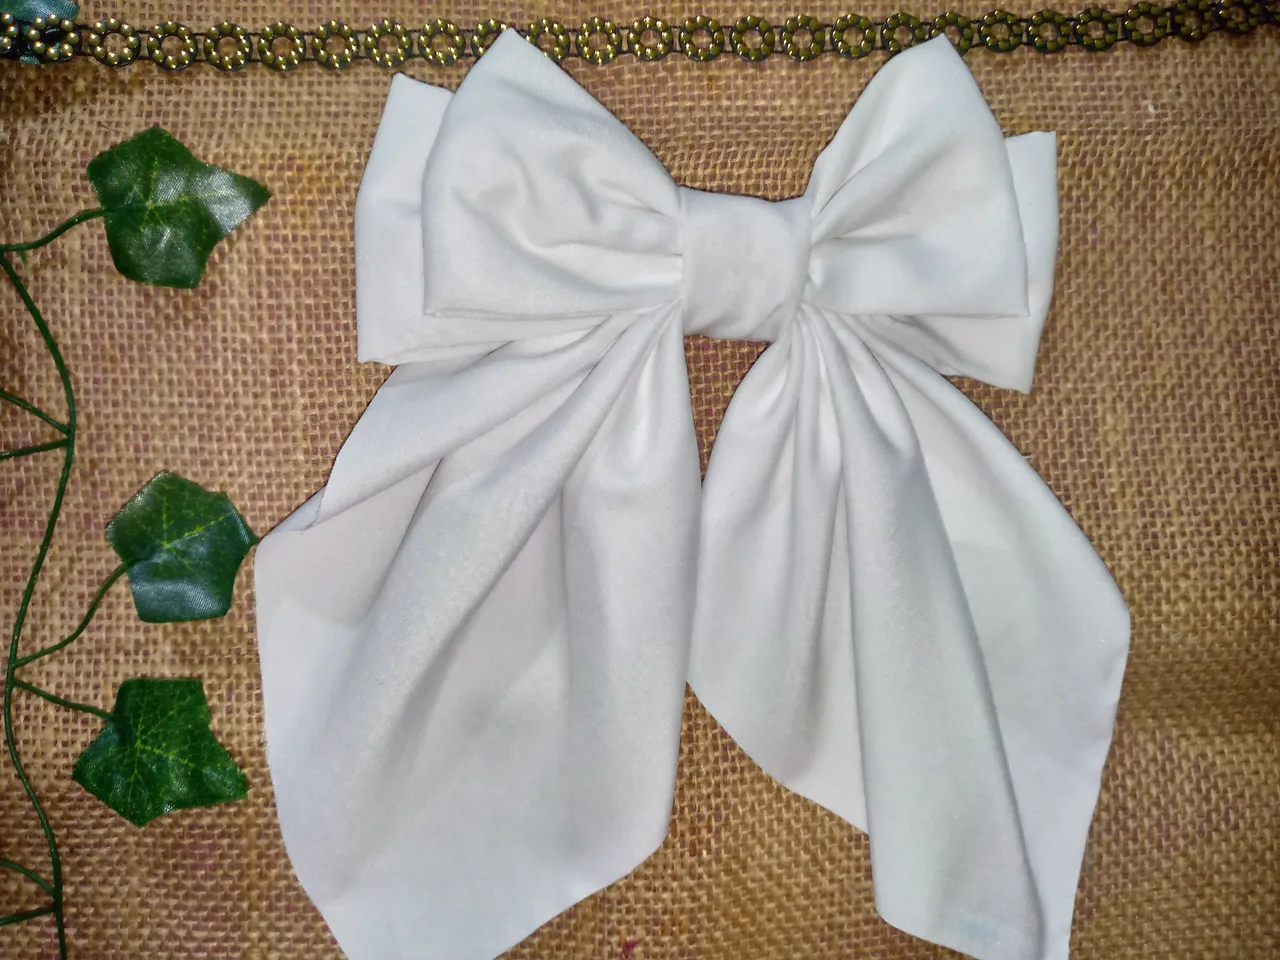
Tell me what you think about how this color, even though it's white, stands out a lot? 😍 I really loved this simple flirty bow, I thought about putting some designs in the middle but since I always wear clothes of a single color, I thought it was better to leave it like that without details. If you want to put more details on your bows, you can do so with pleasure. I just remind you that I would be happy to know that you liked it as much as I did, and I hope to meet again in another new DIY tutorial, greetings dear friends ❤️✨.
Creando las cosas con amor🌷♥️ | Creating things with love🌷♥️
Images:my own work | Edited by:Canva® and PicsArt © | Translator:Google Translate | Device:TecnoSpark 8C