
Hello friends, it's a pleasure to greet each and every one of you. I'm happy to be sharing with you once again another creation of my simple projects. I was looking through the things I have stored here at home and I found that I have the material to make a cute, flirty keychain or a flirty trend keychain that was in fashion for a while. Although this trend is mostly pink, I wanted to add some pearls on top of the keychain to make it simpler and more delicate 🥰.
I always like to use this type of keychains made by me to place them on my bags as a unique and original detail, if you have made this type of keychains at home for yourself as well as for a specific undertaking, you will really like this idea, we are going to be using materials that we have stored and that possibly you will see that you will not use them, you can also use costume jewelry material to make different designs of keychains and also prints on ribbons of both colors and stones of different shapes, another trend that you can use as costume jewelry are the stone letters and round designs, as much as what you want to put on them as make them all and any type of design is preferable and according to your style, in this case we will make it pink because it is the material that I had available at home 💖.
I hope you like this great idea and can learn how to make them. I welcome you to my blog and enjoy it as much as I do 💖🧶.
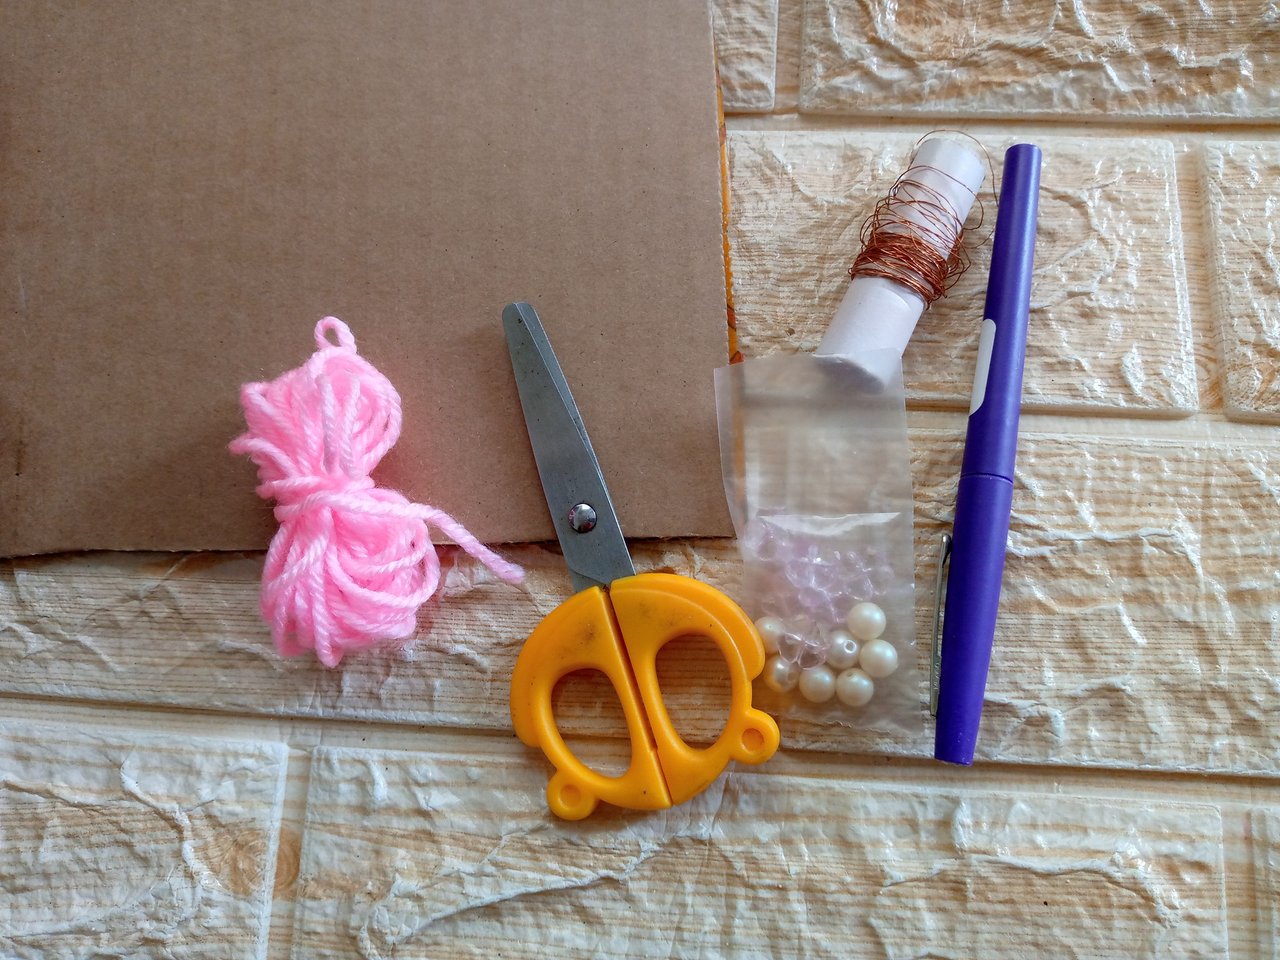
Materiales:// Materials:
- Tijeras
- Hilo de lana o estambre
- Trozo de cartón
- Resaltador o lápiz
- Perlas
- Alambre
- Gancho de llavero
- Cinta de razo
- Pinzas de bisutería
- Scissors
- Wool or yarn
- Piece of cardboard
- Highlighter or pencil
- Pearls
- Wire
- Keychain hook
- Satin ribbon
- Jewelry pliers
Pasos a seguir://Steps to follow:
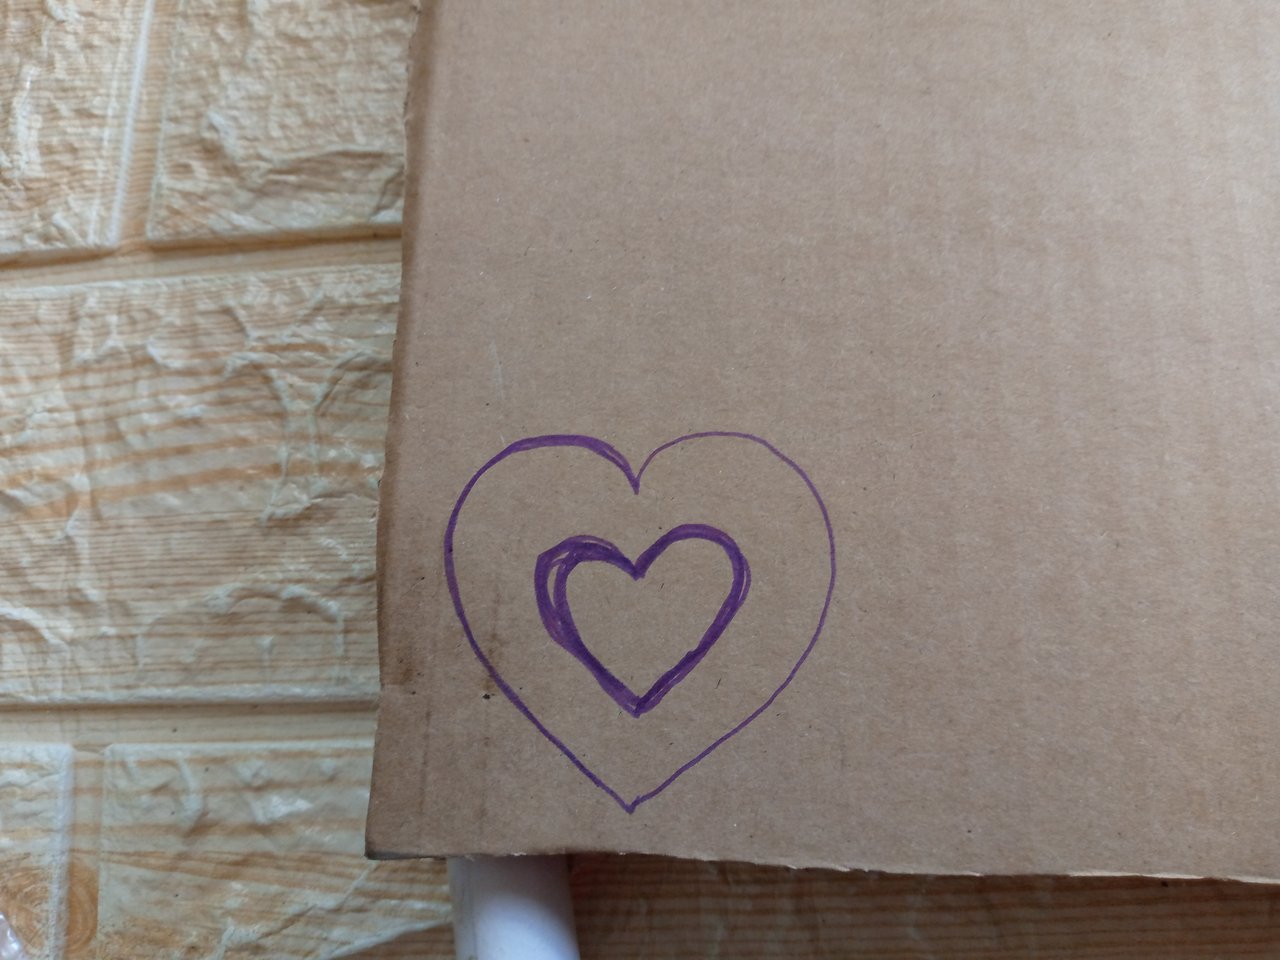

Paso 01
Step 01
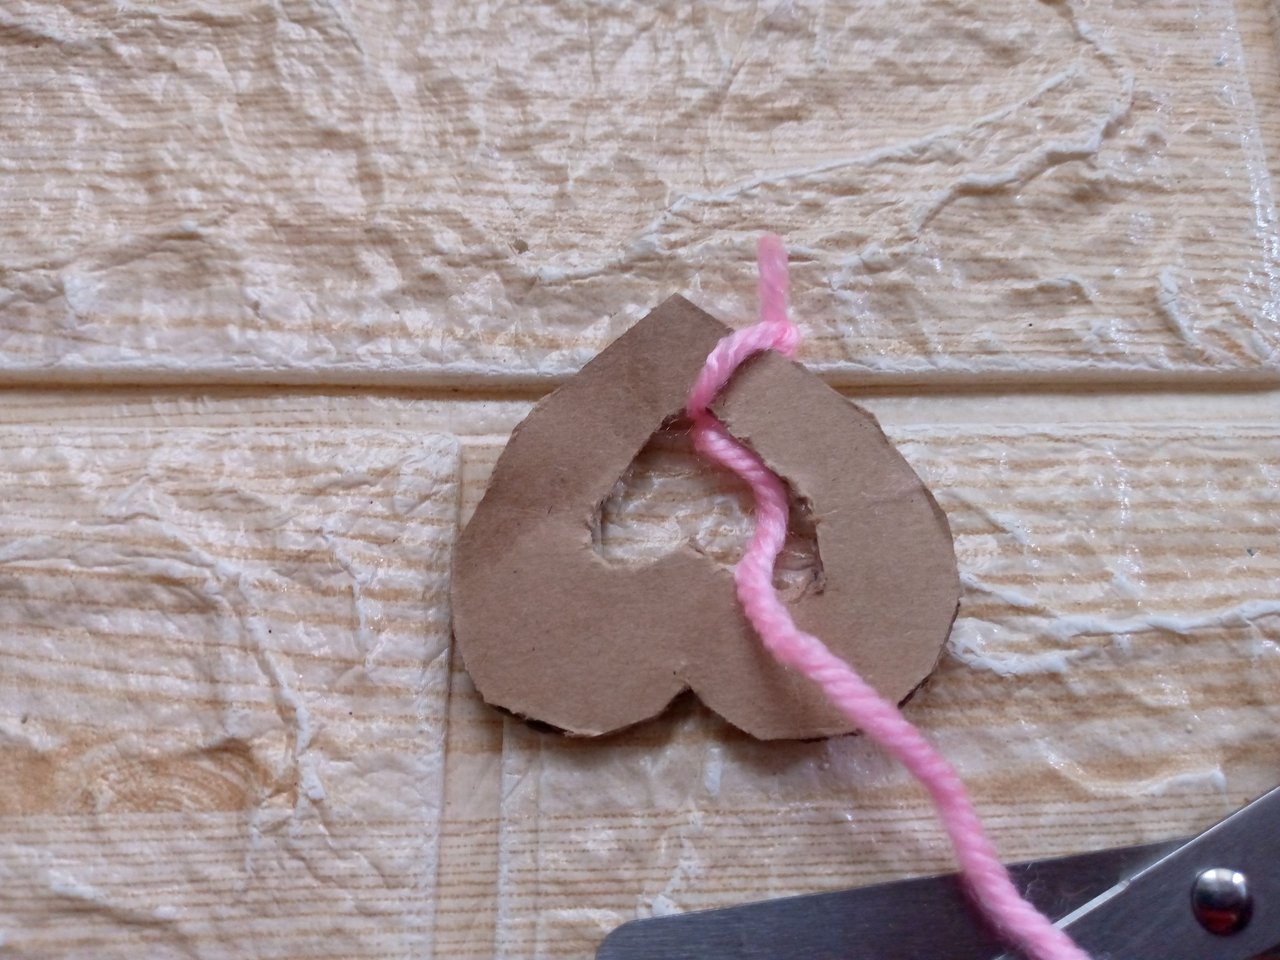
The first step we are going to do is take the piece of cardboard and we will take the highlighter or the pencil and make a medium heart and then we will make one again in the center so that we have a space of 1 cm between both hearts, we will cut out the center and leave the heart template, and we are going to take the yarn and we are going to knot it at the bottom of the heart so that we can begin to wrap the heart piece around it.
Paso 02
Step 02
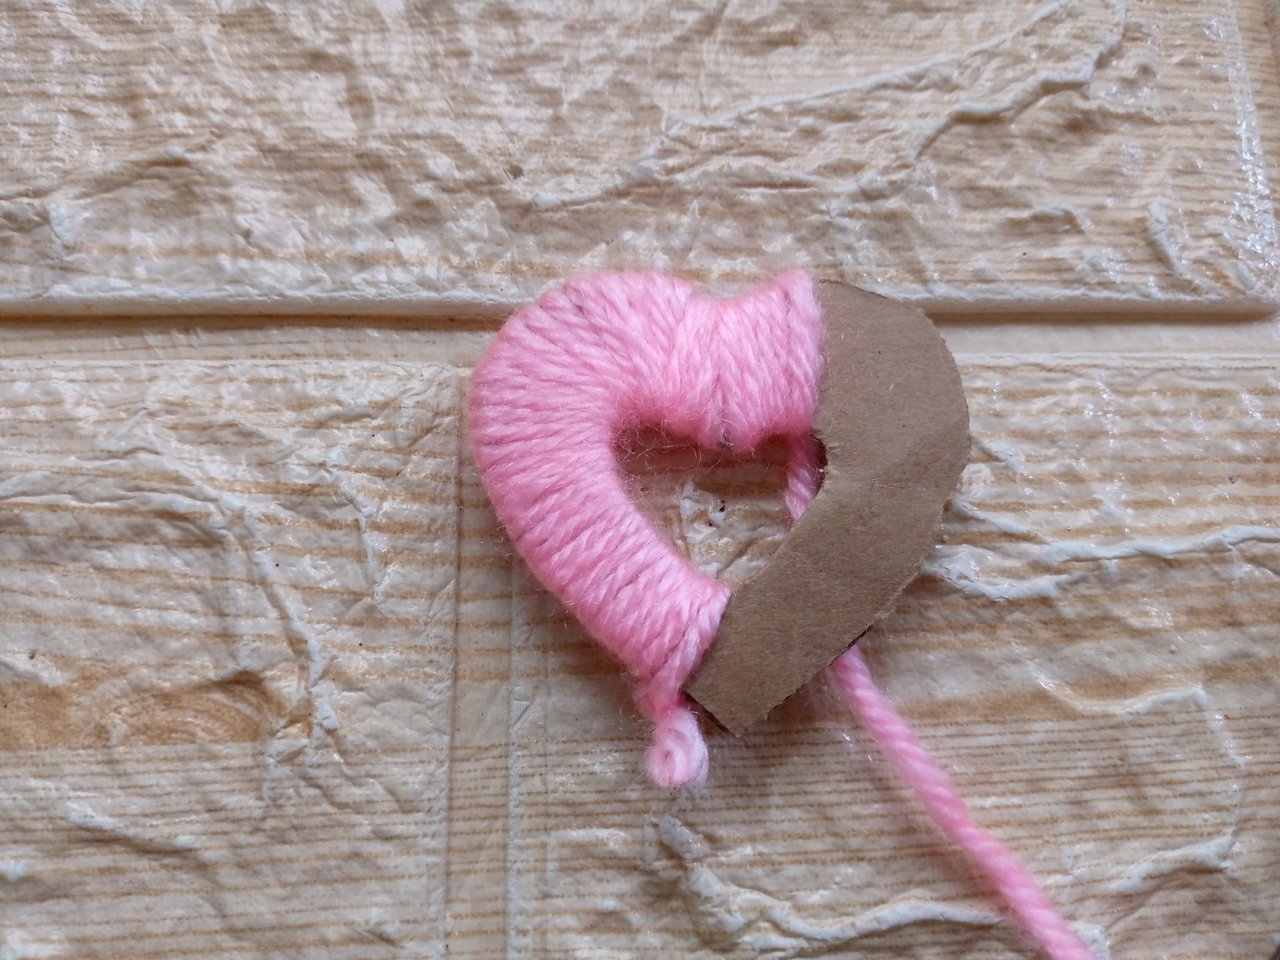
Then we will roll the yarn around the cardboard, gluing it tightly so that the bottom is not visible. After filling out the template, it should be well lined so that the yarn can be seen well filled around the heart.
Paso 03
Step 03
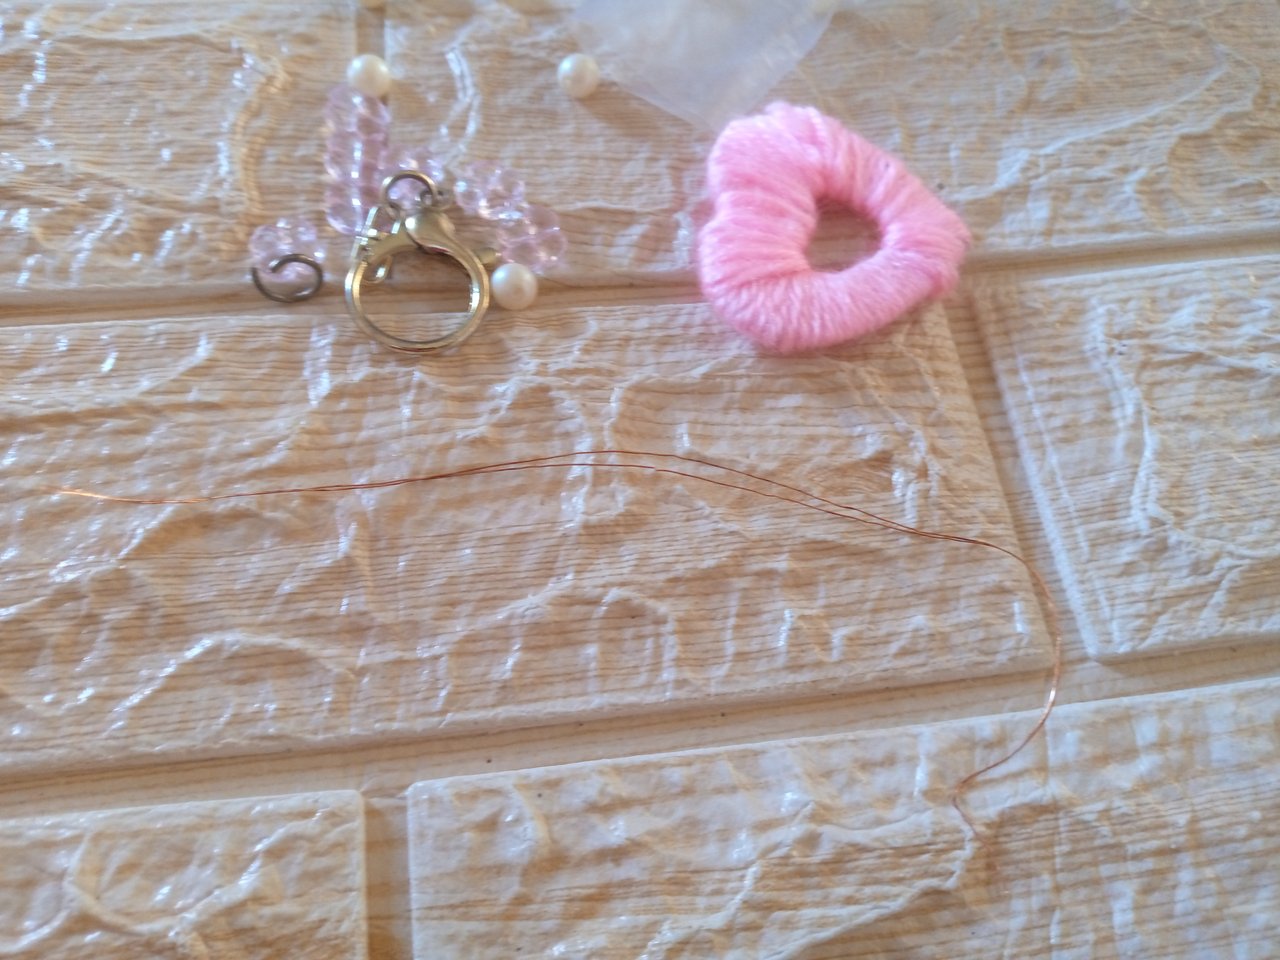
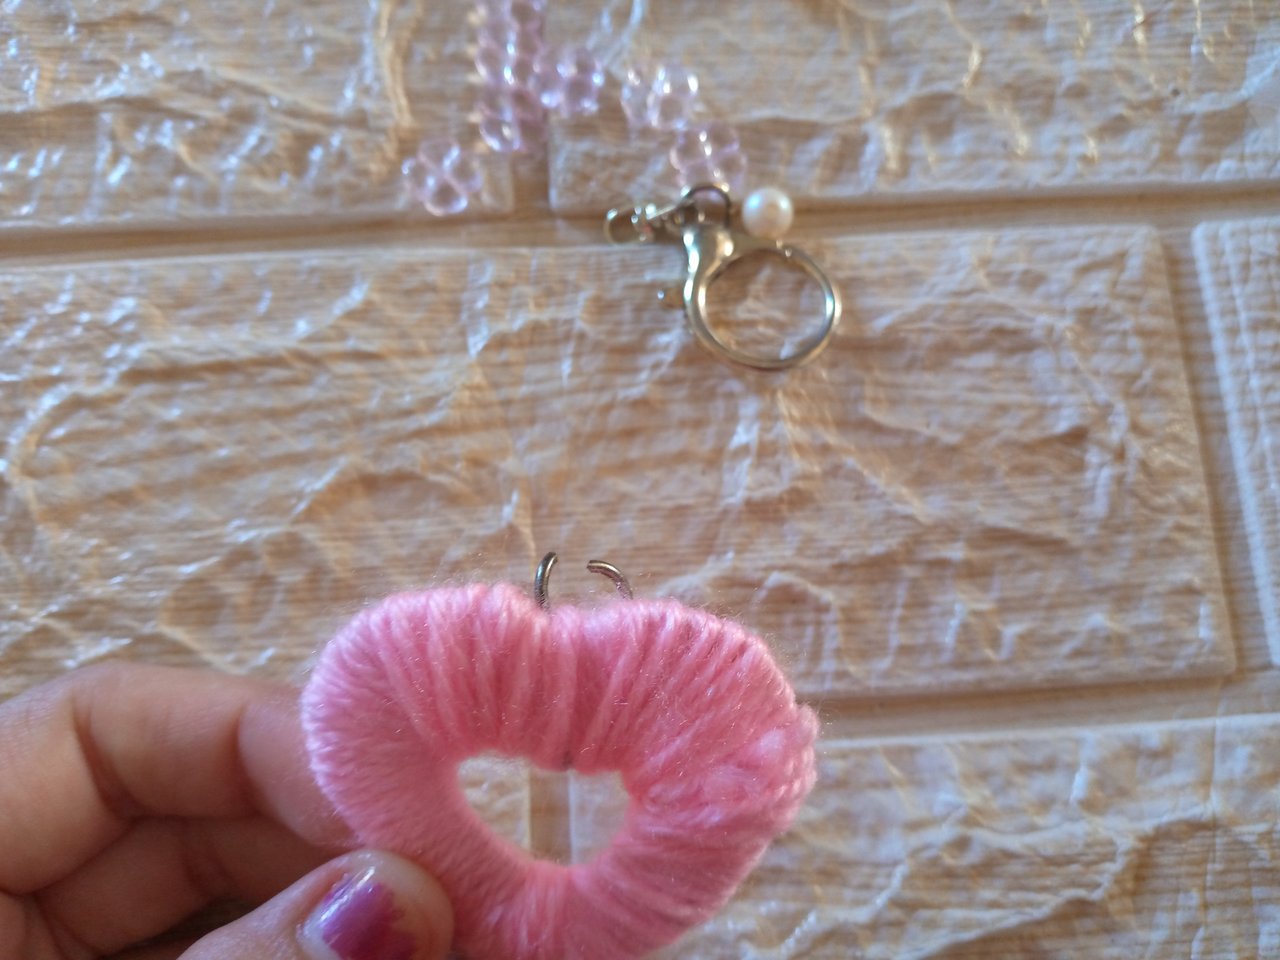
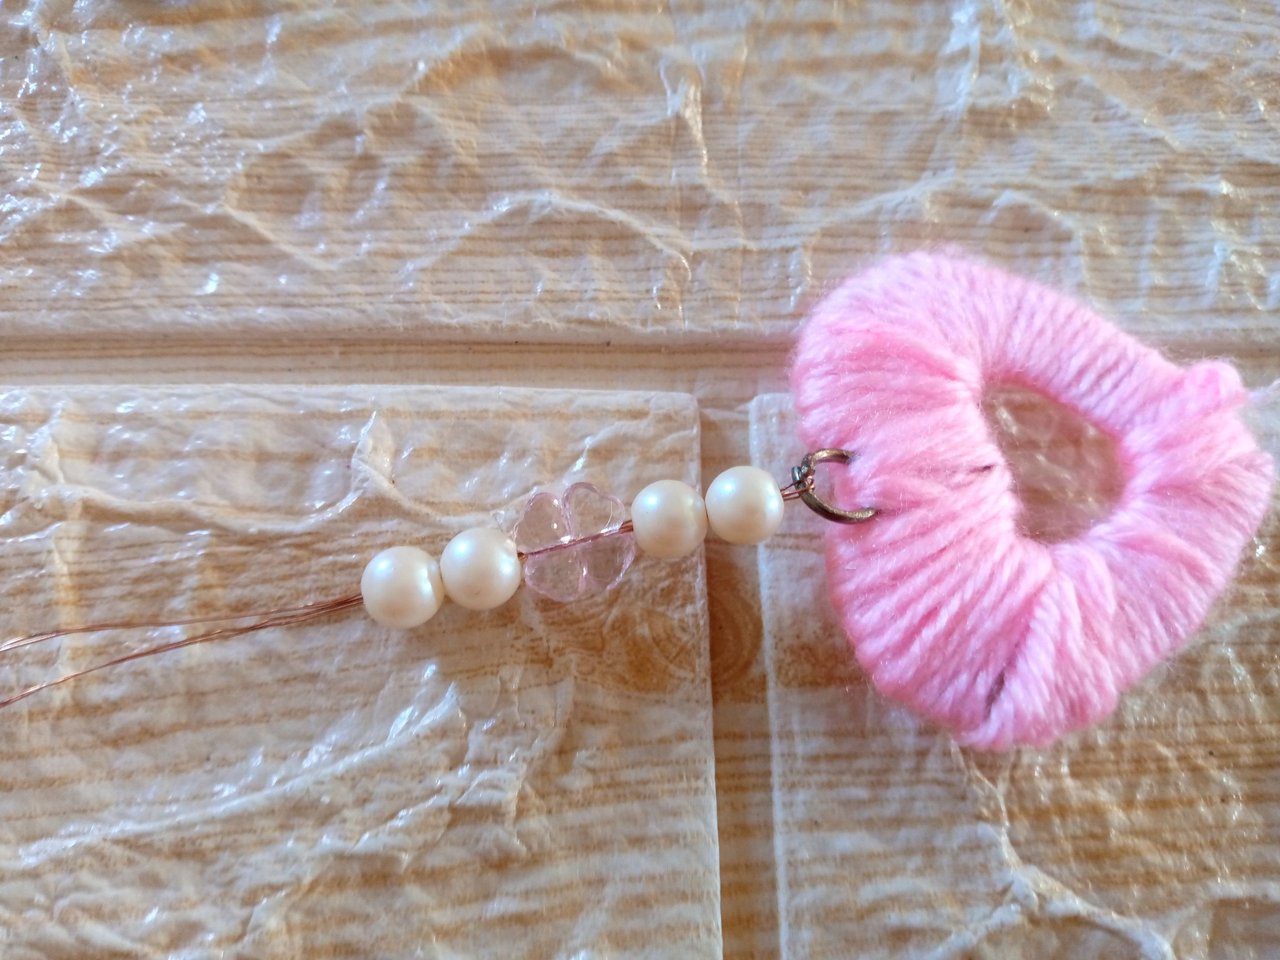
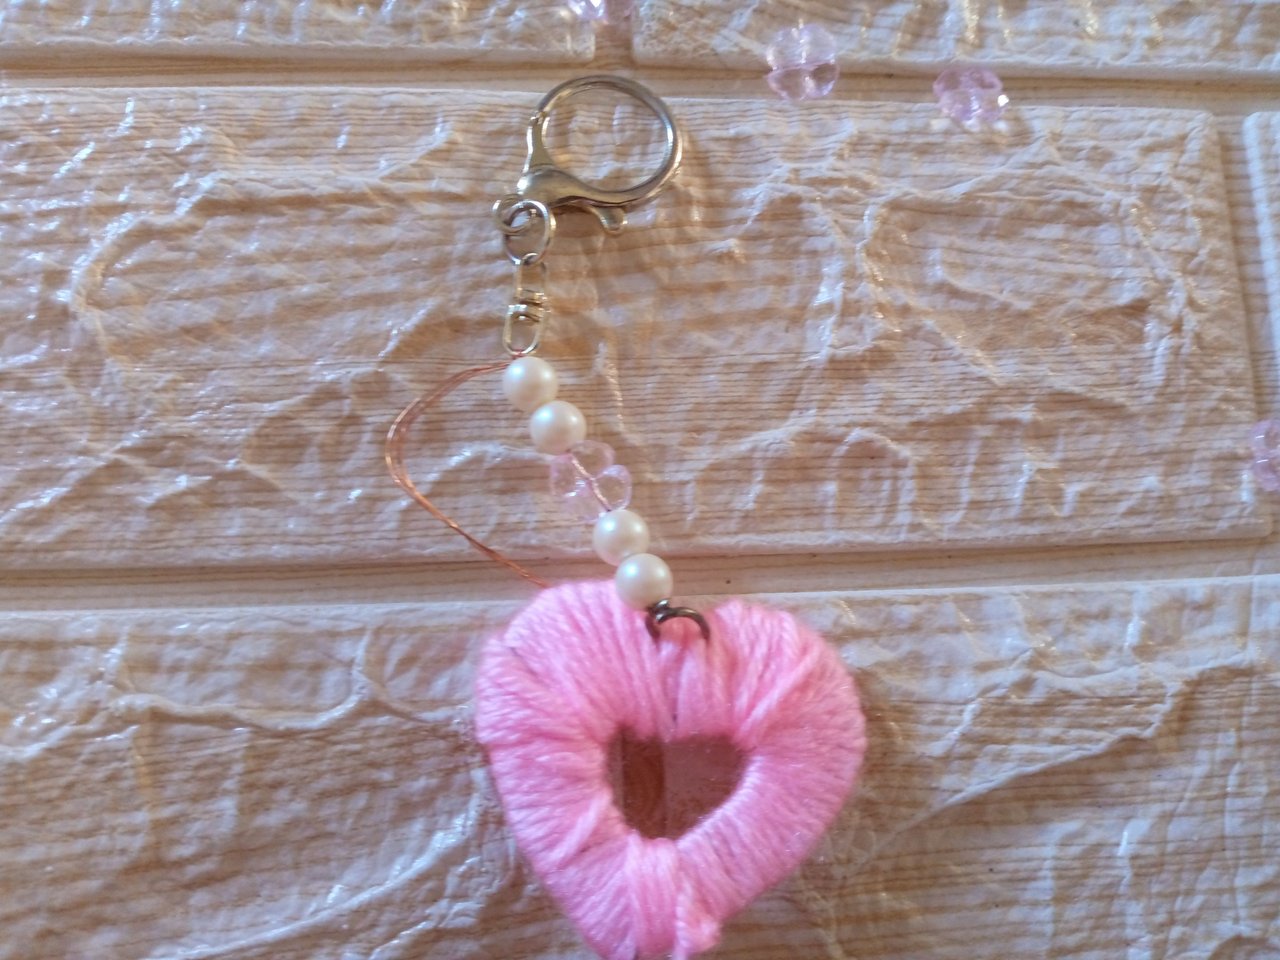
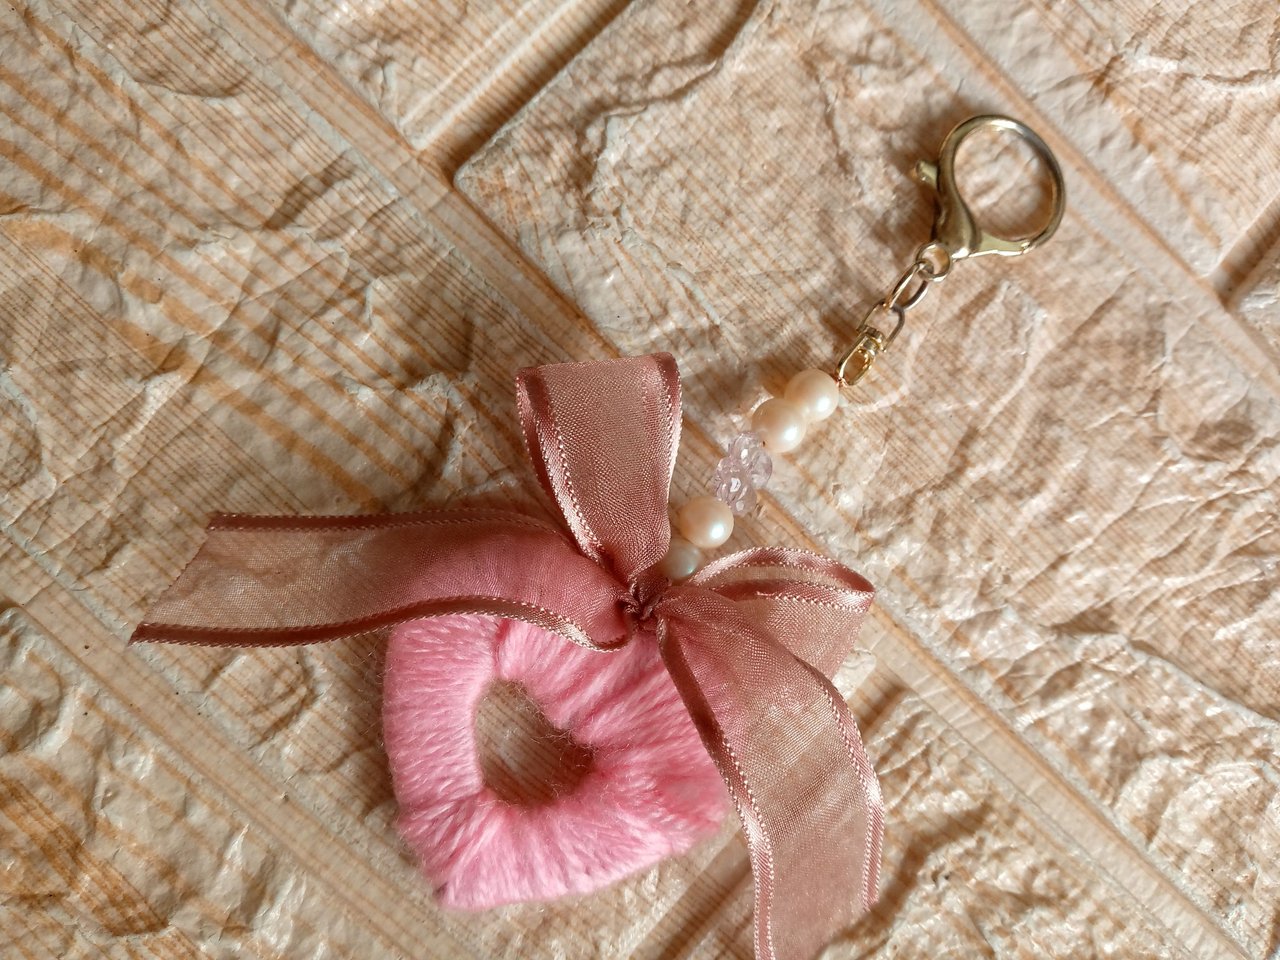
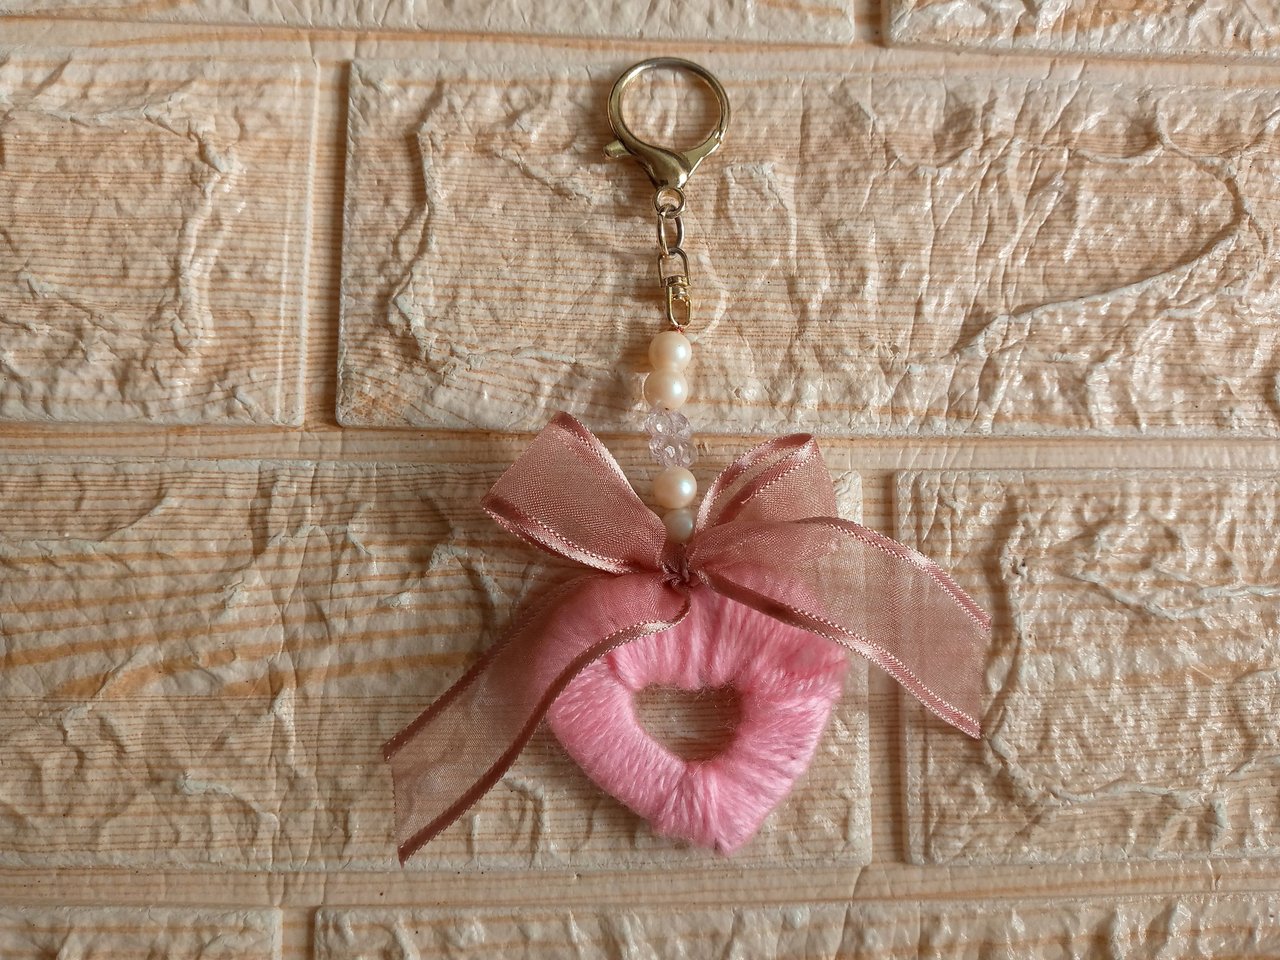
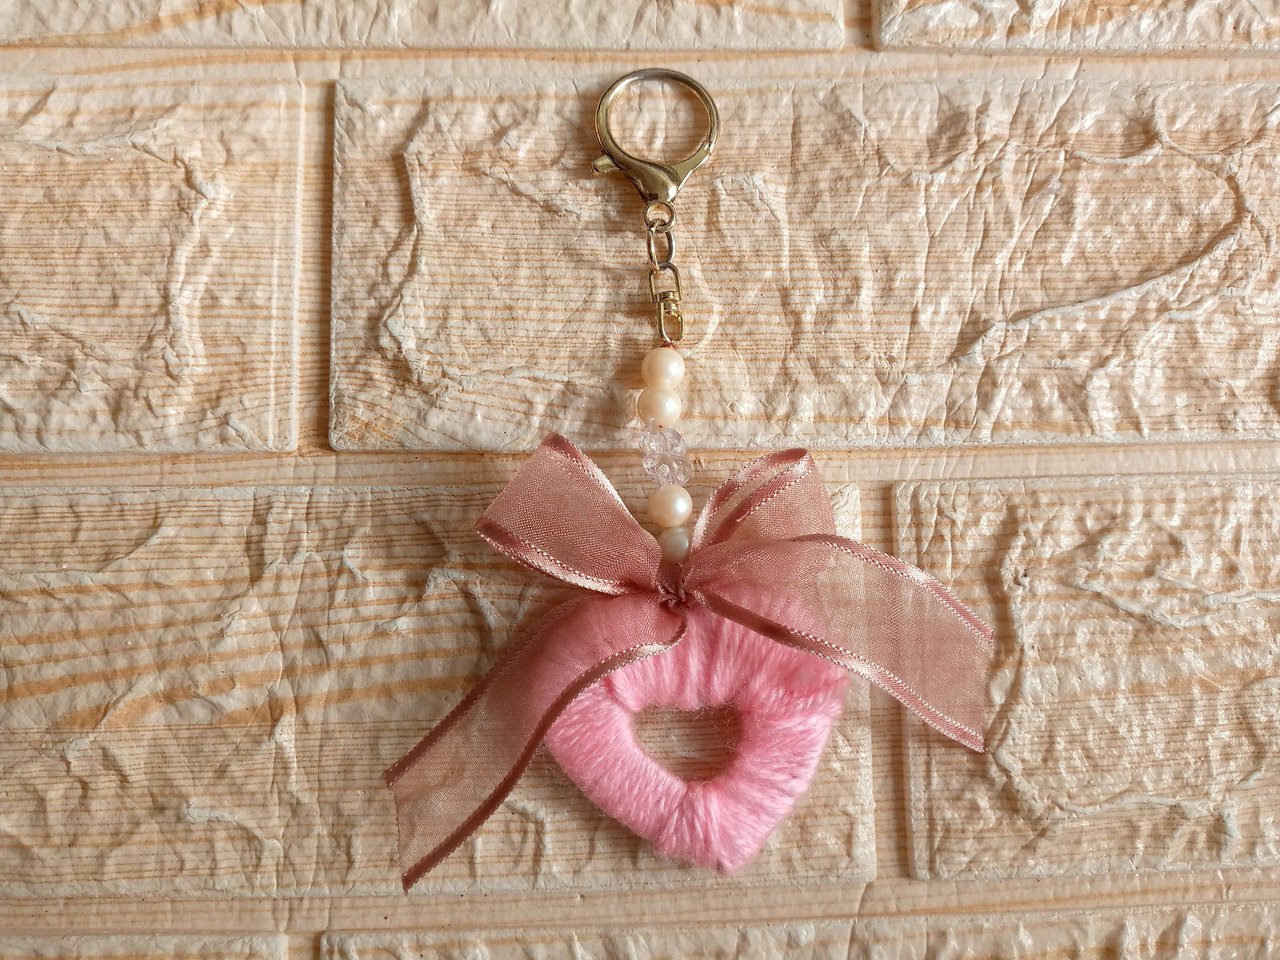
After assembling the heart and covering it, we are going to place the little ring in the center of the heart at the top with the clamp to help us since this ring that I got was a little thick, we seal the ring and we are going to take the wire and we bend it in half so that it is very resistant and we are going to insert our pearls and a little flower that I wanted to place on it, then we place the hook and adjust the wire to it with the clamps, we cut it and adjust it well.
Paso 04
Step 04
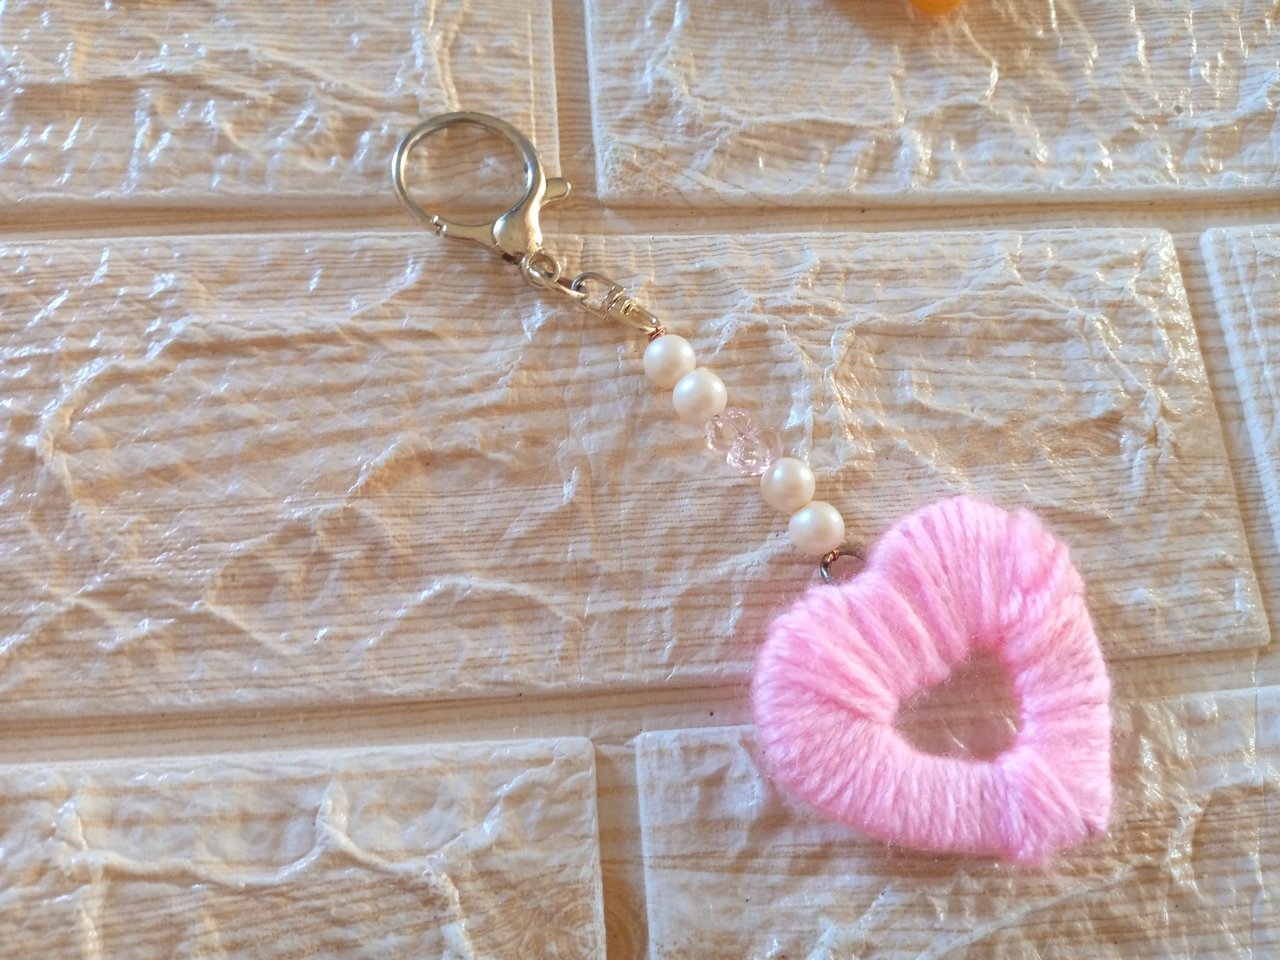
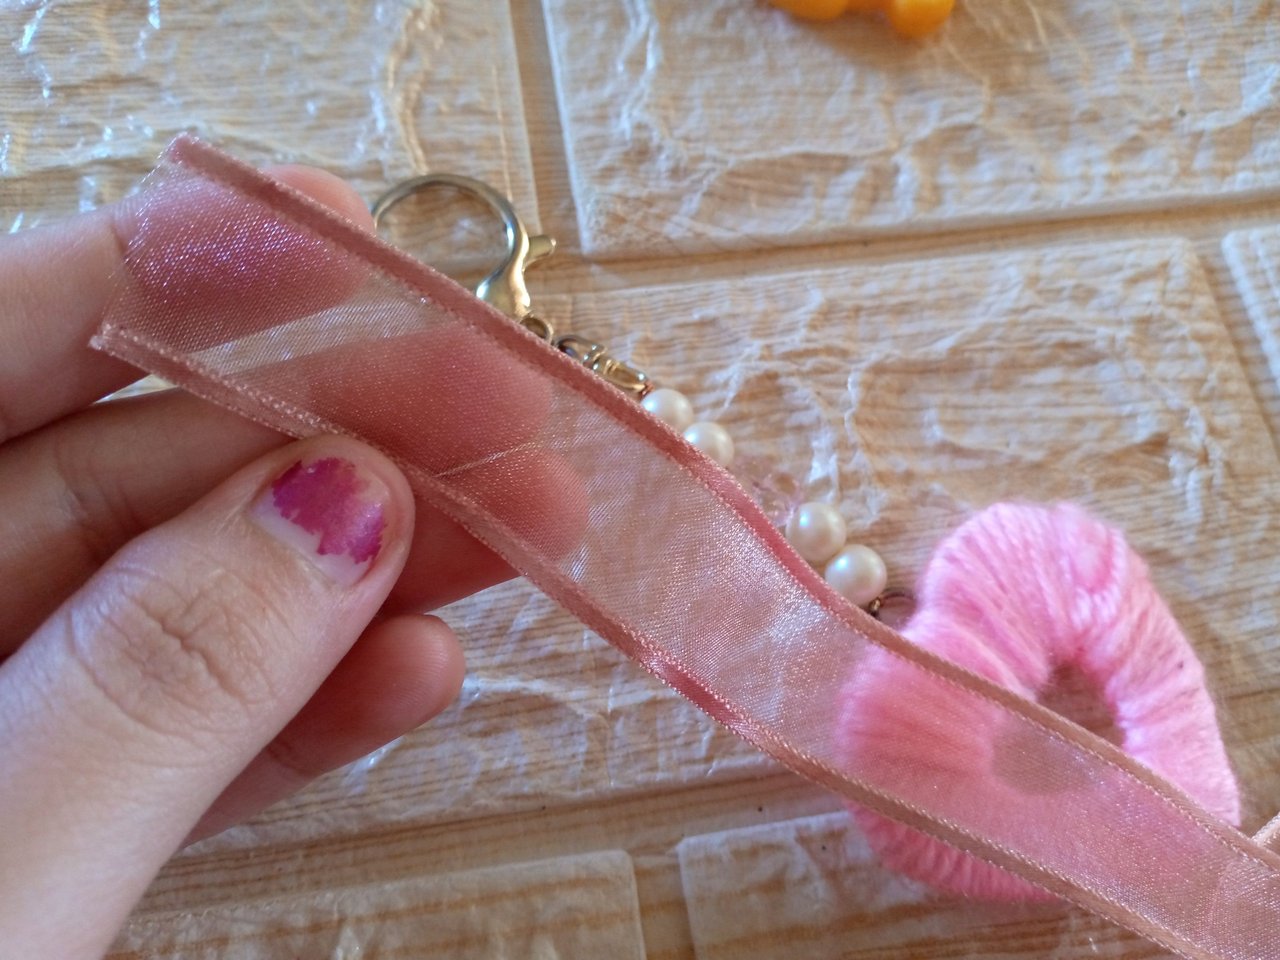
Finally, we have the keychain ready. We take our satin ribbon and cut it 12 cm long. We pass it through the back of the pearls and make the bow. We adjust it well and cut the tips. We also burn them with a lighter and it's ready. 🥰
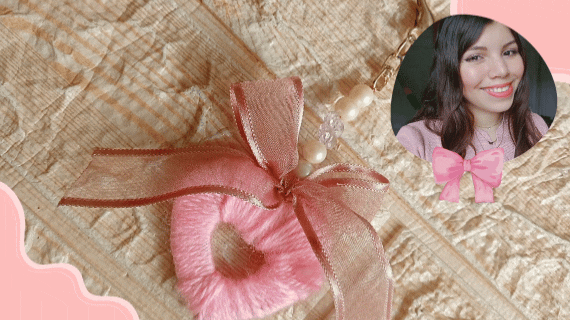
Resultado:// Result:
These are the final results of the keychain 😍💖it looks very cute and tender, I also thought that we could make these cute and adorable keychains for the girls in the house, they will love them very much, I have no doubt that because I liked it and I am thinking of making other keychain designs for myself 🥰using another type of material.
I would be very happy to know that you liked this type of flirty keychain, I send you a big virtual hug and blessings for you, until another next job 🥰, don't forget to share this idea and I invite you not to miss any of my online work, see you soon and have a good night! 🌝☁️.

Creating things with love 🌷❤️
🦋✨ All the images in this publication are my author ,📱taken with my TecnoSpark8C cell phone |📸Photos edited in PicsArt and Canva. Text translated in Google Translate.