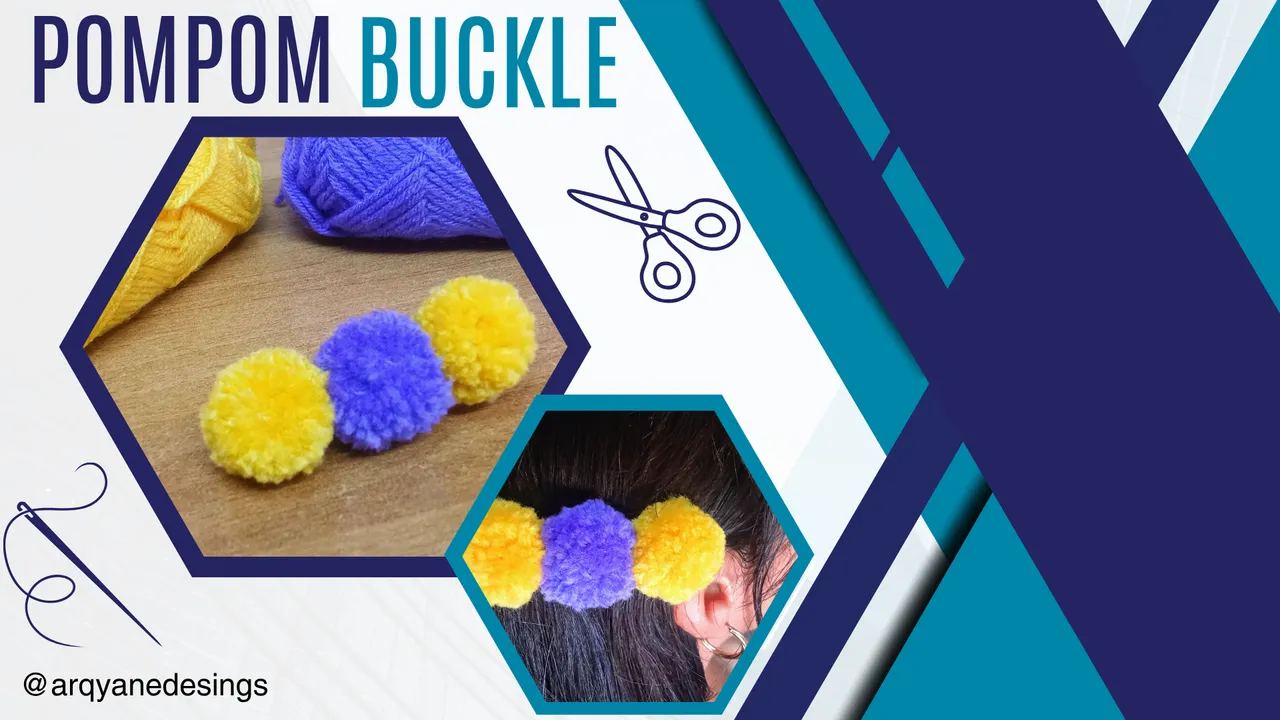
How to make a buckle with pompom. Como realizar una hebilla con pompones[Eng/Esp].
Hello to all my friends who love art and crafts, I hope you had a great weekend. For my part I was invited to the birthday of a little girl very close to the family, Princess Valeria, a beautiful and smug 5 year old girl who has won the hearts of everyone with her smile and enthusiasm. It was an unexpected invitation and I didn't have a gift to bring, so I quickly thought of giving her something made with my own hands and a lot of love, as well as some sweets and sweets that I bought for her.
Hola a todos mis amigos amantes del arte y las manualidades, espero que hayan tenido un excelente fin de semana. Por mi parte les cuento que me invitaron al cumpleaños de una pequeña muy cercana a la familia, la princesa Valeria, una preciosa y presumida niña de 5 años de edad que se ha ganado el corazón de todos con su sonrisa y entusiasmo. Fue una invitación de imprevisto y no tenía que llevar de regalo, por lo que rápidamente pensé en darle algo hecho con mis manos y mucho amor, además de algunos dulces y chucherías que le compré.
I quickly got down to work and I came up with this pretty and flirty buckle made with pompoms, I chose these colours because they are her favourites and I'm sure they will make her look even more radiant and tender. Next I will show you how I made it.
Rápidamente, puse manos a la obra y se me ocurrió esta bonita y coqueta hebilla hecha con pompones, escogí estos colores porque son sus preferidos y además estoy segura de que la harán lucir aún más radiante y tierna. Enseguida les muestro como la realicé.
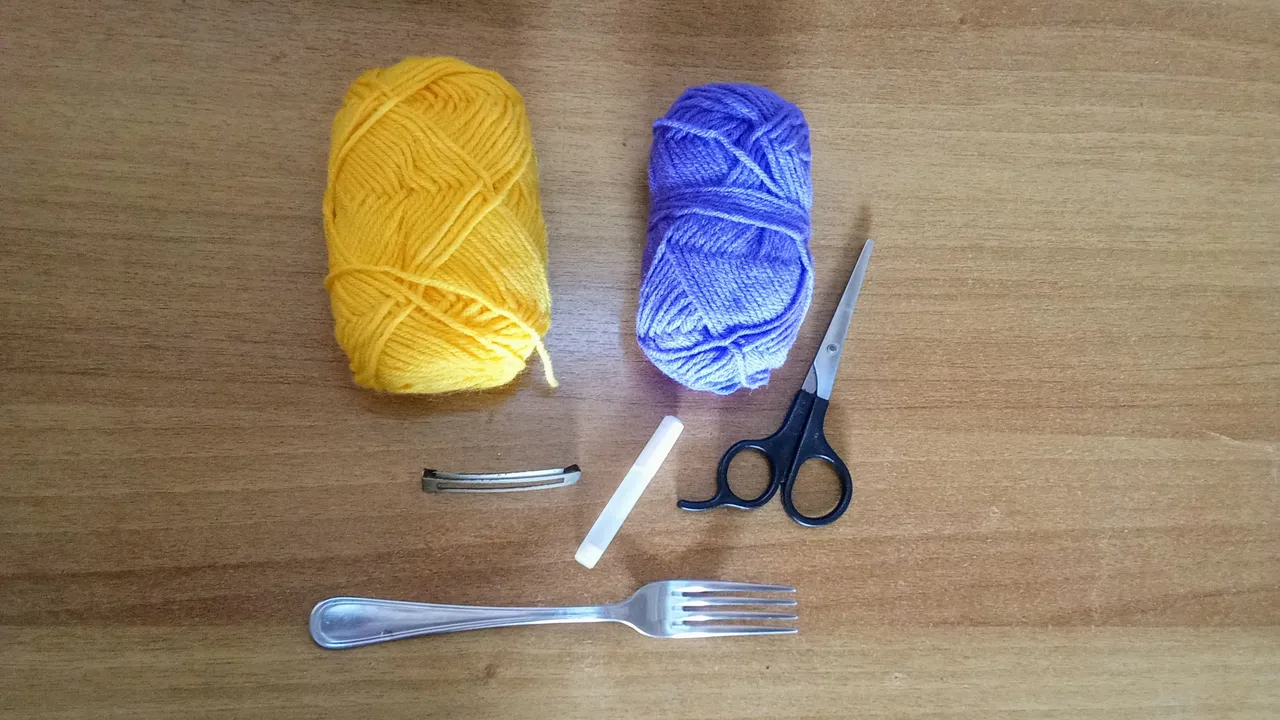
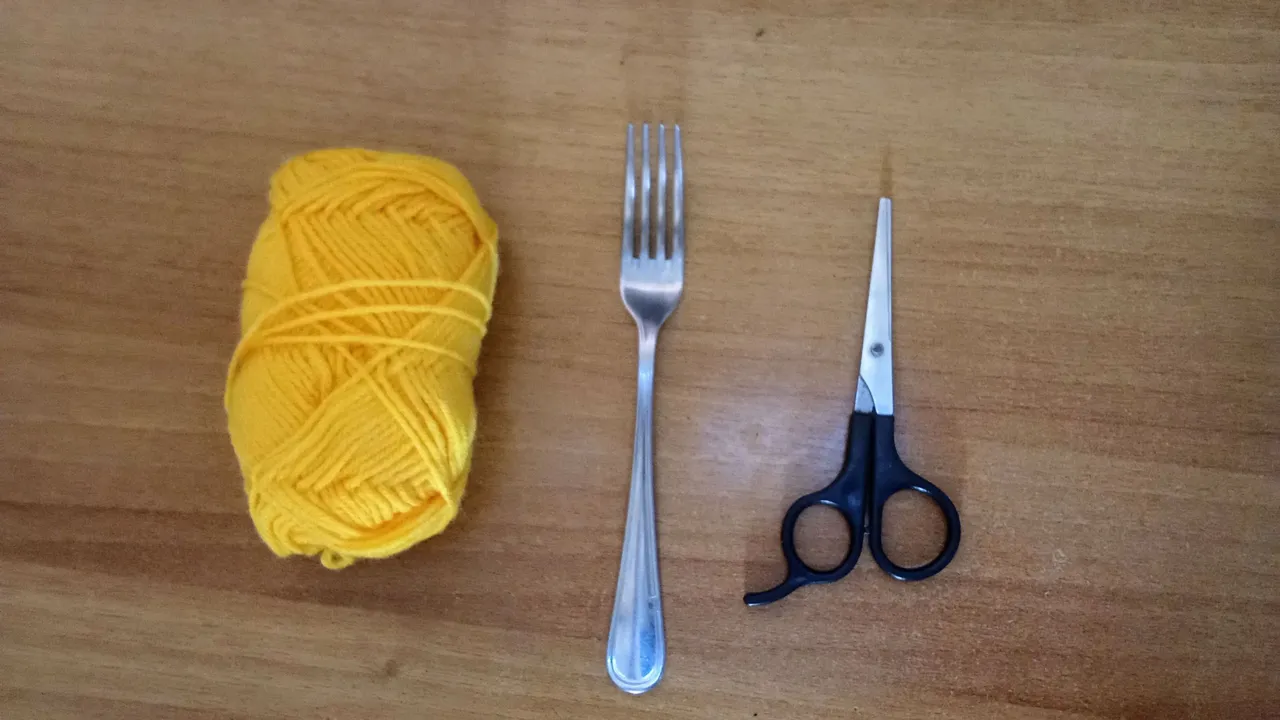
Materials//Materiales
Yarn yarn//Hilo estambre
Glue//Pegamento
Scissors//Tijeras
Hair clip//Hebilla de pelo
Fork//Tenedor
Step by step// Paso a paso
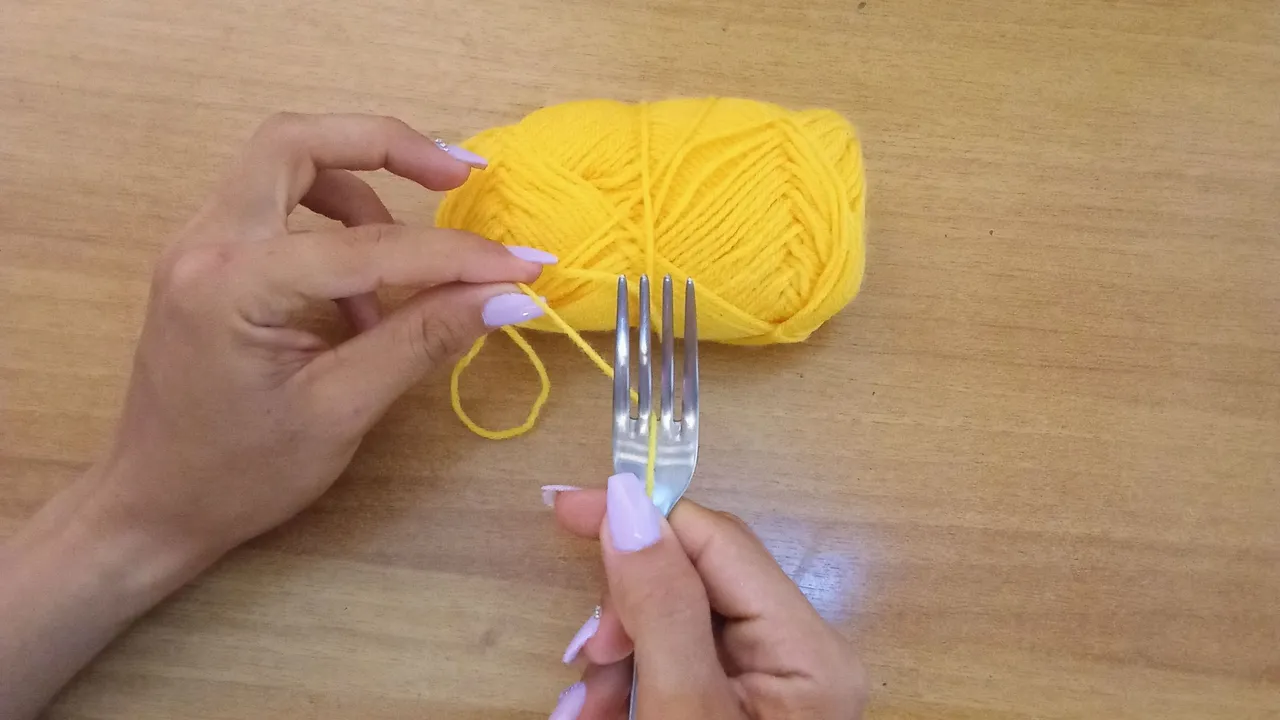
Step 1
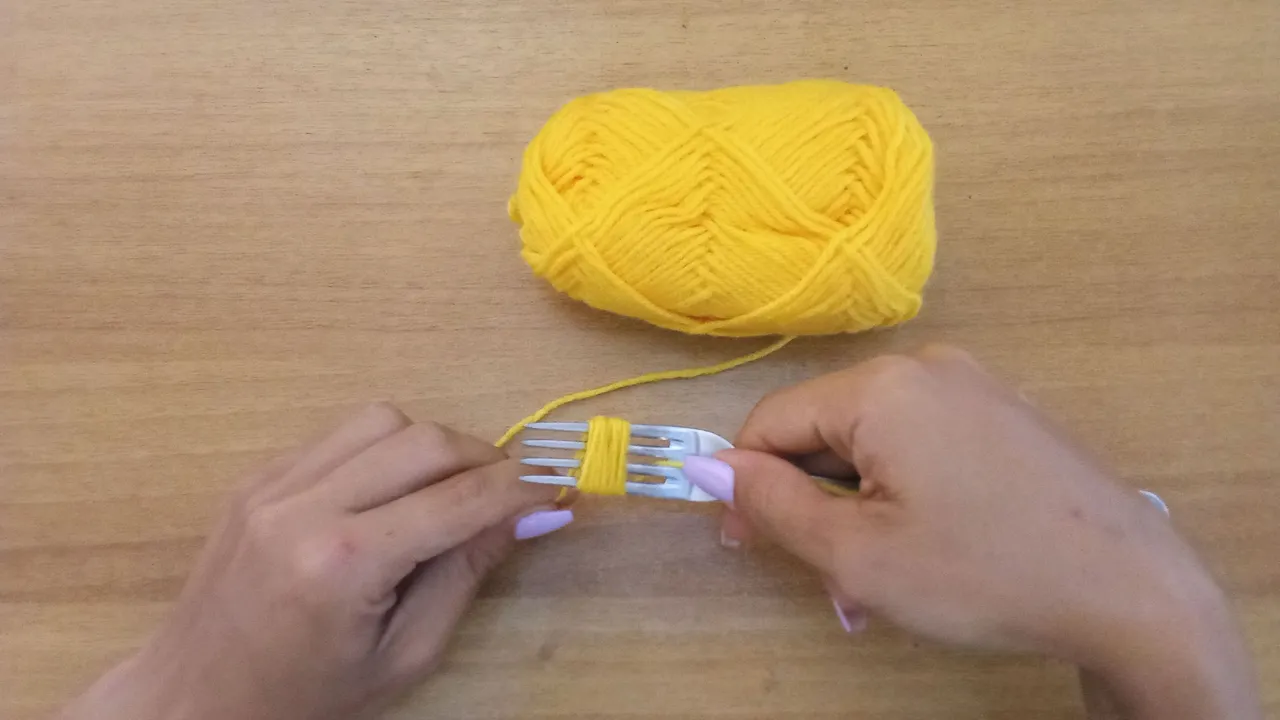
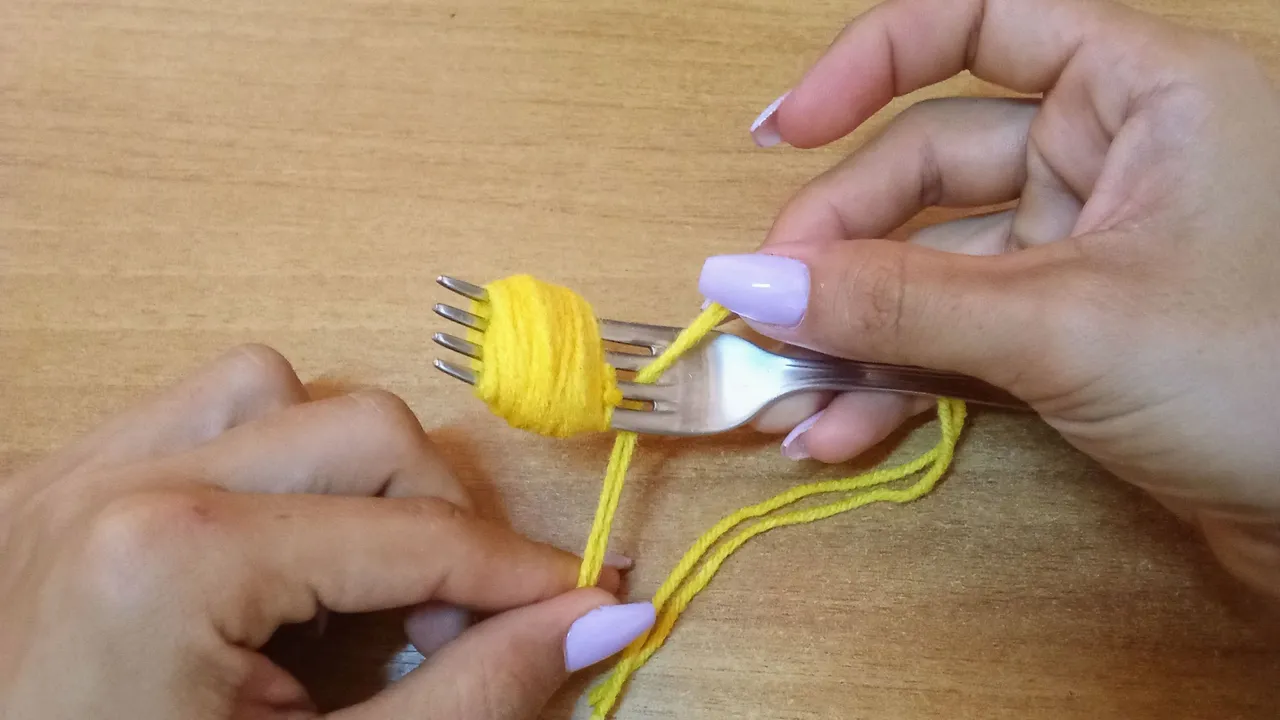
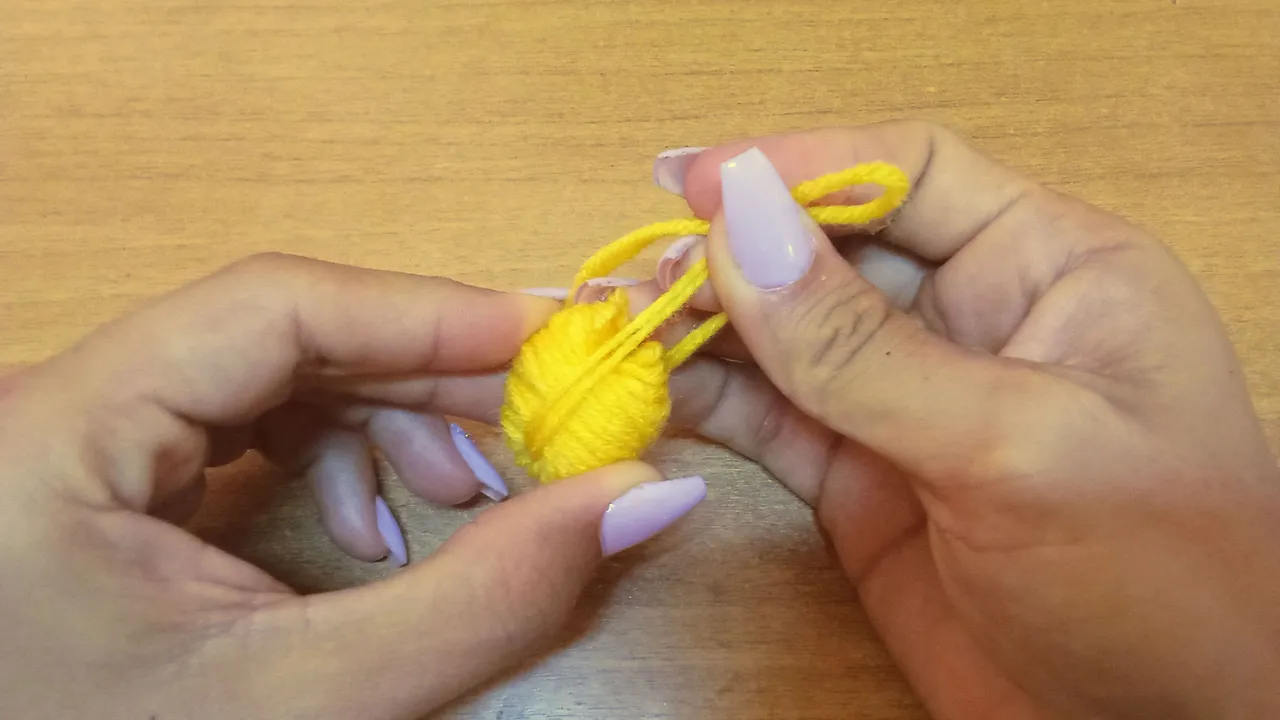
With this tutorial I am also going to show you how to make the pompoms with which we are going to decorate our buckle. We are going to start with the pompoms, for this we are going to take a fork passing the thread through the middle tine and holding one end in the front part and we will start to twist it around the fork until we have a very thick ball. Here the thickness will depend on the size you want the pompom to be, as I didn't want it to be too big I left it as you can see in the photo.
Paso 1
Con este tutorial les voy a enseñar, además, como hacer los pompones con los que vamos a decorar nuestra hebilla. Vamos a comenzar con los pompones, para ello vamos a coger un tenedor pasando el hilo por el diente del medio y sujetando un extremo en la parte de adelante y comenzaremos a darle vuelta alrededor del tenedor hasta tener una bolita bien gruesa. Aquí el grosor irá en dependencia del tamaño que deseen que le quede el pompón, como yo no lo quería muy grande lo dejé como ven en la foto.
 |  |
 |  |
Step 2
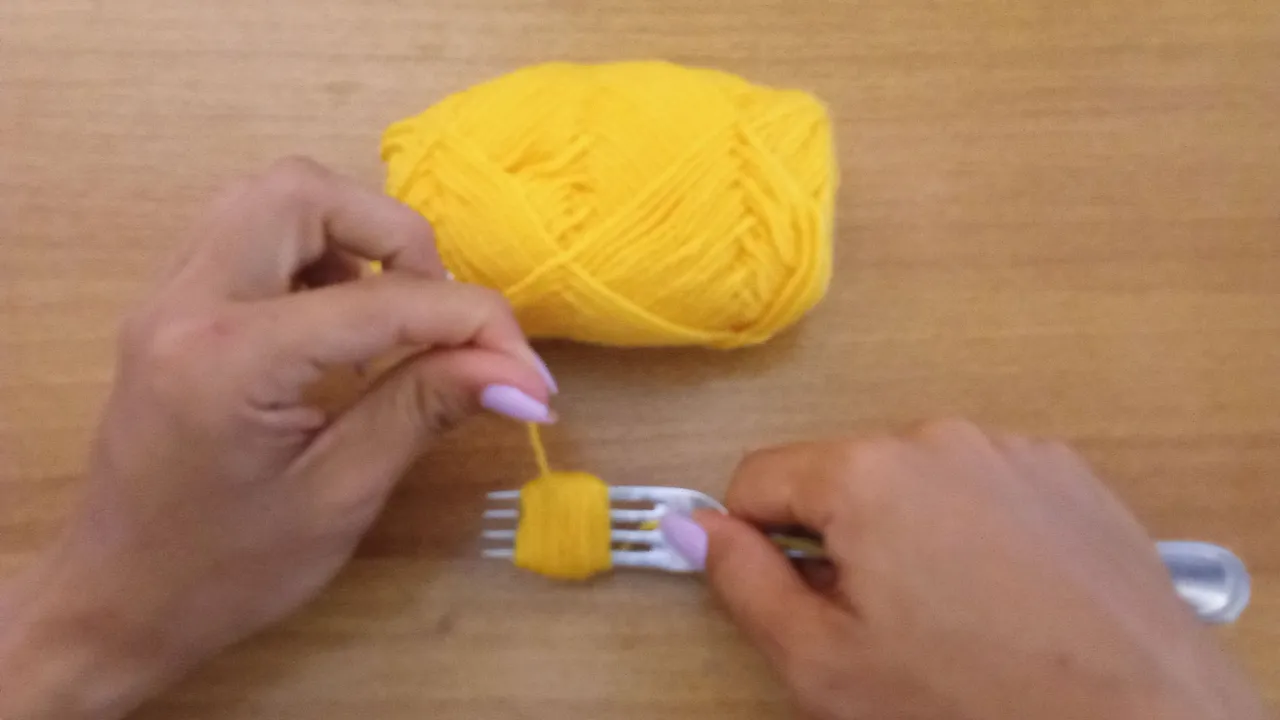
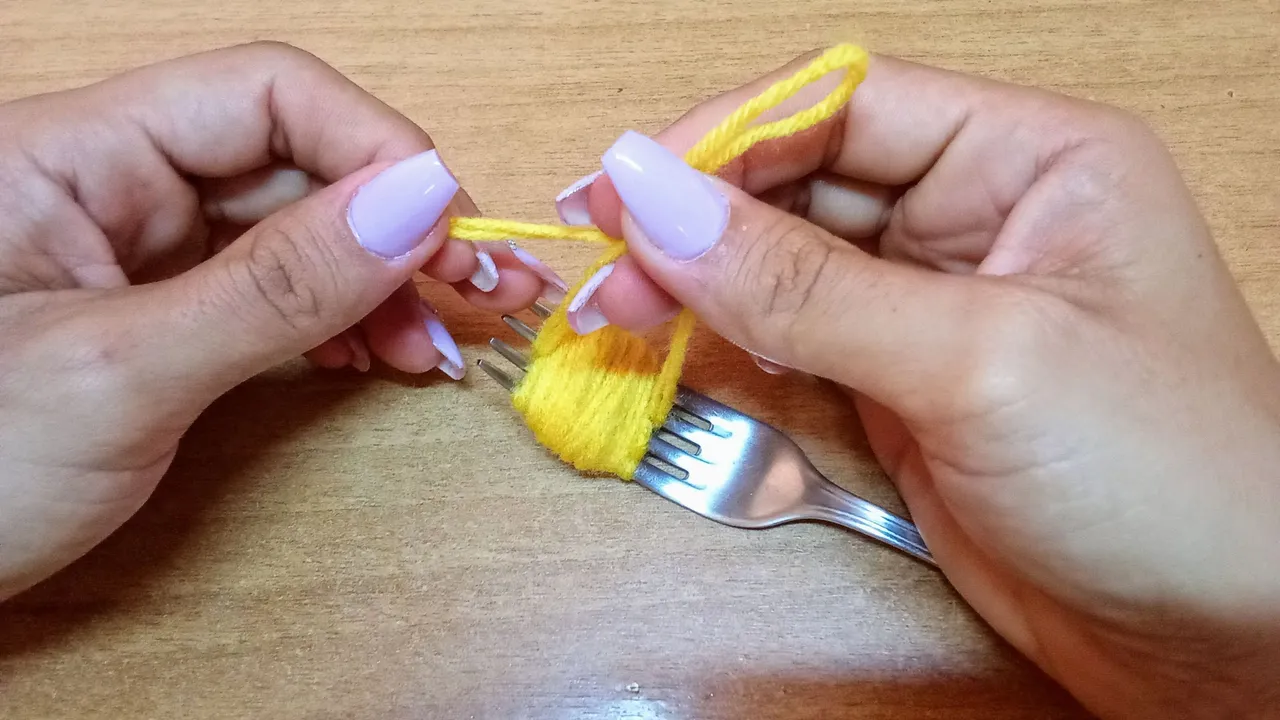
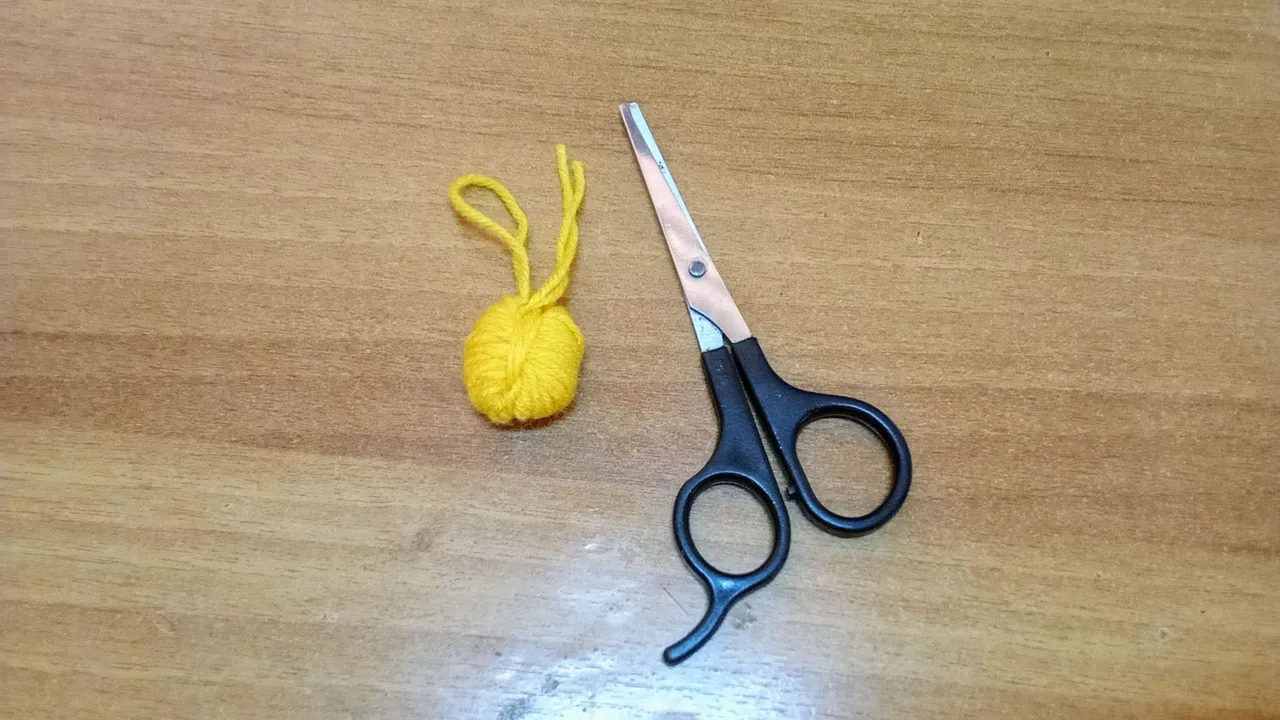
Once this is done, a double knot is tied at the bottom end of our ball of yarn and the excess is cut off with a pair of scissors.
Paso 2
Una vez hecho esto se le hace un nudo doble en el extremo de abajo de nuestra bola de hilo y se corta con una tijera el excedente.
 |  |
Step 3
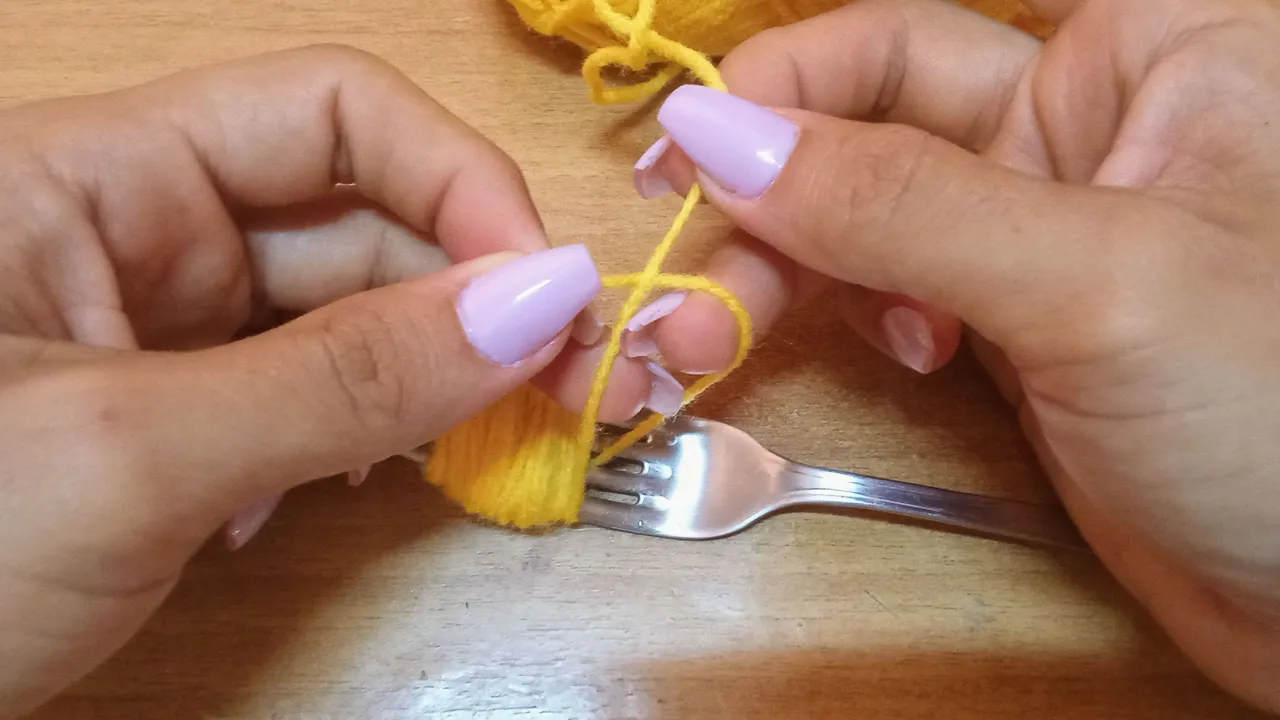
Then take a piece of thread of approximately 20 cm, if it is fragile and can break easily, double it and pass it through the bottom of the middle tine of the fork, turn it around and tie a knot at the top of the middle tine.
Paso 3
Luego se toma un pedazo de hilo de aproximadamente 20 cm, si está frágil que se pueda romper con facilidad deben ponerlo doble, y se pasa por la parte de abajo del diente del medio del tenedor para darle la vuelta y hacer un nudo en la parte de arriba del mismo diente central.
 |  |
 |  |
Step 4
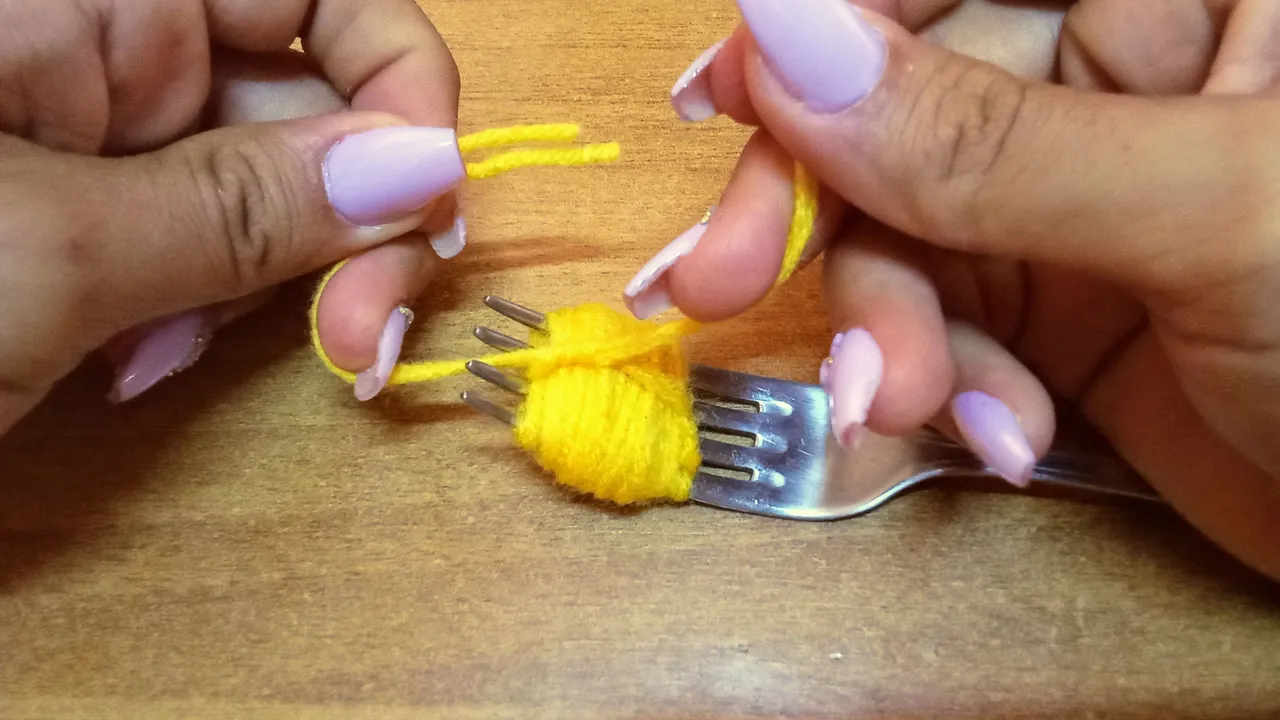
Then carefully remove the fork and tighten the knot, turn it over and tie it again at the other end.
Paso 4
Seguidamente, se retira con mucho cuidado el tenedor y se aprieta bien el nudo hecho con anterioridad, para luego darle la vuelta y amarrarlo nuevamente por el otro extremo.
 |  |
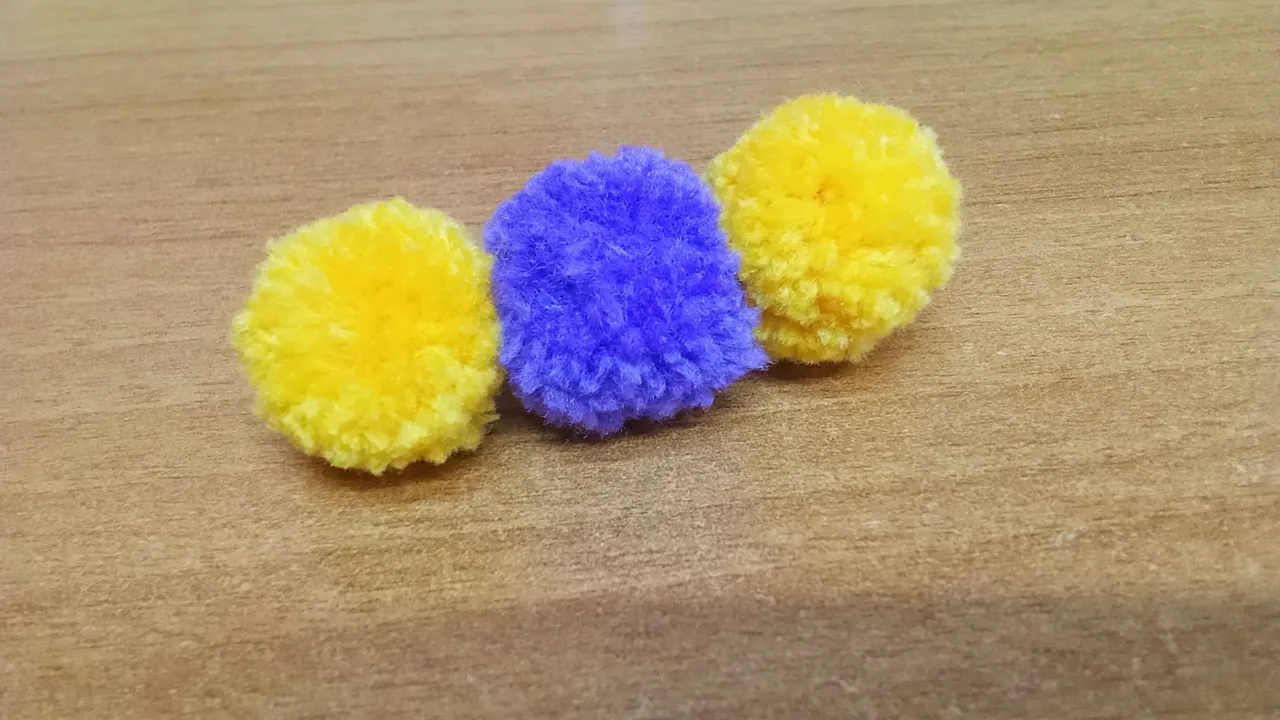
Step 5
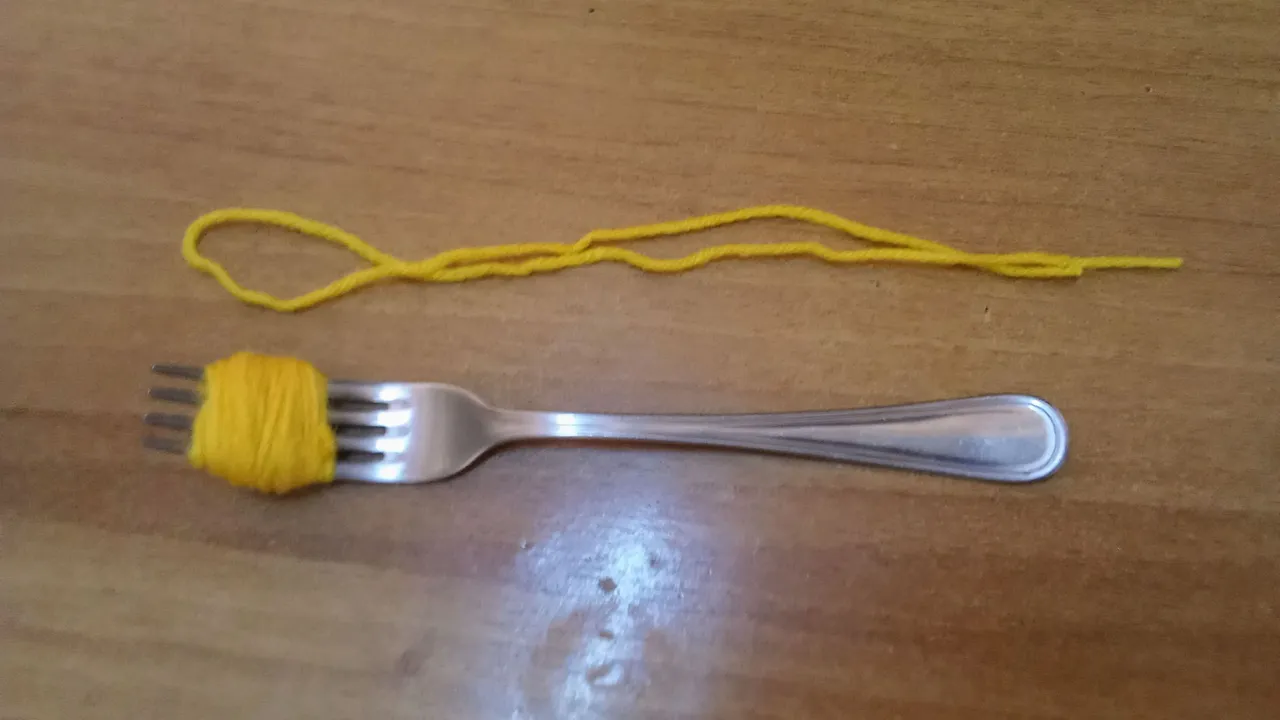
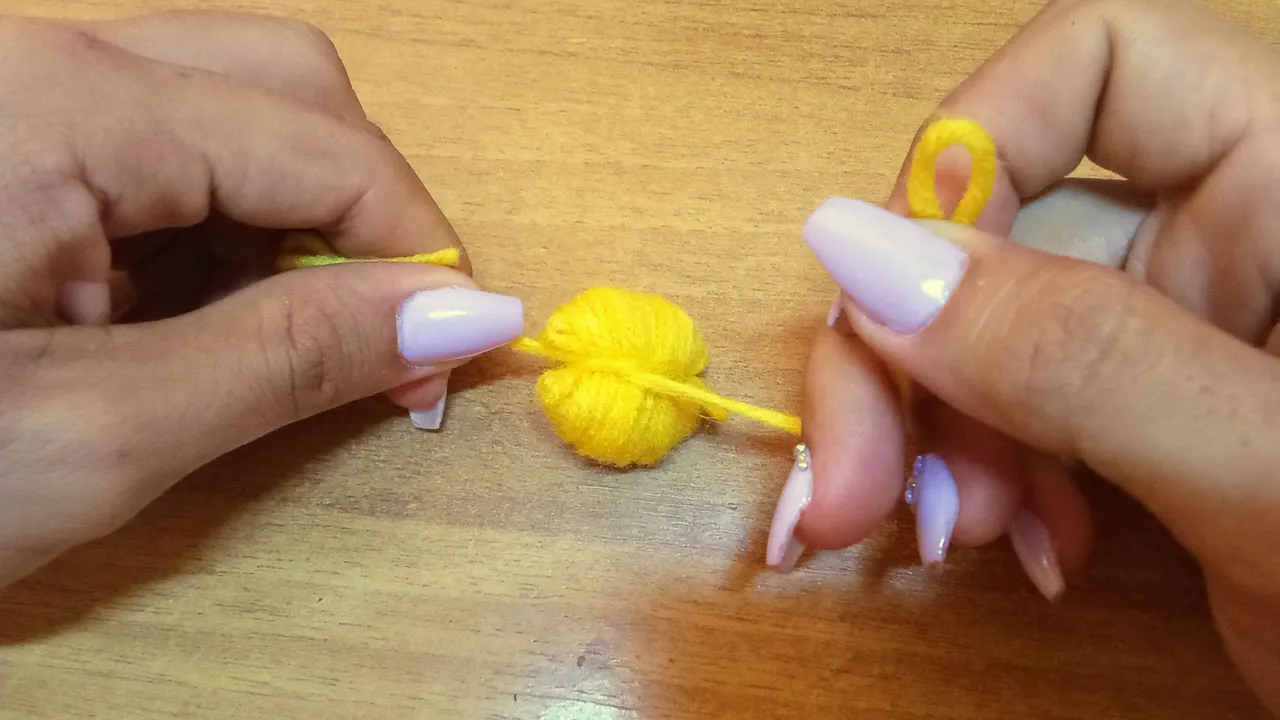
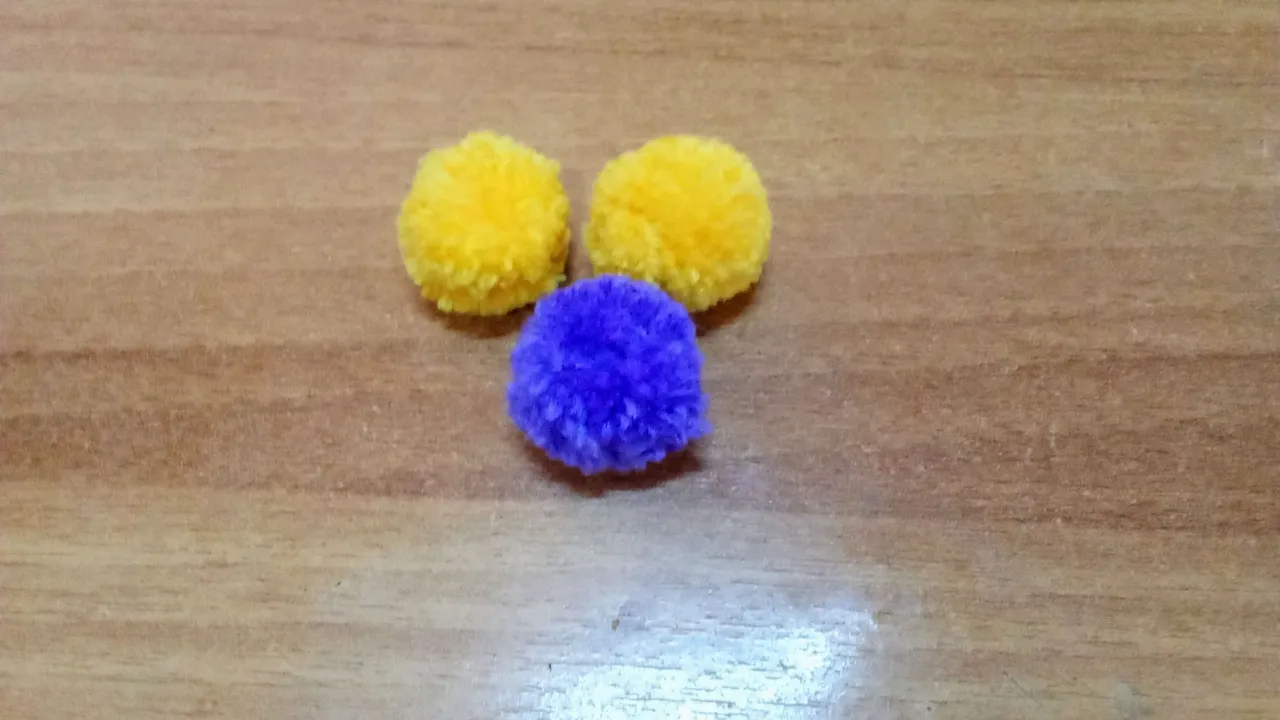
Now you have to carefully trim the whole length of the ball of yarn, turning it over and taking care to trim all the way to the bottom without leaving anything behind. Little by little, gradually give it a circular shape and be careful when it comes to trimming off the excess yarn. This process must be carried out with each of the pompoms and with great care and caution so that they are even.
Paso 5
Ahora hay que recortar con mucho cuidado a todo lo largo de la bolita de hilo dando la vuelta y teniendo en cuenta de recortar bien hasta abajo sin que se nos quede nada, poco a poco se le va dando la forma circular y cuidado bien a la hora de picar el exceso de hilo. Este proceso se debe realizar con cada uno de los pompones y con mucho cuidado y precaución para que queden parejos.
 |  |  |
 |  |
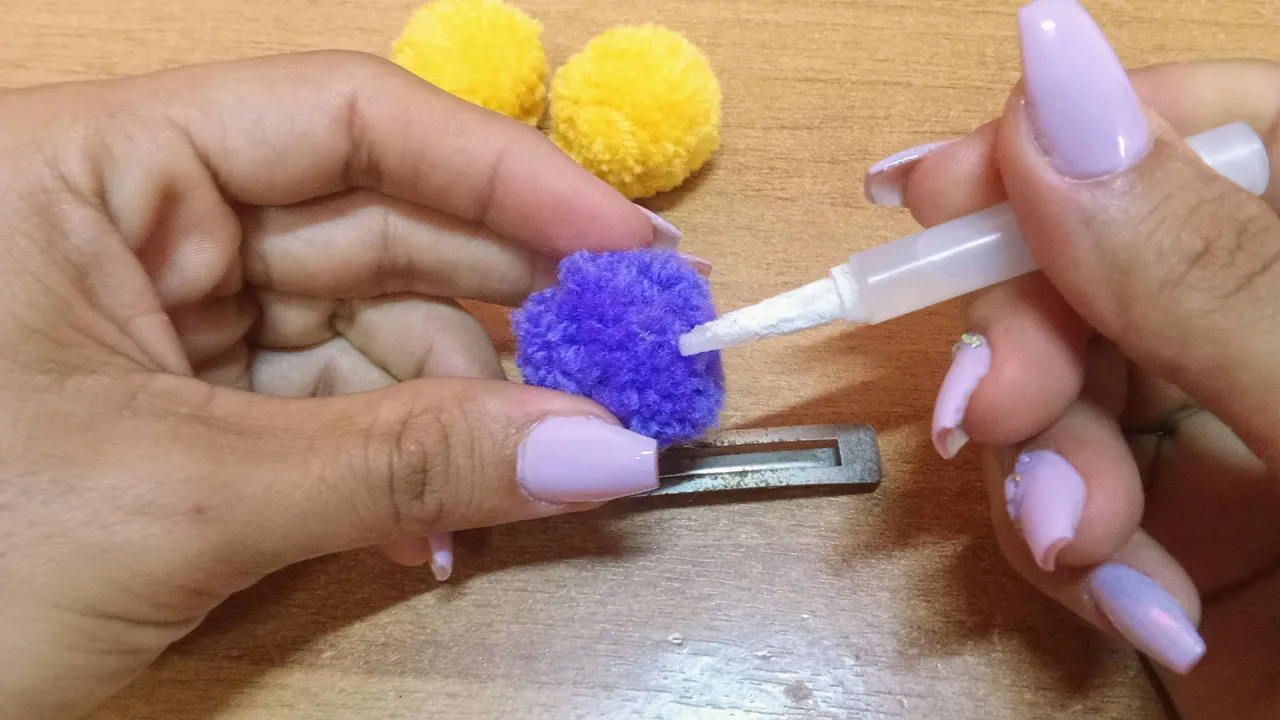
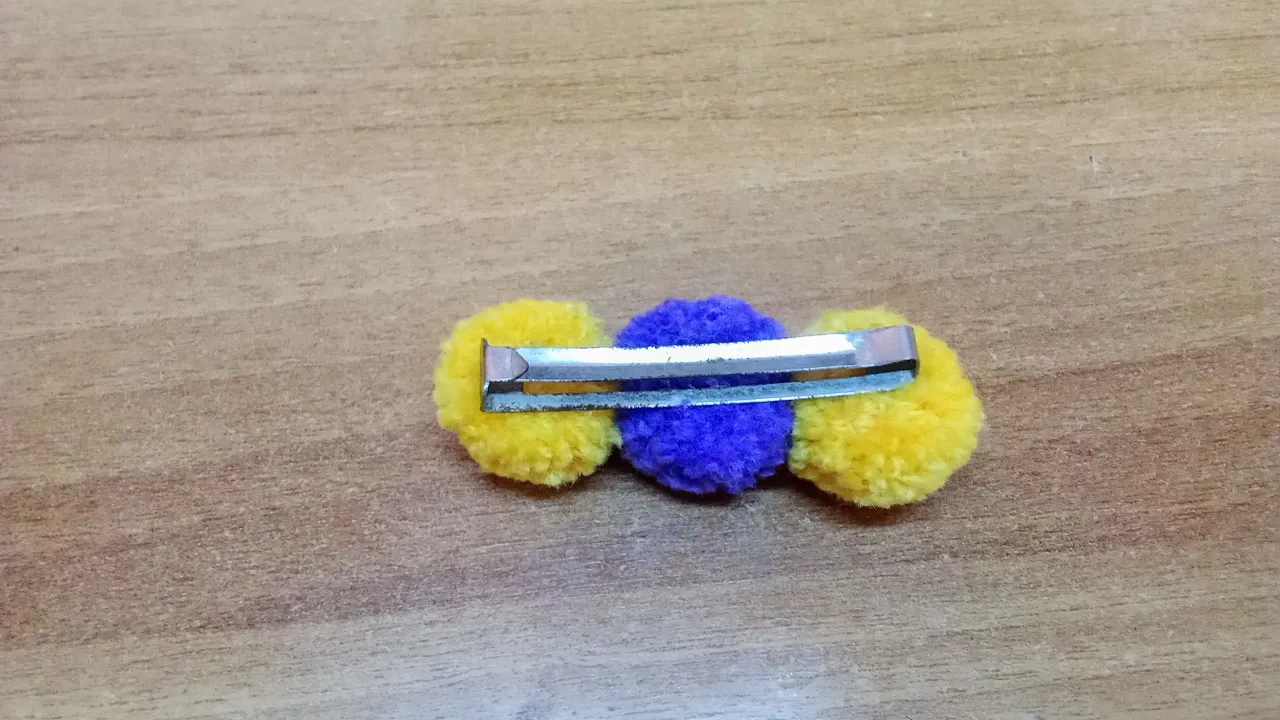
Step 6
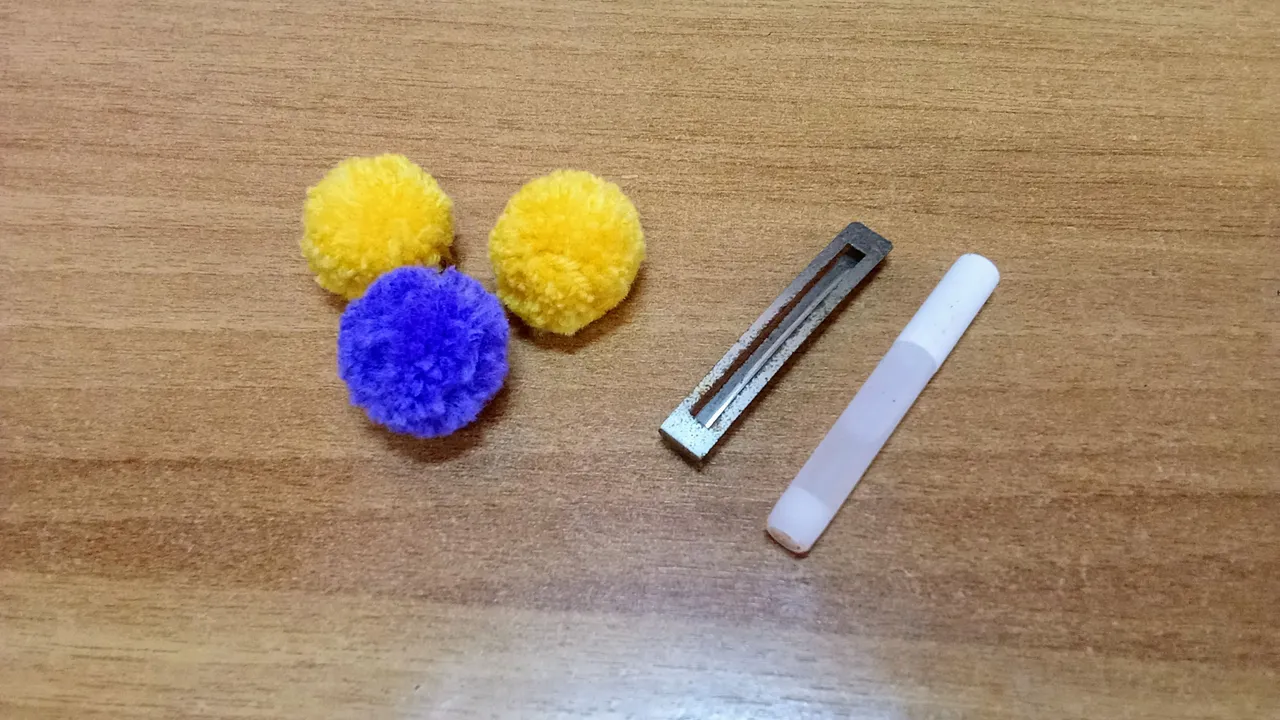
The next thing to do is to glue the pompoms to the buckle, for which we put glue on the bottom and glue each one, in my case I also glued them to each other so that they would be more united and look better.
Paso 6
Lo siguiente será pegar los pompones en la hebilla, para lo cual ponemos pegamento en la parte inferior y los vamos pegando cada uno, en mi caso los fui pegando entre ellos también para que quedaran más unidos y se vea mejor.
 |  |
 |  |
This is how I made this hair ornament, very easy and pretty at the same time, and you know, in case you have a gift in a hurry one day, this can be a good option to give as a present. I hope you liked it, let me know what you thought. I'll be looking forward to your comments.
De esta manera realicé este adorno para el cabello, muy fácil y bonito a la vez, y ya saben por si tienen algún apuro de regalo algún día, esto puede ser una buena opción para regalar. Espero que les haya gustado, díganme que les pareció. Estaré atenta a sus comentarios.

Créditos y Recursos//Credits and Resources
Translated by DeepL
Cover page created in Canva Pro
Images captured with my Samsung Galaxy F13