
Welcome back to another entry in the projects of the workshop. Today, we continue the build on the first ukulele. We are going to remove all the marks on the sound board to draw our template and start the making of the heel on the back of the neck.
Let's get to it!
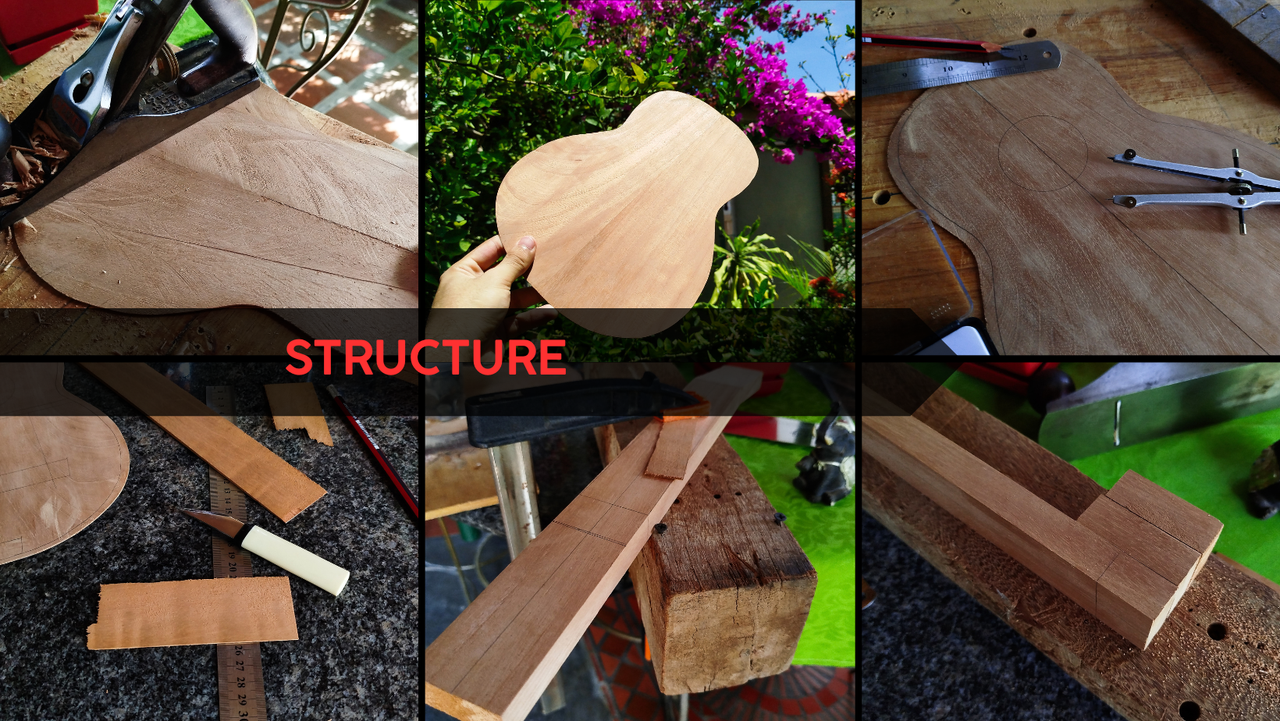
Thickness
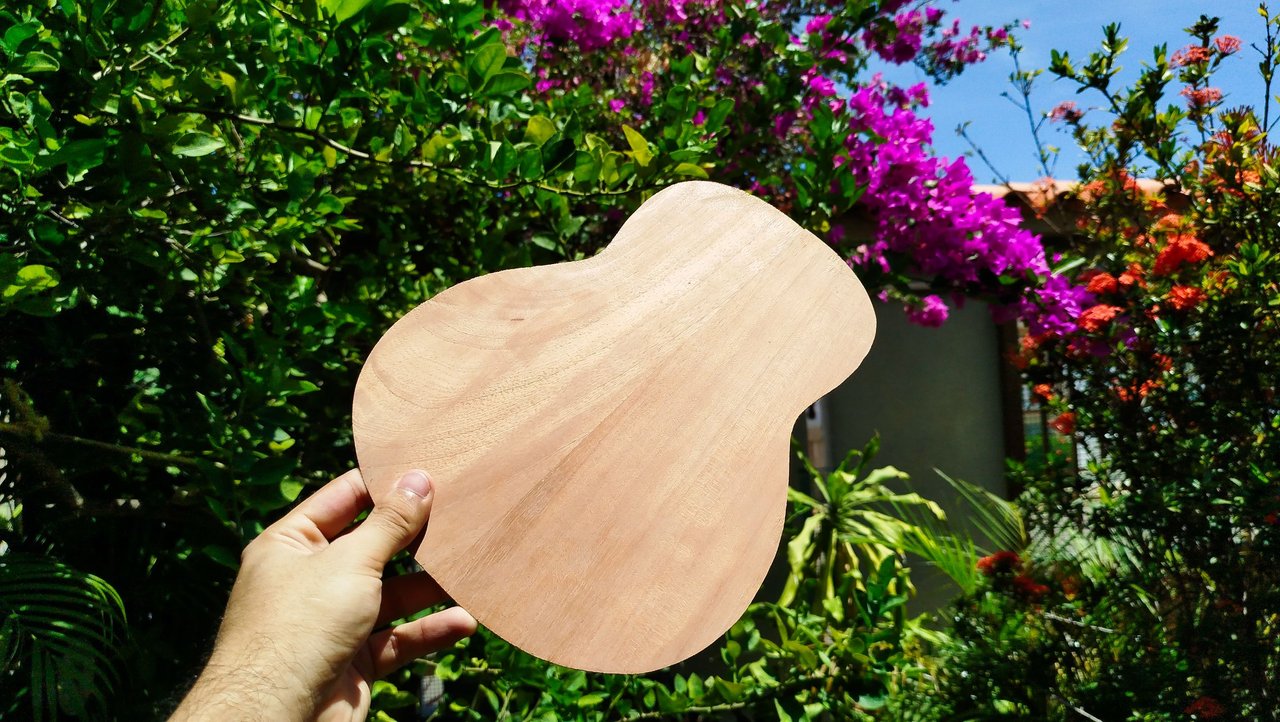
Last time we had this on the table, we had just made the joint of the sound board. We also started a lot of the the neck by creating the angle of the head stock. We are continuing our work on the sound board. We have to remove all those disc marks from both faces of the top so we can choose which one will go on the outer side of the ukulele.
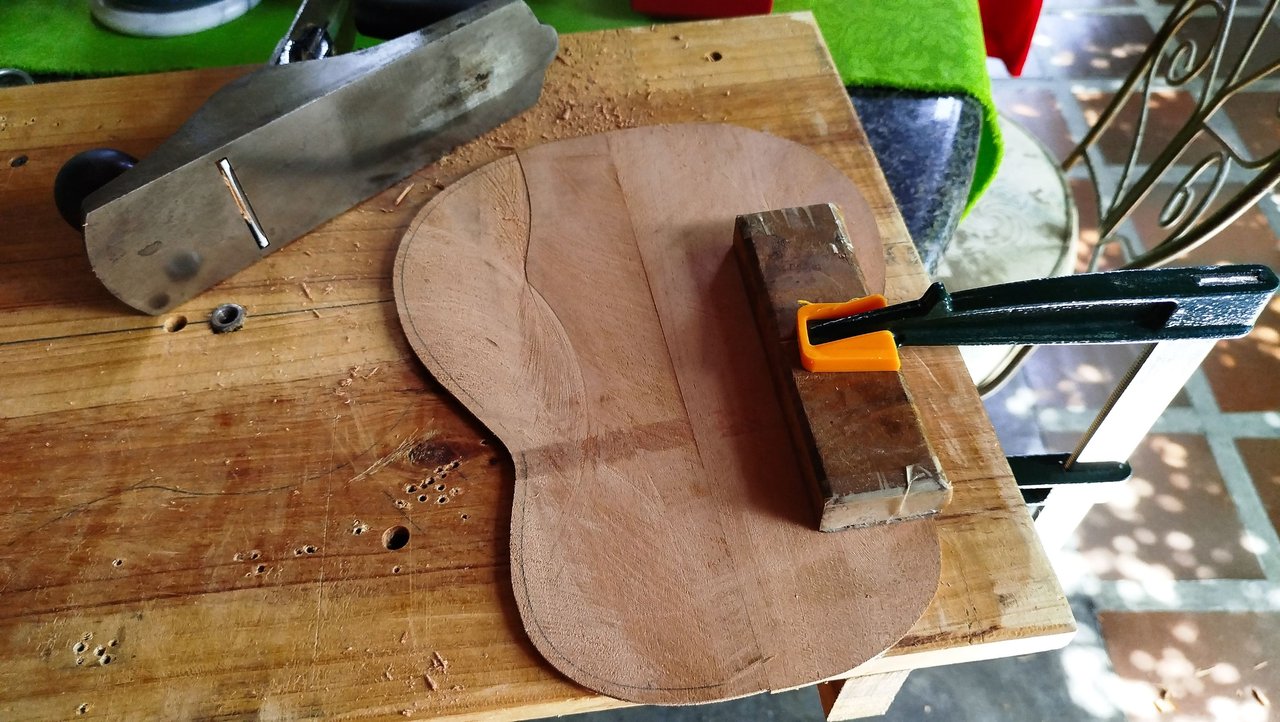
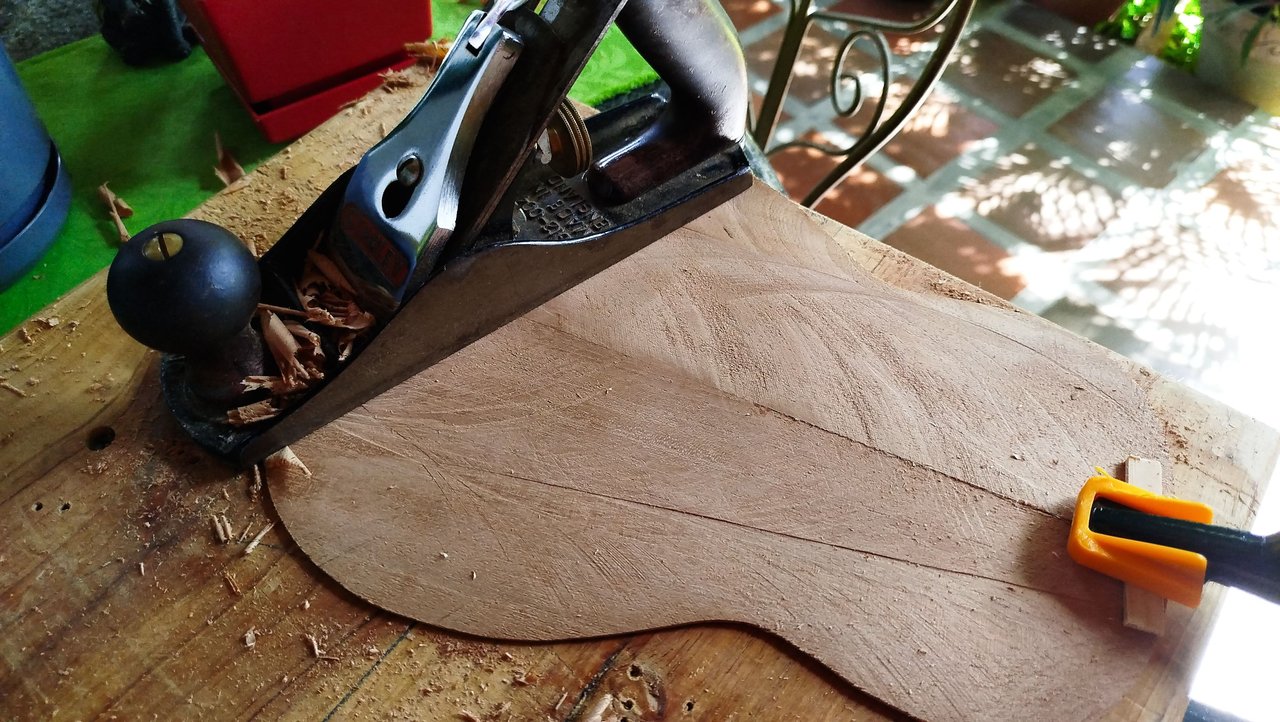
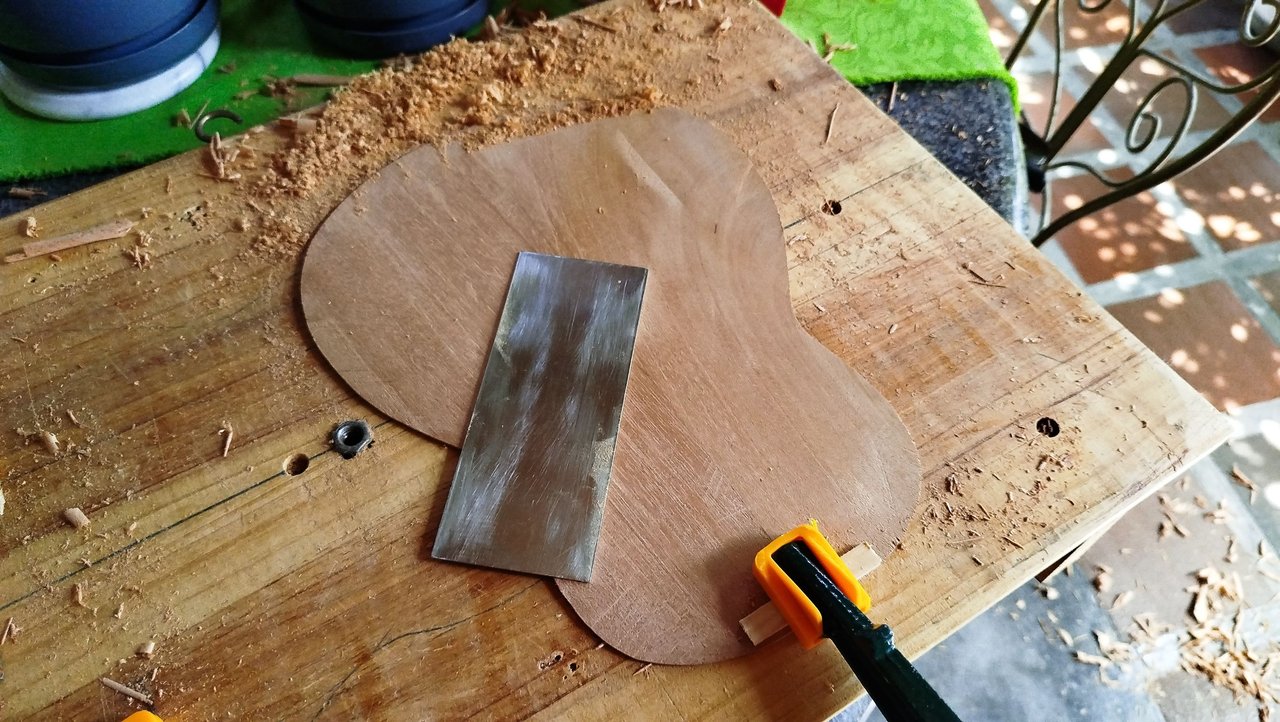
To start work, we first need to use the hand plane to start trying to make the surface of a face even. To do this, we need to make sure we are going with the grain. Tearing up the sound board is a really big issue and we just have one shot at this. So we are also setting the depth of cut to the lowest. We need to get the thinnest shavings we can get.
Also, we have to make sure not to remove too much material from just one side or we can make the whole sound board too thin for it to work properly. When we have removed plenty of shavings, we can switch to the card scrapper. It will help us get to the last bits of uneven surfaces on the sound board. We can also top all this effort by giving it a bit of coarse sanding.
Bridge plate
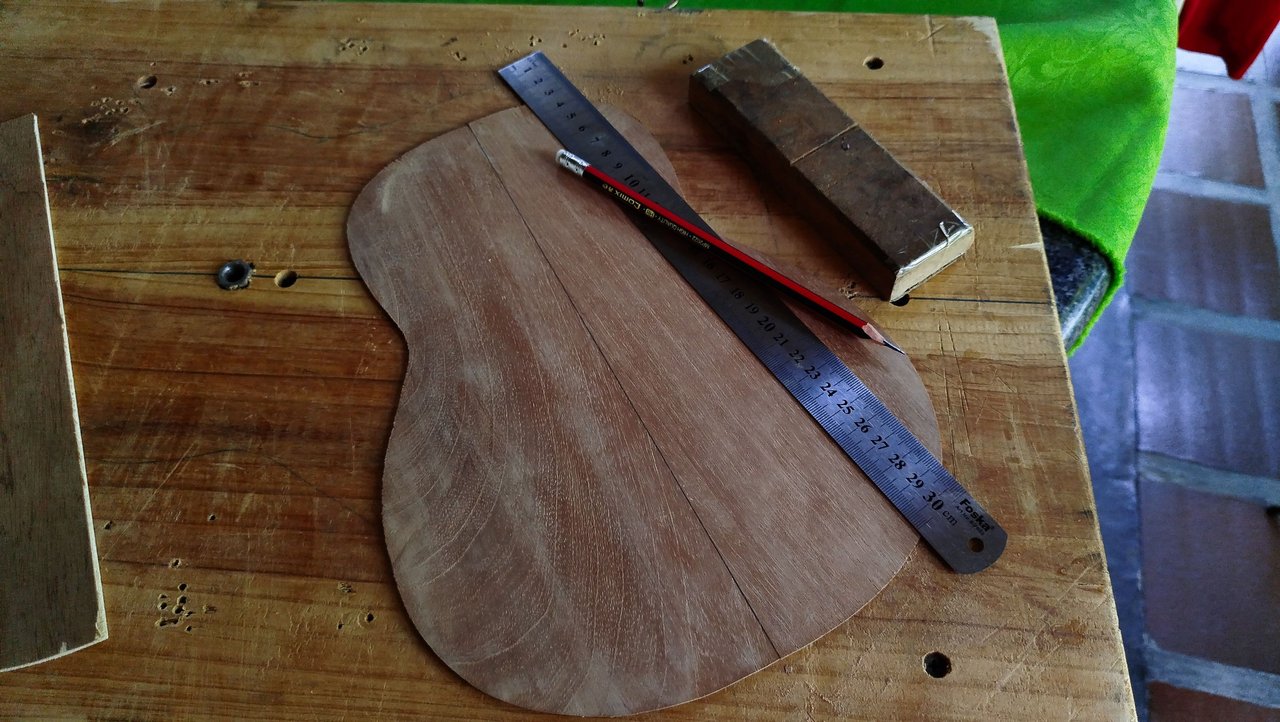
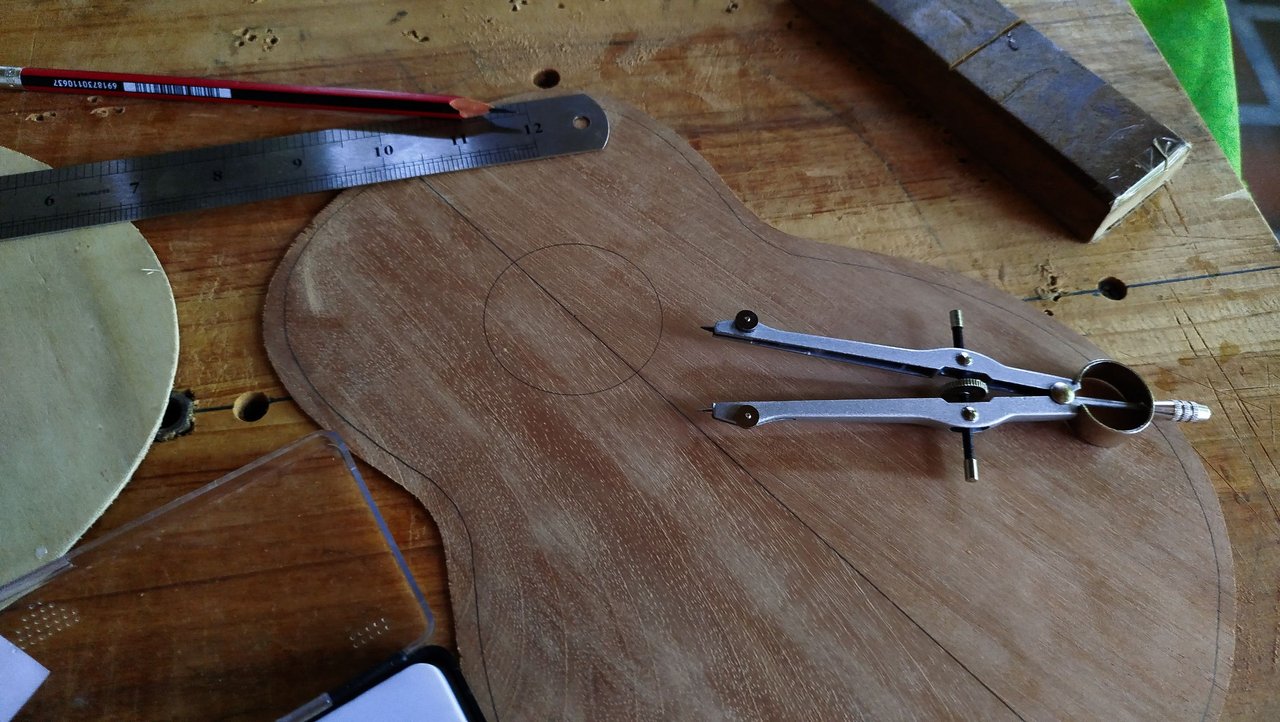
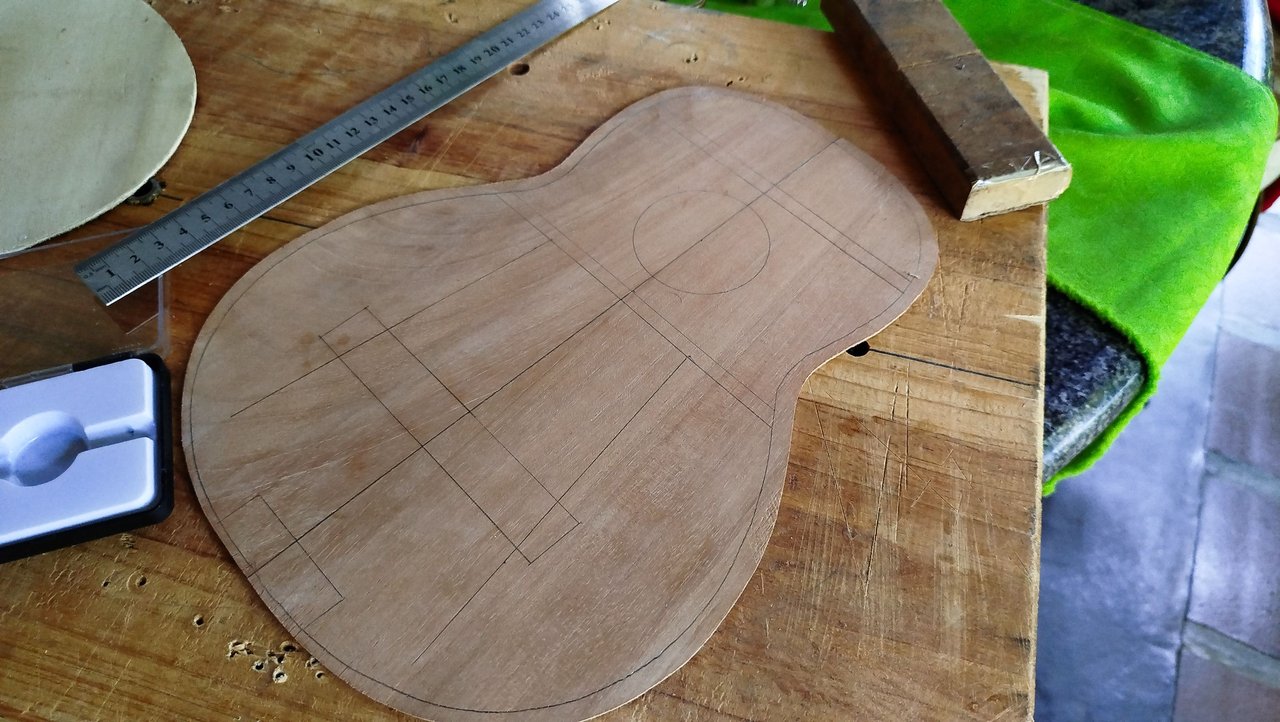


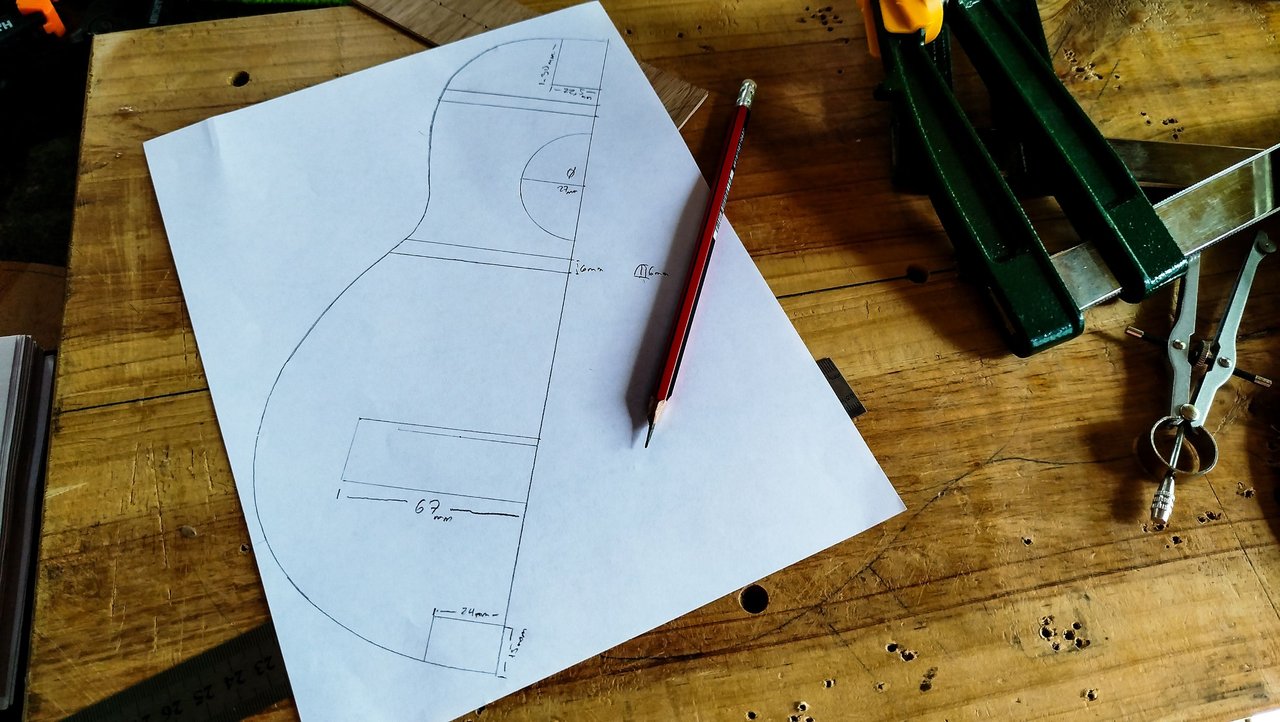
Once we have made the faces of the sound board even, we just need to choose which one will have the lines of the template. Now we can draw a center line and use this as a guide to put the rest of the line from the curves to the struts and bars.
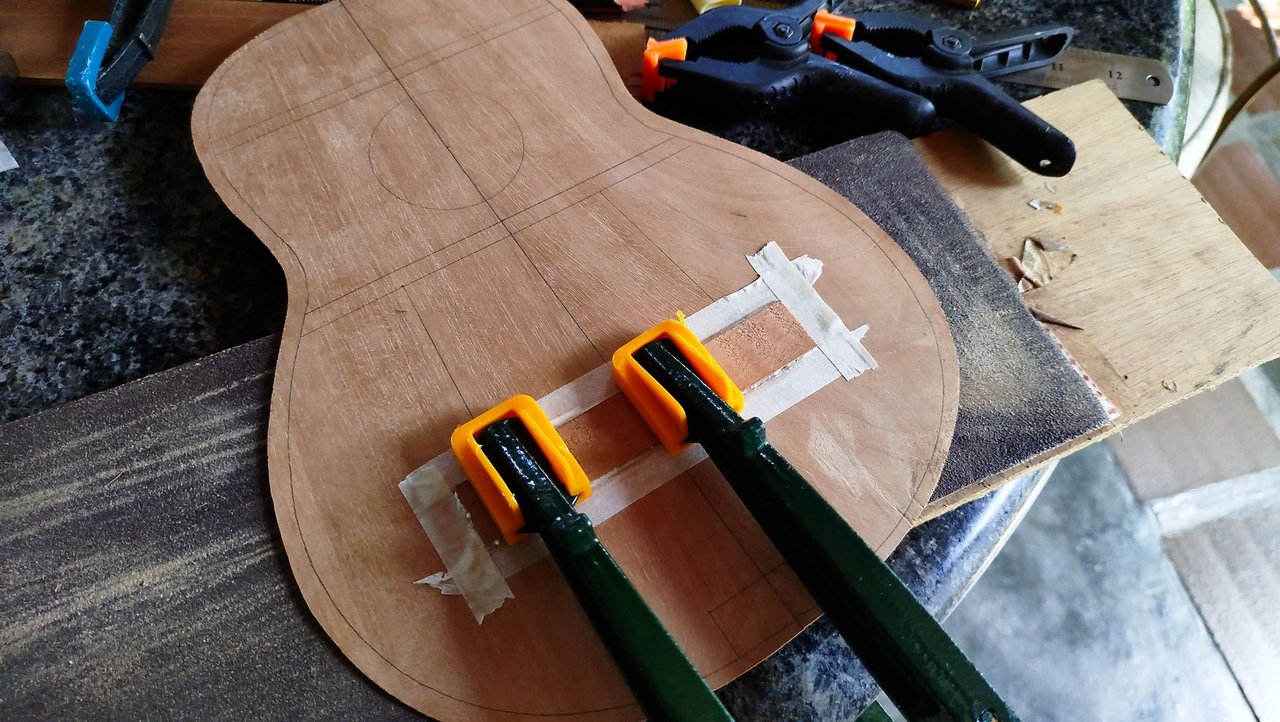
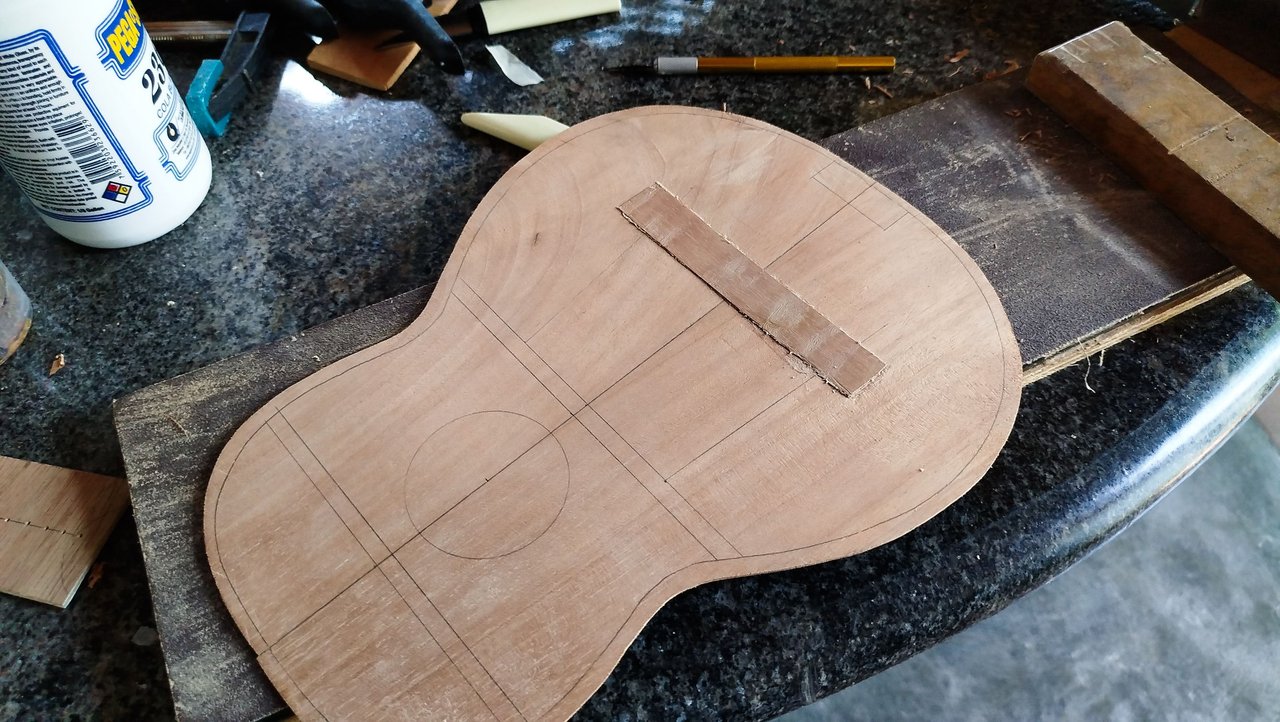
Then the first reinforcement we can start to put here is the bridge plate. Since an ukulele has a lot of tension is one of the instruments that requires such a thing. It might work in favor towards the treble in the overall sound projection, so we are adding something extra for the sound.
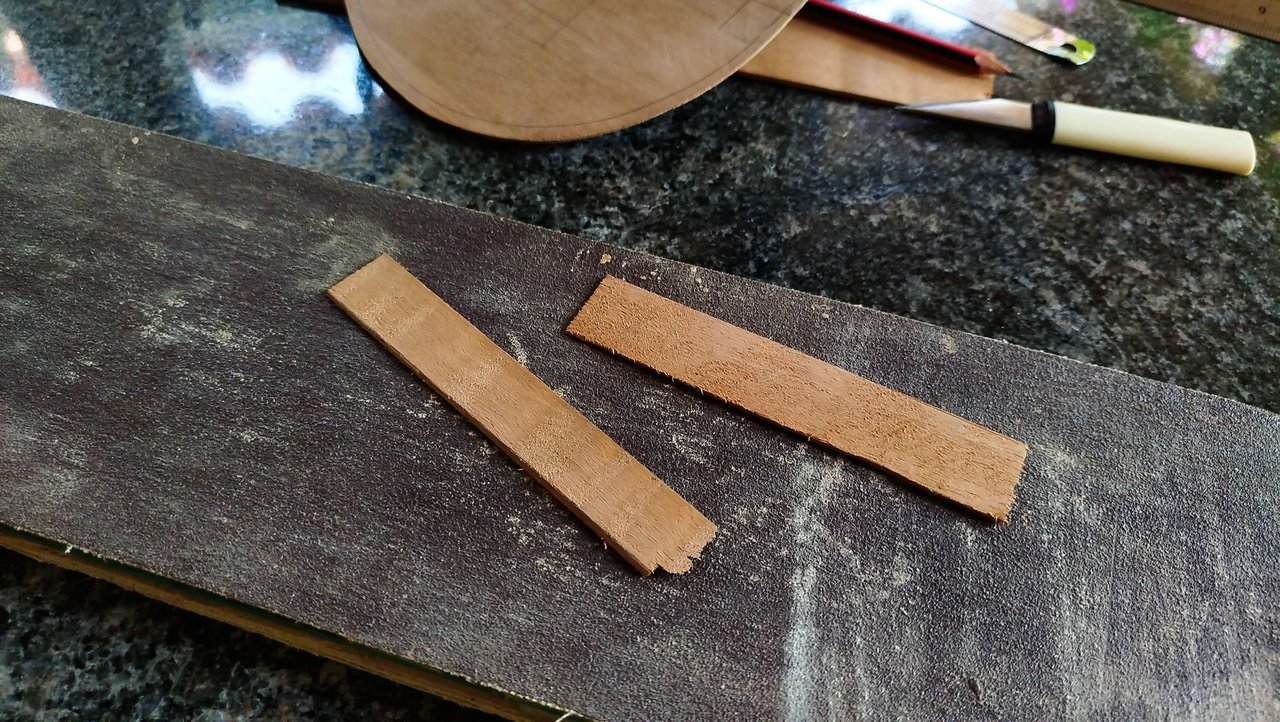
We need a piece of cedar cut to shape and length. Next, we sanding a bit and then apply glue to place it. Finally, we apply pressure to allow the glue to do its work.
Heel
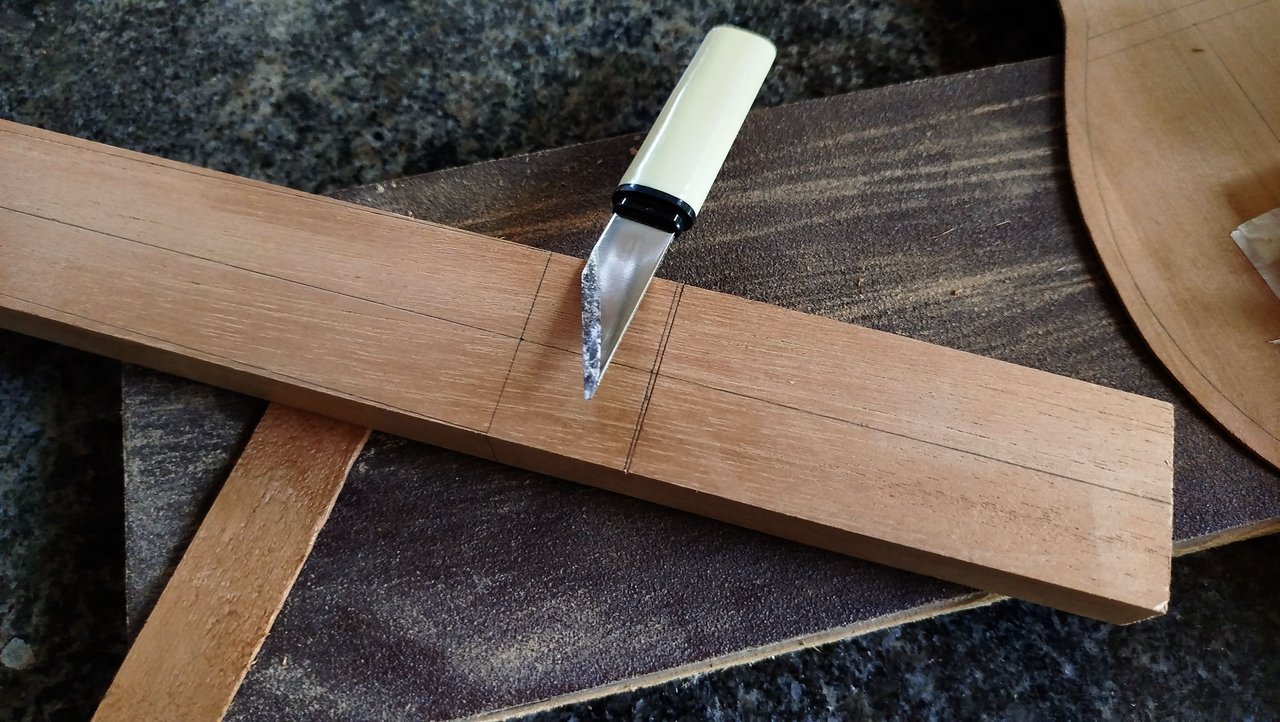
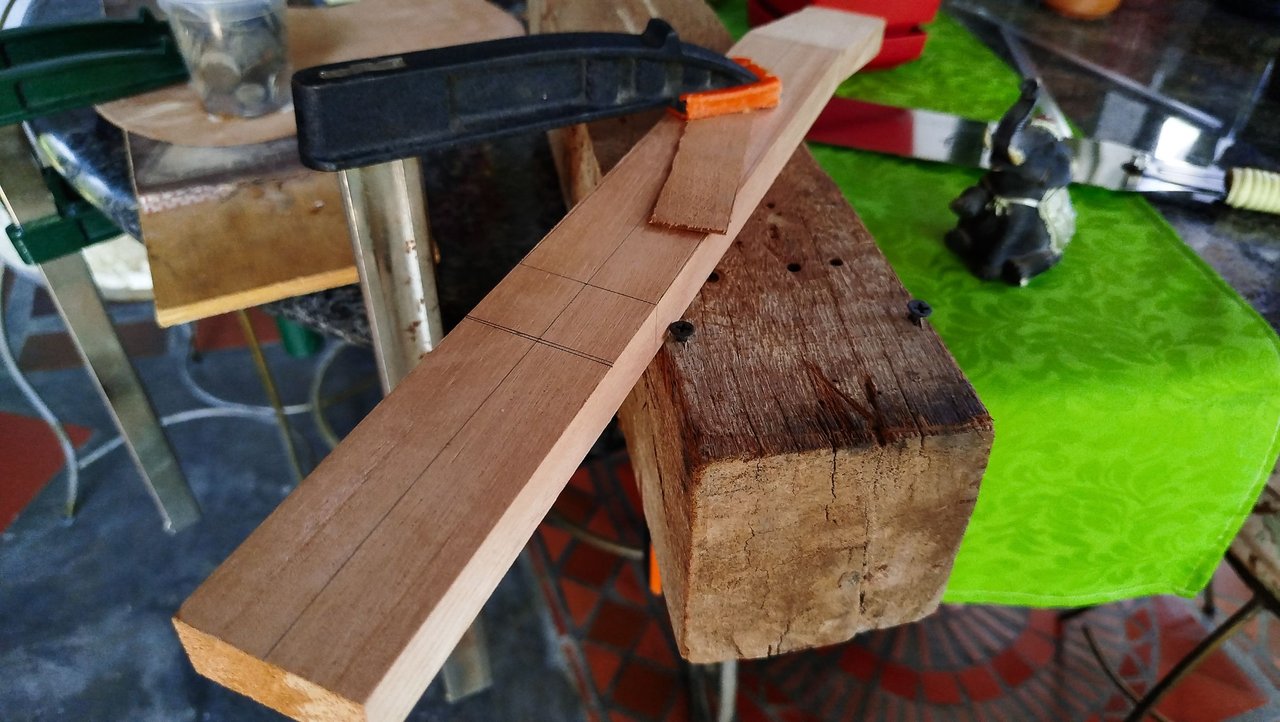
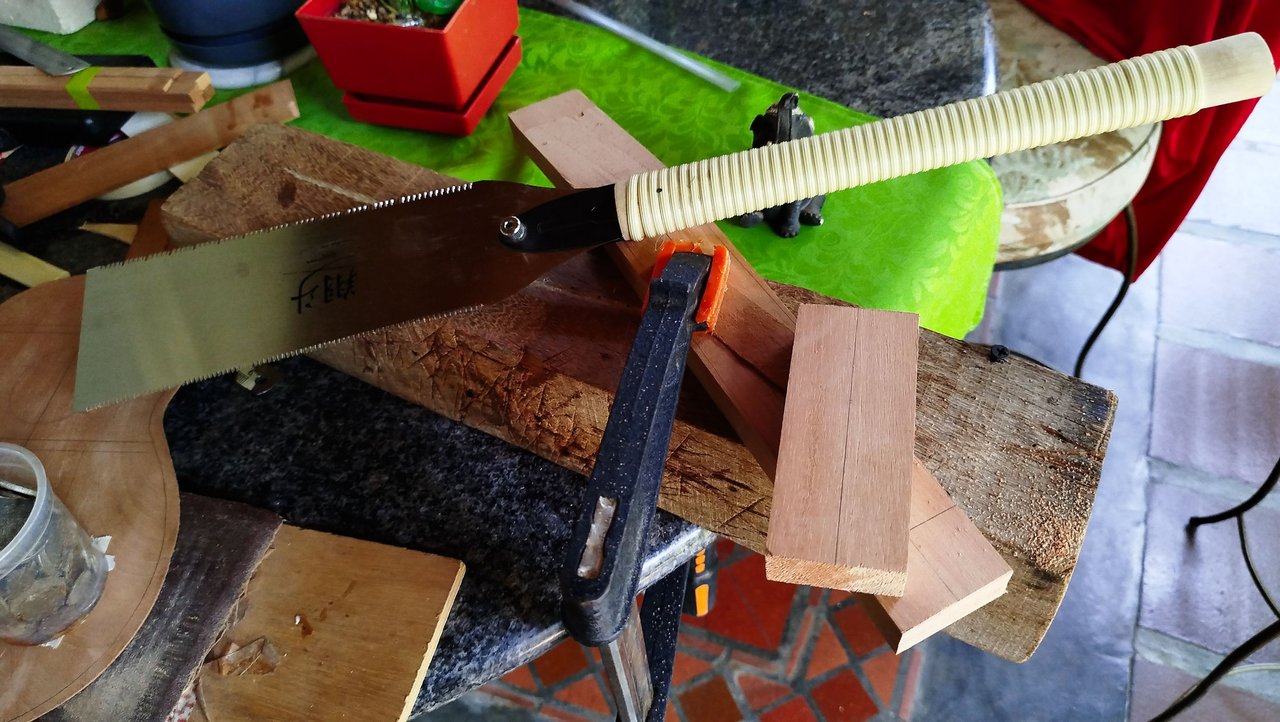
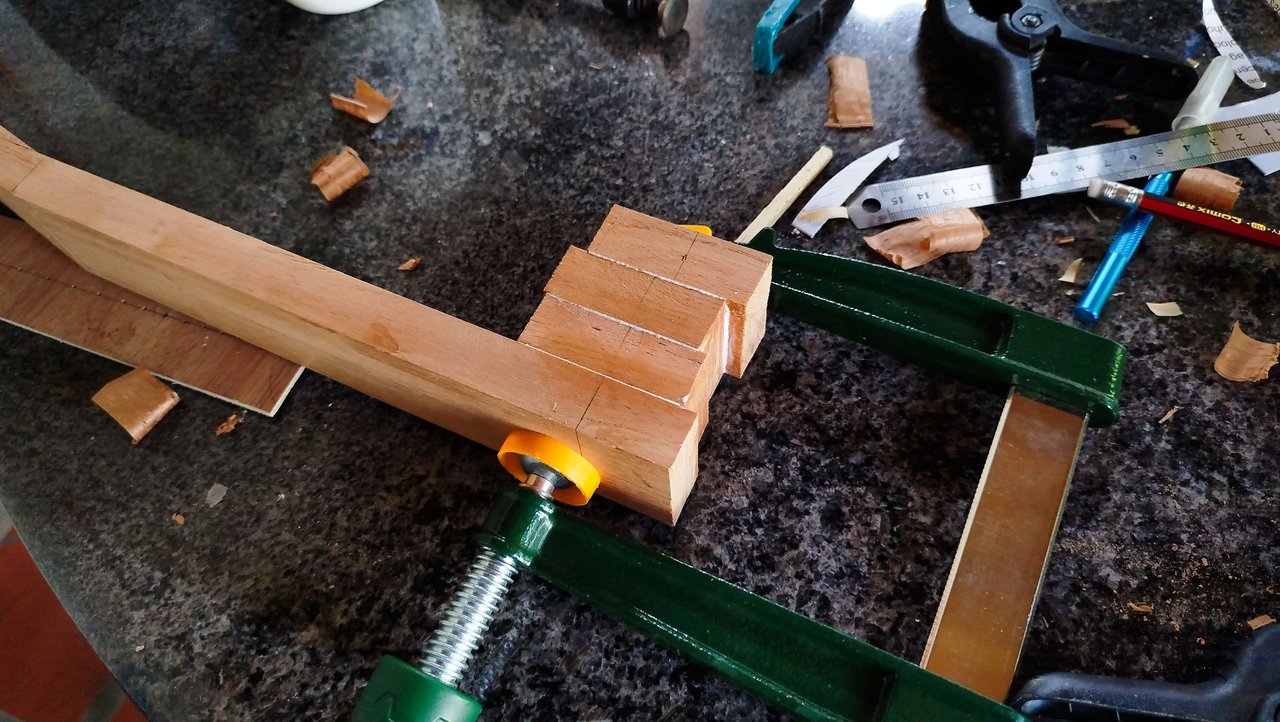
To create the heel, we are cutting the excess from the neck. We make sure to measure twice to keep an exact measurement of the length we actually need. then we can cut the rest. To make it easier, we use the ryoba saw and make the marks to keep the saw blade straight through its path.
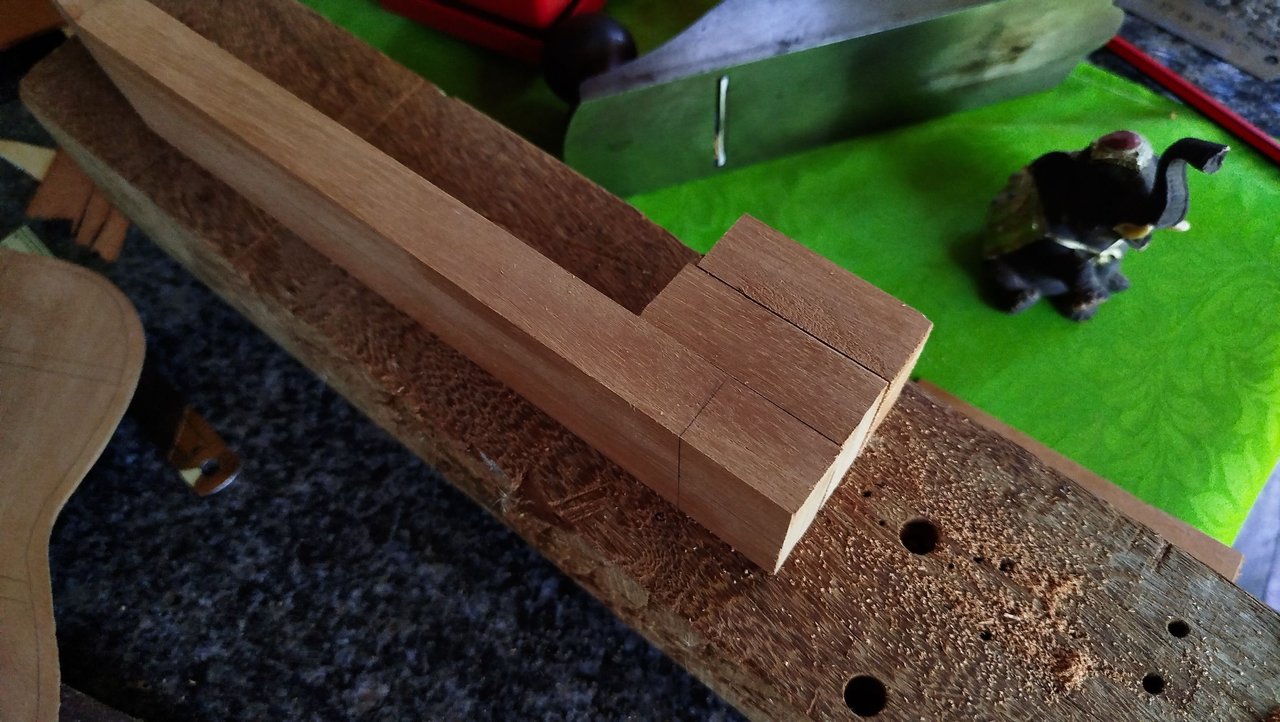
We then need to use the piece of wood to cut some extra pieces to make the portions of wood we will use to create heel. The total width of the body will be 65mm this means we need to make a heel that gives us that width alongside the part of the neck where it will be glued.
The last piece of work before gluing these pieces to the neck is to make a line to keep the blocks aligned. In the end, it did not made a difference since the design for this lower part of the heel ended up being a curve. So we just need to glue the pieces and call it a day.
On the next entry, we will keep adding the reinforcements to the sound board and give them the shape required. Then we will start carving the heel to also give it its final shape. All of that will come soon enough. Thanks for reading. See you on the next entry!
| Entry | Title |
|---|---|
| 1 | The Fist Ukuele |
Photos 📷: Redmi Note 13
Thumbnail 🖼️: Canva.
Editing 🎬:Adobe Photoshop Lightroom.

Follow me on Instagram for enquires and commission.
If you'd like to help the workshop grow, you can make a donation here. You can find me at discord as bertrayo#1763