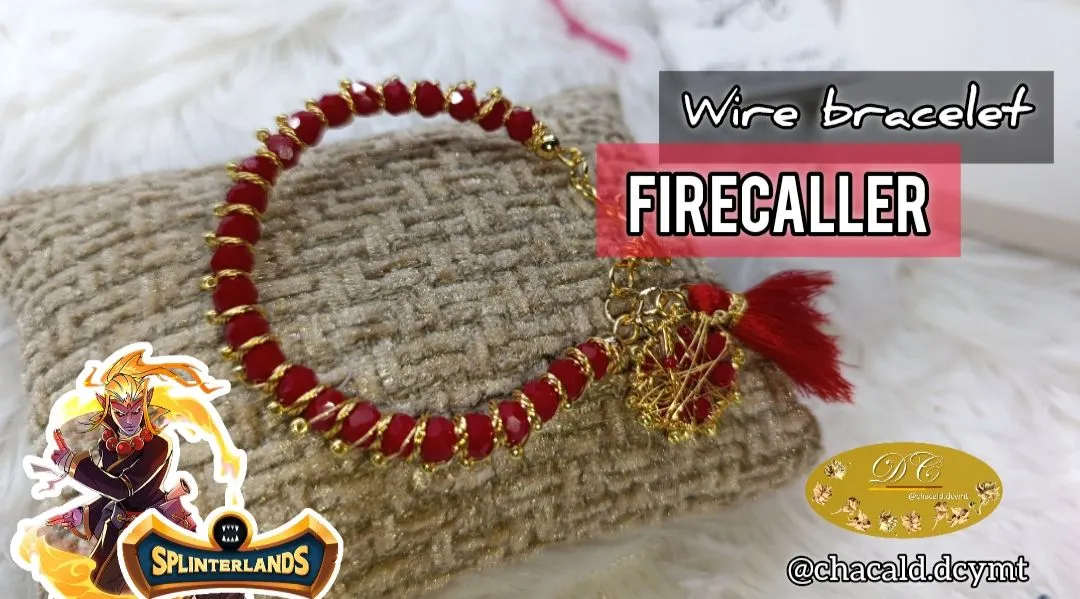
Greetings, friends and lovers of handmade arts! Welcome once again to my workshop @bricolajedc. This time, I’m sharing a wire bracelet inspired by the Splinterlands Firecaller card. Join me and I’ll show you the creative process.
¡Saludos amigos amantes de las artes manuales! Les doy la bienvenida una vez más a mi taller @bricolajedc, en esta oportunidad les comparto un brazalete en alambre inspirado en la carta de Splinterlands Firecaller. Acompáñenme y les muestro el proceso creativo.
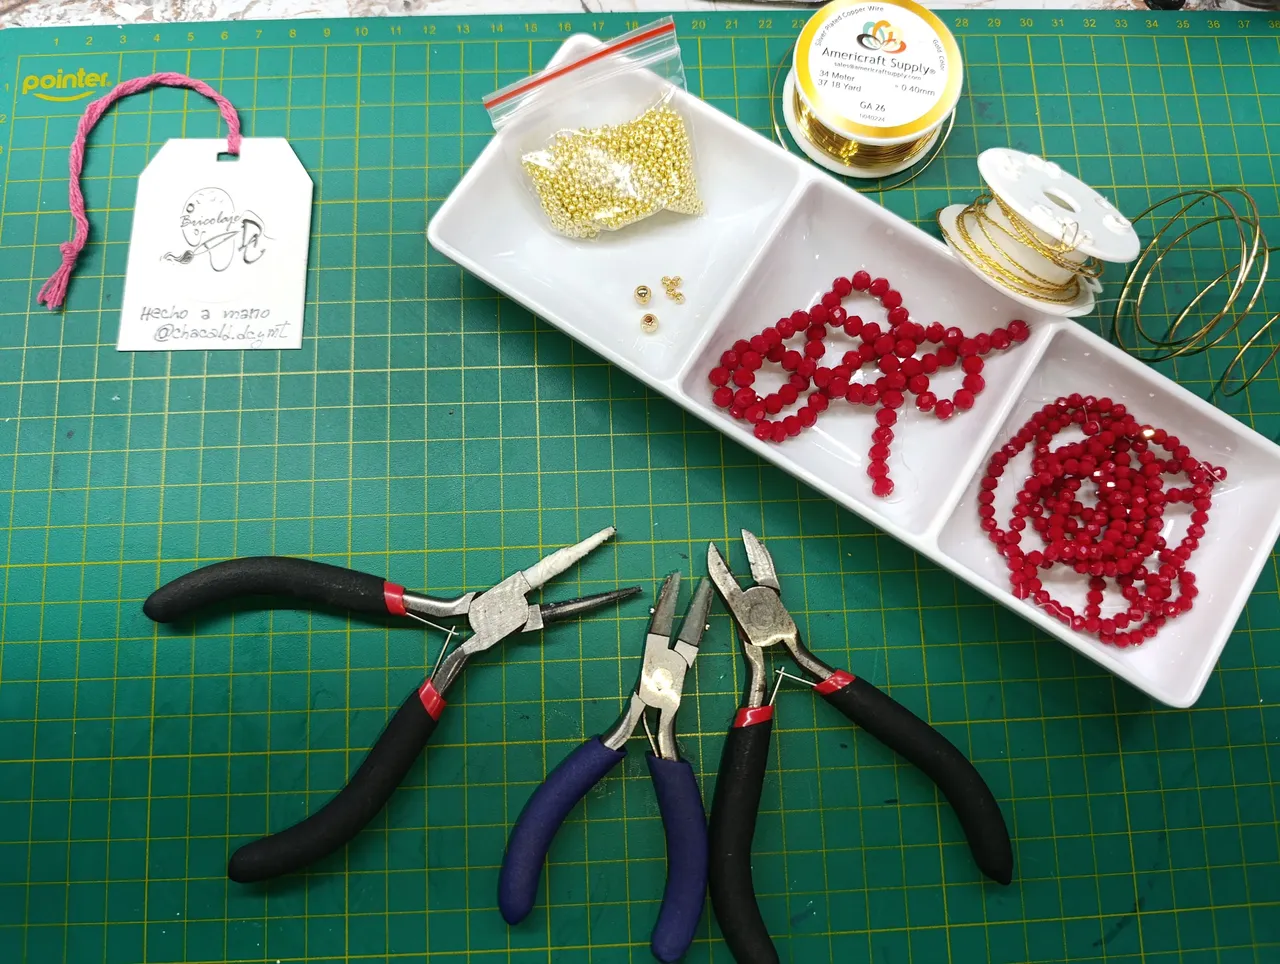
We will need the following for this project:
#18 and #26 jewelry wire
Red Murano crystals #8 and #6
2 gold beads #4
3 grams of gold seed beads
2 grams of red seed beads
Twisted wire
Small wire pendant
Small tassel
In addition to these materials, we will use our work tools: jewelry pliers and the wire twister.
Necesitaremos para este proyecto:
Alambre de bisutería #18 y #26
Cristales de murano color rojo intenso #8 y #6
2 Balines dorados #4
3 gramos de Mostacilla de color dorado
2 gramos de Mostacilla de color rojo
Alambre entorchado
Colgante pequeño de alambre
Borla pequeñaAdemas de estos materiales utilizaremos las herramientas de trabajo: pinzas para bisutería y el entorchador de alambre.
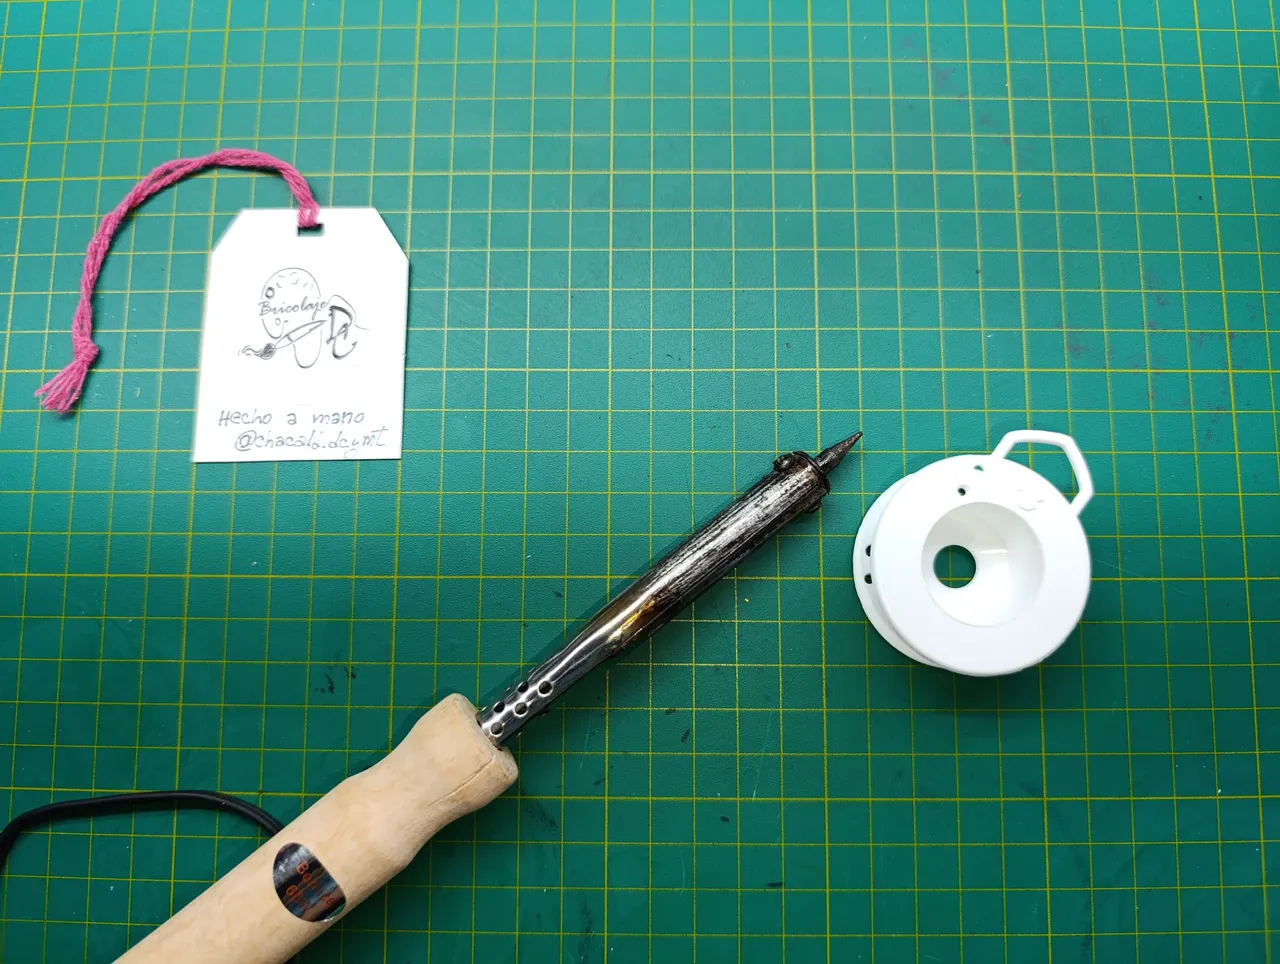
I’d like to start with the DIY wire twister. This tool for twisting wire costs between $10 and $15 on the market. But since in my workshop we like to make everything as easy and simple as possible, today I’ll show you how to make a twister using repurposed materials.
Jewelry wire usually comes on plastic spools with a wide base. This will be our twister. We will need a soldering iron and an empty wire spool.
Me gustaría comenzar por el entorchador DIY. Este aparato para trenzar el alambre tiene un costo en el mercado entre 10 y 15$. Pero como en mi taller hacemos todo lo más fácil y sencillo, hoy les enseño como hacer con material de provecho un entorchador.
Normalmente el alambre de bisutería viene en carretes de plástico con una base ancha. Este será nuestro entorchador. Necesitaremos un cautín y un carrete de alambre vacío.
What we’re going to do is perforate the plastic with the soldering iron to hold the wire.
Lo que vamos a hacer es perforar el plástico con el cautín para sujetar el alambre.
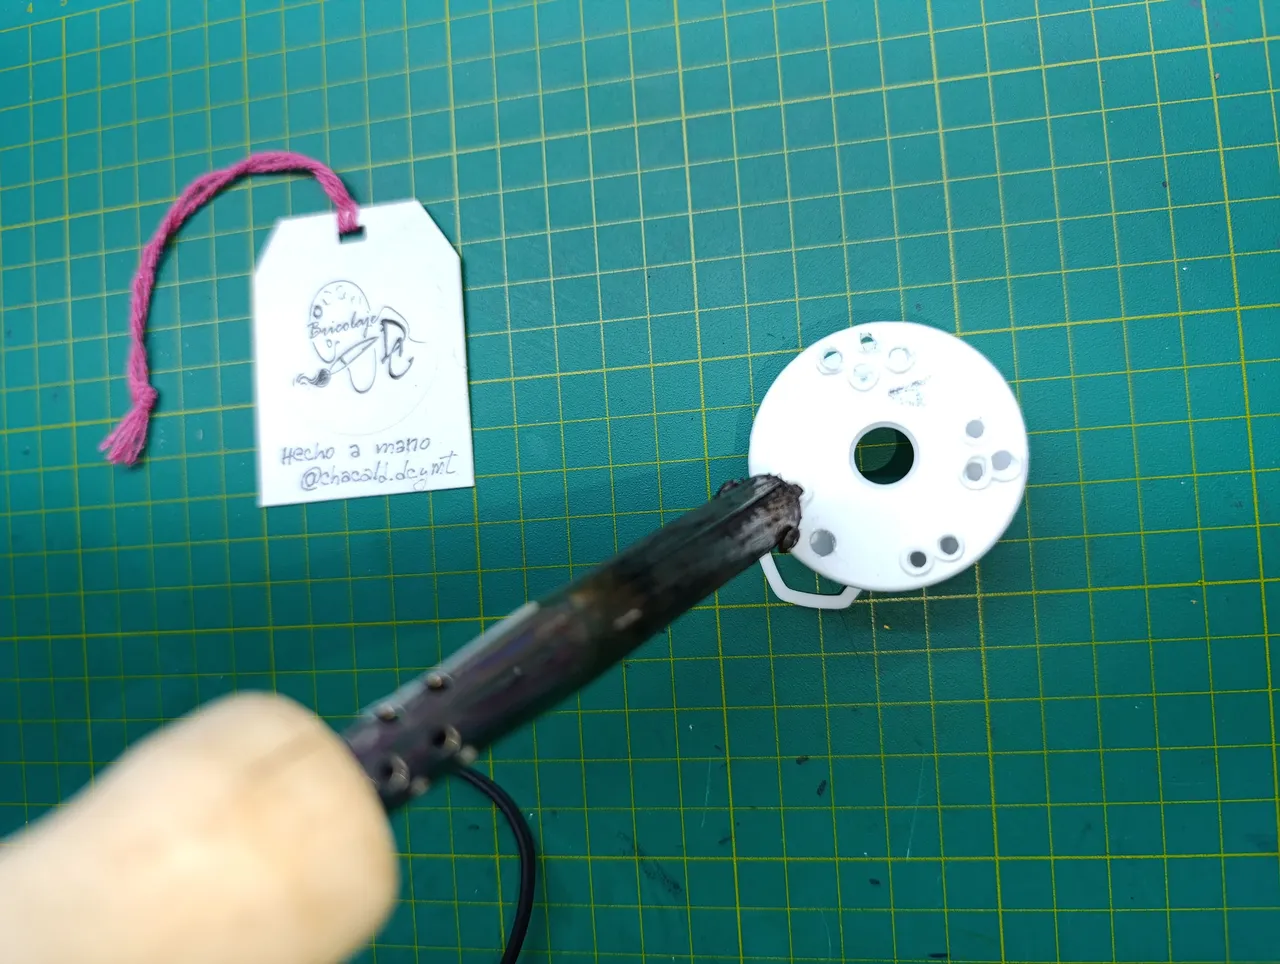
We’ll make holes in different patterns to create various types of wire twists: 2 holes, 3, and my favorite — which we’ll use for this project — 4 holes.
Haremos perforaciones en diferentes formas para hacer diferentes tipos de trenzado del alambre. 2 perforaciones, 3 y mi favorito y el que vamos a utilizar para este proyecto el de 4 perforaciones.
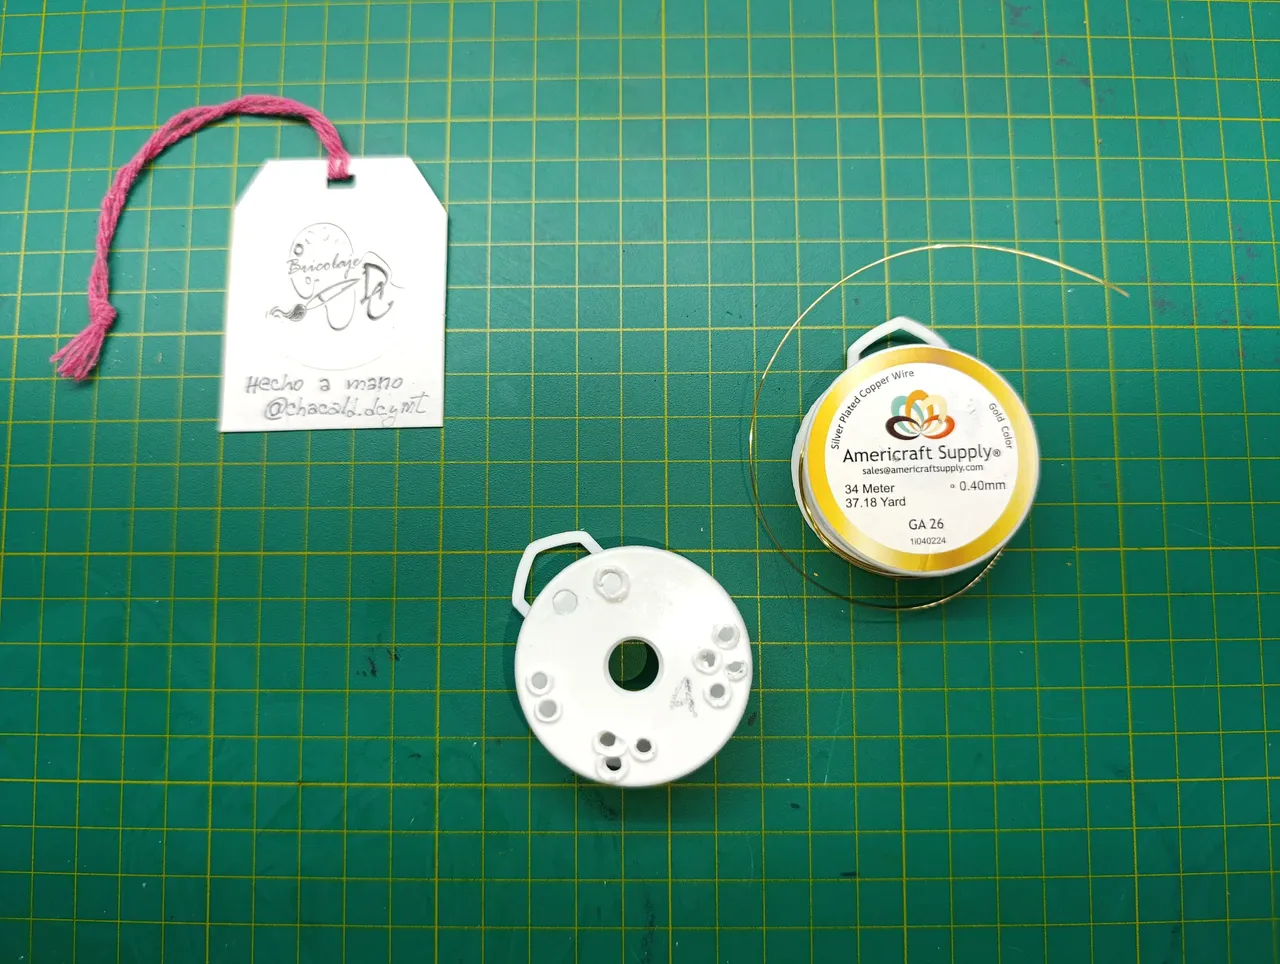
To twist the wire, we’ll insert strands of wire — in this case, I’ll use Americraft Supply wire, which is hypoallergenic, doesn’t lose its color, and has a silver coating to protect both the pieces and the user’s skin.
Take 4 strands, insert them into the 4 holes together, and start turning the spool to braid the wire. This is where you can decide how tight the twist will be.
Para entorchar el alambre,vamos a pasar hebras de alambre, en este caso utilizaré alambre de la marca Americraft Supply que es Hipoalergénico, no pierde su color y tiene un baño de plata para cuidar tanto las piezas como la piel del usuario.
Tomamos 4 hebras, las ubicamos en las 4 perforaciones juntas y comenzamos a girar el carrete para que se trence el alambre. Aquí podemos definir que tan apretado queremos el entorchado.
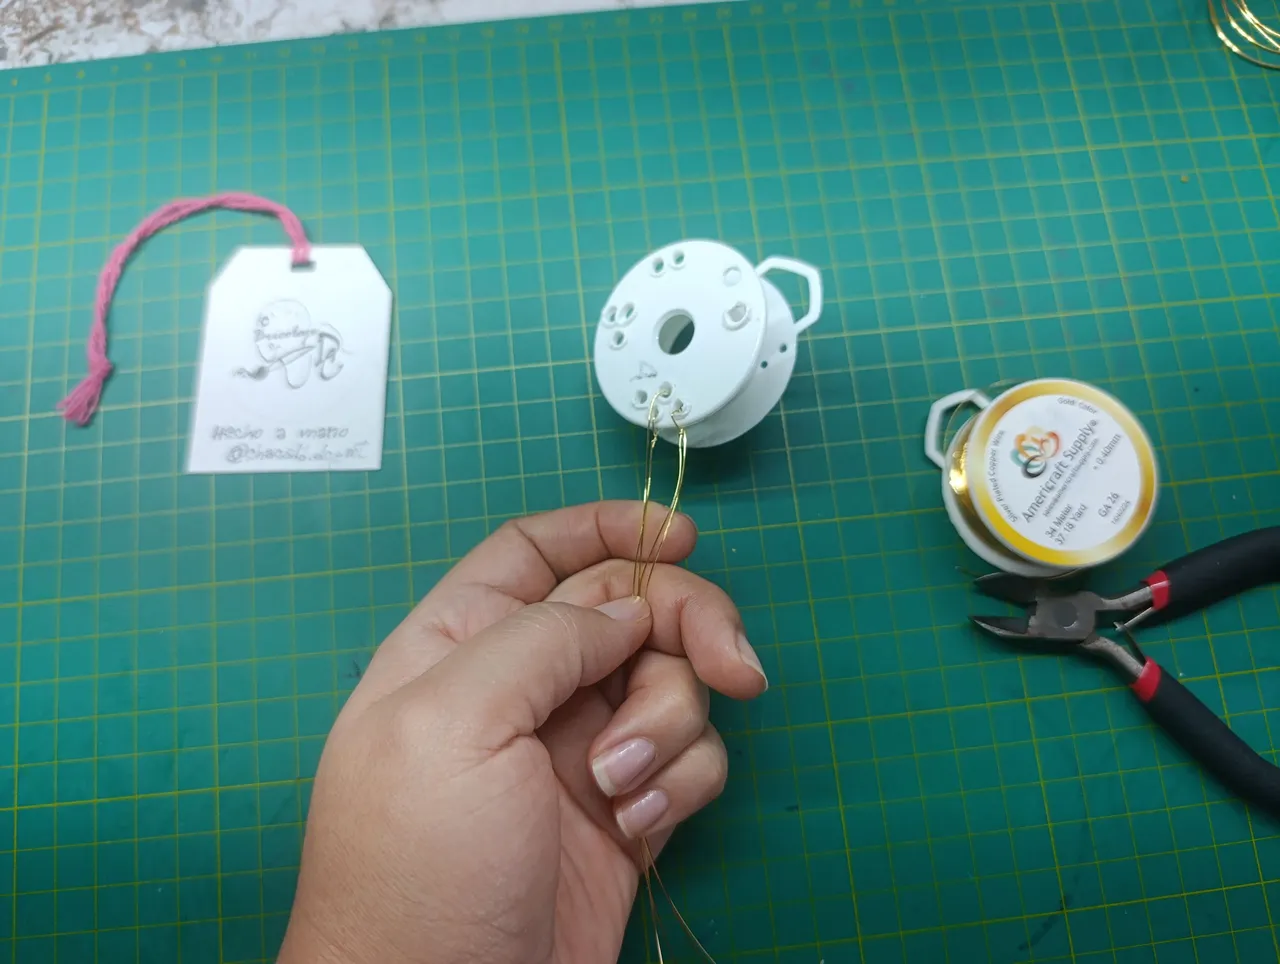
The more times you twist the spool, the tighter the braid will be.
Mientras más vueltas le demos al carrete, más apretado quedará el entorchado.
 |  |
|---|
What I love about this DIY twister is that we can wind the twisted wire onto the same spool to prevent it from bending. I really liked this method for giving an elegant and firmer finish to our pieces.
Lo que me gusta de este entorchador DIY es que en el mismo carrete vamos a ir enrollando el alambre para evitar que se doble. Me gustó mucho este método para darle un acabado elegante y más firme a nuestras piezas.

Firecaller Wire Bracelet
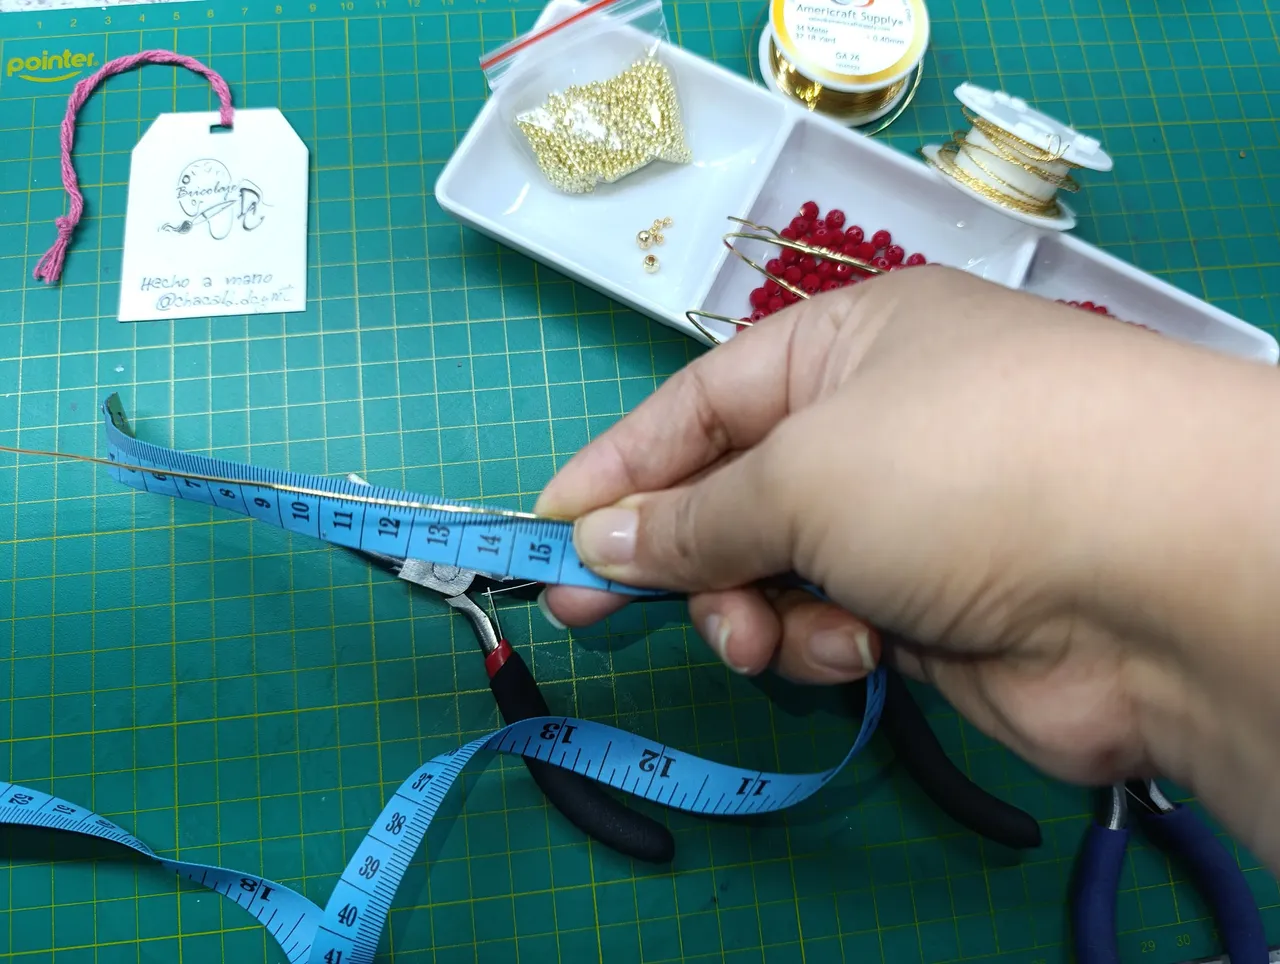
Let’s take 17 cm of #18 wire — 15 cm for the bracelet and 1 cm on each end for the loops. You can also use #16, but it’s a bit harder to handle.
Brazalete de alambre Firecaller
Vamos a tomar 17 centímetros de alambre #18, serían 15 centímetros para el brazalete y 1 centímetro de cada extremo para las argollas. También se puede utiliza #16 pero este es un poco más difícil de manejar.
With the round-nose pliers, we’ll make a loop at one end and slightly bend the wire so the bead fits perfectly into the loop.
Con la pinza redonda, vamos a hacer un aro en uno de los extremos y vamos a inclinar un poco el largo del alambra para que el balín encaje perfectamente en el aro.

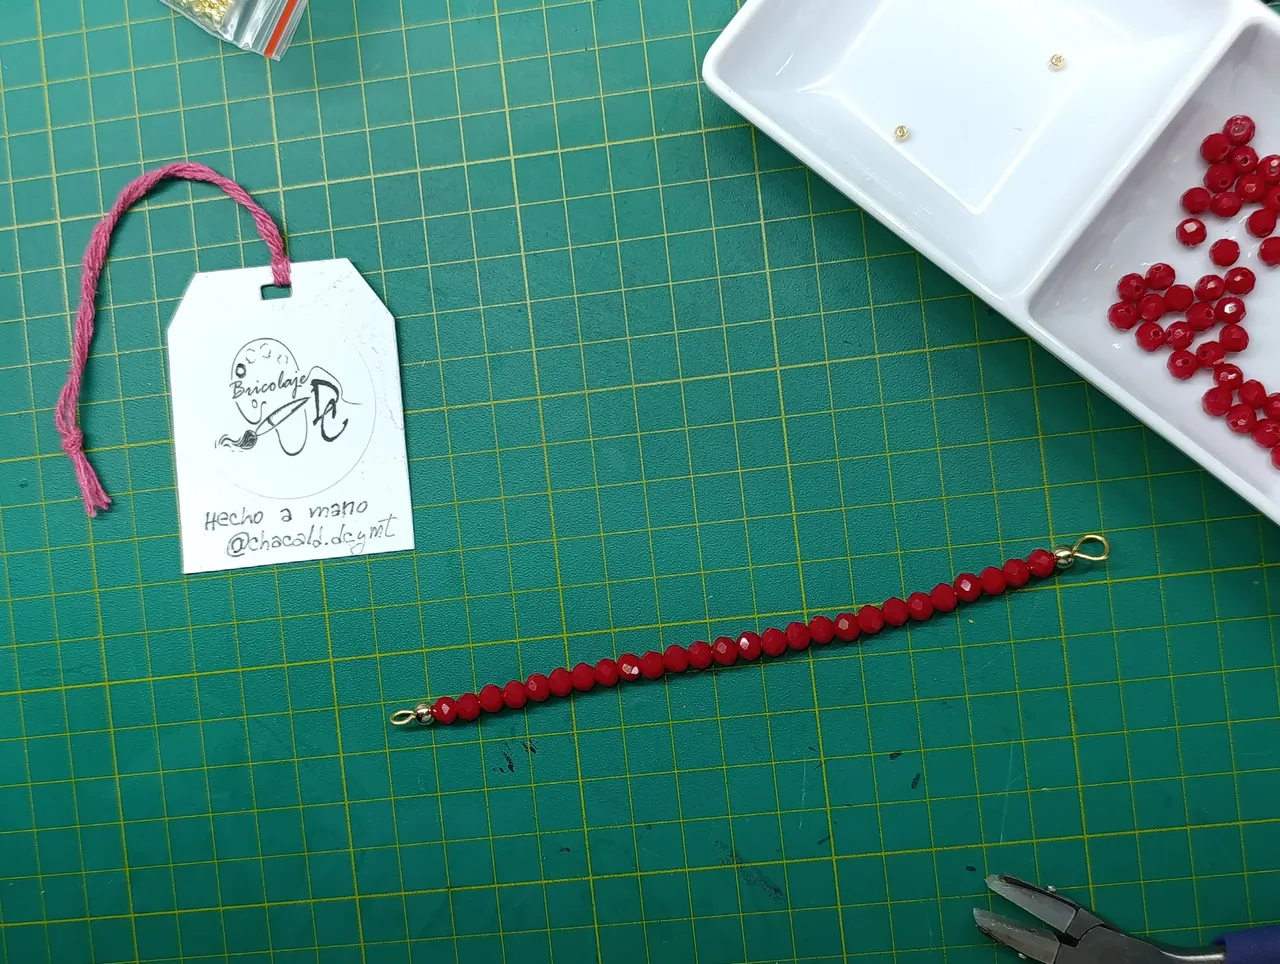
On the other end of the wire, insert one bead and 26 crystals.
Por el otro extremo del alambre, vamos a introducir un balín y 26 cristales.
Insert another bead to close with a loop. Don’t worry if the crystals are a bit separated — when we wrap the wire, we’ll cover those gaps.
Introducimos un balín para cerrar con un aro. No importa que nos queden un poco separados los cristales ya que al enrrollar el alambre vamos a cubrir todos esos espacios vacíos.
Take #26 wire, insert the gold seed beads, and wrap three times around the initial bead.
Tomamos el alambre # 26 inteoducimos las mostacillas de color dorado y pasamos 3 vueltas por el balín inicial.

Then we’ll place the gold seed bead over the red crystal and secure with two wraps.
Luego vamos a posicionar la mostacilla dorada sobre el cristal rojo y vamos a fijar con dos vueltas.
Once all the crystals have their seed beads, we’ll wrap the twisted wire around to reinforce. Pass the wire in the same direction as the seed beads (this is optional — it’s my own design).
Using the silicone pliers, bend the wire until it forms a U shape.
Una vez que tenemos todos los cristales con su mostacilla, vamos a dar una vuelta con el alambre entorchado para reforzar. Pasamos el alambre en el mismo sentido que la mostacilla (esto es opcional porque es mi propio diseño)
Con ayuda de la pinza de silicona vamos a doblar el alambre hasta que quede en forma de U.
We will make a clasp to close the bracelet. We will make a ring at one end and a flat pin at the other end. This is one of my favorite bracelet clasps because it is very secure.
Hacemos un broche para cerrar el brazalete. Haremos una argolla de un extremo y un pasador plano del otro extremo. Este es uno de mis broches para brazalete favorito porque es muy seguro.
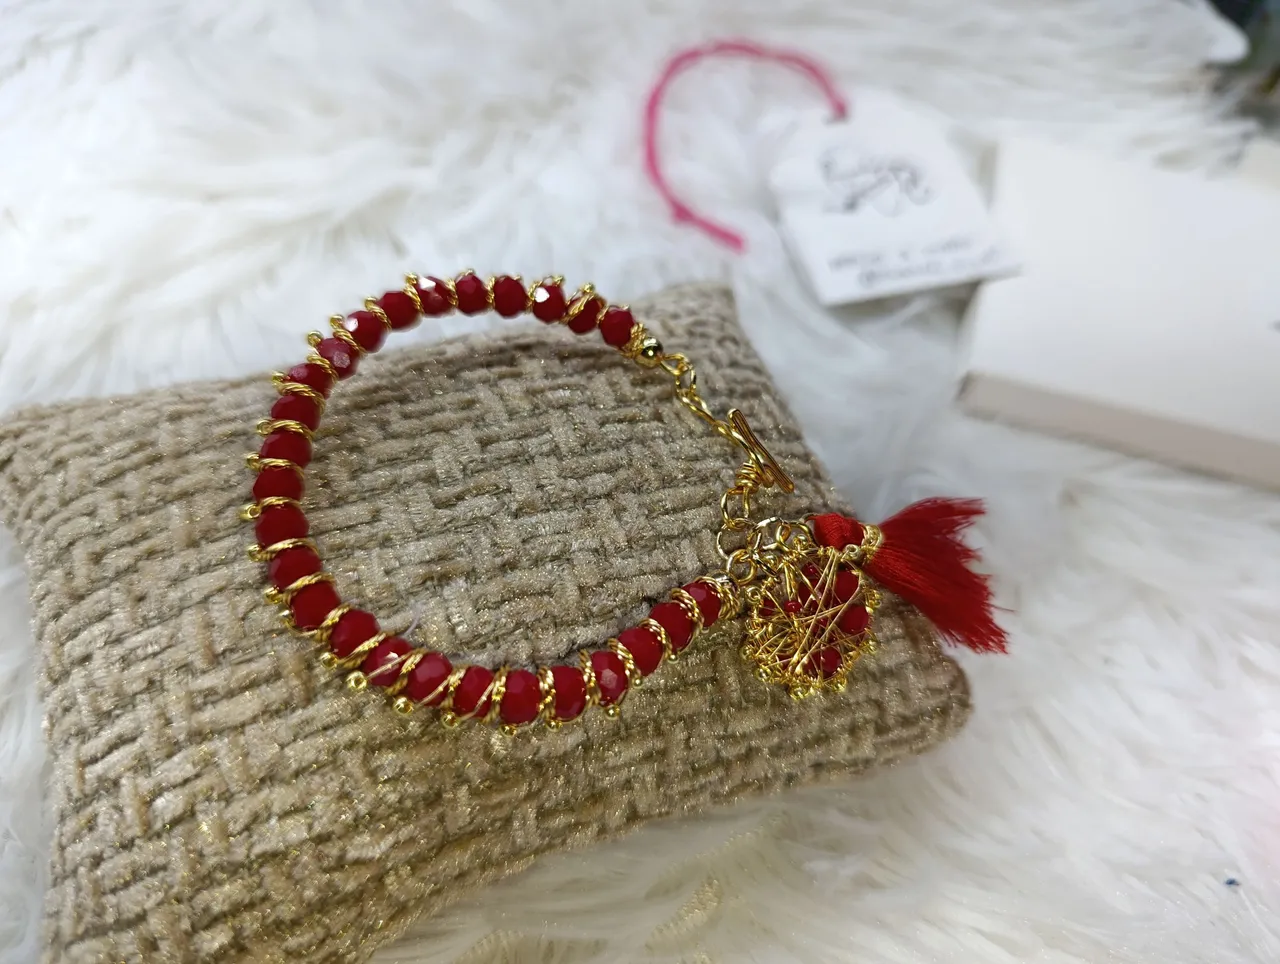
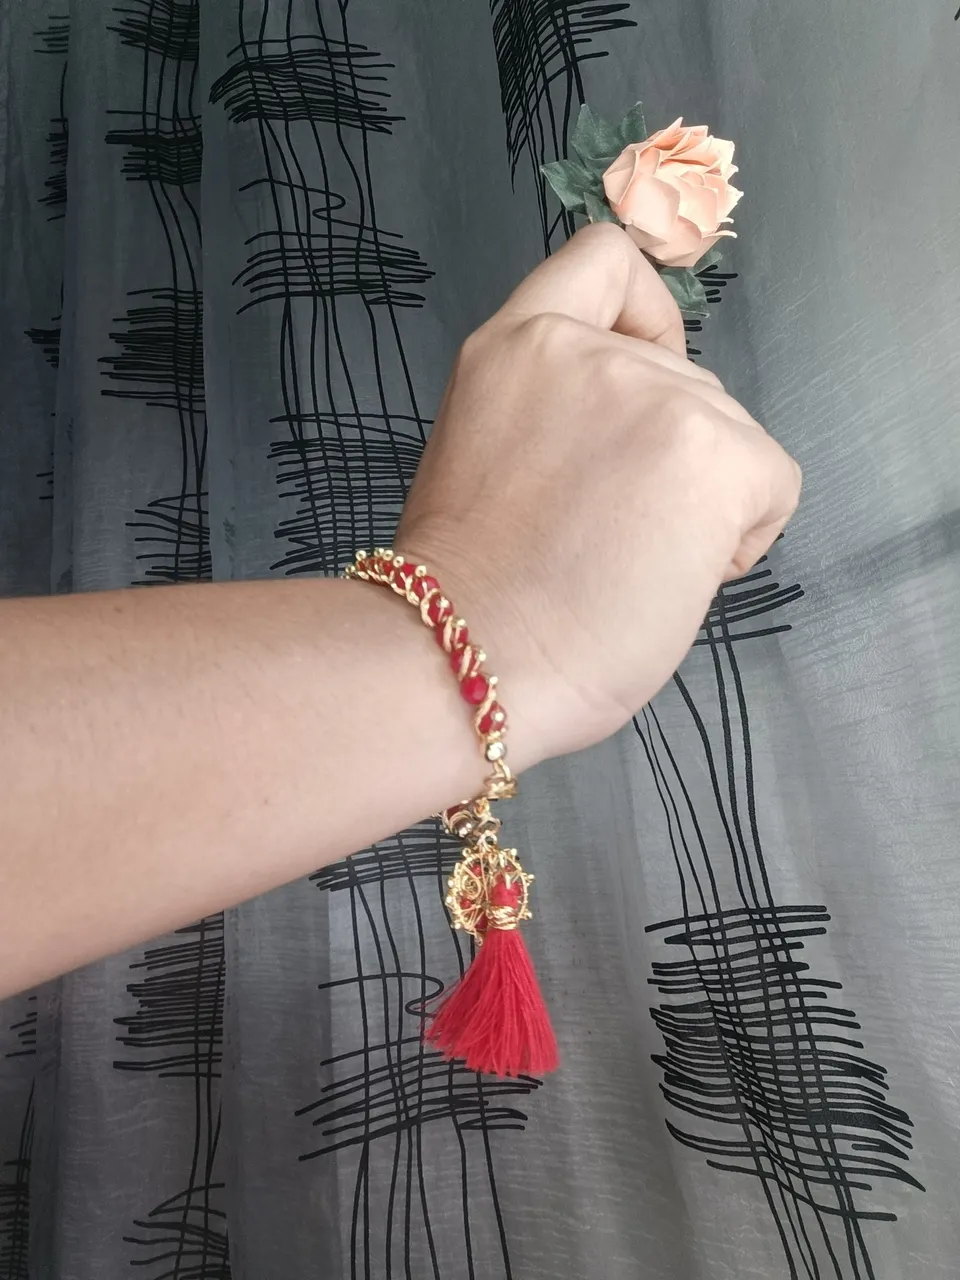
Lastly, attach the tassel and the pendant next to the clasp — they will give a special and elegant touch to our Firecaller-inspired bracelet.
Nos quedaría colocar junto al broche la borla y el colgante que le darán un toque especial y elegante a nuestro brazalete inspirado en Firecaller de Splinterlands.
I hope you feel inspired to make this beautiful bracelet. See you next time. Bye!
Espero se animen a realizar este hermoso brazalete. Nos vemos en una próxima oportunidad. Chao!

If you are not yet playing Splinterlands go here and join the adventure.
Si todavía no estás jugando Splinterlands entra aquí y únete a la aventura.


Original content by the author.
Resources: App: Canva / Giphy / Inshot
📷 Redmi 13 note pro Smartphone
Translated with Deepl.com
✿ All Rights Reserved || © @chacald.dcymt 2025✿
💌 Discord: chacald.dcymt#3549
X: @chacald1
Reddit: chacald
Follow us on Instagram
_
Contenido original del autor.
Recursos: App: Canva / Giphy / Inshot
📷 Redmi 13 note pro Smartphone
Traducido con Deepl.com
✿ Todos los Derechos Reservados || © @chacald.dcymt 2025✿
💌 Discord: chacald.dcymt#3549
X: @chacald1
Reddit: chacald

Tienda virtual @bricolajedc
Síguenos en Instagram