¡Hola, queridos lectores! Bienvenidos nuevamente.
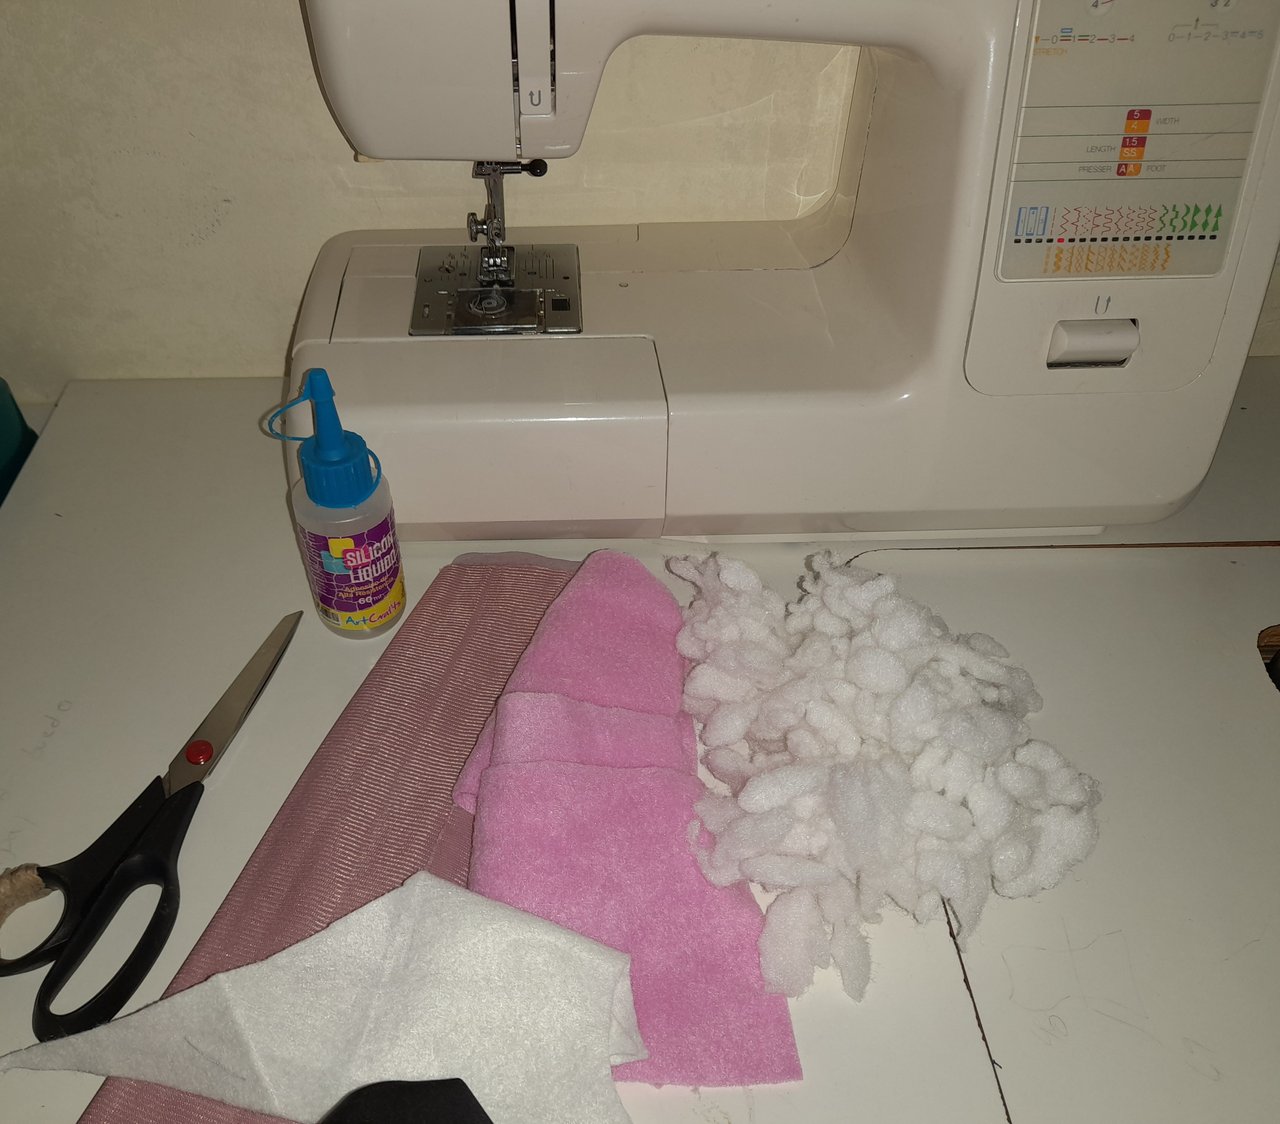
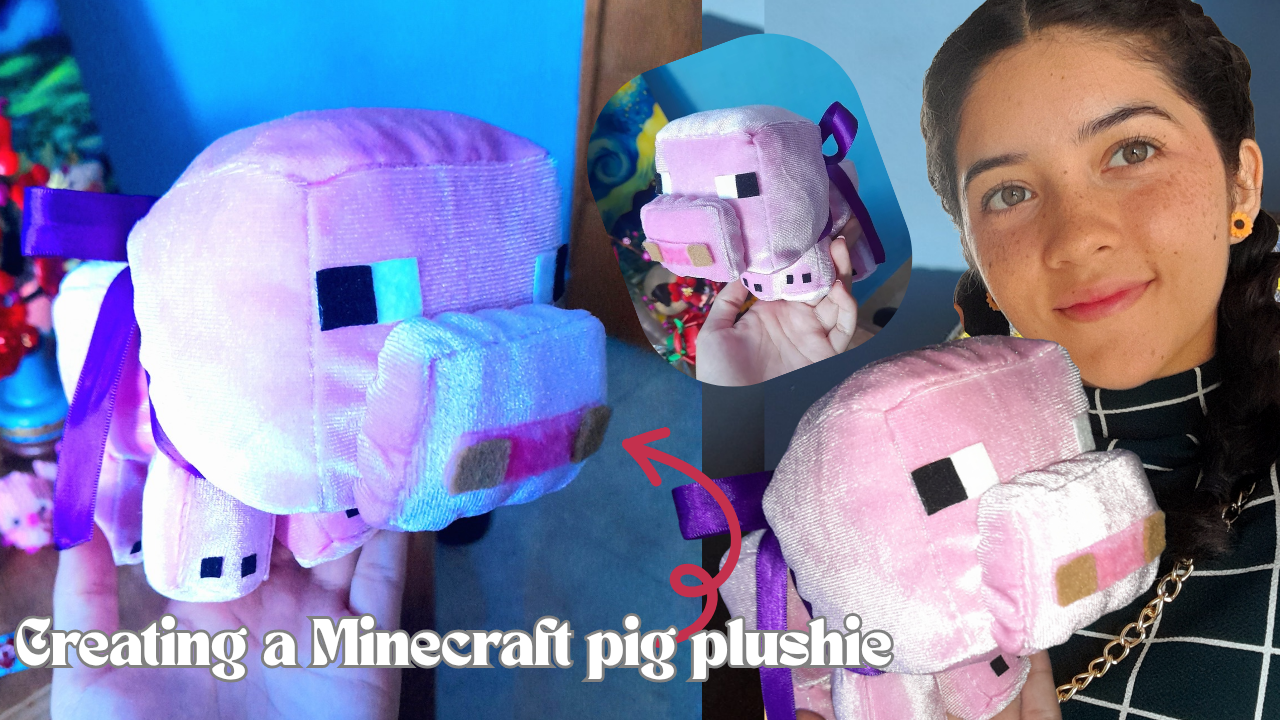
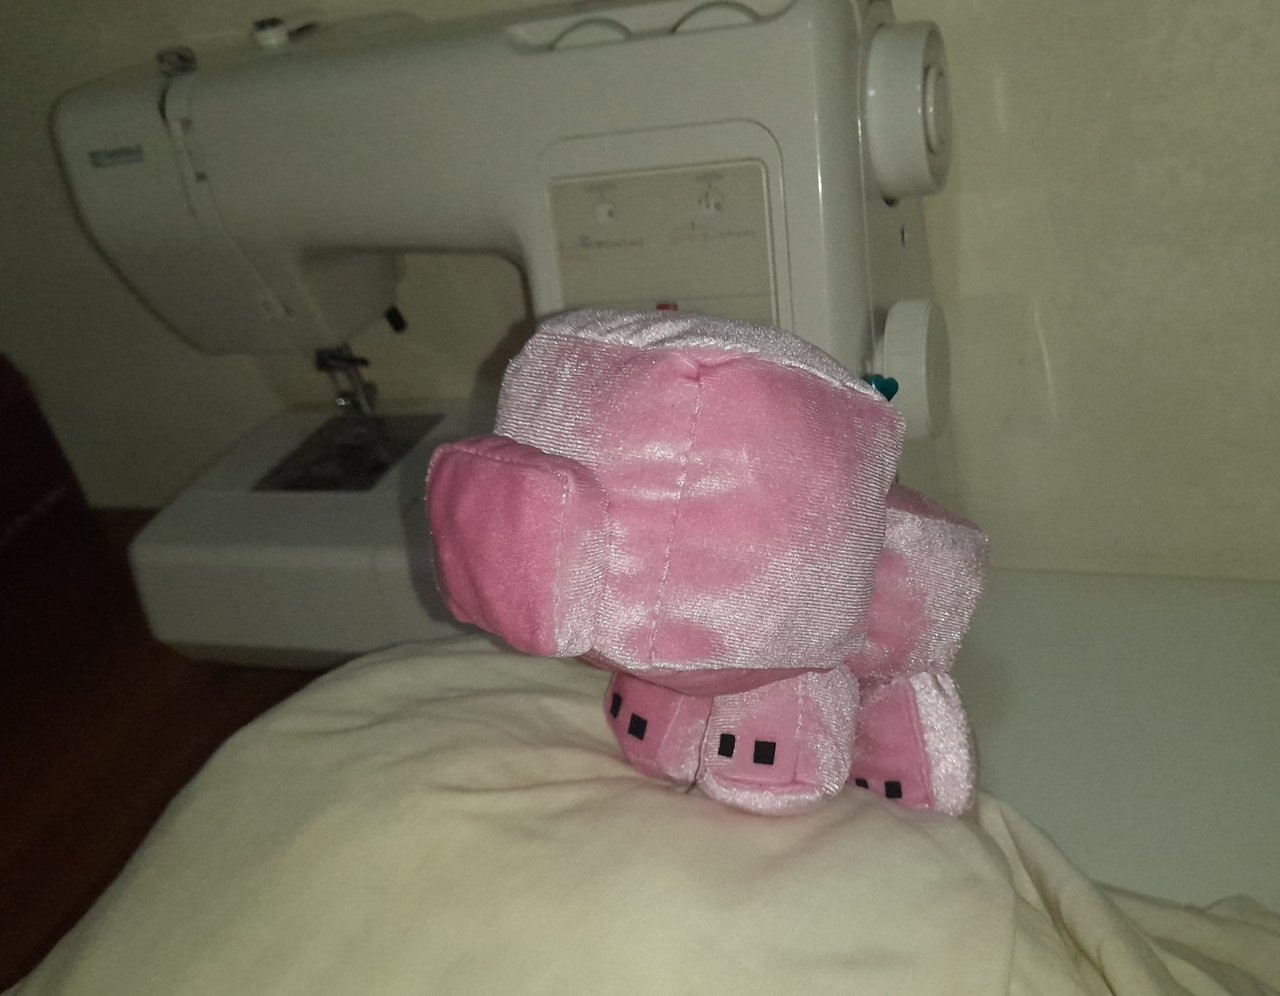
Hoy quiero enseñarles cómo hacer este lindo cerdito de Minecraft en peluche. Para ello, utilicé los siguientes materiales: fieltro en los colores característicos del cerdito, silicón frío, guata para el relleno, tijeras y, en mi caso, una máquina de coser, aunque también se puede hacer con hilo y aguja a mano.
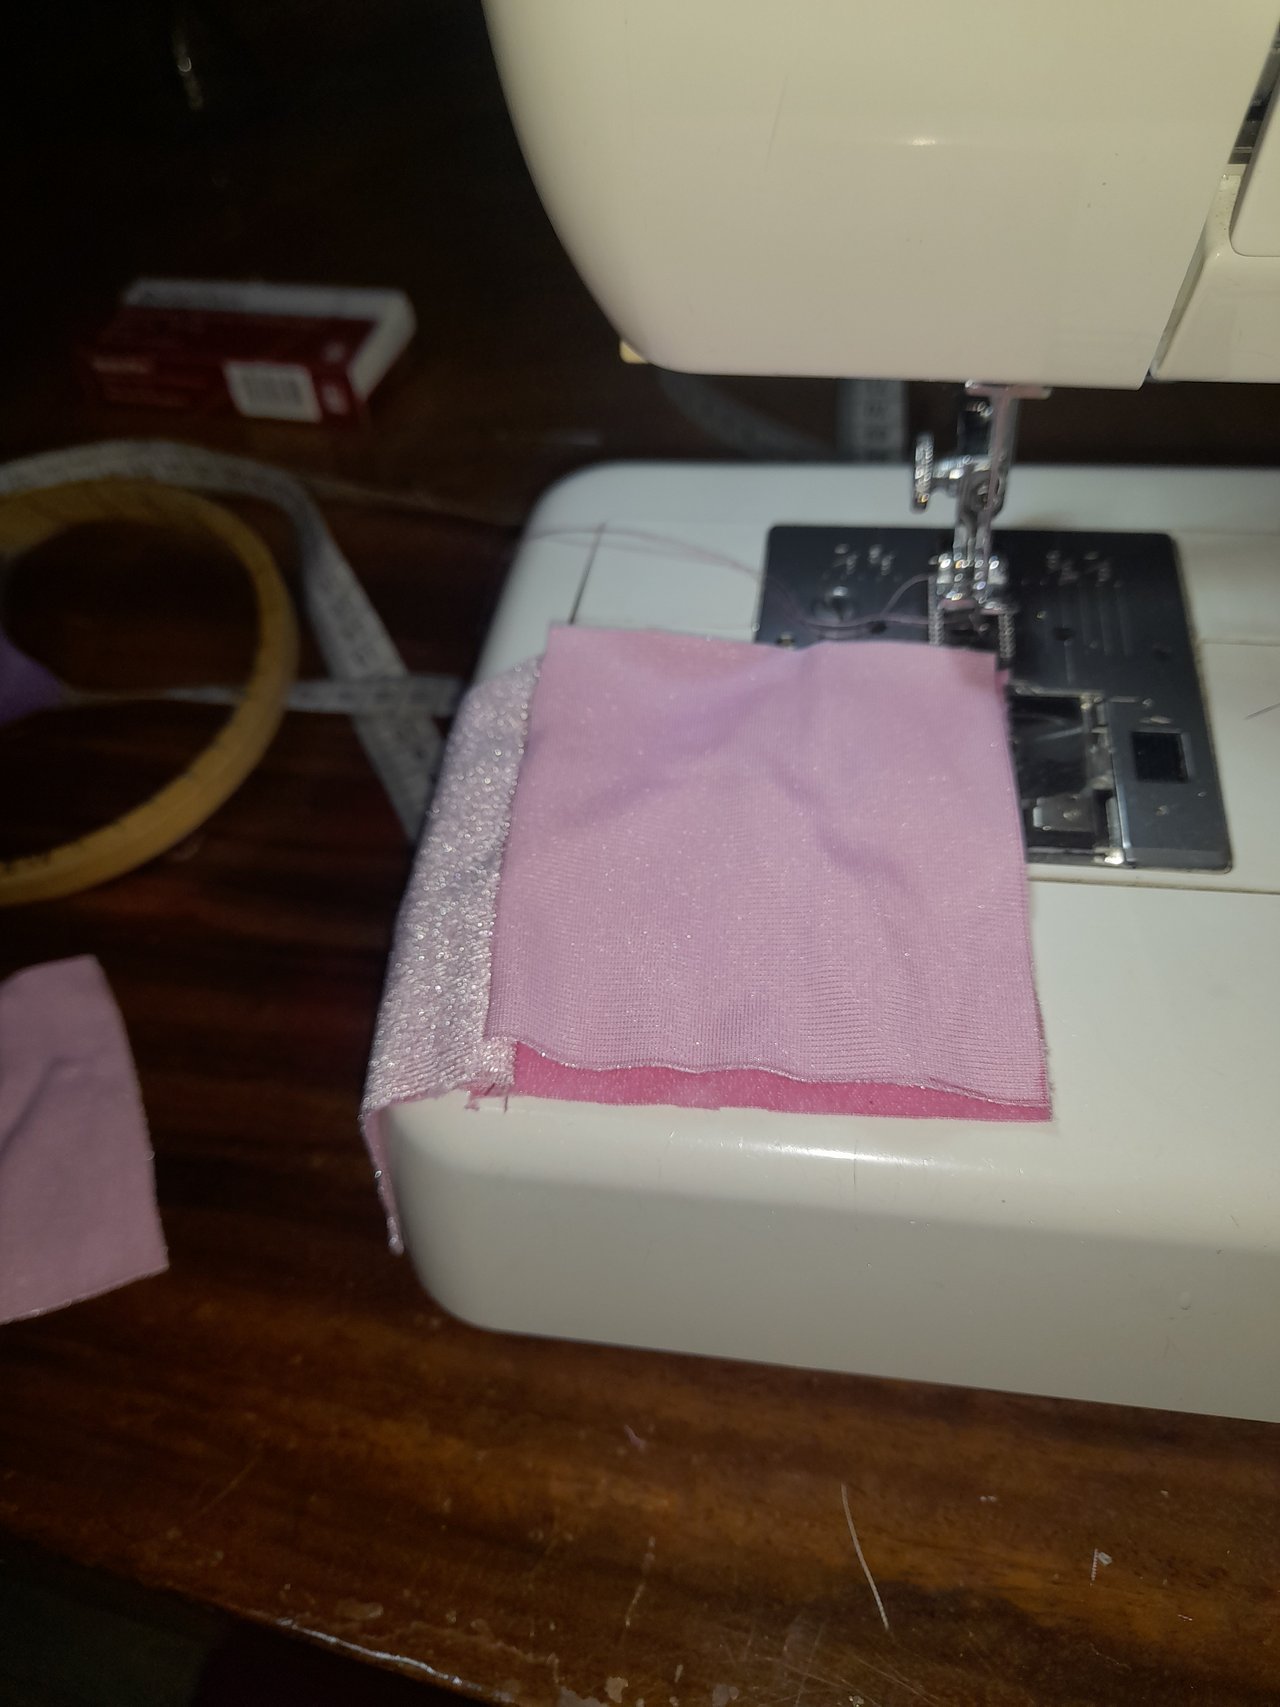
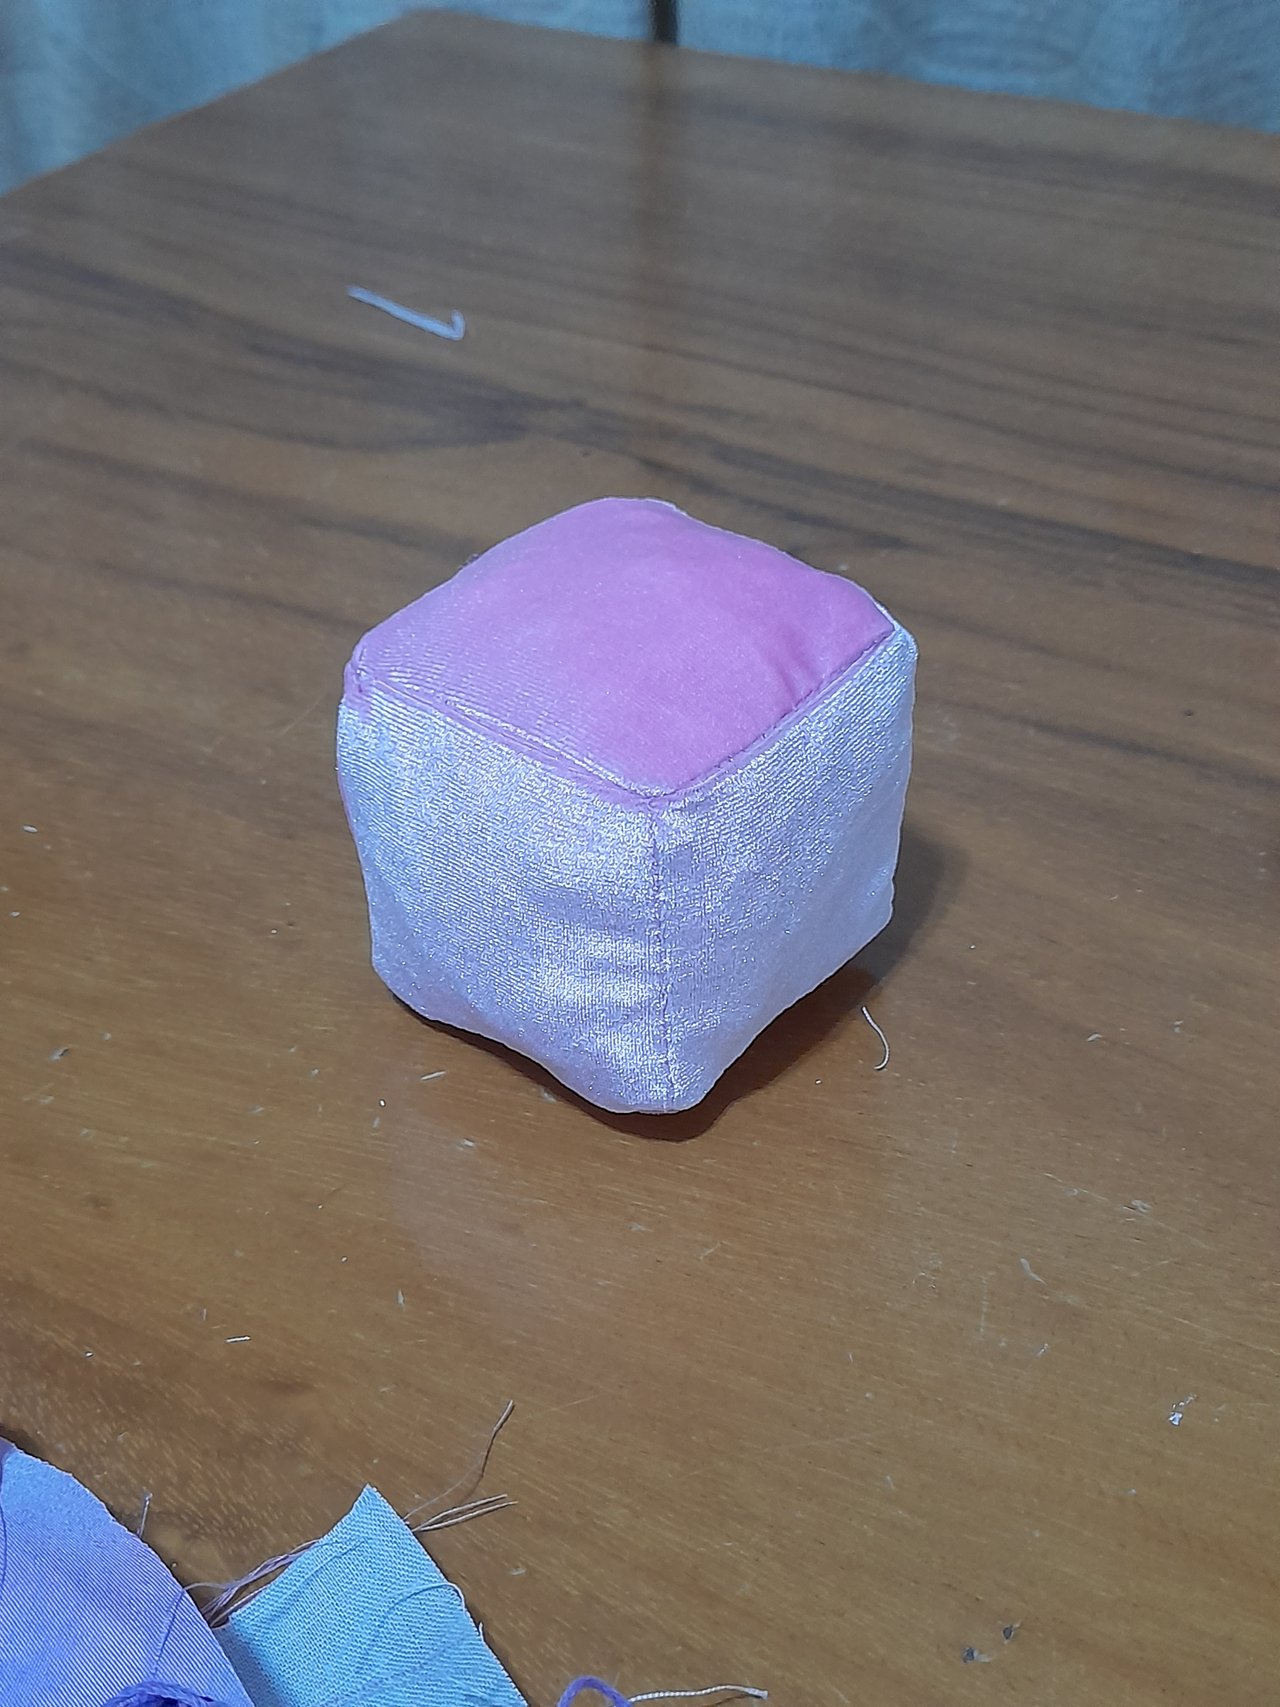
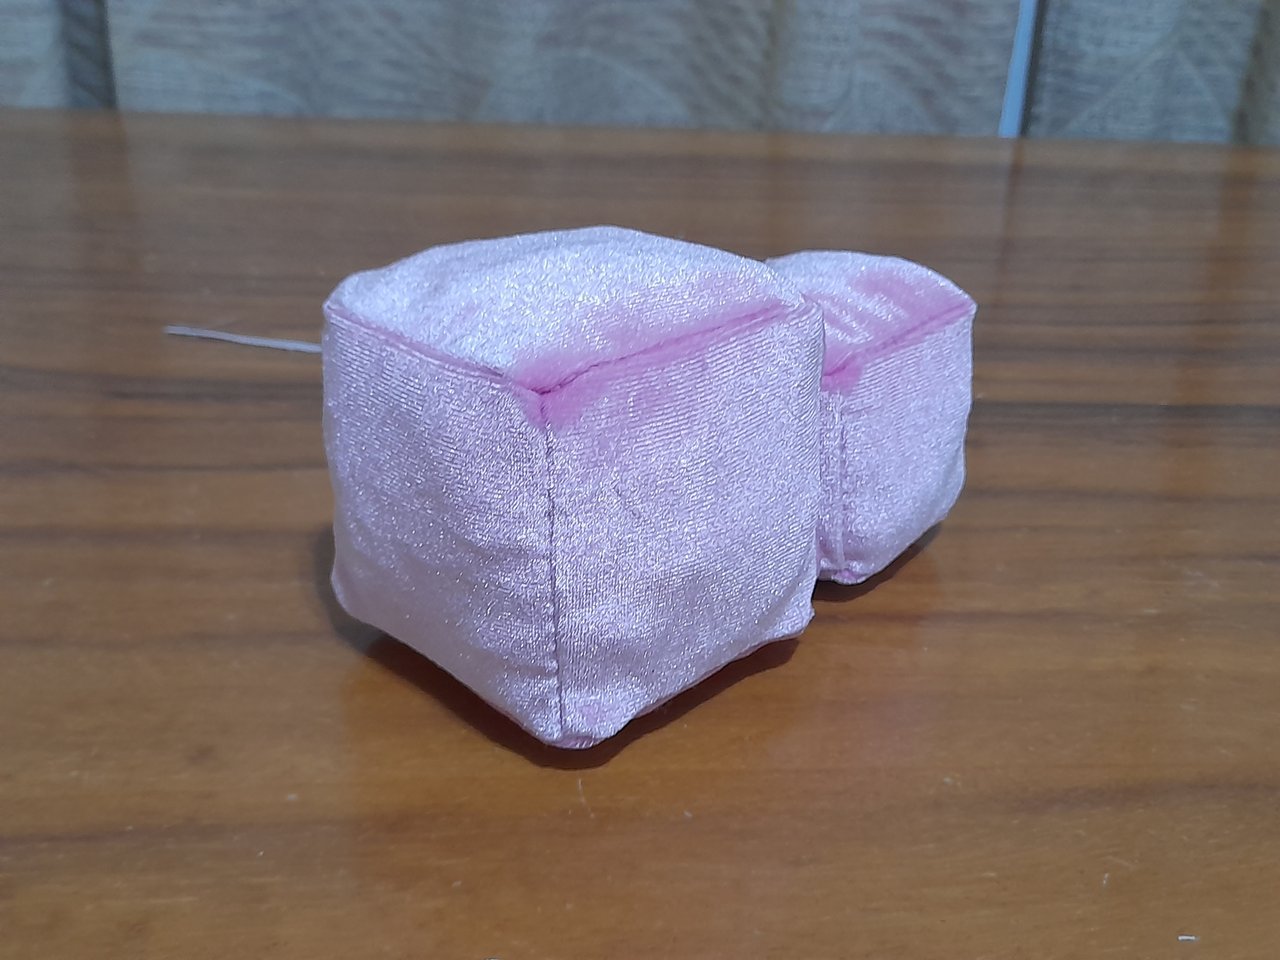
El primer paso fue armar los cubos. Cosí uno grande para la cabeza, otro mediano para el tronco, cuatro pequeños para las patas y otro mediano para la nariz. Luego los rellené con guata y los fui uniendo hasta formar el cuerpo completo del cerdito.

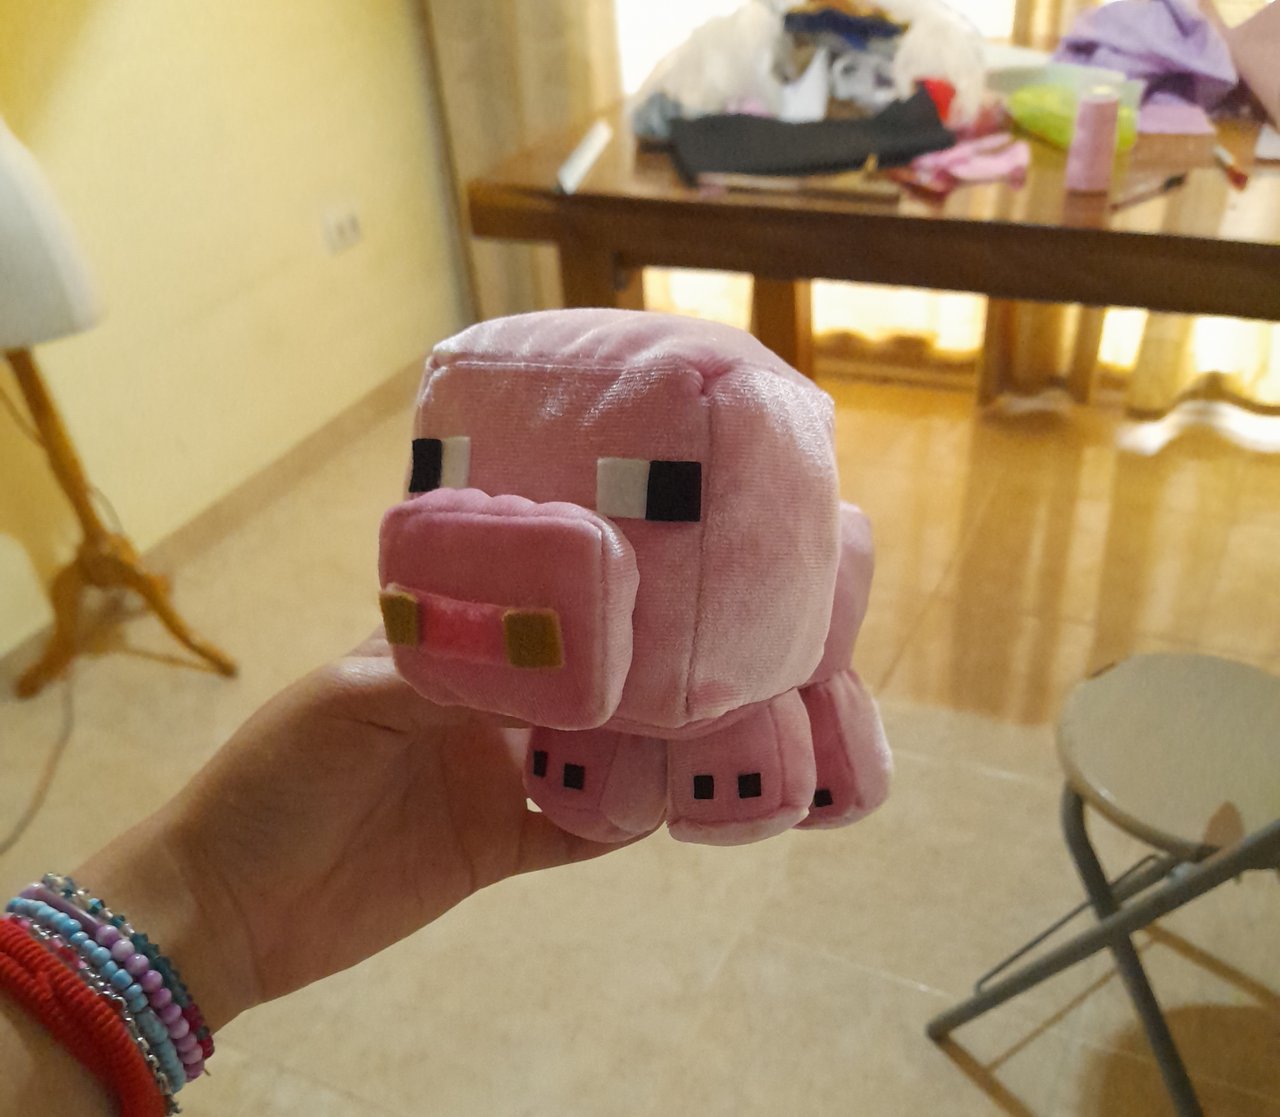
Después llegó mi parte favorita: la decoración con el fieltro. Para simular las uñas, pegué dos pequeños cuadrados en cada pata. Luego, armé los ojos con dos rectángulos grandes y dos cuadrados pequeños encima. Para la nariz, coloqué un rectángulo rosa con dos cuadrados marrones a los lados. Poco a poco fui pegando cada detalle con silicón, dándole vida al personaje.
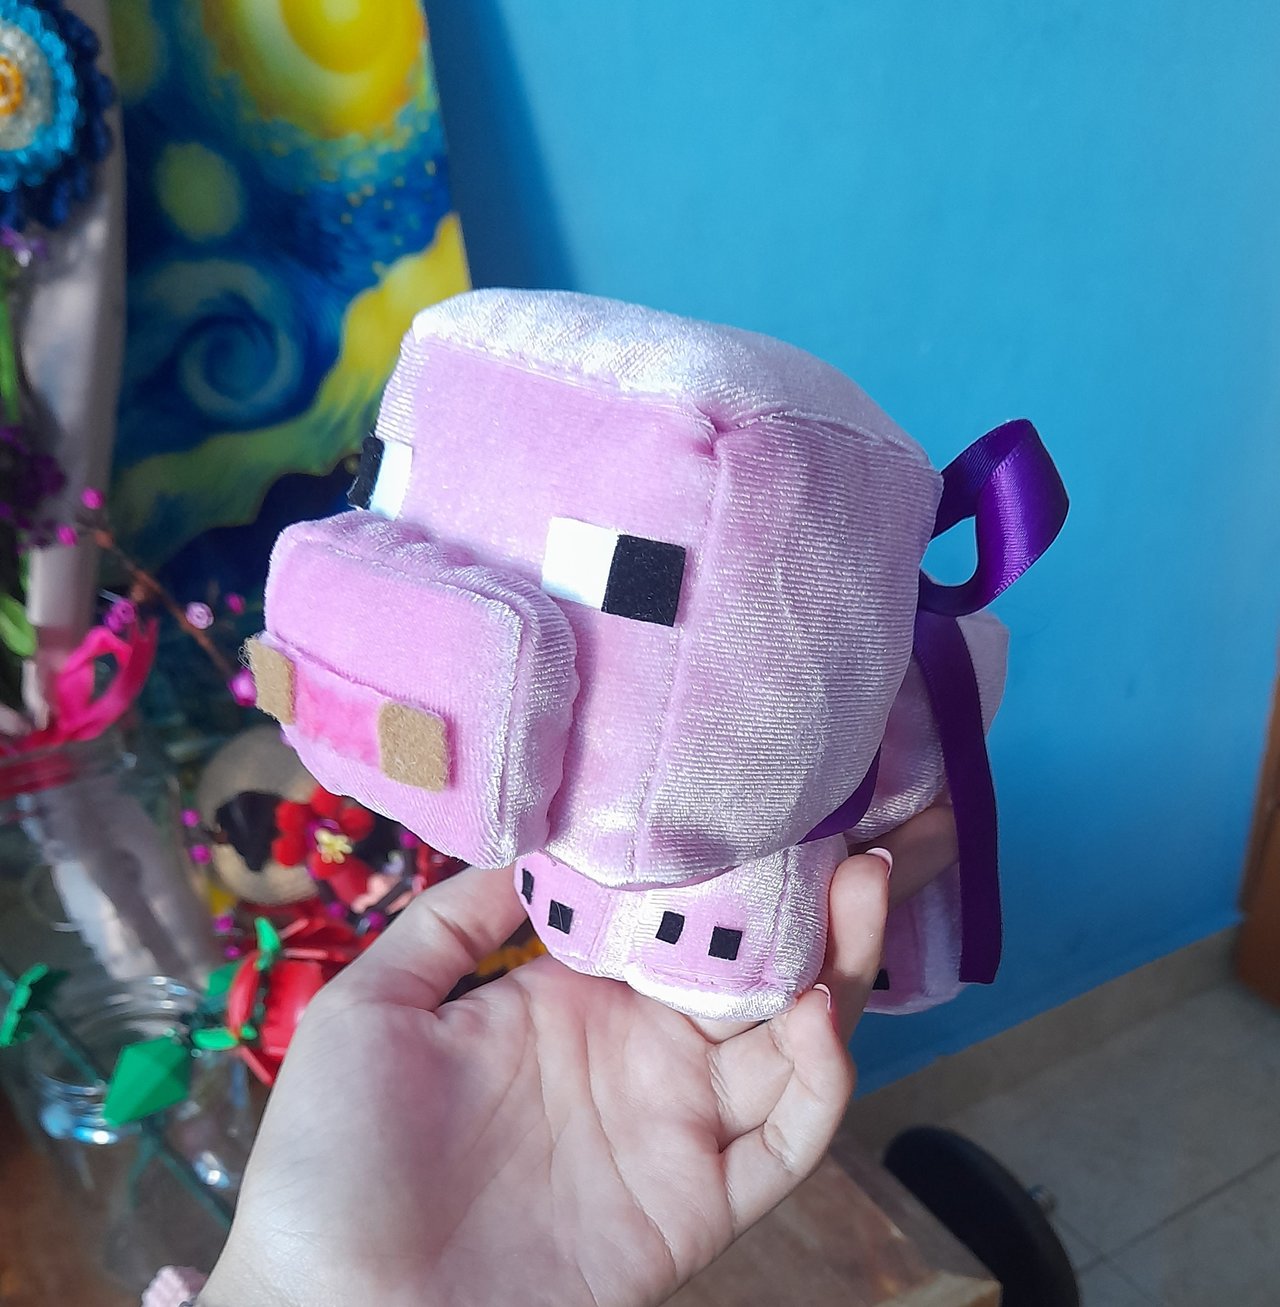
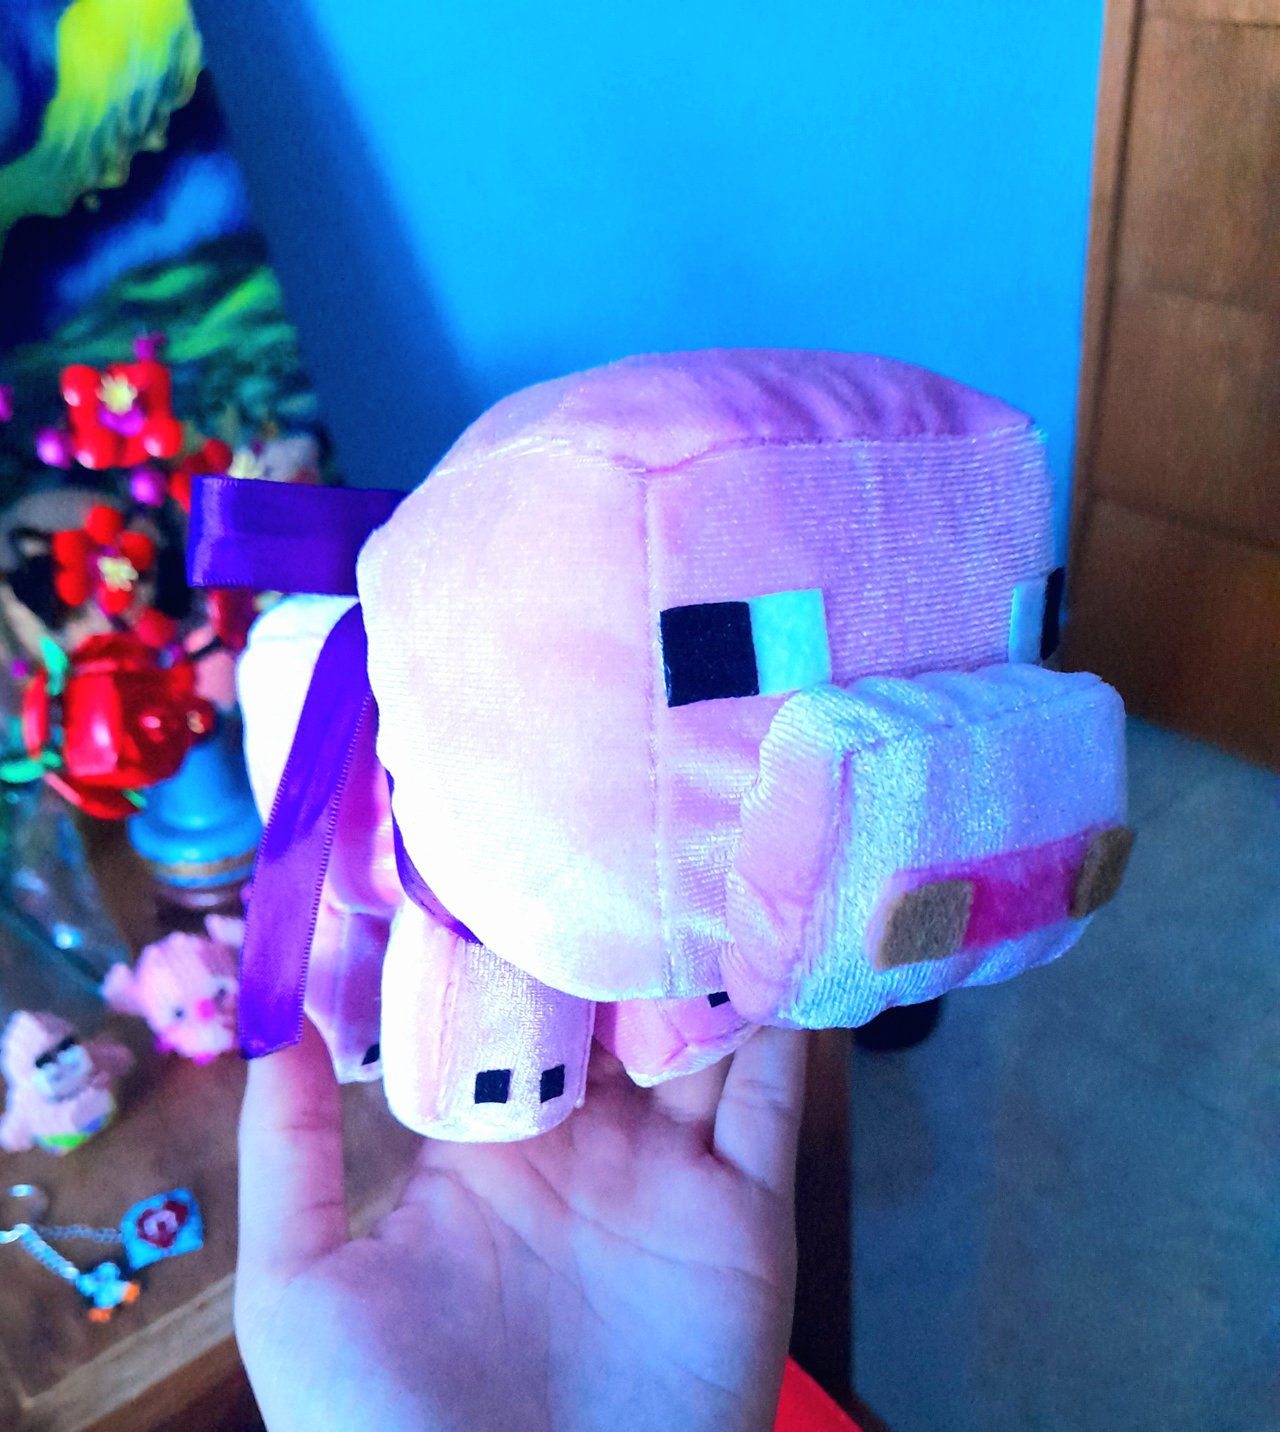
Por último, agregué mi toque personal: una cinta morada para hacerle un lazo. ¡Me encantó el resultado! Era mi primera vez haciendo un peluche y fue todo un desafío, pero valió completamente la pena.
Gracias por leer mi post. ¡Hasta la próxima!


Hello, dear readers! Welcome back once again.
Today, I want to show you how to make this cute Minecraft pig plushie. For this project, I used the following materials: felt in the pig’s characteristic colors, cold silicone glue, stuffing, scissors, and, in my case, a sewing machine, though it can also be done by hand with needle and thread.
The first step was assembling the cubes. I sewed one large cube for the head, a medium one for the body, four small ones for the legs, and another medium one for the snout. Then, I filled them with stuffing and started joining them together until I had the full shape of the pig.
Next came my favorite part, the felt decorations. To simulate the hooves, I glued two small squares onto each leg. Then, I created the eyes using two large rectangles with two small squares on top. For the snout, I placed a pink rectangle with two brown squares on the sides. Little by little, I glued each detail with silicone, bringing the character to life.
Finally, I added my personal touch, a purple ribbon to make a bow. I loved how it turned out! It was my first time making a plushie, and it was quite a challenge, but totally worth it.
Thank you for reading my post! See you next time.