ESPAÑOL
Hola mis amigos, saludos a toda la comunidad, espero que en el día de hoy todos estén bien.
En lo adelante les compartiré cómo realicé otra de las herramientas que necesito para realizar mis reparaciones en los TV LCD. Sin embargo te comparto el proceso ya que esta herramienta puede ser utilizada en casa con otros fines.
La herramienta de la que hablo consiste en un par de ventosas para retirar las pantallas de los TV LCD, las cuales pude realizar utilizando materiales reciclados. Esta herramienta también sirven para retirar cristales en lugares de difícil acceso o manipulación, como ventanas o mesas de cristales, en general se podrá manipular cristalería según las necesidades, siempre y cuando no se sobrepasen las capacidades de la herramienta.
Este tipo de herramientas son vendidas en diferentes tiendas con precios muy variados, sin embargo utilizando materiales reciclados logré construir mis propias herramientas de ventosas bajo-costo, pero con prestaciones muy similares a las que venden en las tiendas.
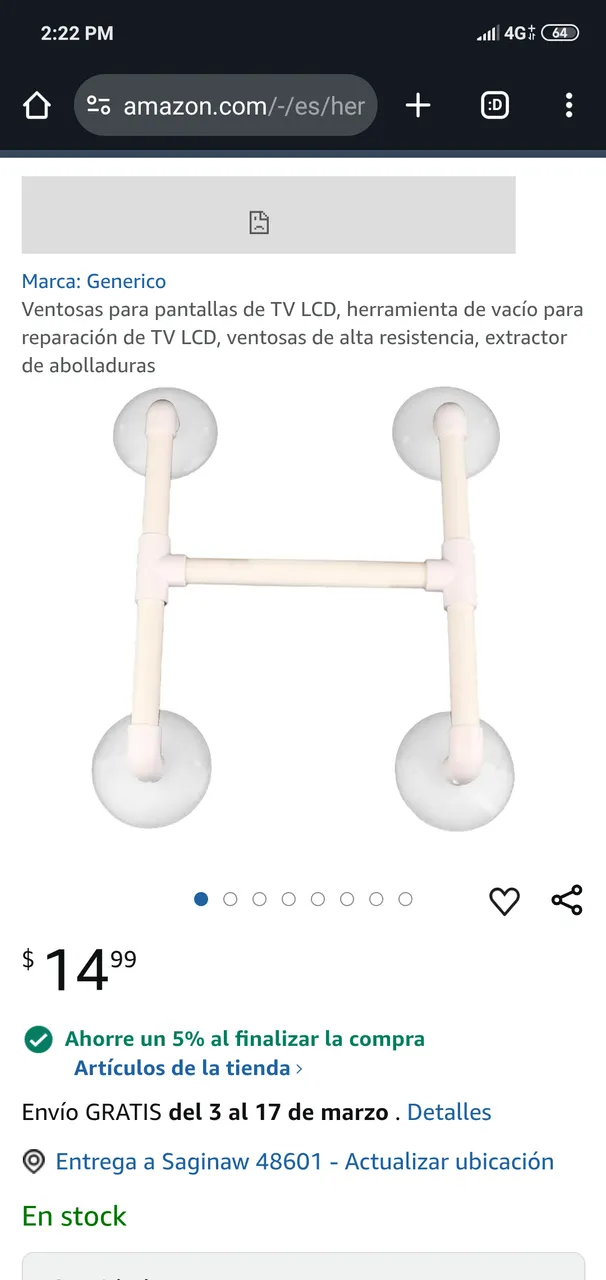
Ejemplo de ventosas para pantalla de TV LCD, en la tienda online Amazon, con un precio de 14.99 USD
A continuación te muestro los materiales que utilicé
MATERIALES
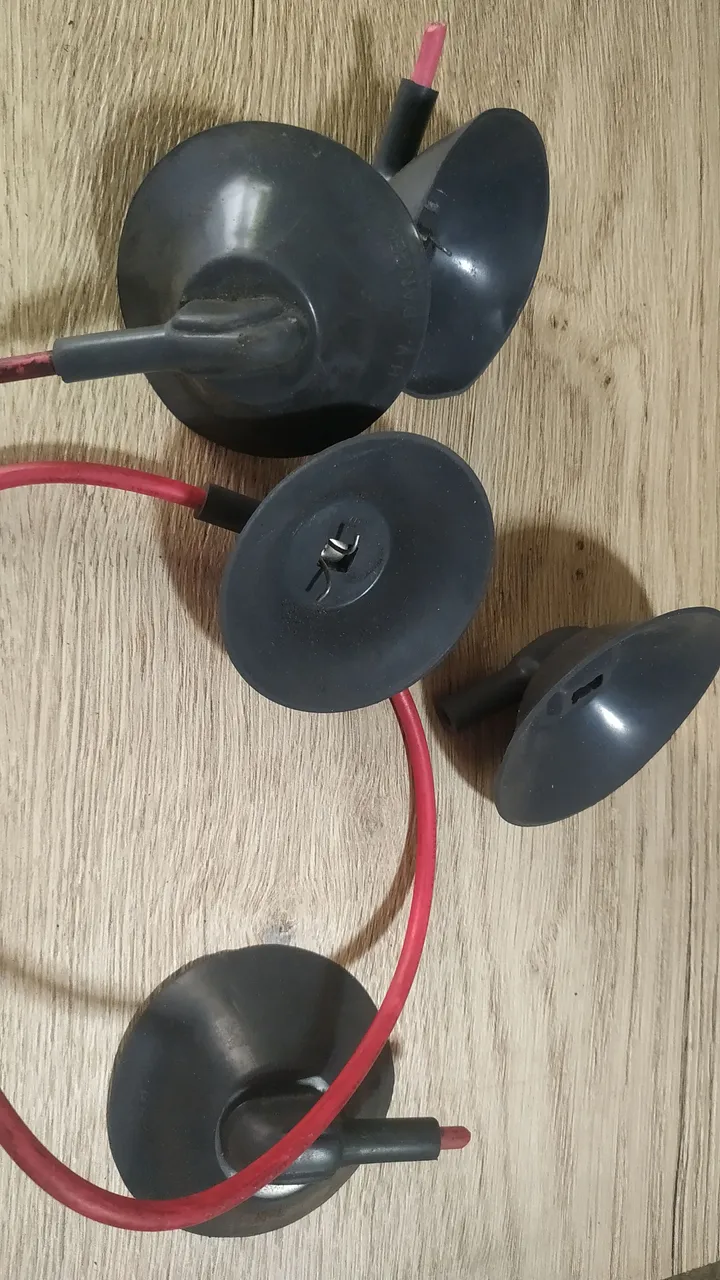
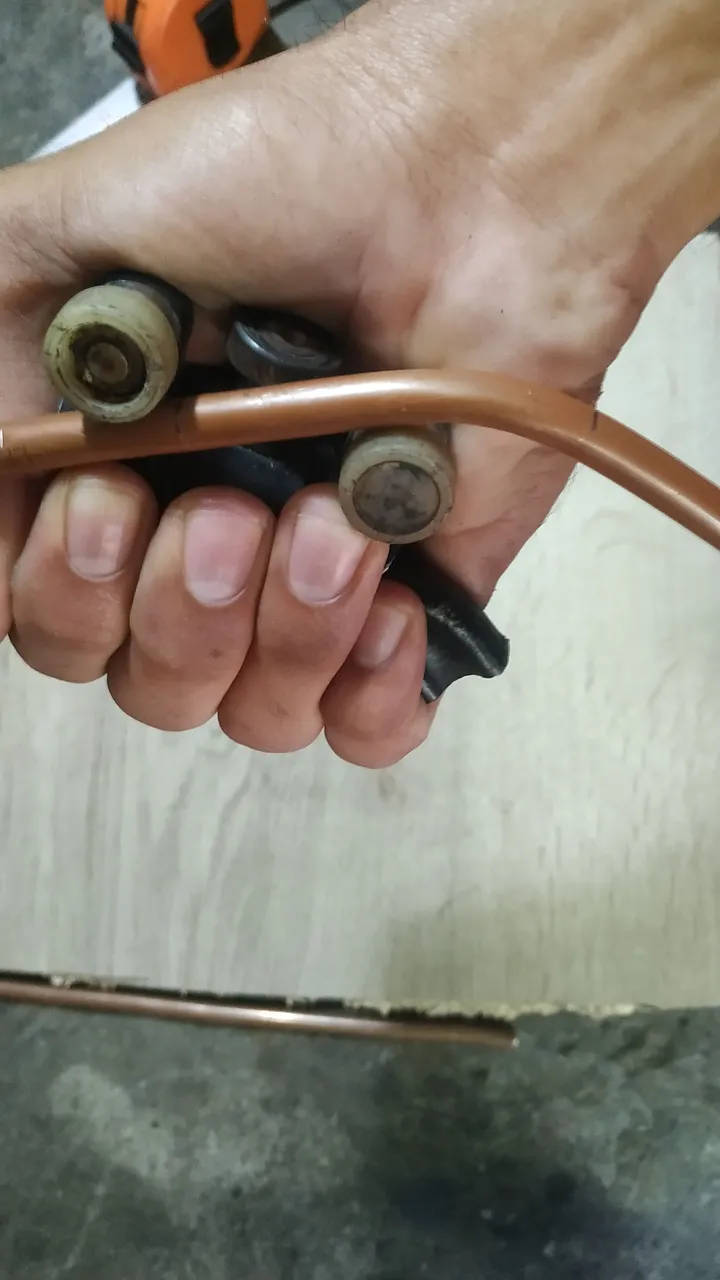
- 4 Ventosas del cable de alta tensión de unos viejos TV de Rayos Catódicos (TRC), se pueden emplear también las de los monitores TRC de computadoras.
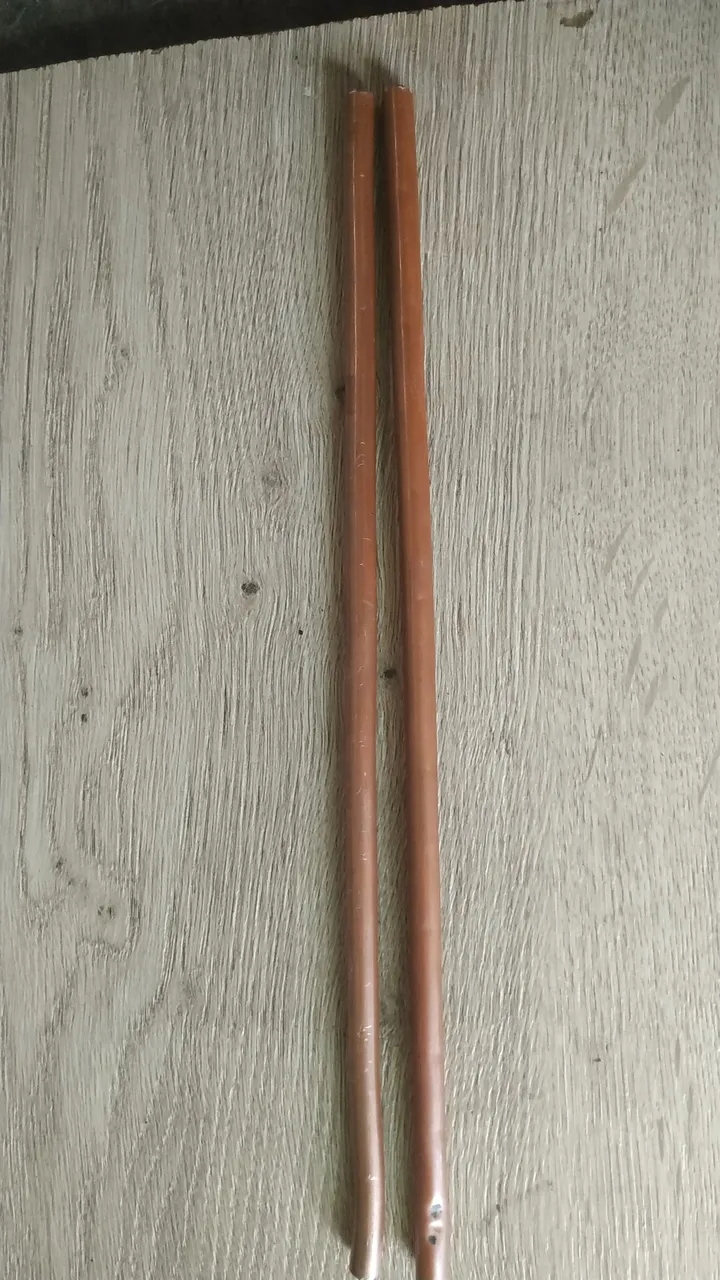
- Tubería de cobre de de 7 mm de diámetro y 30 cm de longitud (no es obligatorio emplear tuberías, puede ser cualquier material cilíndrico de 5-7 mm de diámetro)
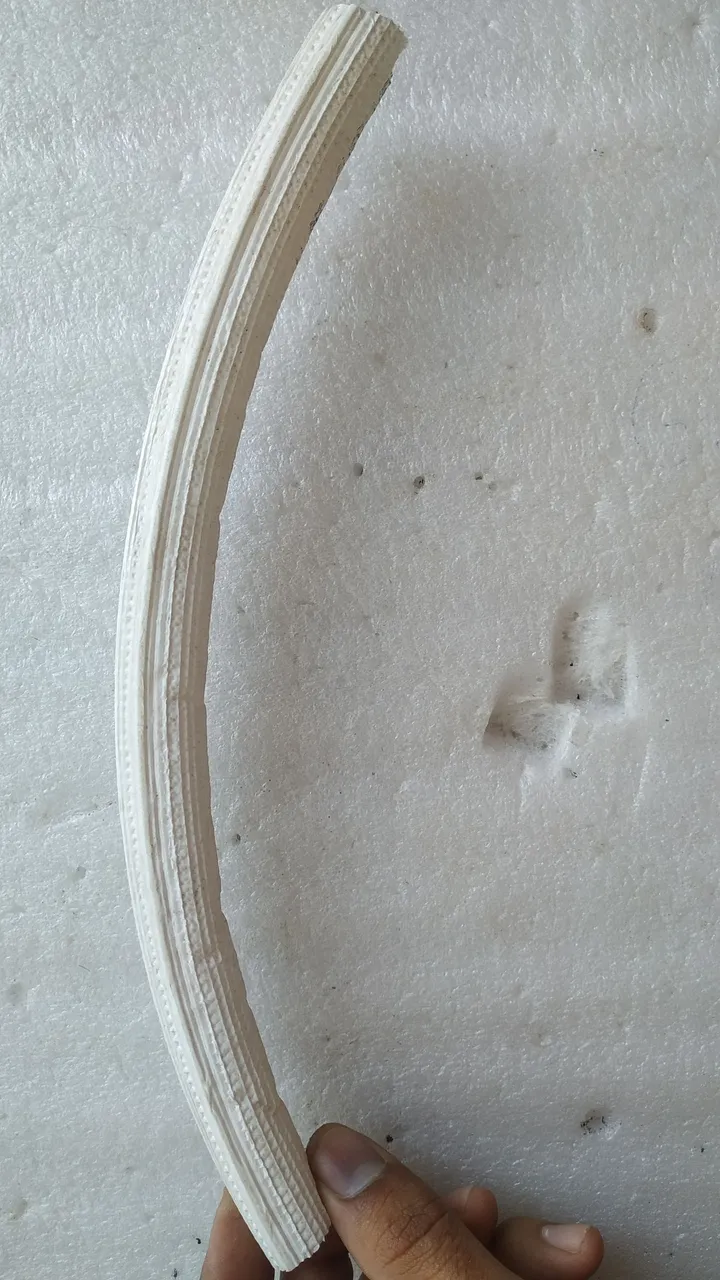
- Tubo de aislamiento para tuberías de agua y aire acondicionado(se puede emplear cualquier material similar )
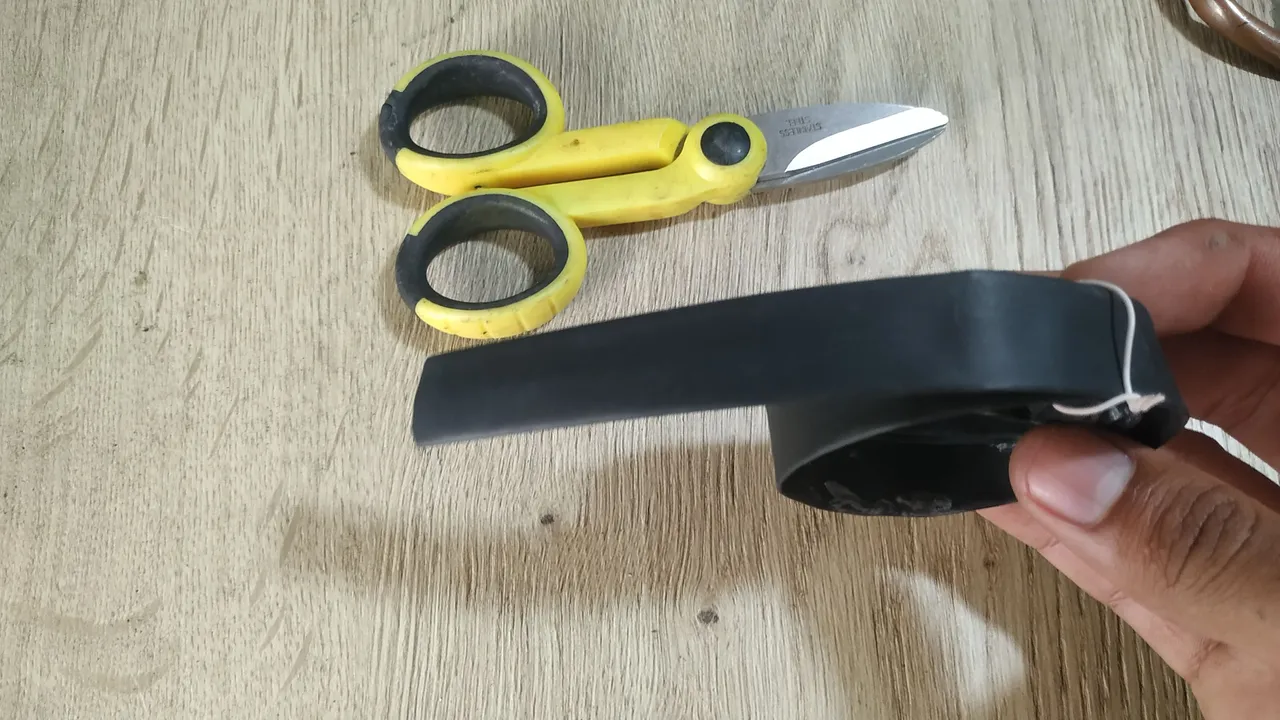
- 25 cm de tubos termorretráctiles ( las dimensiones y el diámetro dependen de los materiales que se escojan)
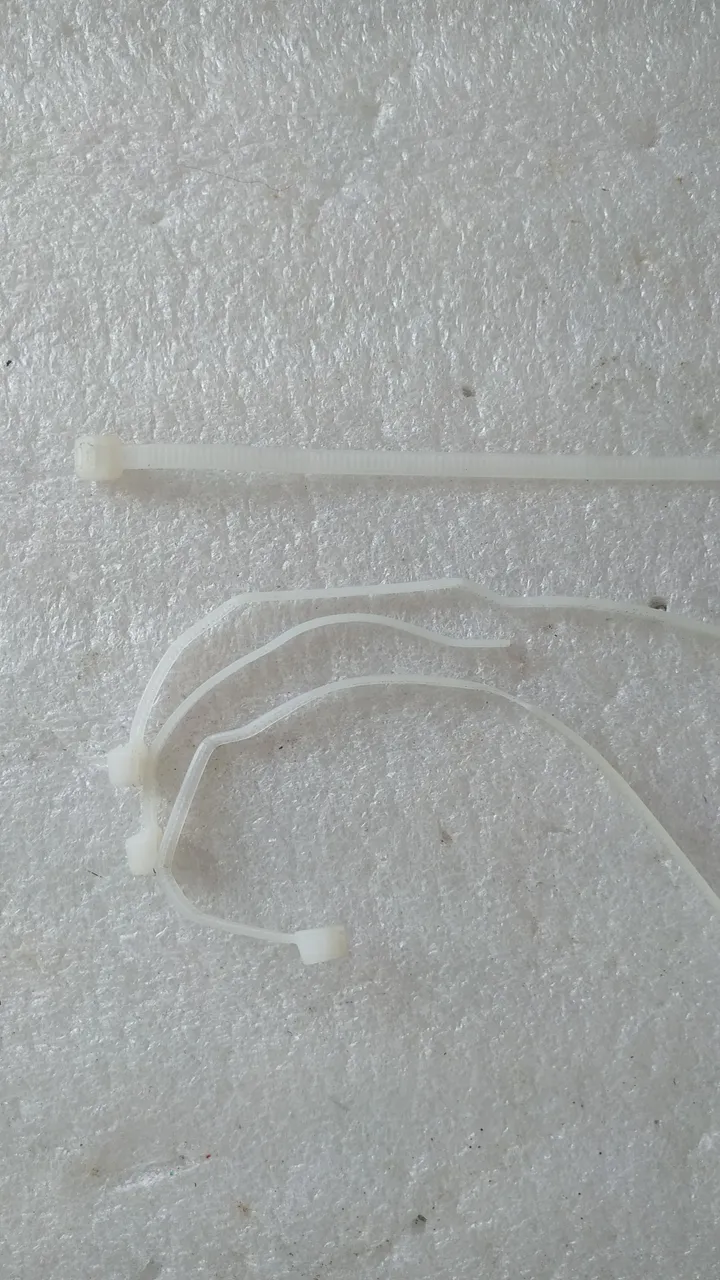
- 4 bridas o abrazaderas de plástico.
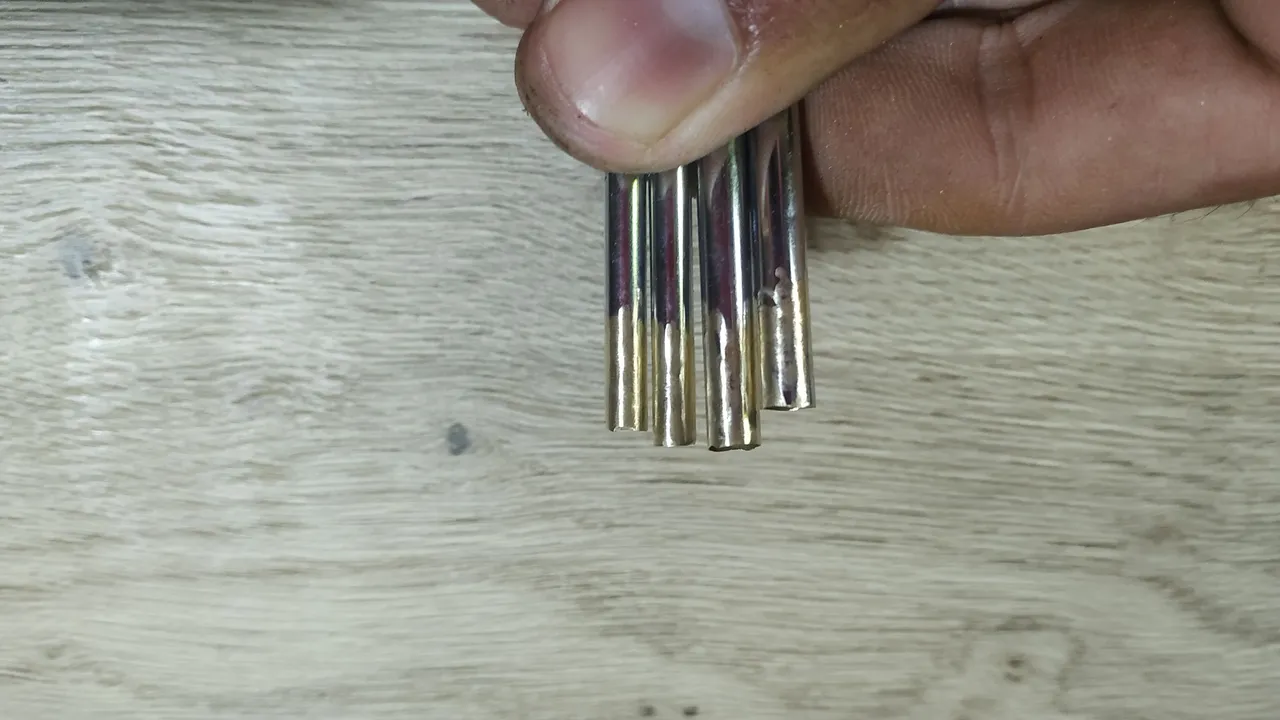
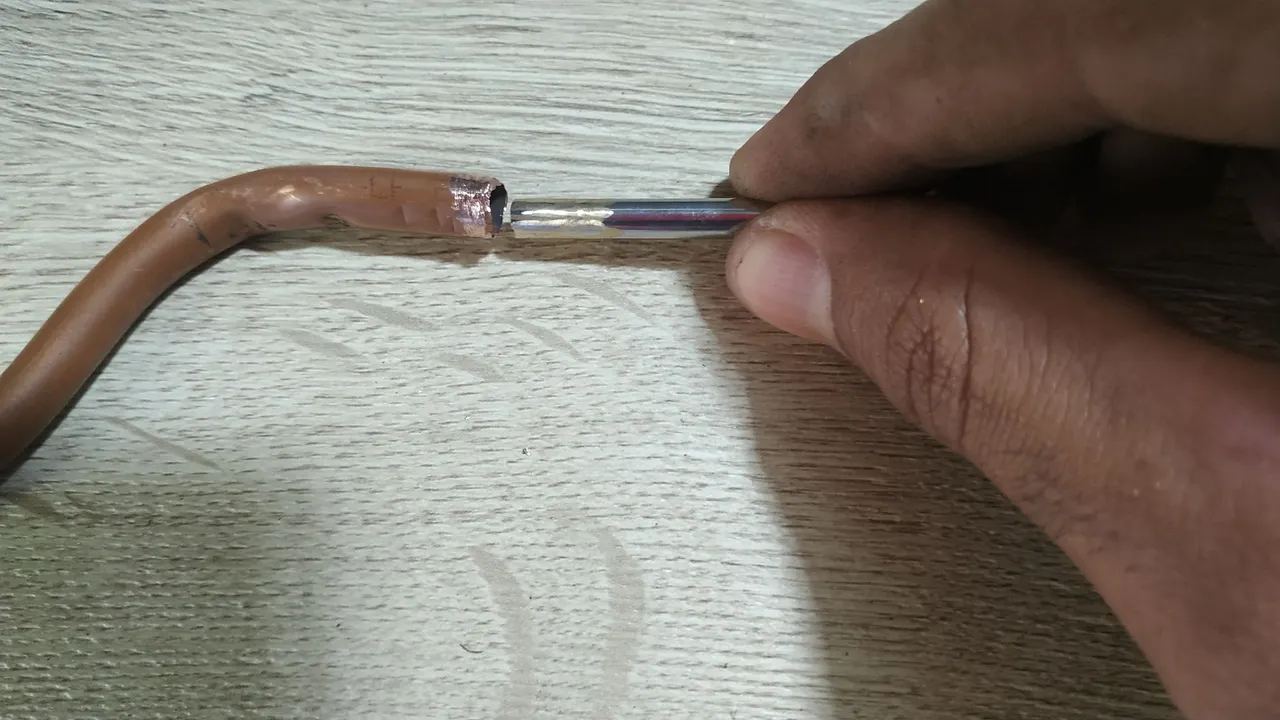
- 4 trozos de tubos de cobre reciclados de una antena de radio grabadora ( este material es opcional, yo lo empleé porque las tuberías de cobre de 30 cm eran muy gruesas y fue necesario reducir el diámetro de las puntas para poder emboquillar las ventosas sin causarles daños )
 |  |  |
|---|---|---|
 |  |  |
PASO A PASO
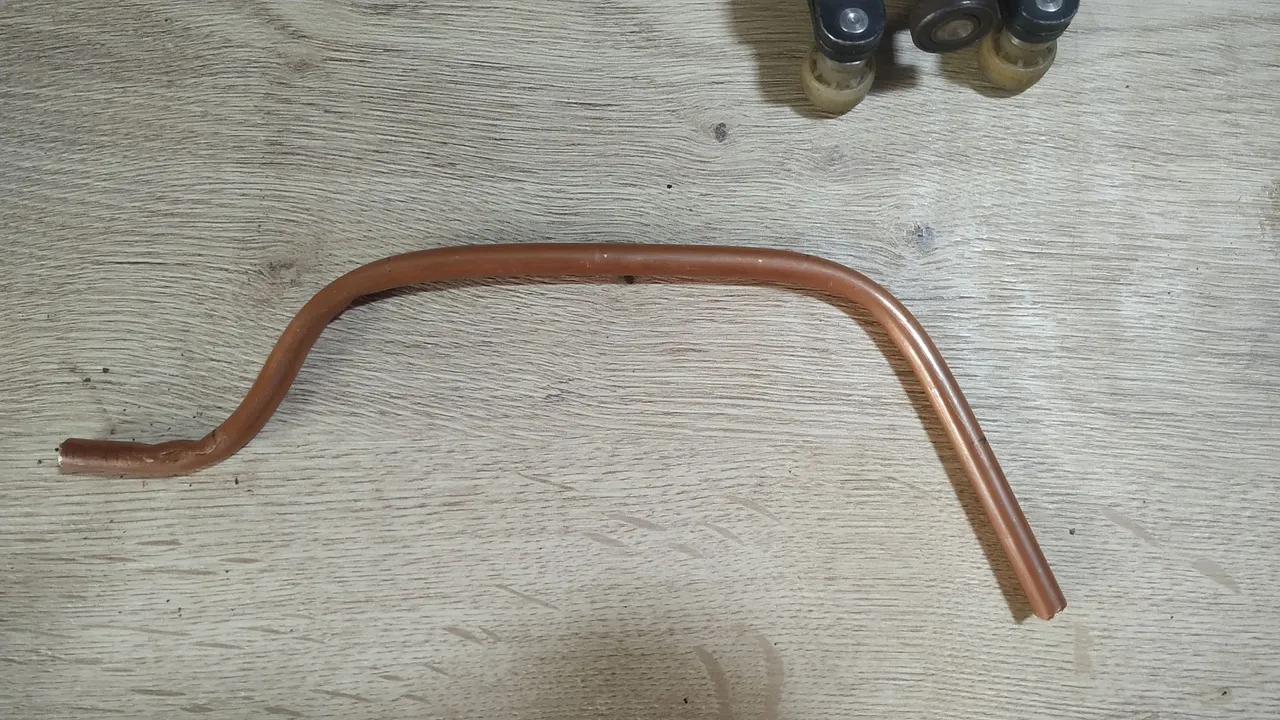
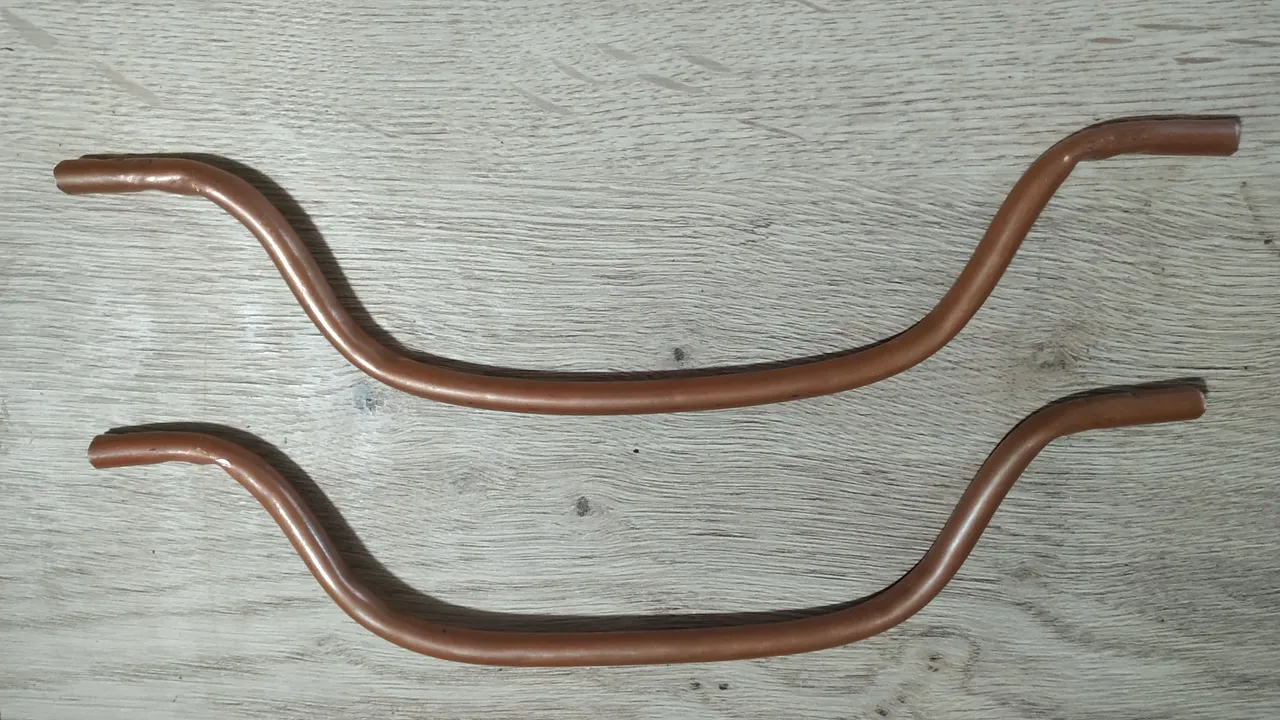
Primeramente doblé el tubo de 30 cm creando un asa en forma de estribo, escogí esta longitud en los tubos para poder trabajar diferentes tamaños de pantallas.
 |  |  |
|---|
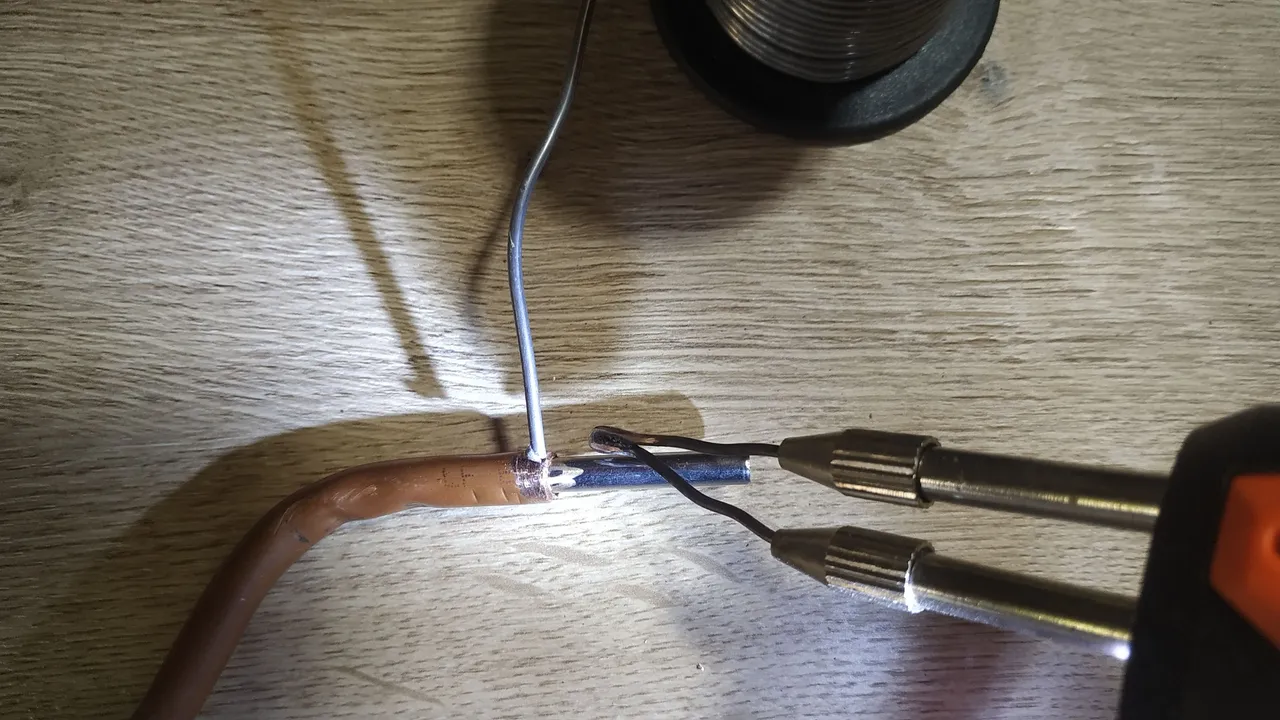
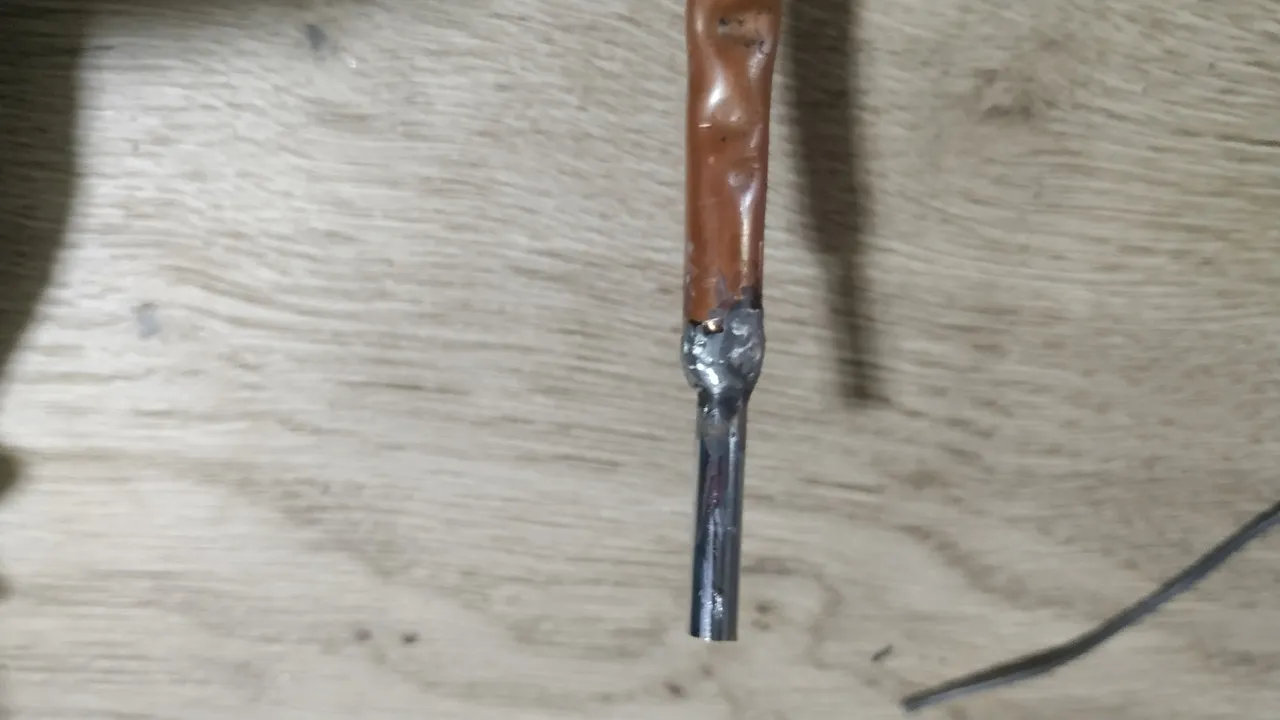
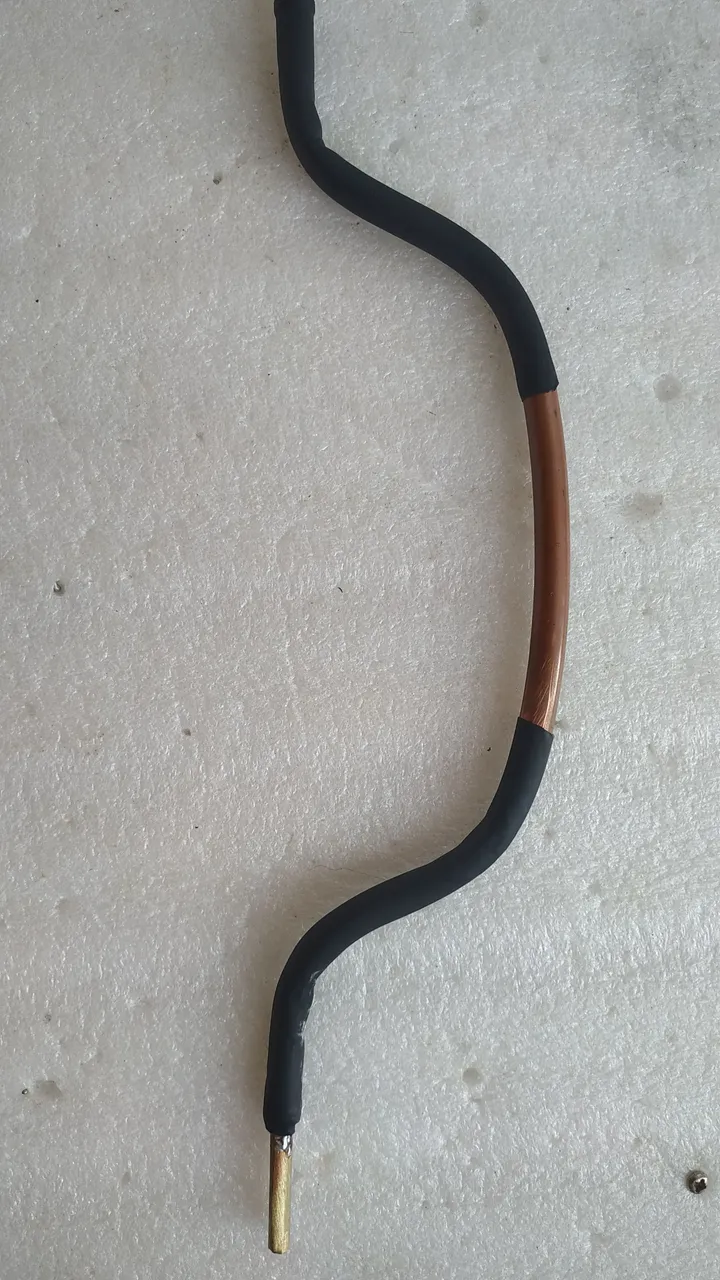
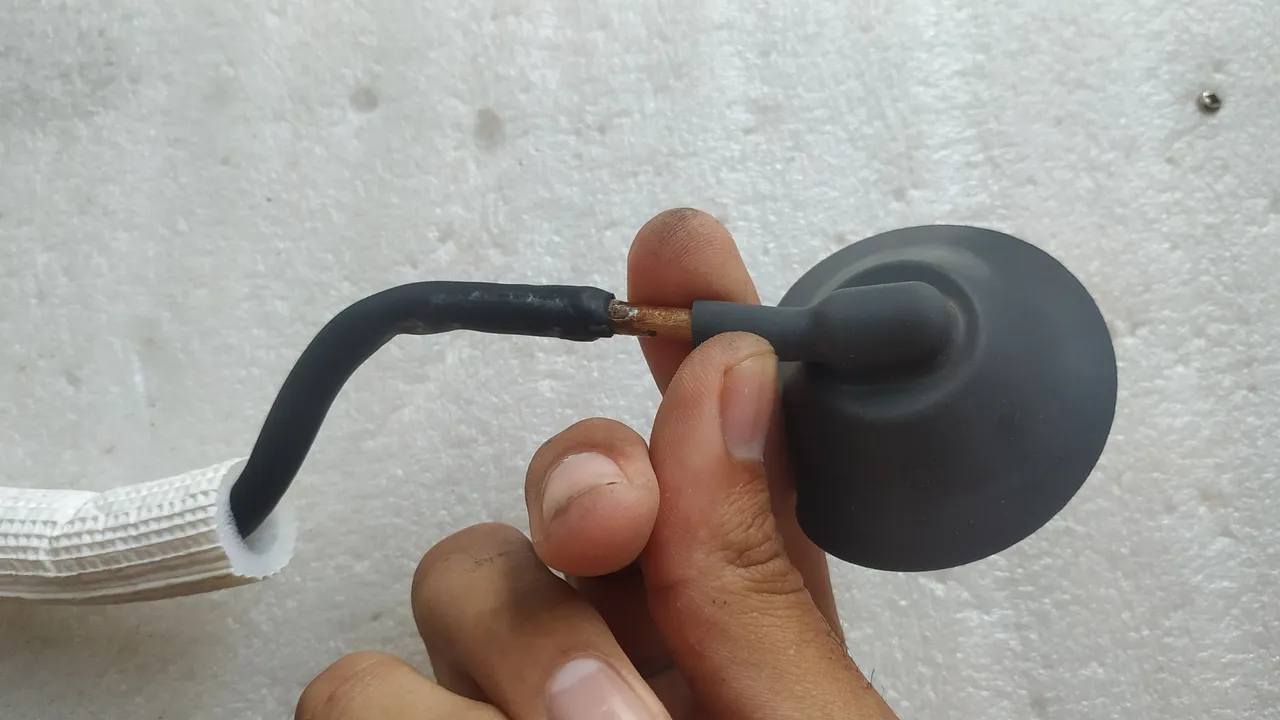
Luego introduje los tramos de tubos más finos en los extremos de las asas para reducir el diámetro de las puntas. Una vez que coloqué cada tramo del tubo más fino dentro de los extremos de cada asa, los soldé con ayuda de la pistola de soldar y estaño. En caso de conseguir un tubo de 5 mm de diámetro aproximadamente, no es necesario realizar este paso, ya que es posible acoplar directamente las ventosas al los extremos del asa.
 |  |  |
|---|
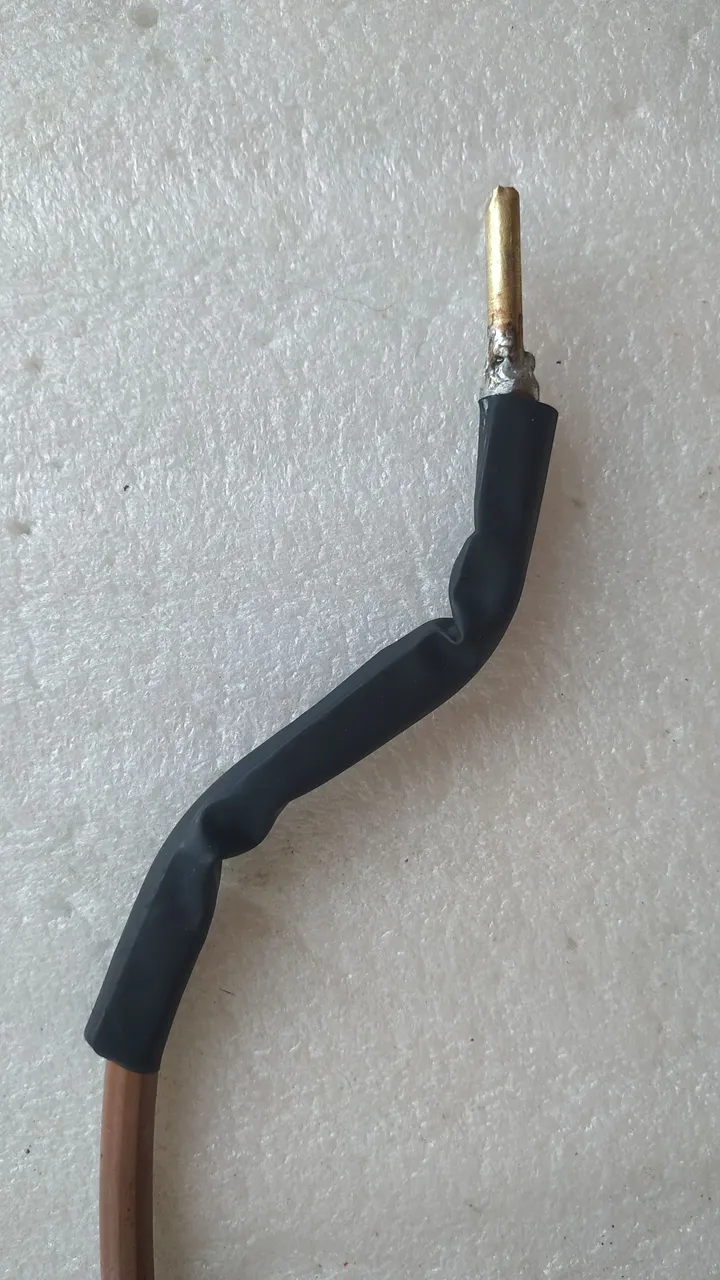
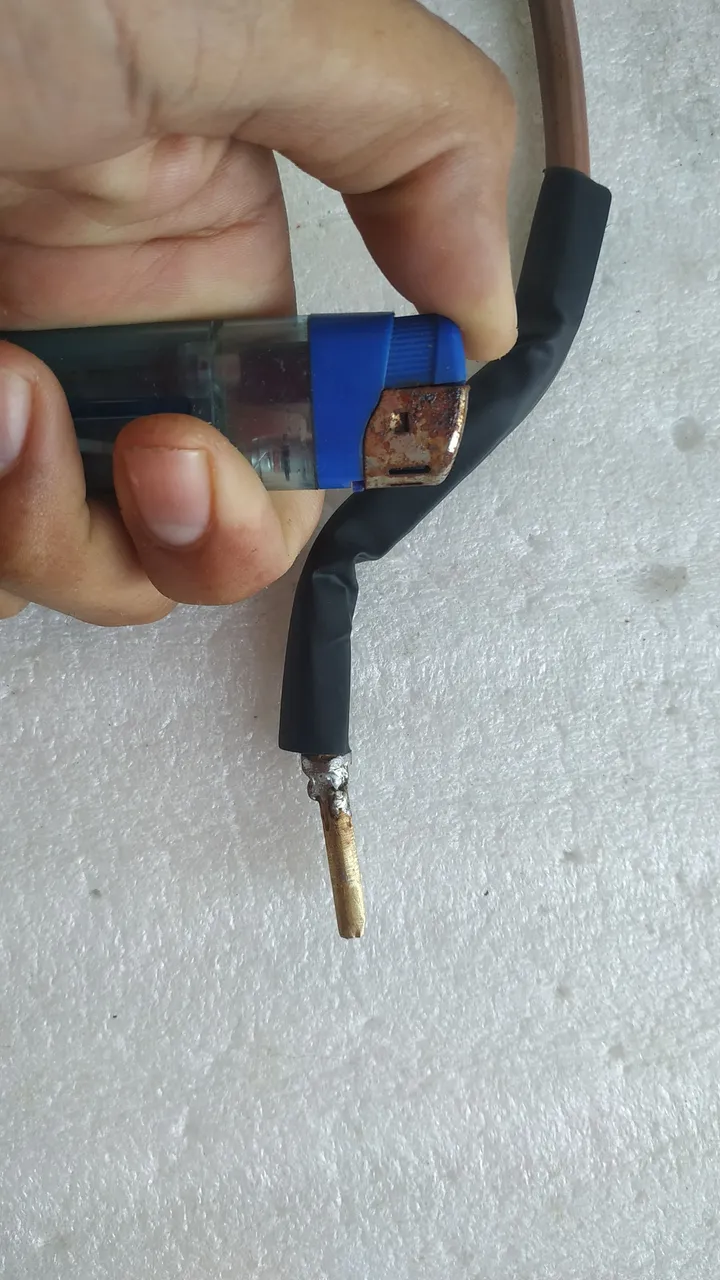
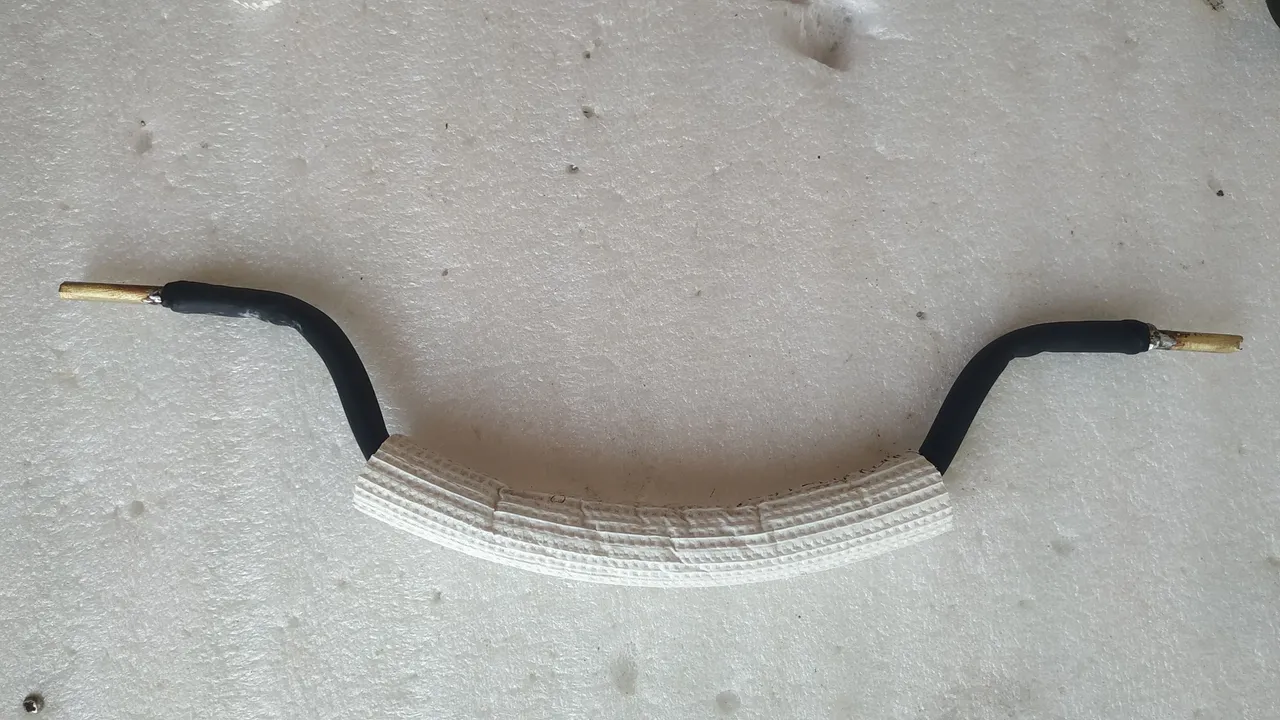
El siguiente paso consiste en acoplar los tubos termorretráctil a ambos extremos de cada asa y luego aplicar calor hasta que el termorretráctil se adhiera al cuerpo del asa.
 |  |  |
|---|
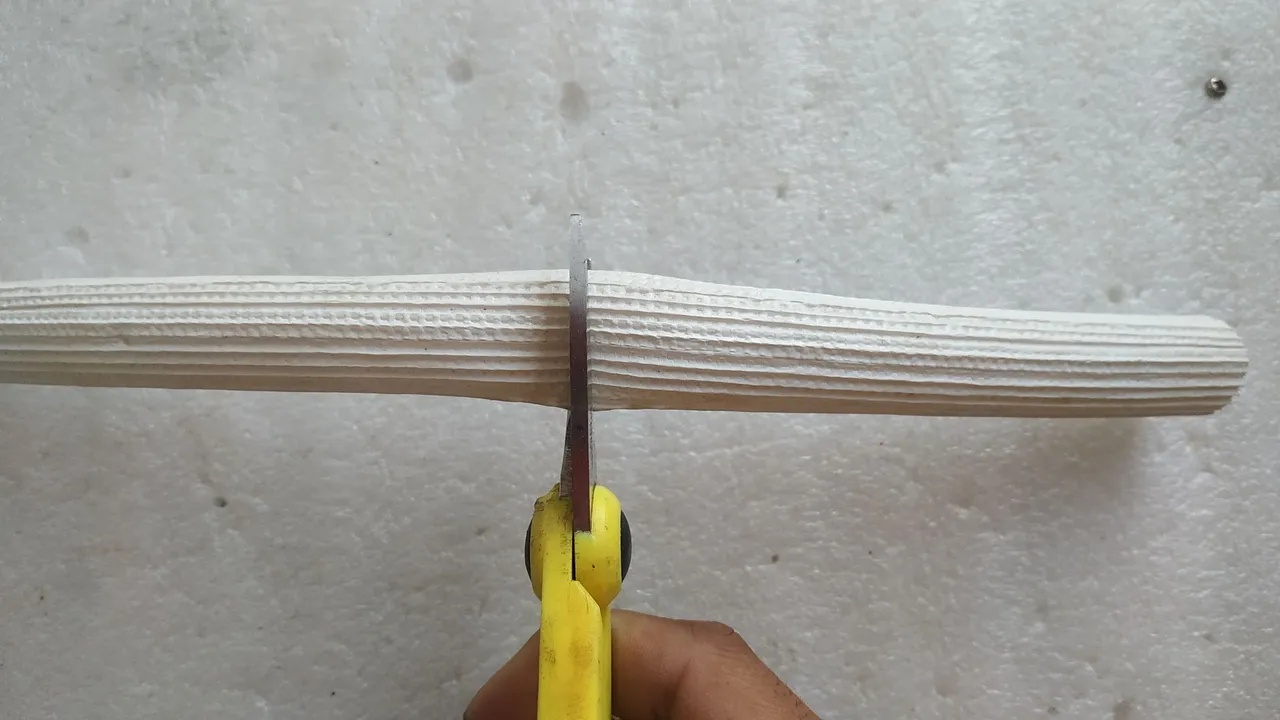
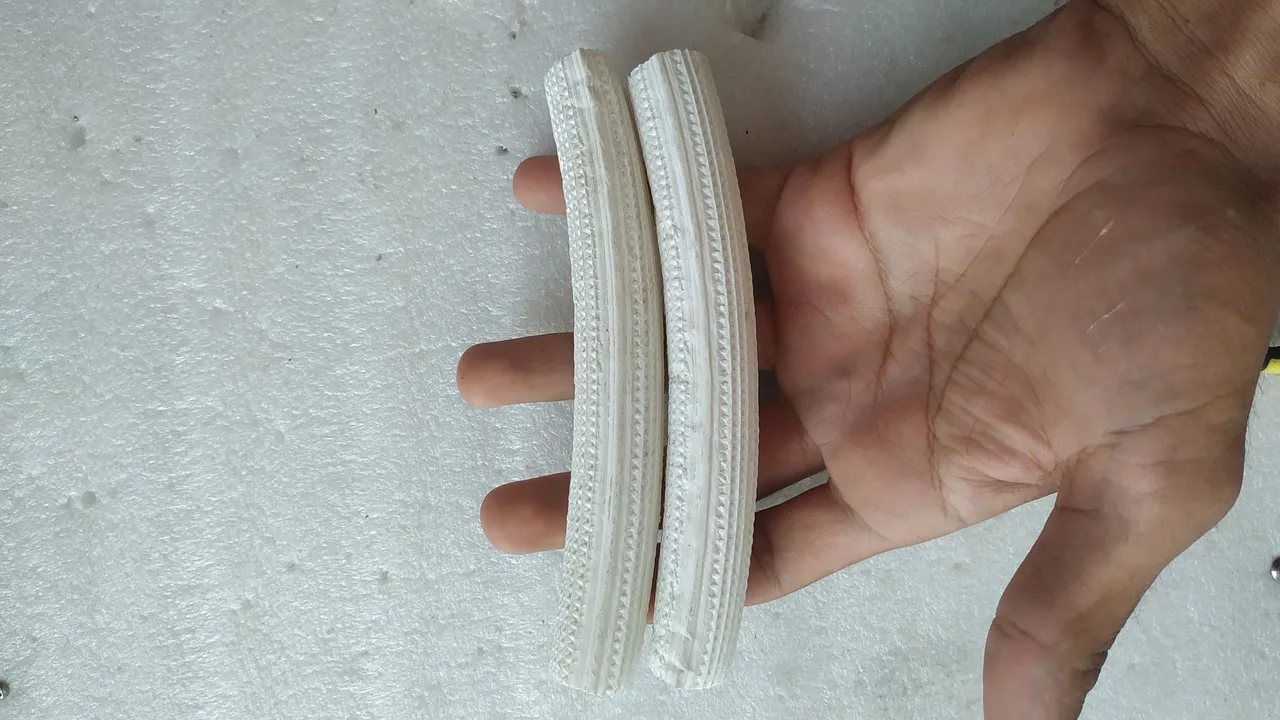
Lo siguiente fue cortar en dos tramos iguales el tubo de aislamiento para tuberías de agua y aire acondicionado, y luego introducir ambos tramos en ambas asas hasta el centro de las mismas.
 |  |  |
|---|
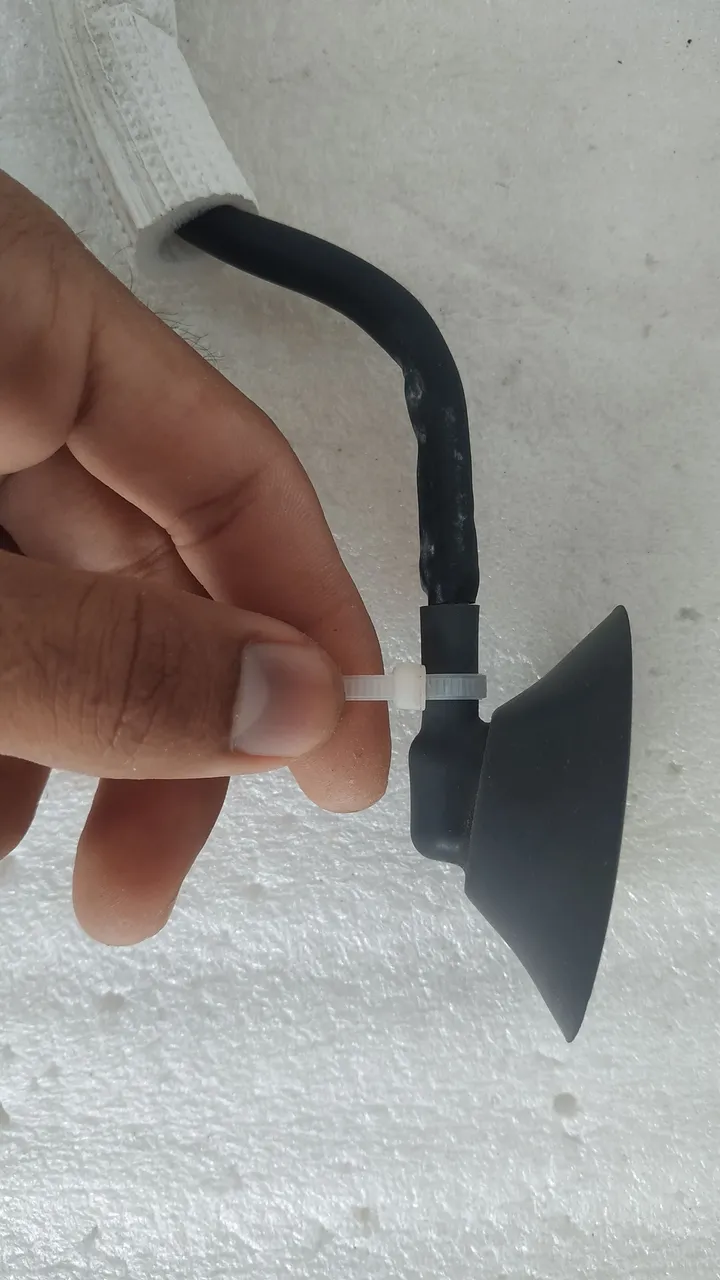
Después de llegar a este punto lo siguiente fue acoplar en los extremos de cada asa cada una de las ventosas y ajustarlas con las abrazaderas plásticas, para evitar que se salgan de su lugar y lo más importante: evitar que se escape el aire que deben mantener las ventosas cundo succionan la superficie, lo que le permite permanecer adheridas a la misma.
 |  |  |
|---|
De esta forma se aplica el procedimiento a todos los extremos de cada asa, asegurándose siempre que no haya escape de aire entre las tuberías y las ventosas ya que esto es lo que asegura que se adhiera la ventosa y se quede adherida a la superficie en todo momento.
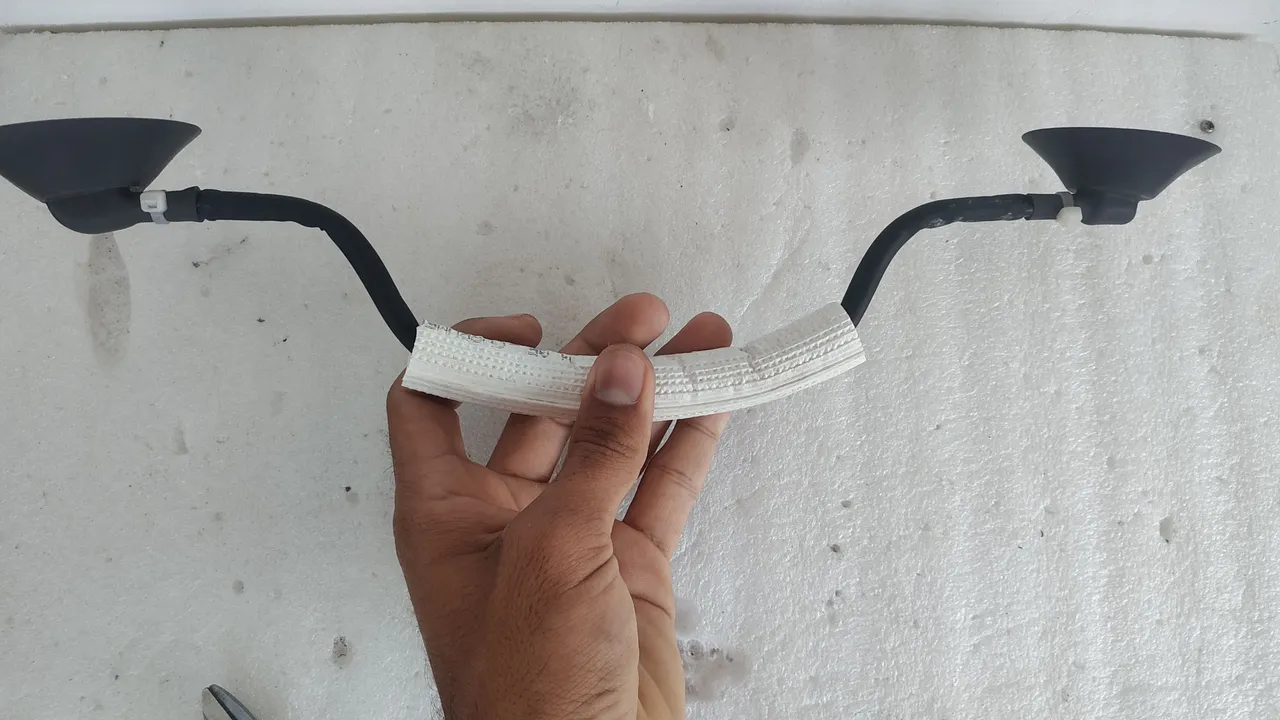
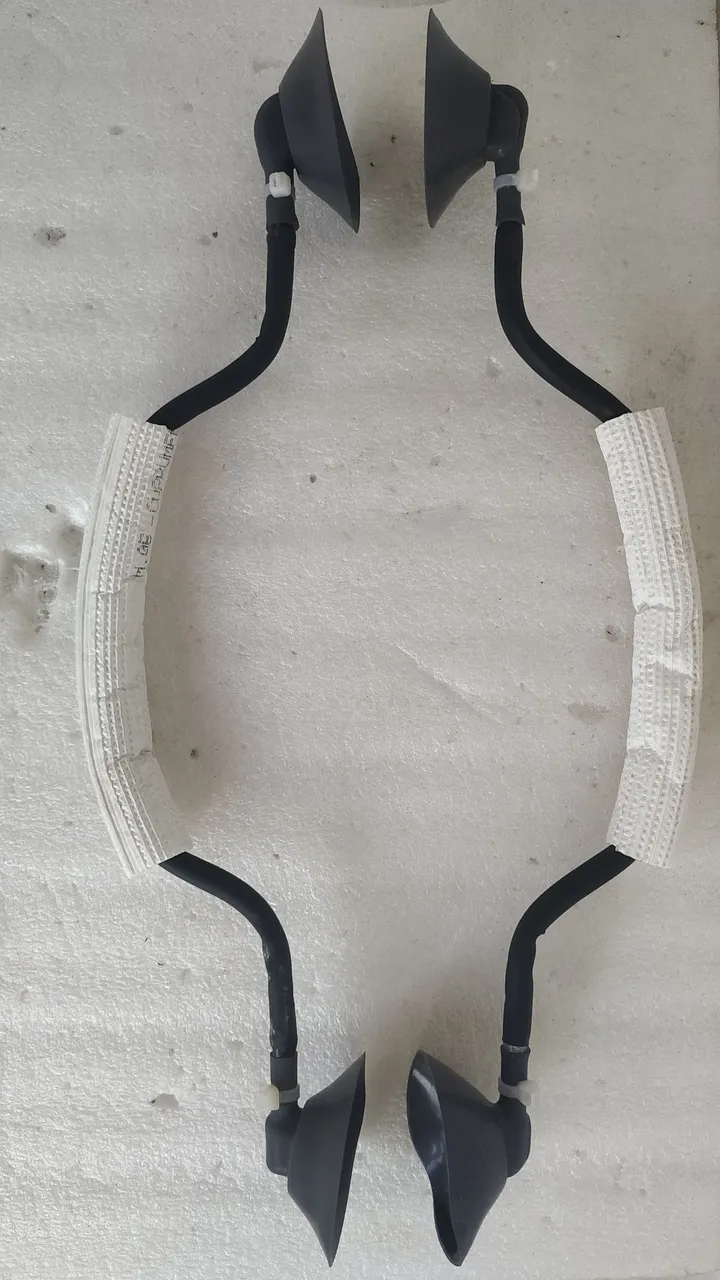
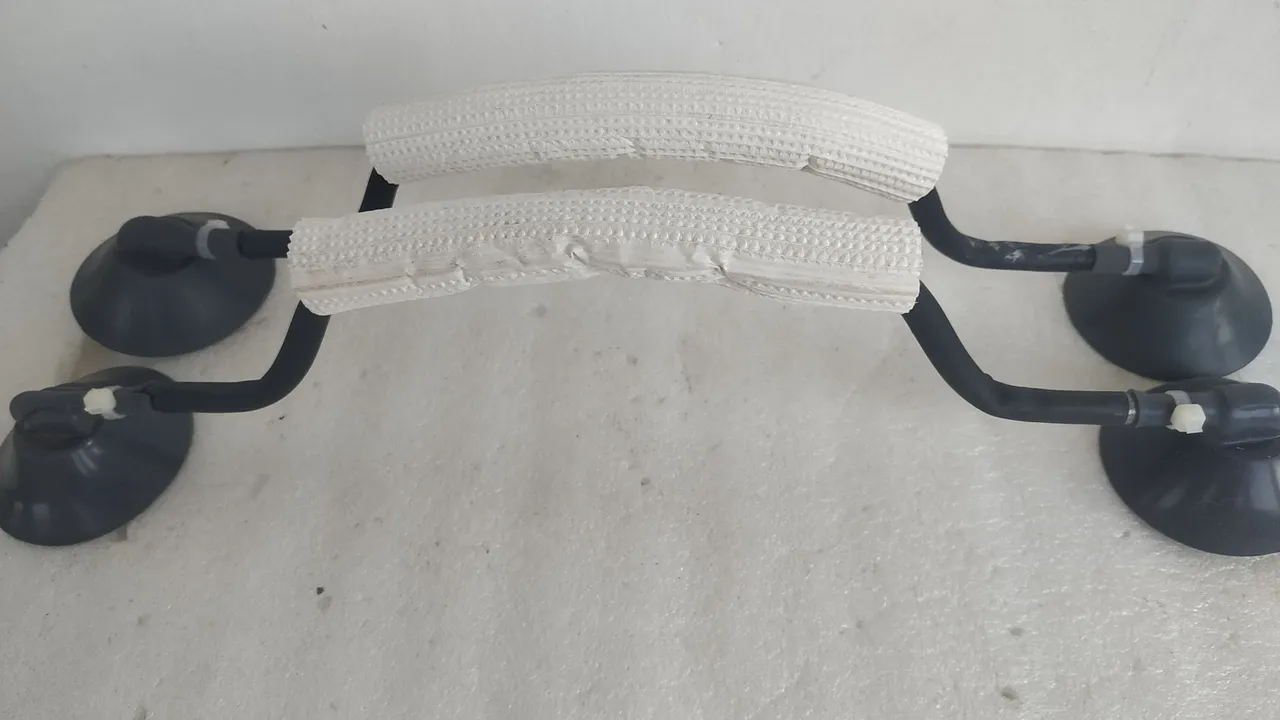
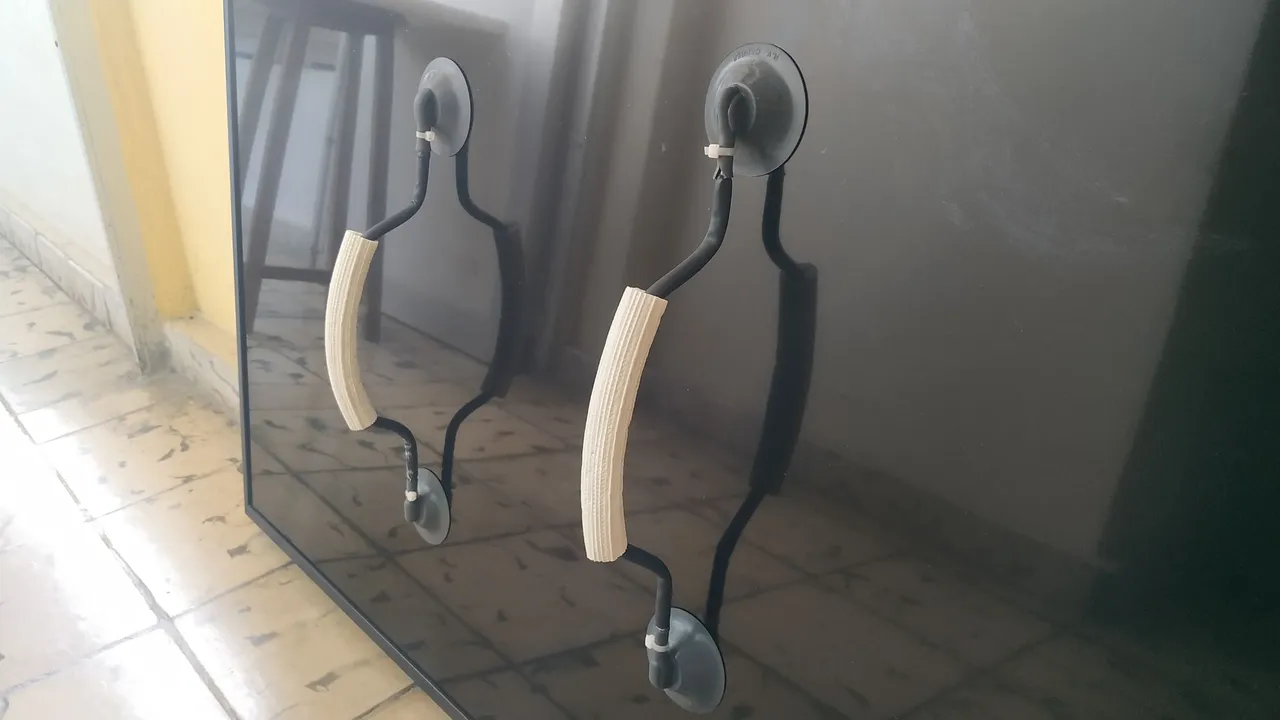
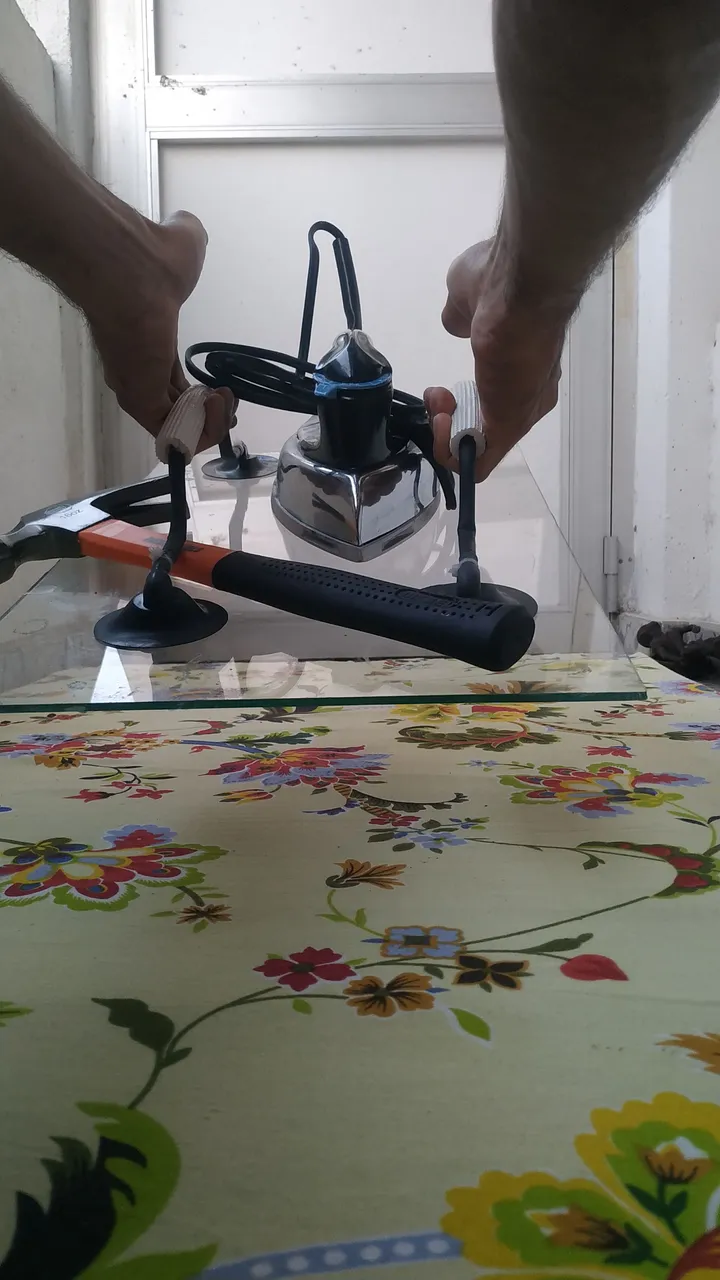
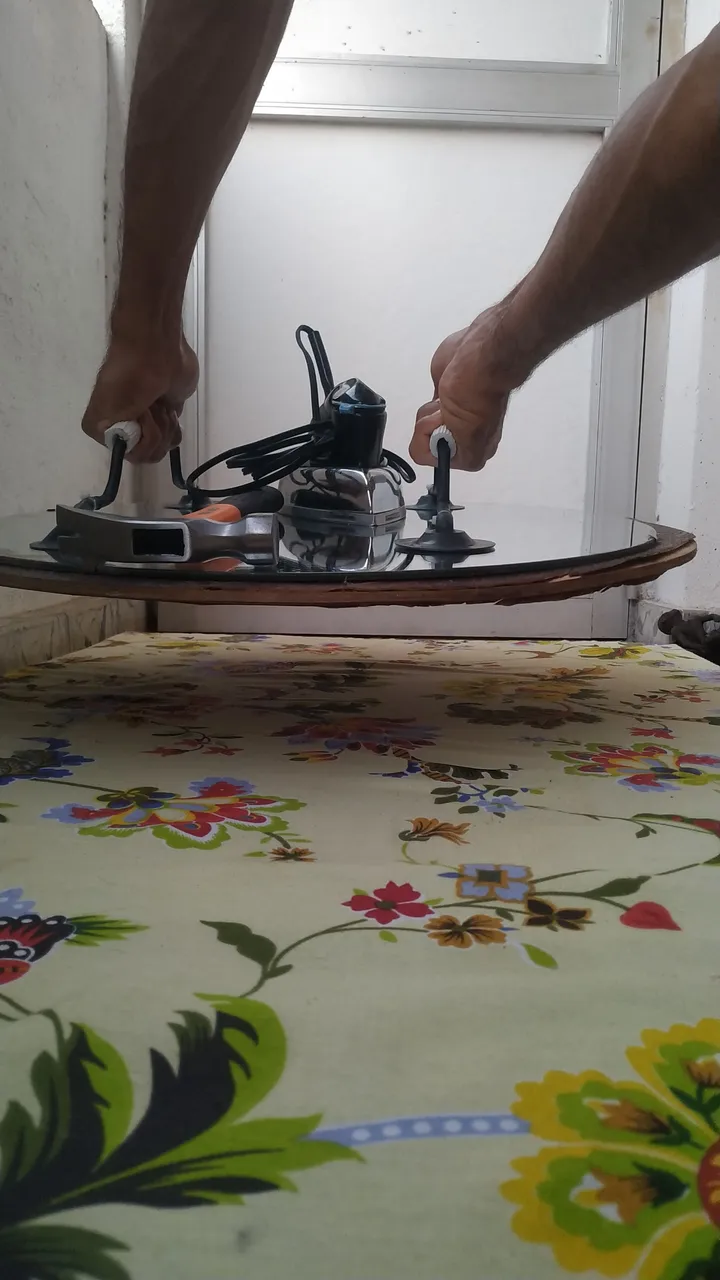
A continuación dejaré una serie de fotos del resultado final así como unas imágenes en movimiento demostrando el funcionamiento y las capacidades de estas herramientas DIY para retirar pantallas de TV LCD con tamaños que van desde las 32 pulgadas hasta las 55 pulgadas, también servirán para manipular cristalería en caso de que se desee hacer otros tipos de trabajos.
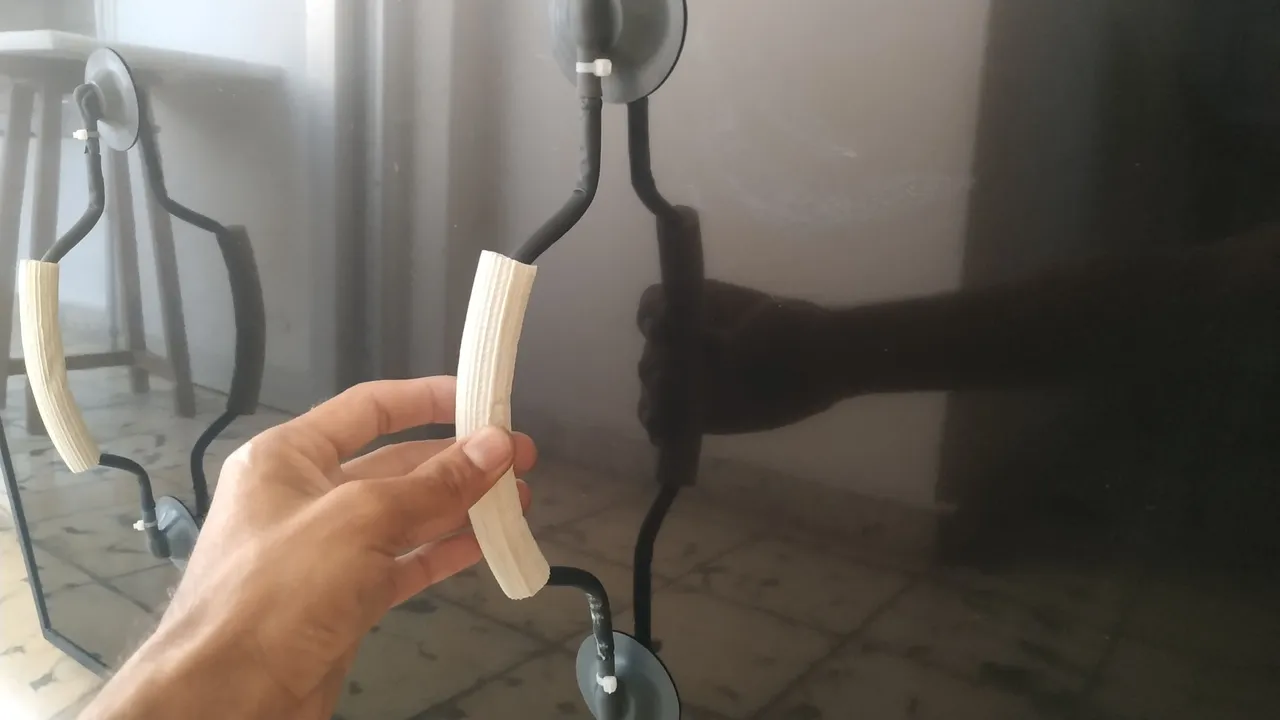
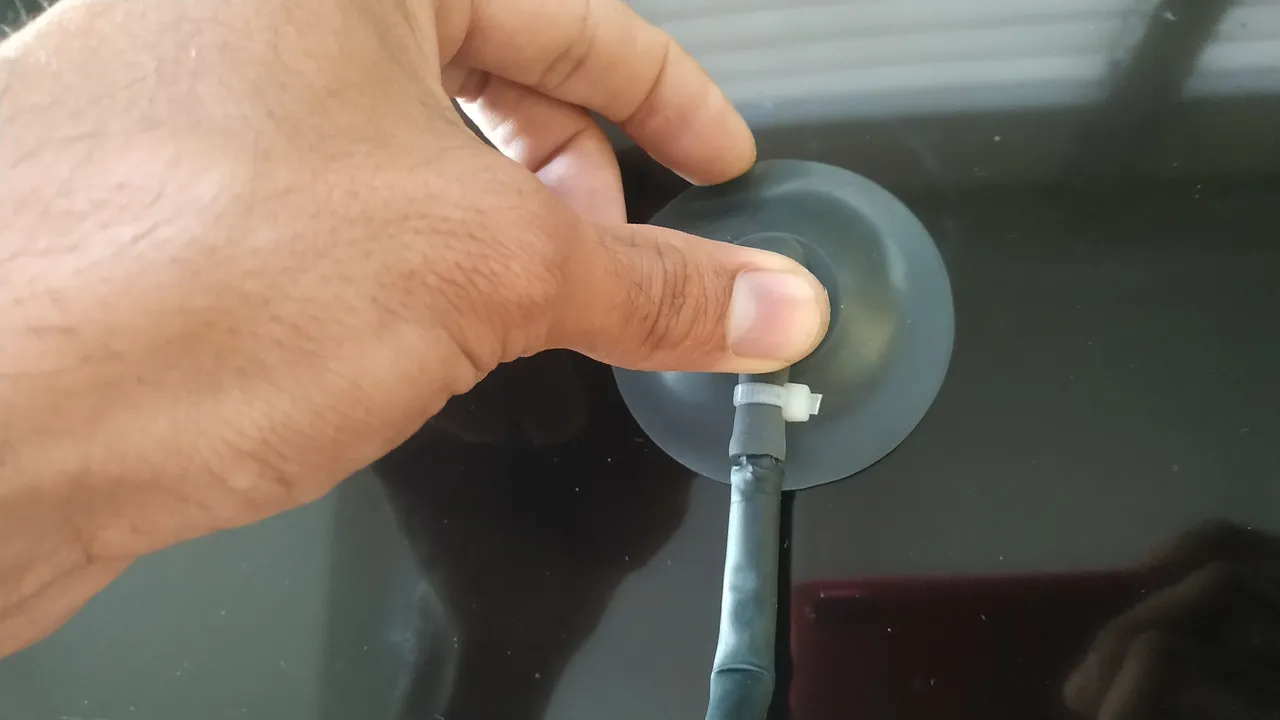
Para retirar de la superficie solo es necesario levantar uno de los bordes de la ventosa con la llema de los dedos y se despegará fácilmente
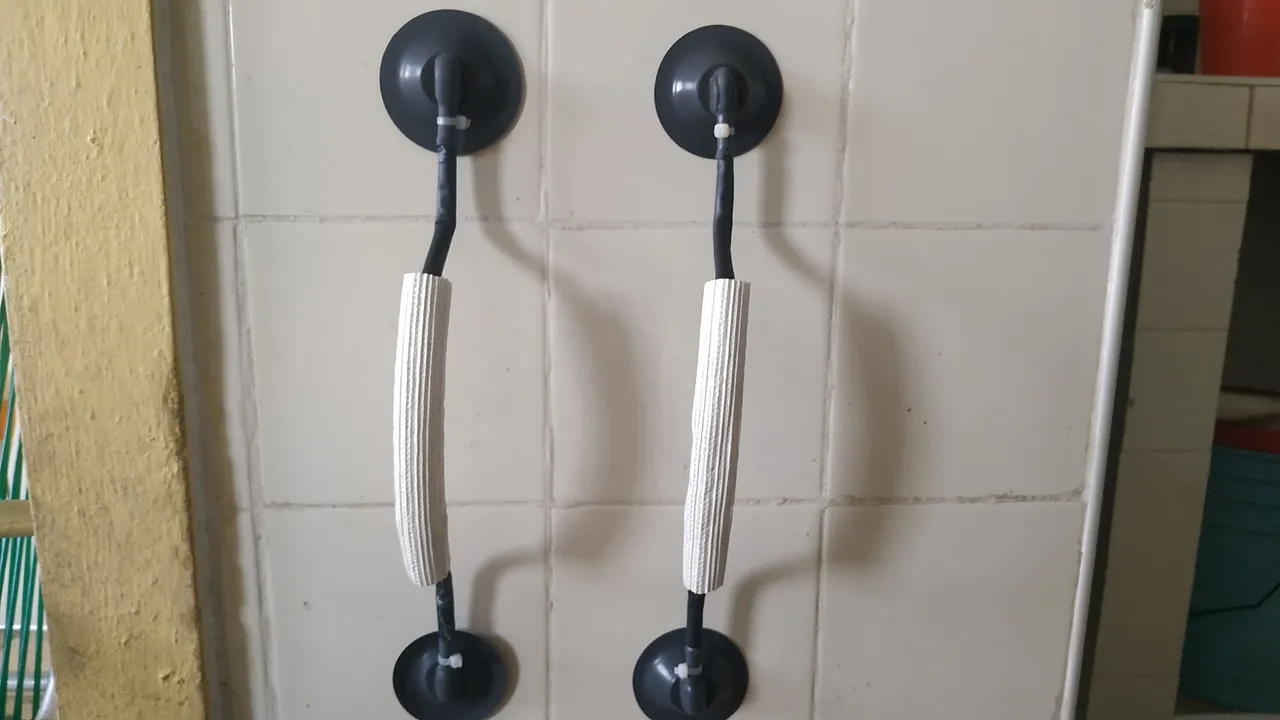
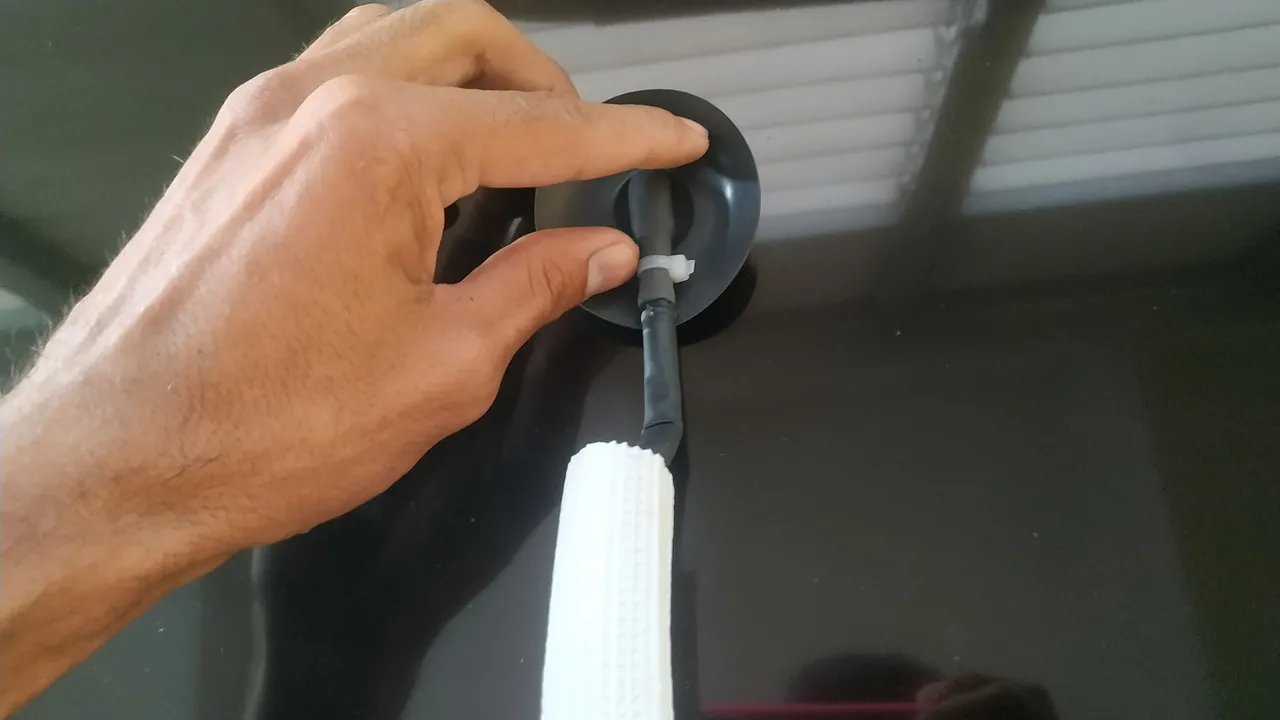
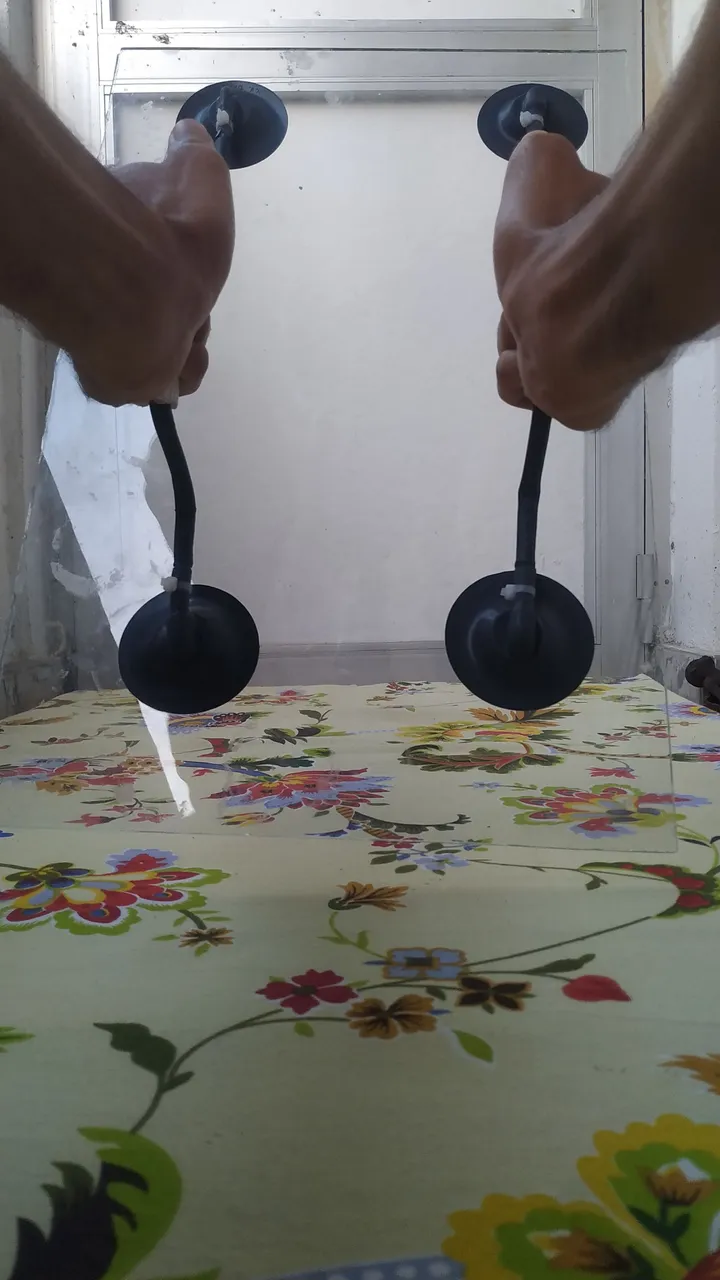
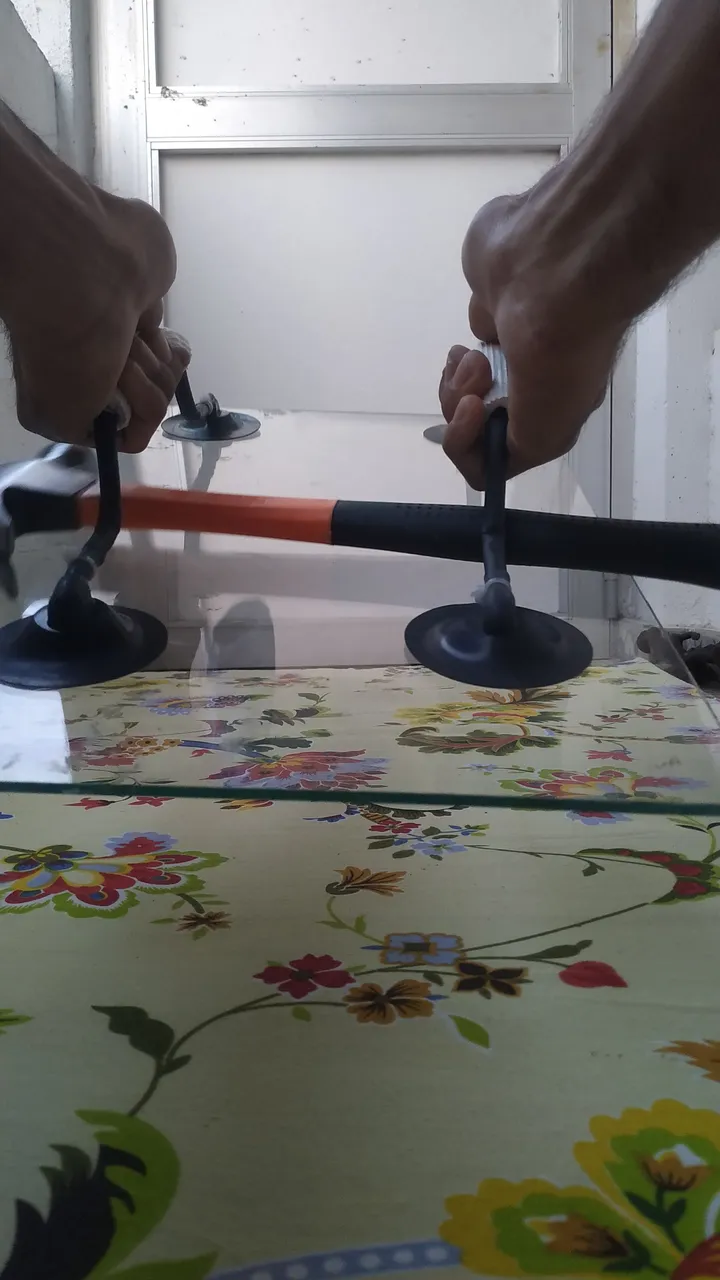
PROBANDO LAS HERRAMIENTAS

Bueno amigos los resultados fueron bastante buenos, y el peso de las pantallas es muy inferior al de las pruebas realizadas, estoy satisfecho con los resultados.
Espero que el proceso de elaboración de este par de ventosas así como el resultado final haya sido de tu agrado y por qué no también una idea que puedas materializar para ayudarte en tus trabajos afines al uso de este tipo de herramientas.
Yo me despido deseándote un buen día, hasta la próxima.😉
Las fotos fueron tomadas con mi celular Xiaomi Redmi Note 6 pro.
Imagen de portada creada en Canva.
Puedes verme en Facebook
ENGLISH
Hello my friends, greetings to all the community, I hope that today all are well.
In the following I will share with you how I made another of the tools I need to perform my repairs on LCD TVs. However I will share with you the process as this tool can be used at home for other purposes.
The tool of which I speak consists of a pair of suction cups to remove the LCD TV screens, which I could make using recycled materials. This tool also serves to remove glass in places of difficult access or manipulation, such as windows or glass tables, in general you can manipulate glassware as needed, as long as the capabilities of the tool are not exceeded.
This type of tools are sold in different stores with very varied prices, however using recycled materials I managed to build my own low-cost suction cup tools, but with very similar features to those sold in stores.
Example of suction cups for LCD TV screen, at Amazon online store, priced at 14.99 USD.
Below are the materials I used
MATERIALS
- 4 Suction cups of the high tension cable of an old Cathode Ray TV (CRT), you can also use those of the CRT monitors of computers.
- Copper pipe of 7 mm of diameter and 30 cm of length (it is not obligatory to use pipes, it can be any cylindrical material of 5-7 mm of diameter)
- Insulation pipe for water and air conditioning pipes (any similar material can be used)
- 25 cm of heat-shrinkable pipes (the dimensions and the diameter depend on the materials that are chosen)
- 4 flanges or plastic clamps.
- 4 pieces of copper pipes recycled from a radio recorder antenna (this material is optional, I used it because the 30 cm copper pipes were very thick and it was necessary to reduce the diameter of the ends to be able to fit the suction cups without damaging them).
| | |
|---|---|---|
| | |
STEP BY STEP
First I bent the 30 cm tube creating a handle in the shape of a stirrup, I chose this length in the tubes to be able to work with different sizes of screens.
| | |
|---|
I then inserted the thinner lengths of tubing into the ends of the handles to reduce the diameter of the tips. Once I placed each section of the thinner tube inside the ends of each handle, I soldered them with the help of the soldering gun and tin. If you have a tube of approximately 5 mm in diameter, it is not necessary to perform this step, since it is possible to attach the suction cups directly to the ends of the handle.
| | |
|---|
The next step is to attach heat shrink tubing to both ends of each handle and then apply heat until the heat shrink adheres to the handle body.
| | |
|---|
The next step was to cut the insulation tubing for water and air conditioning pipes into two equal lengths, and then insert both lengths into both handles up to the center of the handles.
| | |
|---|
After reaching this point, the next step was to attach each of the suction cups to the ends of each handle and tighten them with the plastic clamps, to prevent them from slipping out of place and, most importantly, to prevent the air that the suction cups must maintain when they suction the surface from escaping, which allows them to remain adhered to the surface.
| | |
|---|
In this way the procedure is applied to all ends of each handle, always making sure that there is no air leakage between the pipes and the suction cups as this is what ensures that the suction cup adheres and remains attached to the surface at all times.
I will leave below a series of photos of the final result as well as some moving images demonstrating the operation and capabilities of these DIY tools to remove LCD TV screens with sizes ranging from 32 inches to 55 inches, also serve to manipulate glassware in case you want to do other types of work.
To remove from the surface it is only necessary to lift one of the edges of the suction cup with your fingertips and it will come off easily.
TESTING THE TOOLS
Well friends the results were quite good, and the weight of the screens is much lower than the tests carried out, I am satisfied with the results.
I hope that the process of elaboration of this pair of suction cups as well as the final result has been to your liking and why not also an idea that you can materialize to help you in your work related to the use of this type of tools.
I say goodbye wishing you a good day, until next time.😉
The photos were taken with my Xiaomi Redmi Note 6 pro cell phone.
Cover image created in Canva.
You can see me on Facebook
Text translated to English in Deepl translator.