Hello everyone...✨
Hello to my dear Hivers and the dear community of artists #HiveDIY, as always very pleased and excited to be here again, showing you my work made with love and especially for you.
I have been making some collections, recently I finished one of SANRIO characters, and I have also made some Pokémon characters, now I thought why not start a new collection of some simple characters from an anime, they suggested me one and I decided to make some Digimon 3D decorative figures.
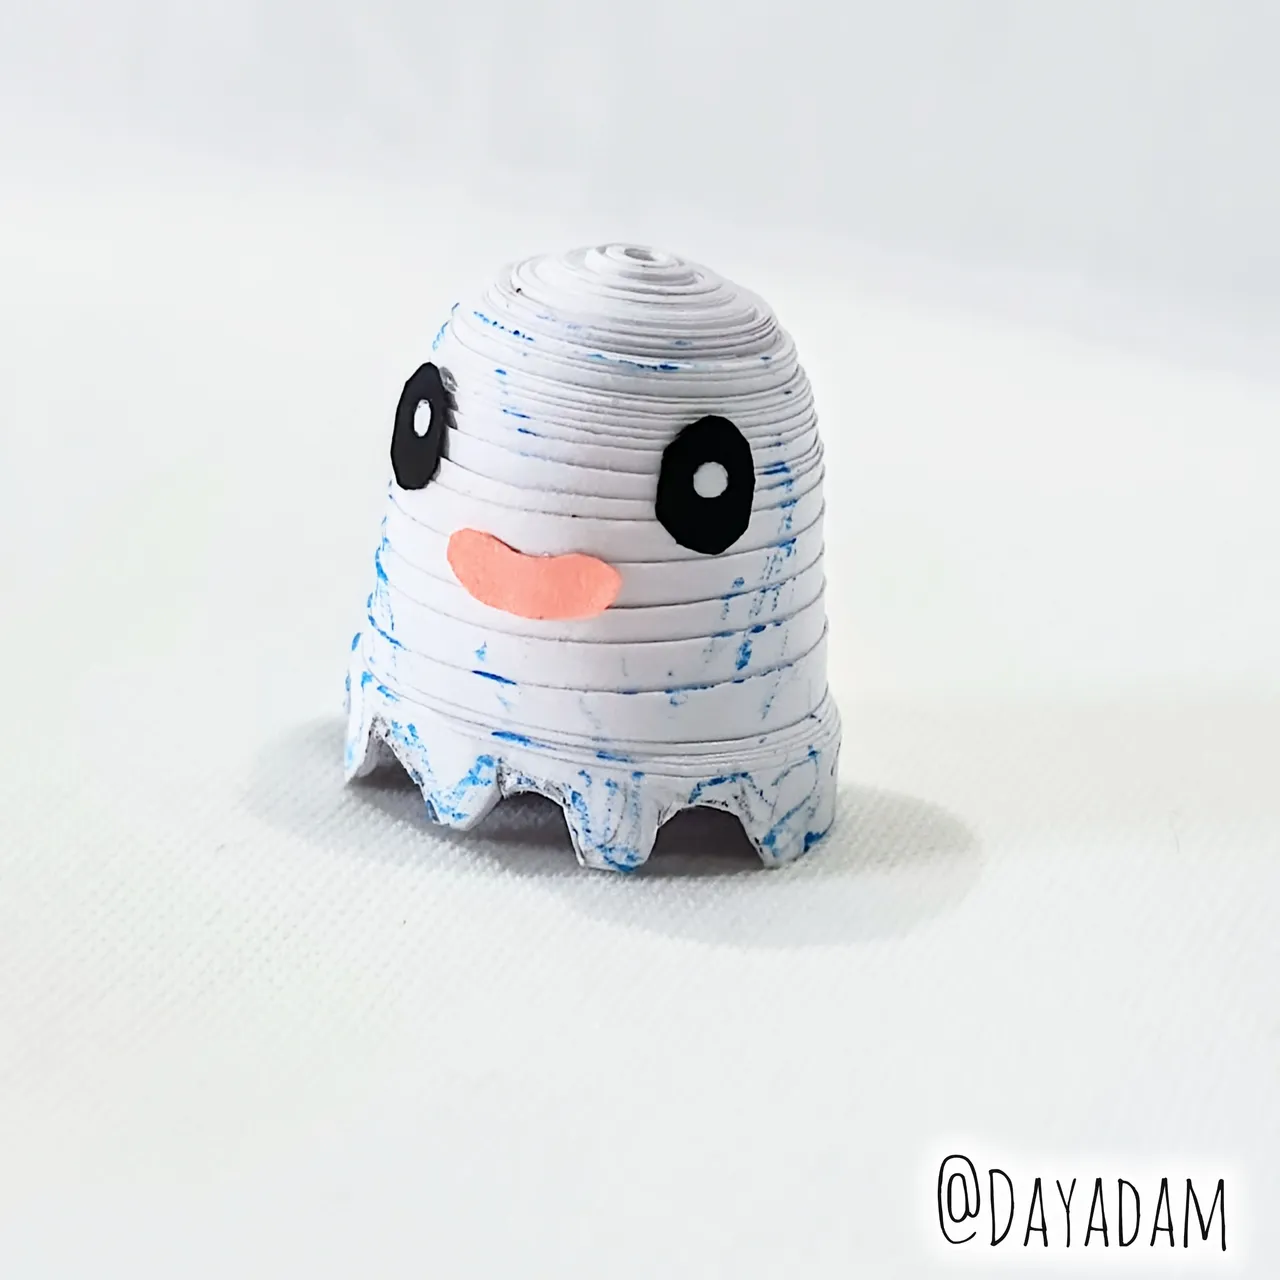
For today I will start with Poyomon in 3D in the quilling technique, a figure quite easy to make, and at the same time very striking and cute.
Hoping you like it, I leave you my creative process:
Let's get started:😃

Hola a Todos...✨
Hola a mis queridos Hivers y a la querida comunidad de artistas #HiveDIY, como siempre muy complacida y emocionada de encontrarme por acá nuevamente, mostrándole mi trabajo hecho con mucho amor y especialmente para ustedes.
He venido realizando algunas colecciones, hace poco finalicé una de personajes de SANRIO, así como también he realizado algunos personajes de Pokémon, ahora pensé porque no comenzar una nueva colección de algunos personajes sencillos de un anime, pues me sugirieron una y me decidí en realizar algunas figuras decorativas en 3D de Digimon.
Para el día de hoy voy a comenzar con Poyomon en 3D en la técnica de quilling, una figura bastante fácil de realizar, y a la vez muy llamativa y tierna.
Esperando que sea de su agrado, les dejo mi proceso creativo:
Comencemos:😃
 |
 |

• Guillotina de cortar papel.
• Cartulina blanca, negra.
• Cintas de quilling.
• Aguja de quilling.
• Plantilla para moldear círculos.
• Pintura al agua color blanca.
• Repujador.
• Lápiz de color azul claro y de grafito.
• Pega blanca extra fuerte (de carpintería).
• Tijera.
- Paper cutting guillotine.
- White and black cardboard.
- Quilling ribbons.
- Quilling needle.
- Template to mold circles.
- White water-based paint.
- Stiffener.
- Light blue and graphite pencil.
- Extra strong white glue (carpentry glue).
- Scissors.

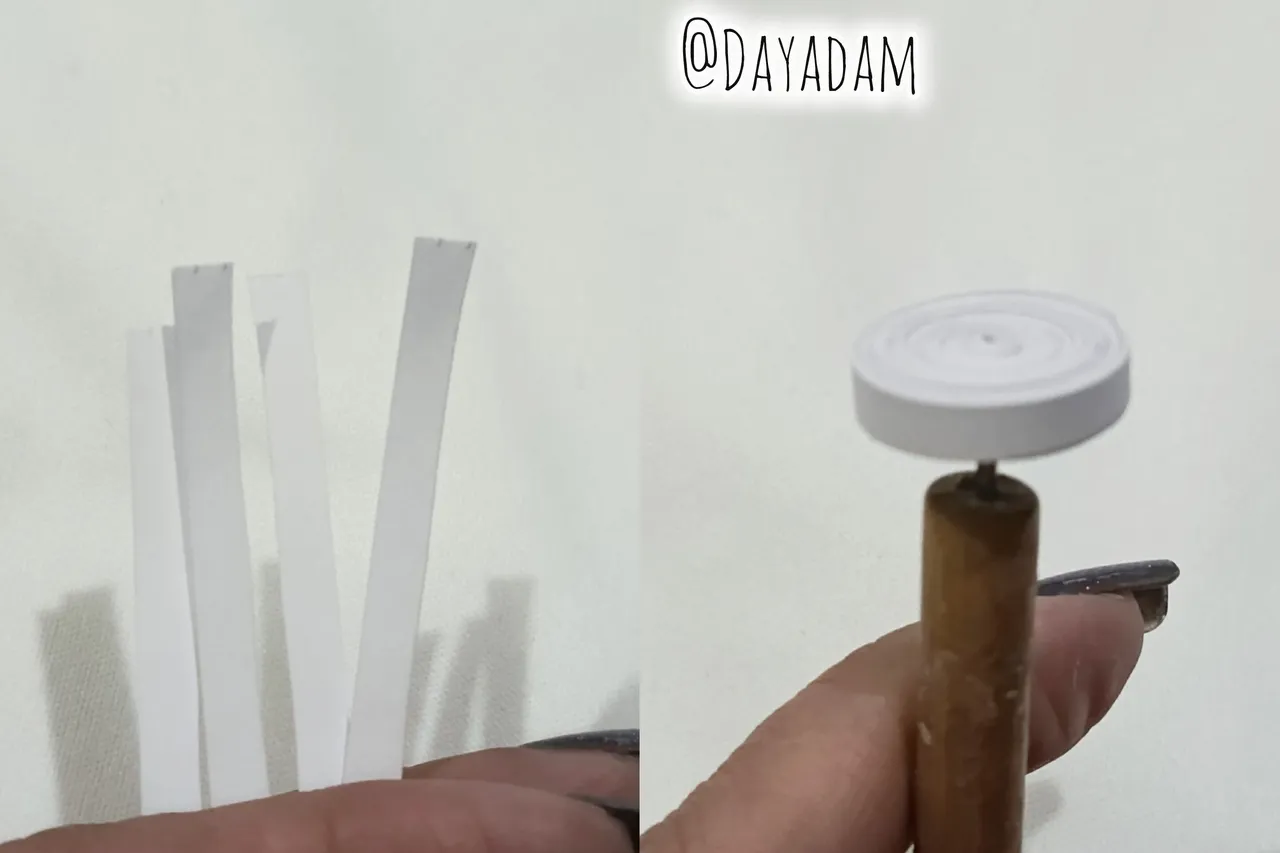
To carry out this work I previously cut some strips of the measures I needed, with a guillotine to cut paper from a white cardboard.
- I started taking a quilling strip, 4 mm wide with the help of the quilling needle I rolled all the tape until the end of it, seal with extra strong white glue, pull out of the needle to get a closed circle.
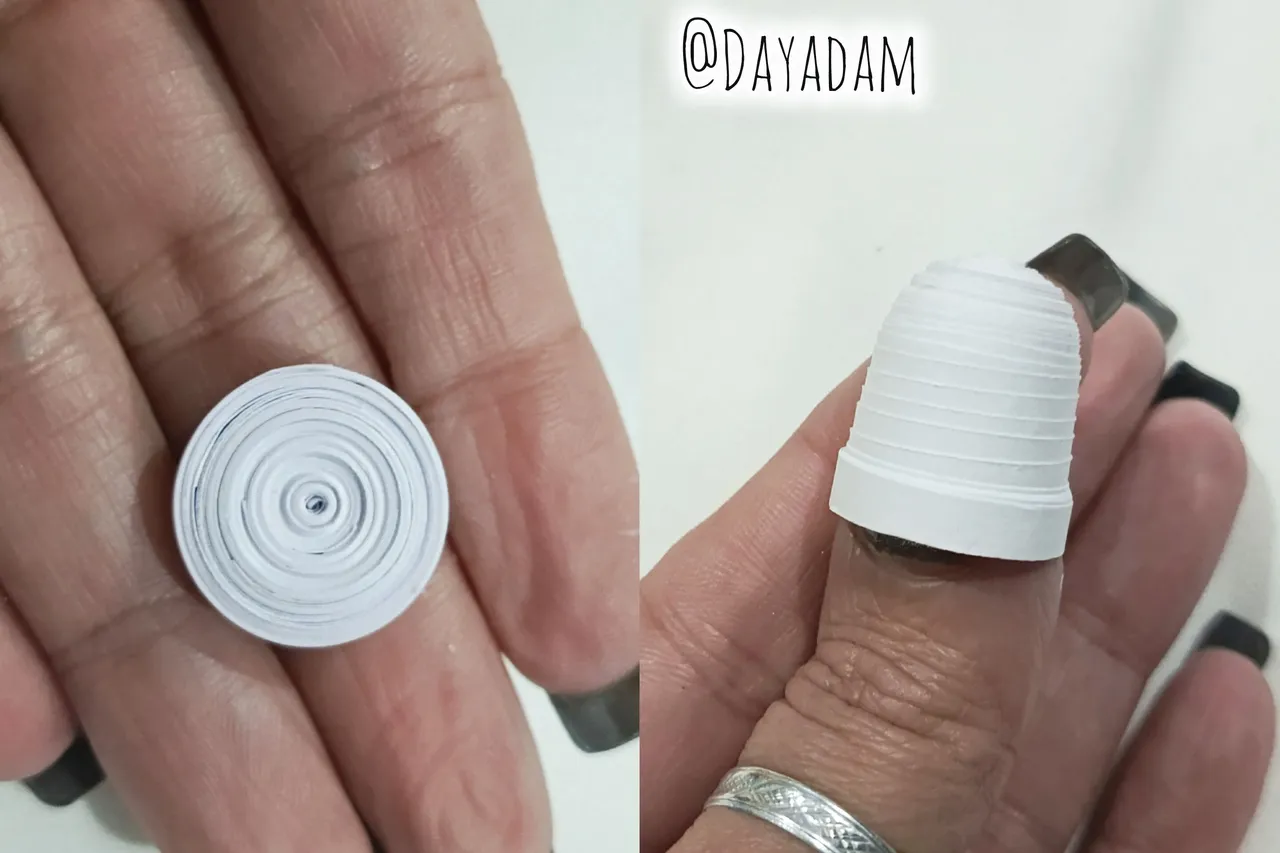
- Once the circle was ready, I proceeded to mold it with my fingers, I lifted as much as I could to form a kind of rounded cone.
- Apply glue on the inside to prevent the piece from moving or deforming, let it dry well before continuing to work with it. This way we have the body of the character ready.

Para llevar a cabo este trabajo previamente corté algunas tiras de las medidas que necesitaba, con una guillotina para cortar papel de una cartulina de color blanco.
• Comencé tomando una tira para quilling, de 4 mm de ancho con la ayuda de la aguja para quilling enrollé toda la cinta hasta llegar al final de la misma, selle con pega blanca extra fuerte, saque de la aguja para obtener un círculo cerrado.
• Listo el círculo procedí a moldearlo con ayuda de los dedos, levanté lo más que pude para formar una especie de cono redondeado.
• Aplique pega por su parte interna para evitar que la pieza se mueva o se deforme, deje secar muy bien antes de seguir trabajando con ella. De esta manera ya tenemos el cuerpo del personaje listo.
 |  | 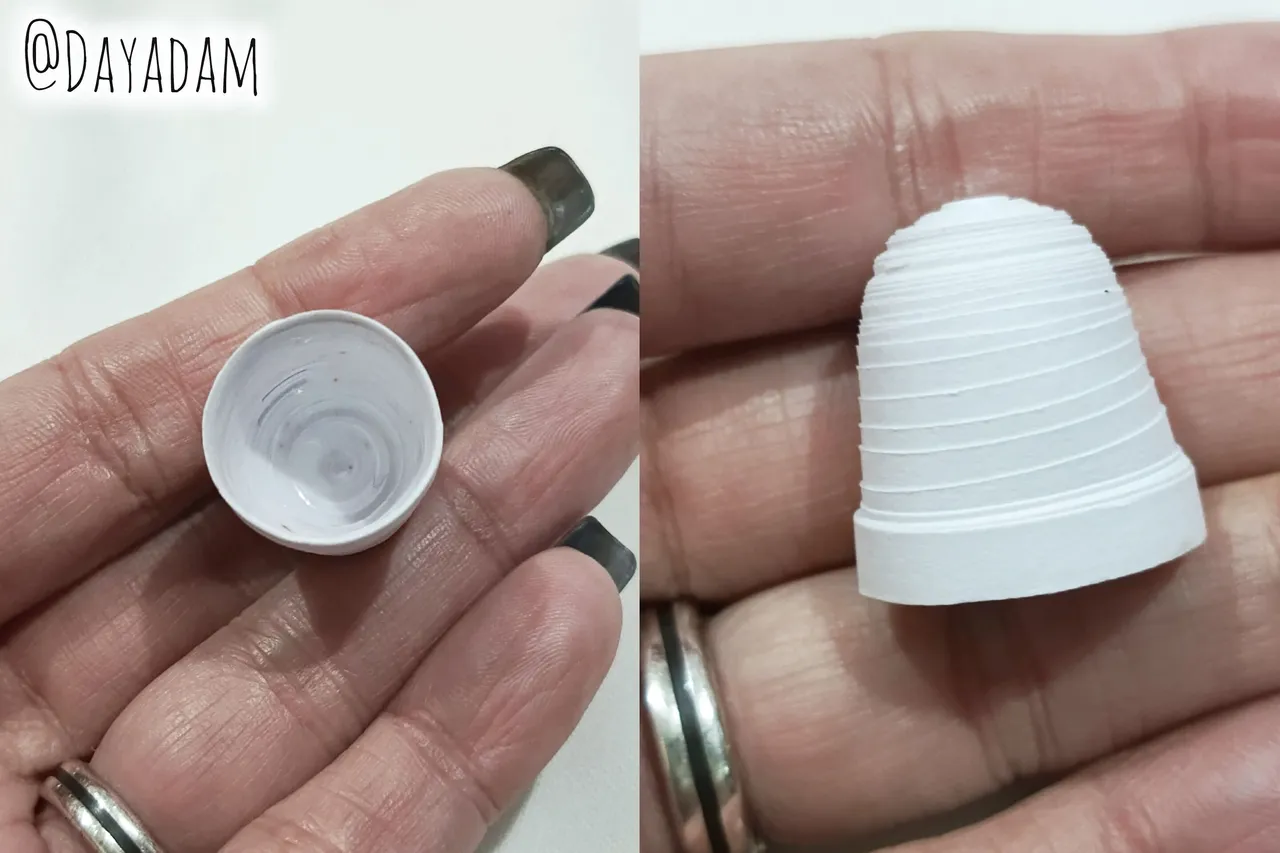 |
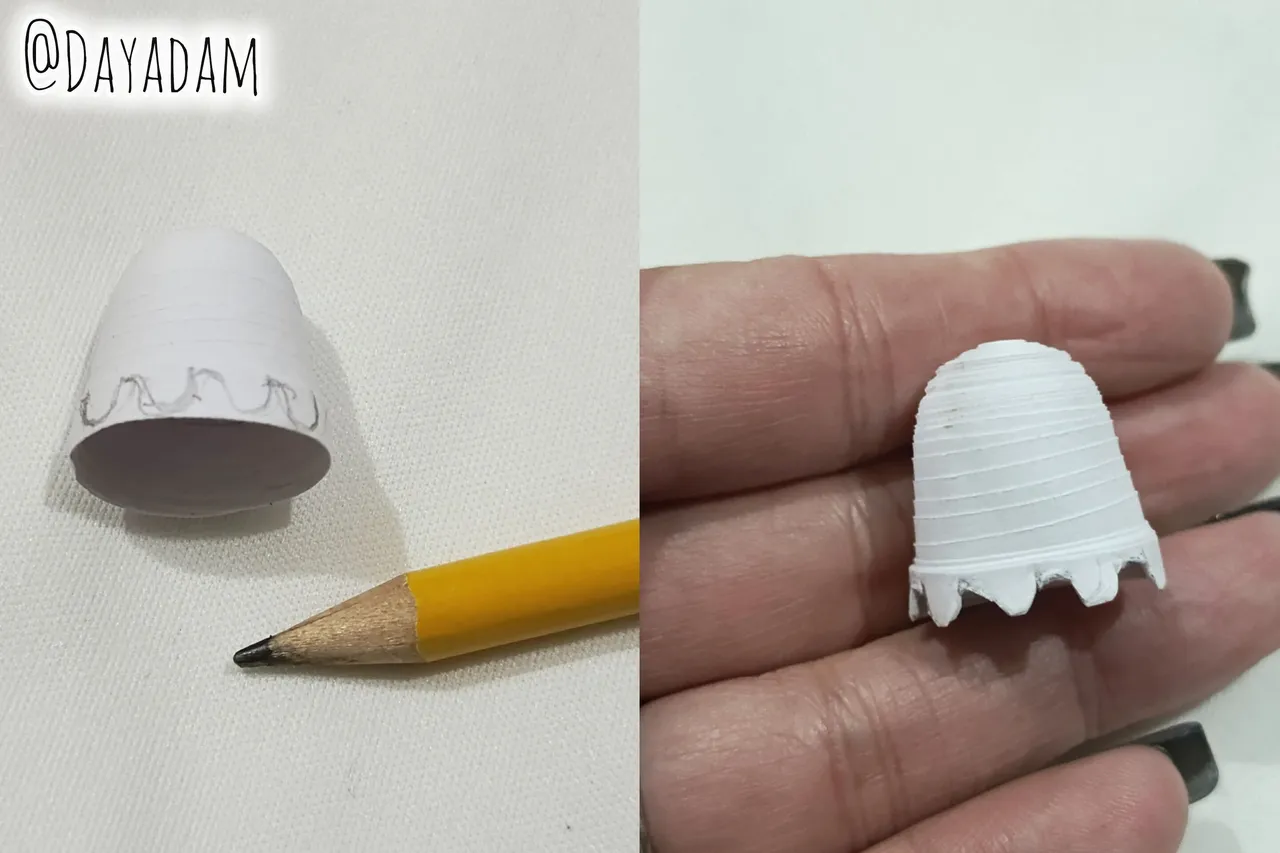
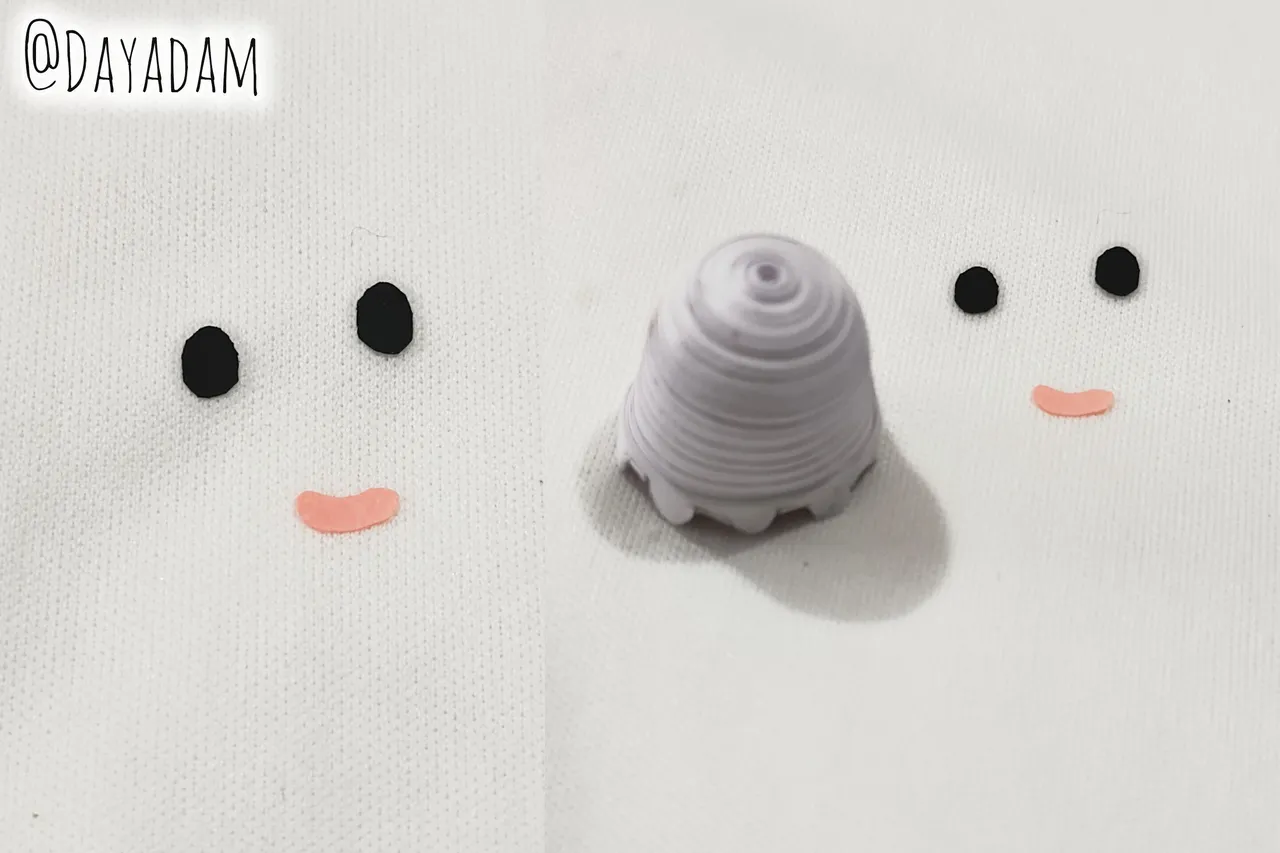
- To start with the details I took a graphite pencil with which I made the shape of the character that is a ghost at the bottom, then I cut with a fine tip scissors very carefully, so I got a kind of waves.
- I cut out the eyes from a piece of black quilling and the mouth from another piece of old pink quilling. Los pegué del rostro del personaje.
• Para comenzar con los detalles tomé un lápiz de grafito con el cual realicé la forma del personaje que es un fantasma en la parte de abajo, luego recorté con una tijera punta fina con mucho cuidado, así obtuve una especie de ondas.
• Los ojos los recorte de un trozo de quilling de color negro y la boca de otro trozo de quilling de color rosa vieja. Los pegué del rostro del personaje.
 |  |
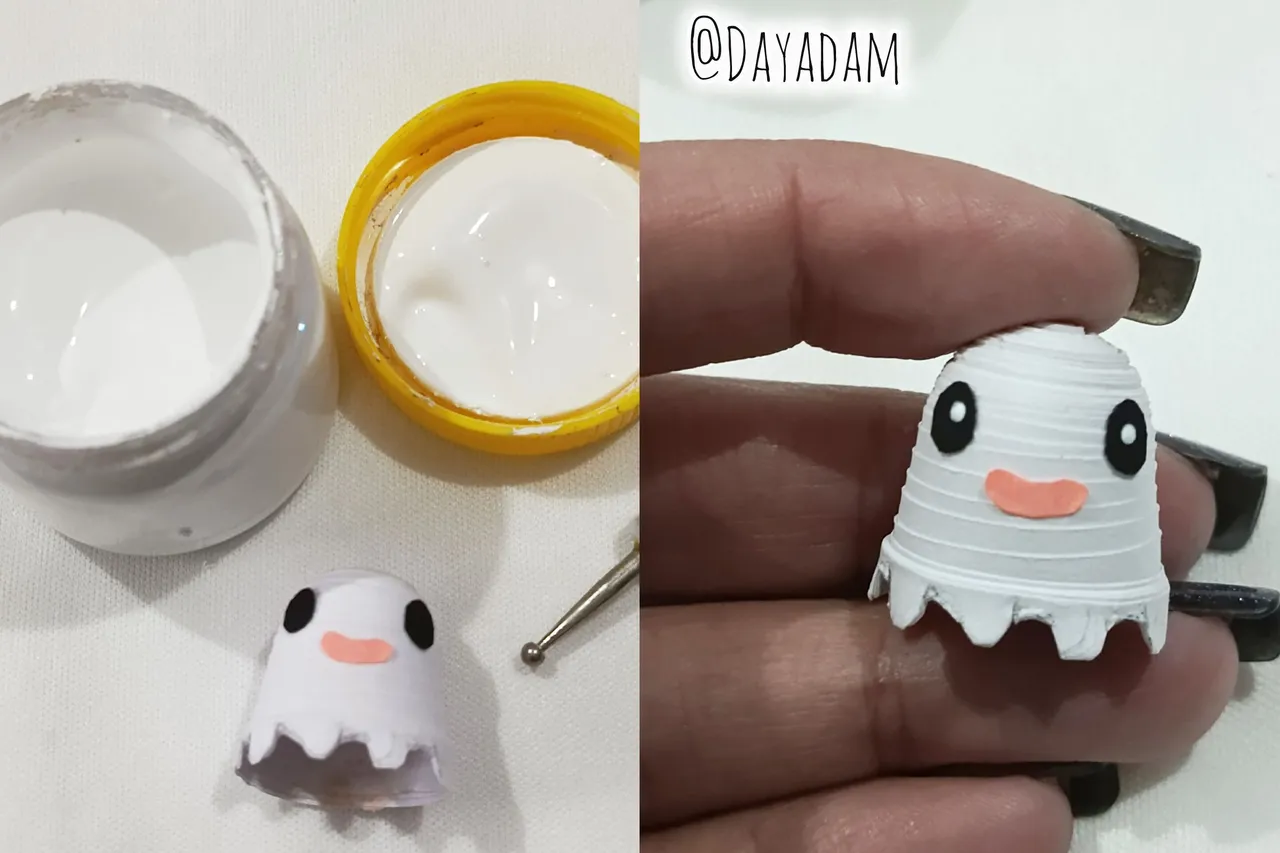
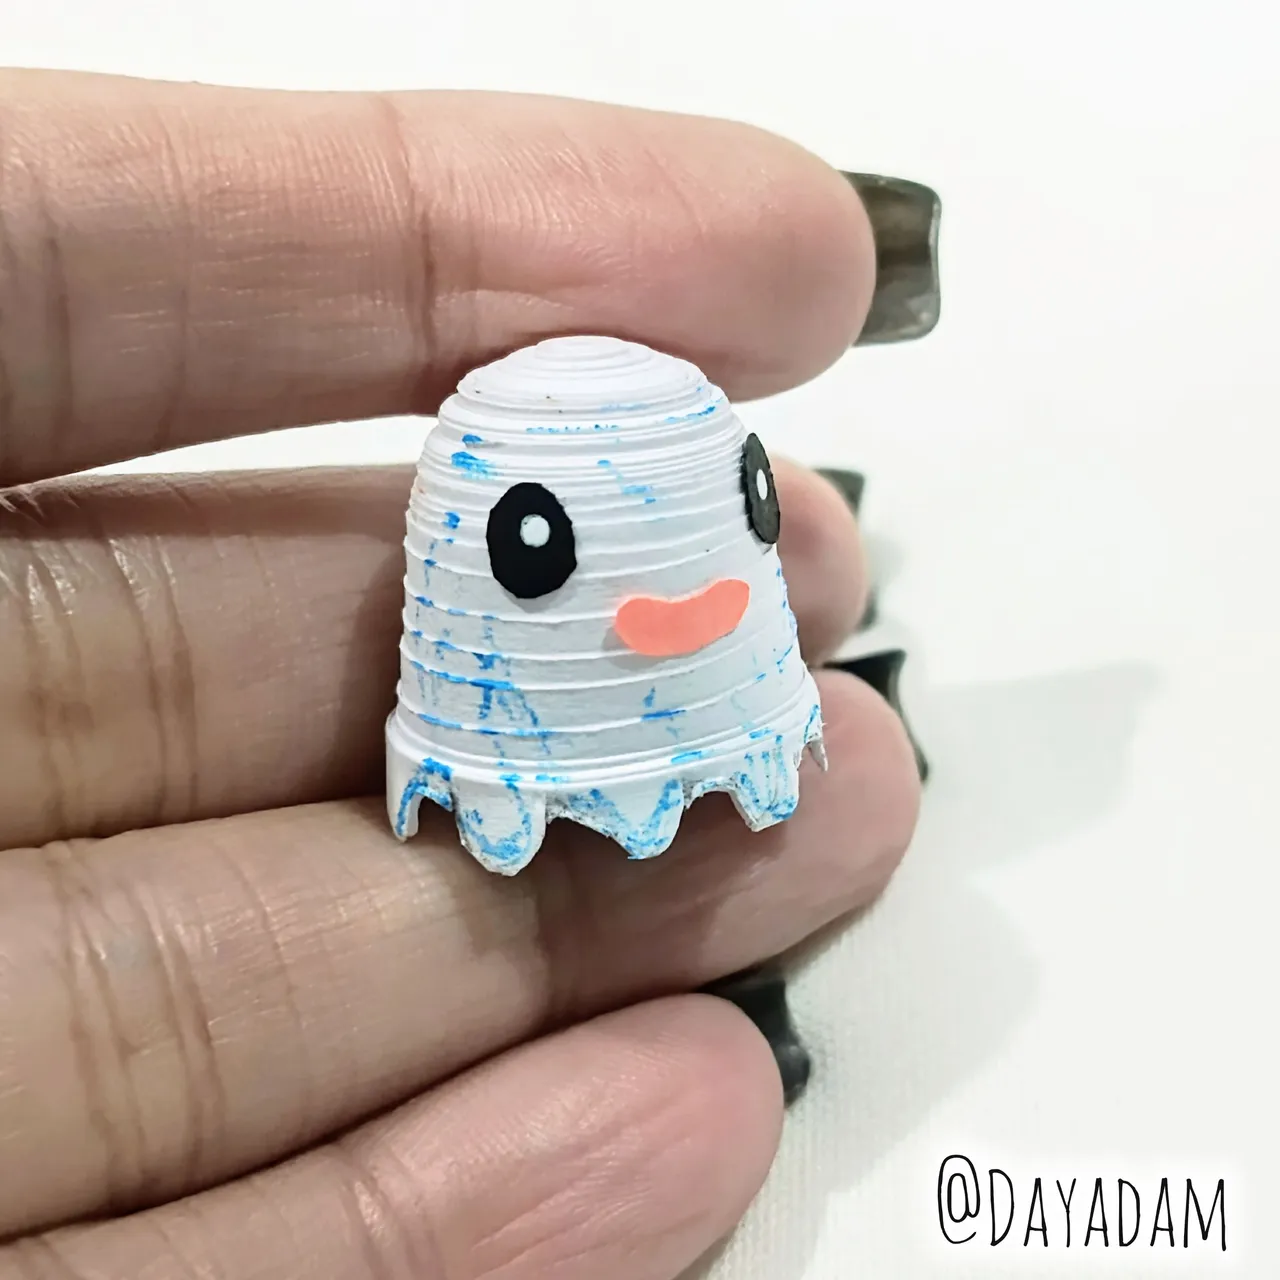
- Once the eyes were glued, I proceeded to make some small lights with white water paint, I did this with an embosser which has a rounded tip.
- Finally I took a light blue pencil and made some details in various parts of the body of the character.
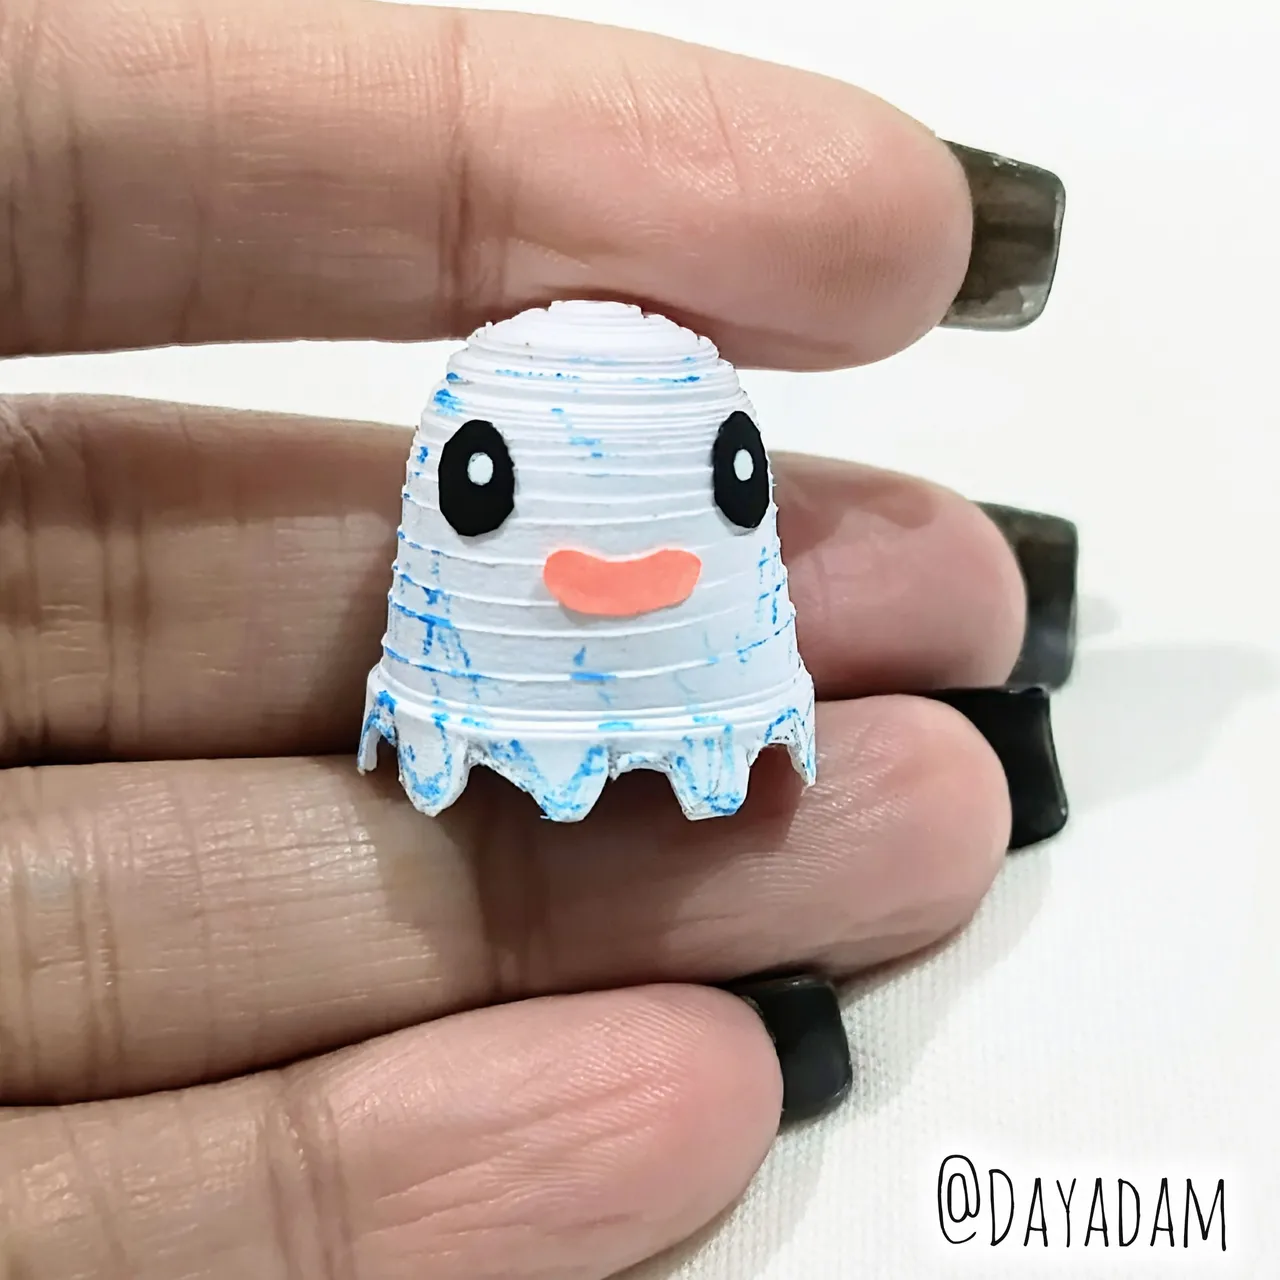
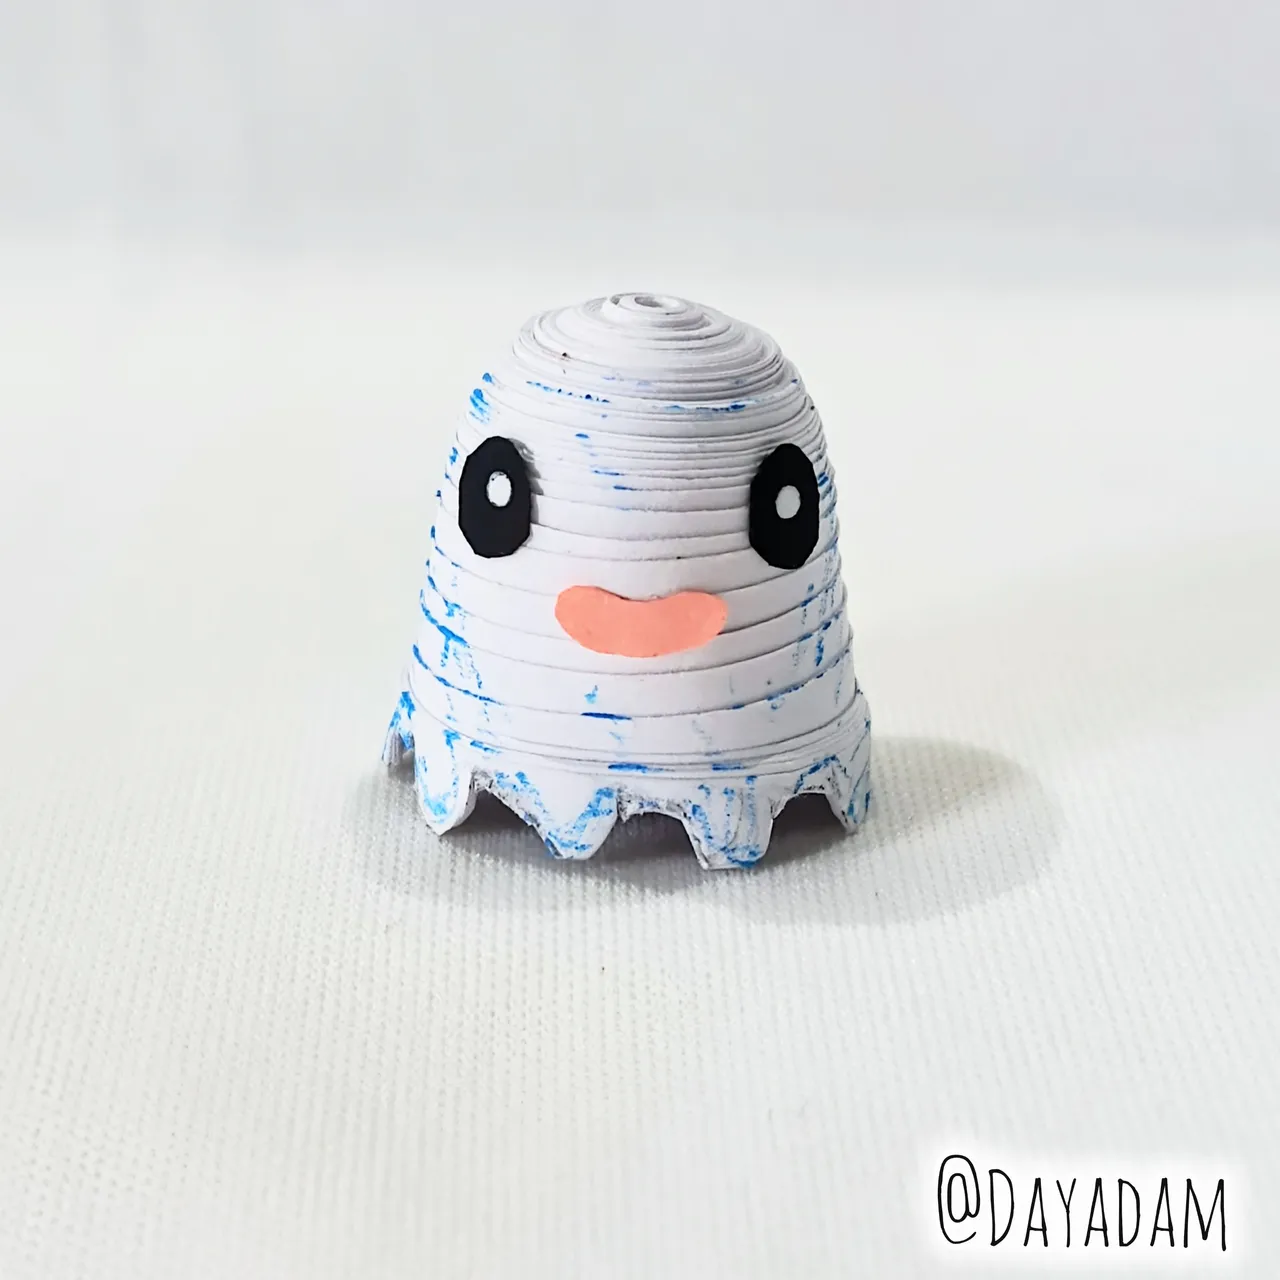
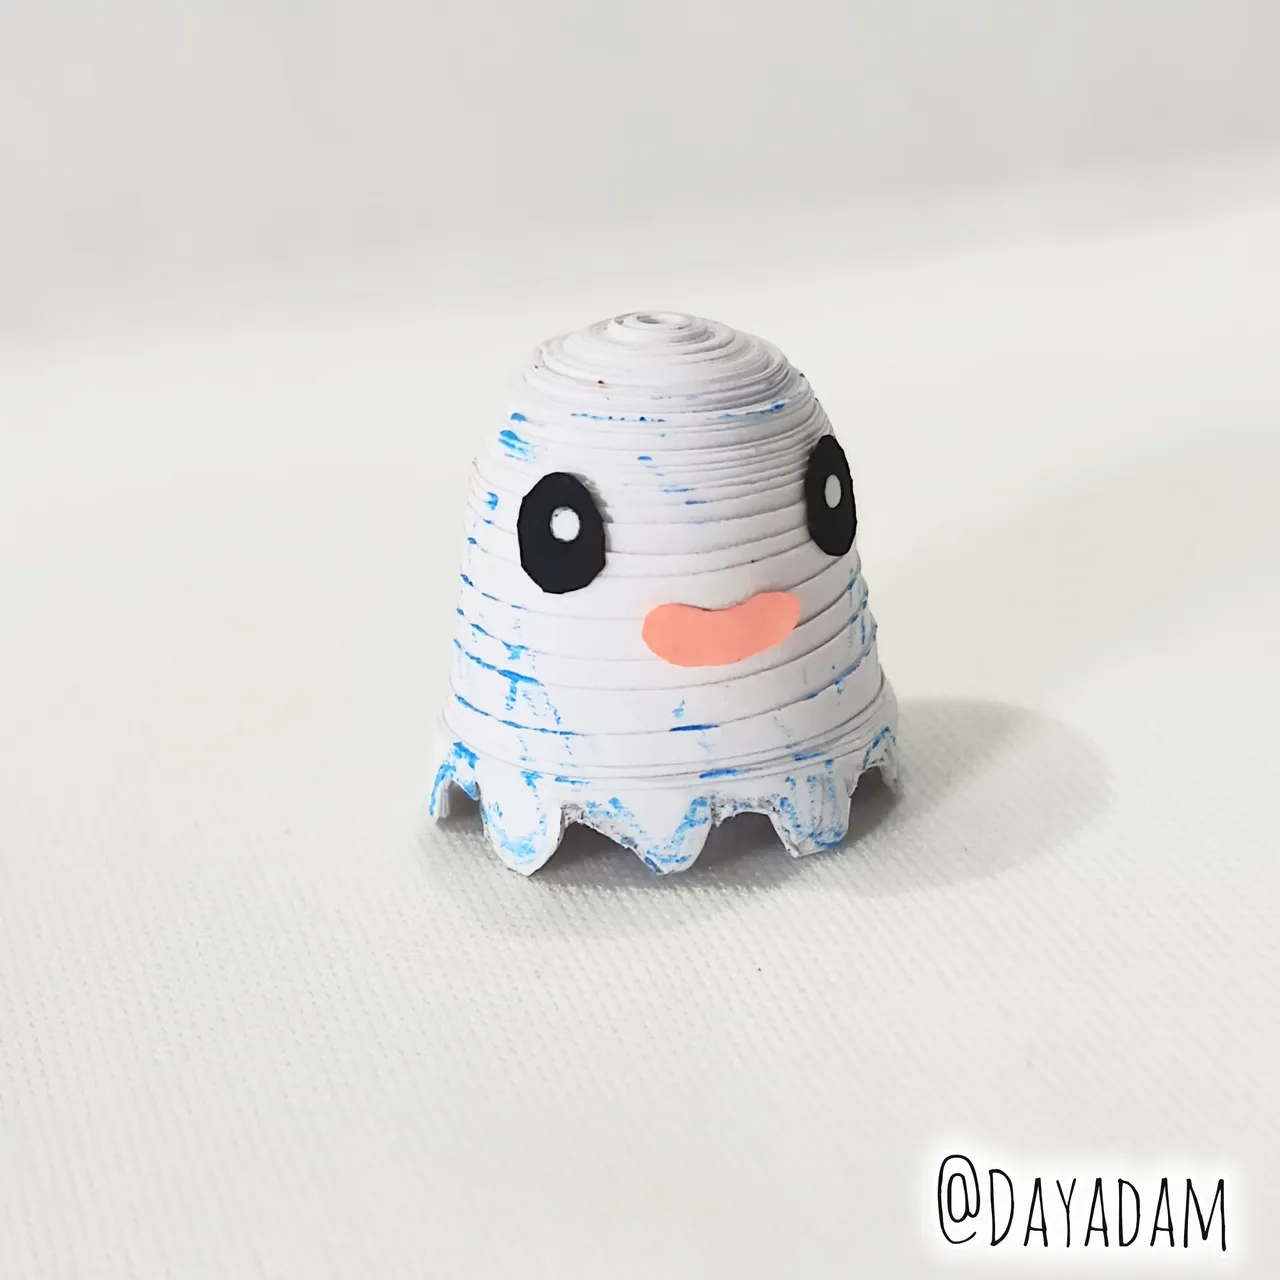
In this way I finished this cute 3D decorative figure of the Digimon Poyomon character in the quilling technique.
• Ya pegados los ojos, procedí a hacer unas pequeñas luces con pintura al agua color blanco, esto lo hice con un repujador el cual tiene una punta redondeada.
• Para finalizar tomé un lápiz de color azul claro y realicé algunos detalles en varias partes del cuerpo del personaje.
De esta manera finalice esta tierna figura decorativa en 3D del personaje de Digimon Poyomon en la técnica de quilling.
 |  |

 |
 |
 |
|
 |
 |
What did you think, did you like it?
I hope you did, I hope you liked my explanation, procedure and photos, I made them with love for you.
"Let out that muse that inspires you, and let your imagination fly".
Thank you all, see you next time ✨.
¿Que les pareció, les gustó?
Espero que sí, que les haya gustado mi explicación, procedimiento y fotos, los hice con mucho cariño por y para ustedes.
"Deja salir esa musa que te inspira, y deja volar tu imaginación".
Gracias a todos, nos vemos en la próxima✨