Hello friends of the community.
A few days ago, while walking my dog, I found a broken coffee cup on the side of the road. Normally, I would have gone on my way and left it there, but seeing that it still retained its handle, I decided to take it with me and slyly put it in my pocket. Luckily, I was walking around with a pair of wide pocket shorts 😅.
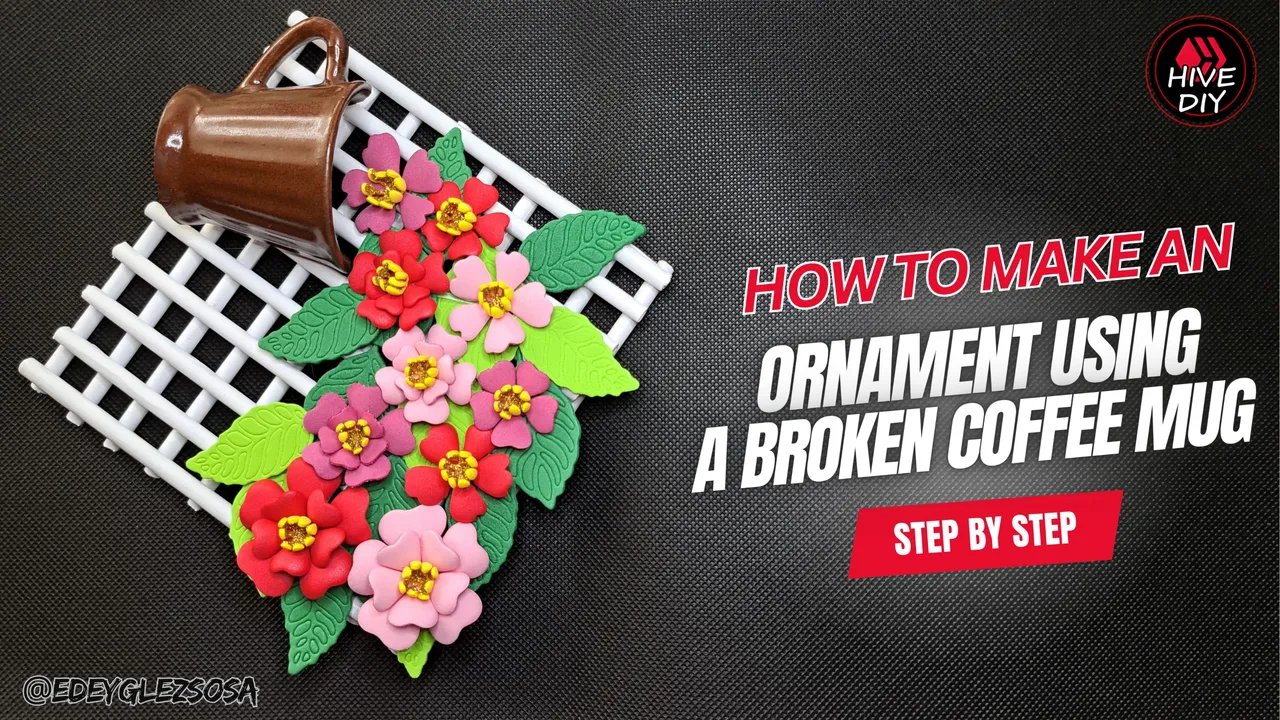
Anyone who doesn't know me would think I'm crazy, but those who follow my work will know that I love crafts in which I can integrate recycling with some colorful touch using fomi and other materials. In this case, I had the idea of making an ornament in which the coffee cup would appear on top of a grid of wrapped paper rolls and many fomi flowers would sprout from the cup. I must admit that in my mind it looked more grandiose, but I still liked the way it turned out.
Hola amigos de la comunidad.
Hace unos días, mientras paseaba a mi perro, me encontré una taza de café rota a un lado de la calle. Normalmente, habría seguido mi camino y la habría dejado allí, pero al ver que aún conservaba su asa, decidí llevármela y disimuladamente la guardé en mi bolsillo. Por suerte, andaba con un short de bolsillos anchos 😅.
Quien no me conozca pensaría que estoy loco, pero los que siguen mi trabajo sabrán que me encantan las manualidades en las cuales puedo integrar el reciclaje con algún toque colorido utilizando fomi y otros materiales. En este caso, tenía la idea de confeccionar un adorno en el cual apareciera la taza de café encima de una rejilla de rollitos de papel envuelto y que de la taza brotaran muchas flores de fomi. Debo admitir que en mi mente se veía más grandioso, pero aun así me gustó mucho cómo quedó.
 |  |
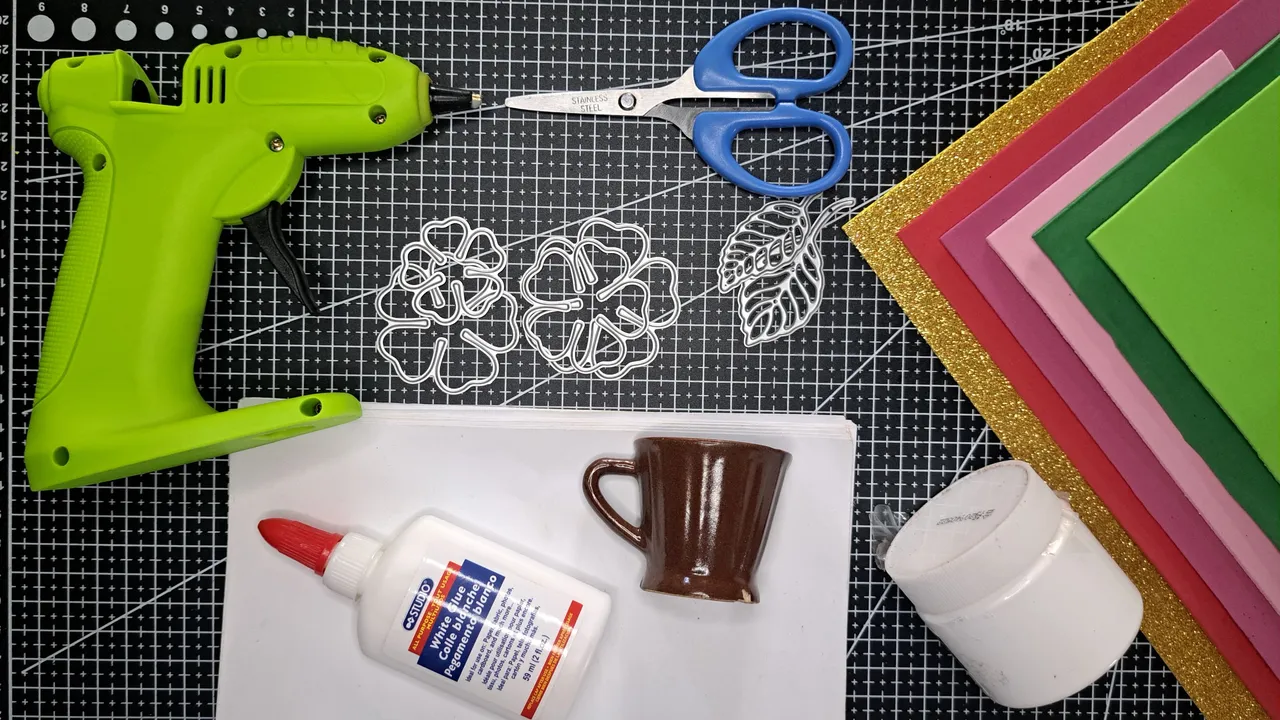
Materials // Materiales
| English | Español |
| ✔️ Yellow, red, pink and green fomi | ✔️ Fomi amarillo, rojo, rosado y verde |
| ✔️ Broken coffee cup | ✔️ Taza de café rota |
| ✔️ Recycled paper | ✔️ Papel reciclado |
| ✔️ Metal cutting dies | ✔️ Troqueles metálicos de corte |
| ✔️ White glue | ✔️ Pegamento blanco |
| ✔️ White acrylic paint | ✔️ Pintura acrílica blanca |
| ✔️ Hot silicone | ✔️ Silicona caliente |
Step by step // Paso a paso
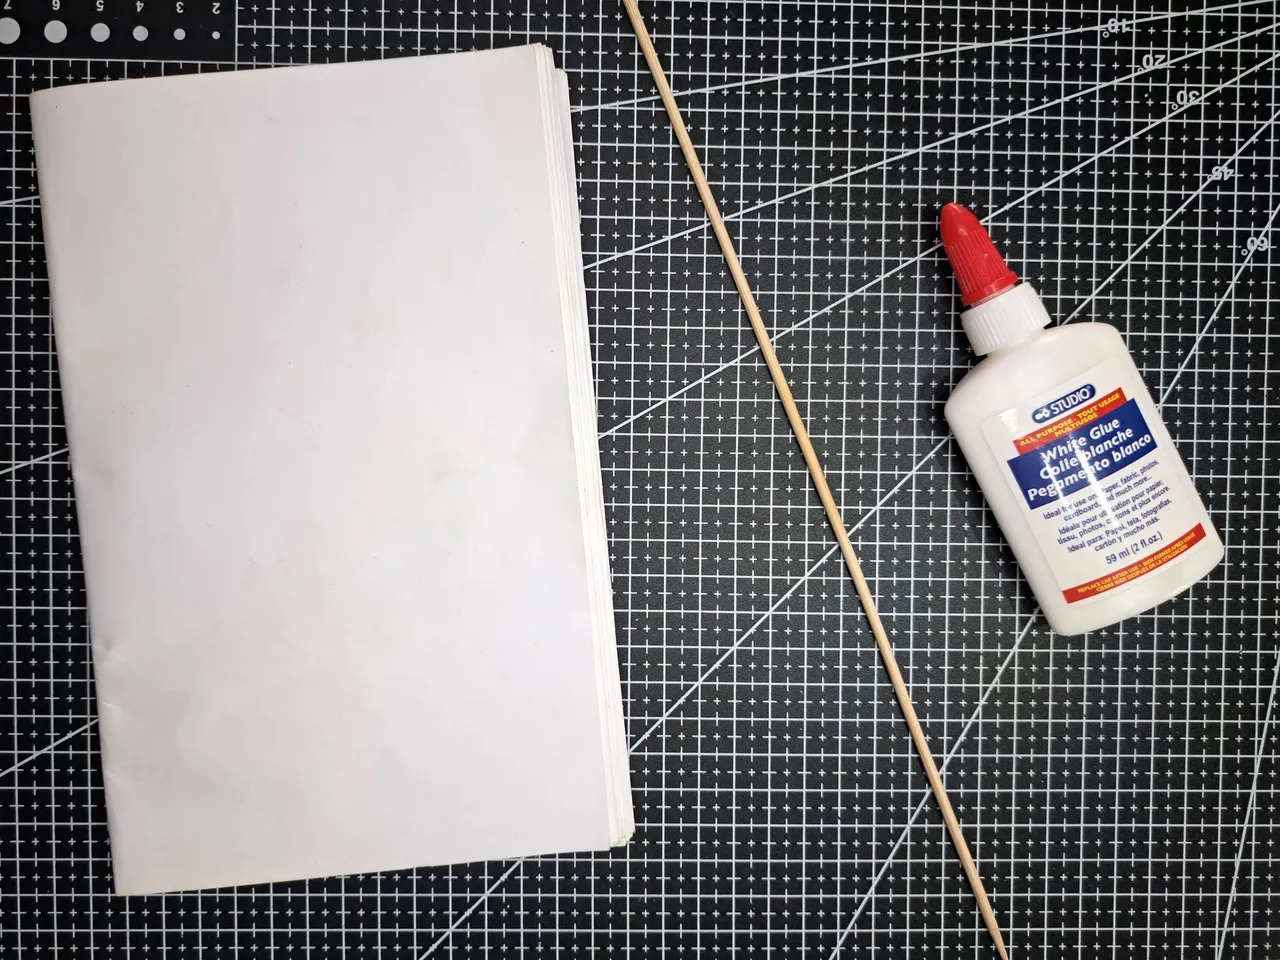
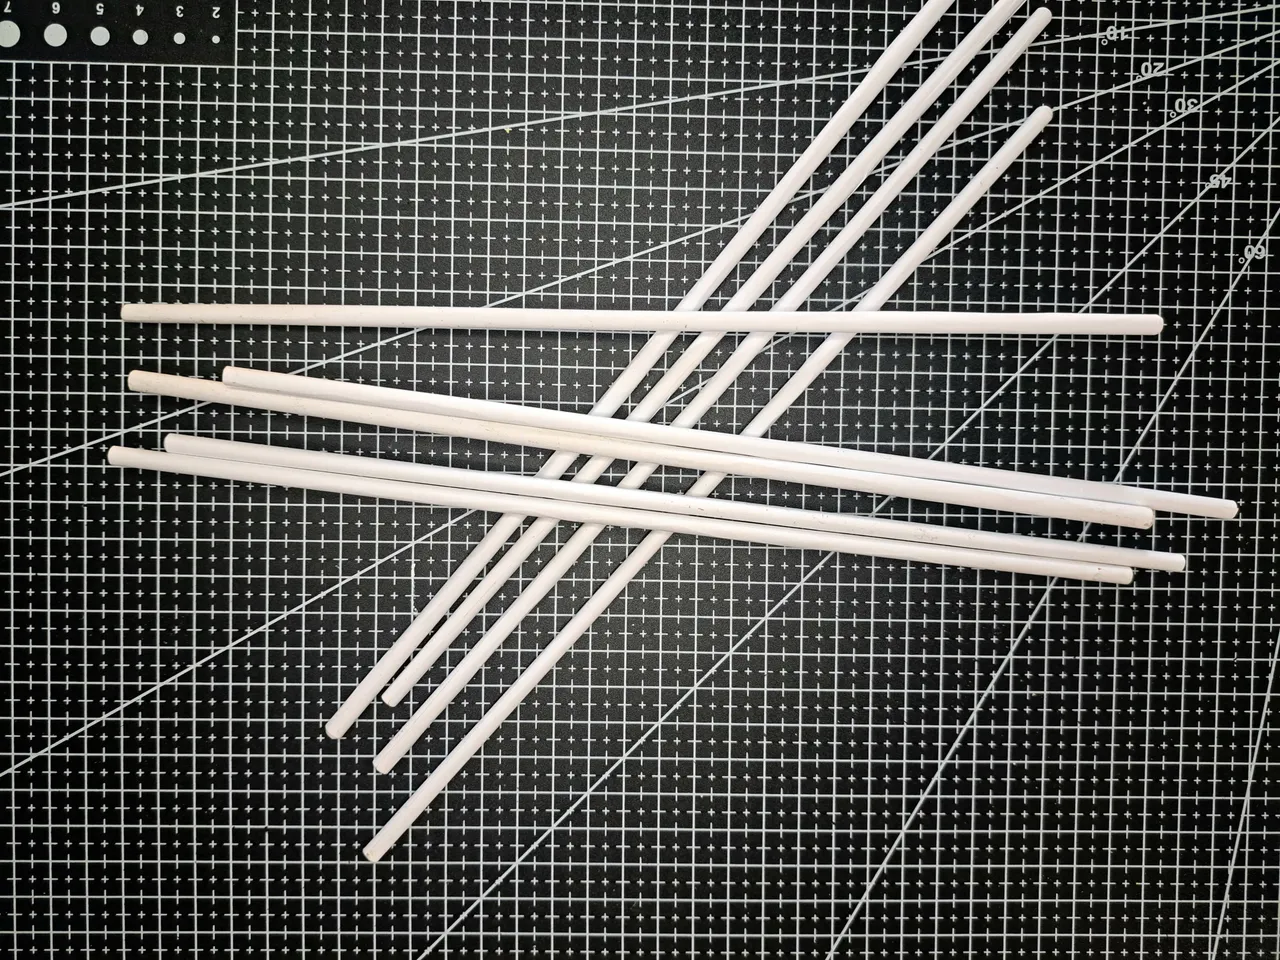
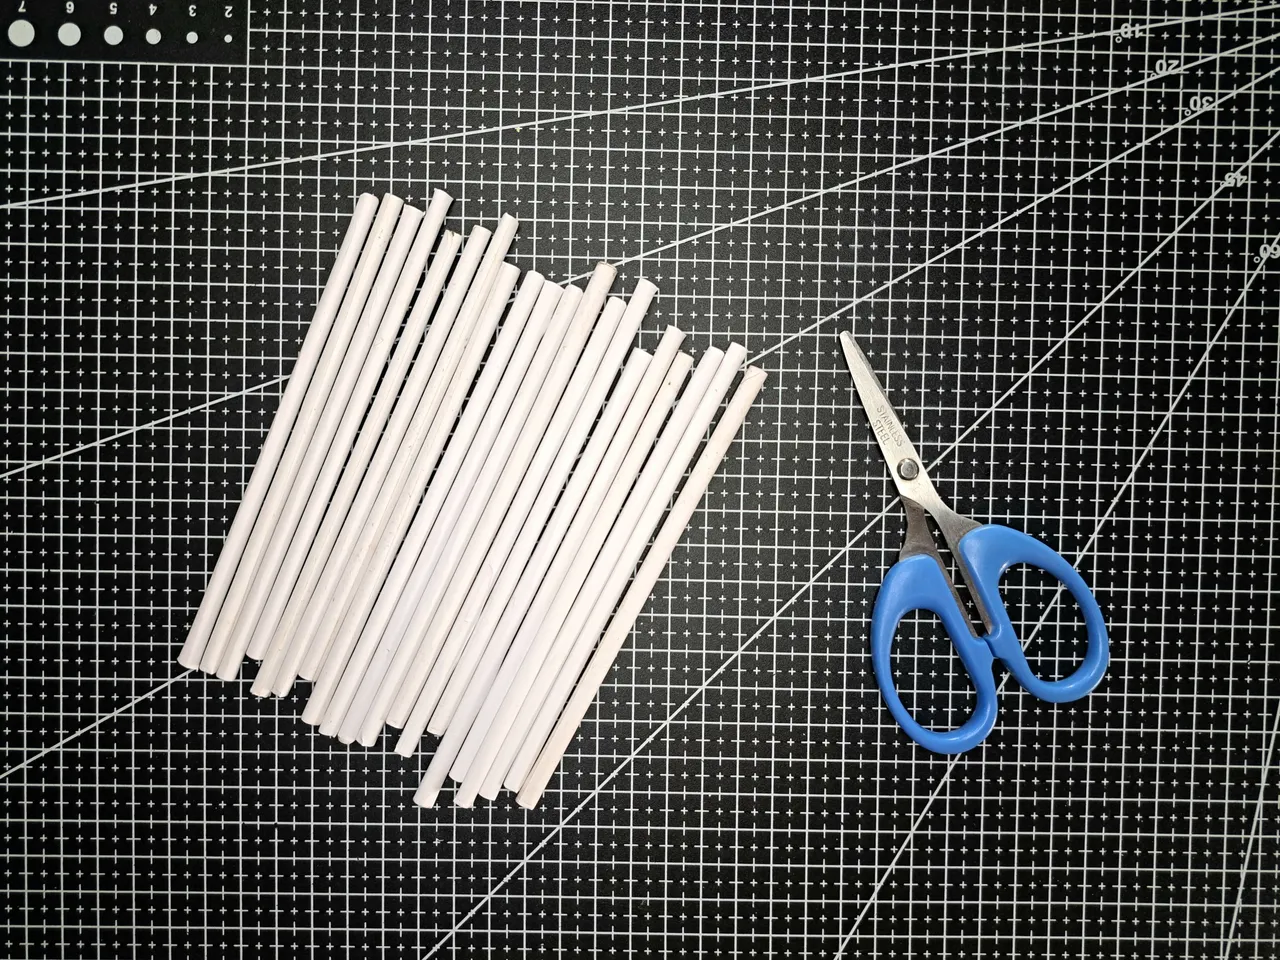
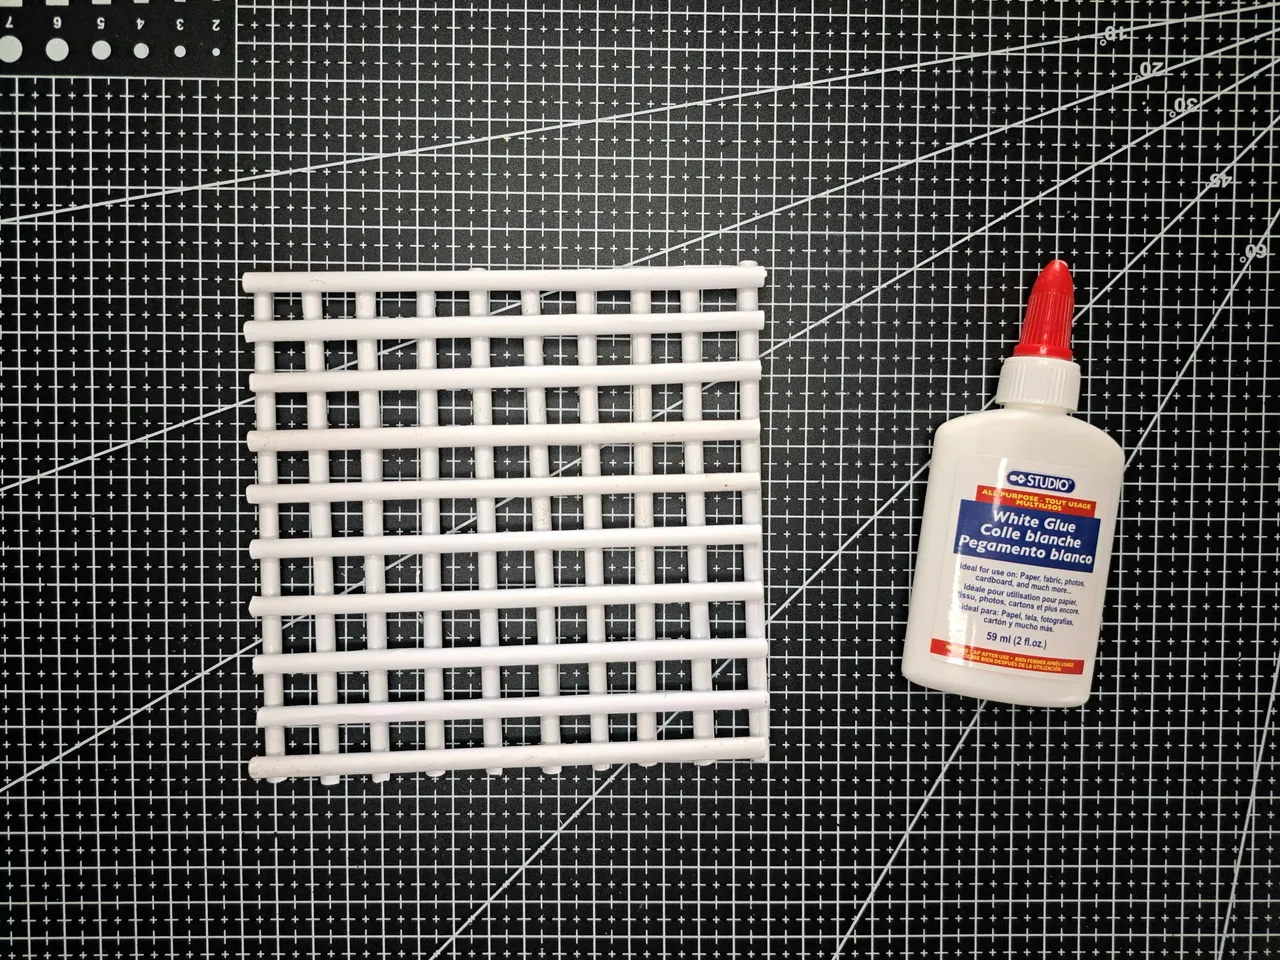
1️⃣ The first thing to do is to divide the sheets of paper into two parts, cutting them lengthwise. With a skewer stick the paper will be wrapped and glued using the white glue. Once 10 rolls of paper are created, they will be cut in half forming 20 small rolls of paper, which will be glued in the form of a grid, leaving a space of 1.5 cm between each one.
Lo primero será dividir las hojas de papel en dos partes, cortándolas a lo largo. Con un palillo de brochetas se envolverá el papel y se pegará utilizando el pegamento blanco. Una vez se creen 10 rollos de papel, se cortarán por la mitad formando 20 rollos de papel pequeños, los cuales se pegarán en forma de rejilla, dejando un espacio de 1.5 cm entre cada uno.
 |  |
 |  |
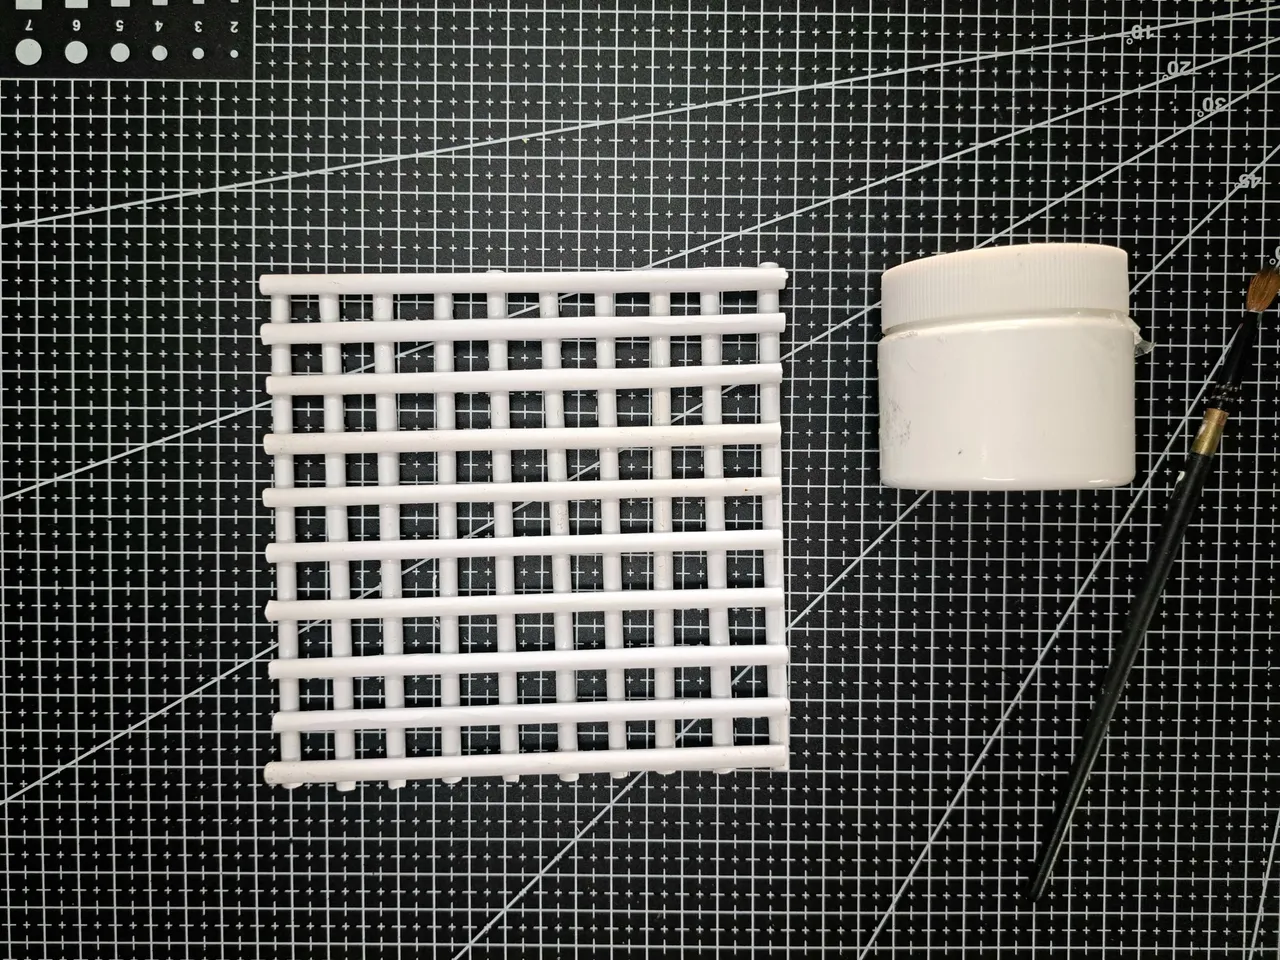
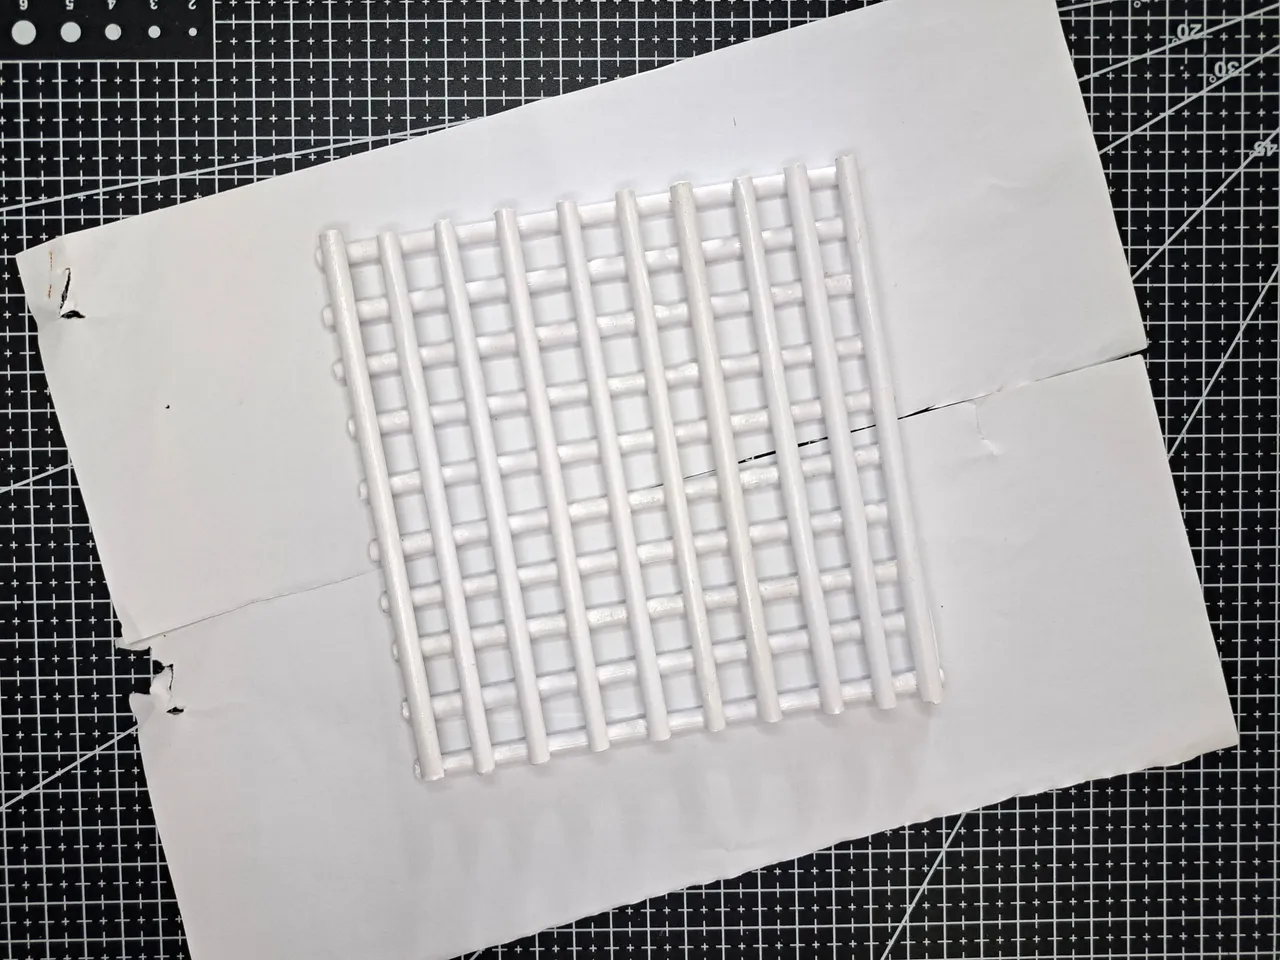
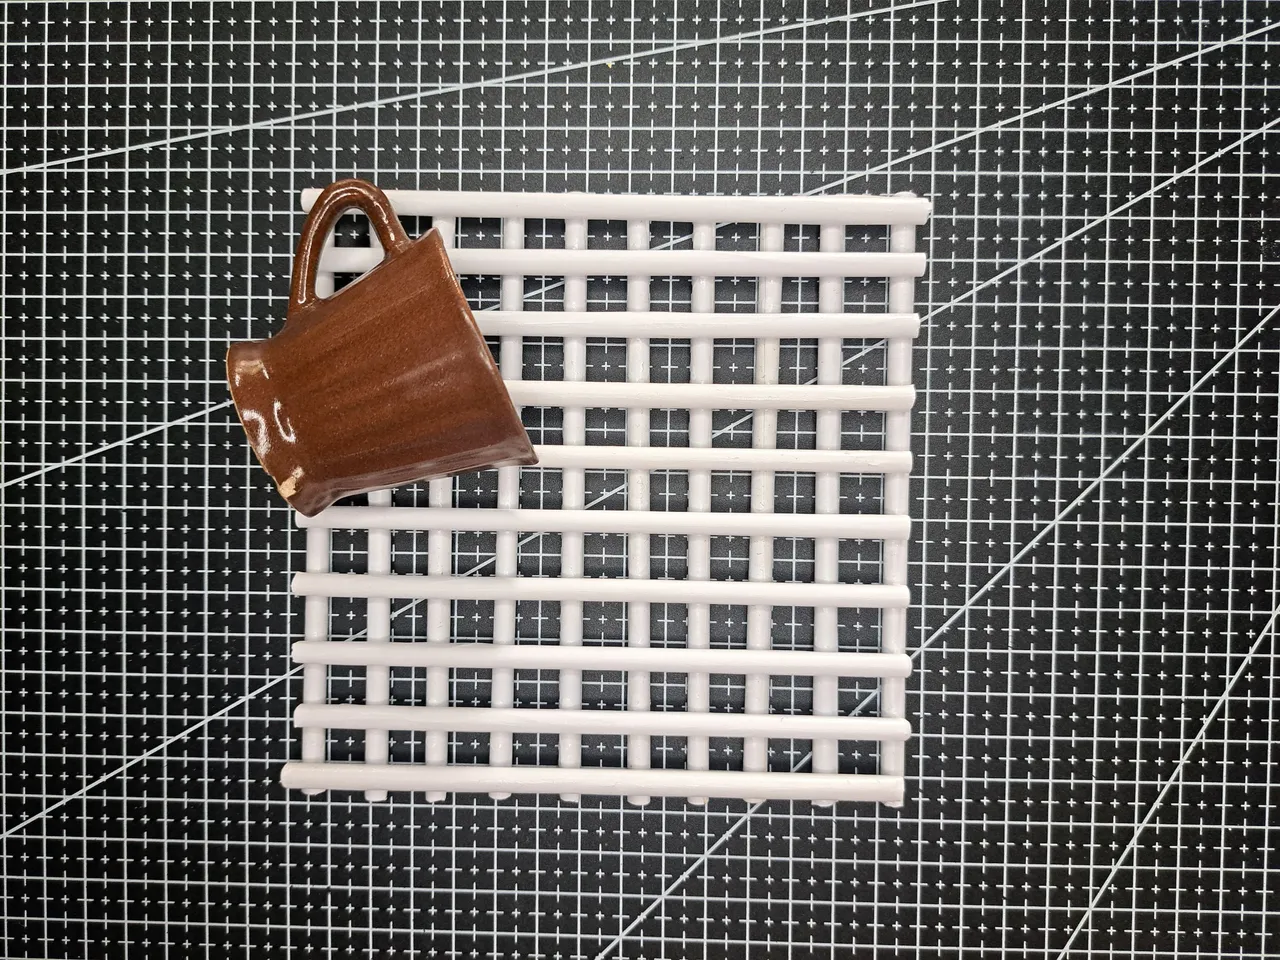
2️⃣ Since recycled paper is not a perfect white, white acrylic paint will be used to apply two coats of white to the grid formed with the paper rolls.
Como el papel reciclado no es de un blanco perfecto, se utilizará pintura acrílica blanca para aplicar dos capas de color blanco a la rejilla formada con los rollitos de papel.
 |  |
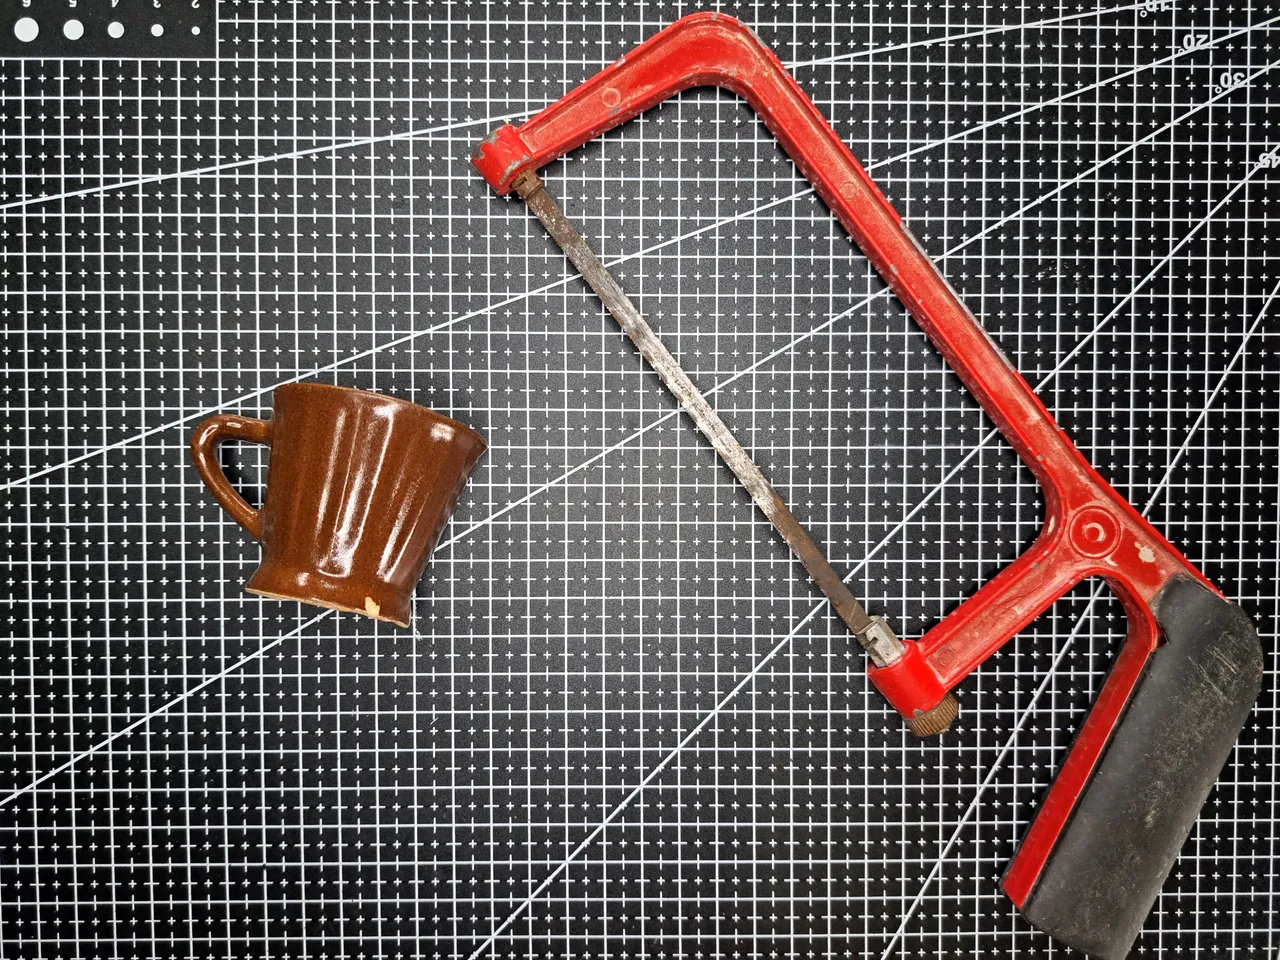
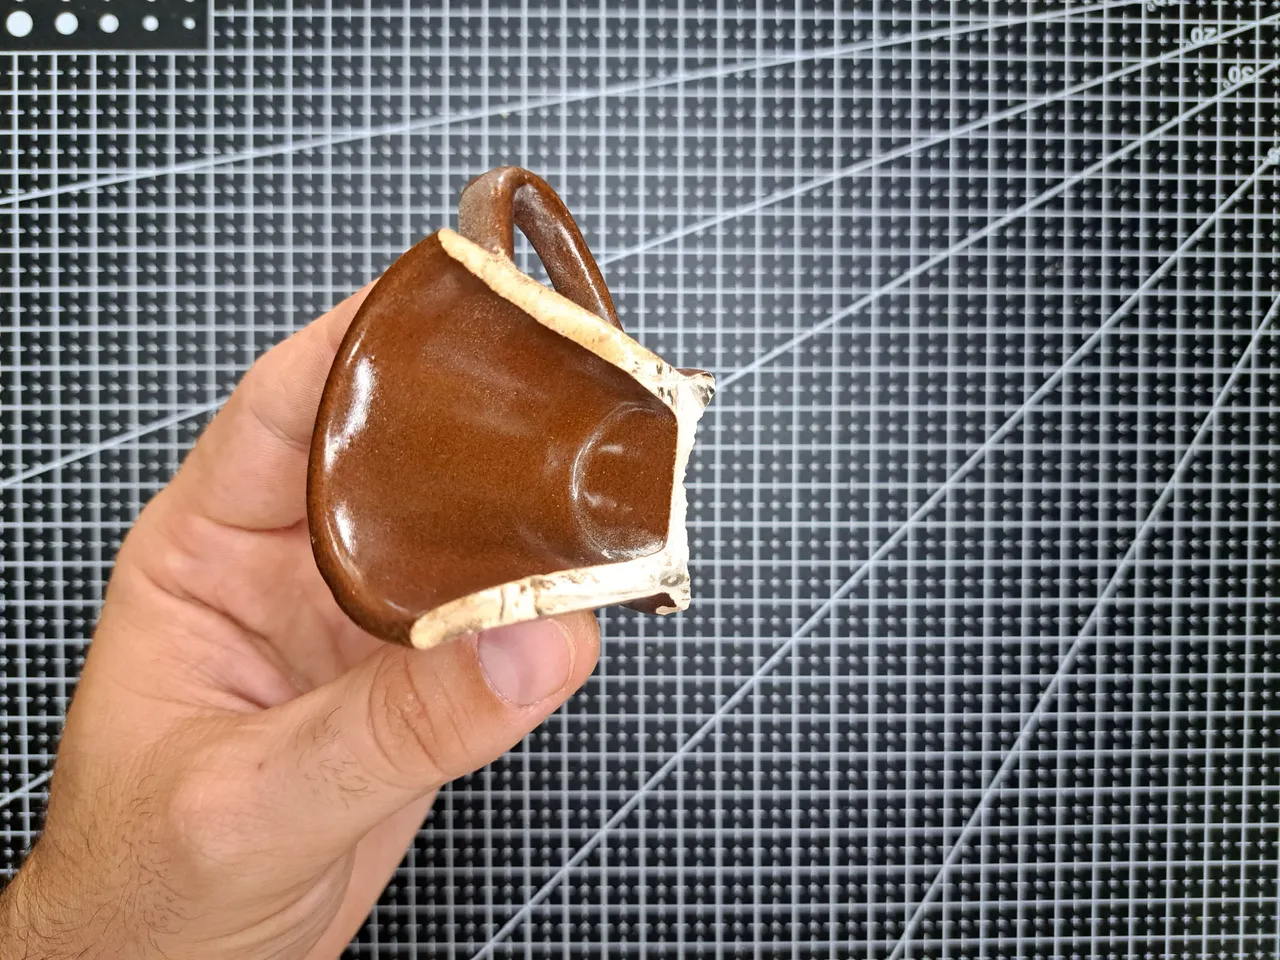
3️⃣ When working with the coffee cup, keep in mind that only one half of the cup is needed, so it will be necessary to divide it using a cutting tool. I prefer to recommend a small electric saw, but in the absence of one, you can use a hand saw like the one I show you.
A la hora de trabajar con la taza de café hay que tener en cuenta que solo se necesita una mitad de esta, así que será necesario dividirla utilizando una herramienta de corte. Prefiero recomendar alguna sierra eléctrica pequeña, pero en ausencia de ella se puede utilizar una sierra de mano como la que les muestro.
 |  |
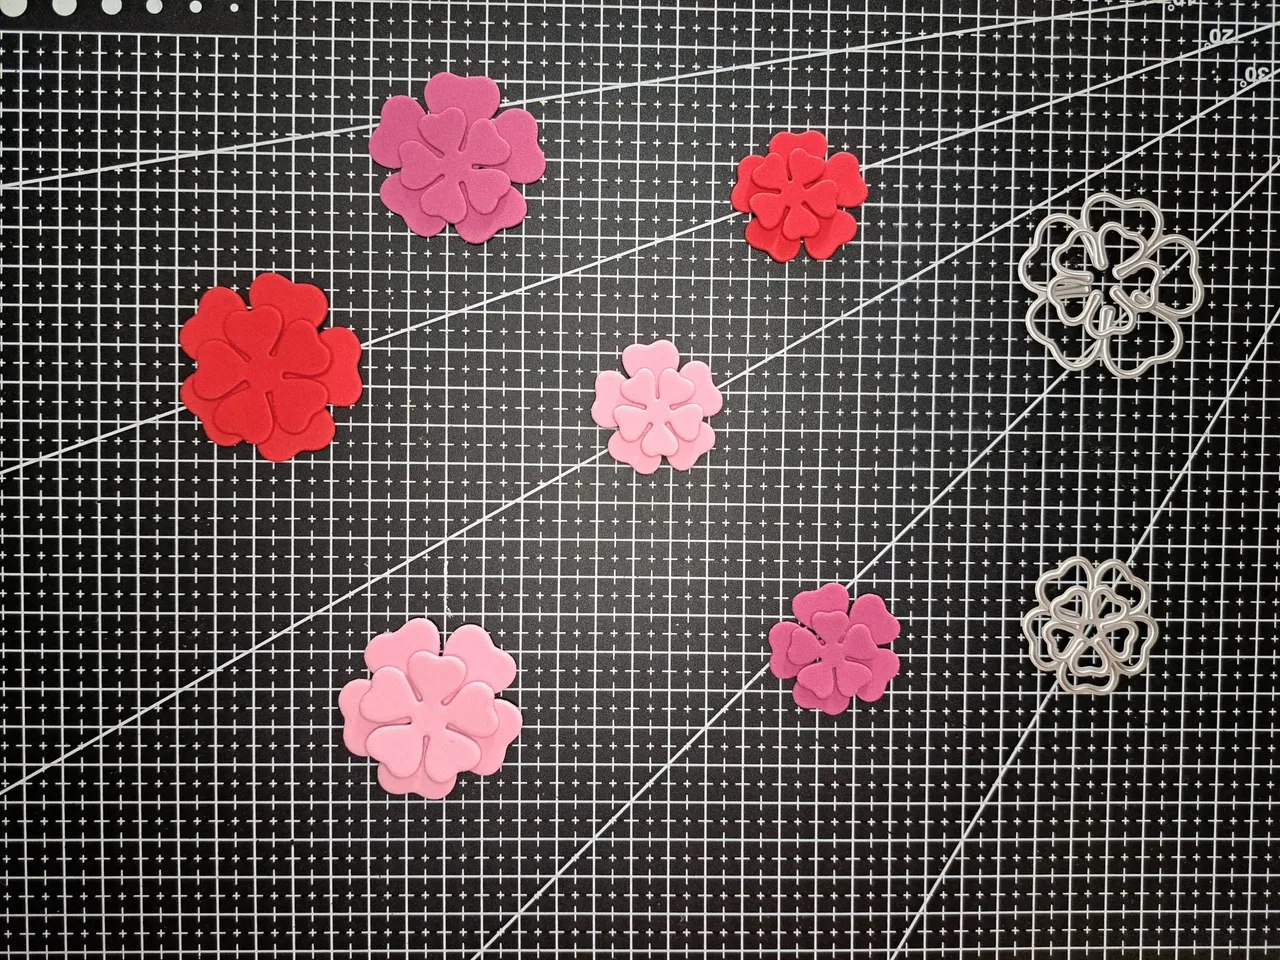
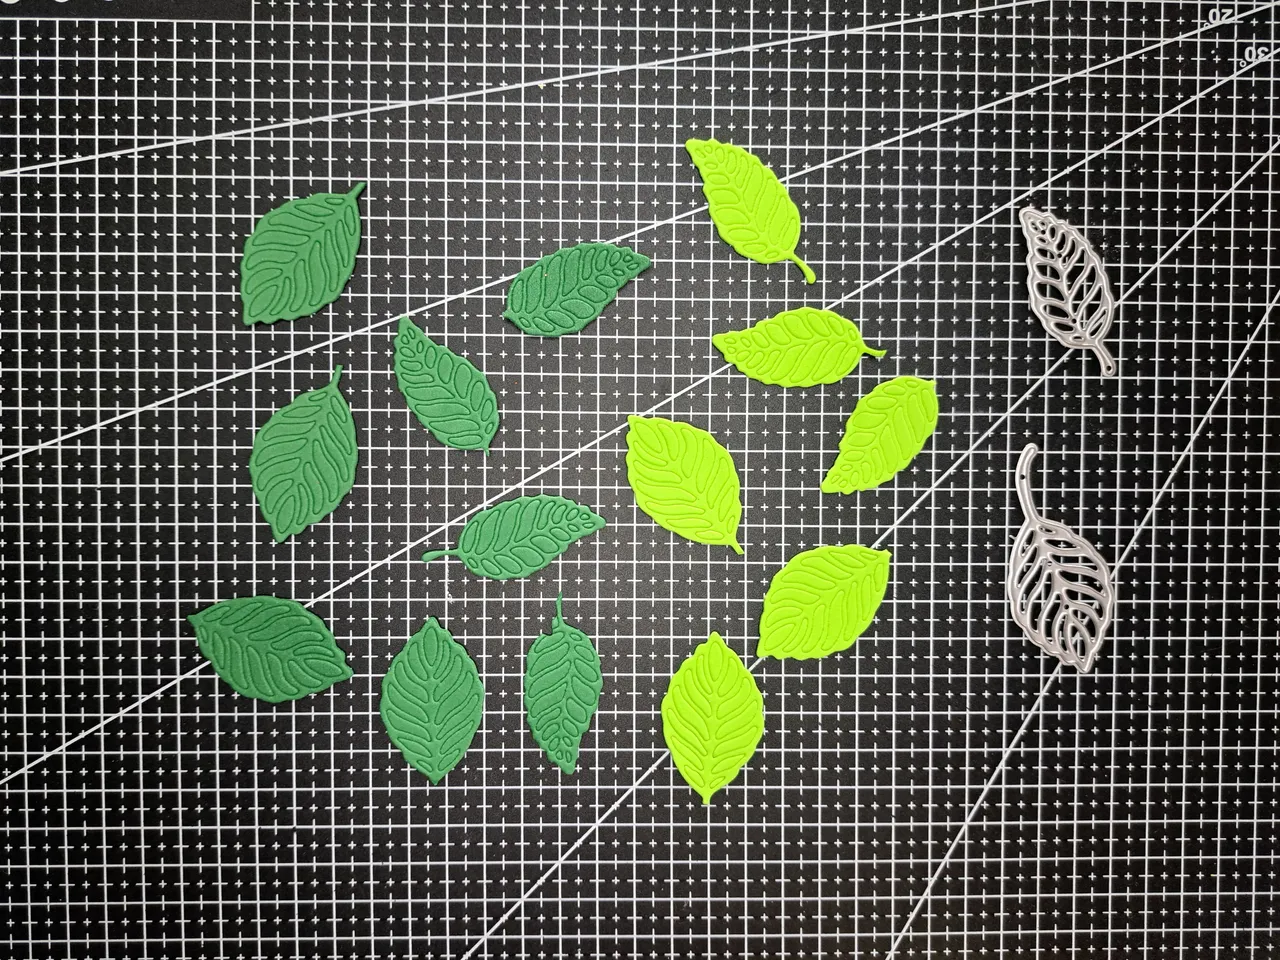
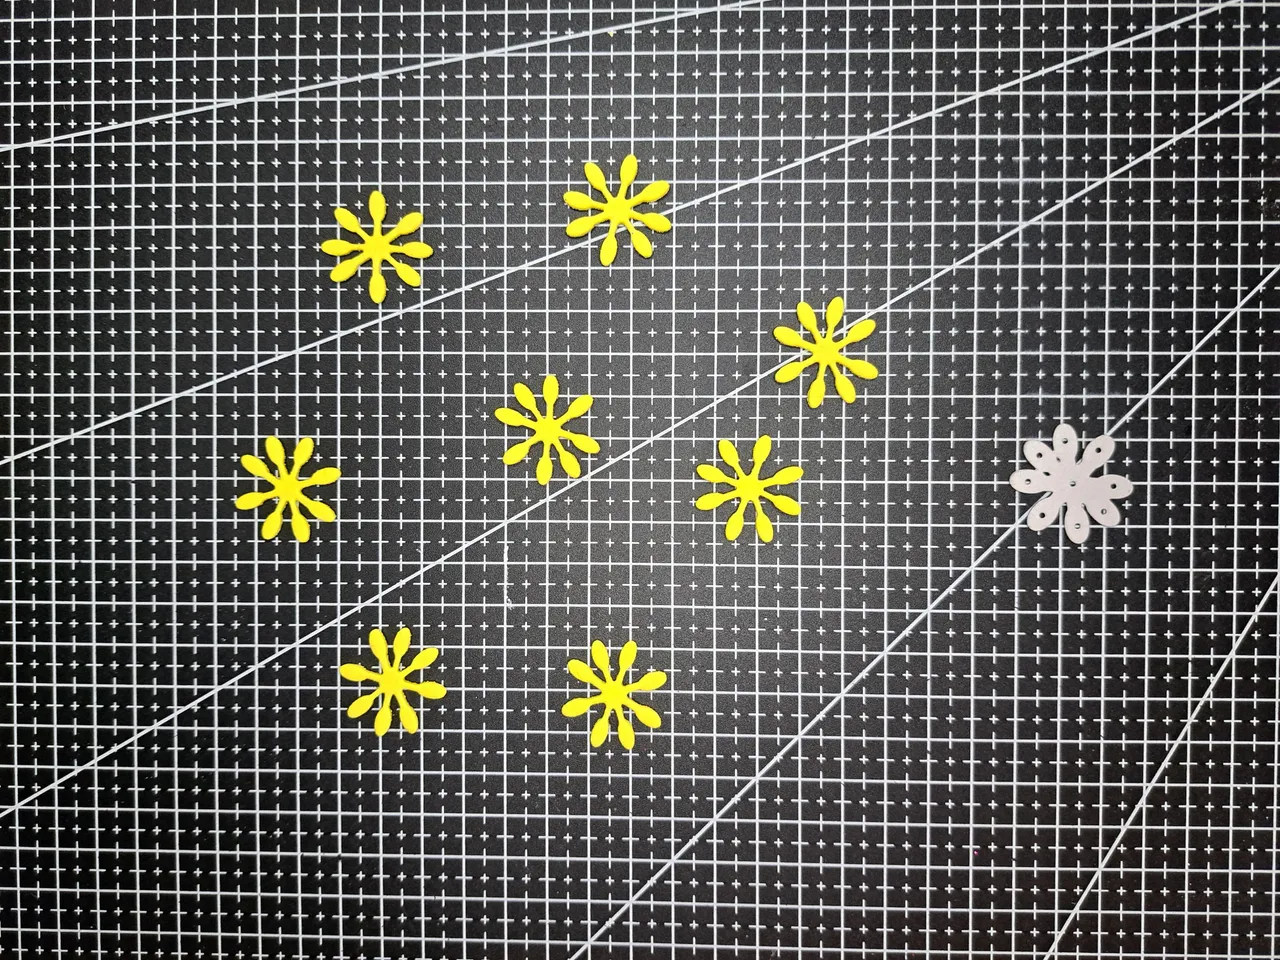
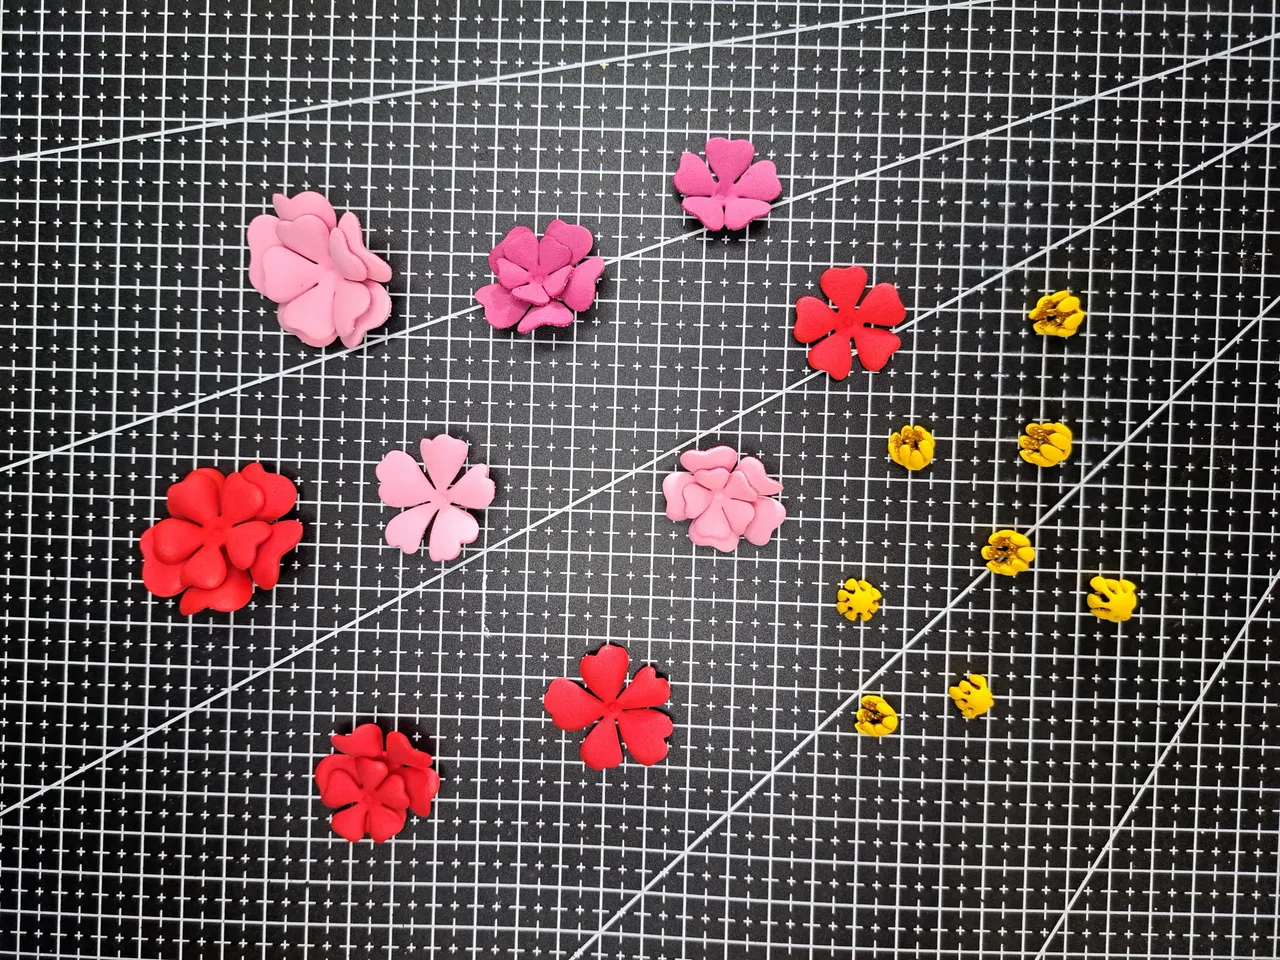
4️⃣ The floral section of the ornament will be made up of three parts: the flowers, the pistils of the flowers and the leaves. Each of these parts will be cut out using the dies or a pair of scissors.
La sección floral del adorno estará compuesta por tres partes: las flores, los pistilos de las flores y las hojas. Cada una de estas piezas se recortará utilizando los troqueles o unas tijeras.
 |  |  |
5️⃣ Once all the pieces are ready, they will undergo a heat treatment to thermoform them and then the flowers will be assembled with their pistil. As you can see, the flowers are not the same size, since to create the floral cascade effect it is necessary that they have different sizes. The size variation can be adjusted with heat, since fomi shrinks when heated for a long time.
Una vez estén listas todas las piezas, se someterán a un tratamiento de calor para termoformarlas y luego se ensamblarán las flores con su pistilo. Como podrán apreciar, las flores no son del mismo tamaño, ya que para crear el efecto de cascada floral es necesario que estas posean distintos tamaños. La variación del tamaño puede ser ajustada con calor, puesto que el fomi al calentarse durante mucho tiempo se contrae.
 |  |
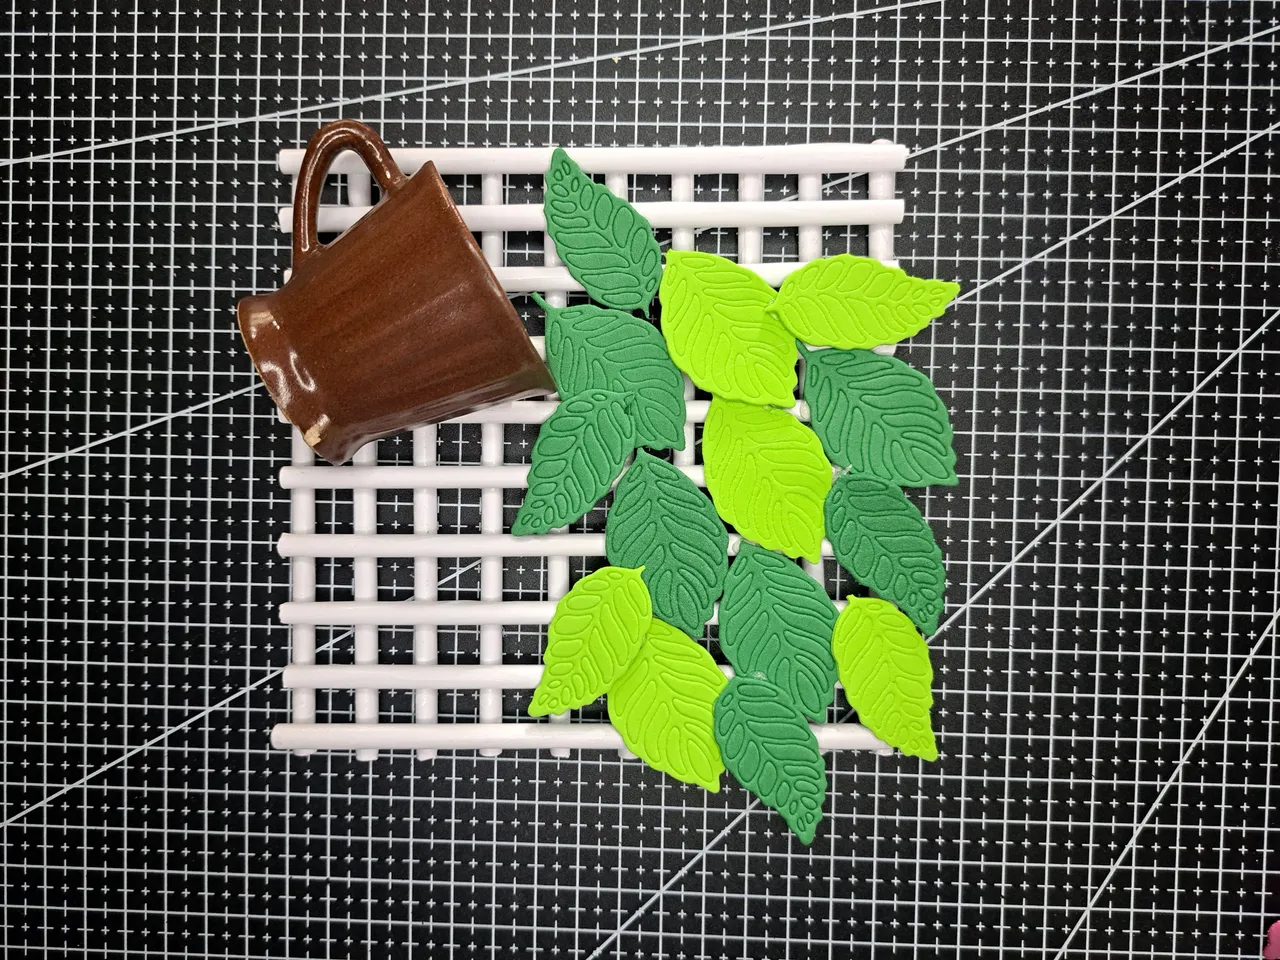
6️⃣ With all the parts ready, start assembling the ornament, first gluing the cup in one of the corners with an inclined downward position. Next, the leaves will be glued in different colors and oriented downwards for the most part.
Con todas las partes listas, se empieza a armar el adorno, pegando primeramente la taza en una de las esquinas con una posición inclinada hacia abajo. A continuación, se pegarán las hojas intercalando sus colores y orientadas hacia abajo en su mayoría.
 |  |
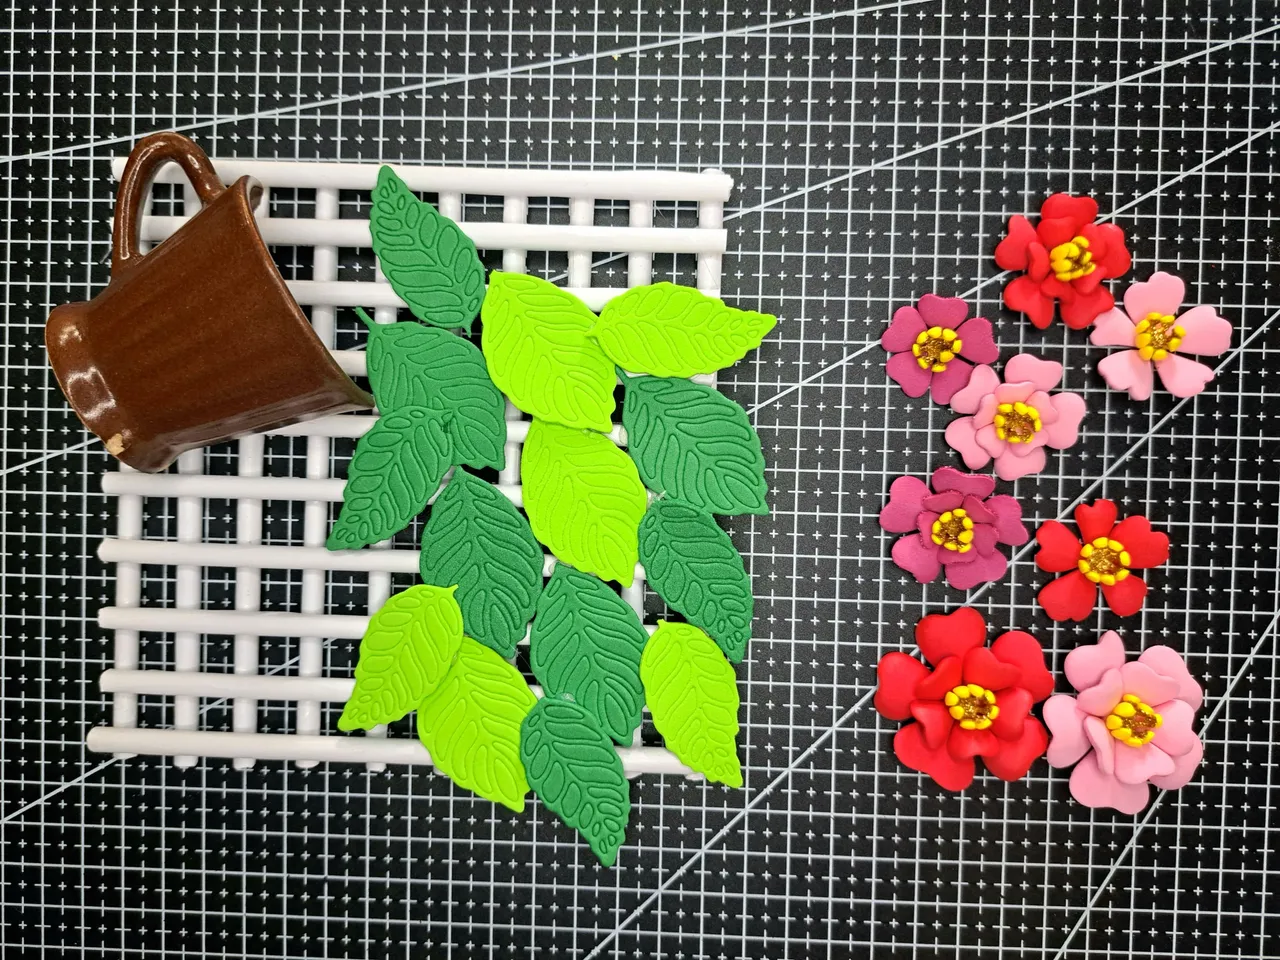
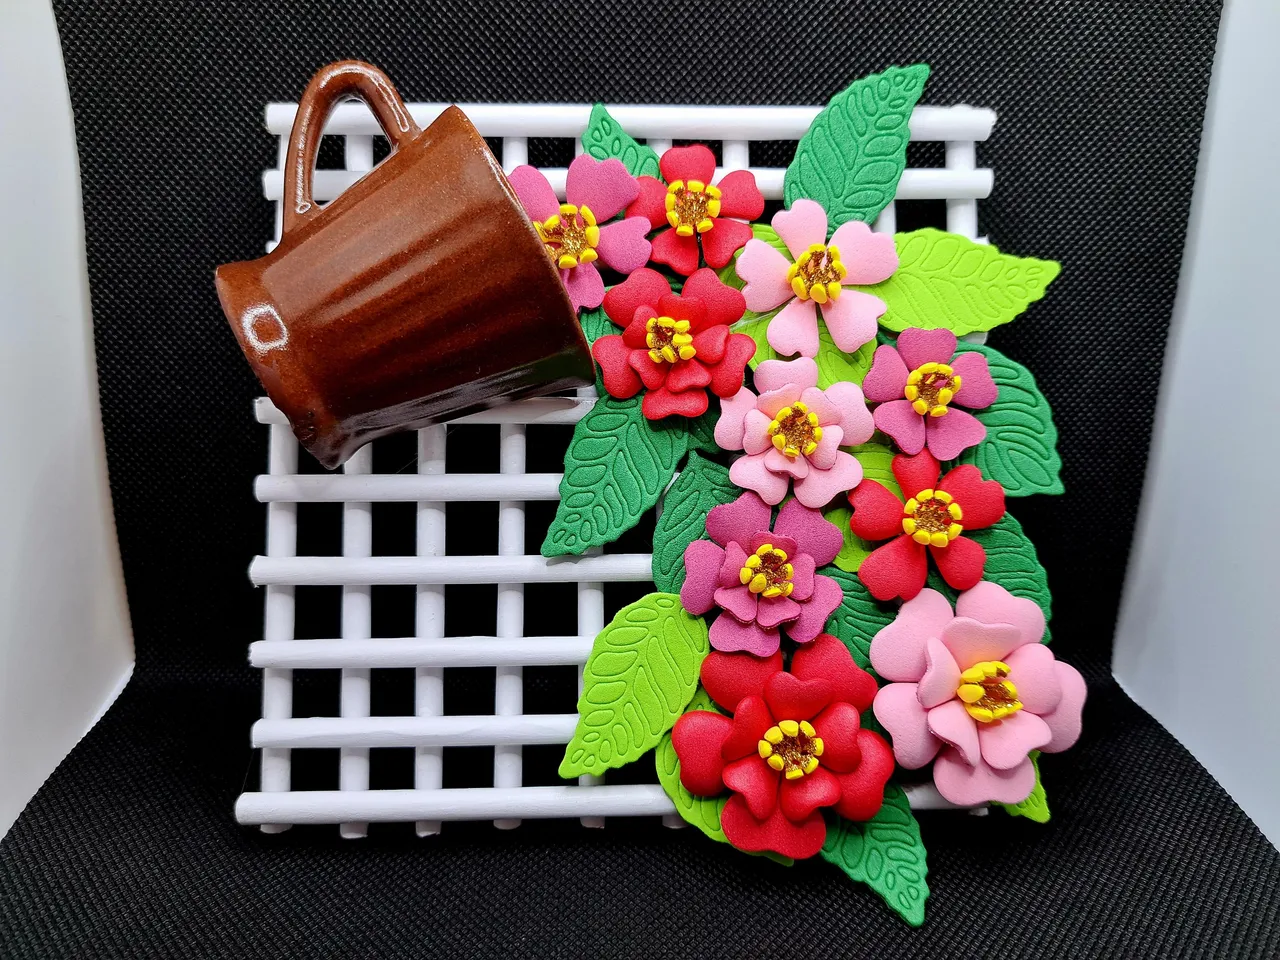
7️⃣ Finally, the flowers will be glued on top of the leaves in such a way that, by playing with the order of the sizes, it creates the sensation that the coffee cup is full of flowers and is spilling over.
Para finalizar, se pegarán las flores encima de las hojas de forma tal que, al jugar con el orden de los tamaños, se cree la sensación de que la taza de café está llena de flores y se está derramando.
 |  |
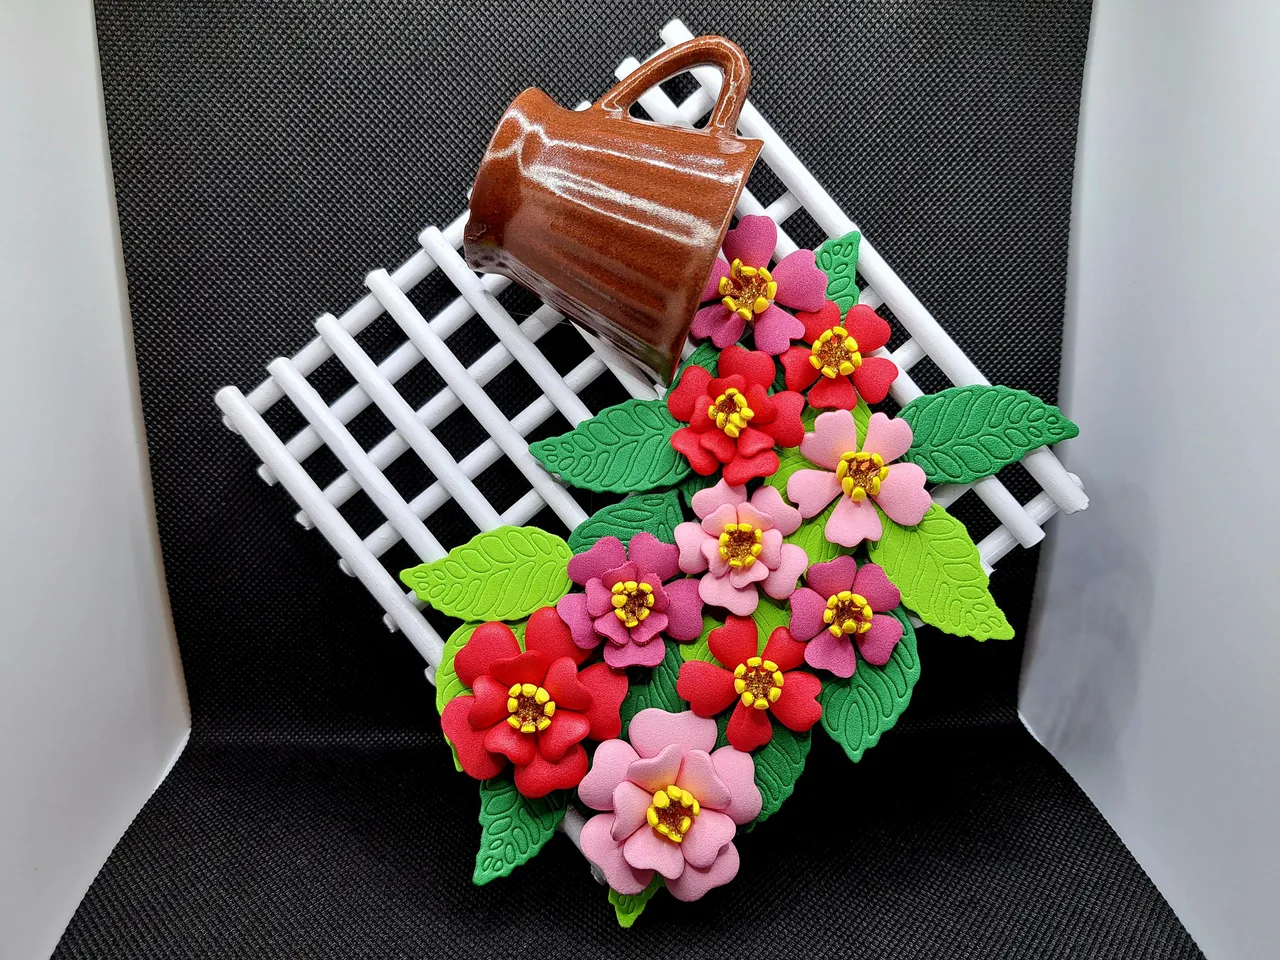
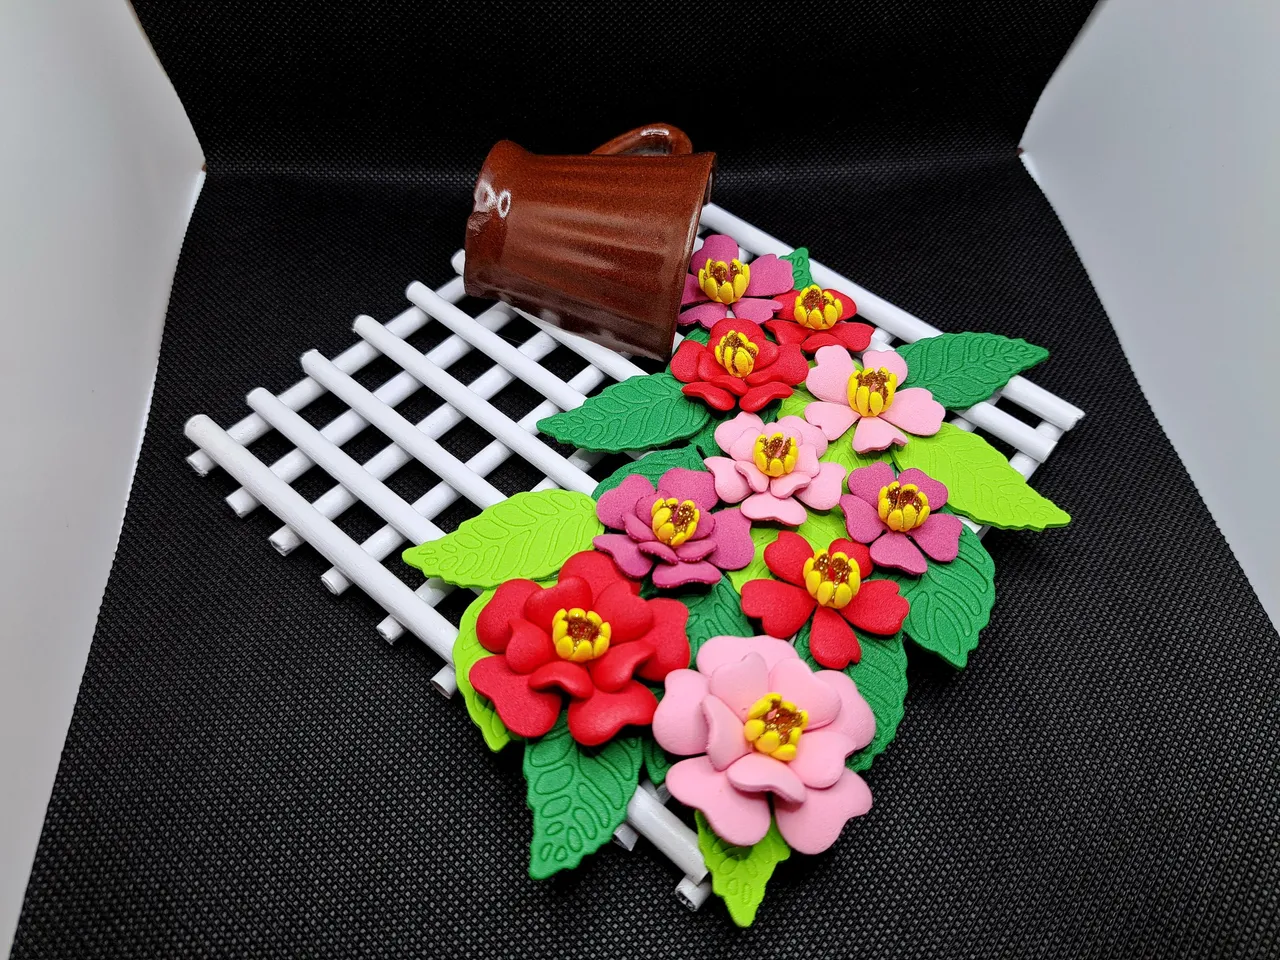
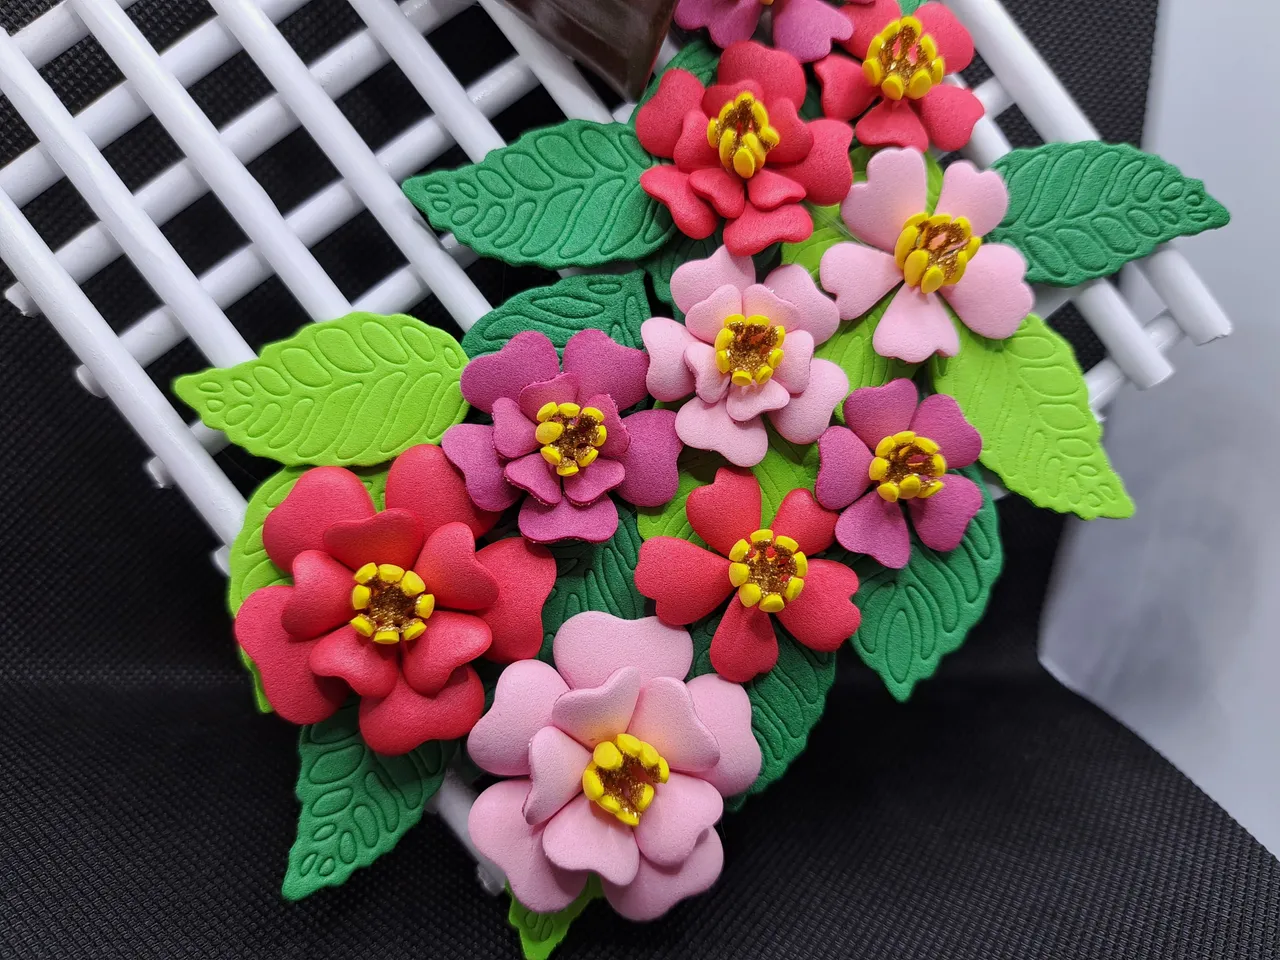
Finished Work // Trabajo Terminado
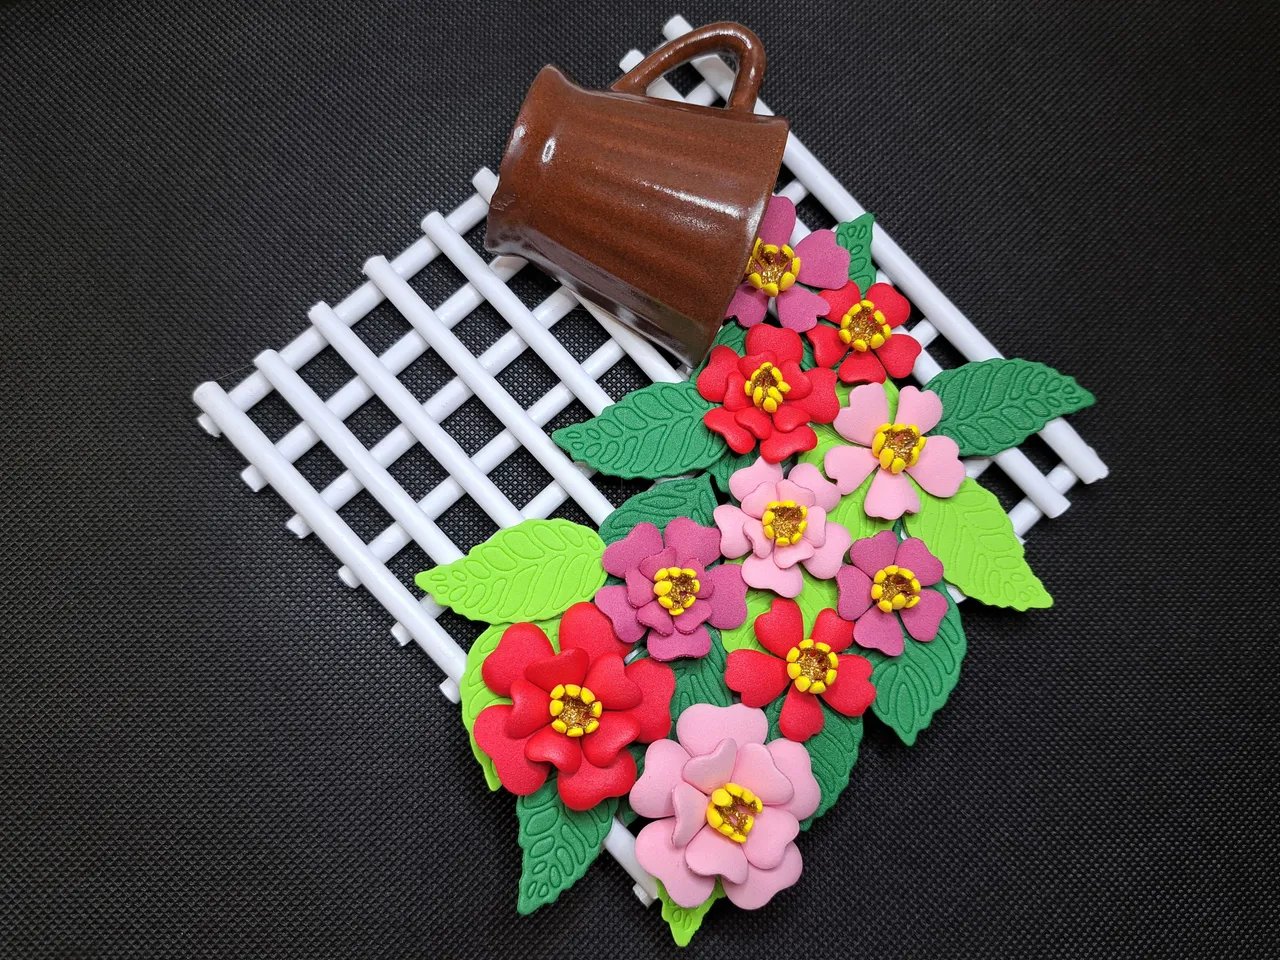
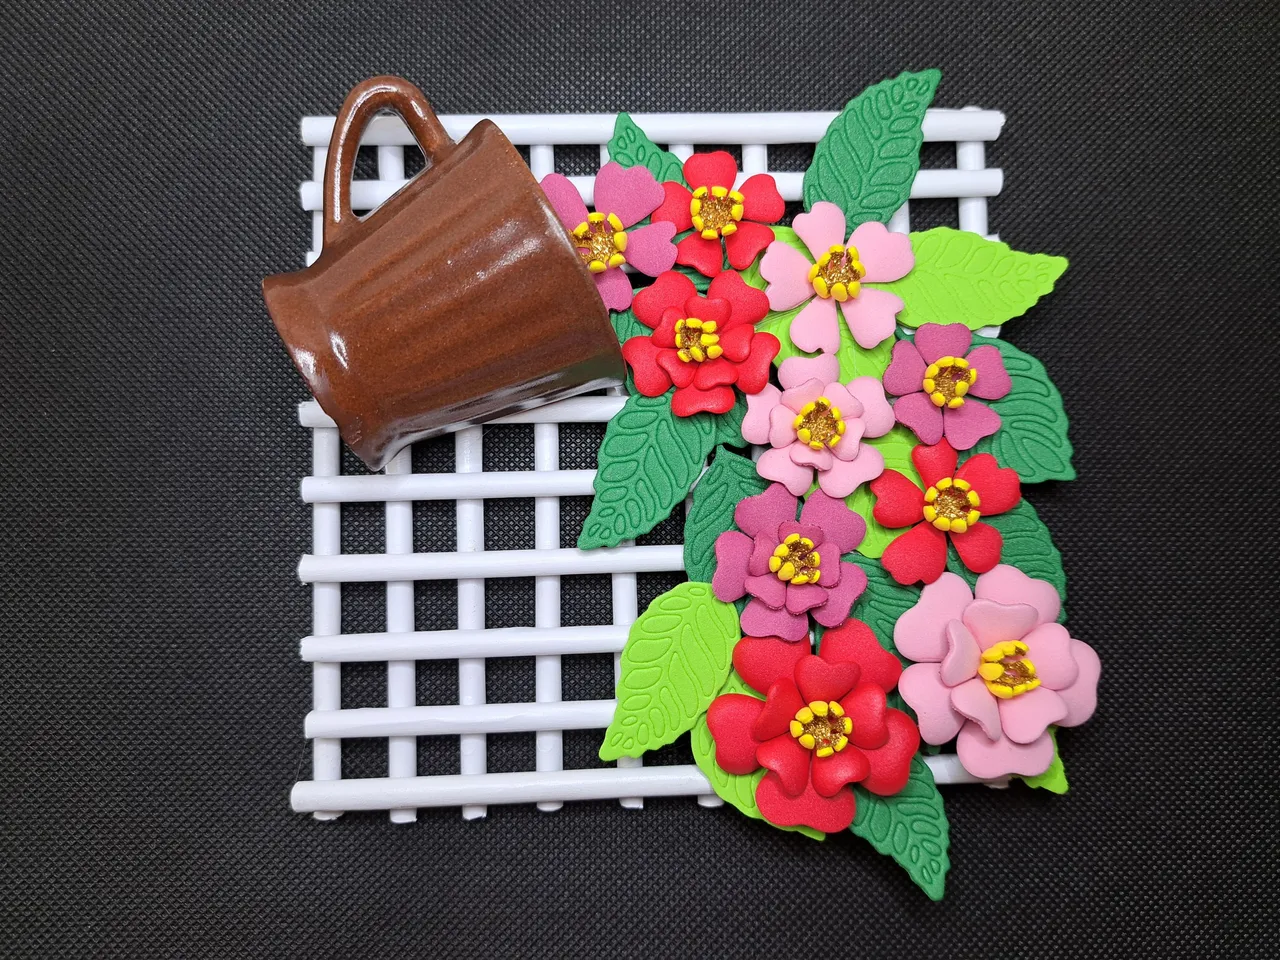
And well, friends, that would be all for today. I hope you liked this creative tutorial and that it was easy to understand. I don't want to say goodbye without asking you a question, how do you think the ornament will look better, straight or slanted? You can use the following images to make up your mind.
Y bueno, amigos, eso sería todo por hoy. Espero que les haya gustado este tutorial creativo y que haya sido fácil de entender. No quiero despedirme sin hacerles una pregunta. ¿Cómo creen que se verá mejor el adorno, recto o inclinado? Pueden utilizar las siguientes imágenes para tomar una decisión.
 |  |
 |  |

Credits and Resources // Créditos y Recursos
Cover page created in Canva
Translated by DeepL
Images captured with my Samsung Galaxy A53