Hola amigos, espero se encuentren muy bien! 🌻
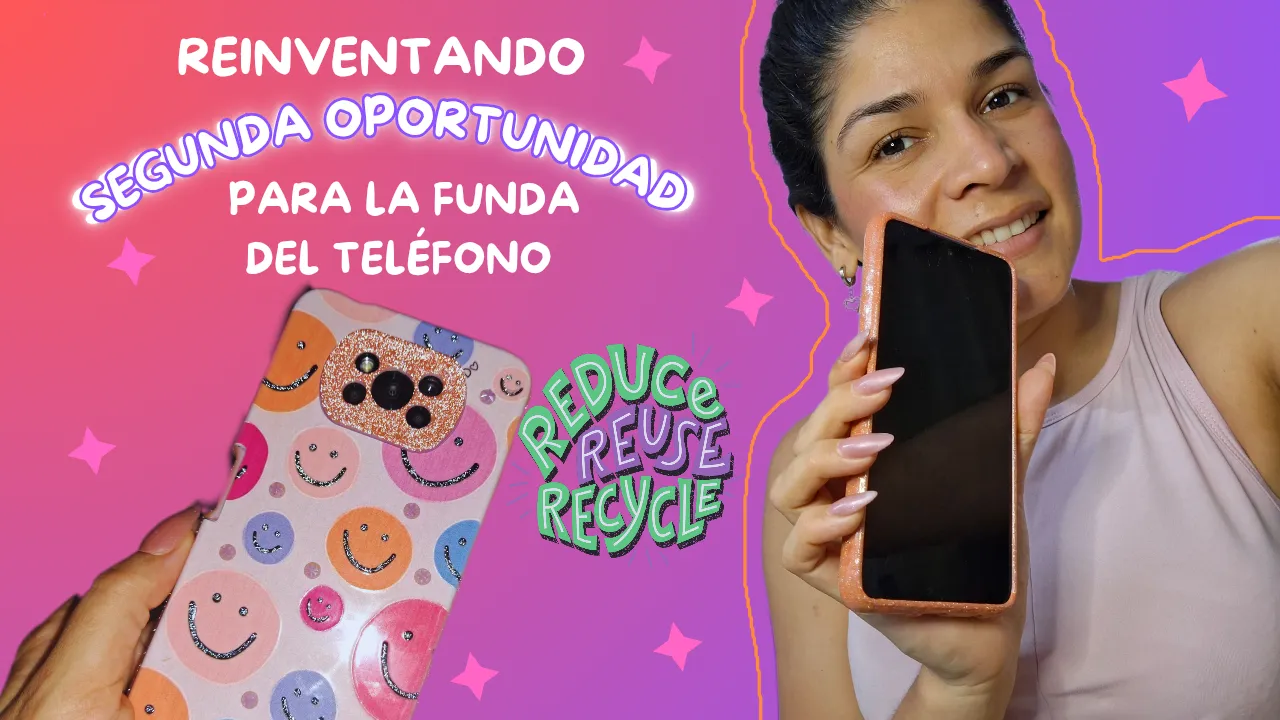
Hoy paso por aqui para compartir con todos ustedes, un proyecto que realice en casa y es que darle una segunda oportunidad de uso a cualquier objeto me hace sentir bien, me encantan hacer manualidades esto me relaja y tambien me desconecta ya que me concentro mucho... Y para este proyecto quise darle una nueva vida a la funda de mi telefono por dos razones una que no estaba rota ni dañada y la segunda me siento bien cuando reciclo algo, porque siento que le estoy dando un cariñito a nuestro planeta.🌎
Hello friends, I hope you are feeling great! 🌻
Today I'm here to share with all of you, a project that I made at home and is that giving a second chance to use any object makes me feel good, I love doing crafts this relaxes me and also disconnects me because I concentrate a lot .... And for this project I wanted to give a new life to my phone case for two reasons one it was not broken or damaged and the second I feel good when I recycle something, because I feel that I am giving a little love to our planet.
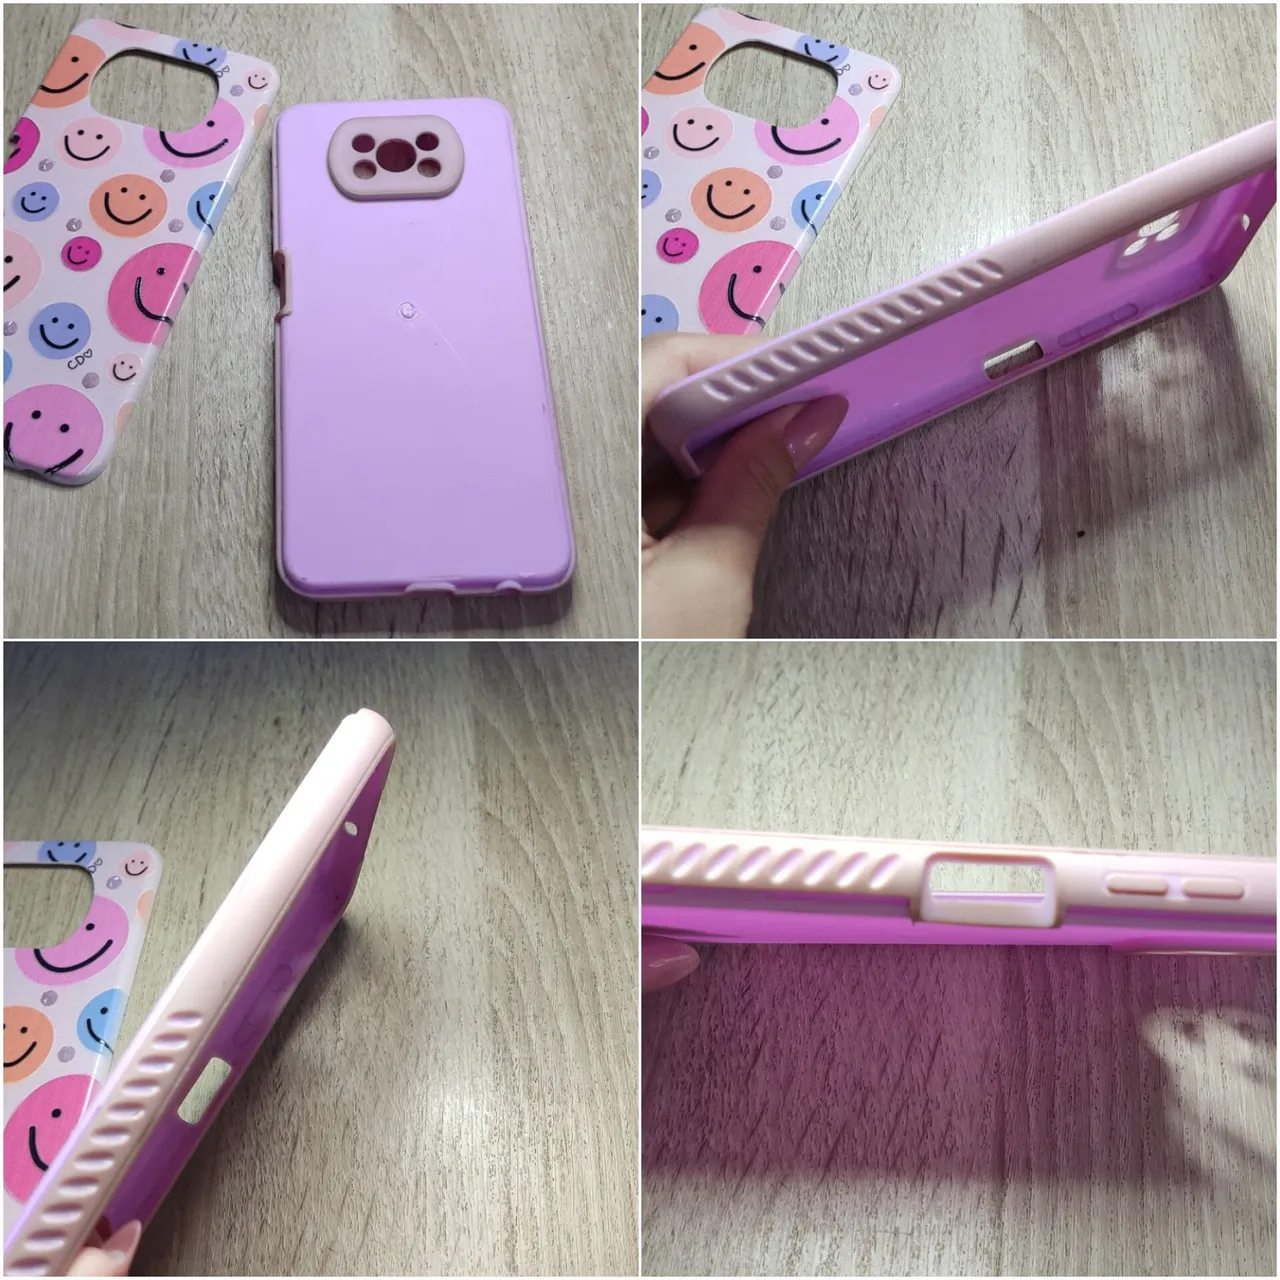
Esta funda del telefono tiene una tapa de plastico en l parte trasera con muchas caritas de colores pintadas y la parte interna es de goma que por el uso diario se ensucio y ya no la estaba usando porque se ve super feo, queria tirarla a la basura pero mejor quise tratar de arreglarla y la verdad es que me gusto mucho en resultado. Aqui les voy a comentar los pasos que realice para este proyecto.
This phone case has a plastic cover on the back with many colorful faces painted on it and the inside is made of rubber that because of the daily use got dirty and I was not using it anymore because it looks super ugly, I wanted to throw it away but I wanted to try to fix it and the truth is that I really liked the result. Here I am going to tell you the steps I did for this project.
Como podrán observar en las imagenes el sicio que se encuentra en la goma, esta en las partes expuestas que son los laterales y tambien el la parte que cubre la camara y esas son las areas que voy a trabajar.
As you can see in the pictures, the rubber is in the exposed parts which are the sides and also the part that covers the camera and those are the areas that I am going to work on.
Paso 1:
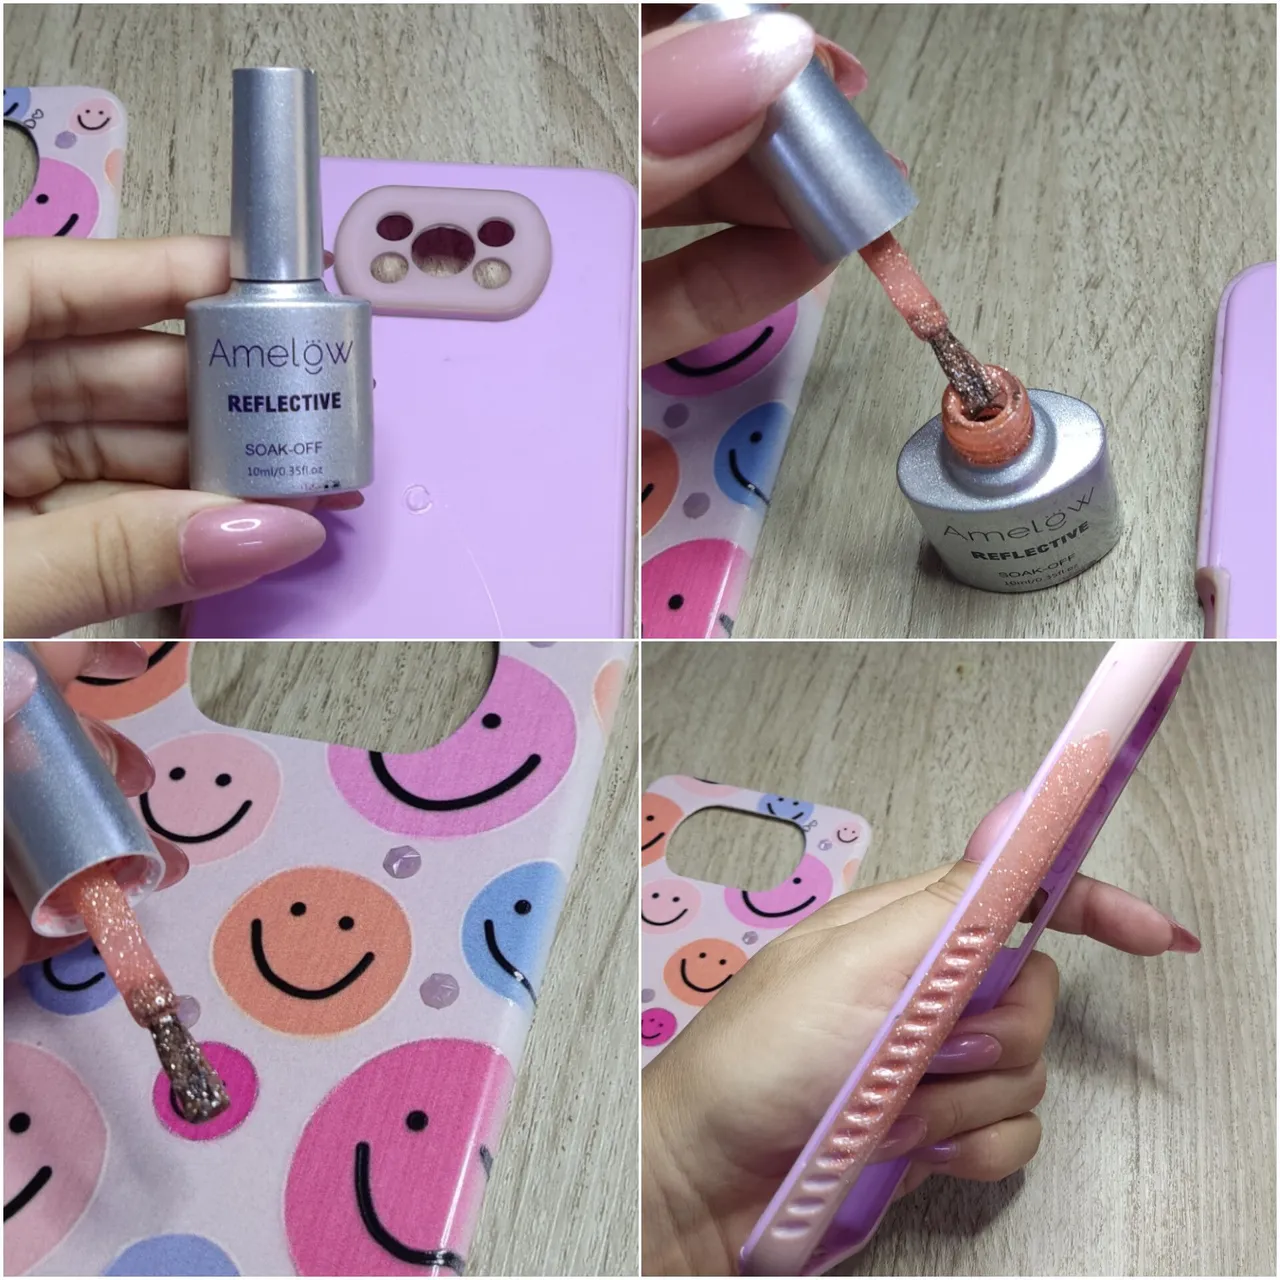
Para realizar este cambio quise usar pintura semipermanente de ess que uso para realizar el manicure, escogí cin color reflectivo en un tono muy parecido al de una de las caritas de la tapa trasera y comence aplicarlo en primer lugar en los laterales.
Step 1: To make this change I wanted to use ess semi-permanent paint that I use for manicure, I chose a reflective color in a shade very similar to one of the faces on the back cover and started applying it first on the sides.
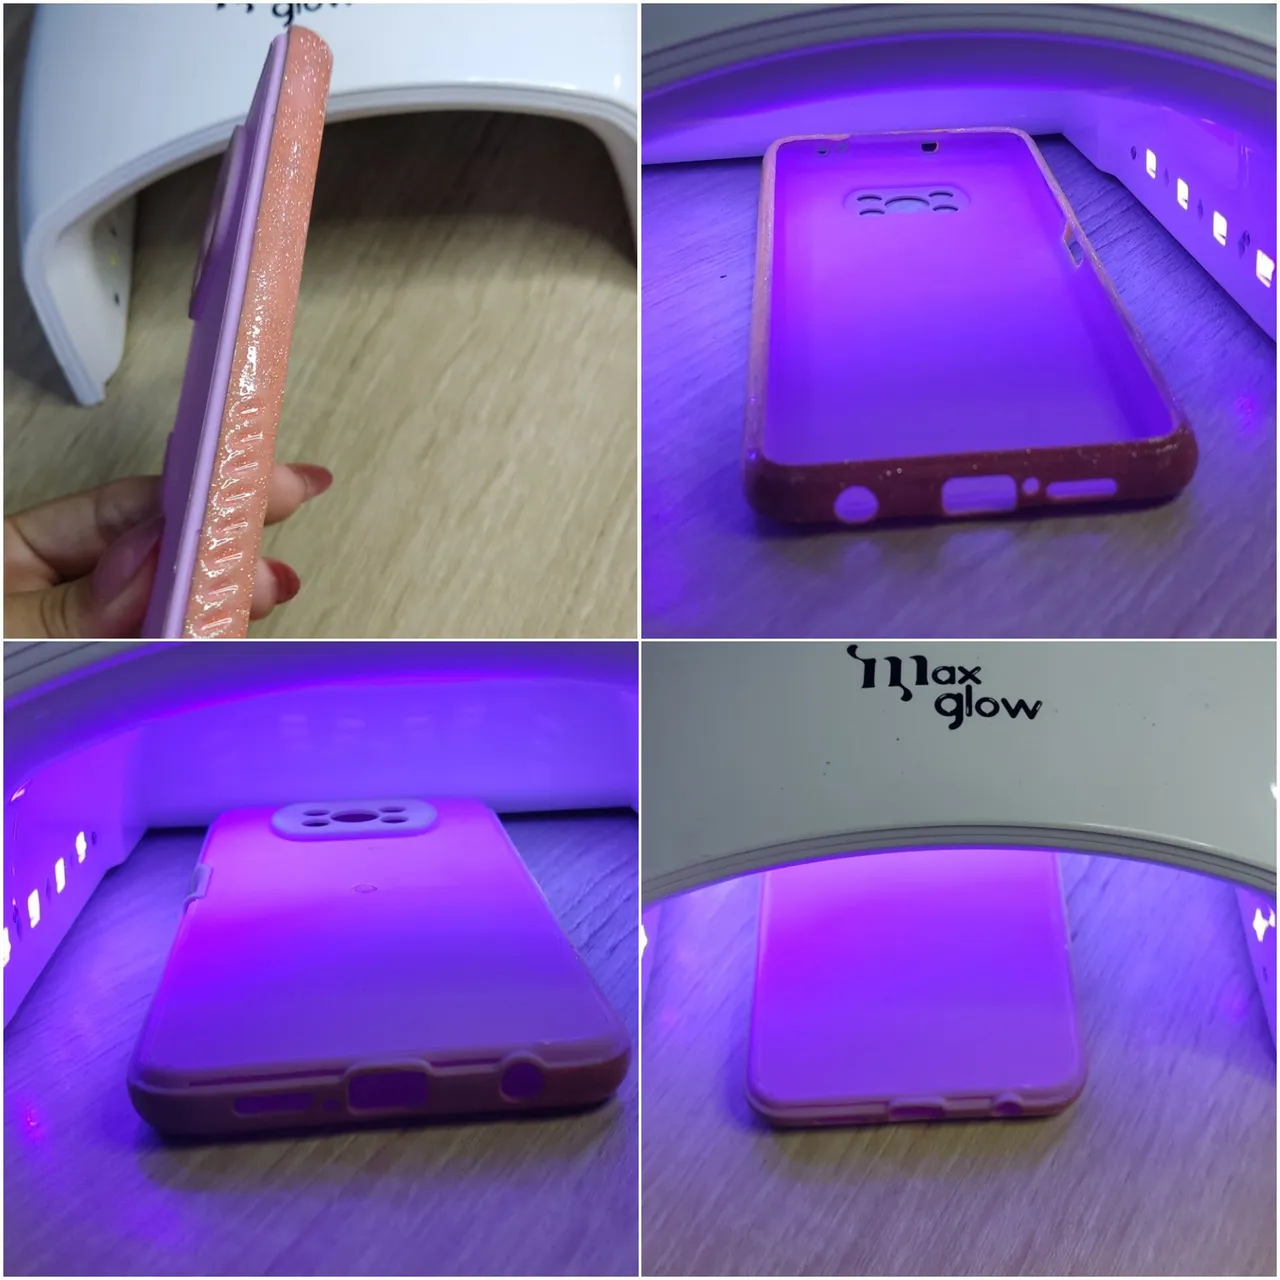
Paso 2:
Luego como es pintura semipermanente necesita ser secada en una lampara de luz led por 60 segundos. La pintura la fui aplicado un lado a la vez y secando. Le aplique dos capas para alcanzar el tono que queria.
Step 2: Then as it is a semi-permanent paint it needs to be dried in a led light bulb for 60 seconds. The paint was applied one side at a time and drying. I applied two coats to achieve the tone I wanted.
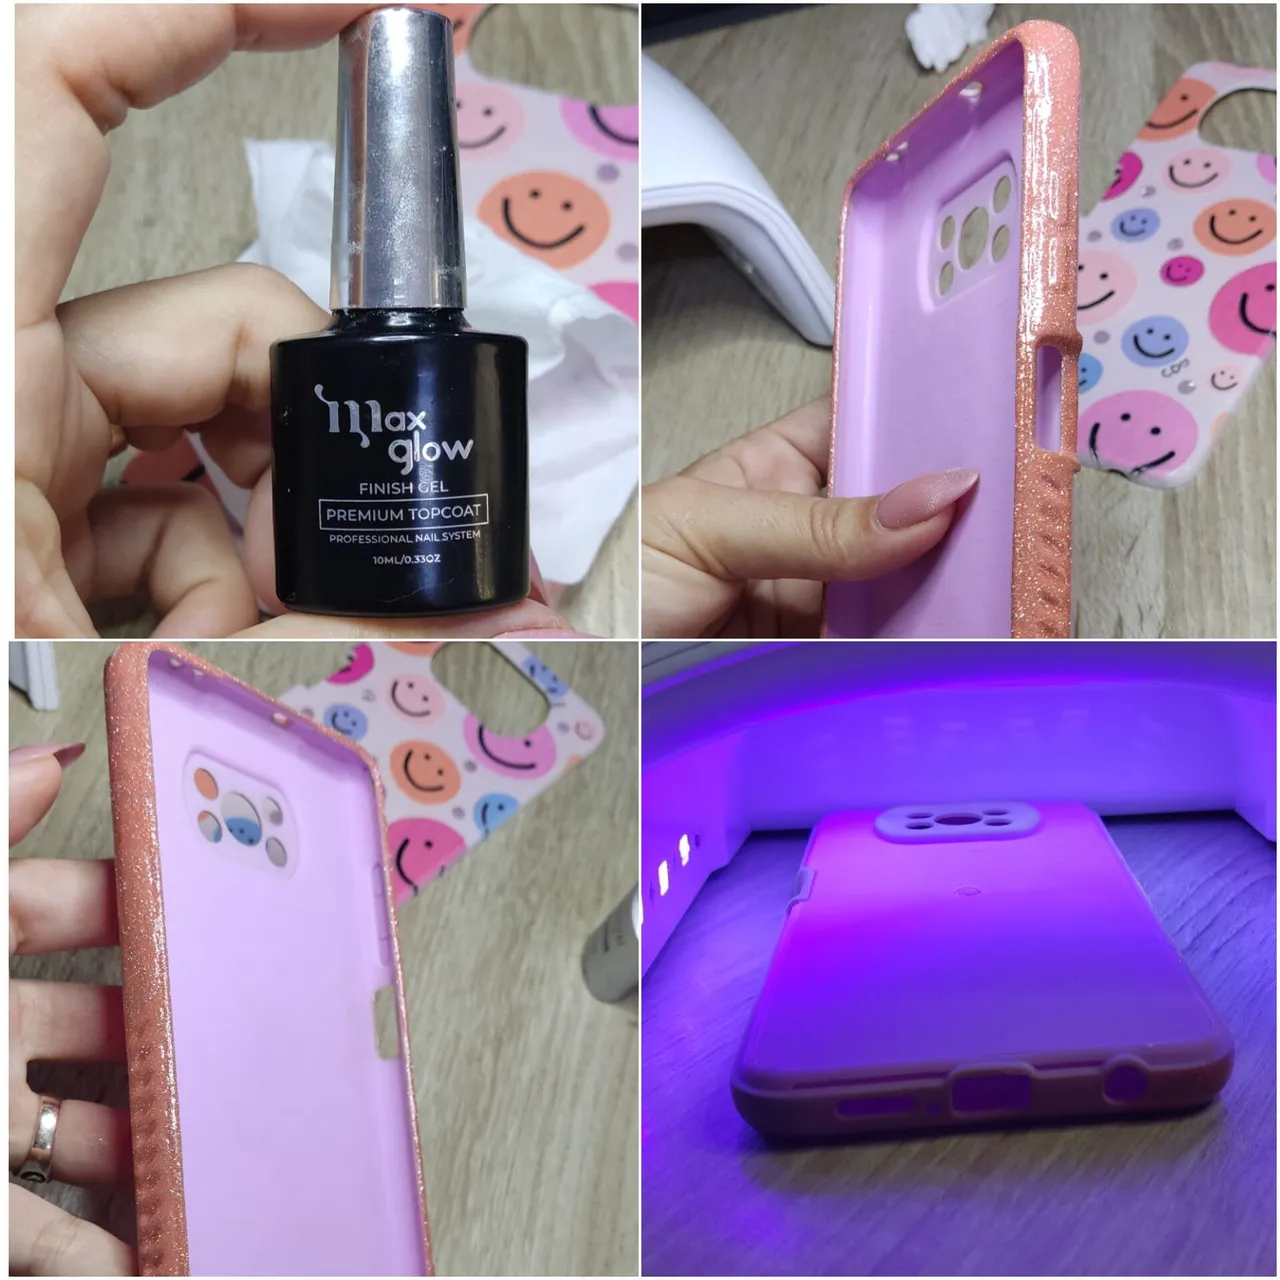
Paso 3:
Para finalizar aplique un gel finalizador por todo lo que habia pintado y seque en la lampara por 60 segundos.
Step 3: To finish, apply a finishing gel over all the paint and dry under the lamp for 60 seconds.
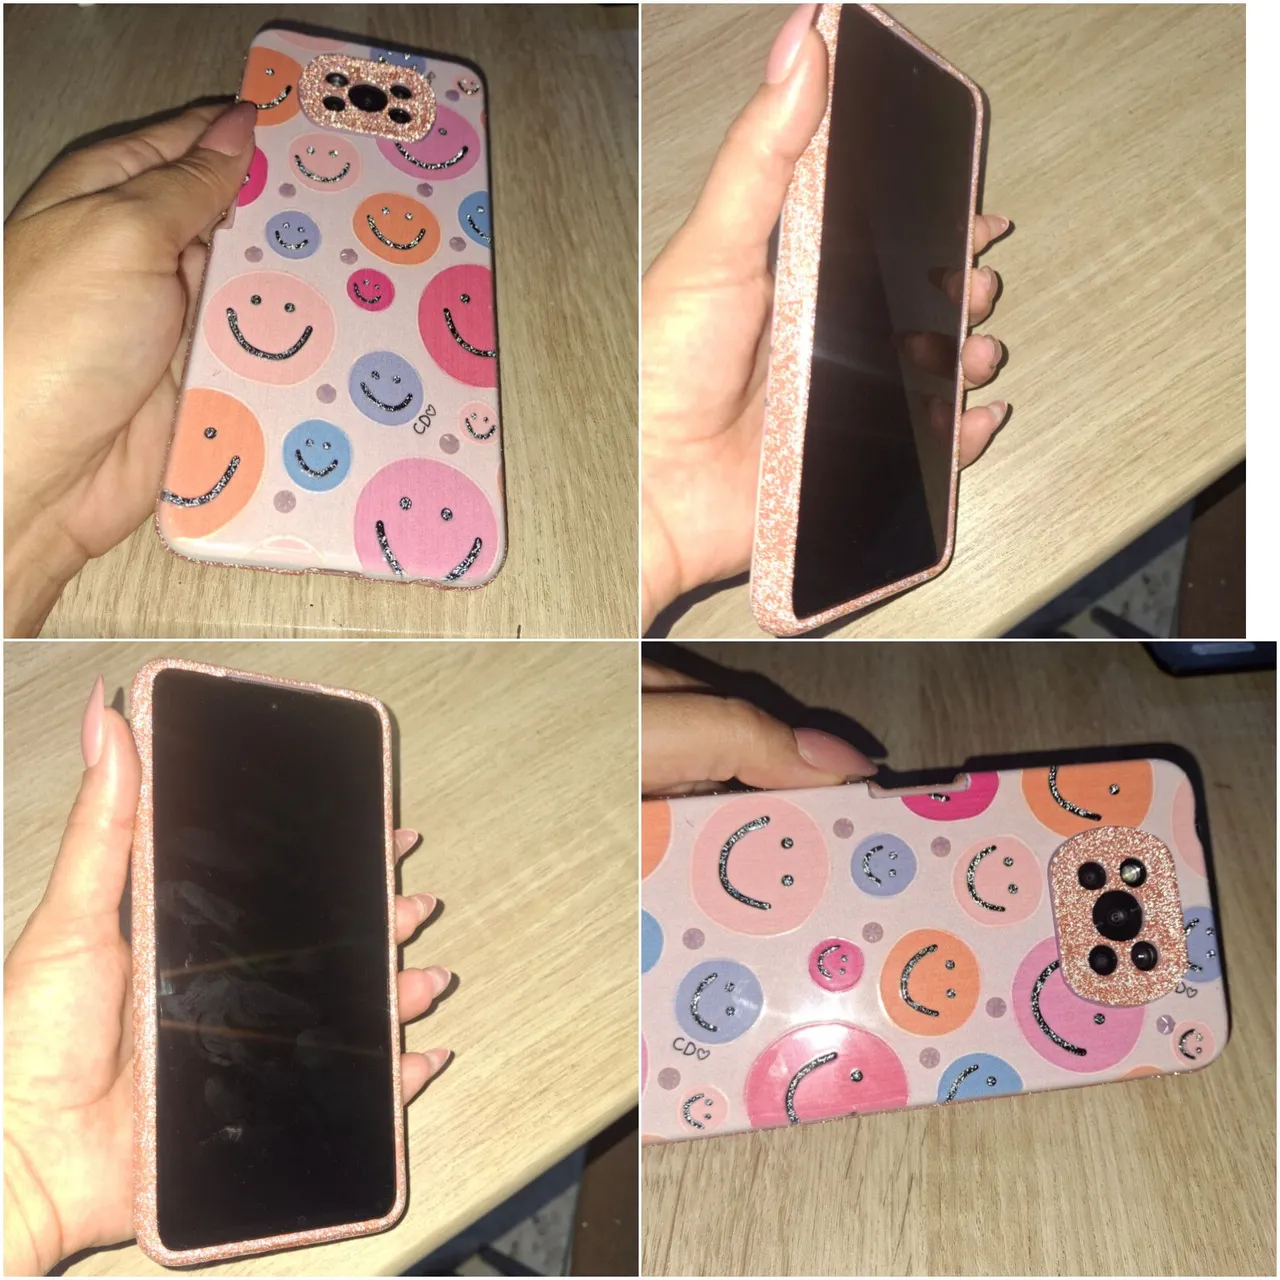
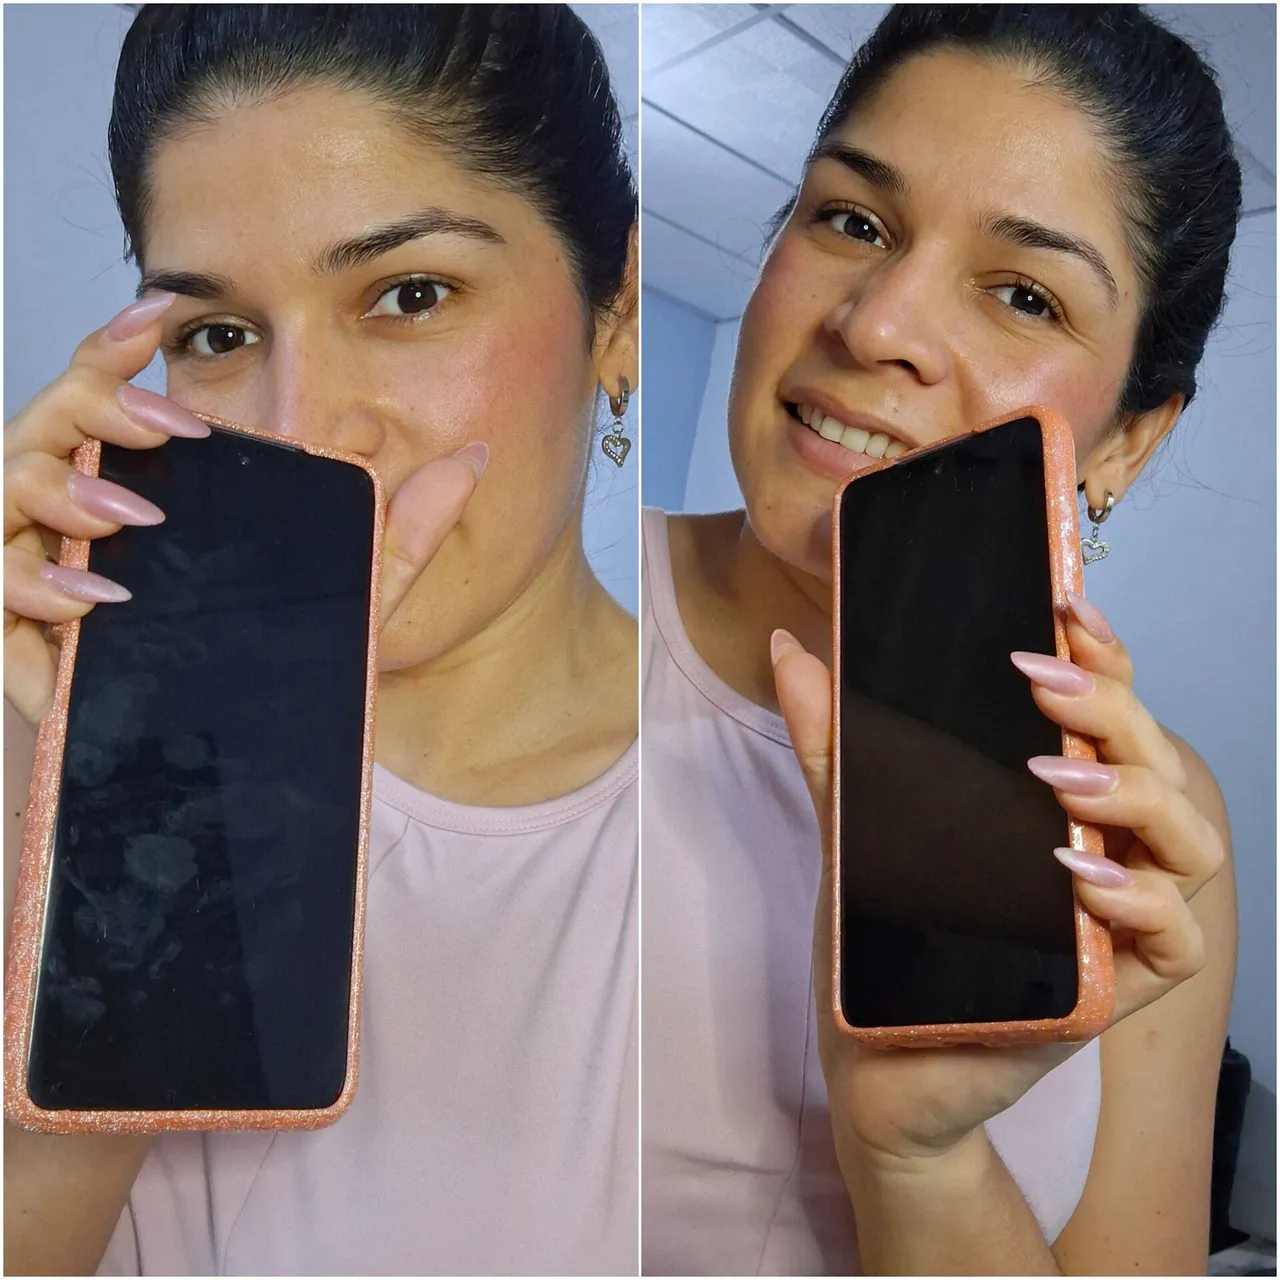
Y asi de fácil le cambie el color y le di otra oprtunidad a este forro que casi iba a la basura, el resultado me encanto y siento que tengo una funda nueva. Gracias por llegar hasta aqui, espero hayas disfrutado el proceso de este cambio y recuerda que en la medida de lo posible Reduce, Reuse y Recicle. ♻️
And just like that I changed the color and gave another oprtunity to this lining that was almost going to the trash, the result I love it and I feel like I have a new case. Thanks for making it this far, I hope you enjoyed the process of this change and remember to Reduce, Reuse and Recycle as much as possible. ♻️