
[Esp]
Saludos querida comunidad.
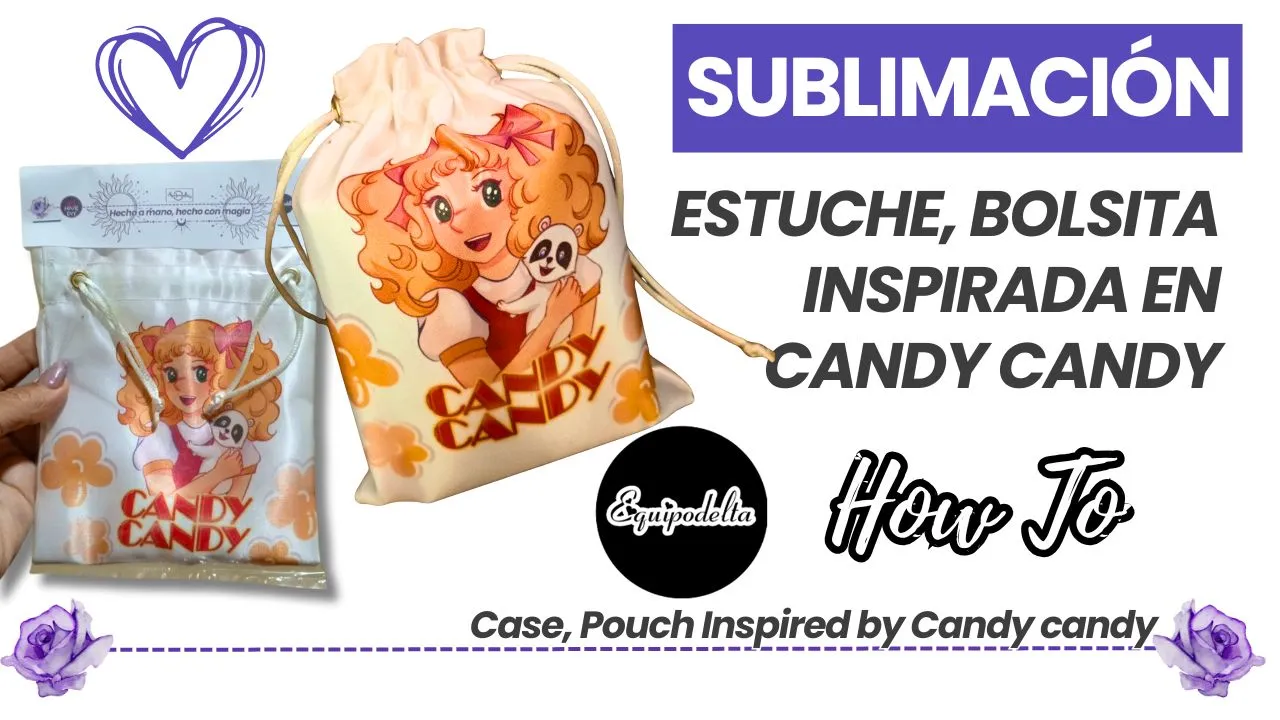
A veces quisiera regresar a los 80's fue una época muy bella en todo aspecto y muy rica en arte, música, cultura, en cuanto a caricaturas, anime, películas, pienso que fue mejor en su estilo. Muchos fuimos y somos fans de Candy Candy, una serie anime bastante dramática, puedo hasta pensar que la historia no era muy apta para niños, sin embargo "la pecosa" pelo amarillo nos robó el corazón con su dulzura y triste historia.
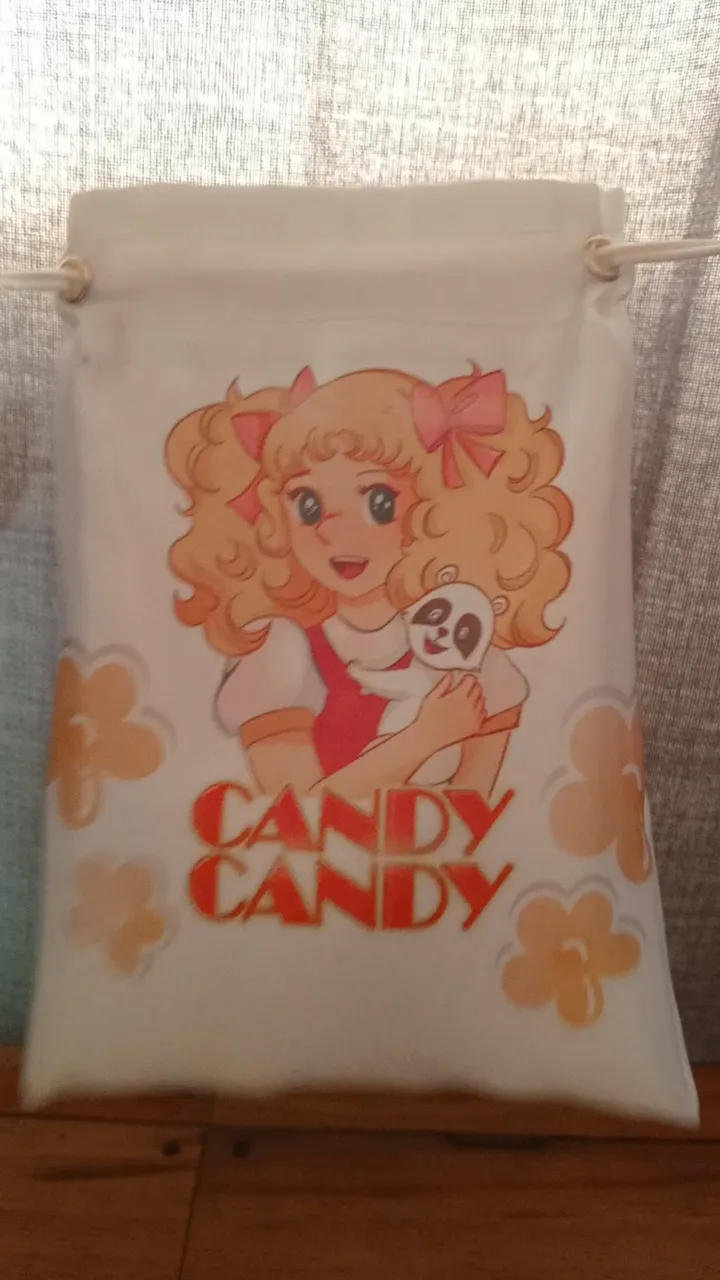
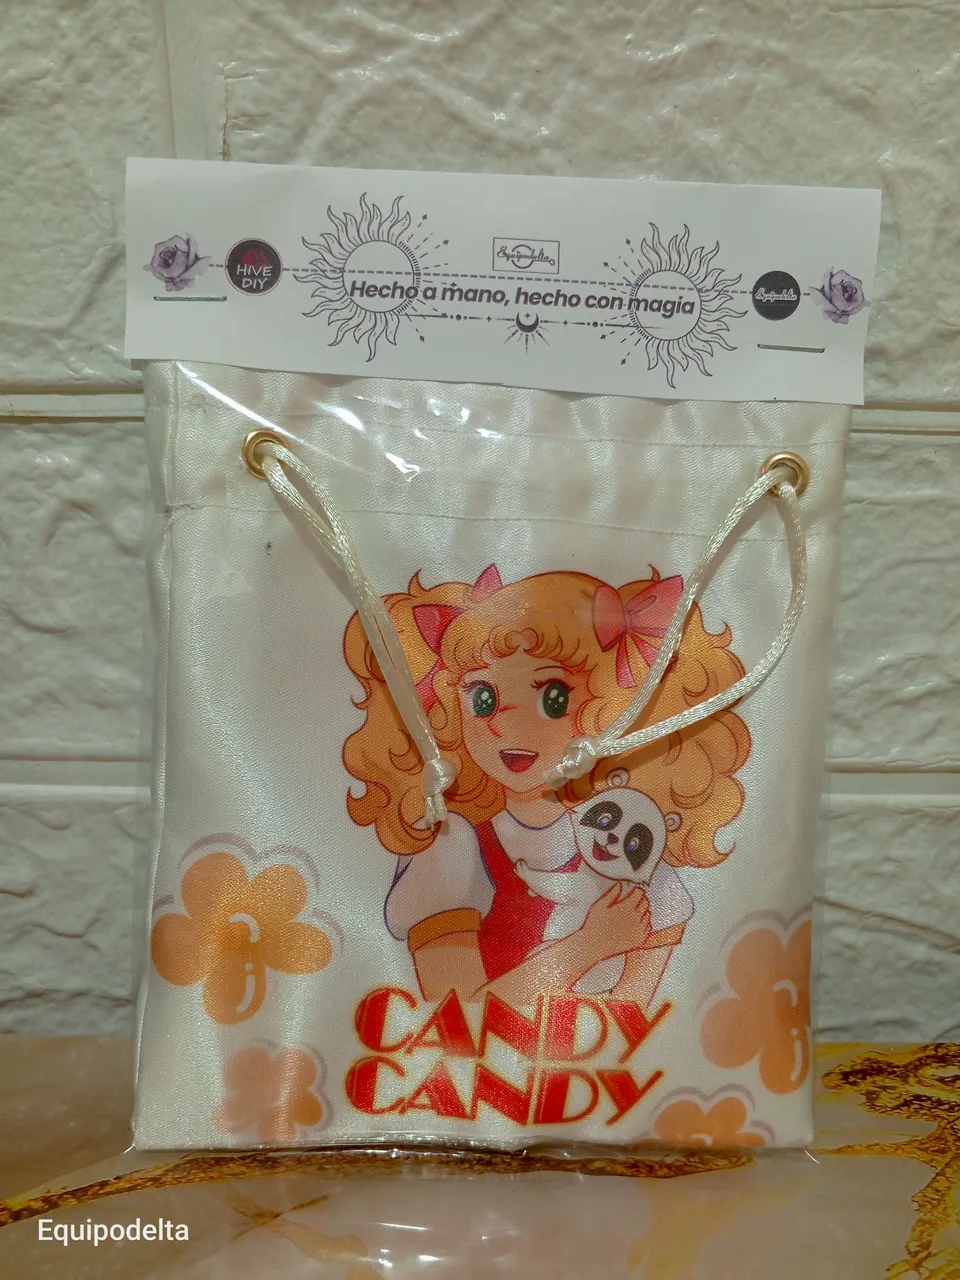
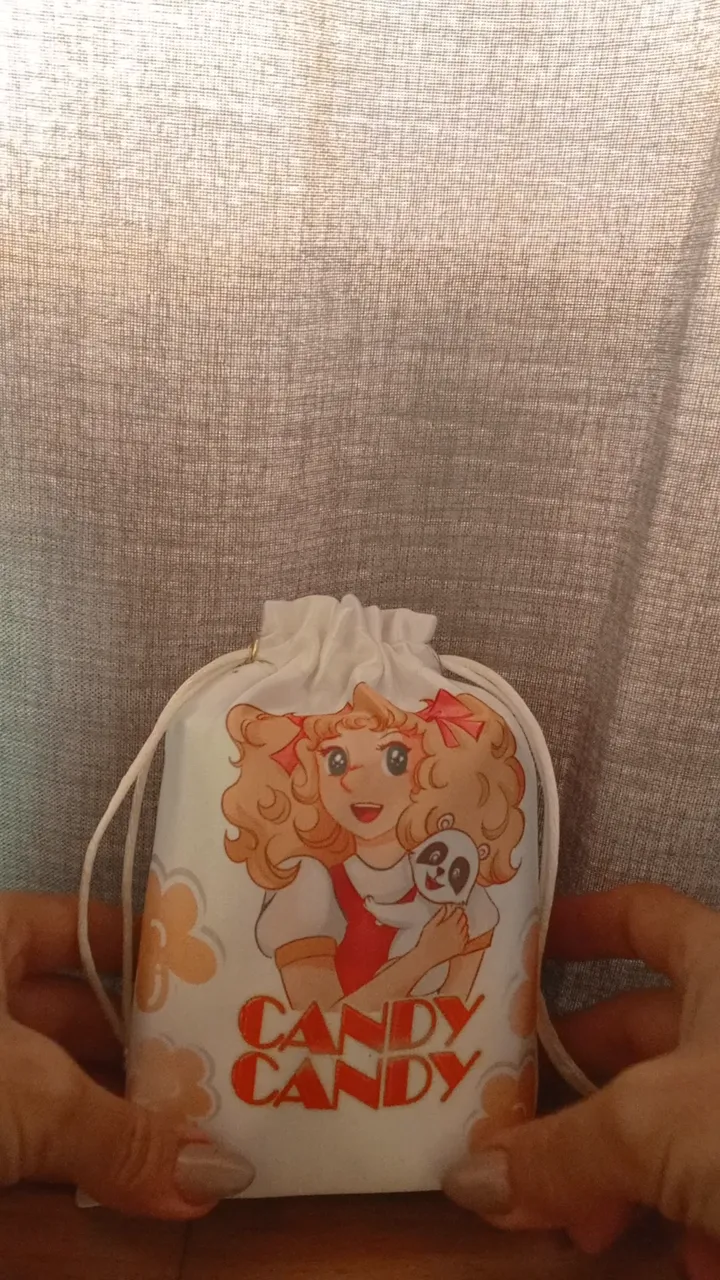
Quise hacerle un homenaje a mis recuerdos y traer de vuelta los 80's con un lindo bolsito sublimado que puede ser un excelente envoltorio para un regalo a alguien que aprecie la serie. Encontré un diseño libre derechos de un DIYS y me pareció estupendo.
Vamos al paso a paso, te invito a ver el vídeo.
! [English version]
Greetings dear community.
Sometimes I would like to go back to the 80's it was a very beautiful time in every aspect and very rich in art, music, culture, in terms of cartoons, anime, movies, I think it was better in its style. Many of us were and are fans of Candy Candy, a very dramatic anime series, I may even think that the story was not very suitable for children, however "the freckled" yellow hair stole our hearts with her sweetness and sad story.
I wanted to pay homage to my memories and bring back the 80's with a cute little sublimated bag that can be an excellent gift wrap for someone who appreciates the series. I found a free design right from a DIYS and I thought it looked great.
Let's go to the step by step, I invite you to watch the video.

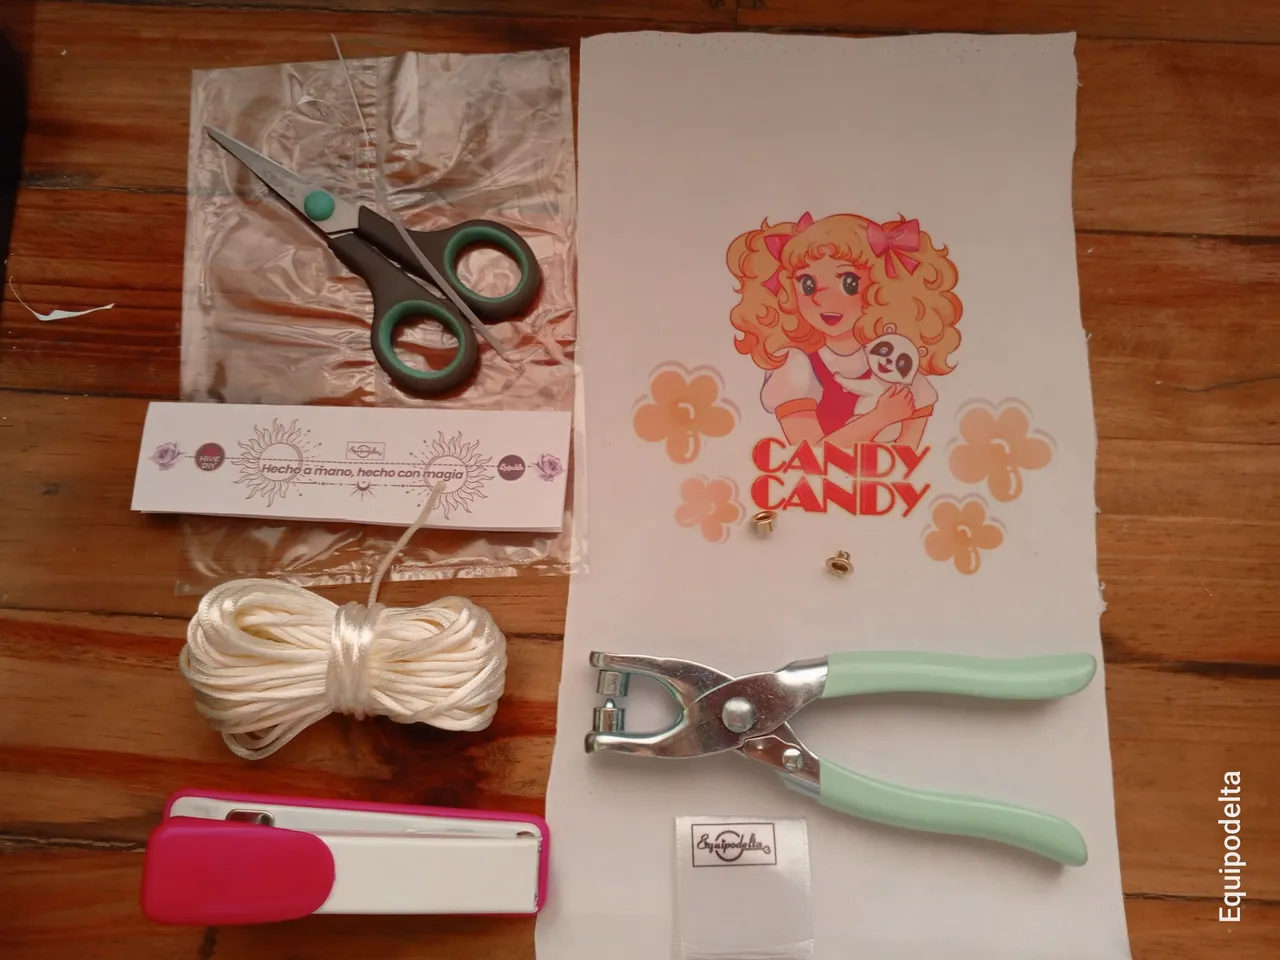
Materiales / Materials
 |  |
 |  |
| Spanish | English | |
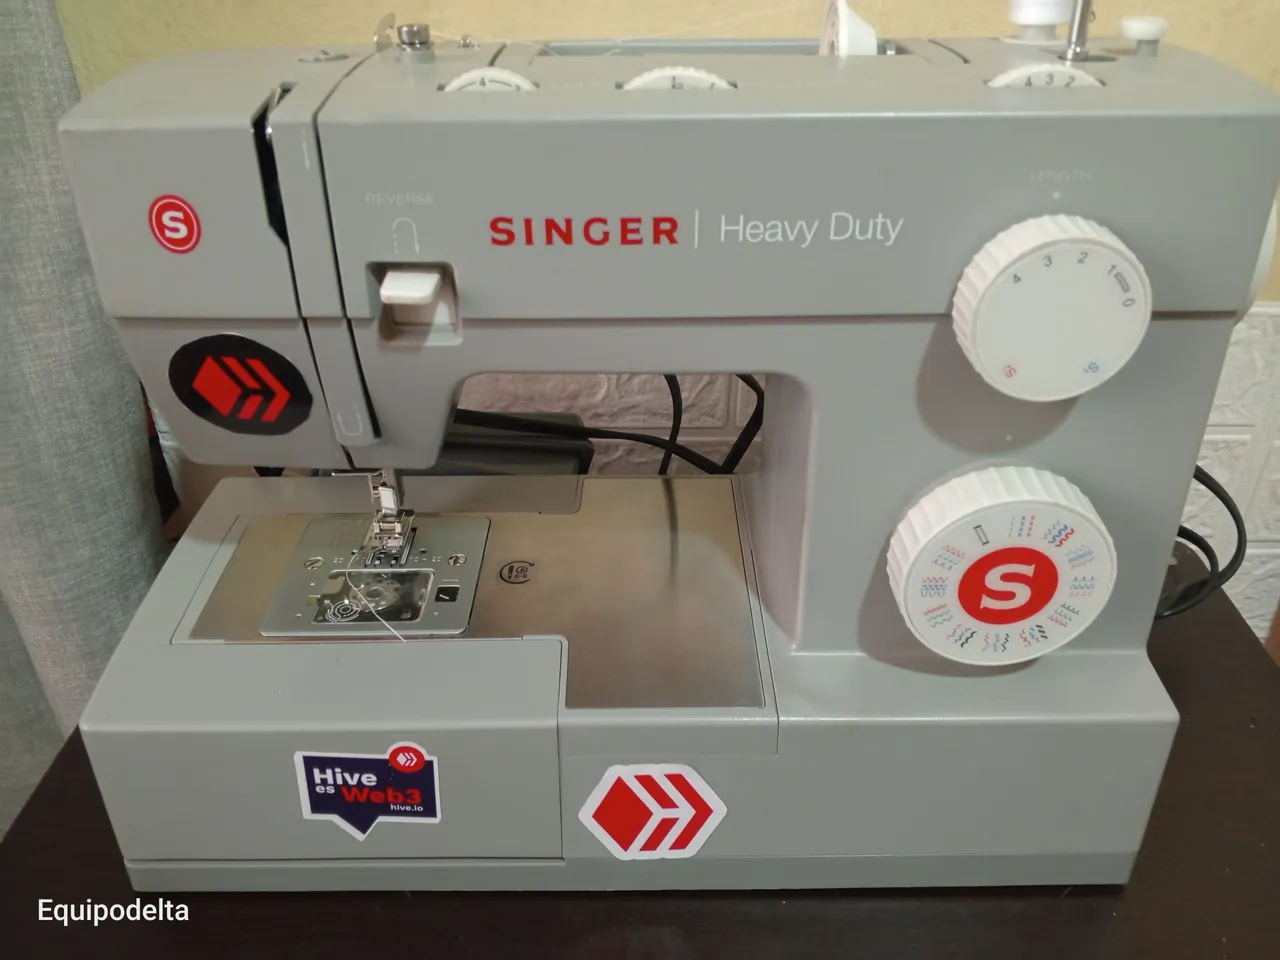
| Equipos para sublimación | Sublimation equipment | |
| Maquina de coser | Maquina de coser | |
| Tela de seda | Tela de seda | |
| Yesquero, tijera, cinta métrica | Tinder, scissors, tape measure | |
| Cordón cola de ratón | Mouse tail cord | |
| Alicate Pinza Para Ojetes 4mm + 2 Ojetes dorados | 4mm Eyelet Pliers + 2 Gold Eyelets | |
| Diseño impreso | Print design | |
| Bolsa para envolver | Wrapping bag |
Paso a paso / Step by Step
Step 1️⃣/ Paso 1️⃣
 |  |  |  |  |
[Esp]
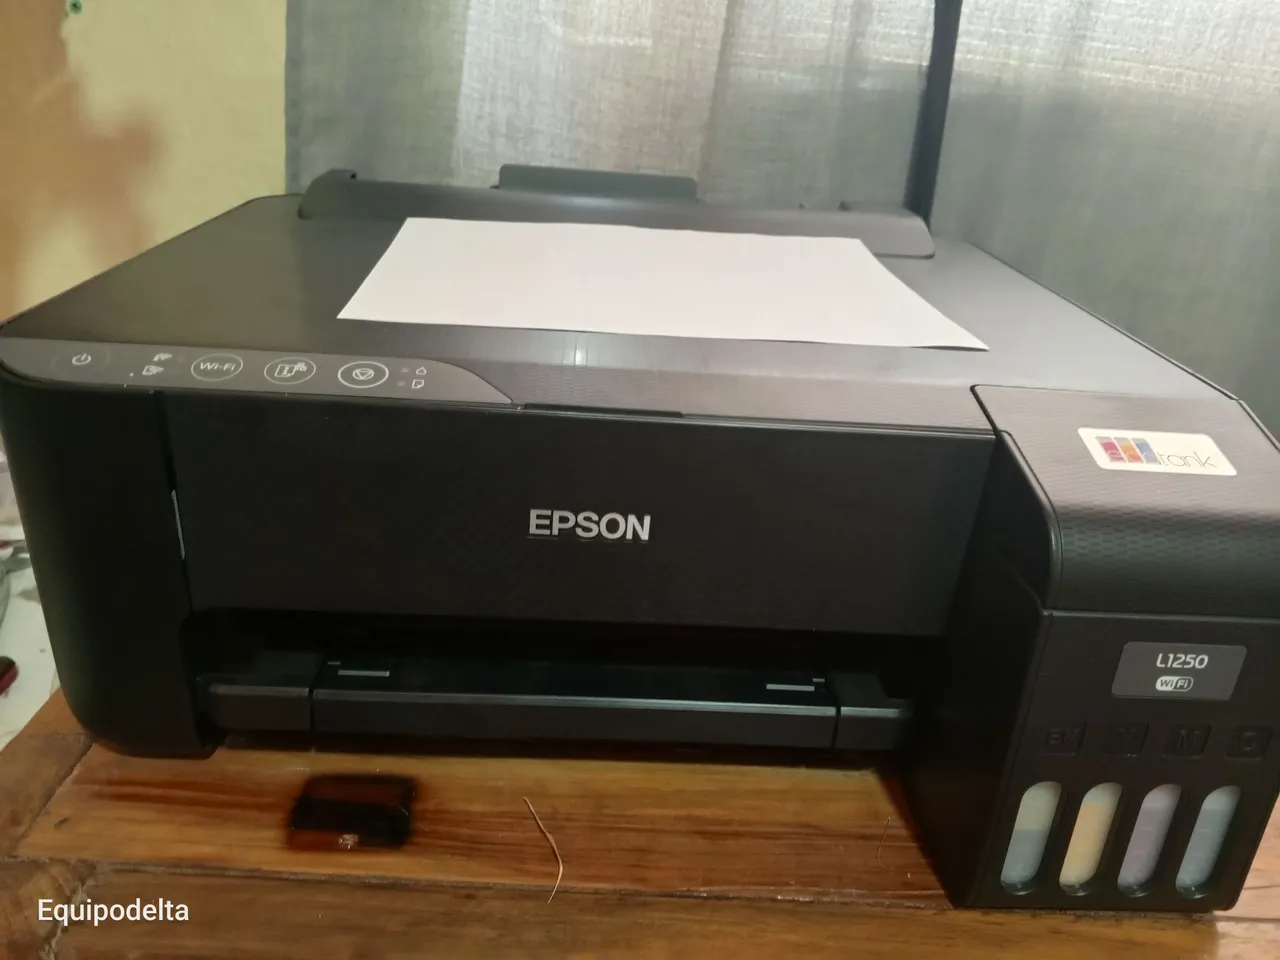
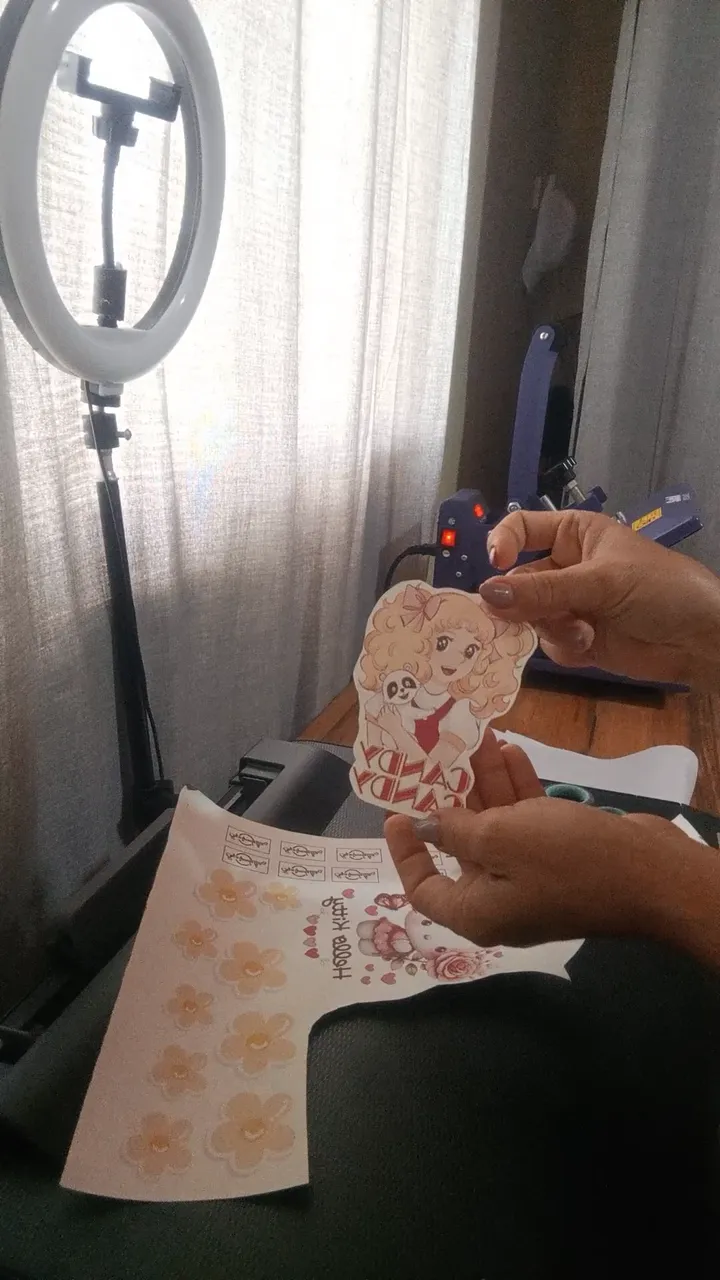
Muchos de estos diseños ya los venden impresos. puedes adquirirlos ya sean en tintas de sublimación o DTF, luego de impresos se recortan ya sea con una maquina de corte o con la tijera.
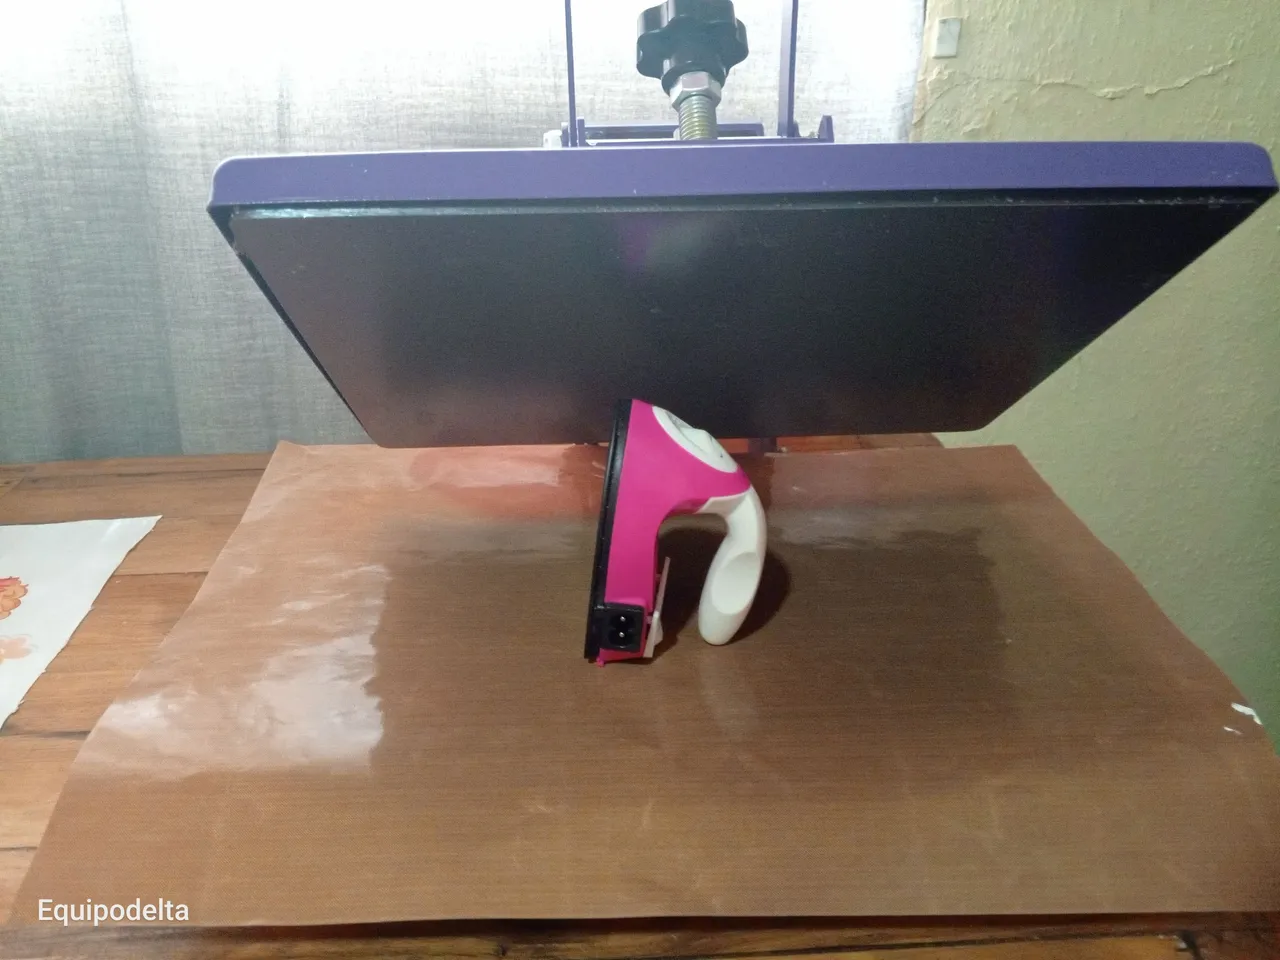
Corta el tamaño de la tela apropiado y recomiendo quemes los bordes con el yesquero.
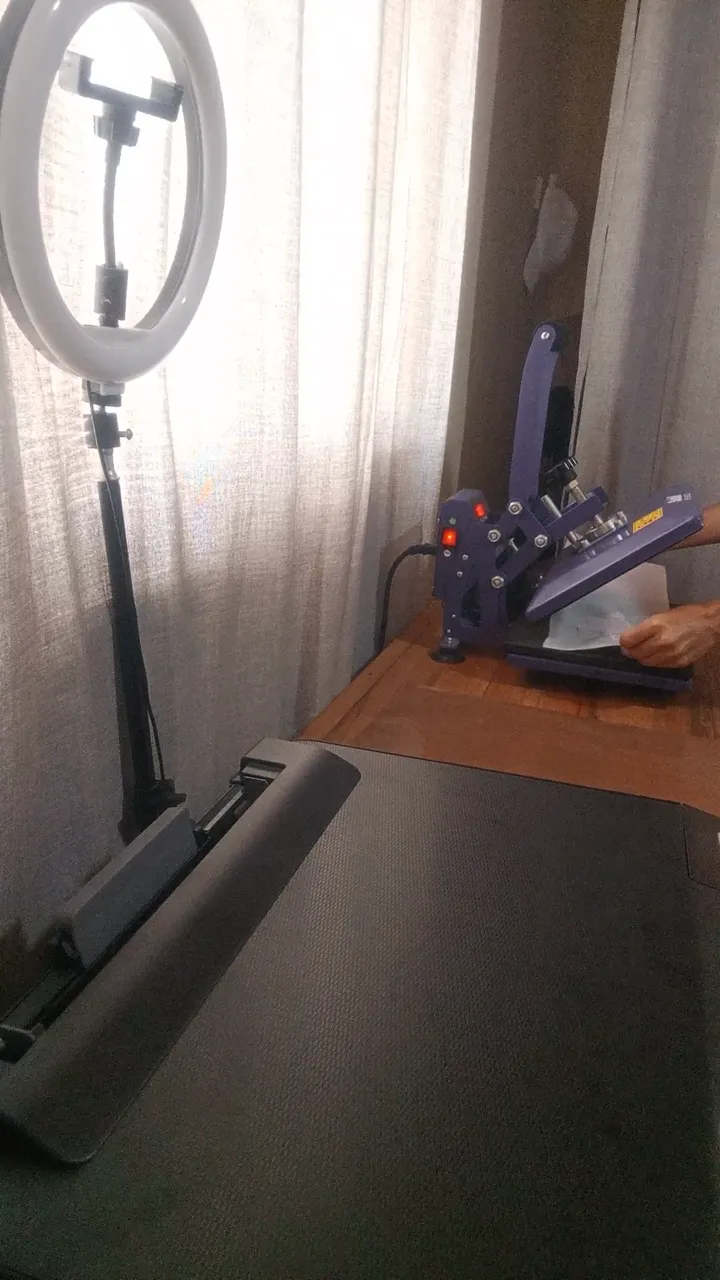
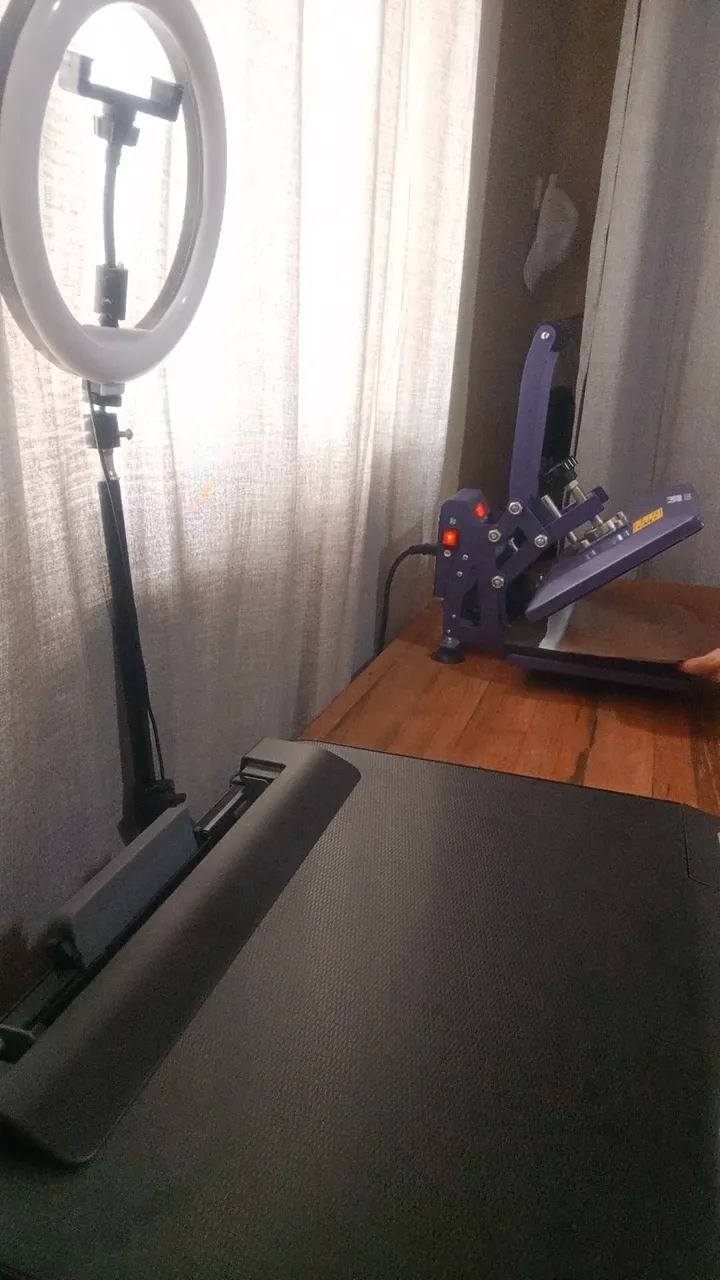
calienta la plancha a 320°F y ten a mano el teflón.
! [English version]
Many of these designs are sold already printed. You can buy them either in sublimation inks or DTF, after printed they are cut out either with a cutting machine or with scissors.
Cut the fabric to the appropriate size and I recommend burning the edges with tinder.
Heat the iron to 320°F and have Teflon on hand.

Step 2️⃣/ paso 2️⃣
 |  |  |  |

[Esp]
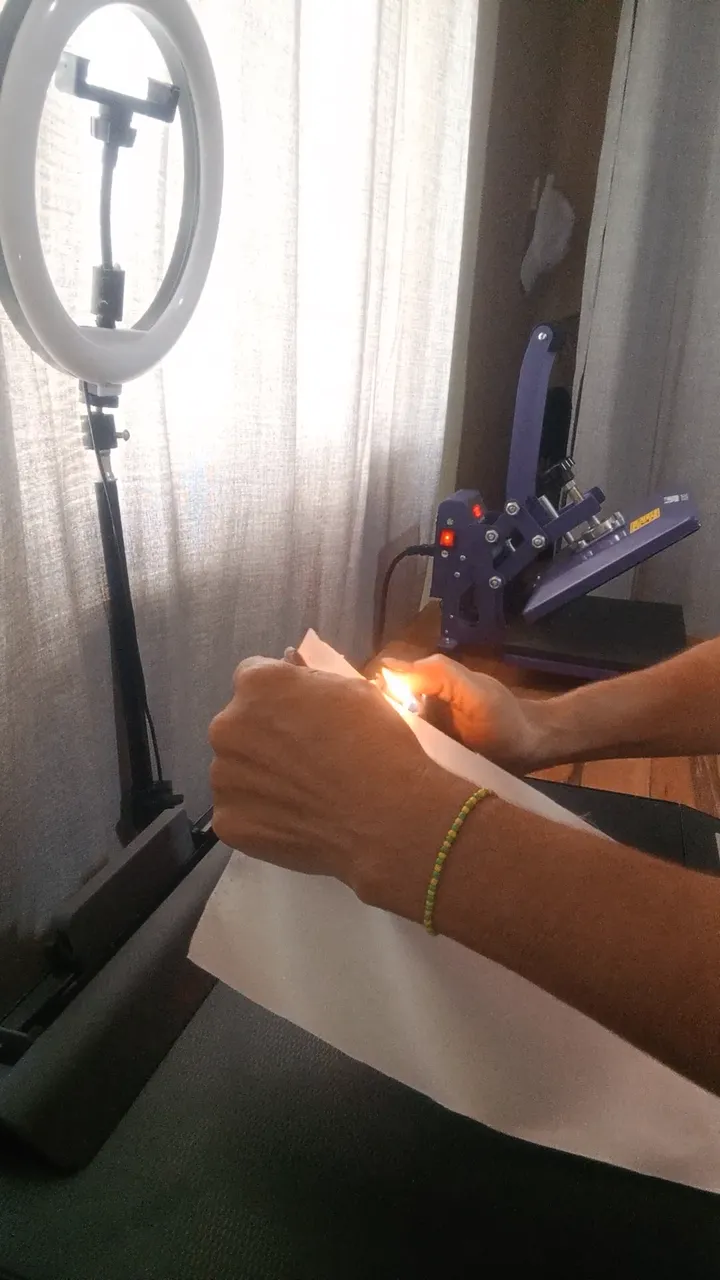
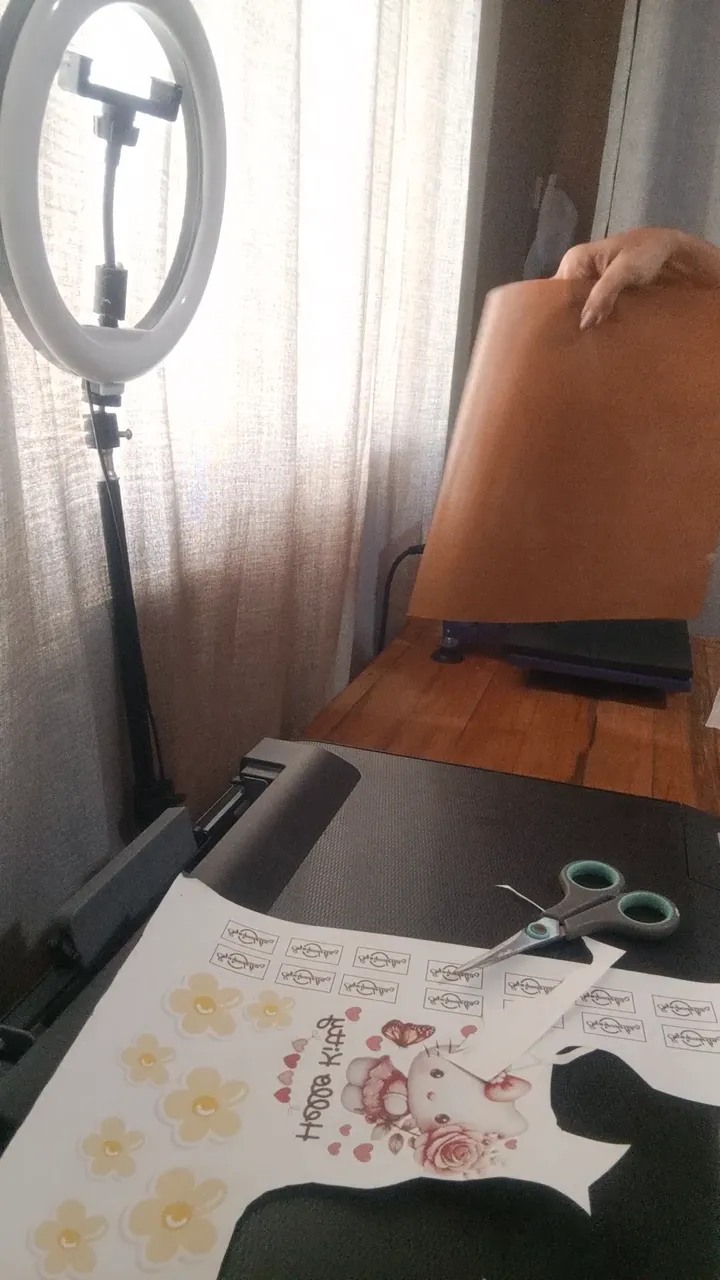
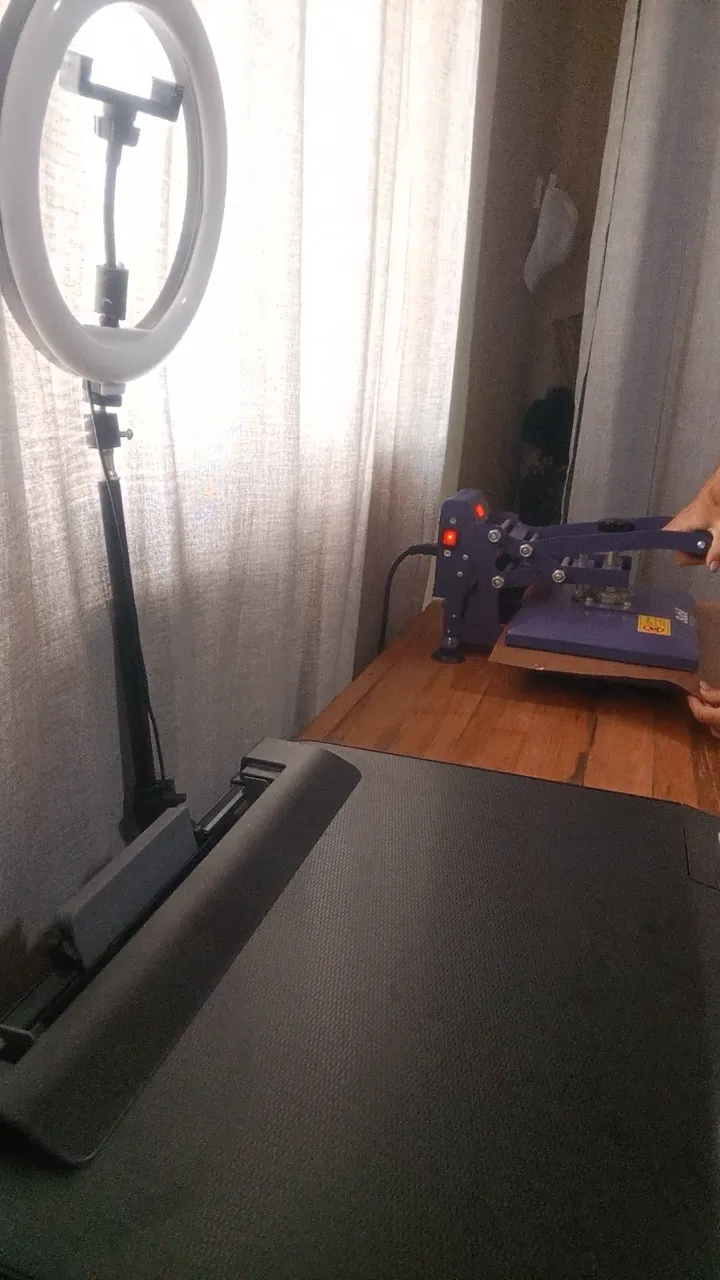
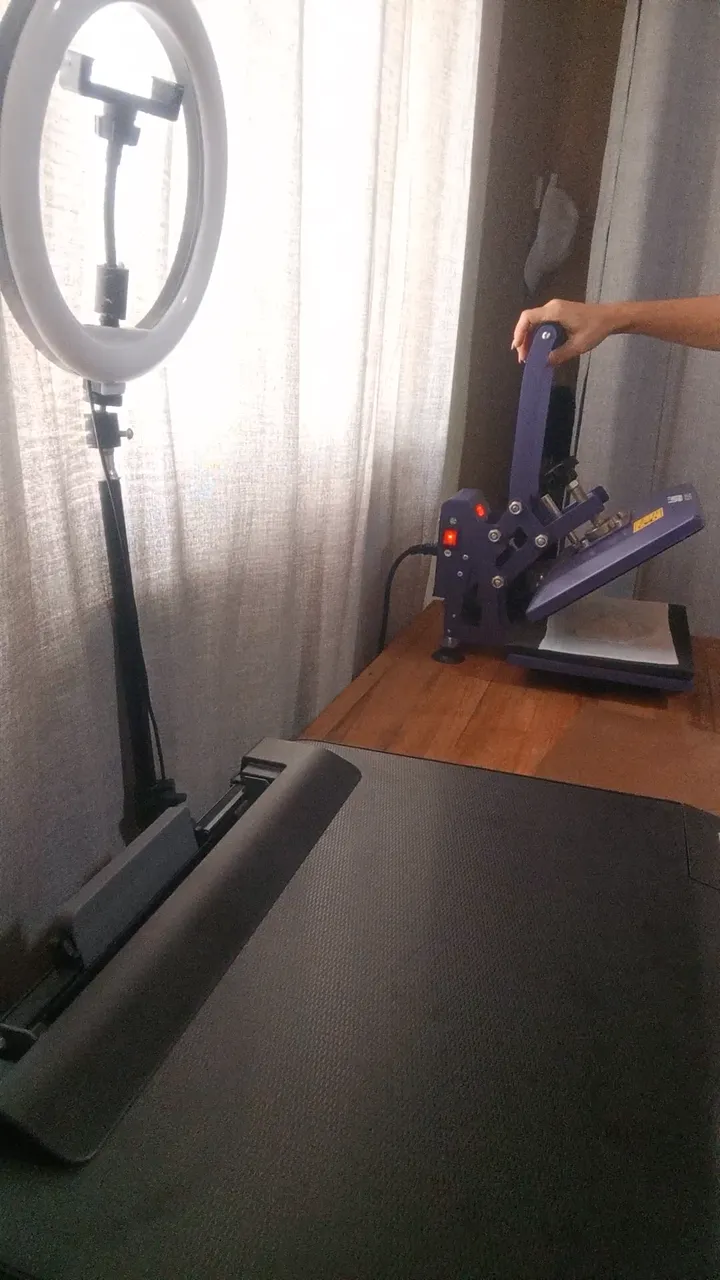
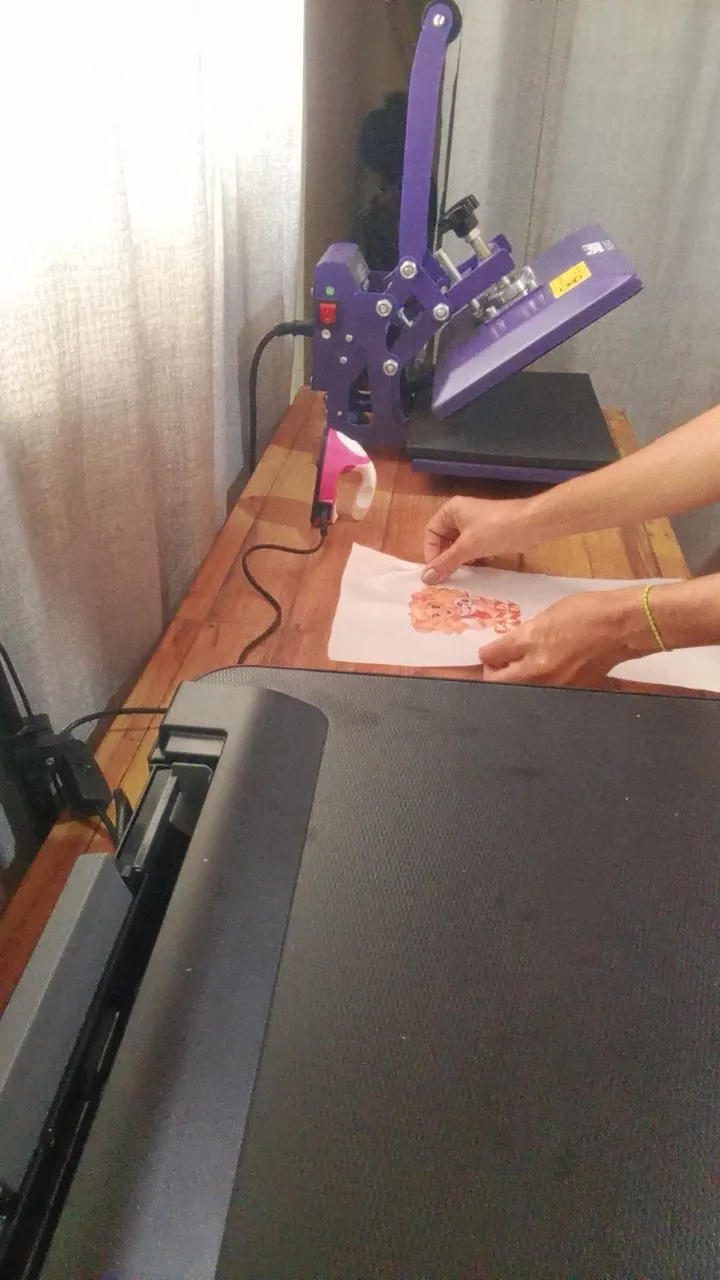
Coloca el diseño impreso boca abajo en la tela, una vez que la plancha esta a la temperatura la colocas en ella, colocas sobre la tela la lámina de teflón y cierras la plancha dejándola 60 segundos y luego abre con cuidado y retiras el teflón y la tela.
! [English version]
Place the printed design face down on the fabric, once the iron is up to temperature place it on the fabric, place the Teflon sheet on the fabric and close the iron leaving it for 60 seconds and then carefully open and remove the Teflon and the fabric.
Step 3️⃣/ paso 3️⃣
 |  |  |  |  |
[Esp]
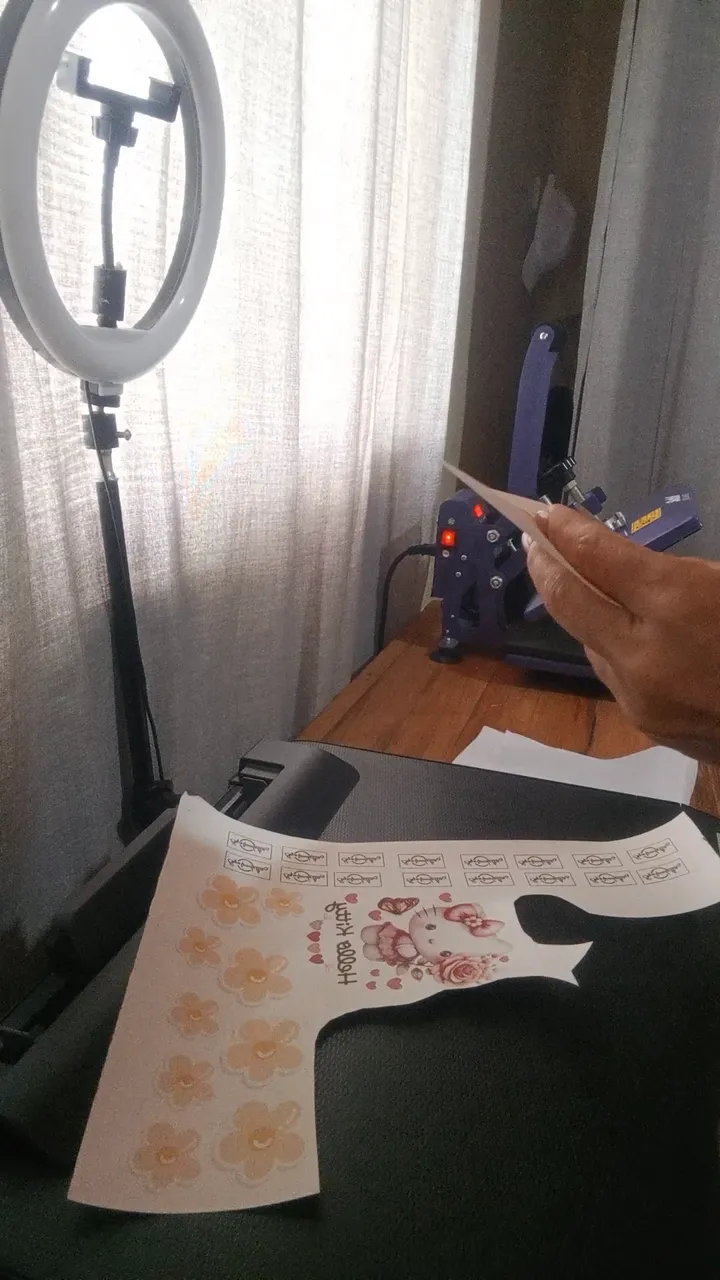
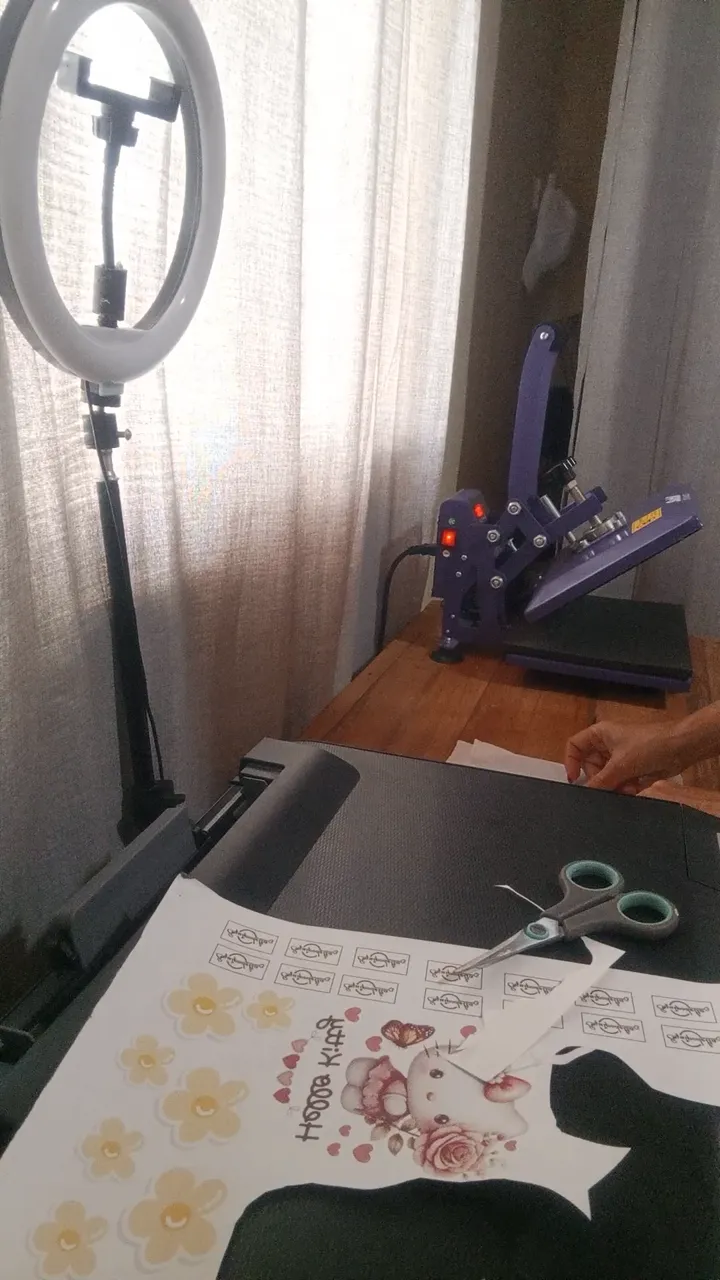
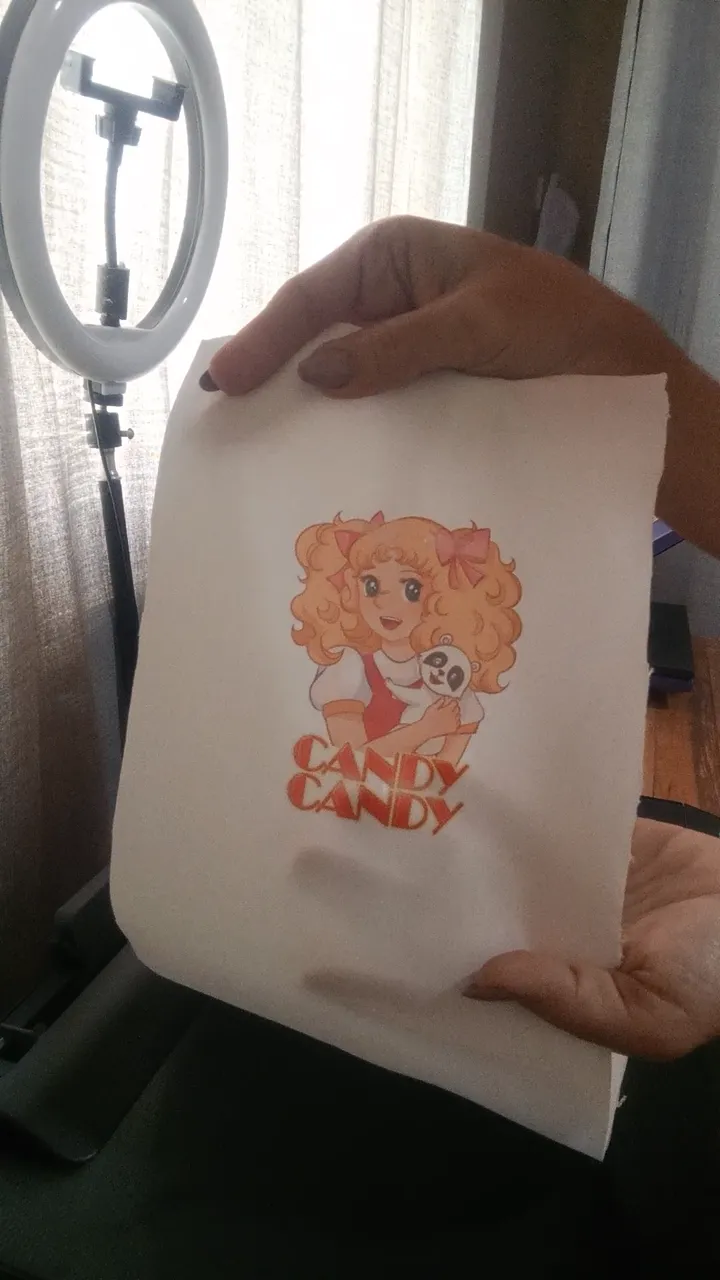
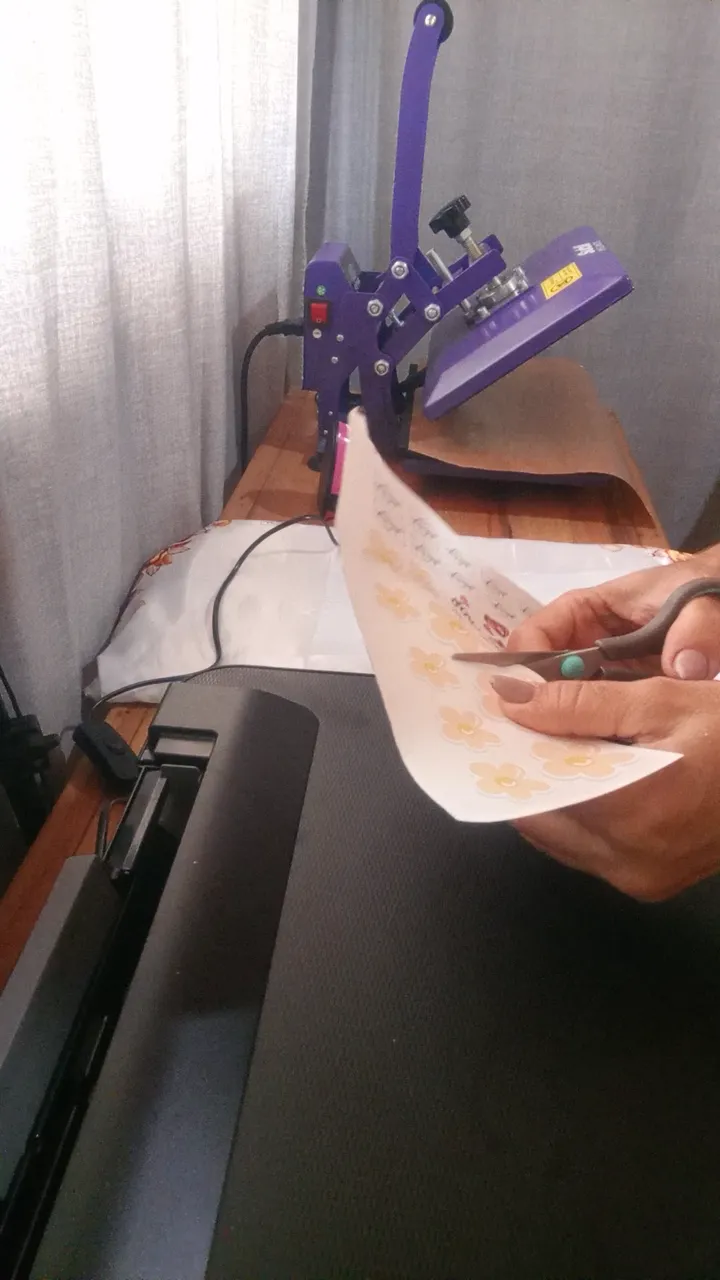
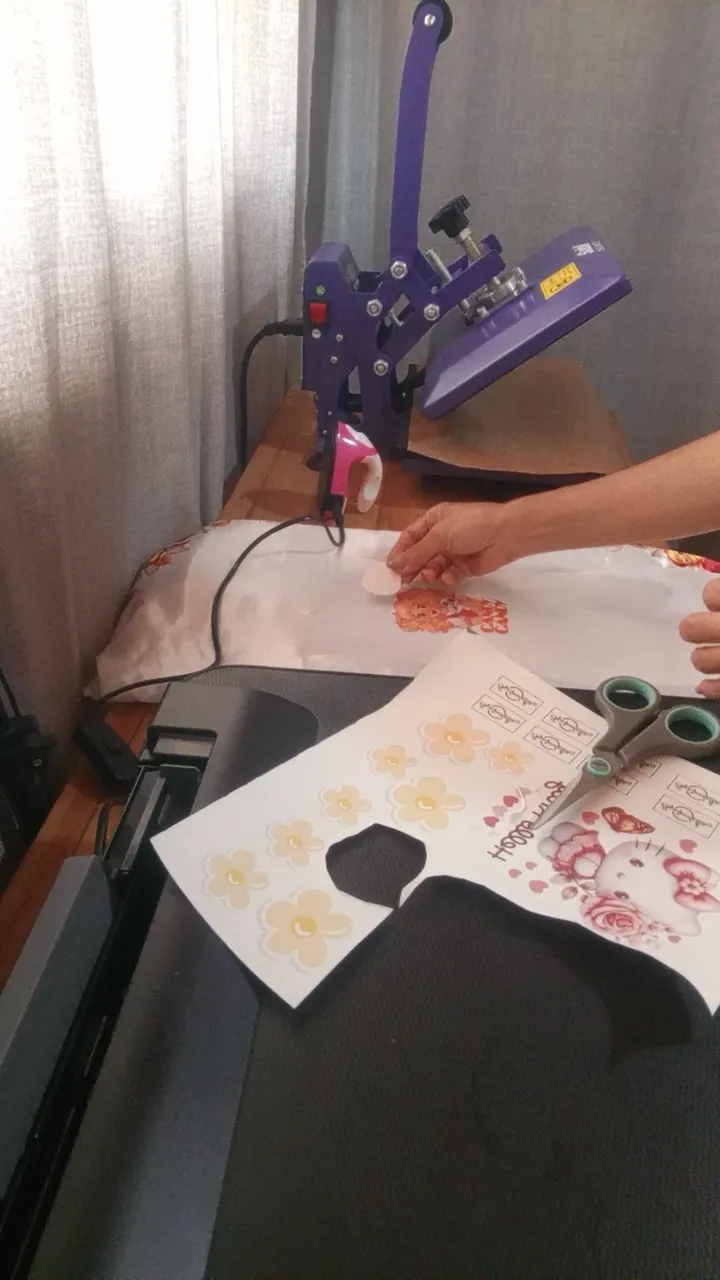
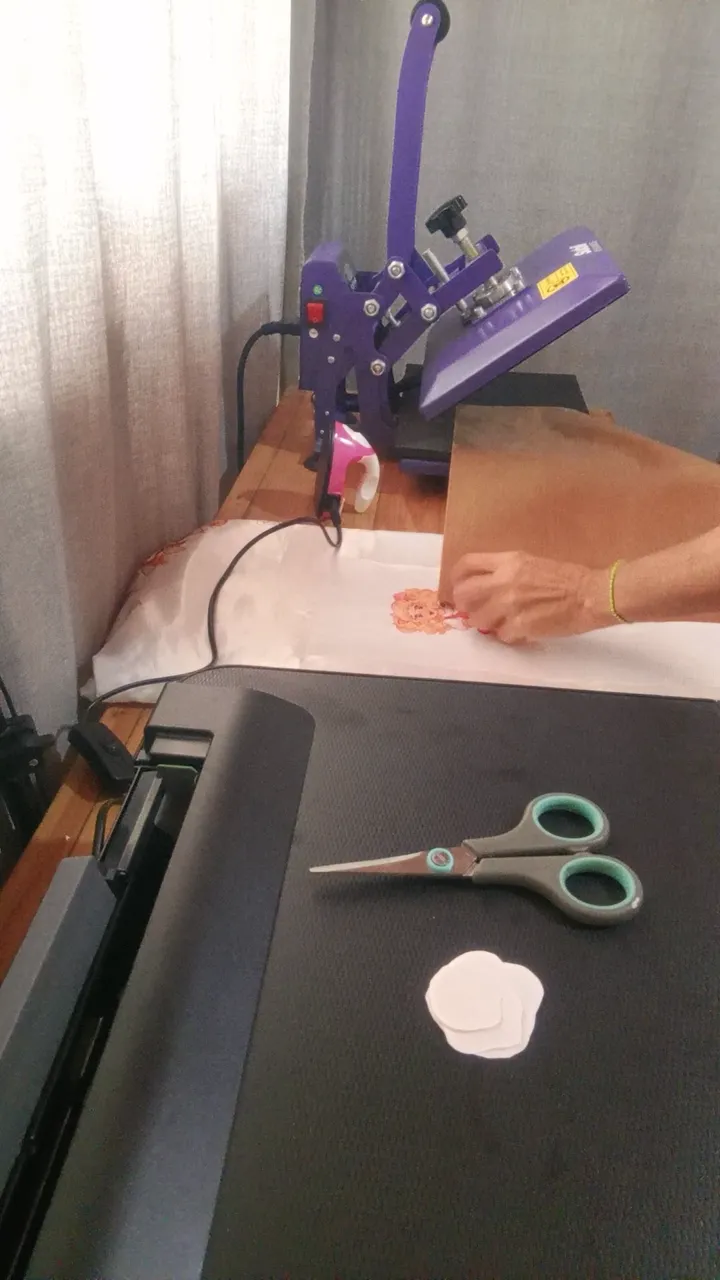
Deja enfriar un poco la tela y retira el papel. Si tu diseño tiene otras decoraciones mas pequeñas es bueno usar una plancha mas pequeña para cuidar la resistencia.
Recorta cada diseño y repite el procedimiento debes utilizar el teflón igualmente para no manchar la plancha y con ello la tela. y para cada trozo de igual manera debes dejar la plancha por 60 segundos.
! [English version]
Let the fabric cool a little and remove the paper. If your design has other smaller decorations it is good to use a smaller iron to take care of the resistance.
Cut out each design and repeat the procedure using Teflon to avoid staining the iron and thus the fabric. For each piece you must leave the iron on for 60 seconds.
Step 4️⃣/ paso 4️⃣
 |  |  |  |  |
[Esp]
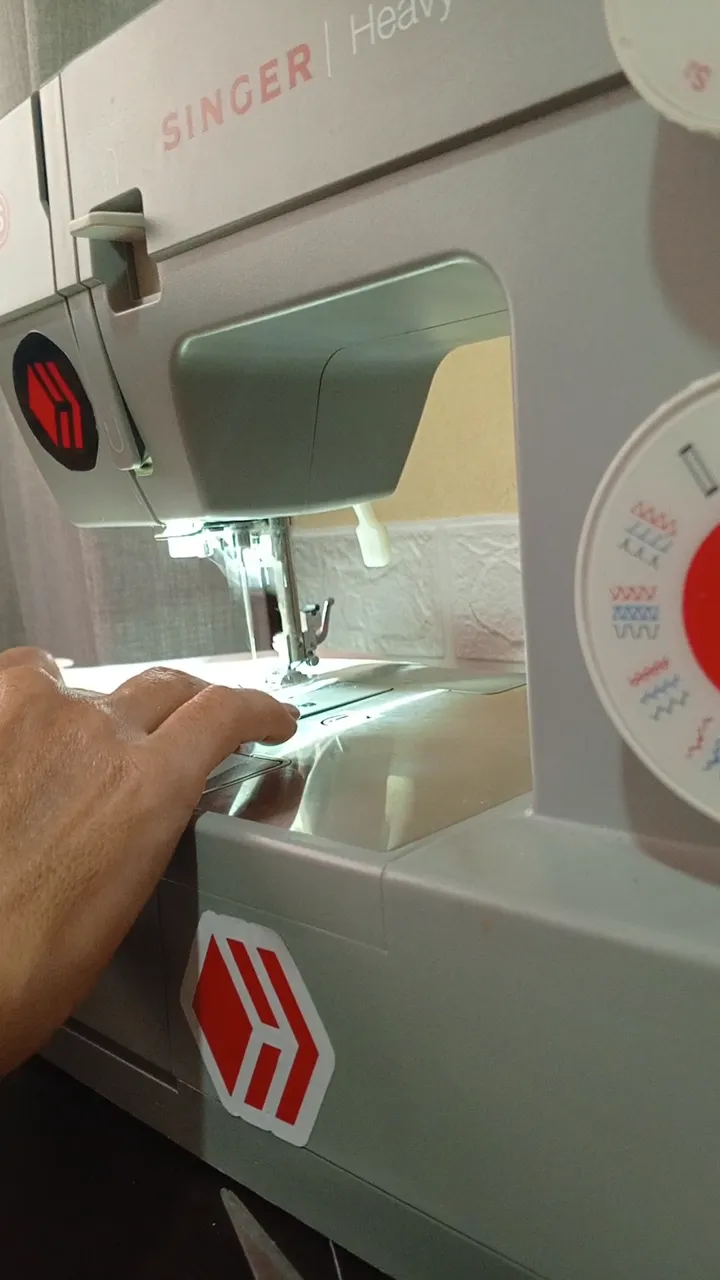
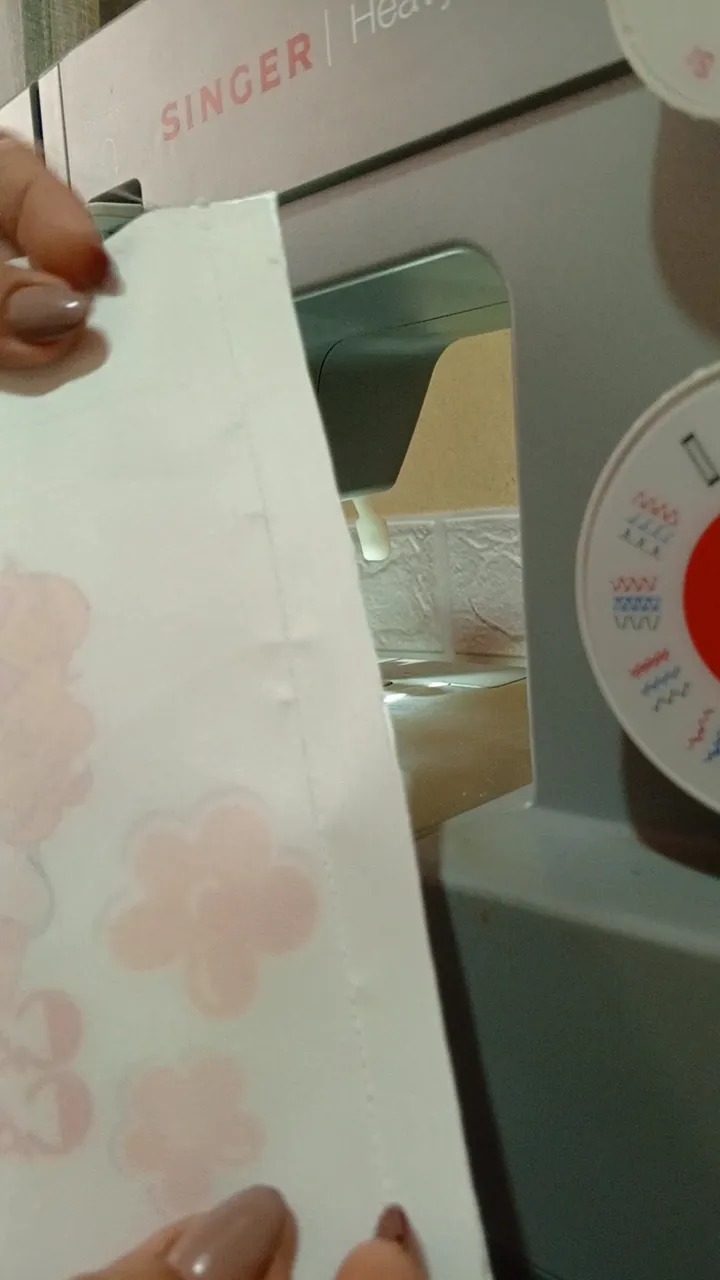
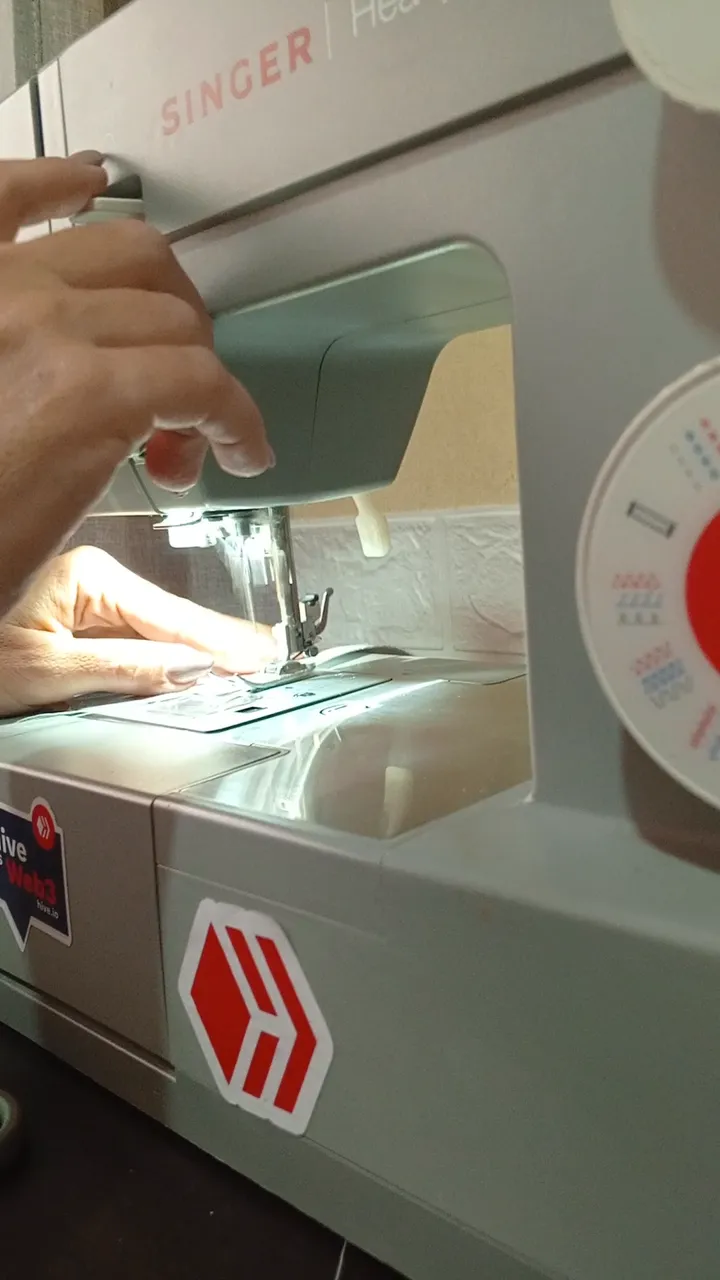
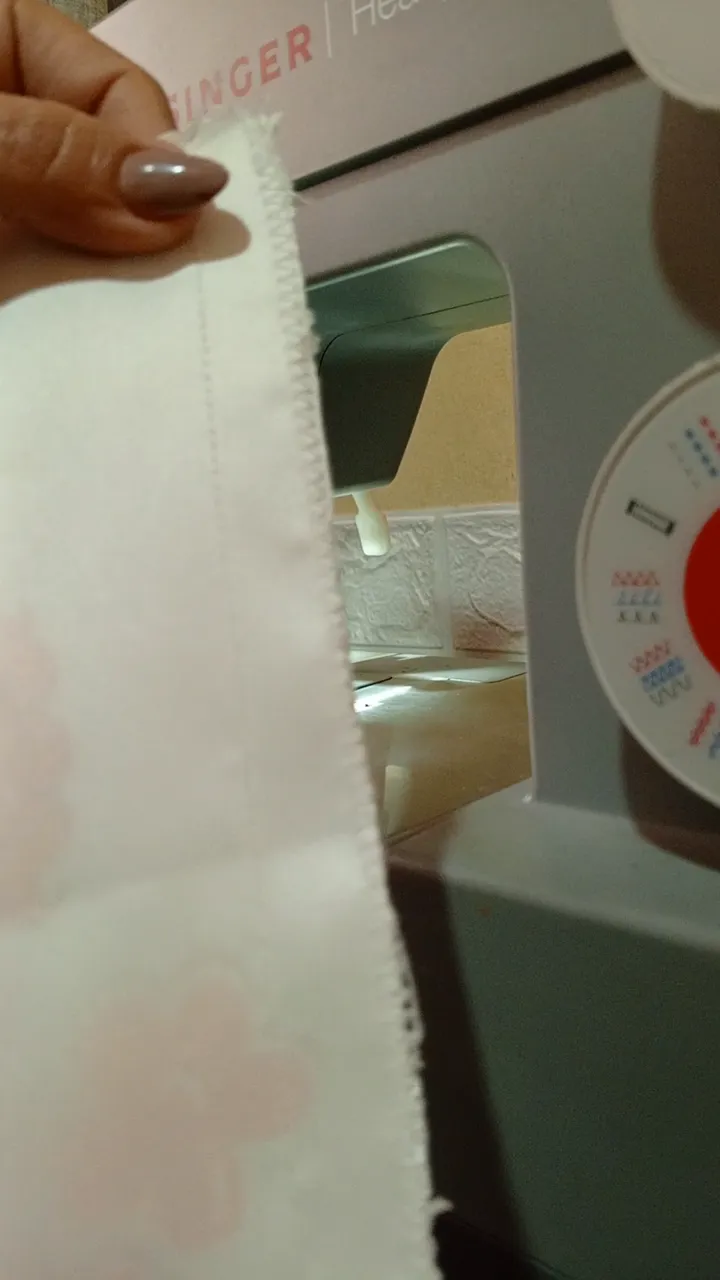
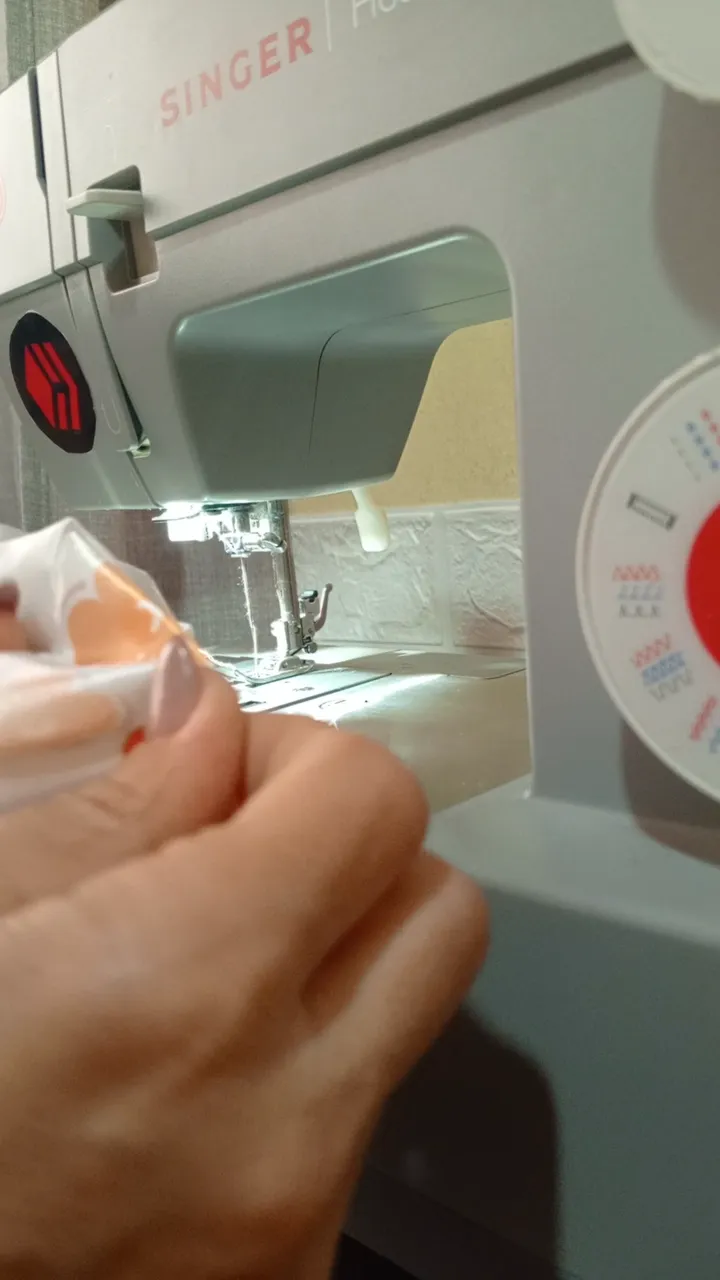
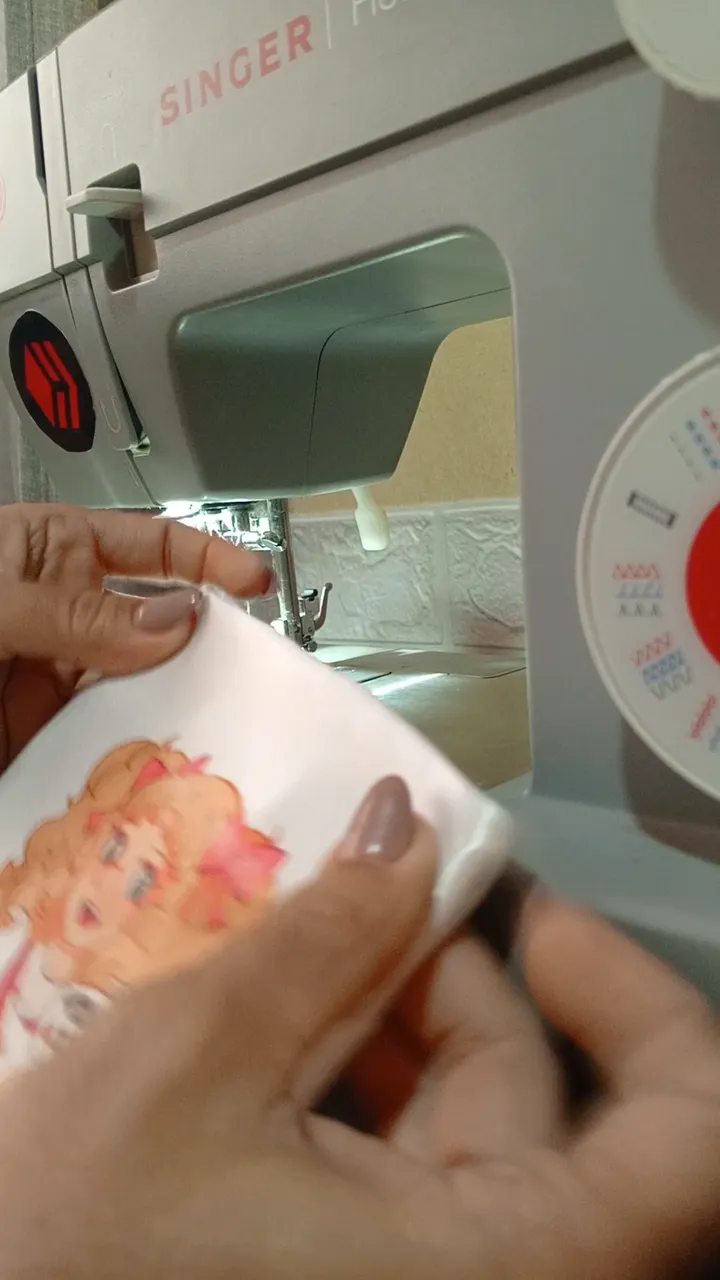
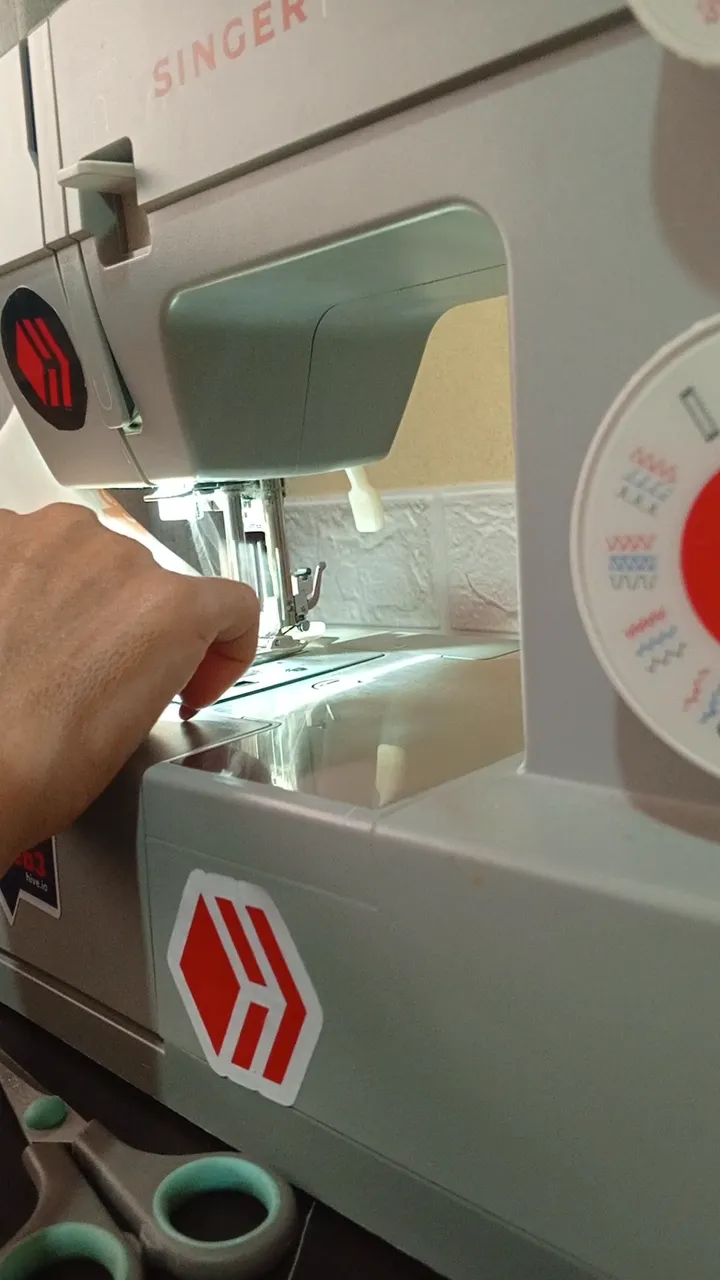
Dobla por la mitad la tela y cose las orillas cerrando con una recta , luego con zig zag.
Aplica zig zag por la parte superior de la abertura y voltea la pieza.
! [English version]
Fold the fabric in half and sew the edges closed with a straight stitch, then with a zig zag stitch.
Zig zag across the top of the opening and turn the piece over.
Step 5️⃣/ paso 5️⃣
 |  |  |  |  |
[Esp]
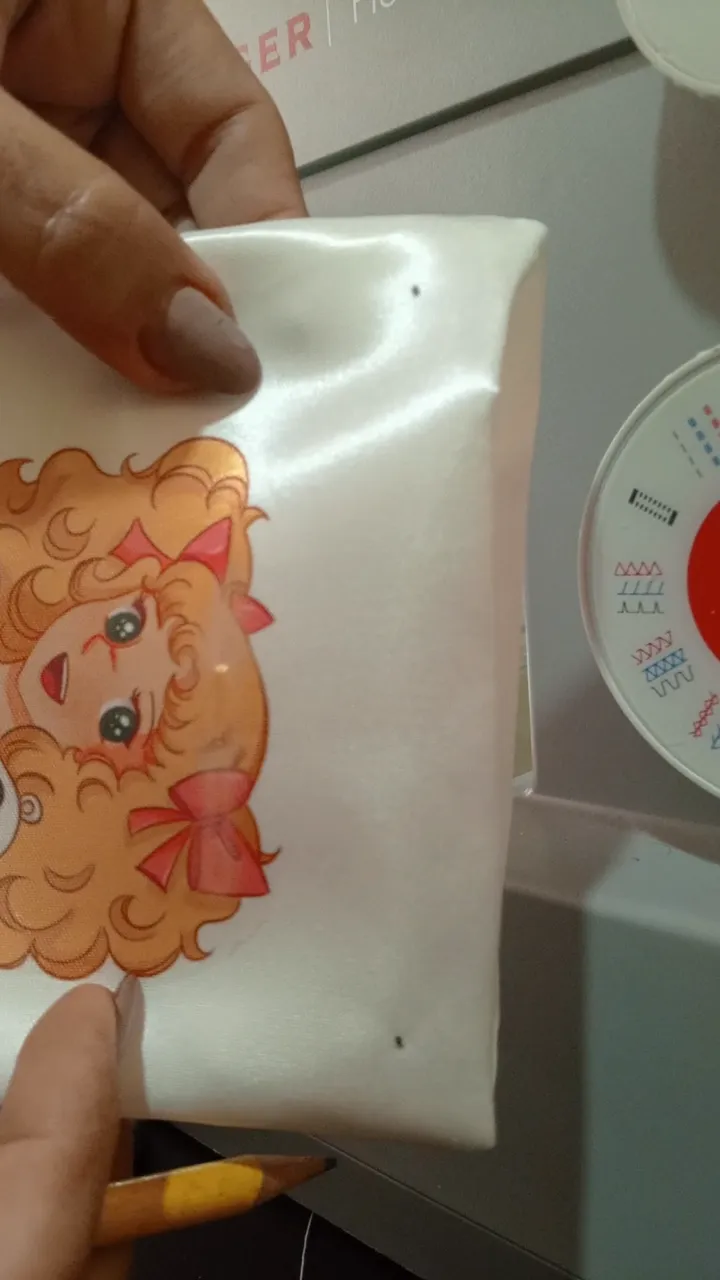
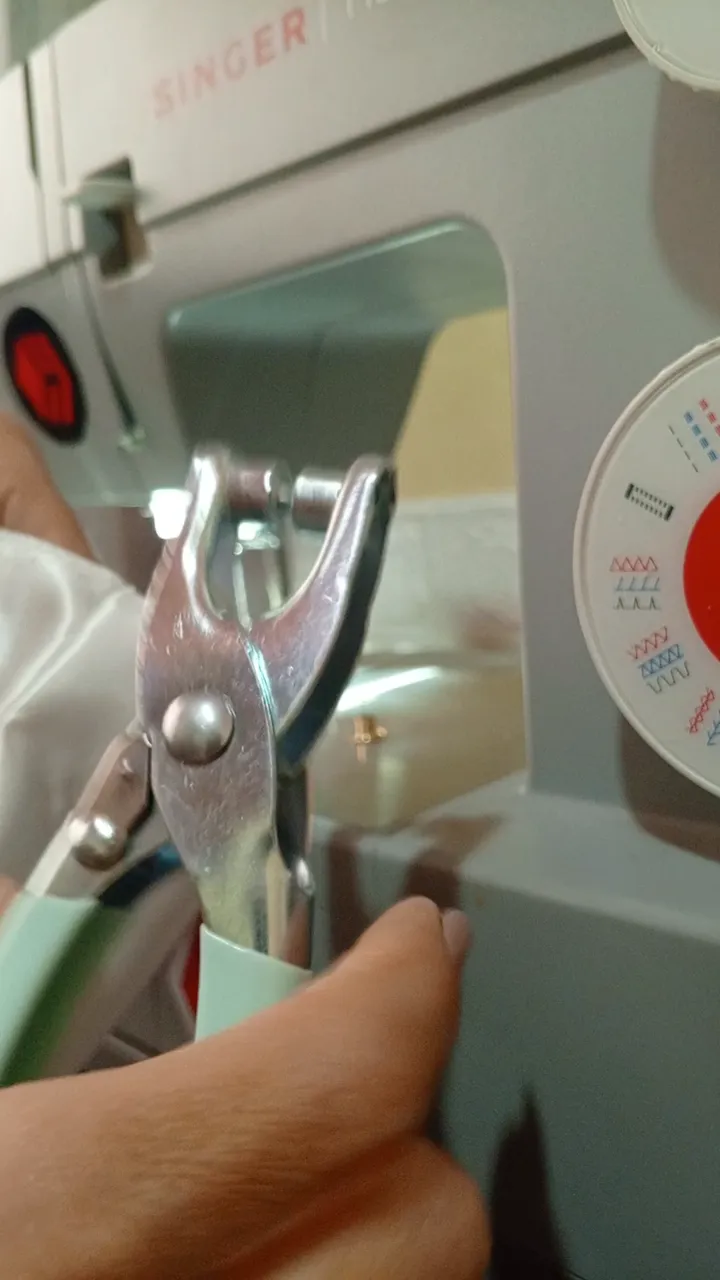
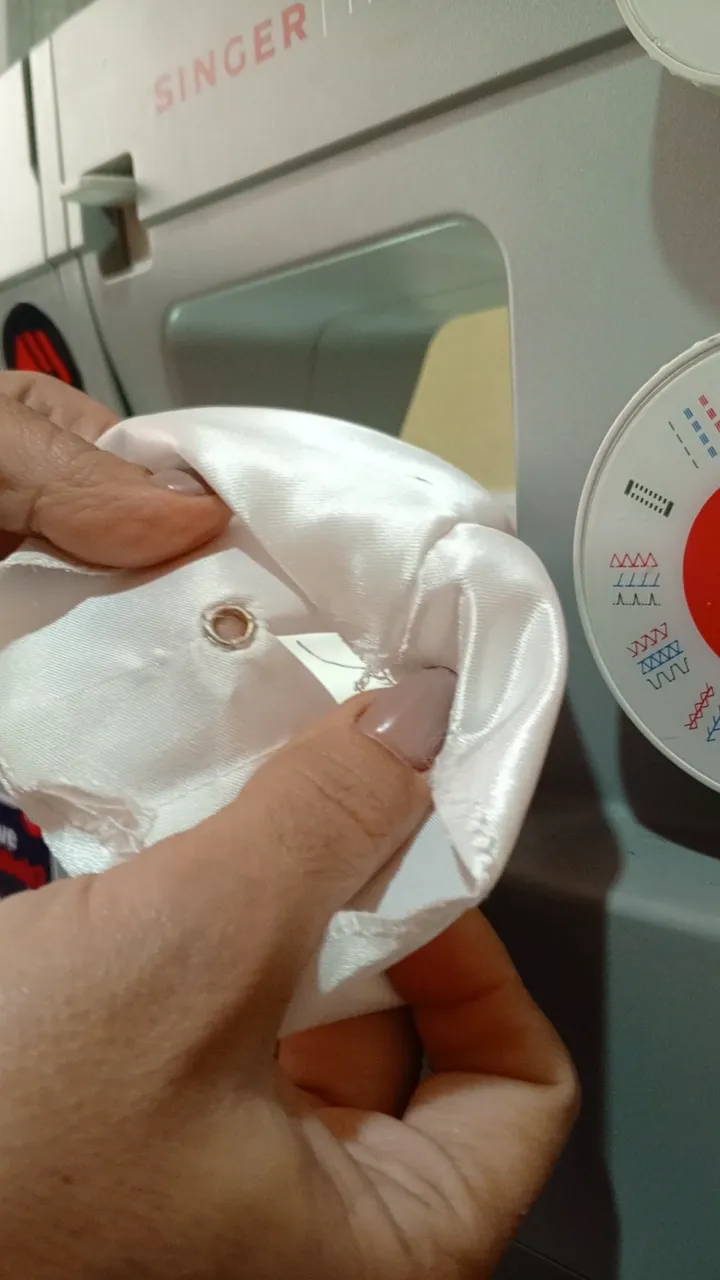
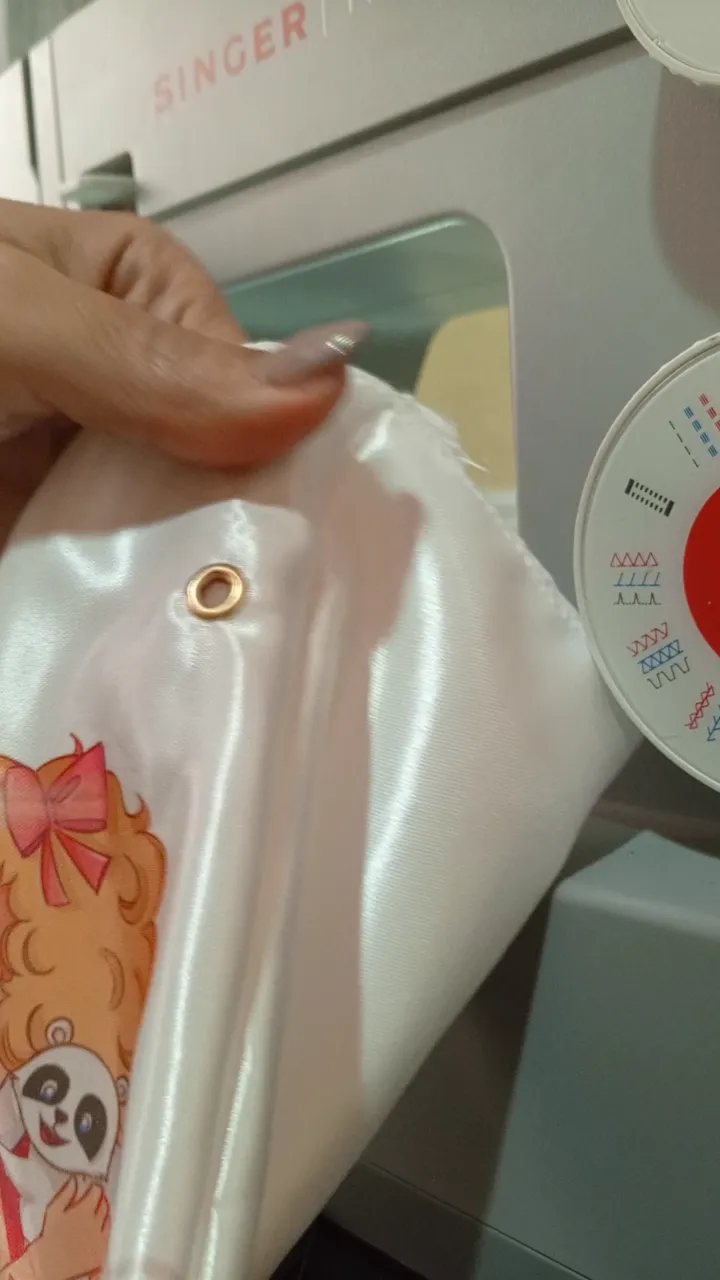
Realiza un dobladillo hacia adentro de 2,5 centímetros y con un lápiz marca dos puntos donde irán los ojetes.
Perfora con la punta de la tijera e introduce el ojete. Con la herramienta lo fijas en la tela. Realiza uno de cada lado.
! [English version]
Make an inward hem of 2.5 centimeters and with a pencil mark two points where the eyelets will go.
Pierce with the tip of the scissors and insert the eyelet. With the tool you fix it on the fabric. Make one on each side.
Step 6️⃣/ paso 6️⃣
 |  |  |  |  |  |
[Esp]
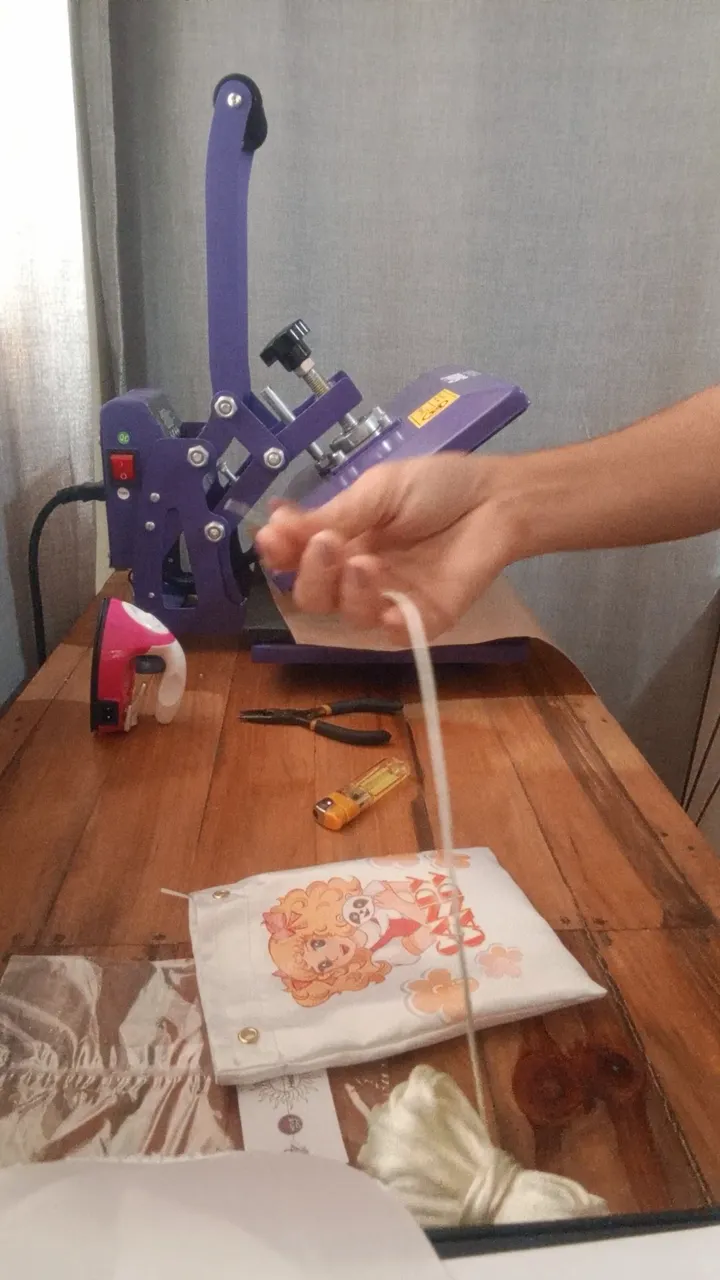
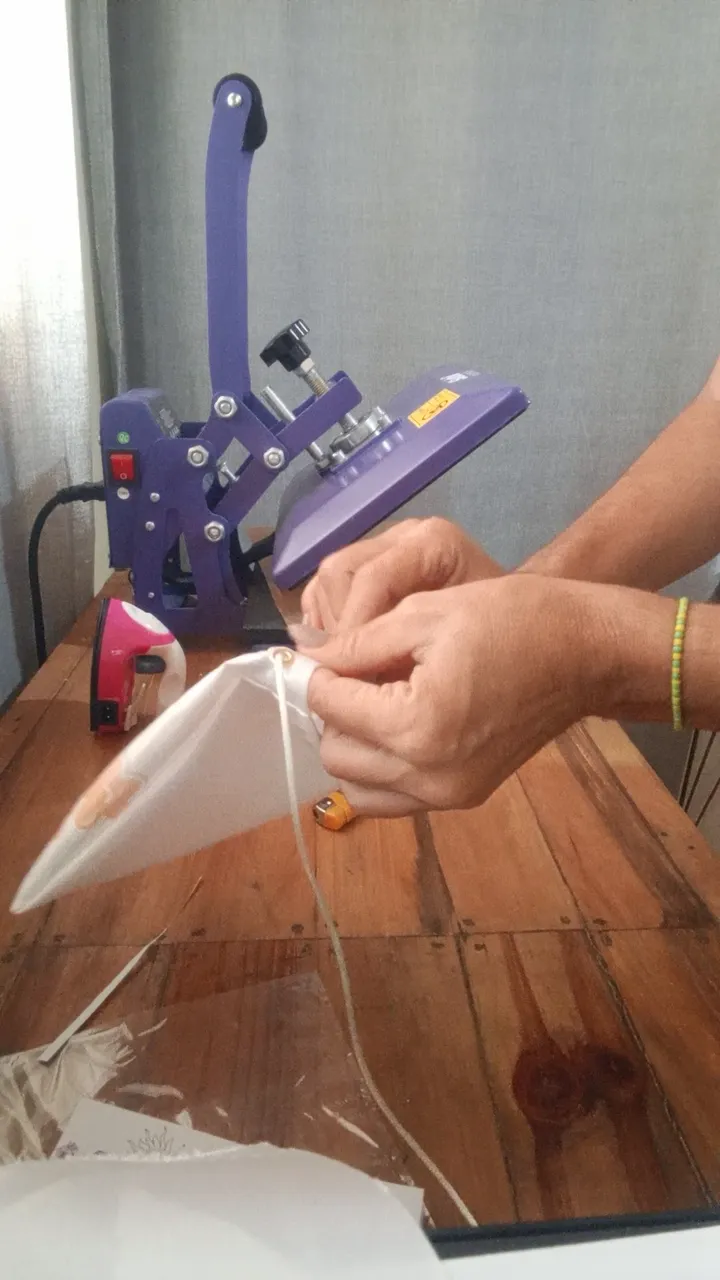
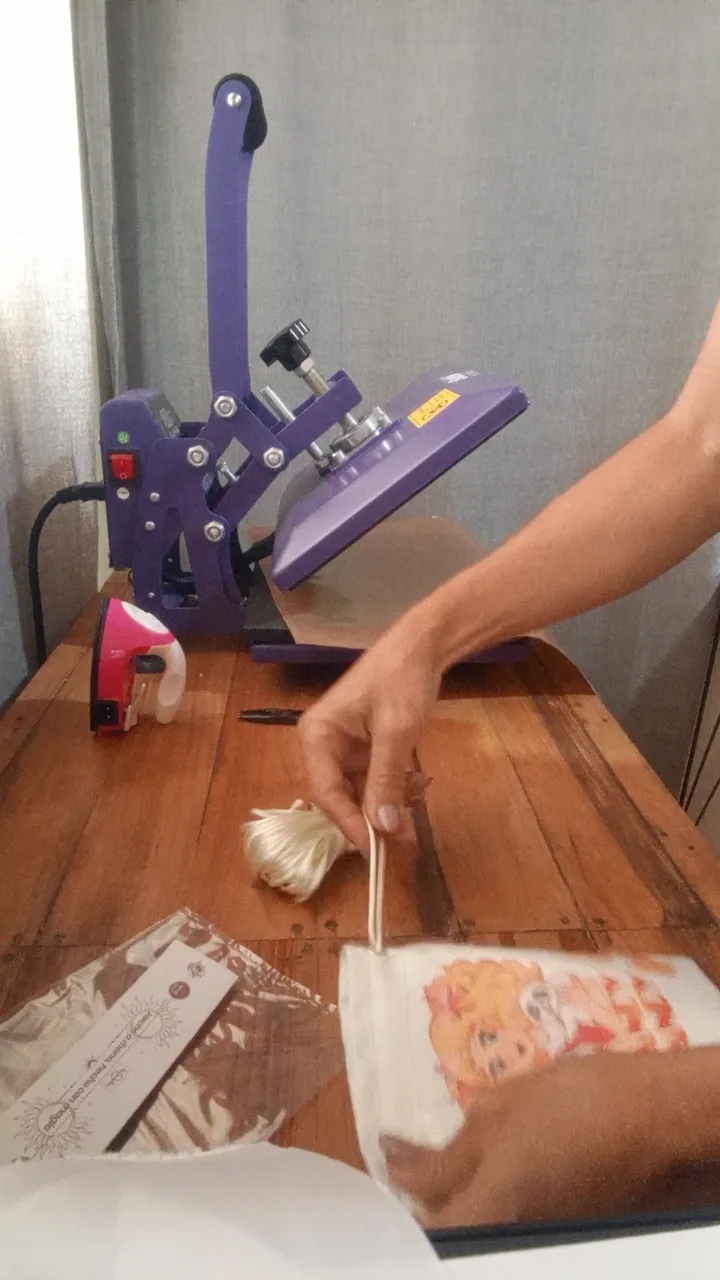
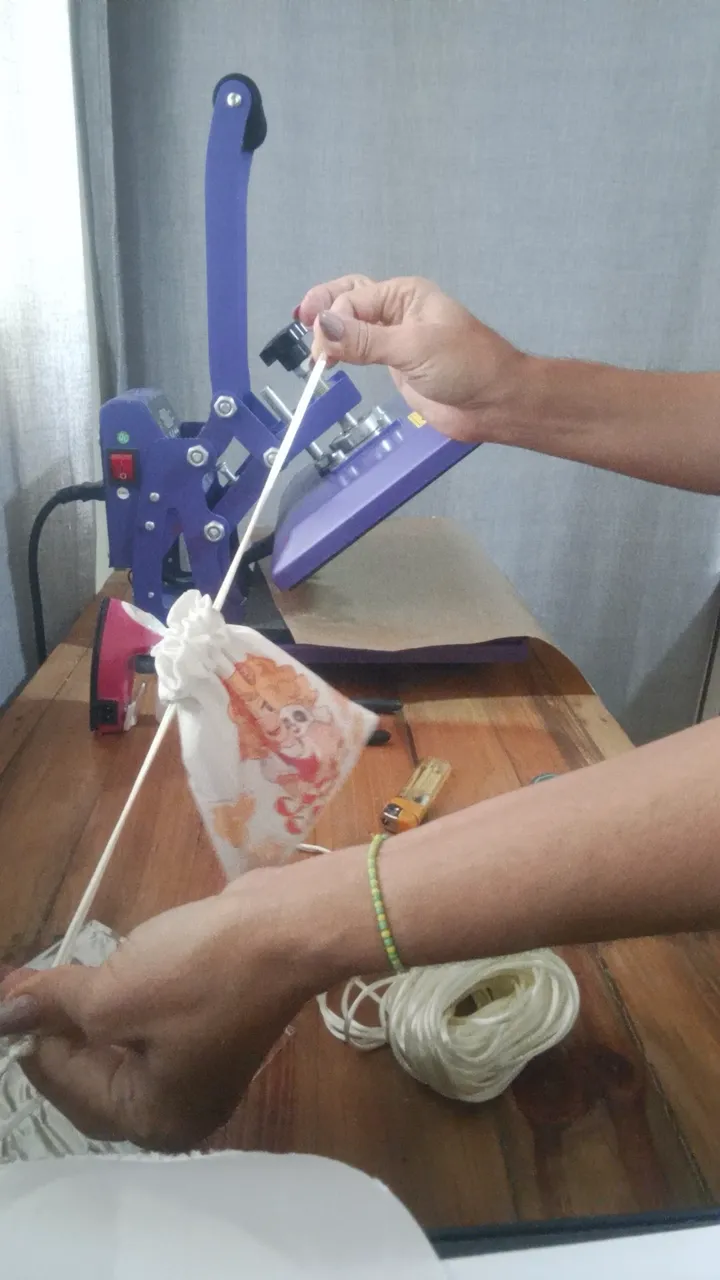
Cose un dobladillo en la parte de la abertura y luego cose el otro por debajo de los ojetes.
Corta dos tiras de cordón cola de ratón introduce una por un orificio y da la vuelta todo el borde y lo sacas por el mismo agujero por donde entro, repite este paso con el otro lado. quema cada punta con ayuda del yesquero y realiza un nudo.
Espero les guste este modelito.
! [English version]
Sew a hem on the opening side and then sew the other hem under the eyelets.
Cut two strips of mouse tail cord, insert one through a hole and turn the whole edge over and pull it out through the same hole where it went in, repeat this step with the other side. Burn each end with the tinder and tie a knot.


Créditos / Credits

💜💜💜
![]() 👉
👉  👉
👉 ![]() 👉
👉 ![]() 👉
👉 
Here / Bríndame un café