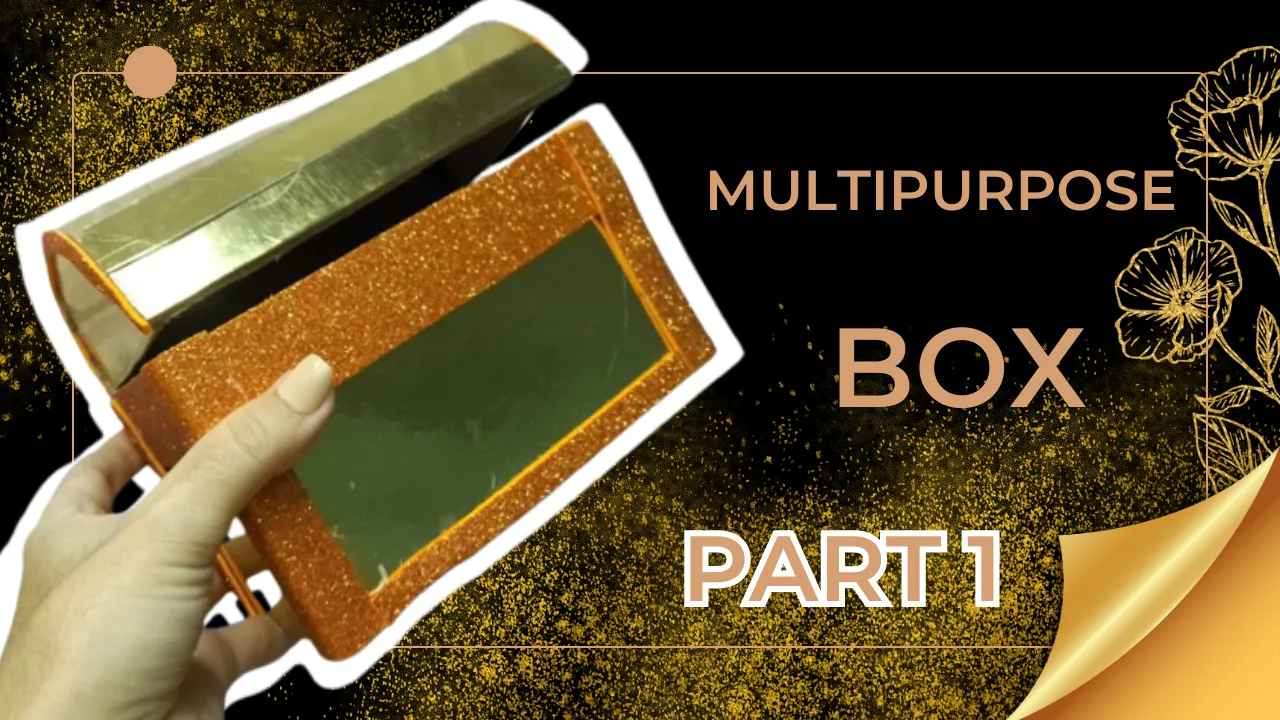
Cofre multipropósito hecho de cartón base para tortas.
Parte I

💜💜💜
[Esp]
¡Hola querida familia Hive Diy! Hoy nos ponemos super creativos.
Este post estará dividido en dos partes, la primera es esta - El proceso de elaboración del cofre - La segunda será la decoración. Esto es porque no estimé el trabajo fuerte que implicaría realizar el cofre con un material algo difícil de trabajar, además de hacer algo completamente desde cero y a nuestro estilo.
Espero les guste mi idea, aun no he terminado la caja y ya me la están pidiendo de obsequio.
💜💜💜

💜💜💜
Para toda persona creativa, ve una oportunidad en cada material, se proyecta, lo visualiza en una creación, siempre que voy a un lugar me imagino algo realizado por mí de algún material que vi, ver el bello dorado del cartón que se usa como base de tortas delicadas y elegantes me hizo pensar que luciría hermoso en un cofre. Me gustó su resistencia, su fuerza, sin medí la dificultad que pudiera ser cortarlo y moldearlo.
Por muy difícil que pueda ser siempre nos ingeniamos, acompáñame en esta aventura y te cuento cómo lo hice.
! [English version]
[Eng]
Hello dear Hive Diy family! Today we are getting super creative.
This post will be divided into two parts, the first is this - The process of making the chest - The second will be the decoration. This is because I did not estimate the hard work that would involve making the chest with a material somewhat difficult to work with, besides doing something completely from scratch and in our style.
I hope you like my idea, I haven't finished the box yet and you are already asking for it as a gift.
💜💜💜
💜💜💜
For every creative person, he sees an opportunity in every material, he projects himself, he visualizes it in a creation, whenever I go to a place I imagine something made by me from some material I saw, seeing the beautiful golden cardboard that is used as a base for delicate and elegant cakes made me think that it would look beautiful in a chest. I liked its resistance, its strength, without measuring the difficulty of cutting and molding it.
As difficult as it may be, we always manage, join me in this adventure and I'll tell you how I did it.
💜💜💜

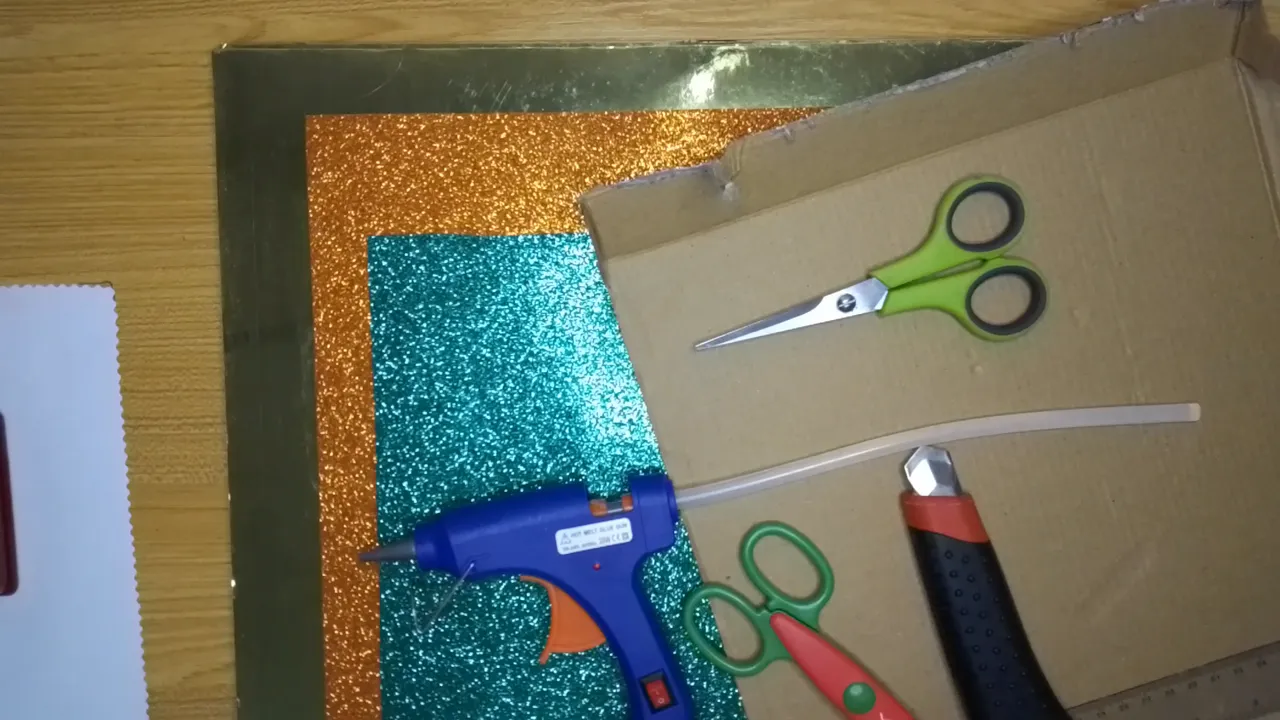
Materiales / Materials
[Esp]
💜 Cartón dorado para base de torta.
💜 Tijera, exacto o cúter, pistola de silicón.
💜 Cartón delgado.
💜 Foami
! [English version]
[Eng]
💜 Gold cardboard for cake base.
💜 Scissors, exacto or cutter, silicone gun.
💜 Thin cardboard.
💜 Foami
Step by Step / Paso a Paso
Step 1️⃣/ Paso 1️⃣
| - | ||
|---|---|---|
 |  |  |
 |  |  |
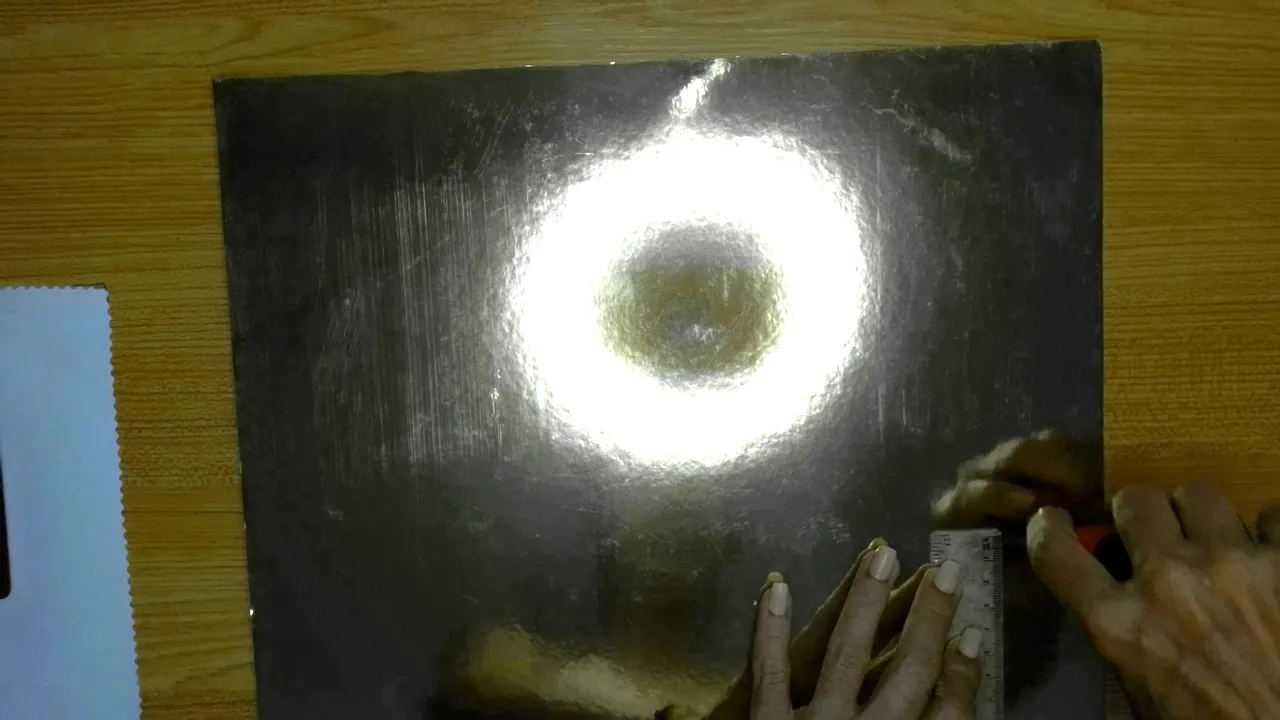
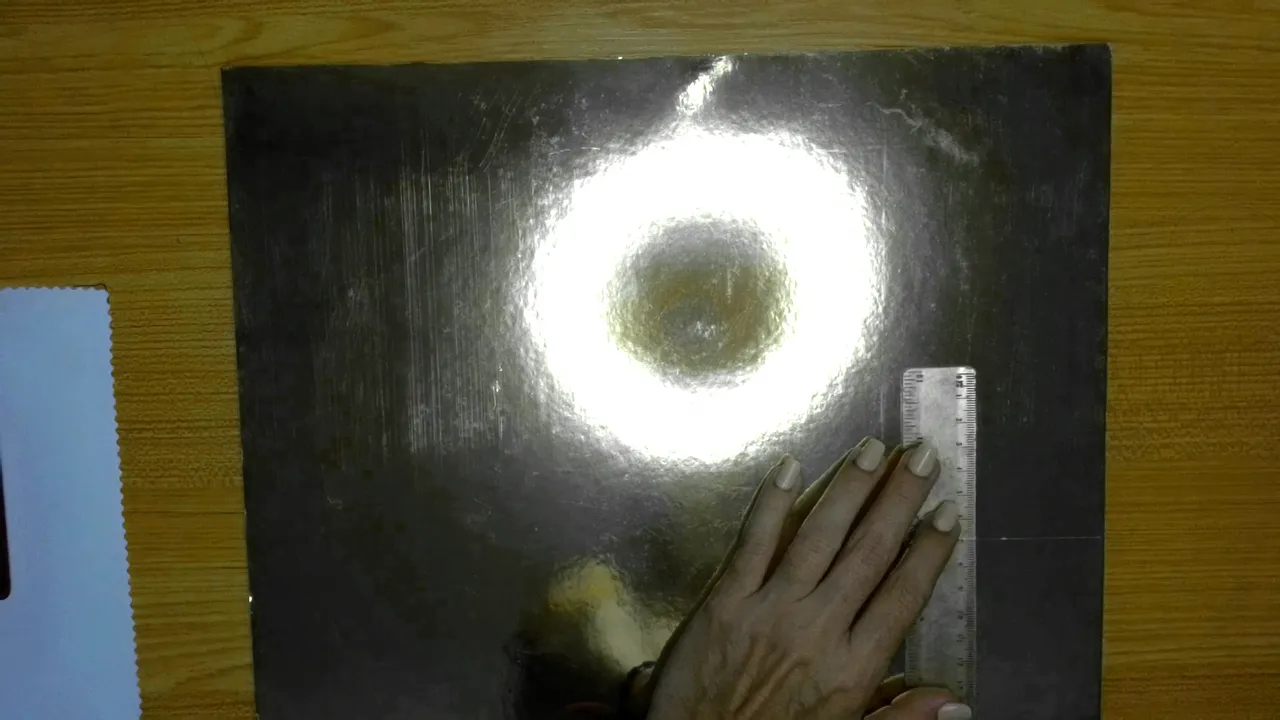
[Esp]
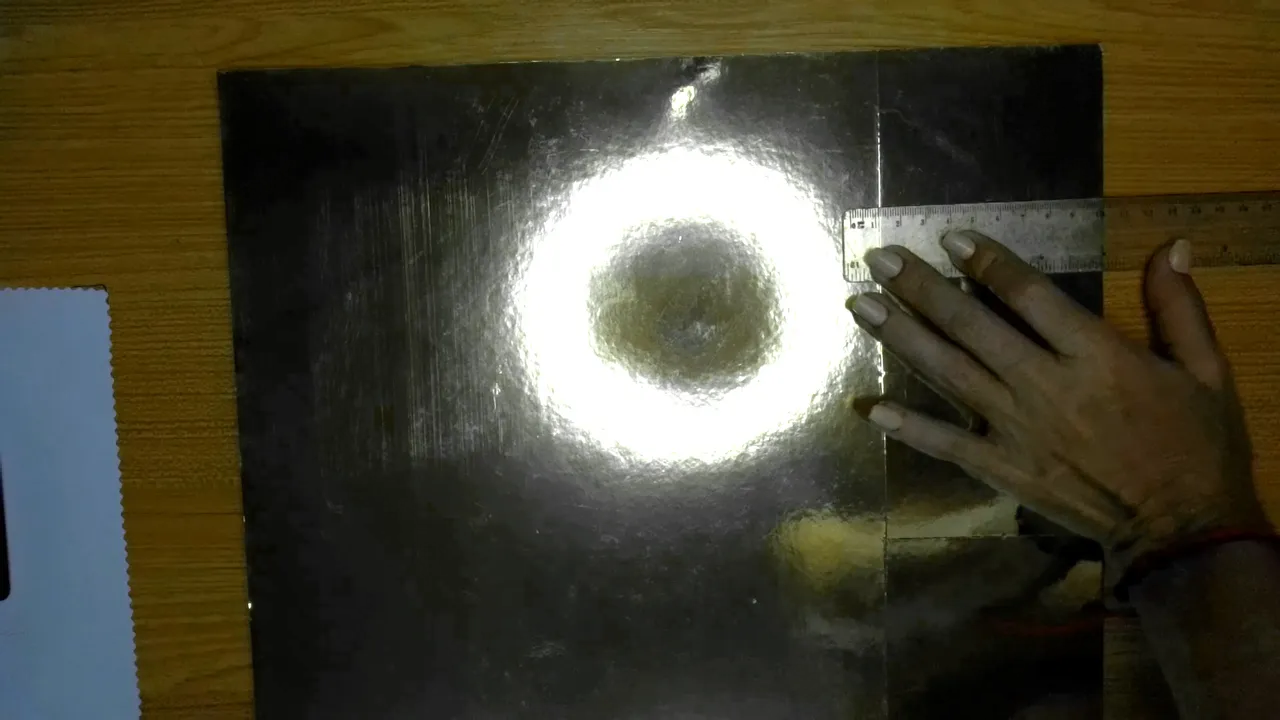
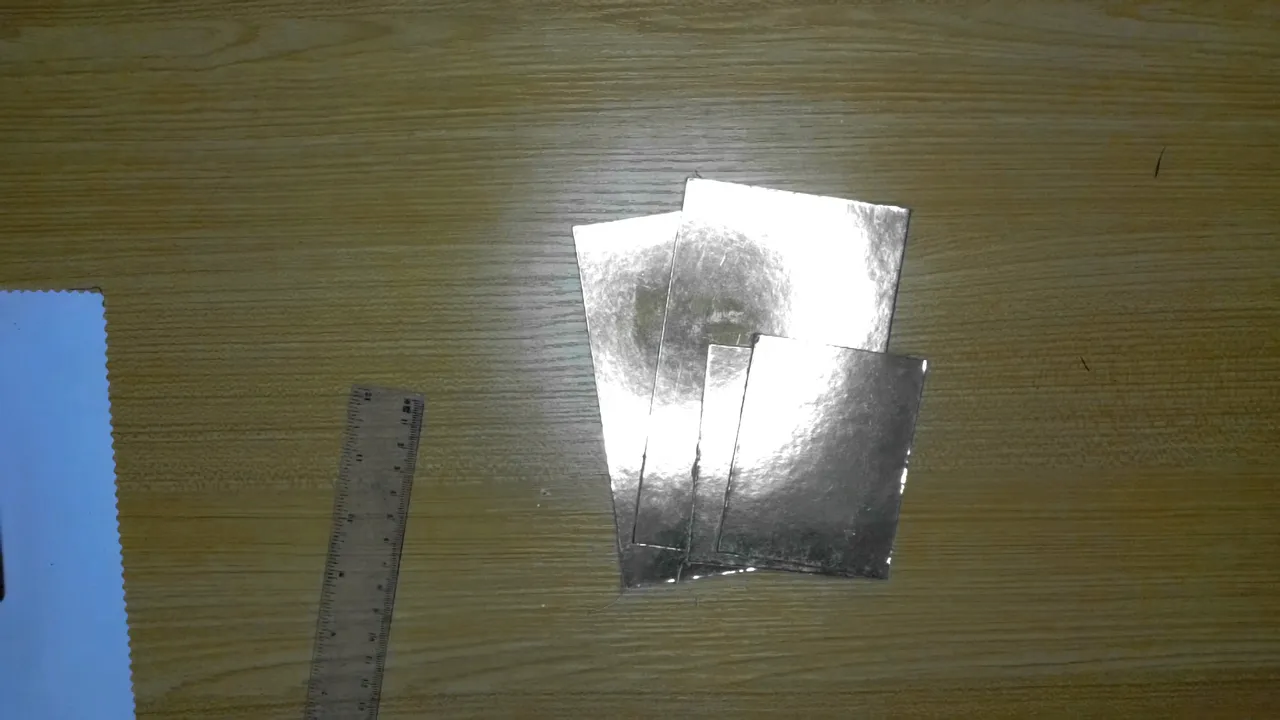
Es un poco difícil grabar o tomar fotografías a este material, porque refleja mucho la luz y vuelve loco el flash de la cámara.
Necesitamos cortar 2 piezas de cartón dorado para base de torda de 15 centímetros de largo por 9 de ancho.
2 Piezas de cartón dorado para base de torta de 8 centímetros de largo por 9 centímetros de ancho.
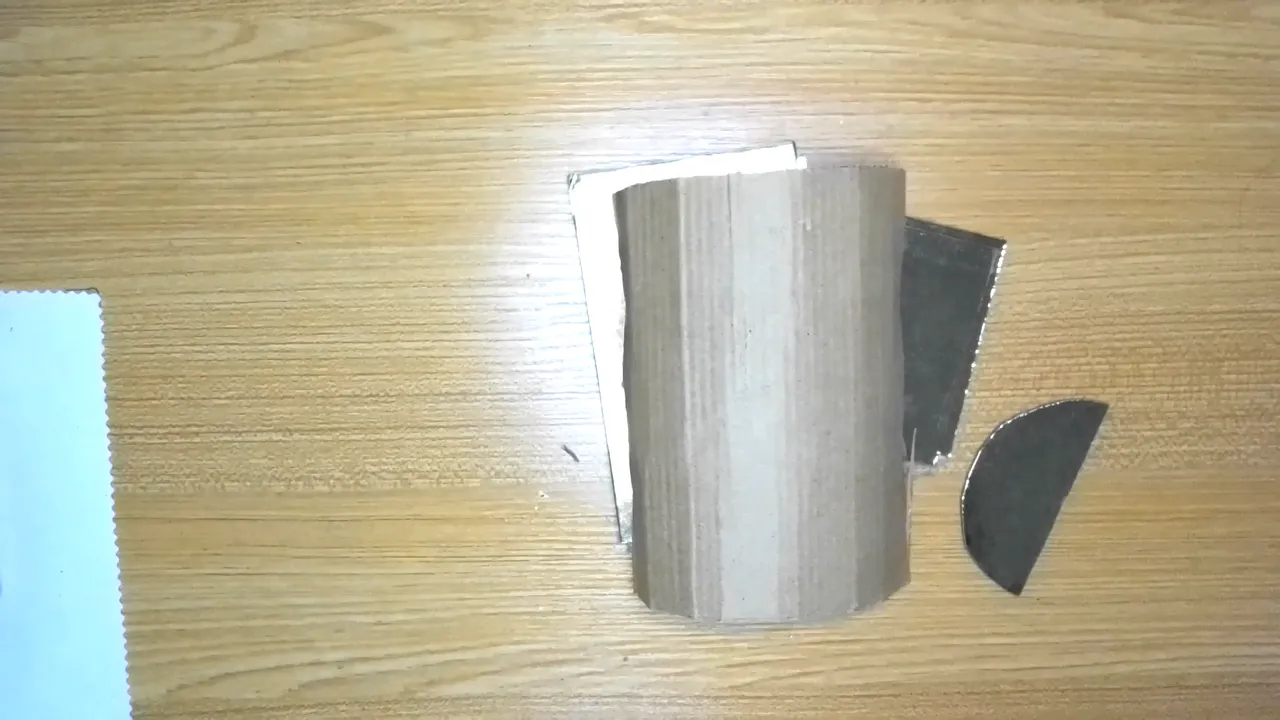
Recortamos una circunferencia de 15 centímetros de diámetro y luego la cortamos a la mitad.
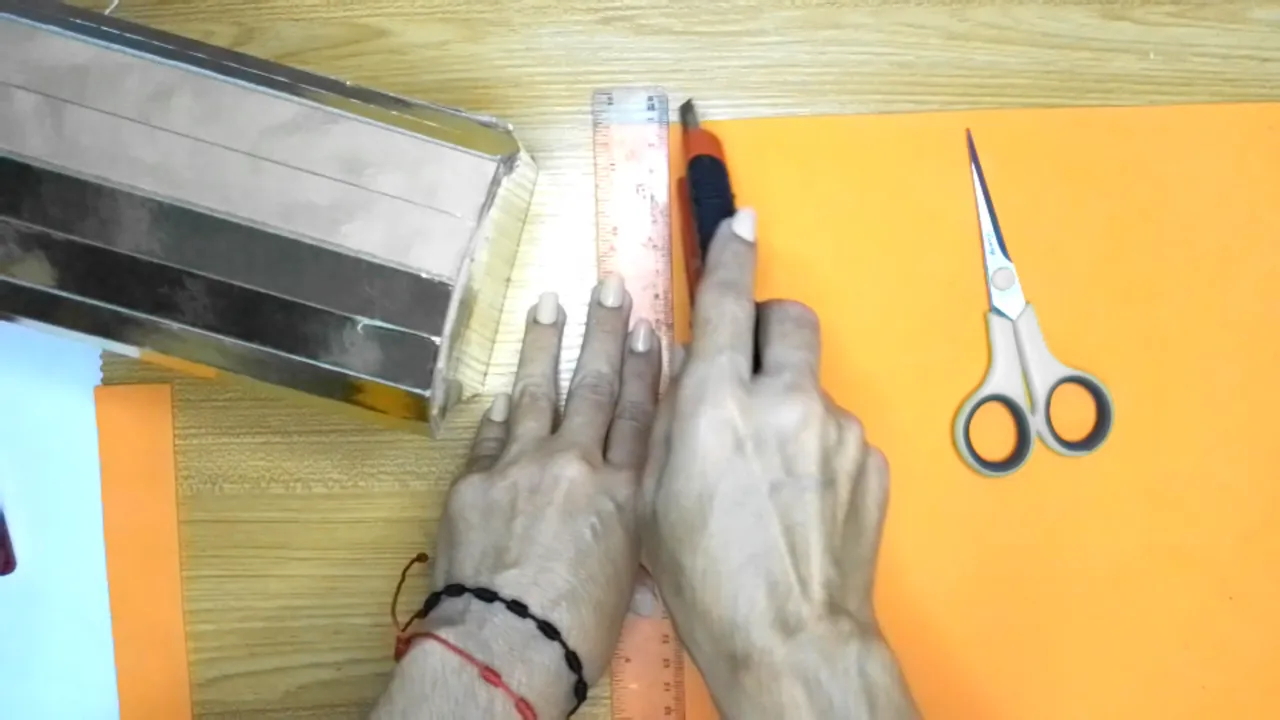
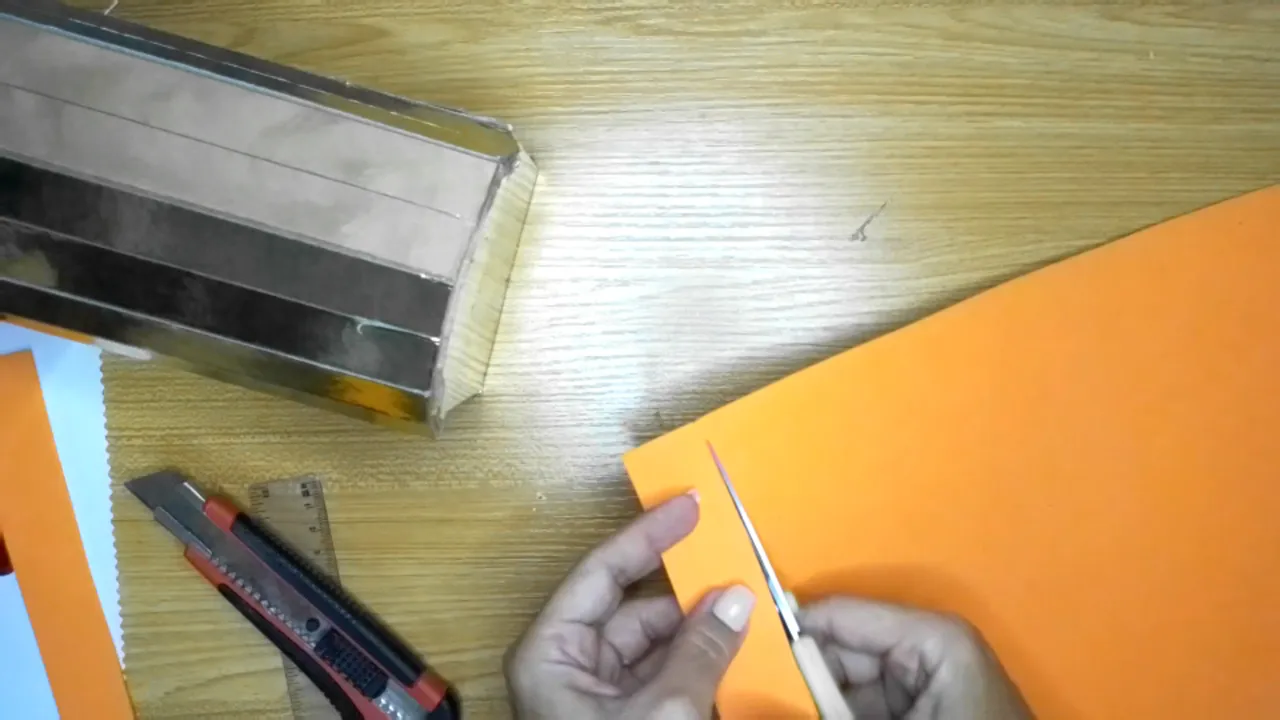
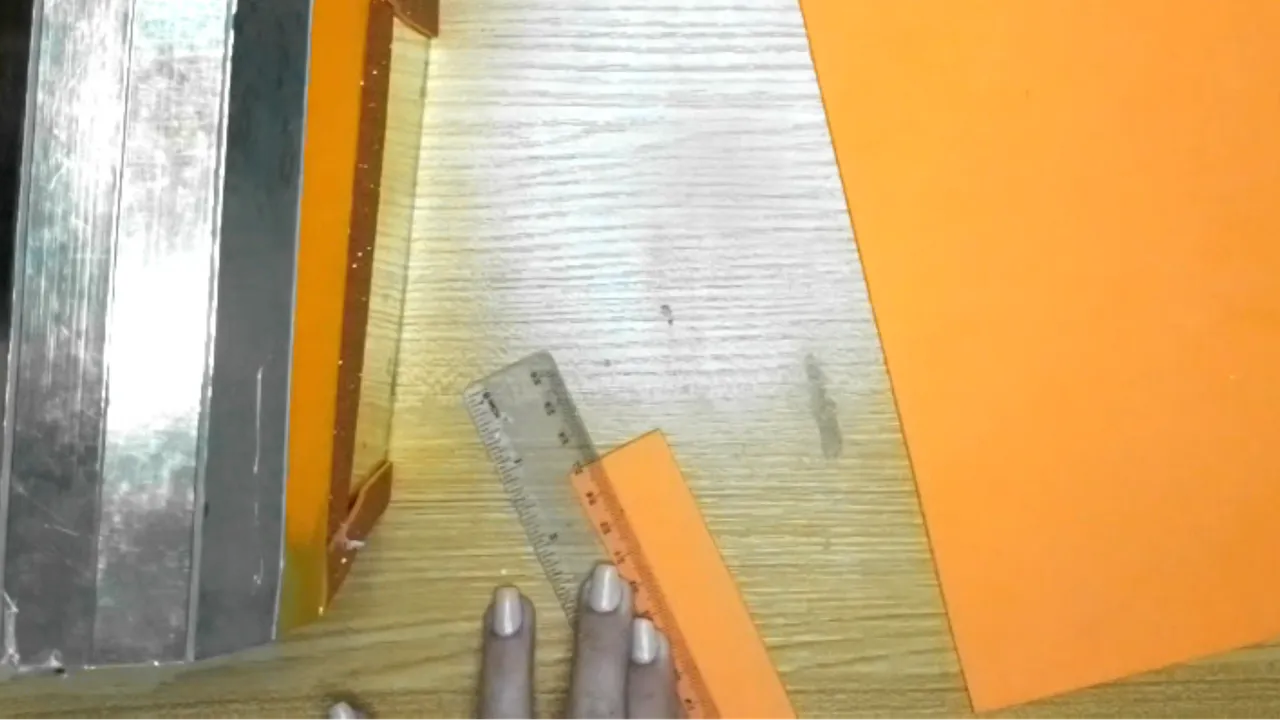
1 Pieza de cartón de 15 centímetros de largo por 14 centímetros de ancho. Para hacer todo esto empleamos el cúter una regla y tijera si se necesita.
! [English version]
[Eng]
It is a little difficult to record or take pictures of this material, because it reflects a lot of light and makes the camera flash crazy.
We need to cut 2 pieces of golden cardboard for cake base, 15 centimeters long by 9 centimeters wide.
2 pieces of golden cardboard for cake base of 8 centimeters long by 9 centimeters wide.
We cut out a circumference of 15 centimeters in diameter and then cut it in half.
1 piece of cardboard 15 centimeters long by 14 centimeters wide. To do all this we use the cutter, a ruler and scissors if needed.
Step 2️⃣/ paso 2️⃣
 |  |  |
 |  |  |
[Esp]
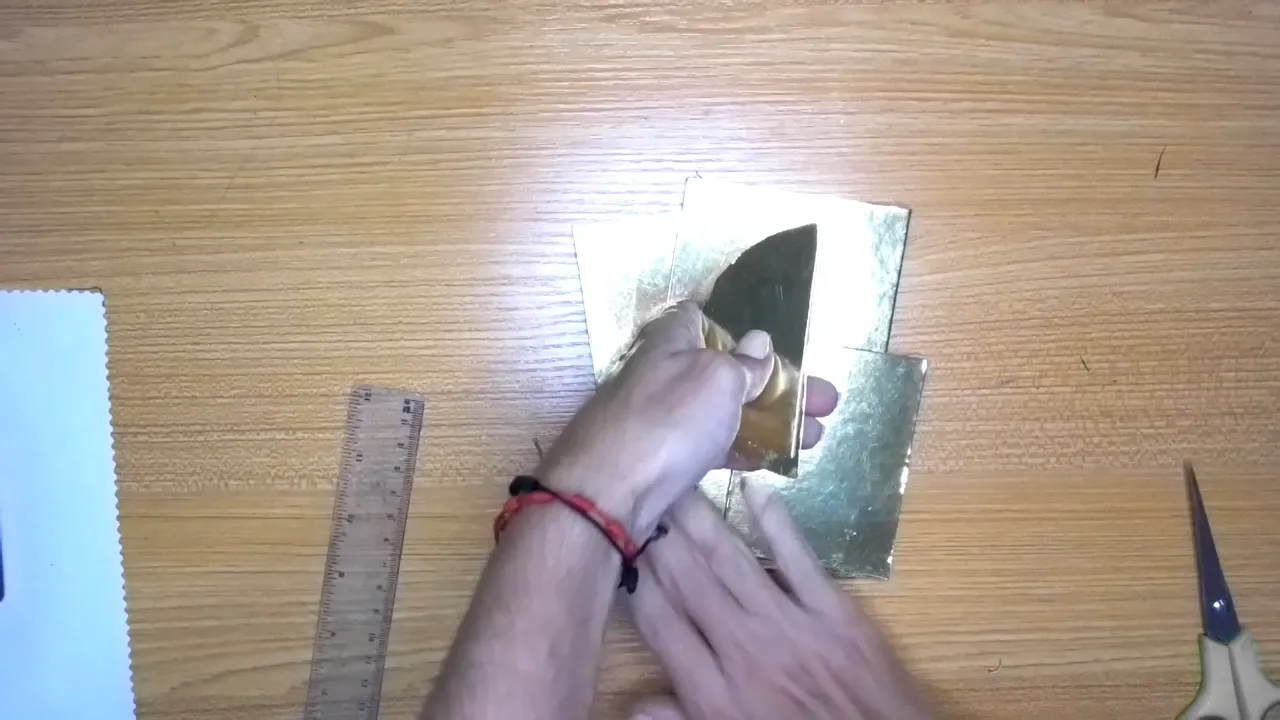
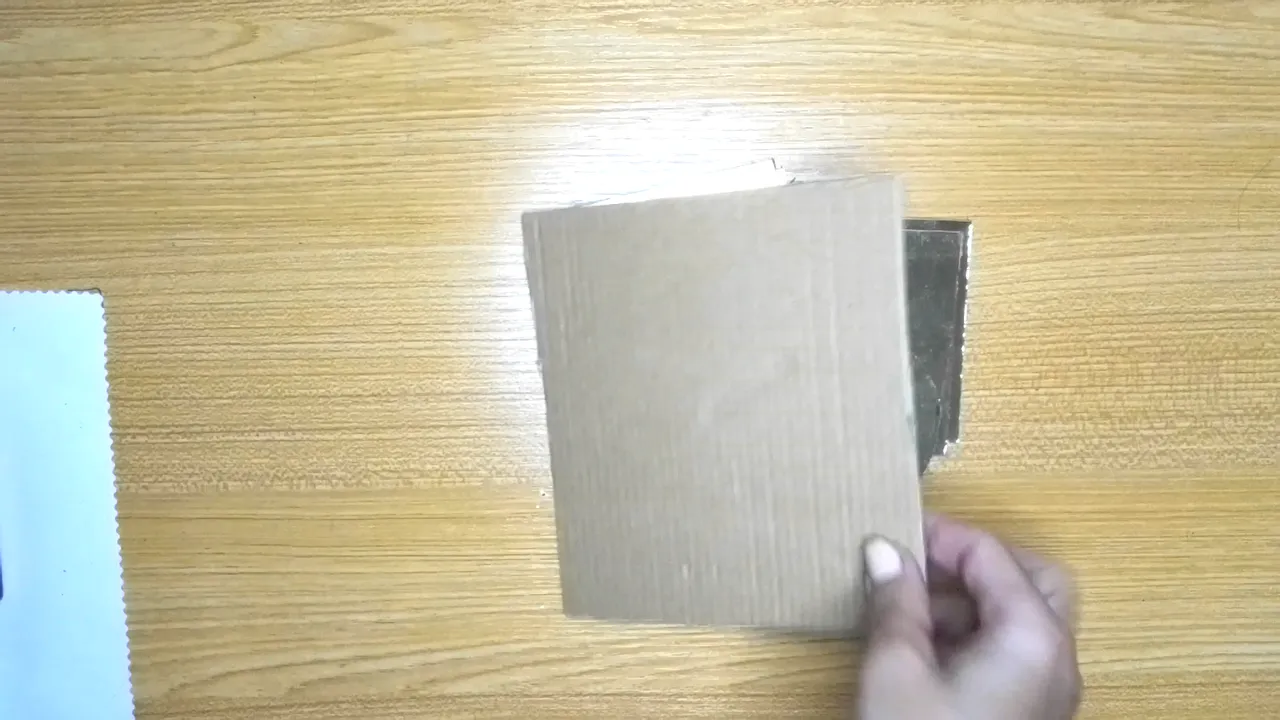
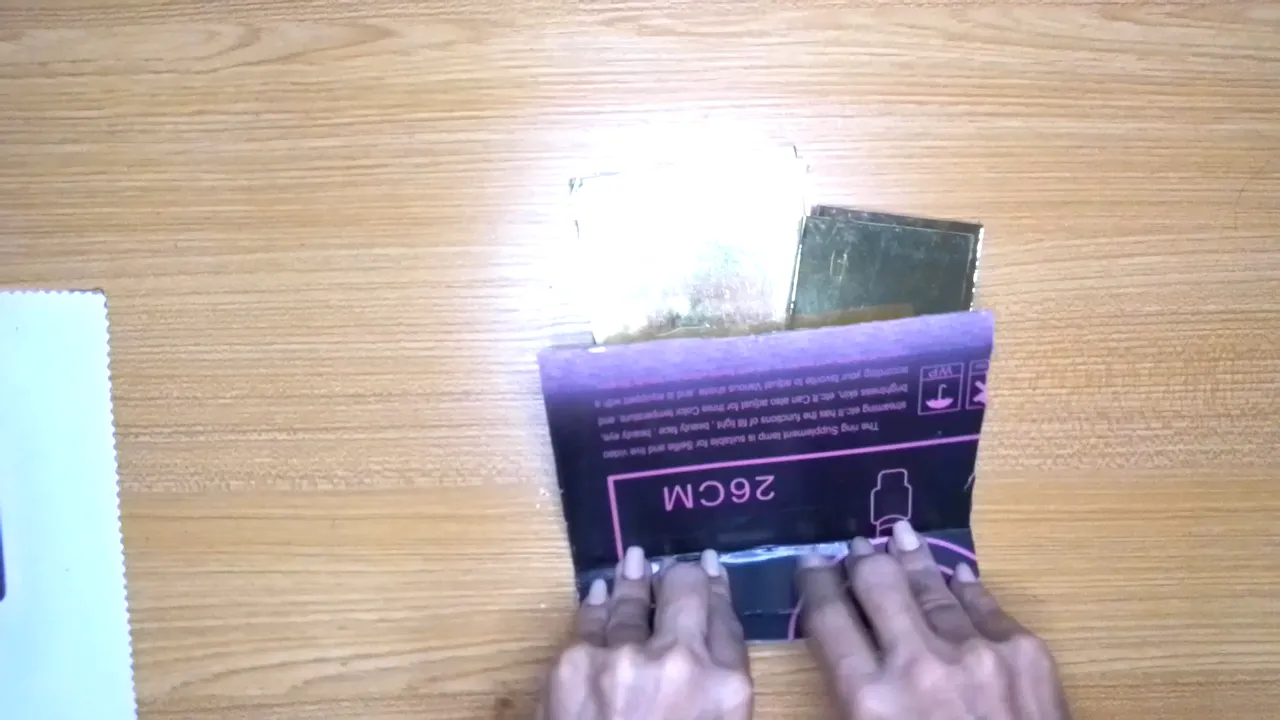
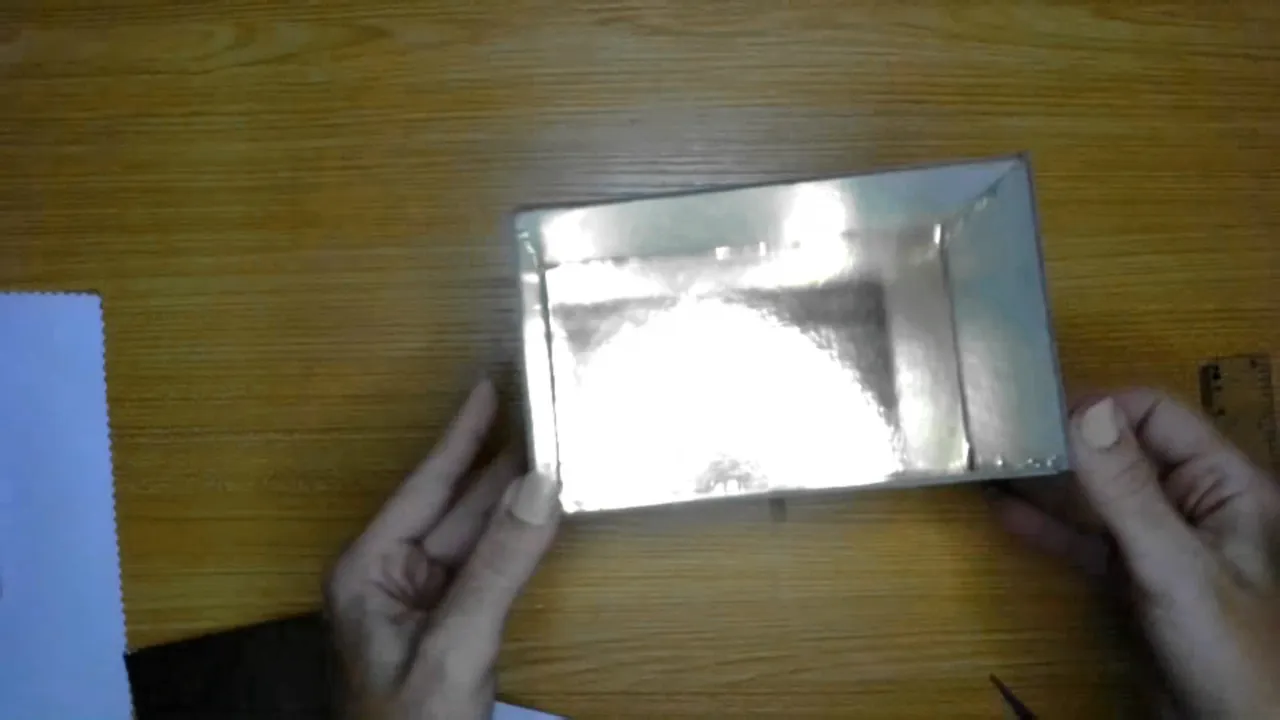
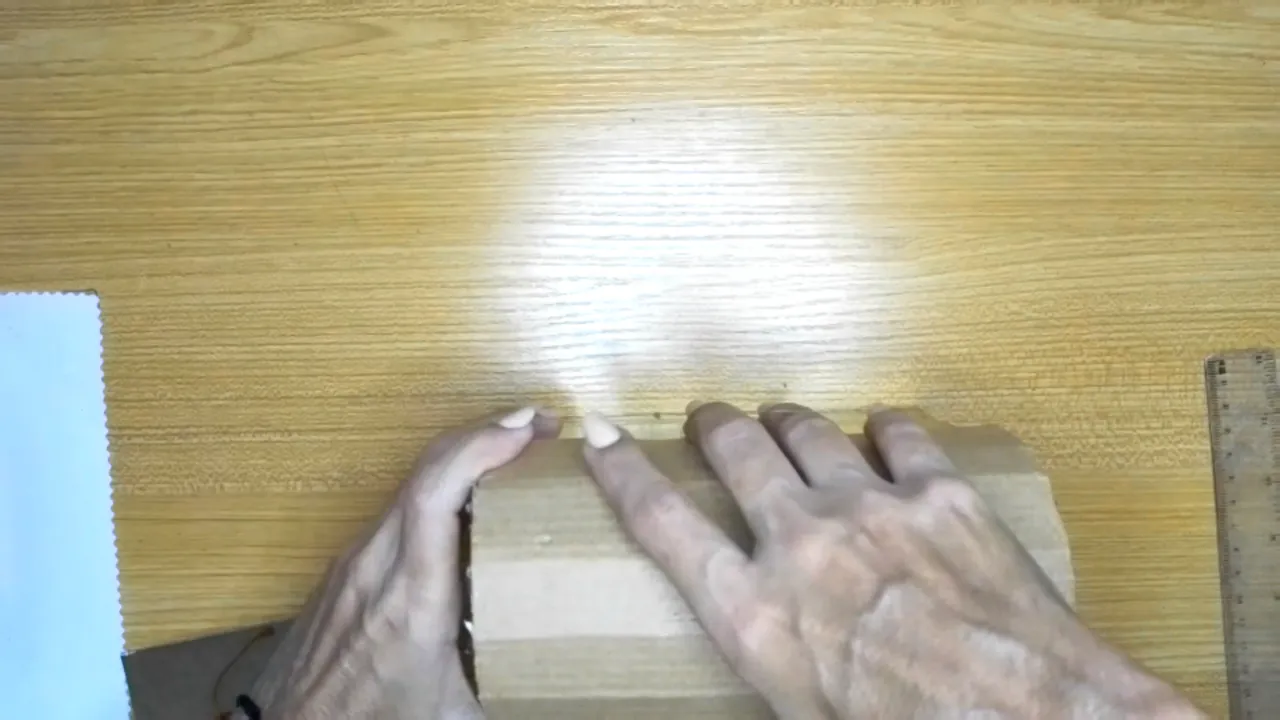
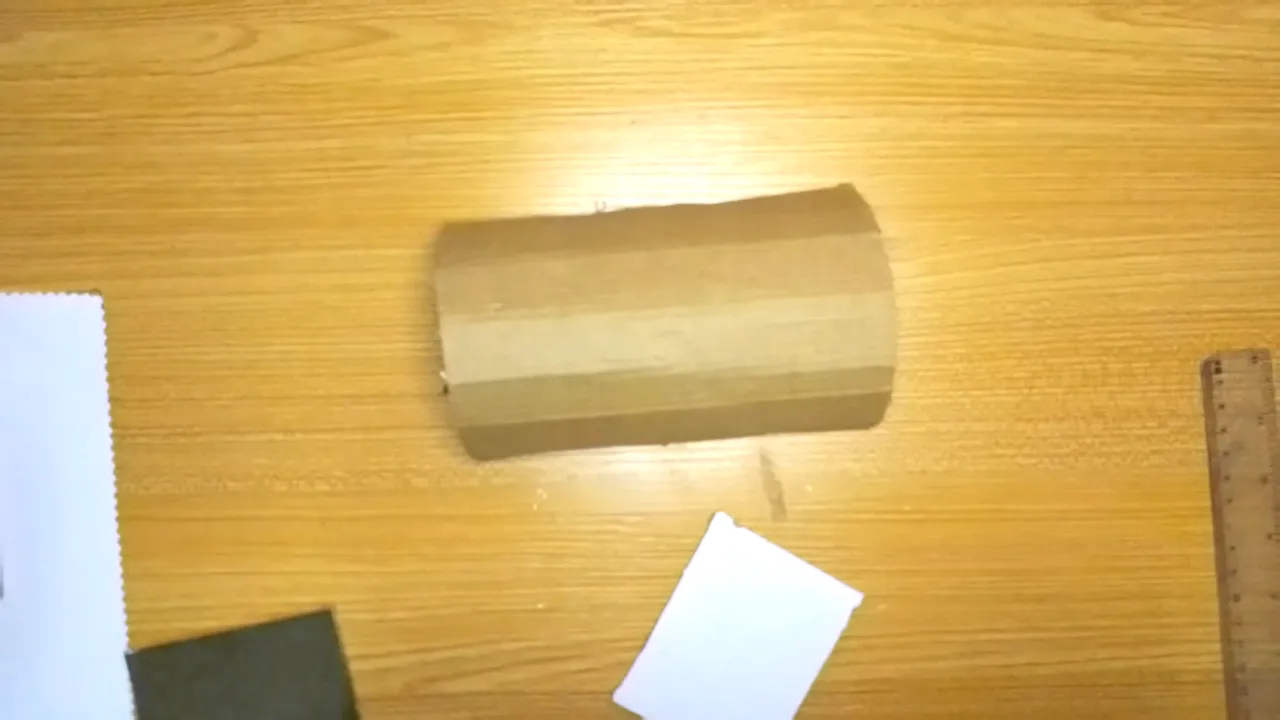
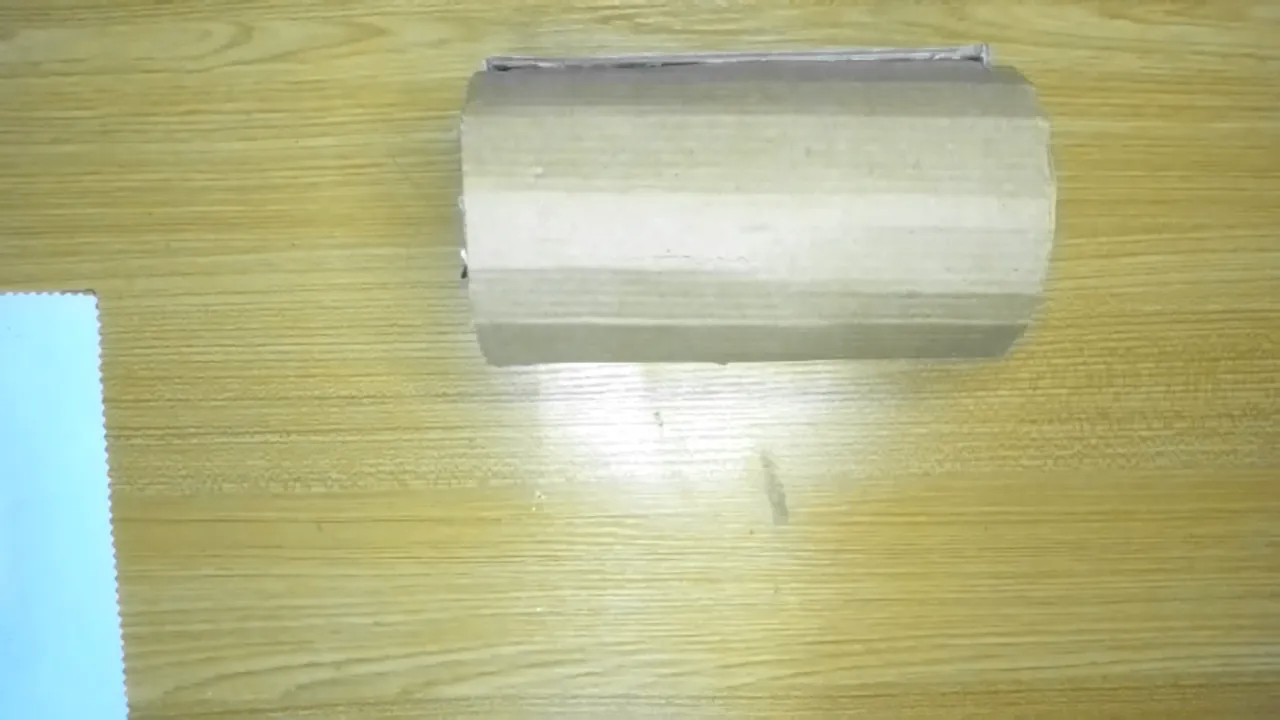
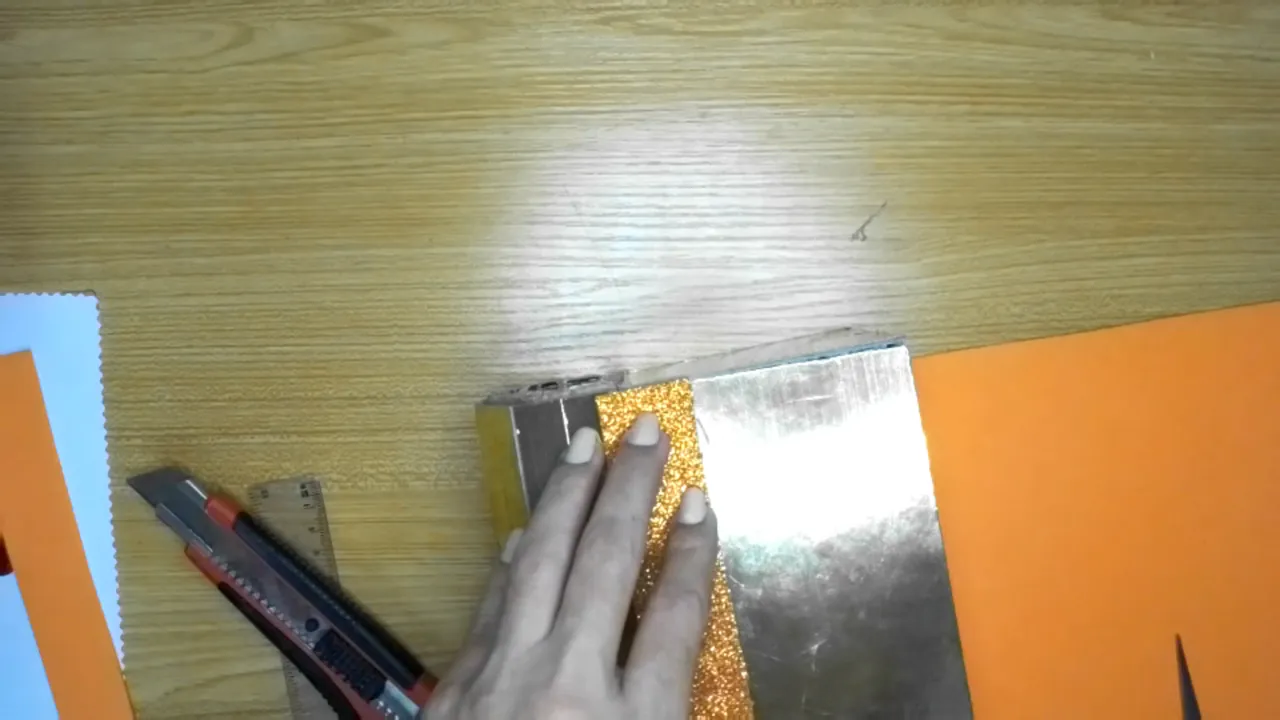
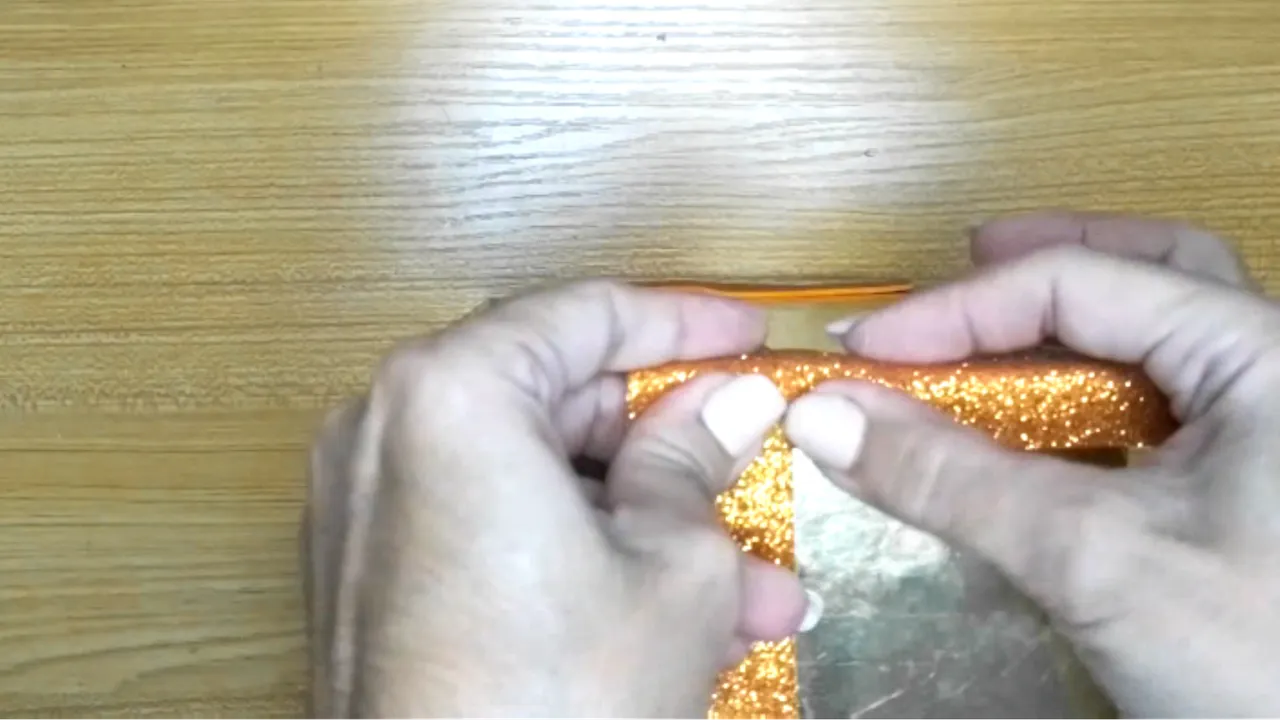
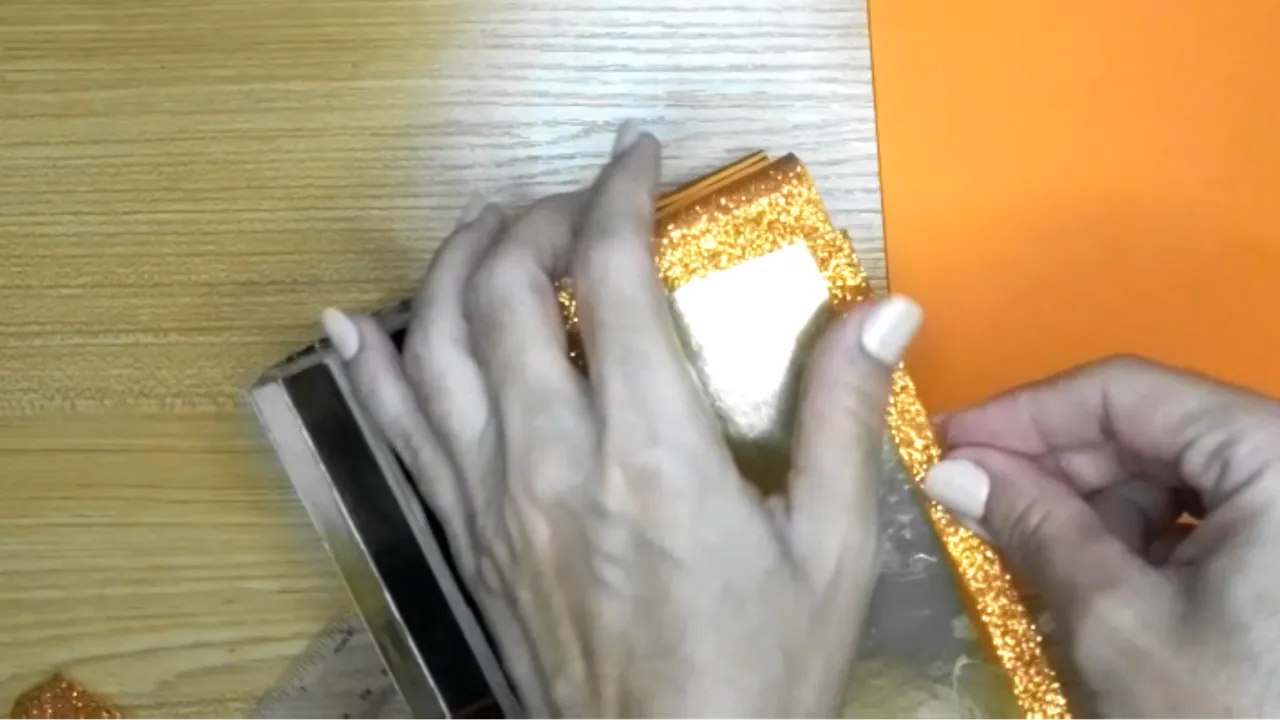
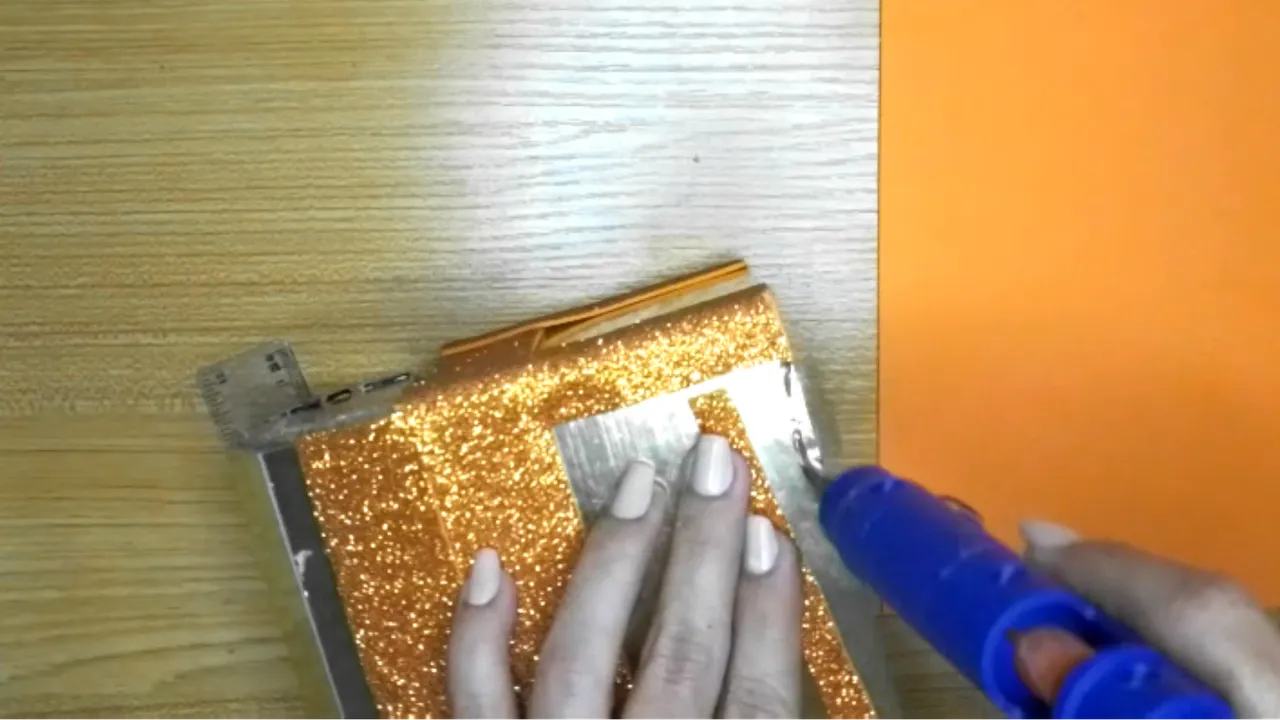
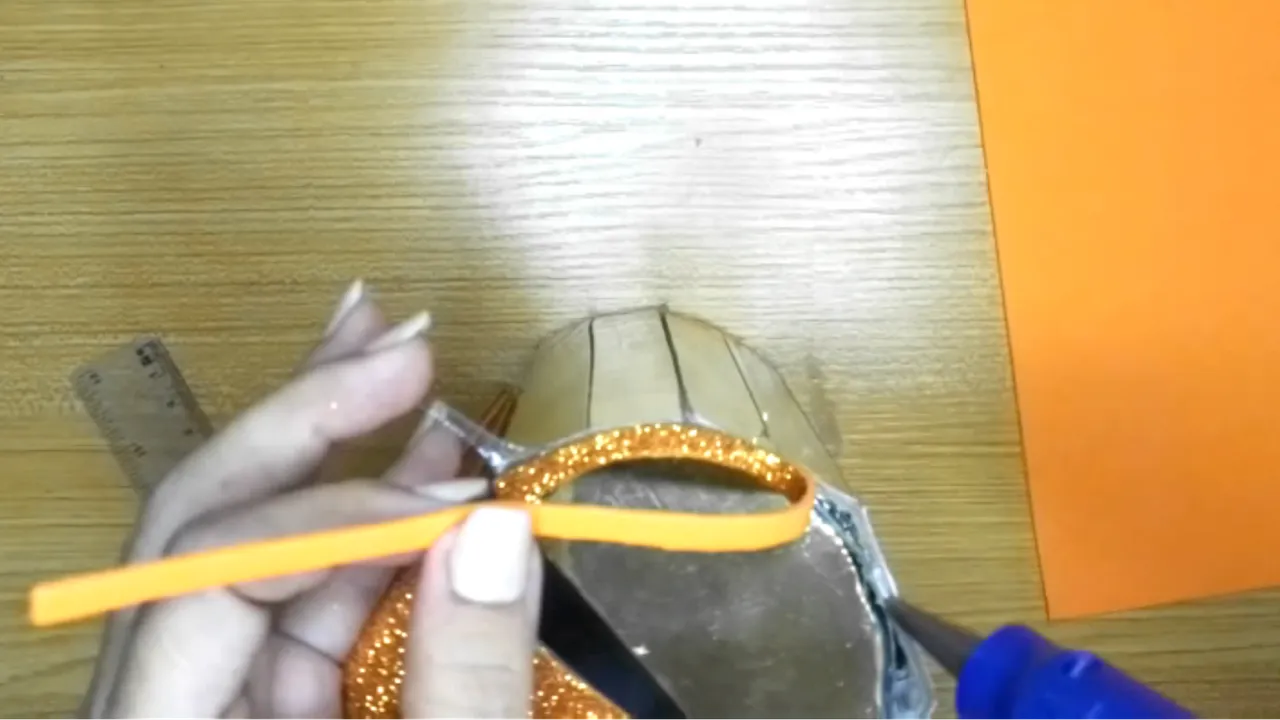
Tomamos el cartón y lo moldeamos enrollándolo (imágenes 1 y 2)
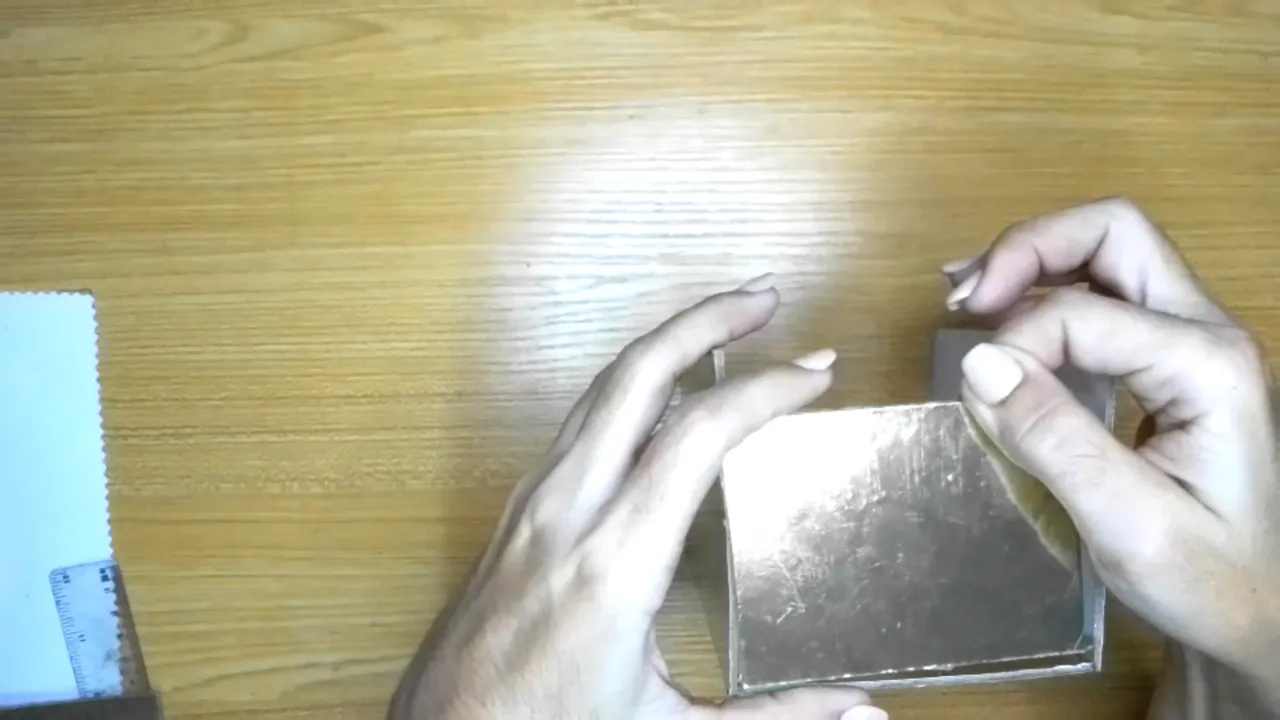
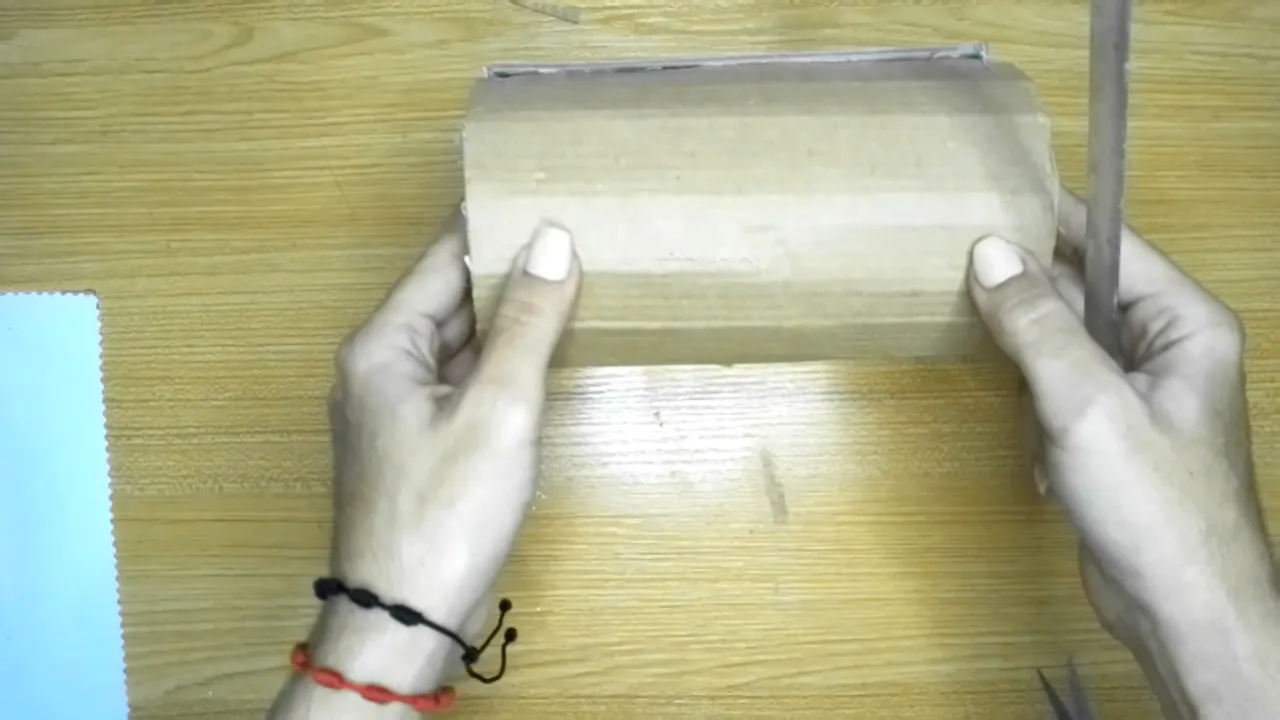
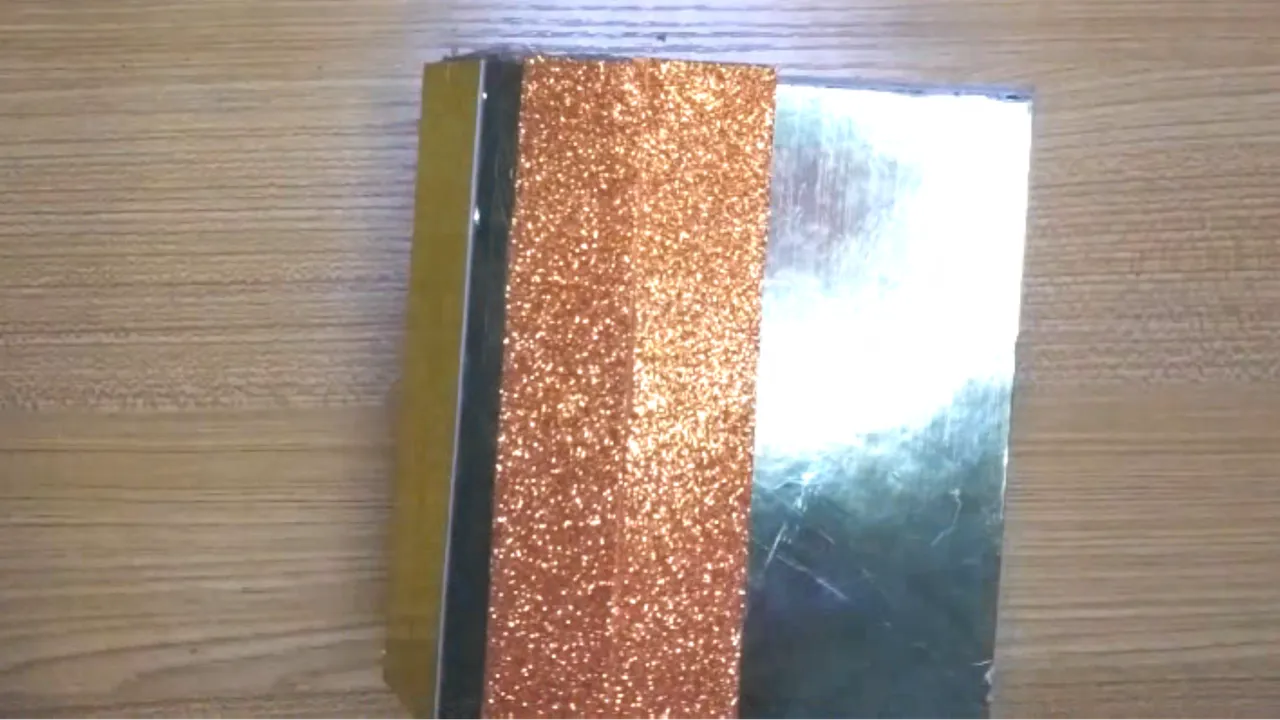
Procedemos a pegar el cartón dorado, que arma la caja, pegamos la base junto a sus 4 laterales (imágenes 3, 4)
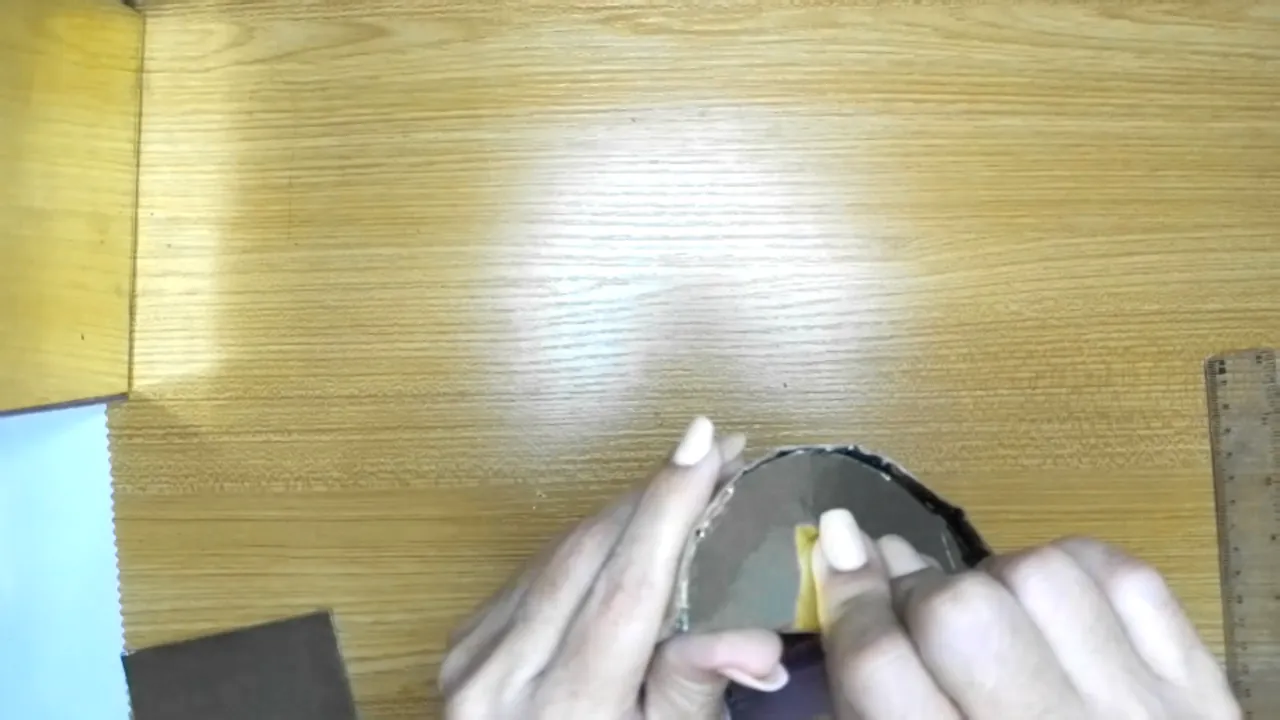
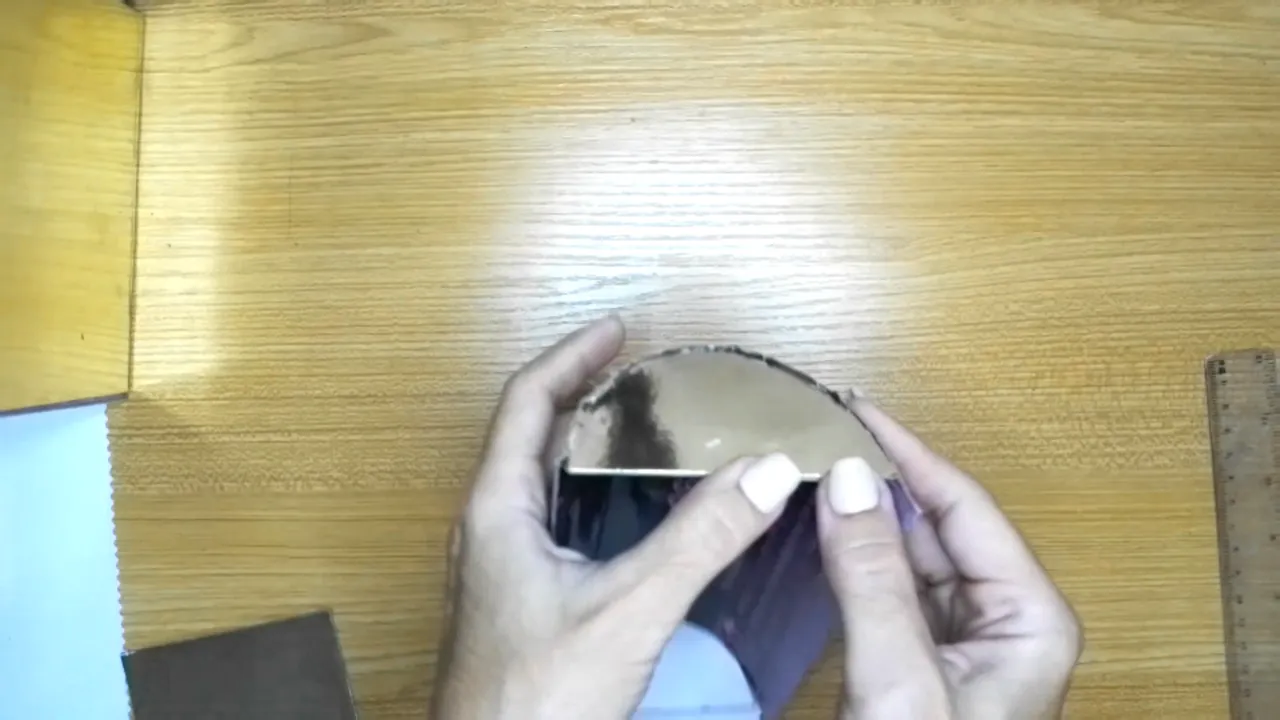
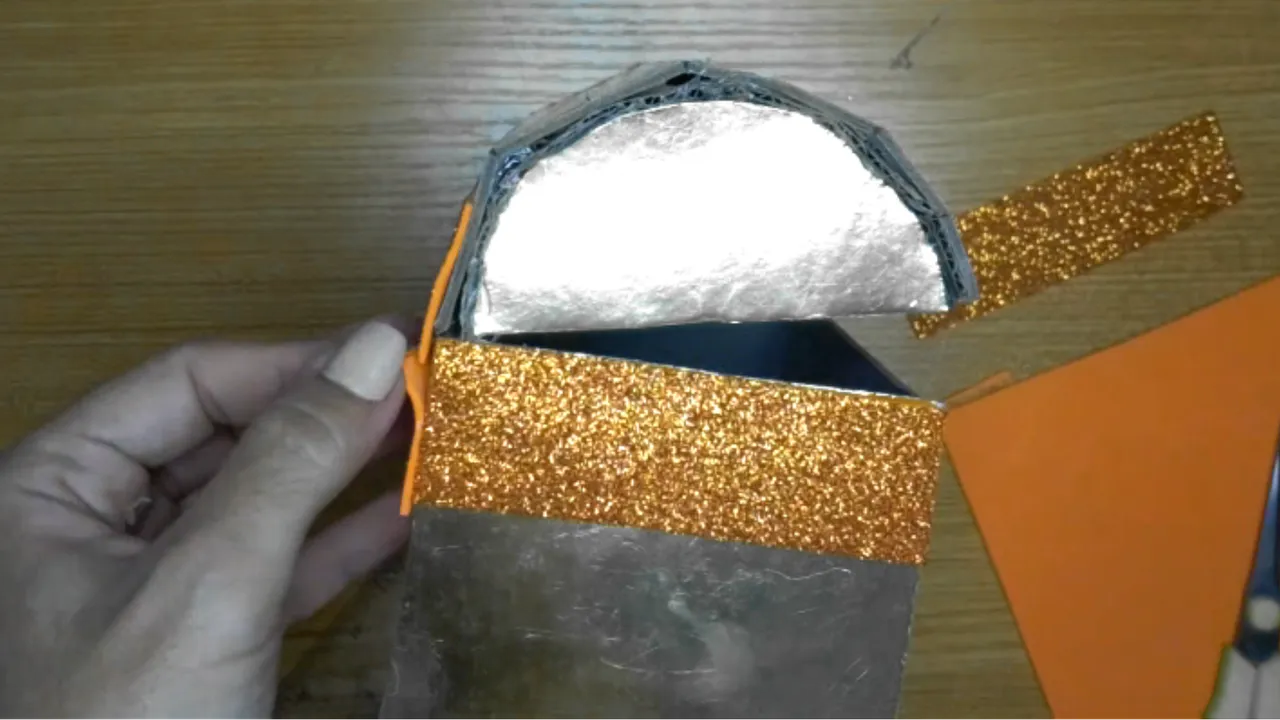
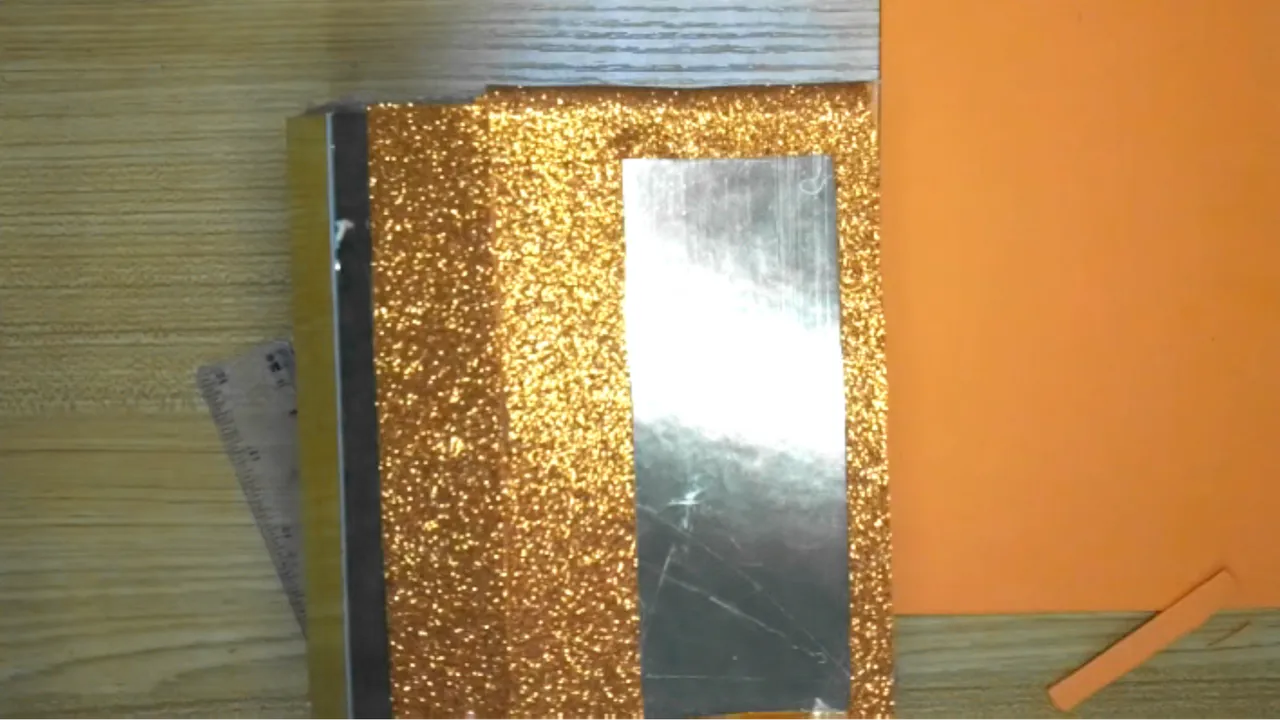
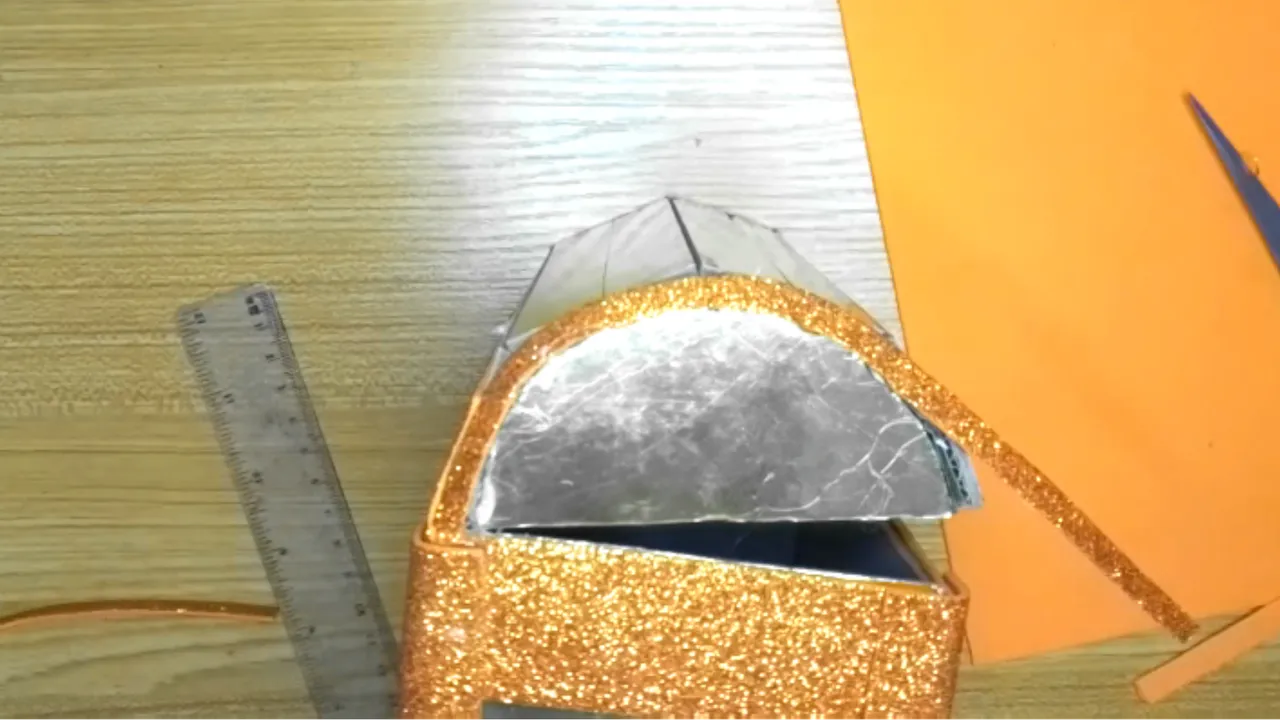
Pegamos los medios círculos a los lados del cartón que hemos moldeado (imagen 5, 6 y 7)
! [English version]
[Eng]
We take the cardboard and mold it by rolling it (images 1 and 2).
We proceed to glue the golden cardboard, which forms the box, we glue the base together with its 4 sides (images 3, 4).
Glue the half circles to the sides of the cardboard we have molded (images 5, 6 and 7).
Step 3️⃣/ paso 3️⃣
 |  |  |
 |  |  |
[Esp]
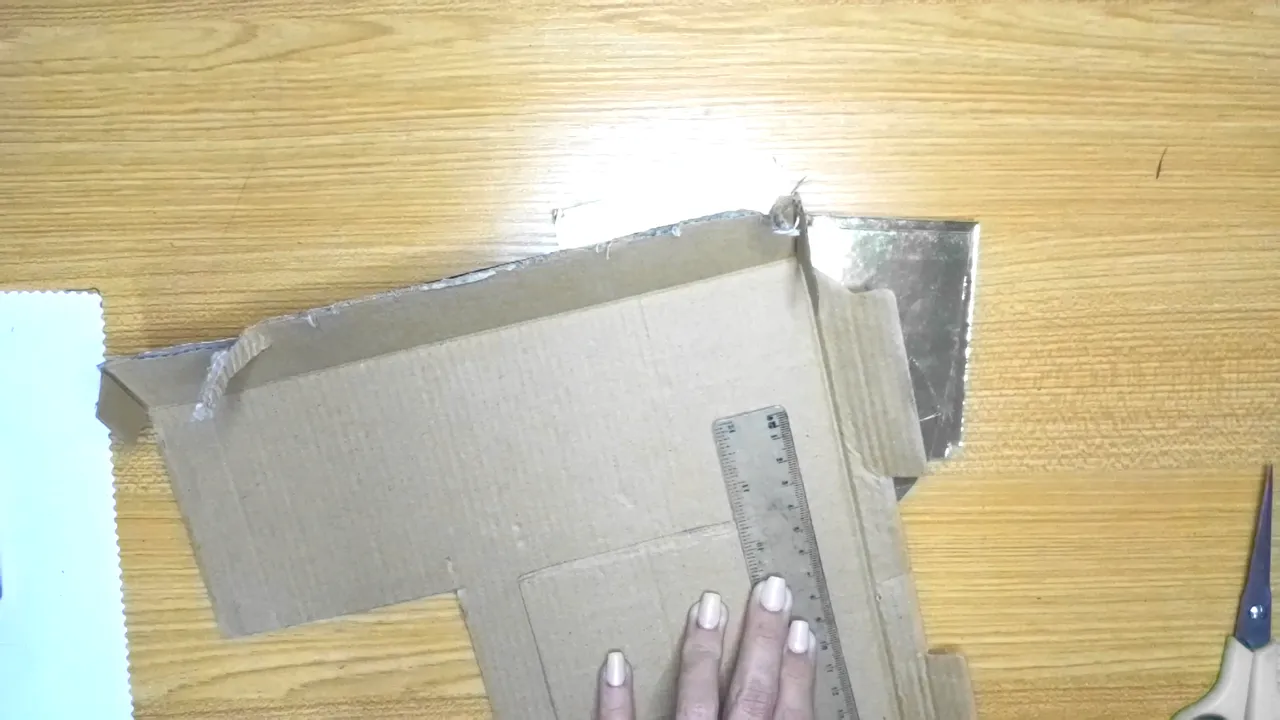
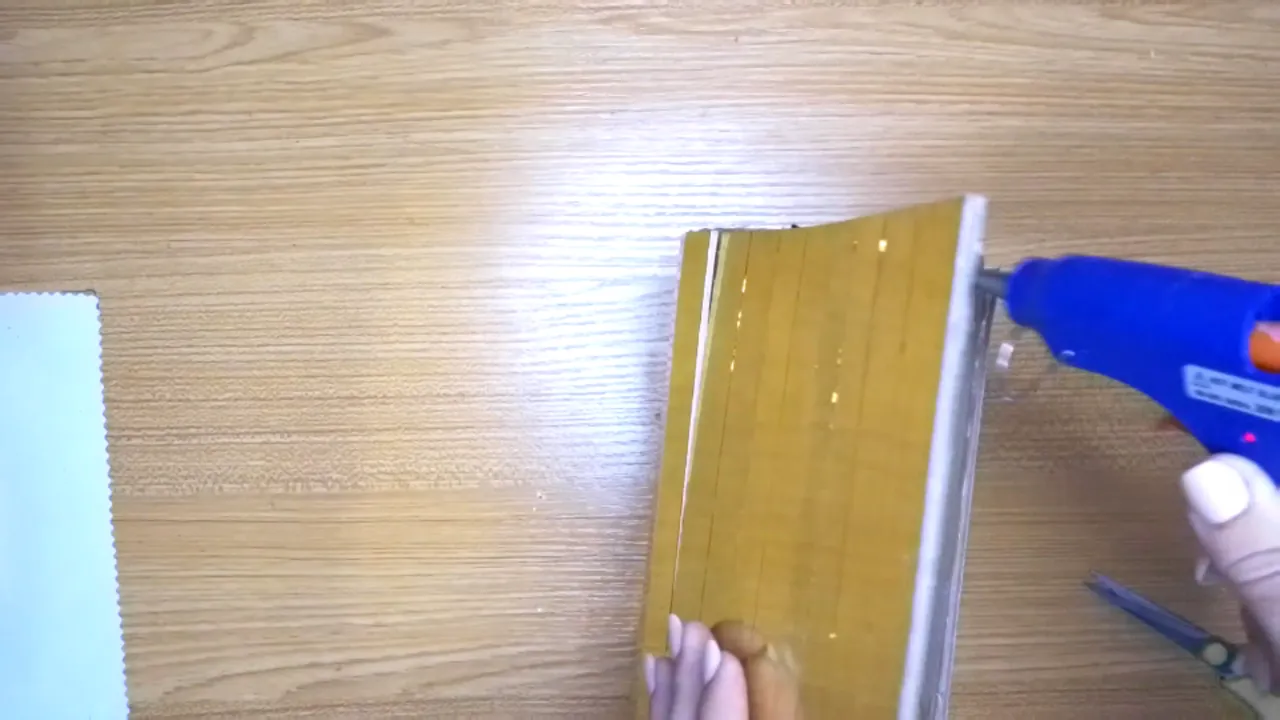
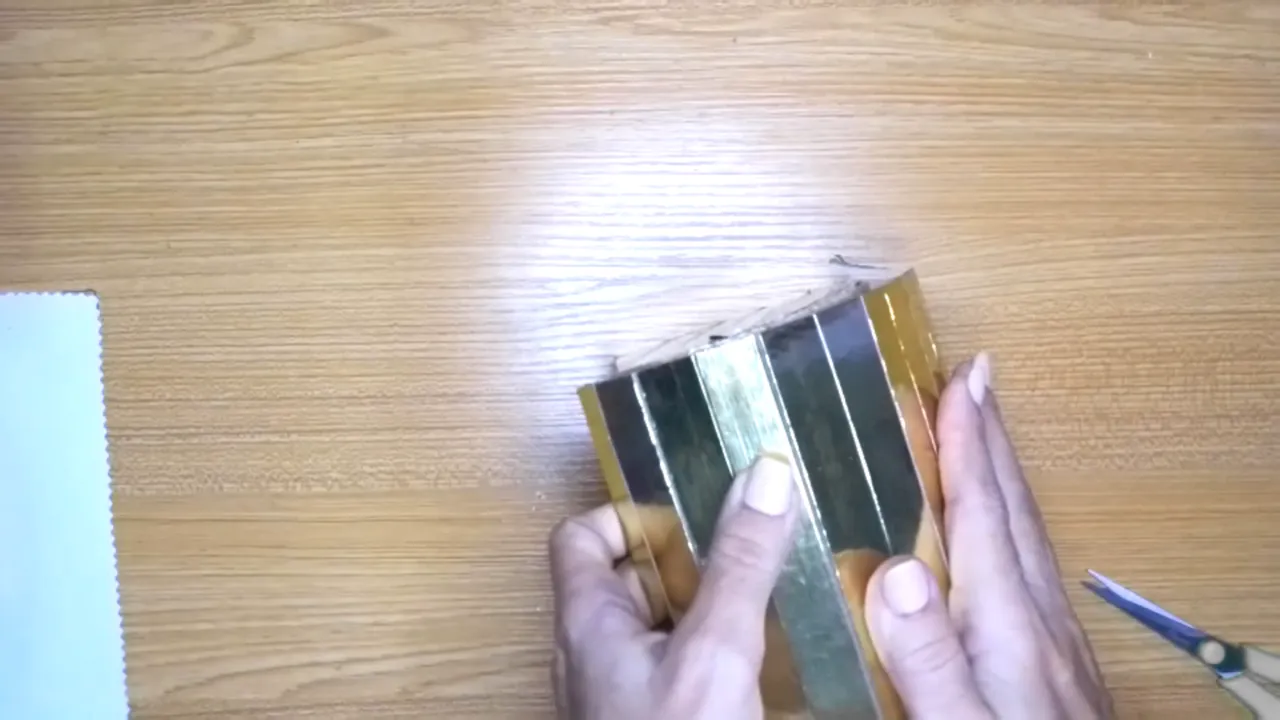
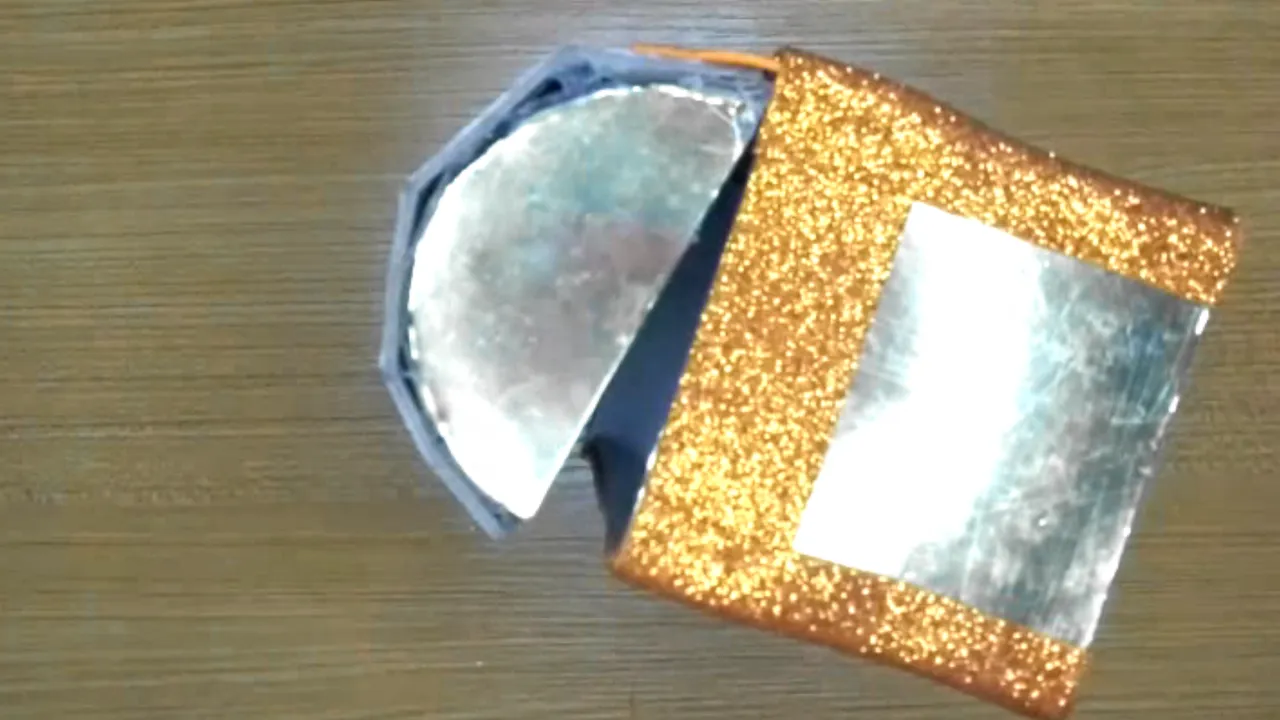
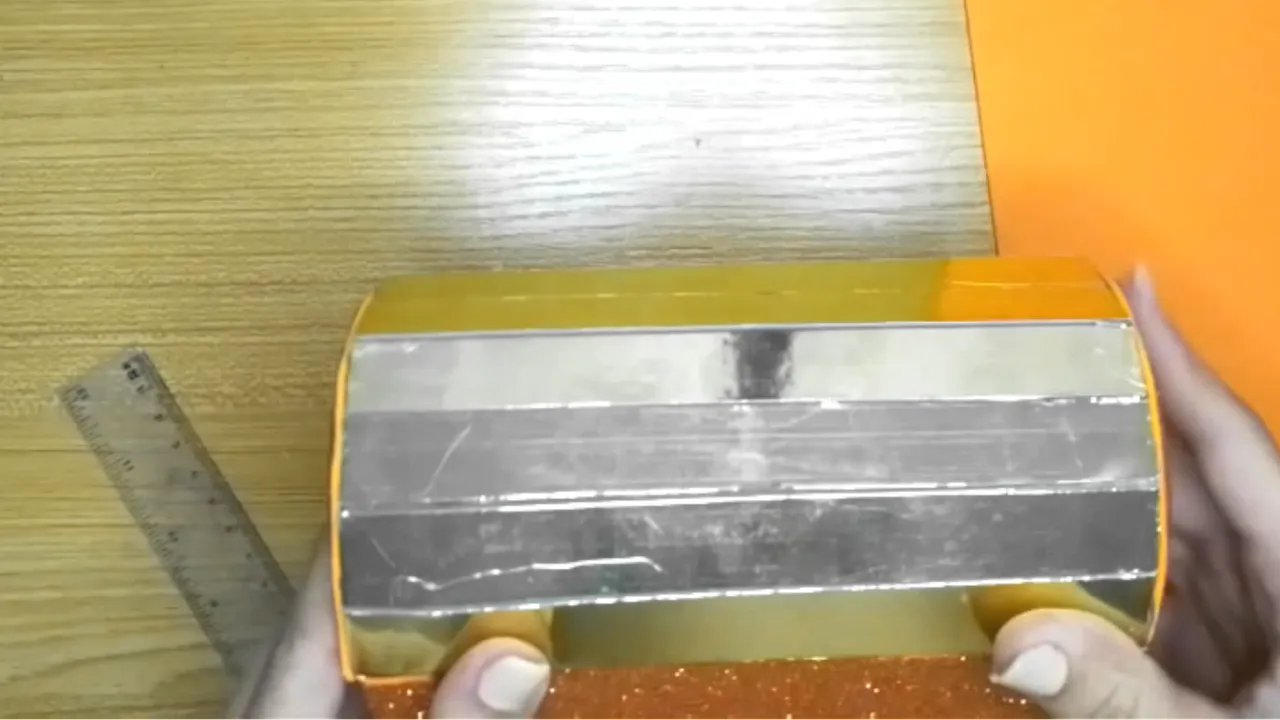
Pegamos la pestaña sobresaliente de la tapa del cofre a la caja armada del mismo (imágenes 1, 2, 3)
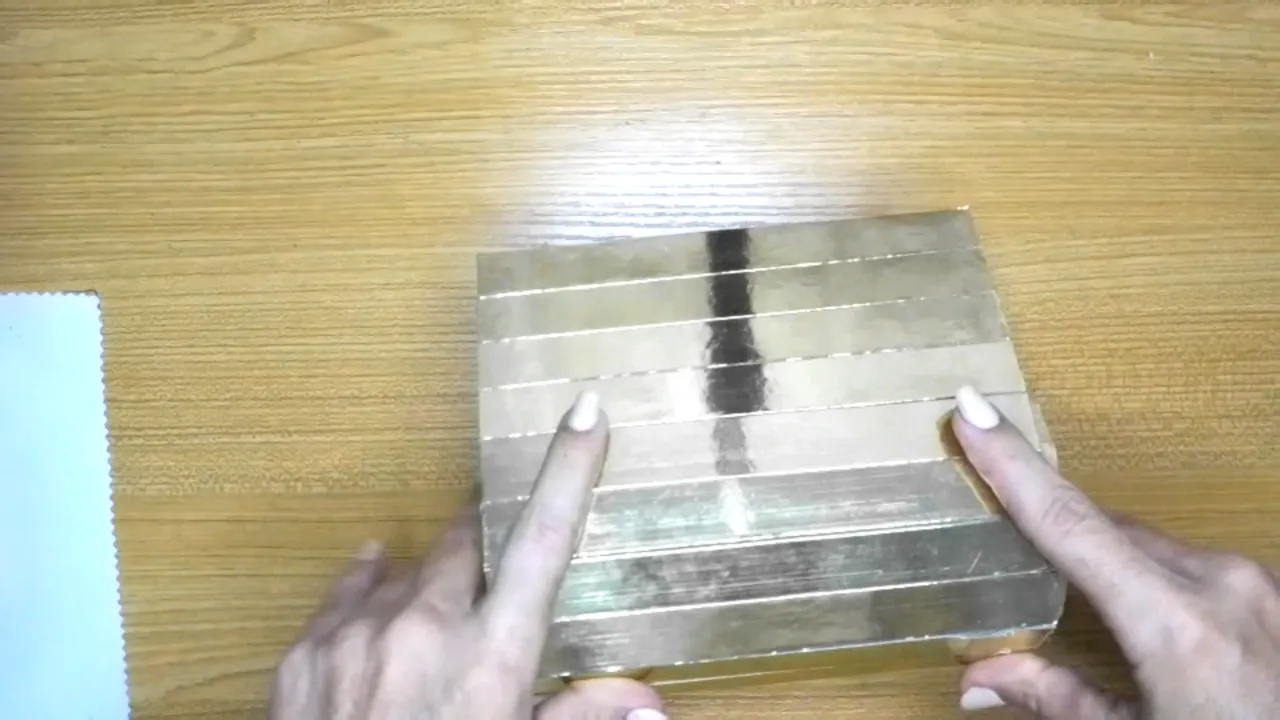
Recortamos un trozo de cartón dorado para base de torta de unos 15 centímetros de largo por 14 centímetros de ancho. Hacemos pequeños cortes de 1.5 centímetros entre ellos, esto es para que se pueda moldear en la tapa y quedará bonito como decoración (imagen 4)
Procedemos a pegar el cartón dorado a la tapa del cofre siguiendo la forma redondeada (imágenes 4, 5 y 6)
Cortamos piezas de foami de 2 centímetros de ancho por el largo que necesitemos, cuantas piezas necesitemos para decorar.
! [English version]
[Eng]
Glue the protruding flange of the box lid to the assembled box (images 1, 2, 3).
Cut a piece of golden cardboard for cake base about 15 centimeters long and 14 centimeters wide. We make small cuts of 1.5 centimeters between them, this is so that it can be molded on the lid and it will look nice as decoration (image 4).
We proceed to glue the golden cardboard to the lid of the chest following the rounded shape (images 4, 5 and 6).
We cut pieces of foami 2 centimeters wide by the length we need, as many pieces as we need to decorate.
Step 4️⃣/ paso 4️⃣
 |  |  |
 |  |  |
[Esp]
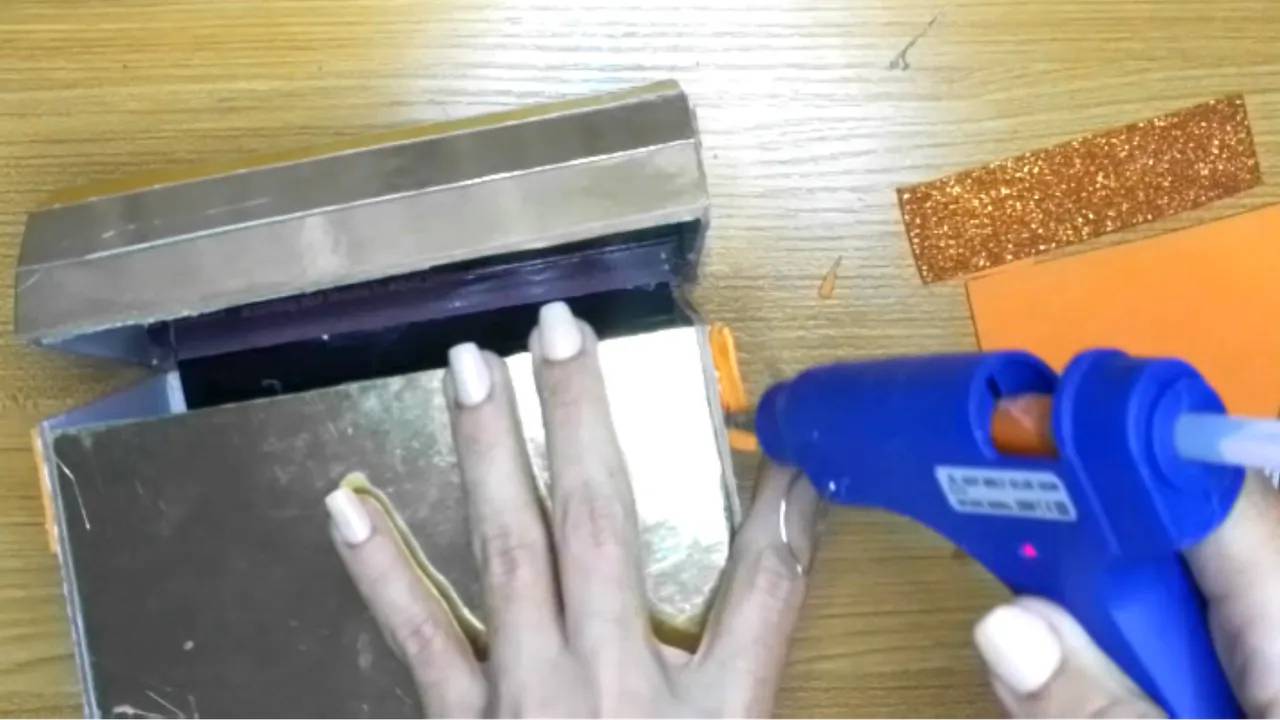
Pegamos por las orillas y esquinas los foami, esto es para decorar y también nos ayuda a cubrir las uniones e imperfecciones.
! [English version]
[Eng]
Glue the foami around the edges and corners, this is for decoration and also helps us to cover the joints and imperfections.
Step 5️⃣/ paso 5️⃣
 |  |  |
 |  |  |
[Esp]
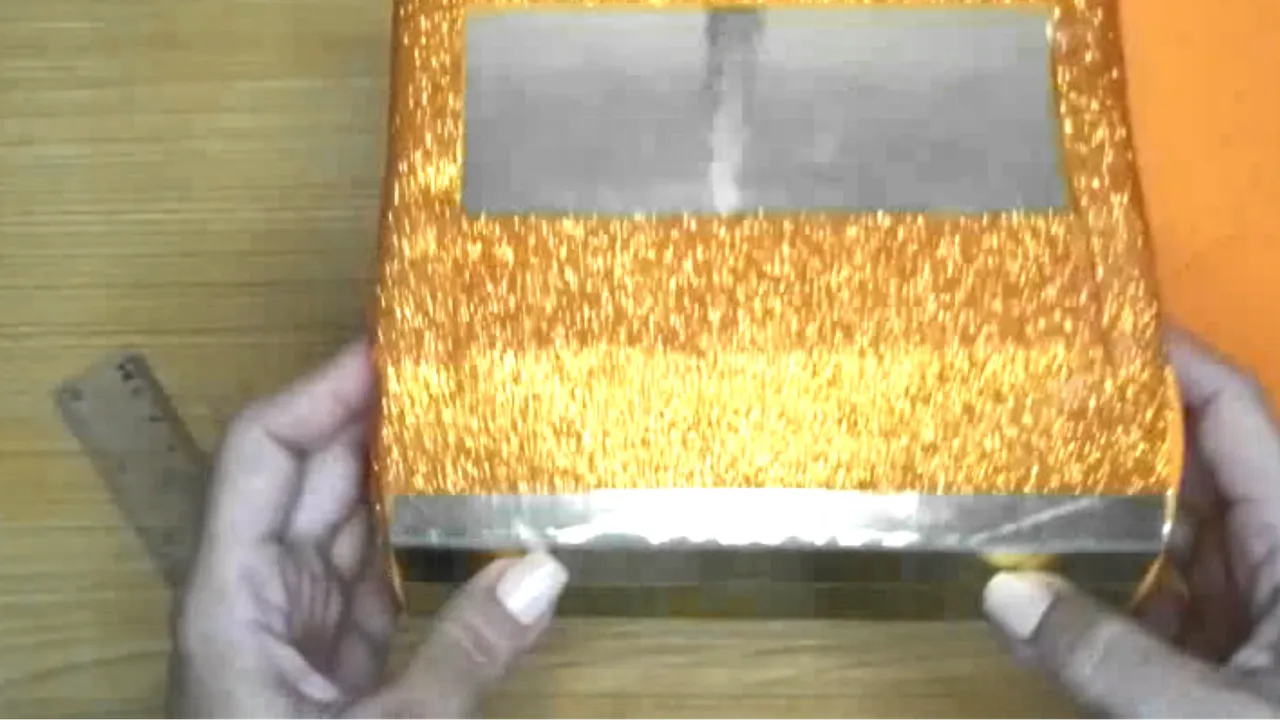
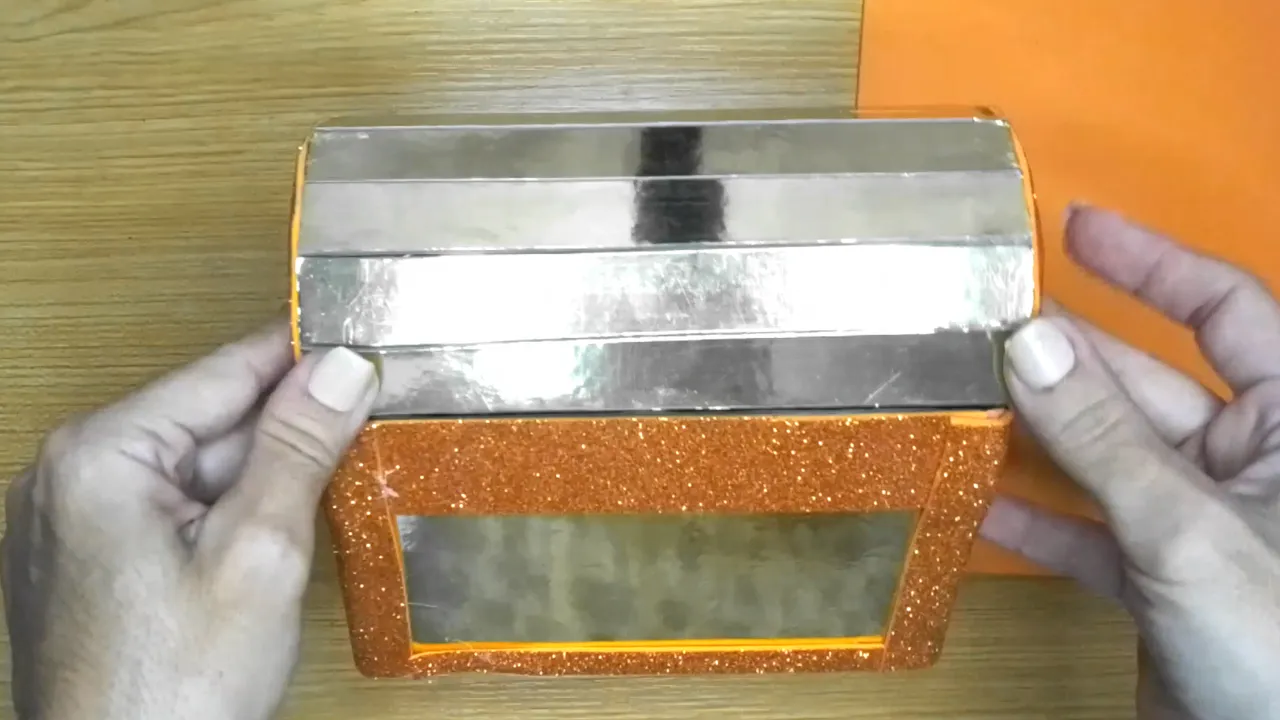
Continuamos pegando las orillas para decorar.
Recortamos unas tiras de foami de 0.5 centímetros de ancho por el largo que necesitemos, estas cintas de foami serán colocadas en la parte inferior del cofre y cubrir los laterales de la parte superior.
Pegamos las tira a la parte inferior (imágenes 3, 4, 5)
Pegamos las tiras en la parte superior en la tapa del cofre (imágenes 6 y 7)
! [English version]
[Eng]
Continue gluing the edges to decorate.
Cut some foami strips 0.5 centimeters wide by the length we need, these foami strips will be placed at the bottom of the box and cover the sides of the top.
Glue the strips to the lower part (images 3, 4, 5).
Glue the strips to the top of the box (images 6 and 7).
Step 6️⃣/ paso 6️⃣
 |  |  |
 |  |
[Esp]
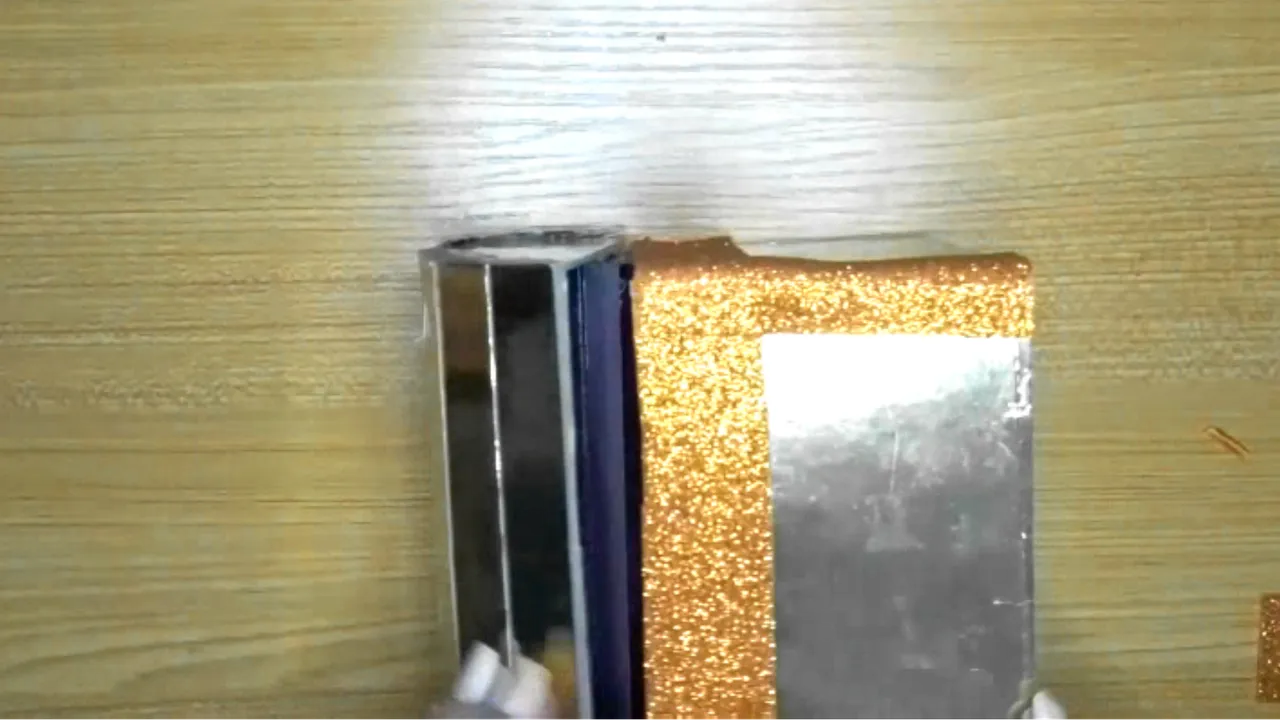
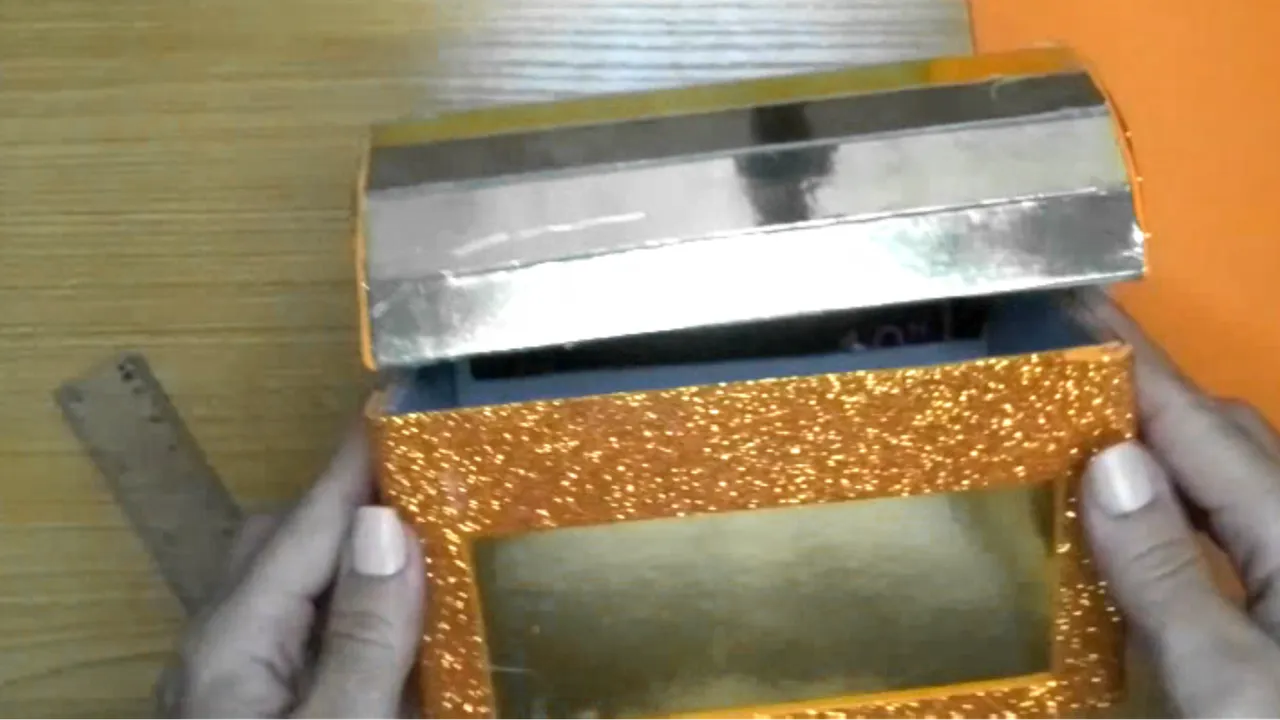
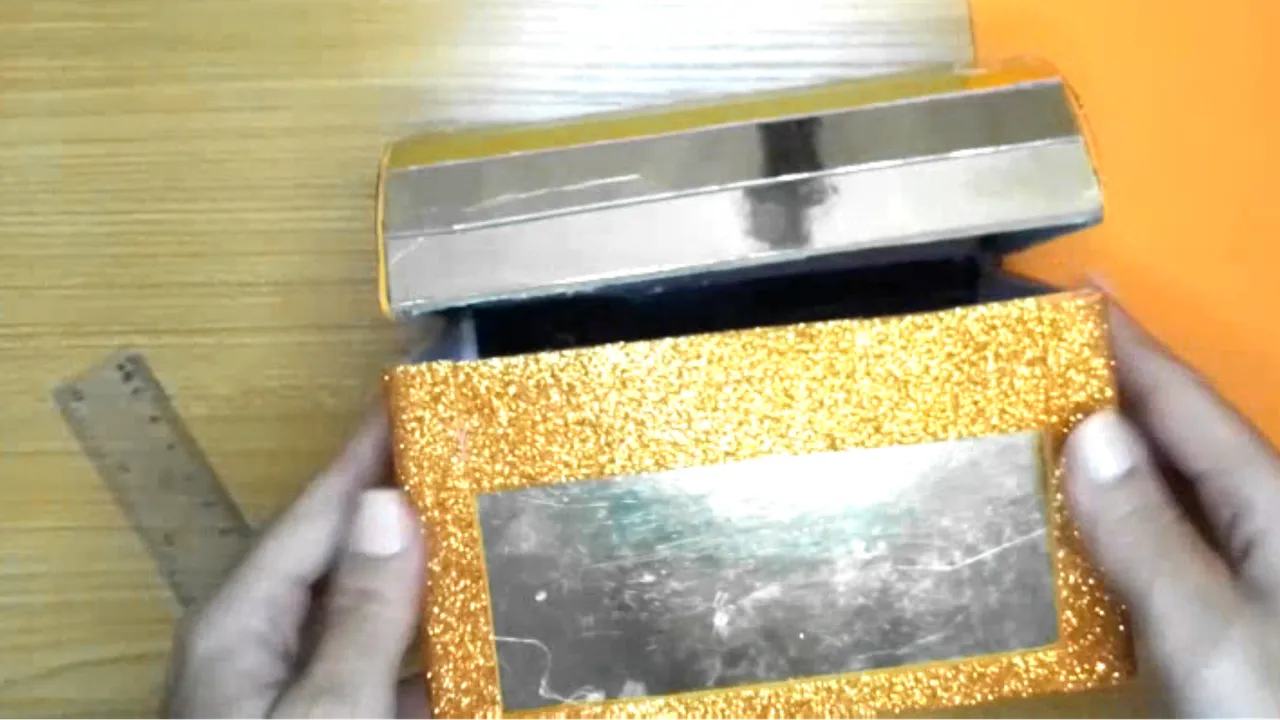
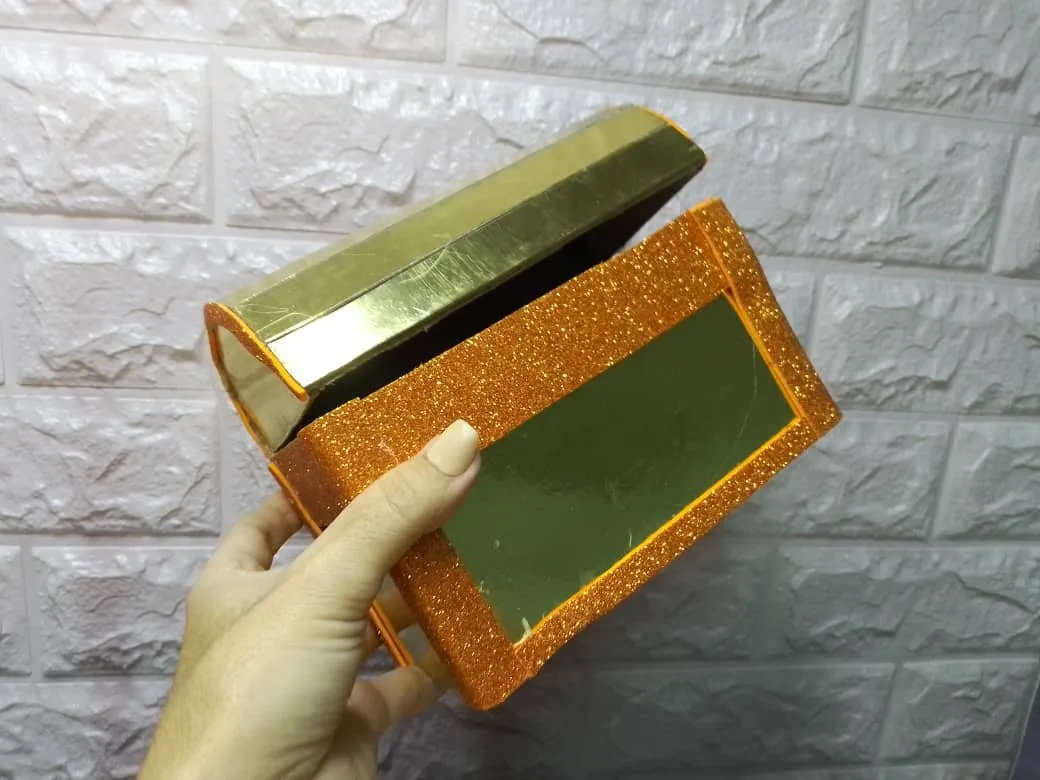
Luego de pegar todos los bordes con el foami, he terminado esta primera parte del cofre, aun falta la segunda parte, falta la decoración, que mostraré en el próximo post y se ve hermoso desde ya. No me equivoqué que sería un estupendo materia, aun cuando es difícil de trabajar para cortarlo.
El cofre abre y cierra fácil, está precioso par aguardar lo que queramos dentro.
Los quiero a todos, gracias por compartir estos momentos de creatividad conmigo.
! [English version]
[Eng]
After gluing all the edges with the foami, I have finished this first part of the chest, the second part is still missing, the decoration, which I will show in the next post and it looks beautiful from now on. I was not mistaken that it would be a great material, even if it is difficult to work to cut it.
The chest opens and closes easily, it looks beautiful to hold whatever we want inside.
I love you all, thanks for sharing these moments of creativity with me.
Credits / Créditos.
💜💜💜
💜💜💜
![]() 👉
👉 ![]() 👉
👉 ![]() 👉
👉 
Here / Bríndame un café