✨♫𝄞Hello community! Welcome| ¡Hola comunidad, bienvenido/a!♫𝄞✨
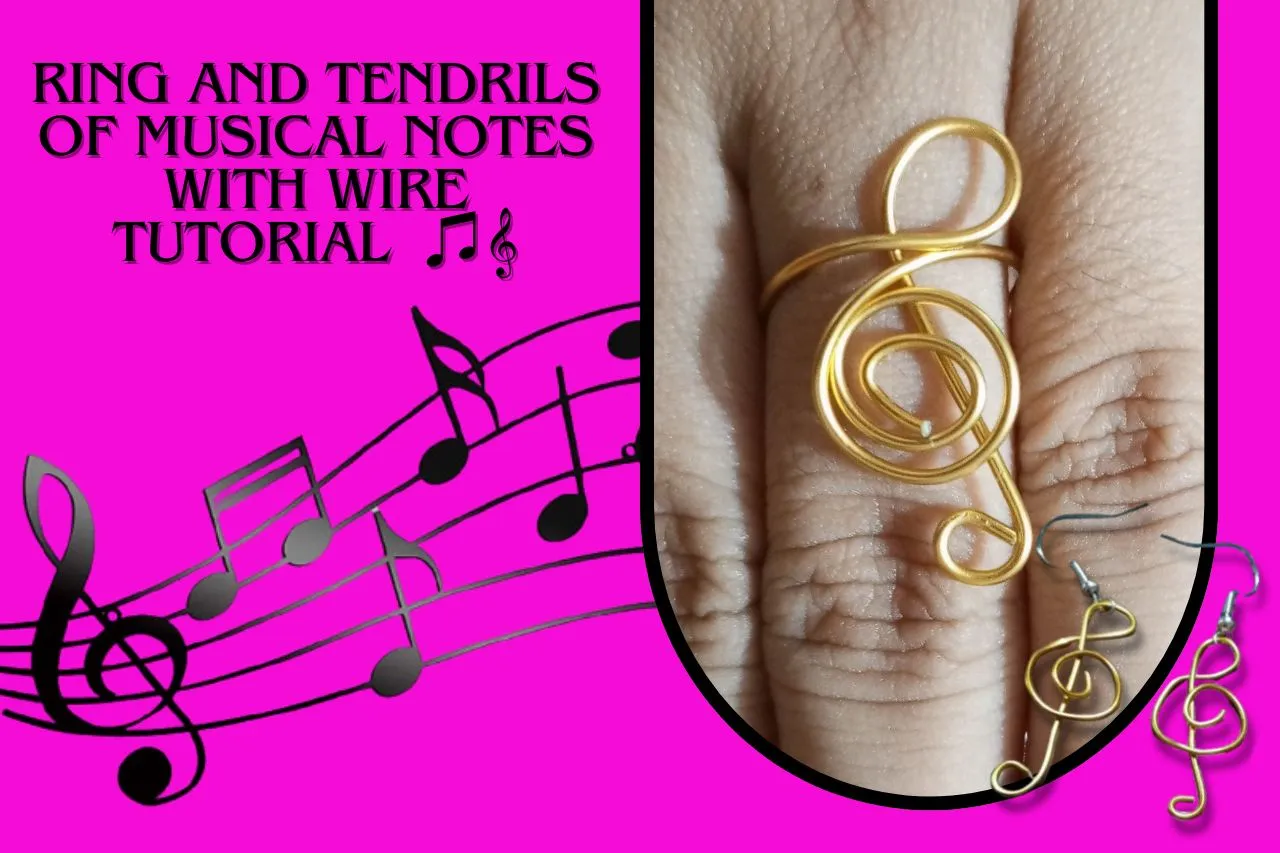
Here I bring you another creative tutorial with wire in which you are going to make a set of ring and earrings in the shape of a musical note to give especially to that person who loves music or has many exceptional musical gifts and for which she will love this gift. Below are the materials:
✨♫𝄞Materials to be used♫𝄞✨
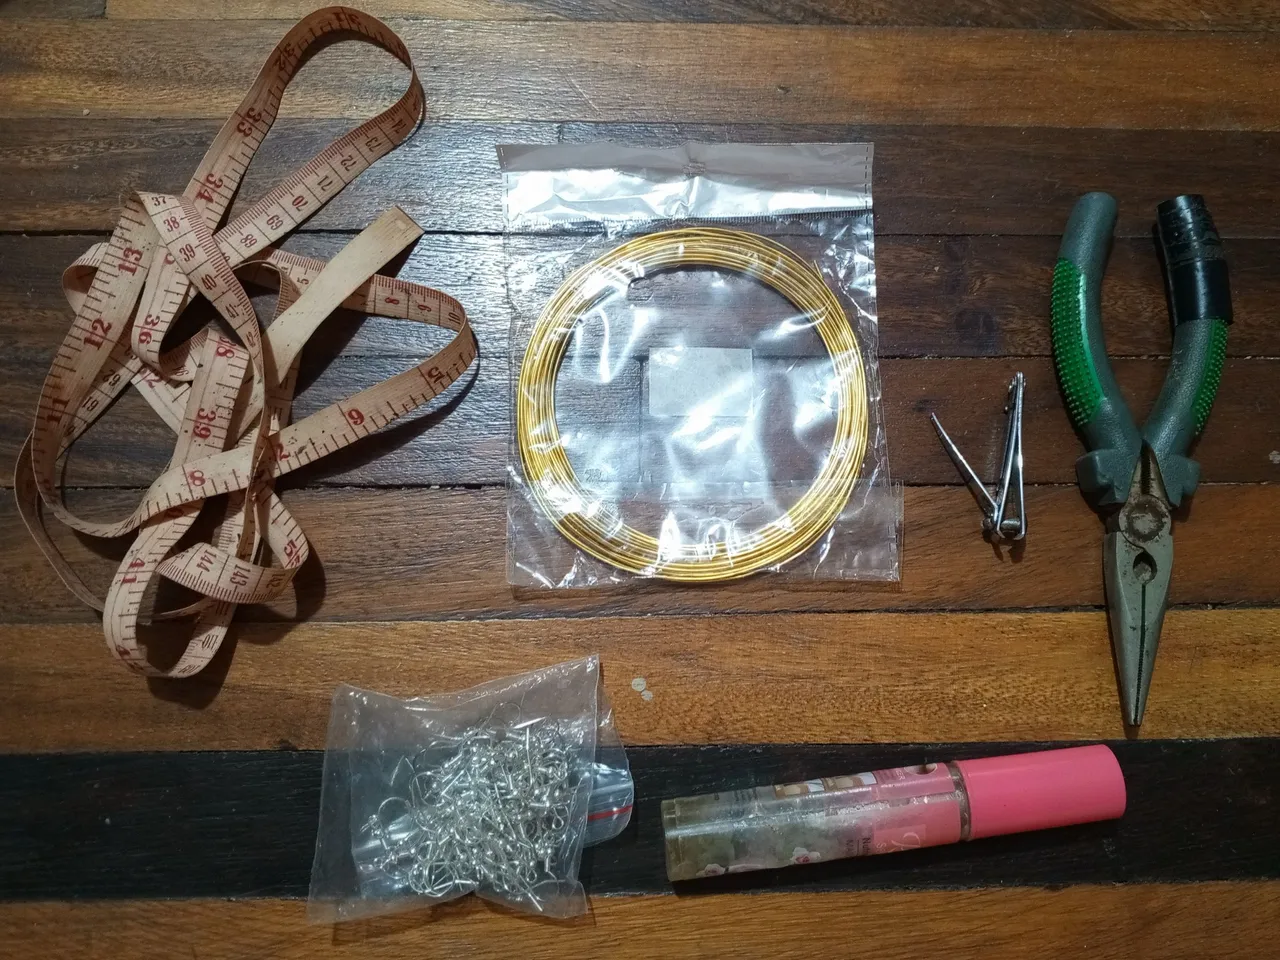
✨♫𝄞Materials to be used♫𝄞✨| - Nail clippers | - Corta uñas | |
|---|---|---|
| - Fashion jewelry tweezers | - Pinzas de bisuteria | |
| - Fashion jewelry wire (I used 1mm) but you have to buy a thicker one so that it doesn't deform | - Alambre de bisutería (yo utilice de 1mm) pero tienen que comprar uno más grueso para que no se les deforme | |
| -Tape measure | - Cinta métrica | |
| -Marker or mascara to give circular form | - Marcador o rímel para dar forma circular | |
| -Gold-plated steel hooks | -Ganchos de acero dorado |
• ✨♫𝄞PASO A PASO♫𝄞✨ •
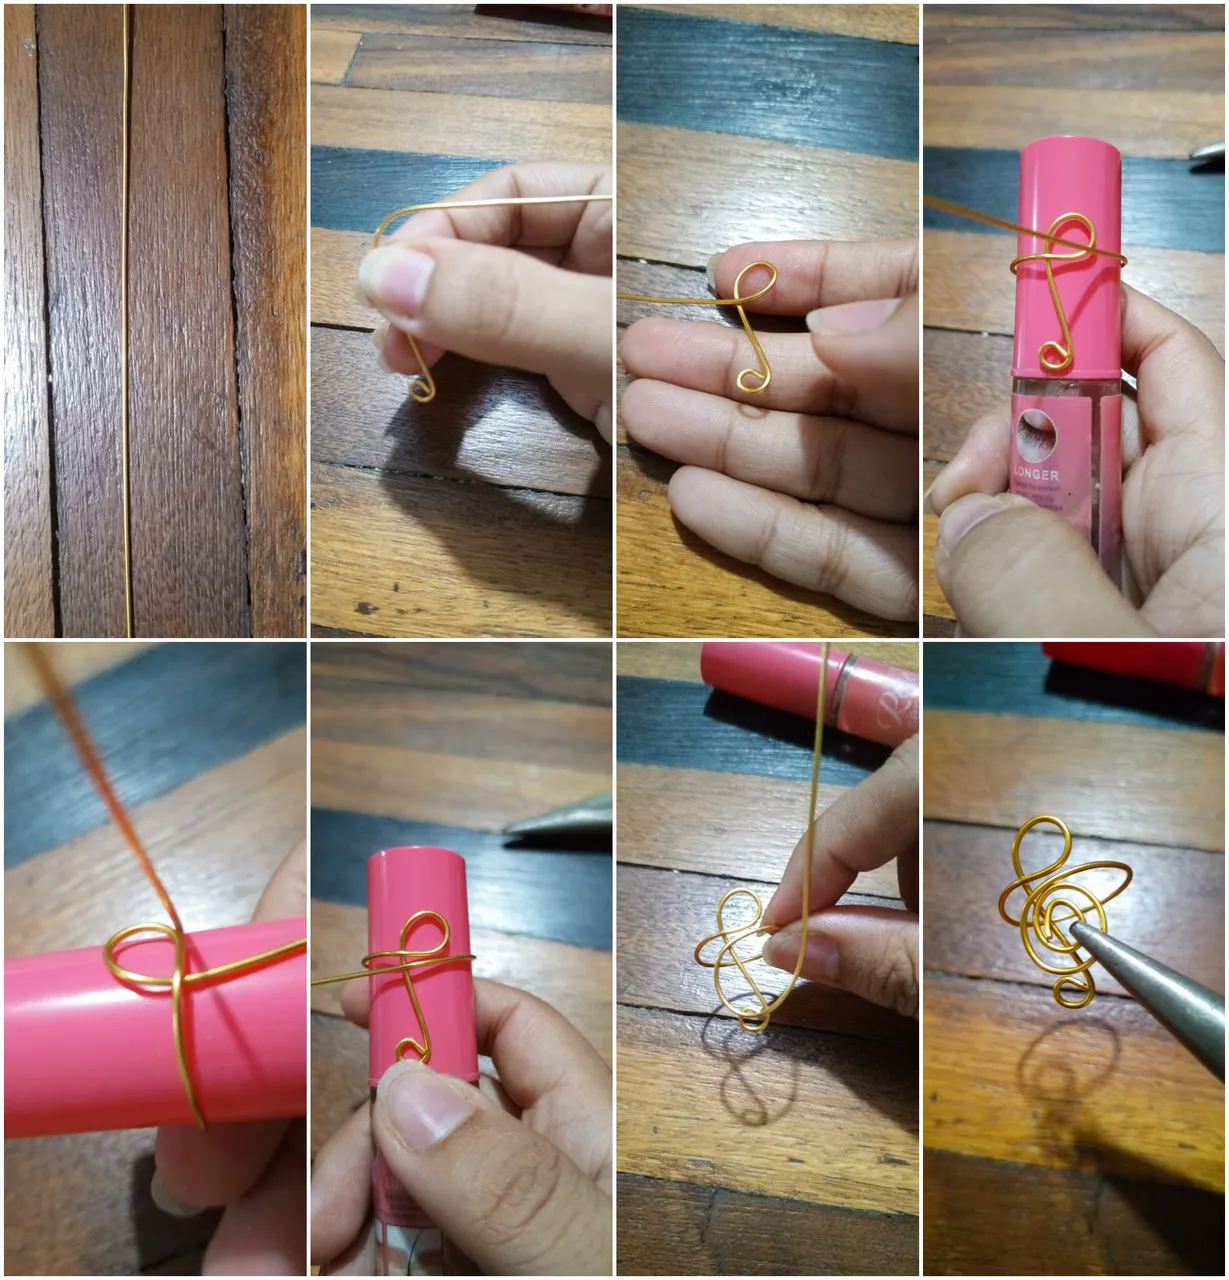
• ✨♫𝄞PASO A PASO♫𝄞✨ • Vamos a cortar unos 24 cm de alambre con el corta uñas al final de uno de los extremos del alambre hacia el lado izquierdo, le realizaremos una curvatura con ayuda de nuestra pinza, posteriormente, doblaremos como a unos 3,5 cm de largo realizando una curvatura hacia el lado izquierdo y con ayuda de nuestro marcador le vamos a dar forma circular, rodeándolo hasta que el sobrante del alambre llegue al lado derecho. Este sobrante lo vamos a doblar de forma circular como se muestra en la imagen y si ven que le quedan como muy grande el remolino le cortan un poco. Y ¡listo! Ya tienen hecho su anillo ajustable con forma de nota musical.
We will cut about 24 cm of wire with the nail cutter at the end of one of the ends of the wire to the left side, we will make a bend with the help of our tweezers, then, we will bend about 3.5 cm long making a bend to the left side and with the help of our marker we will give it a circular shape, surrounding it until the excess wire reaches the right side. This excess wire will be bent in a circular shape as shown in the image and if you see that the swirl is too big, cut it a little. And that's it! Now you have made your adjustable ring in the shape of a musical note.
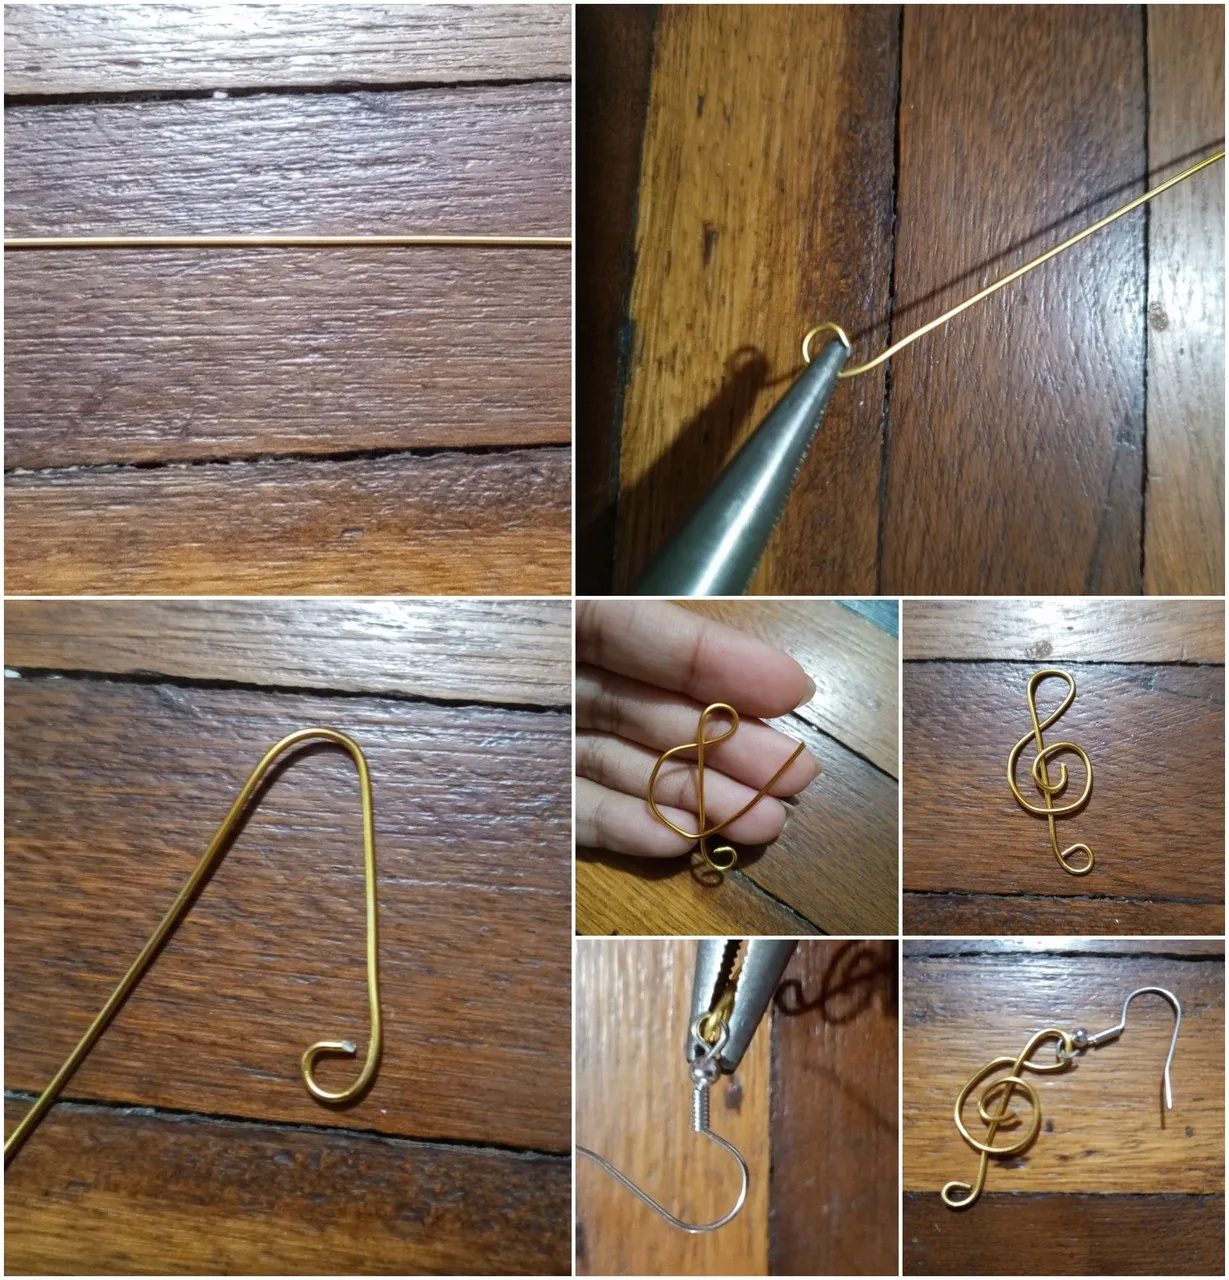
El paso para realizar el anillo es relativamente igual anterior solo que aquí vamos a cortar un alambre de 12cm de largo. Luego, vamos a doblar el alambre, pero pasándolo detrás del mismo, curveándolo y el restante del alambre lo colocaremos encima del otro que está en vertical (como se observa en la imagen) para finalmente terminar de doblarlo en forma de remolino.
The step to make the ring is relatively the same as before, but here we are going to cut a 12cm long wire. Then, we are going to bend the wire, but passing it behind the wire, curving it and the rest of the wire we will place it on top of the other one that is vertical (as shown in the image) to finally finish bending it in the shape of a swirl.
•♫𝄞✨RESULT♫𝄞✨•
•♫𝄞✨RESULT♫𝄞✨•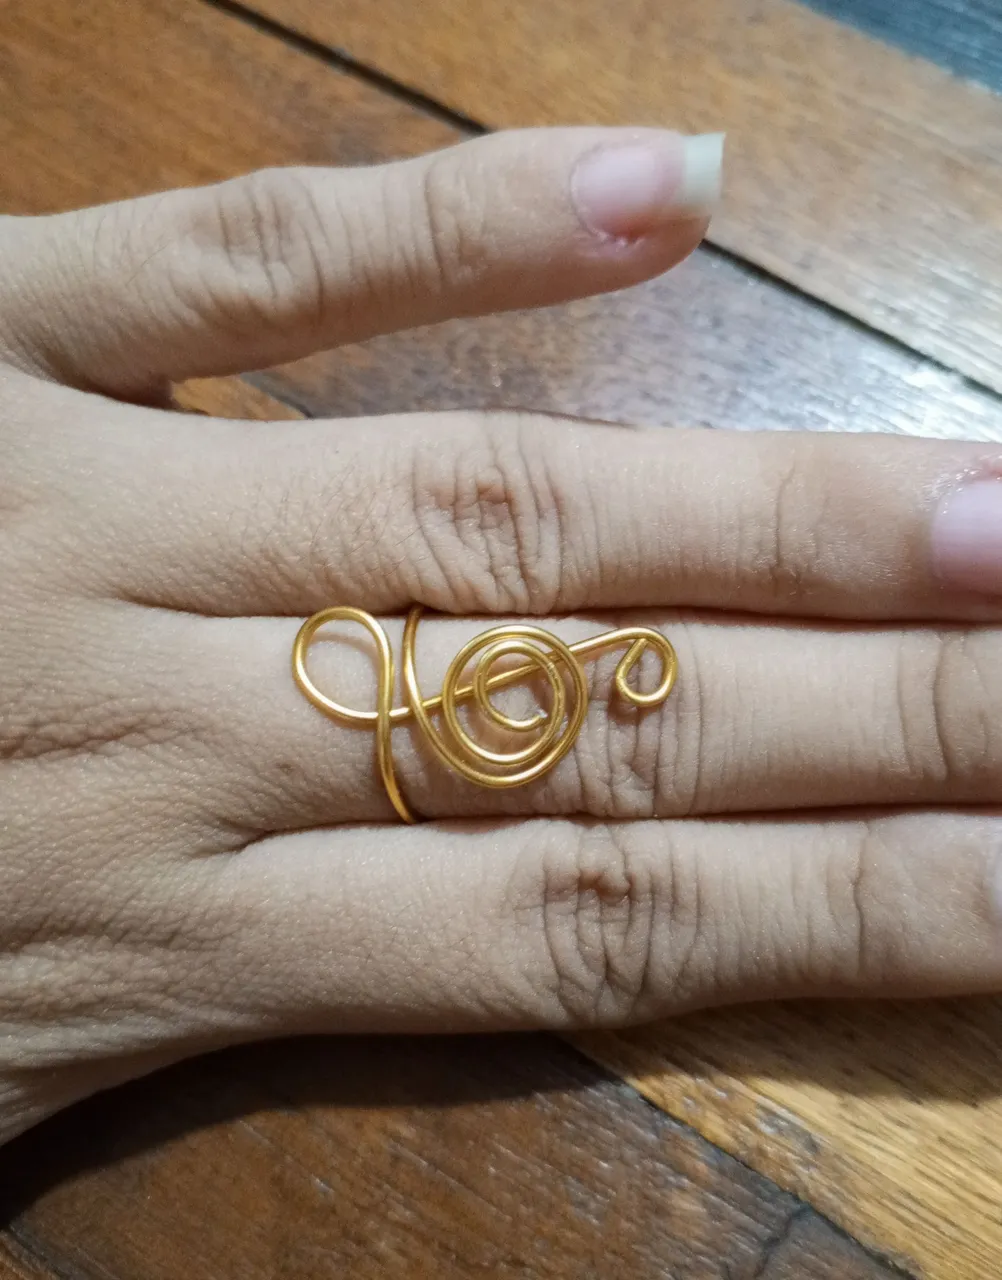
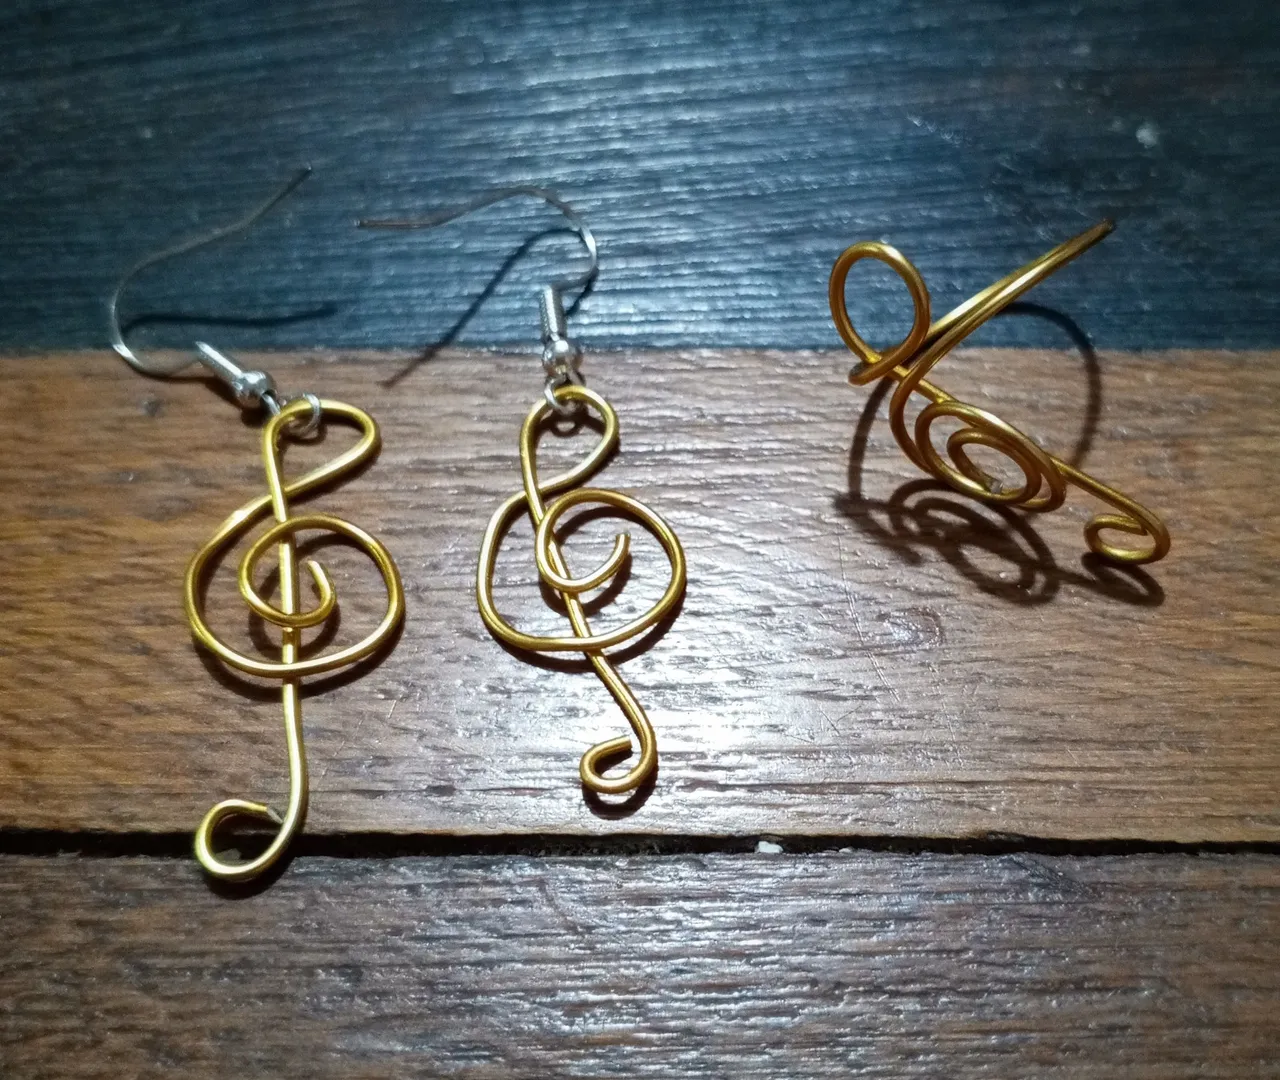
♫𝄞✨Y este es el resultado♫𝄞✨
Espero que te haya gustado, yo estaba muy emocionada por mostrarles esta manualidad muy hermosa y que me pareció buena idea compartirlas con ustedes😍.
I hope you liked it, I was very excited to show you this very beautiful craft and I thought it was a good idea to share it with you😍.
💞Thank you so much for making it this far! I hope you liked my post, I'll see you next time!💞
💞¡Muchas gracias por llegar hasta aquí! Espero que te haya gustado mi post. ¡Nos vemos en una próxima oportunidad!💞

📲 Todas las fotografías fueron tomadas con un teléfono Tecno Spark 10 pro
📷 TODAS LAS FOTOS SON DE MI PROPIEDAD