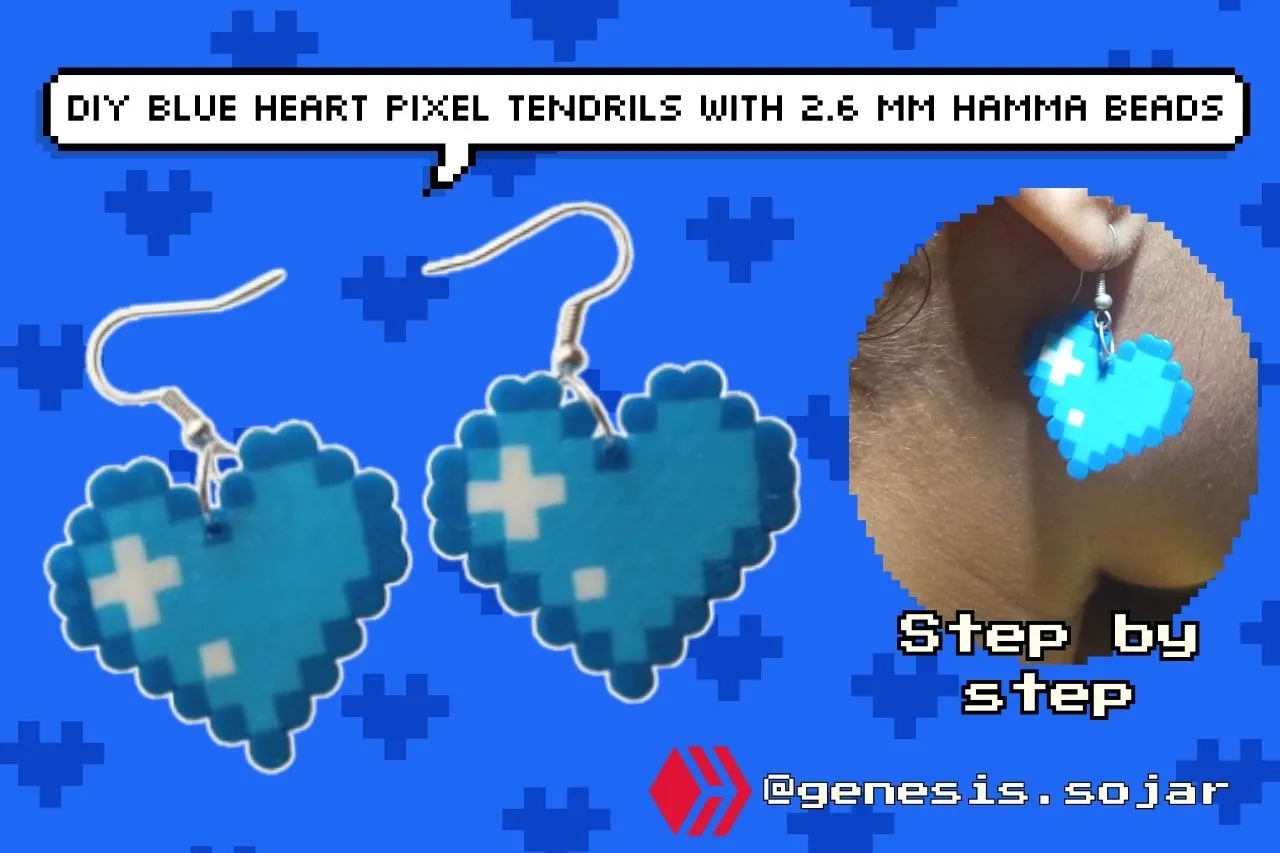

Hello community! Welcome| ¡Hola comunidad, bienvenido/a!
Hoy les traigo un tutorial súper sencillo con estas piezas de hamma beads. Para quienes no saben que es son pequeñas piezas plásticas de colores con las cuales podemos hacer figuras pixeladas de lo que imaginemos, los patrones se pueden buscar en internet o te los enseño aquí a continuación. Este es un kit qué me regalo mi pareja para comenzar un emprendimiento, espero que pronto lo podamos lograr y comenzar. ¡Este corazón lo hice para un regalo y a mi amiga le encantó! Fue muy bonito que se los pusiera. Y bueno, sin más nada que decir, aquí los materiales:
Today I bring you a super simple tutorial with these pieces of hamma beads. For those who don't know what they are, they are small colored plastic pieces with which we can make pixelated figures of whatever we can imagine, the patterns can be searched on the internet or I show them here below. This is a kit that my partner gave me to start a business, I hope that soon we can make it and start, I made this heart for a gift and my friend loved it! It was very nice that she put it on. And well, with nothing more to say, here are the materials:
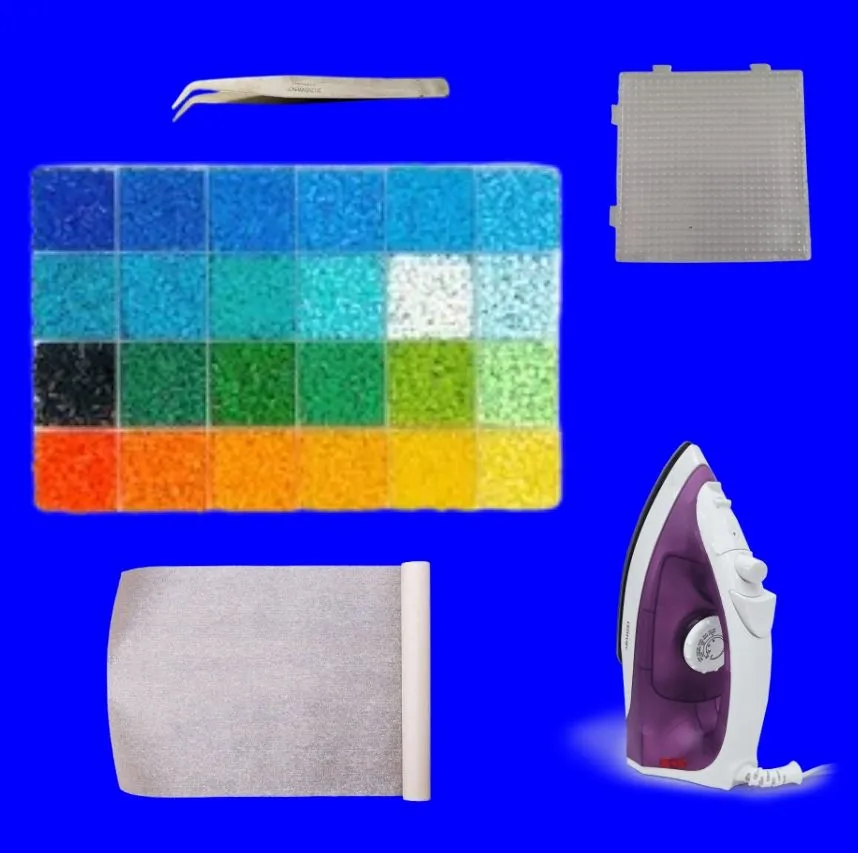
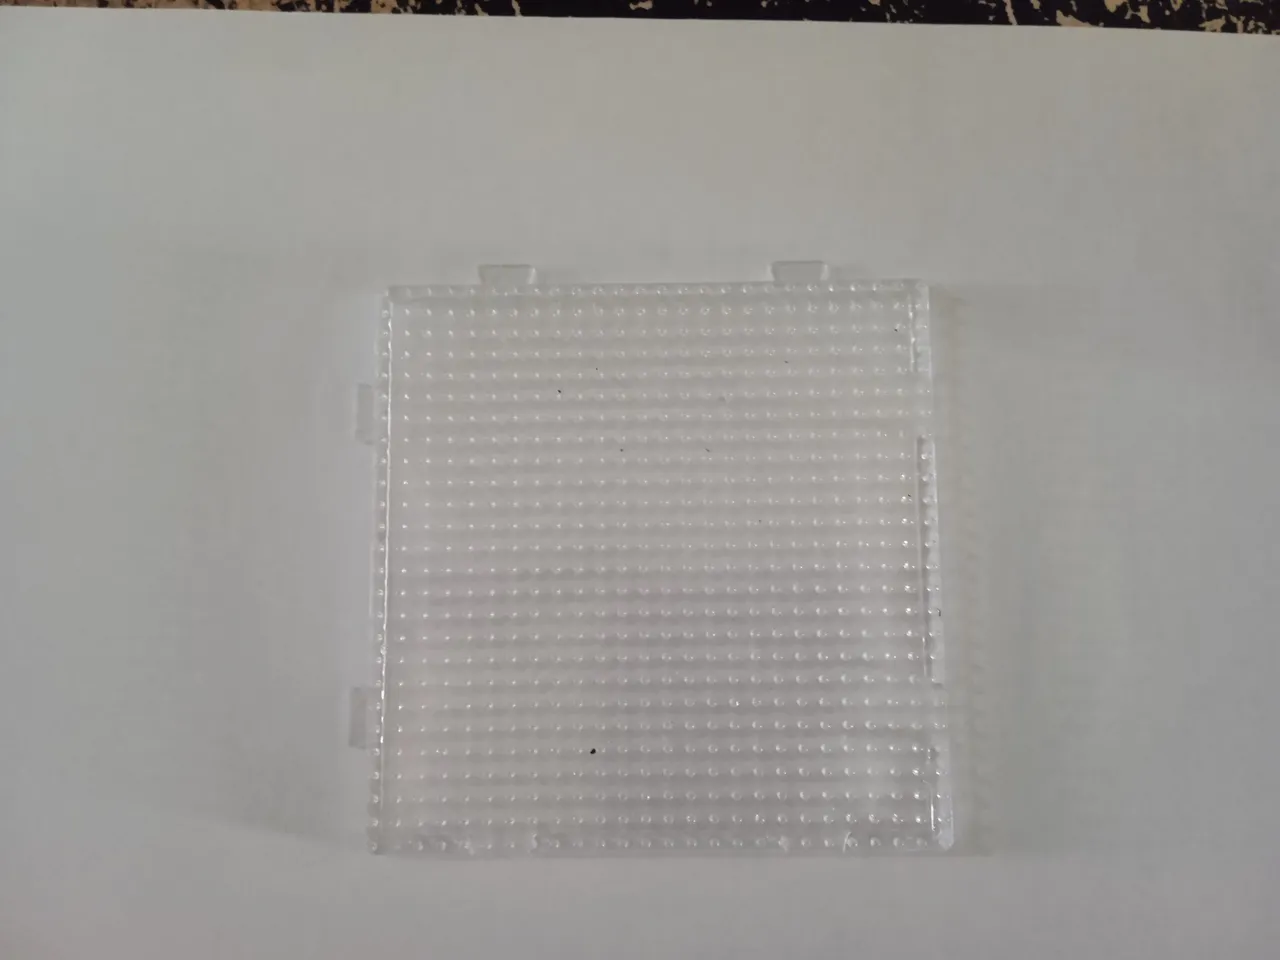
Materials to be used
| - Hama beads 2.6mm dark blue and sky blue | - Hama beads azul oscuro y azul cielo de 2.6mm | |
|---|---|---|
| - Tweezers with thin tip | - Pinza con punta delgada | |
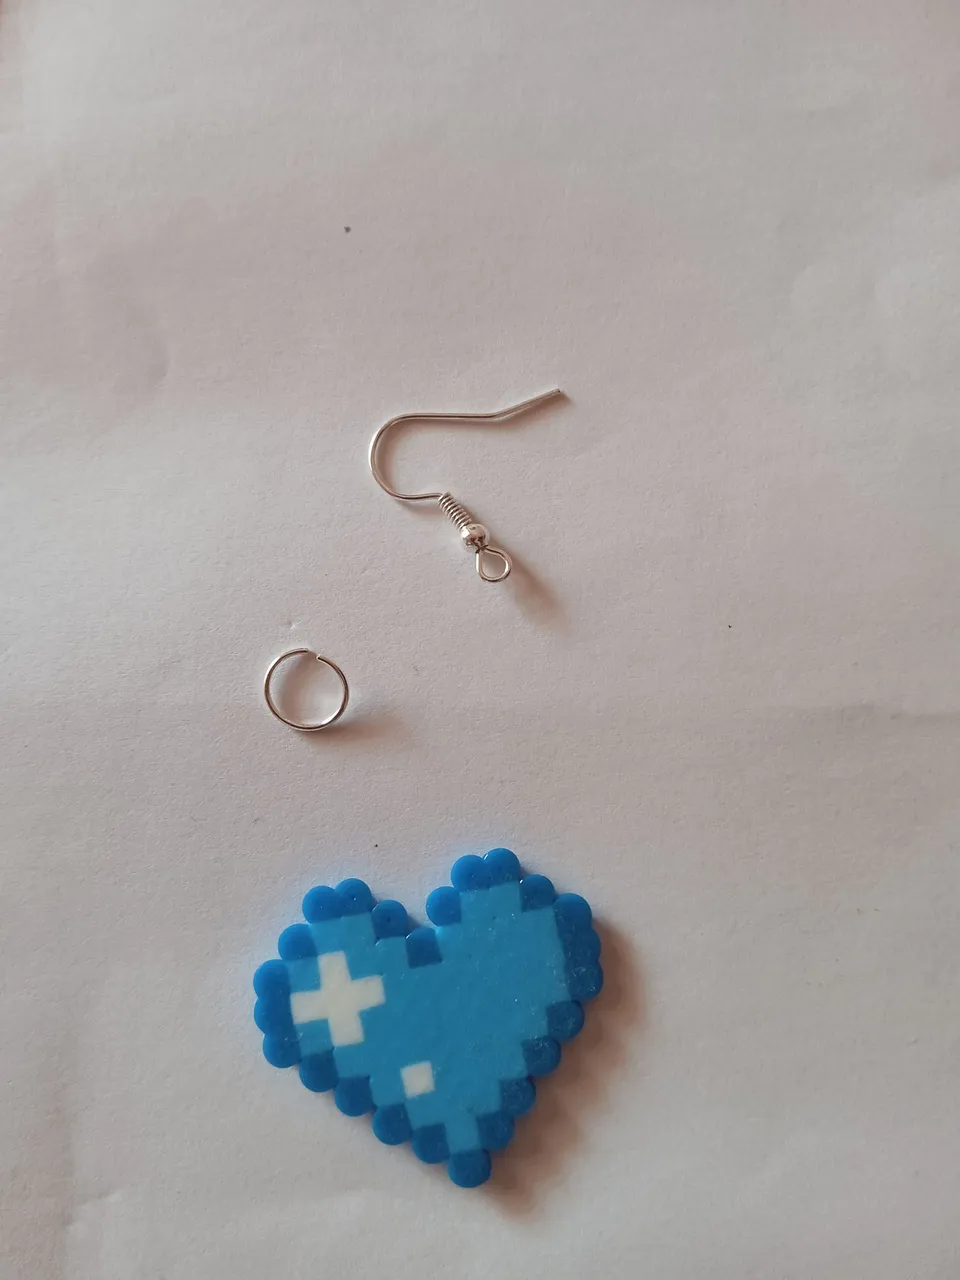
| - Small rings | - Aros pequeños | |
| - Ring to hold it | - Argolla para sostenerlo | |
| -Fashion jewelry clip | - Pinza de bisutería | |
| -Heart stencil | - Plantilla de corazón. | |
| -Clothes iron | -Plancha de ropa | |
| -Acetate or wax paper | -Acetato o papel encerado |
STEP BY STEP
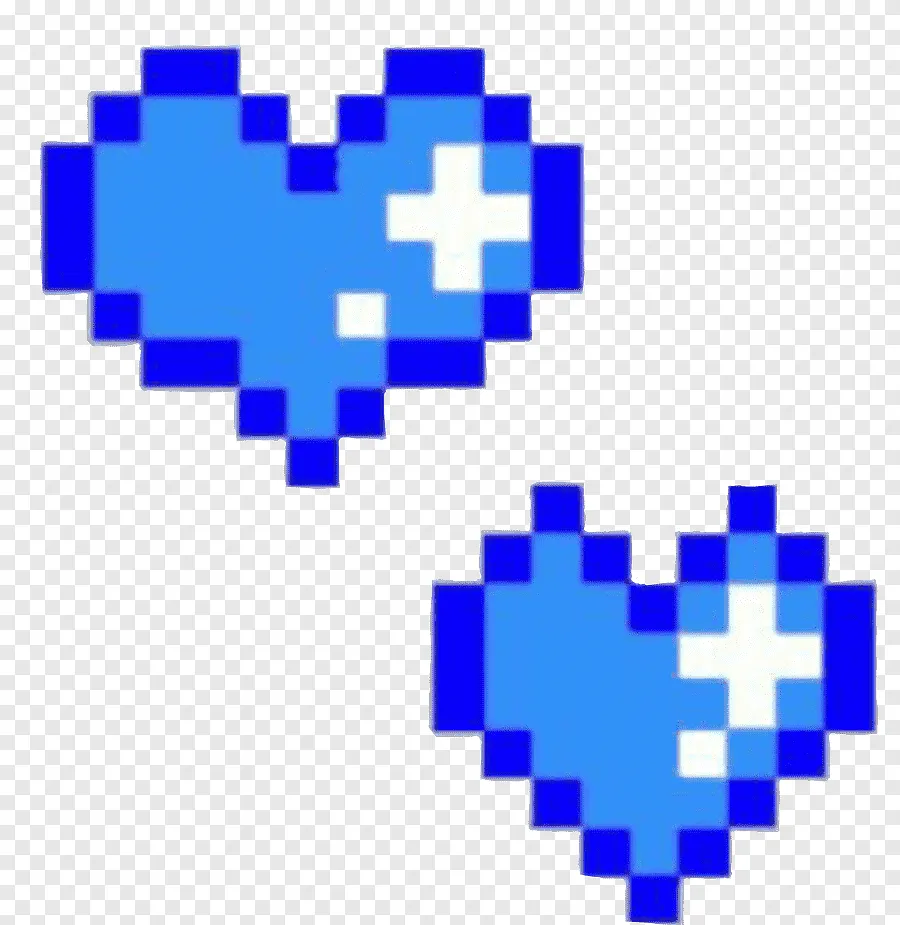
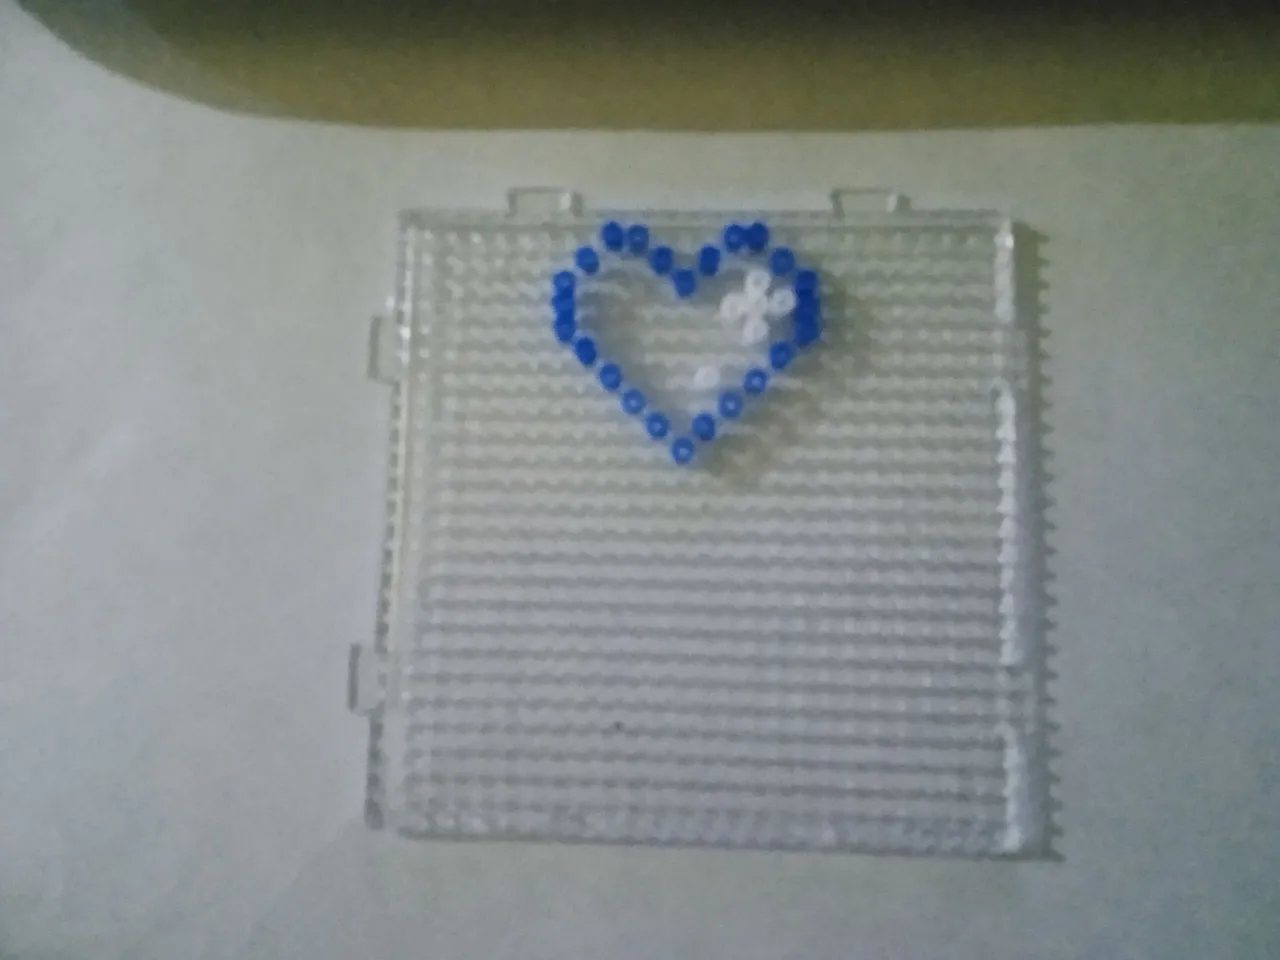
STEP BY STEP Con la pinza, tomaremos una pieza de plástico azul oscura y vamos a armar los bordes primero colocándolos en la plantilla o molde con peldaños pequeños para introducir las piezas. Nos vamos a guiar de la plantilla de corazón que tenemos en la parte de arriba, es decir, colocando una pieza en el medio, luego dejando un espacio, arriba colocando dos y así hasta armar el borde del corazón. De una sola vez colocaremos el destello del mismo.
With the tweezers, we will take a piece of dark blue plastic and we will assemble the edges first placing them in the template or mold with small steps to introduce the pieces. We are going to be guided by the heart template that we have on the top, that is, placing a piece in the middle, then leaving a space, placing two pieces on top and so on until the edge of the heart is assembled. At the same time we will place the glitter of the heart.
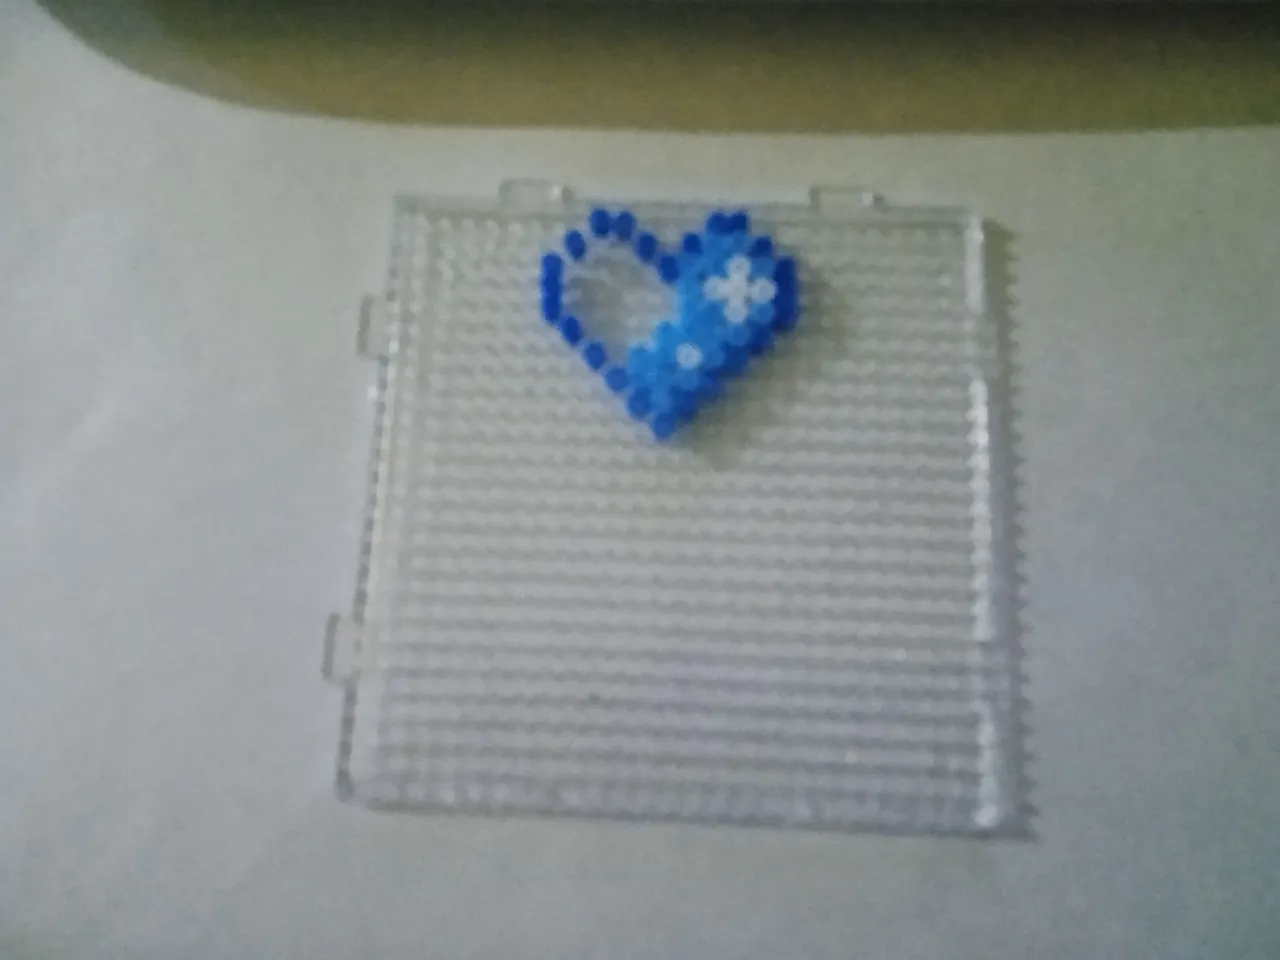
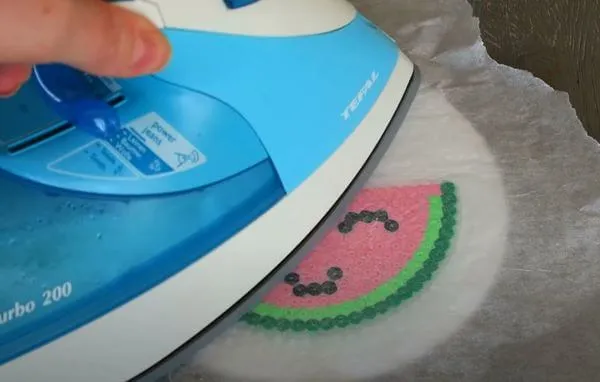
Como pasa dos y último rellenaremos las partes vacías con las piezas de hama beads azul cielo. Y, le vamos a colocar el papel encerado o el acetato encima para proceder a plancharlo, las piezas como son de plástico se van a juntar para que no se deshagan y se pueda armar el corazón. Le abriremos unos huequitos y le introduciremos el aro y posteriormente la argolla cerrándolo bien con ayuda de la pinza. Finalizando el proceso de esta creación.
As the second and last step, we will fill the empty parts with the sky blue hama beads. And, we are going to place the waxed paper or acetate on top to proceed to iron it, the pieces as they are made of plastic will be joined together so that they do not fall apart and the heart can be assembled. We will open some holes and we will introduce the ring and then the ring closing it well with the help of the clamp. Finishing the process of this creación.
Fuente
Imagen de referencia a como lo deben de colocar.
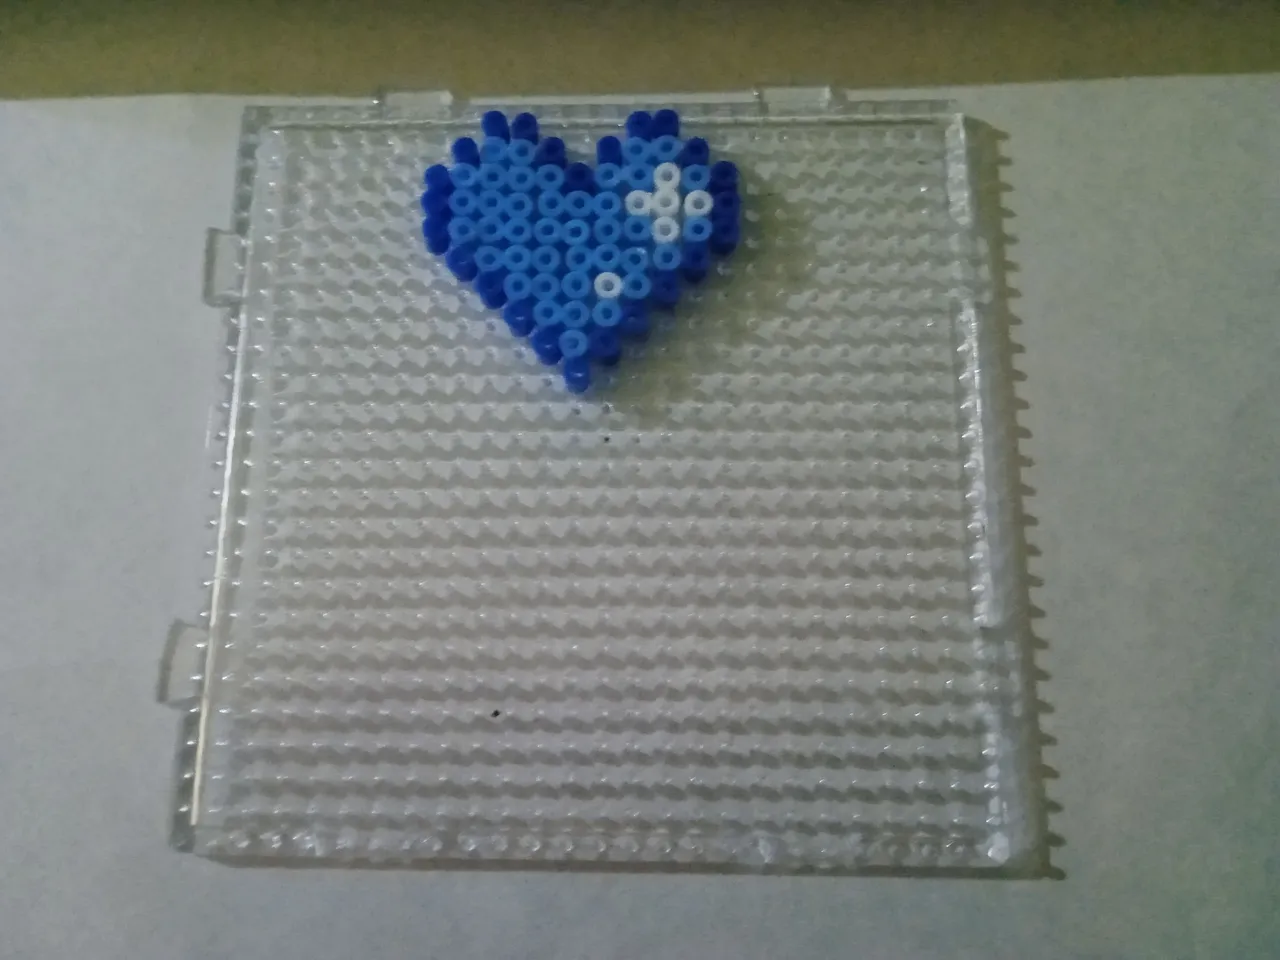
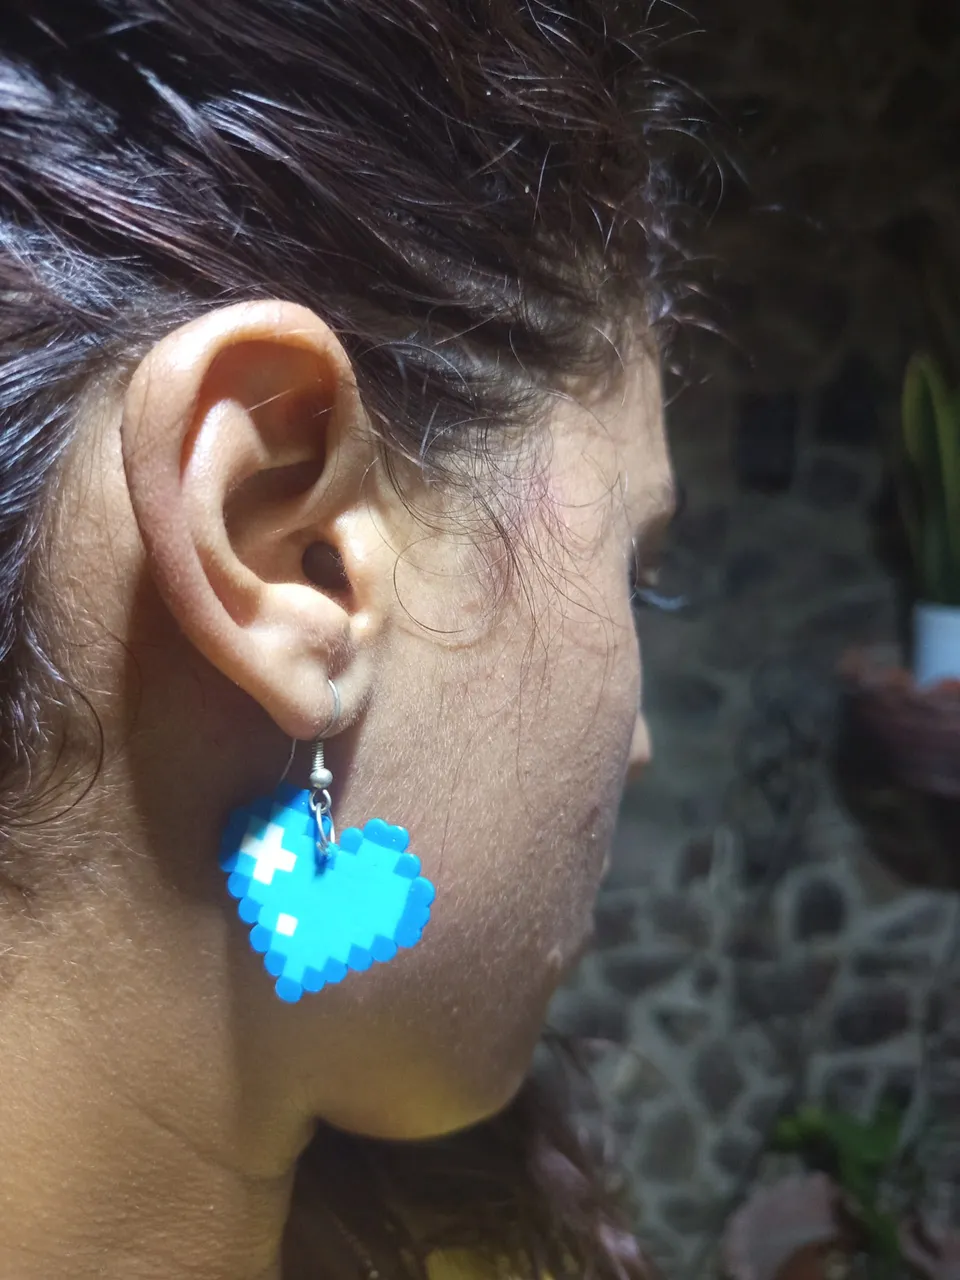
RESULT
RESULT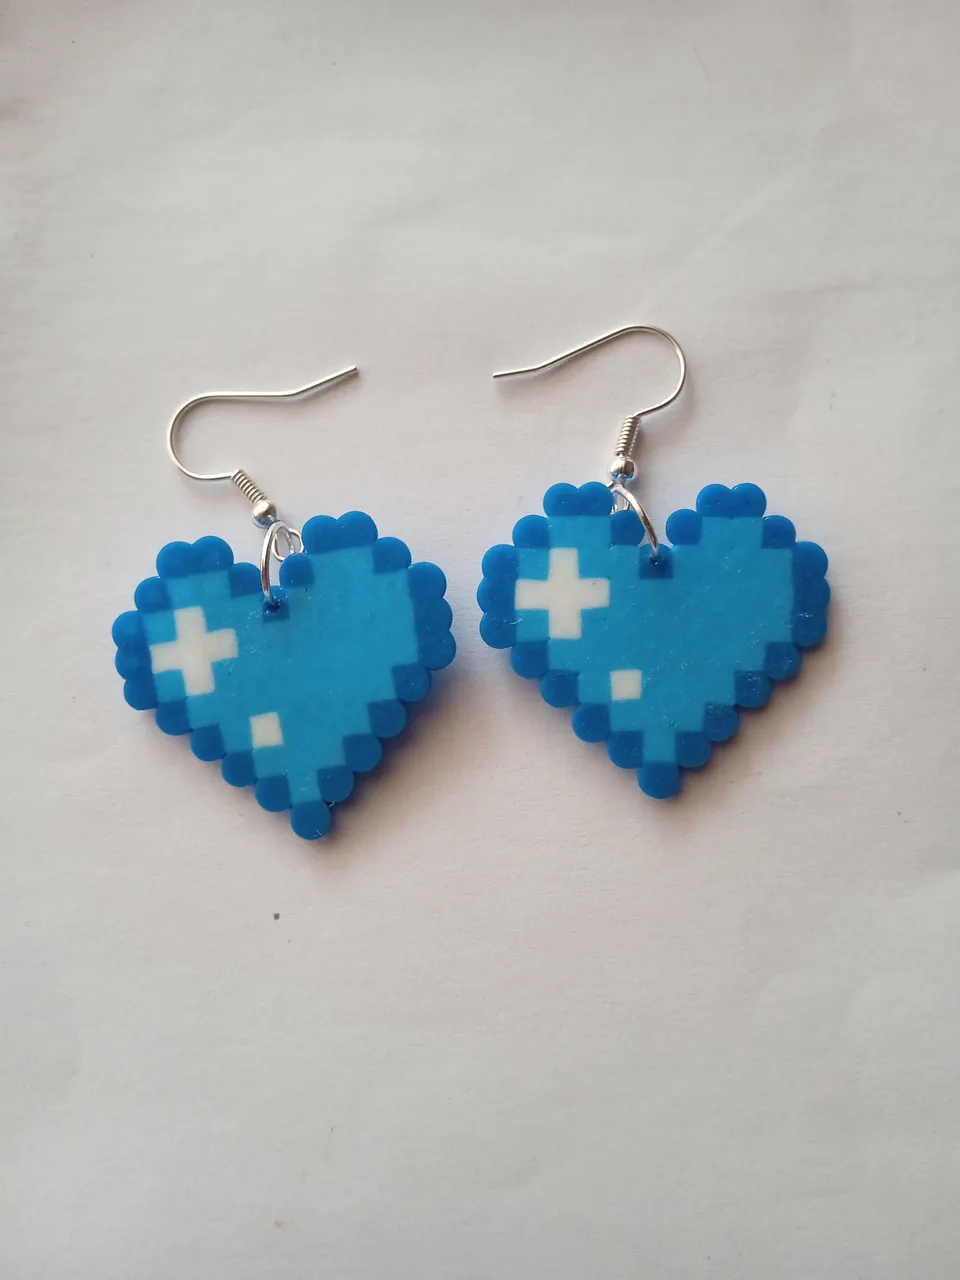
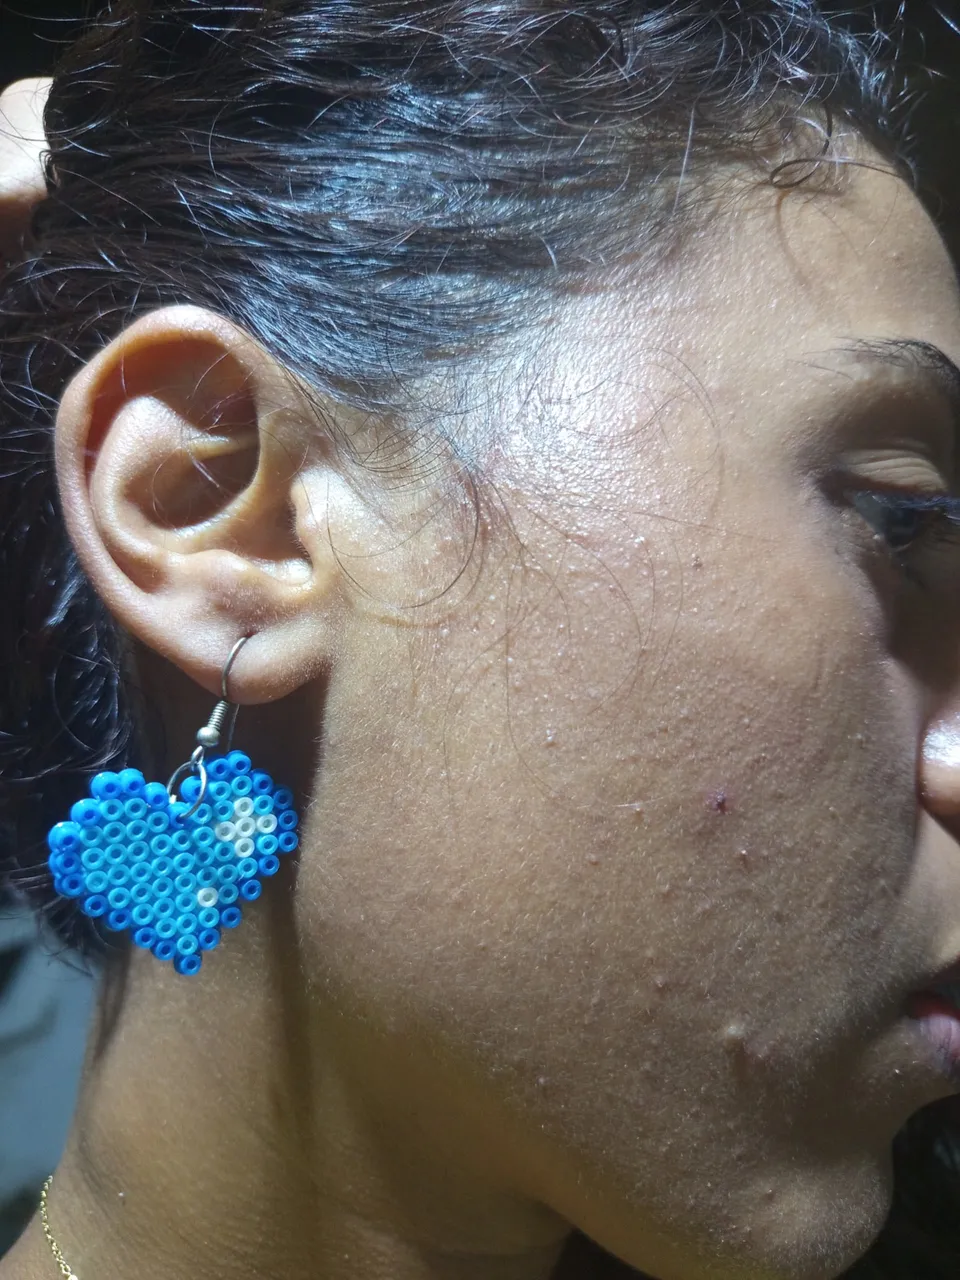
💞Thank you so much for making it this far! I hope you liked my post, I'll see you next time!💞
💞¡Muchas gracias por llegar hasta aquí! Espero que te haya gustado mi post. ¡Nos vemos en una próxima oportunidad!💞

📲 Todas las fotografías fueron tomadas con un teléfono Tecno Spark 10 pro
📷 TODAS LAS FOTOS SON DE MI PROPIEDAD