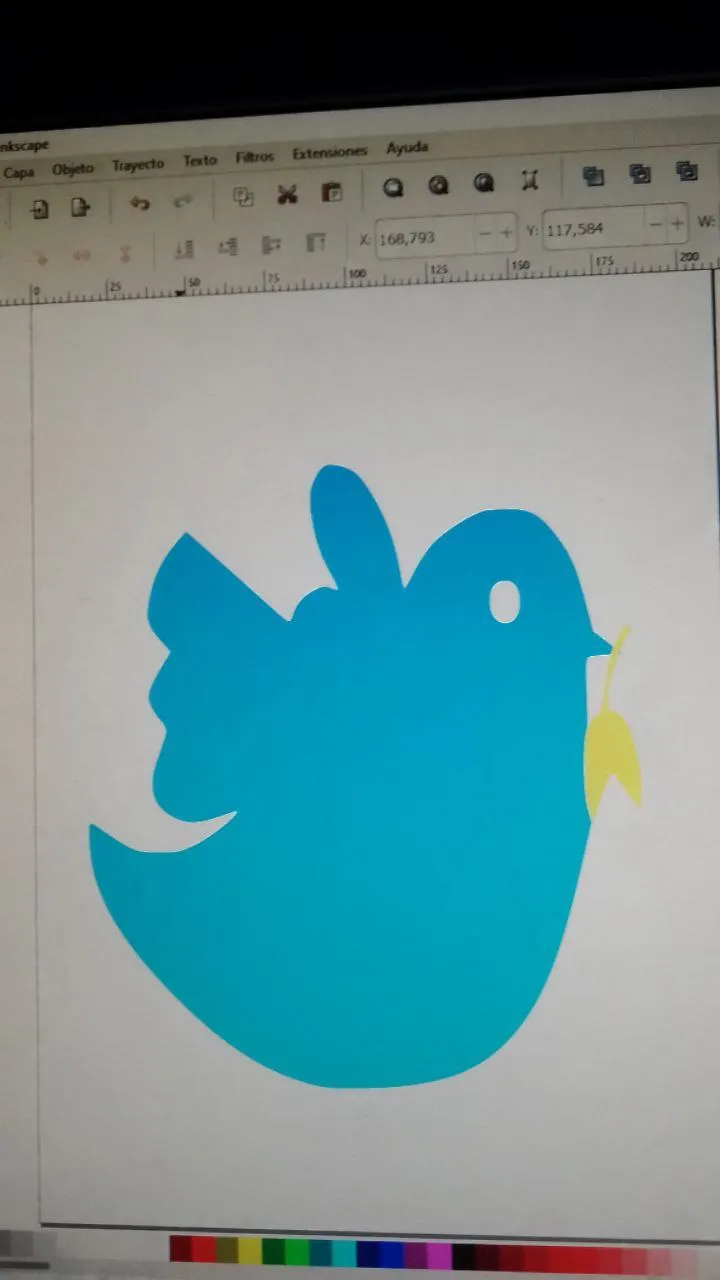
FIRST FAULT
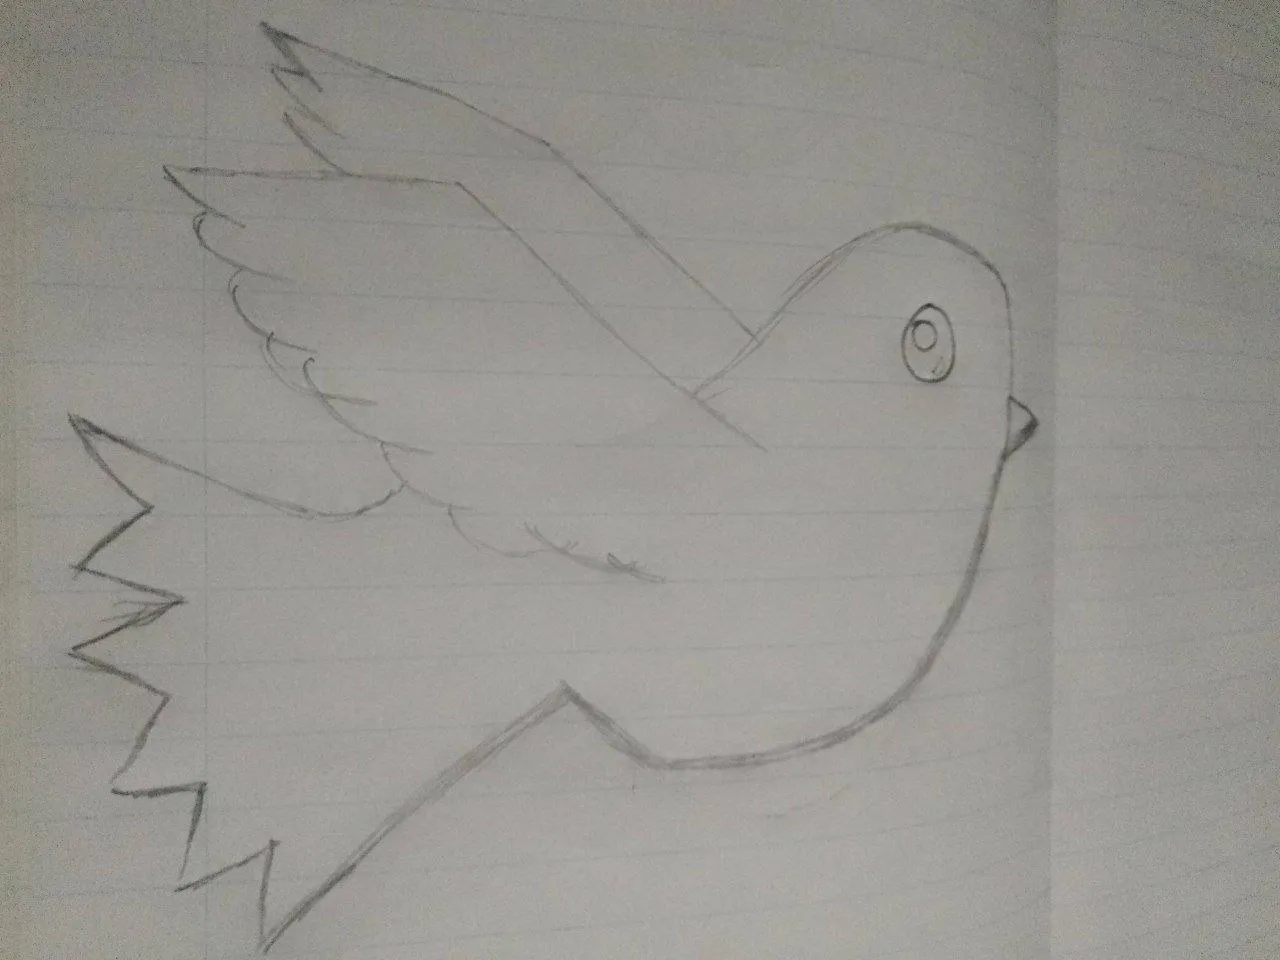
Today I show you this little bird with the air of a dove, my inspiration for this drawing began when I saw the news regarding what was and is happening in Ukraine, so my main intention was to make a dove of peace that was blue and in the peak it had a yellow flower, colors similar to the Ukrainian flag.
So I scrapped the idea entirely until my partner told me to try a second time to calmly draw in my notebook and leave everything to the imagination and so it was.
STEP 1:
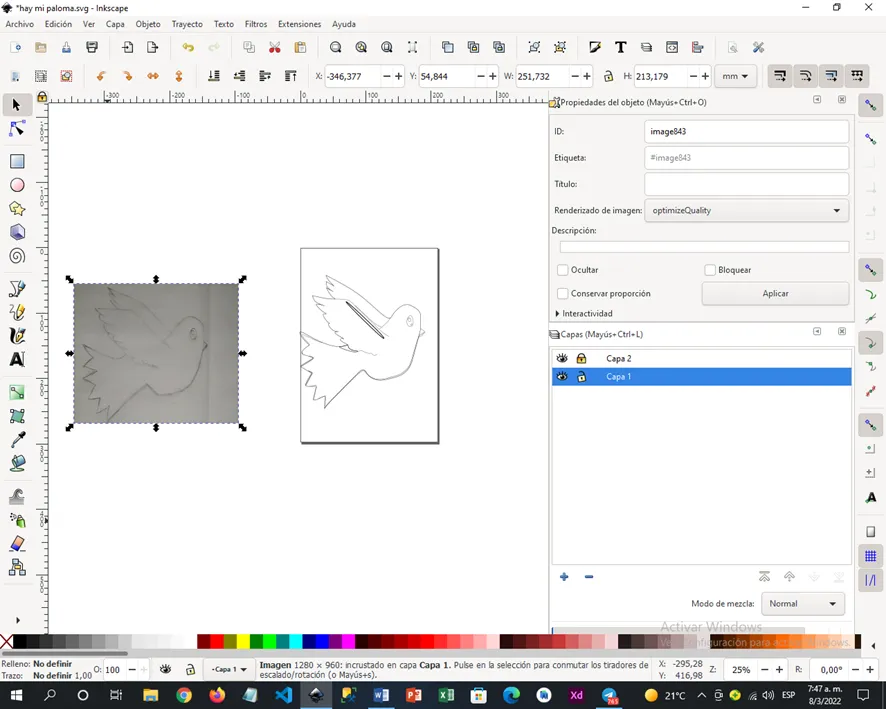
In the upper part, exactly where it says FILE, we click on it and a bar will appear, we look for where it says IMPORT and select the image that they want to use, in my case it is my own drawing.
STEP 2:
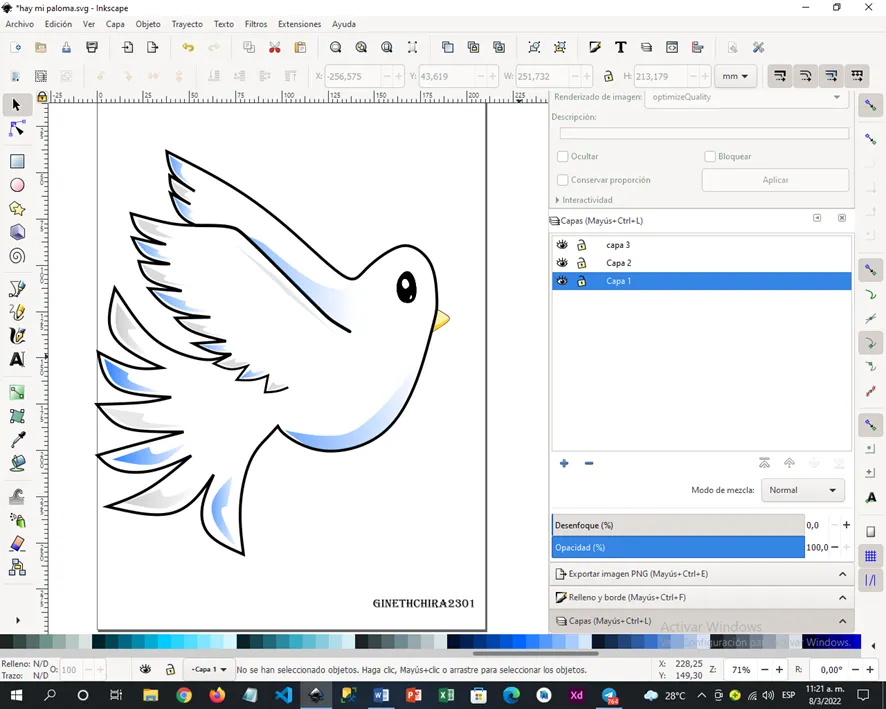
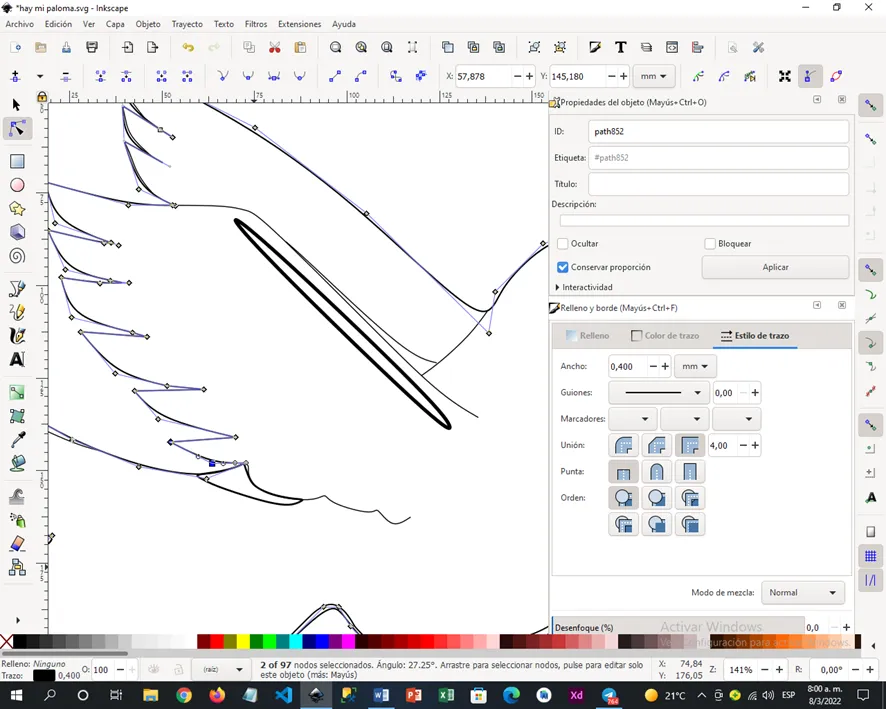
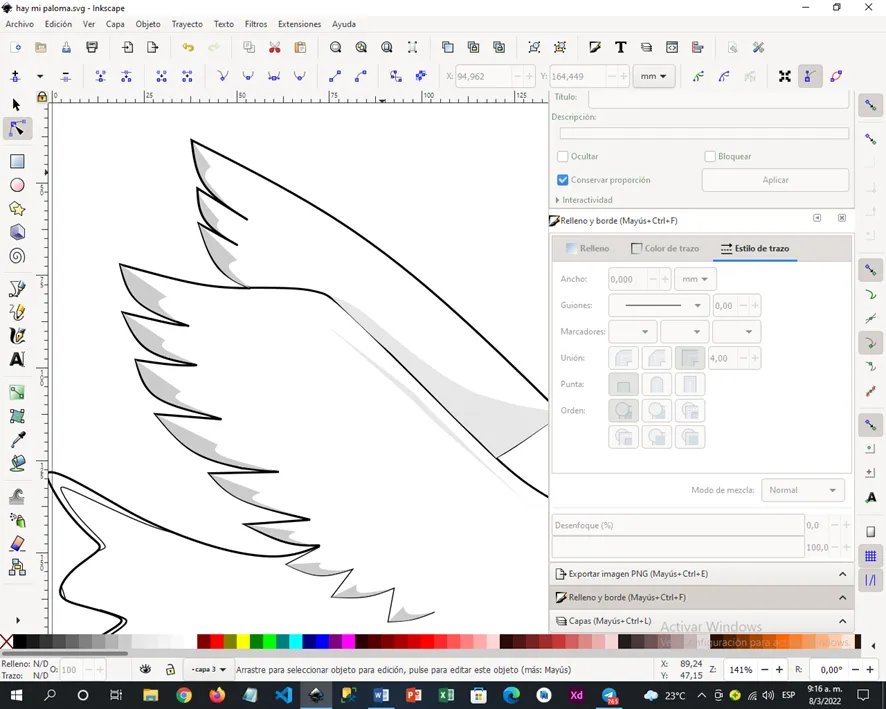
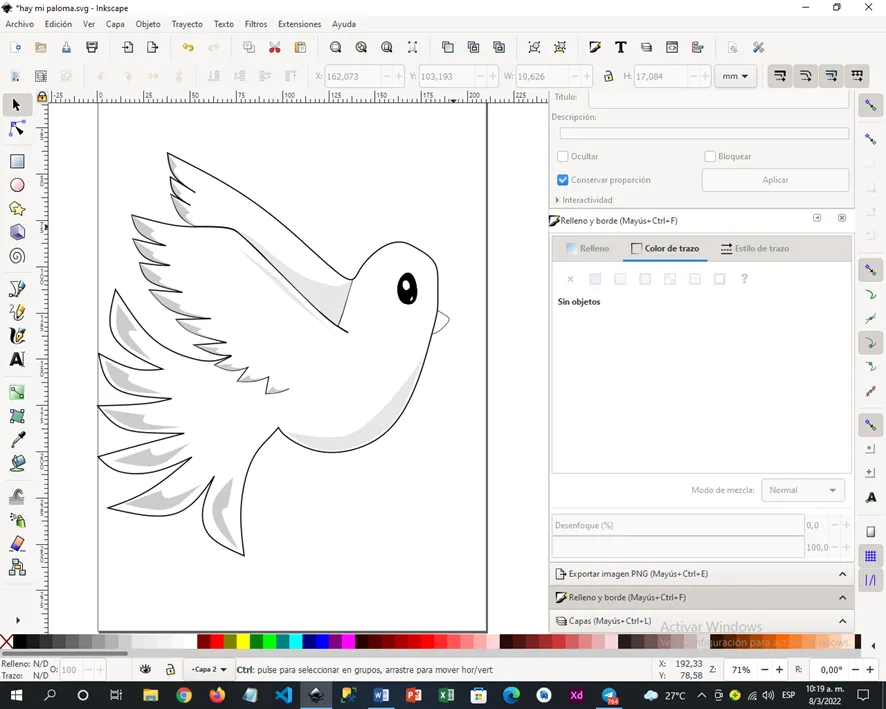
We go to the left where the tool panel is displayed, we click on the green pencil since it helps us to make straight and curved lines, if they analyzed the drawing in the part of the wings and feathers we are going to require precisely the tool , to trace the image that we have in the background as close as possible to the drawing.
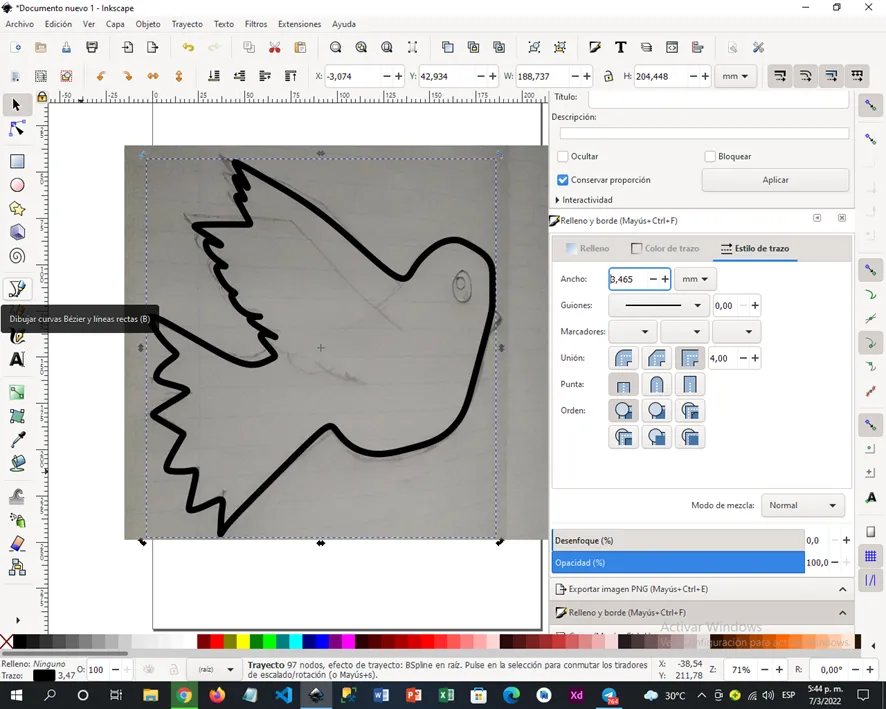
STEP 3:
Finished and closed the exterior drawing of the drawing with the pencil tool we click on the arrow to finish the first part, then we proceed to make internal lines and trace the part of the eye.
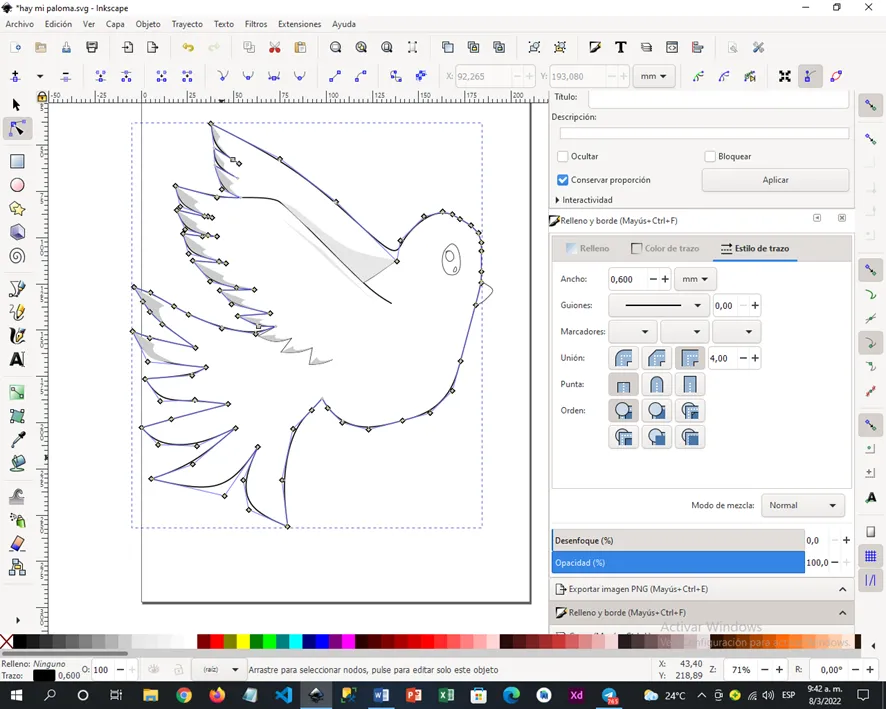
STEP 4:
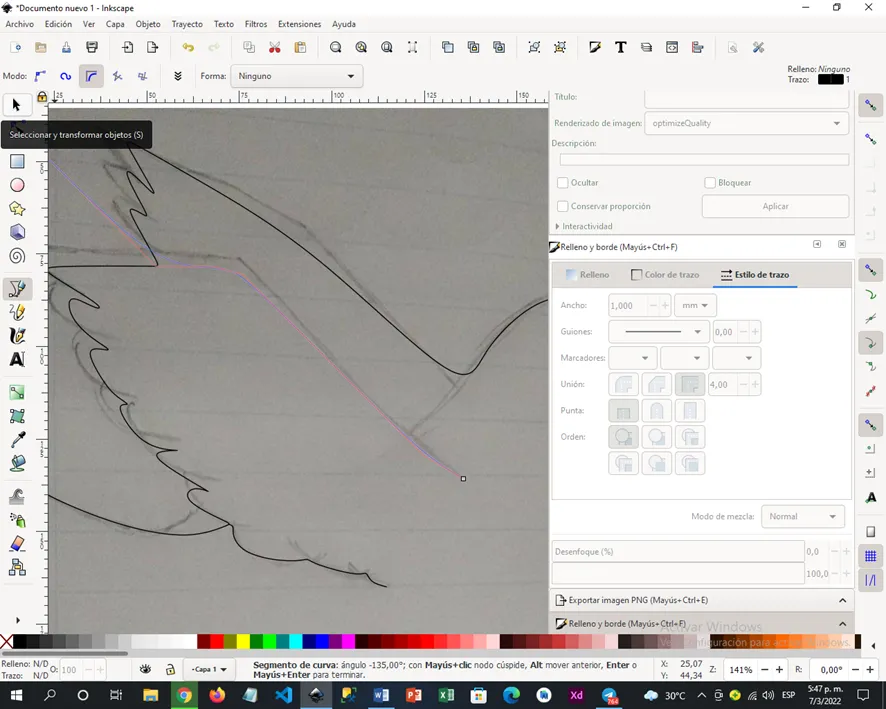
Once the figure is finished, we erase the drawing and proceed to give the image touch-ups, soften the wings, thicken certain lines, add more lines to close spaces and create color capacity.
If you look at the image you can see that to perfect the lines we use the three-point arrow tool whose function is to edit the nodes with it we can expand a specific area, as well as give it more curvature, everything is a matter of analysis the image in depth and see all the changes we are making.
Therefore, I give you the advice to always look away to see the figure in general of the drawing and zoom in to improve the details that you want to improve.

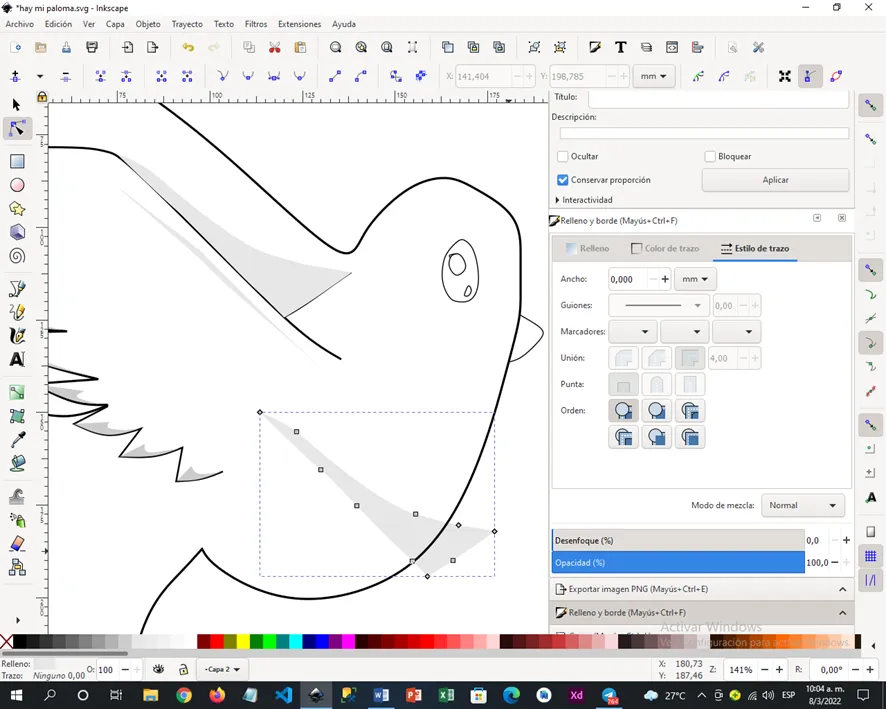
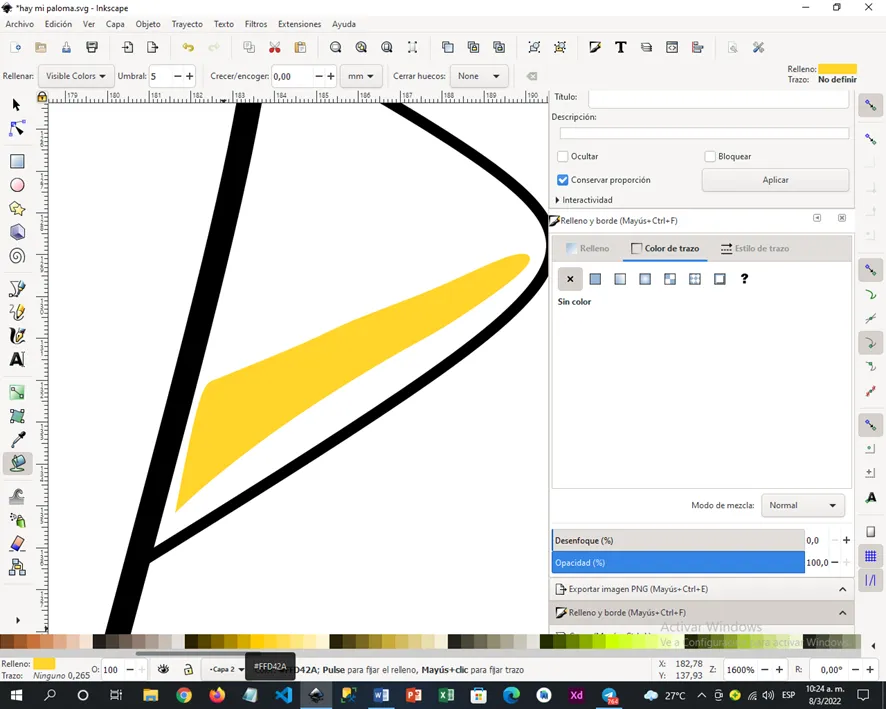
STEP 5:
For the part of the lighting and the shading we make a kind of closed oval which we will click on and then go to the lower right part (FILLING AND BORDER) click.
Once located in that section, we click on the Stroke Color part to precisely hit the (x) so that the lines become transparent and the central fill part gets more prominence and does not interfere with the black color of the lines.
STEP 6:
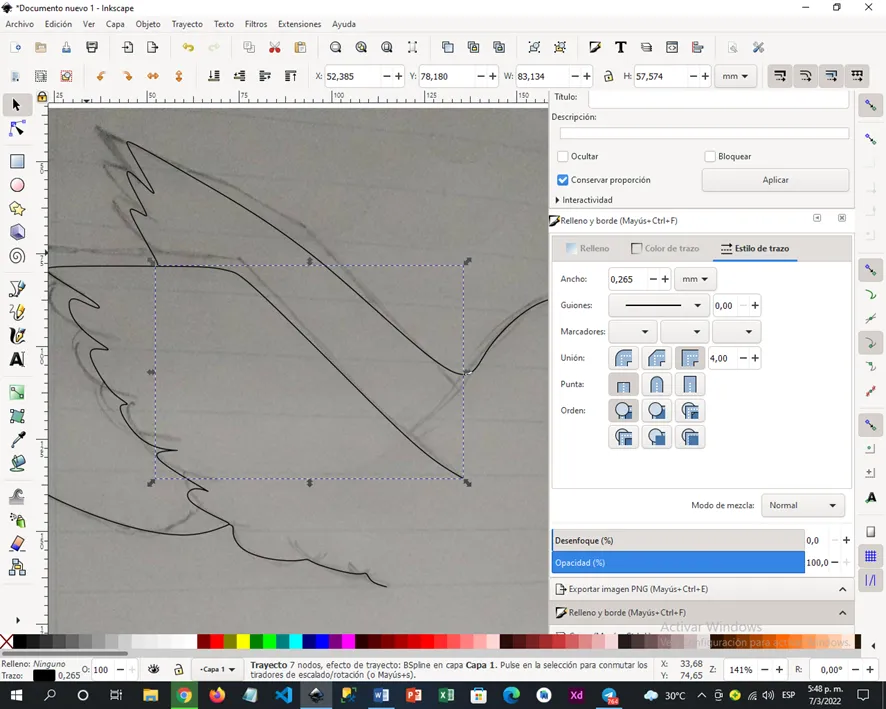
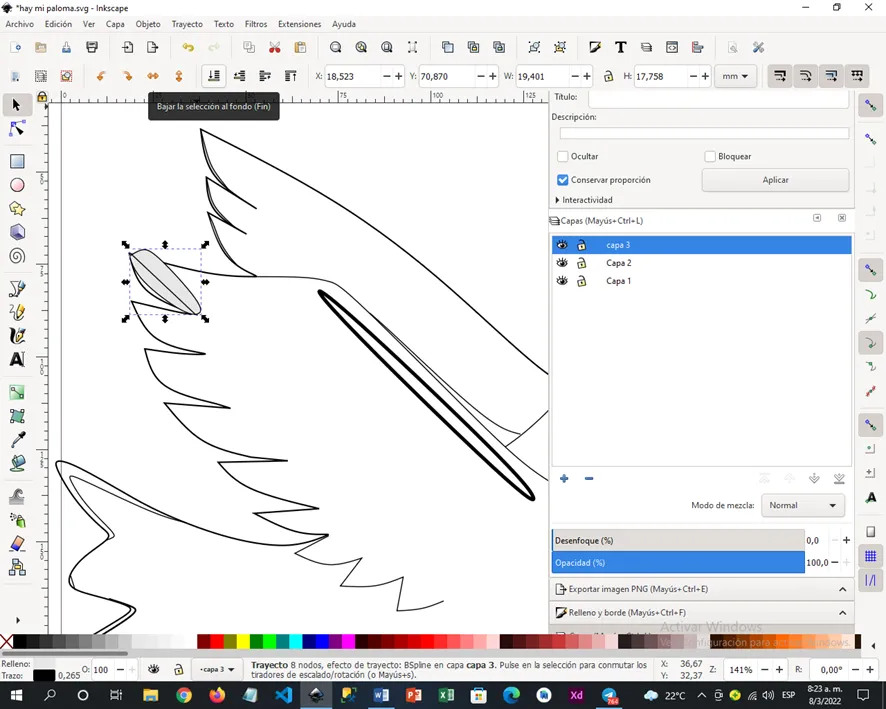
Having perfected the two upper wings, proceed to perfect the lower feathers in the same way using the node editing tool to color straight and curved lines.
STEP 7:
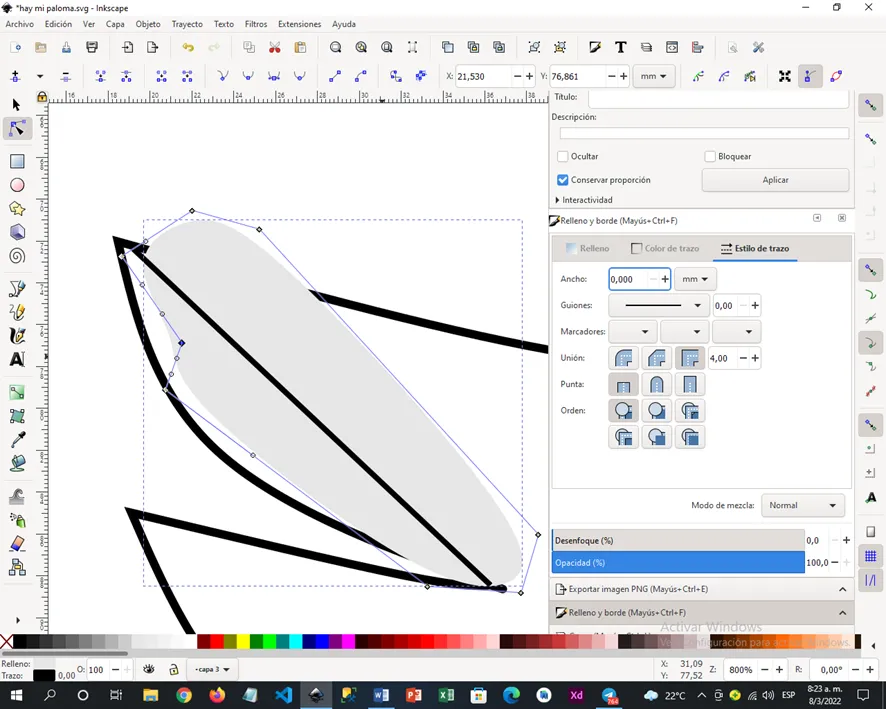
In the part of the belly we soften the lines by removing nodes, reducing the space a little more giving it more upward curvature, to give it a greater touch of depth a layer of light gray shadow is placed.

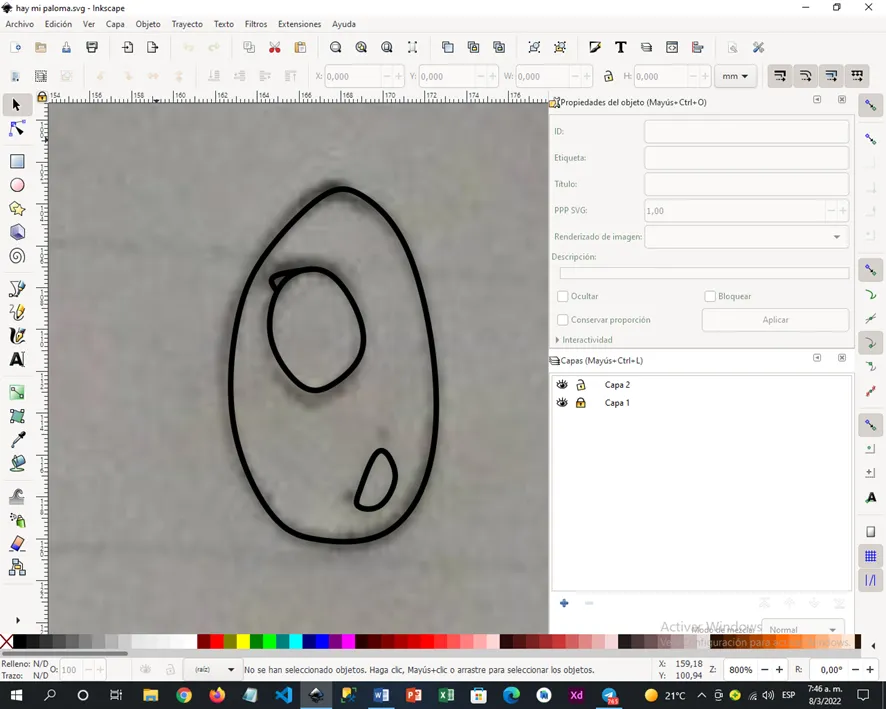
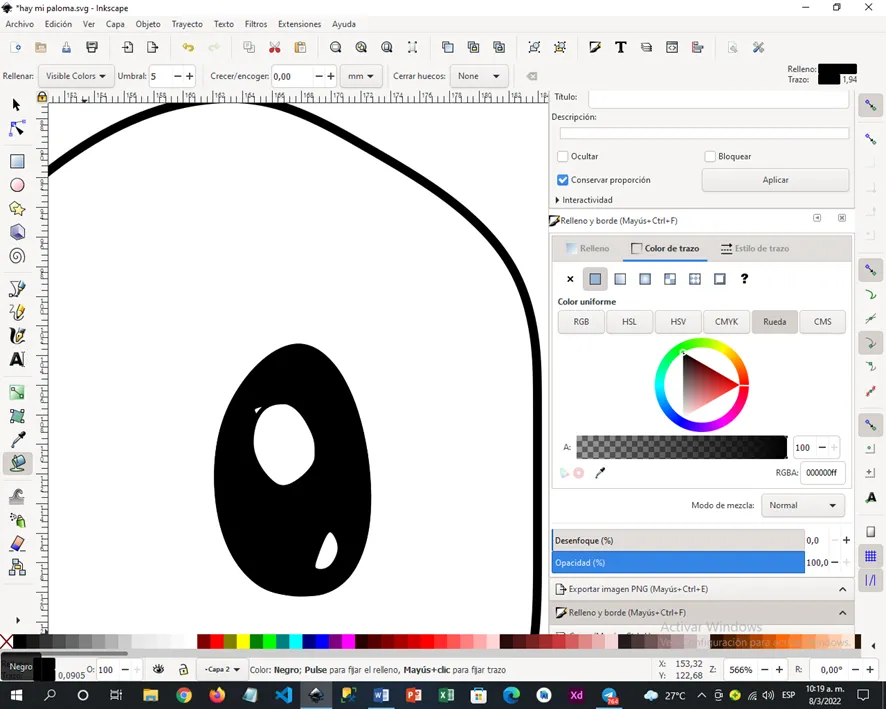
STEP 8:
We focus on the part of the eye of our pigeon at this time we go to the part of the left to the part of the paint bucket to paint the inner part of the eye black.
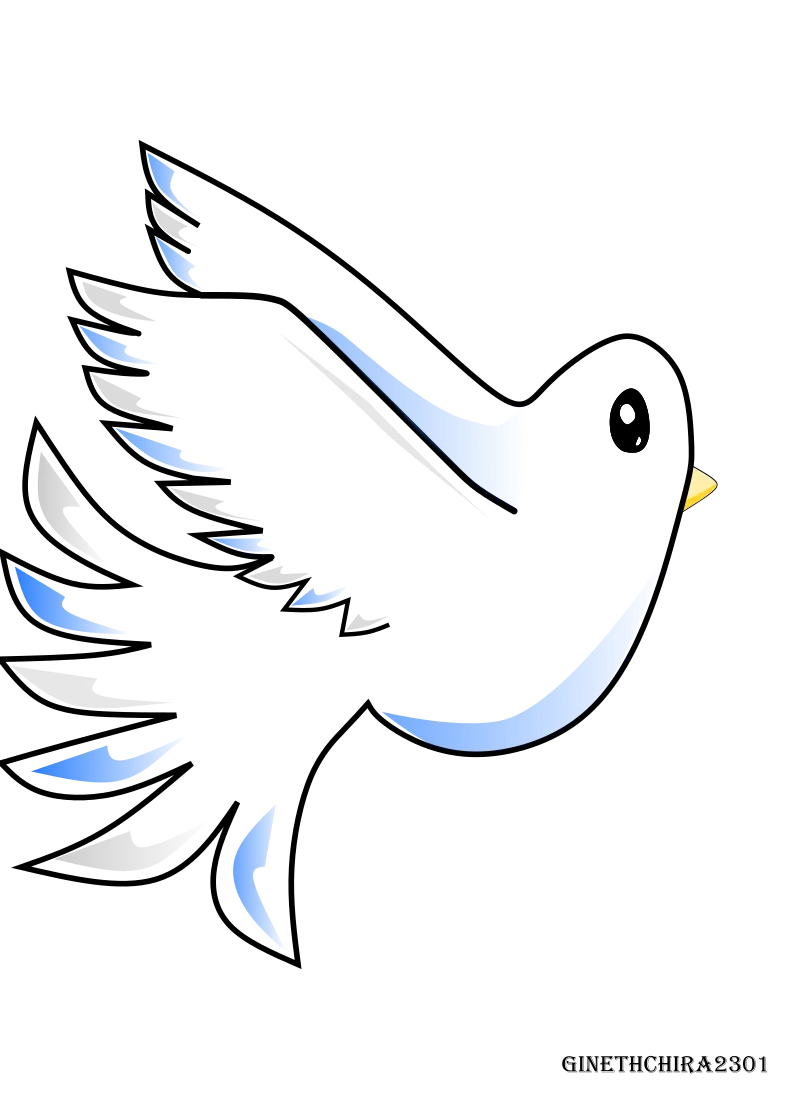
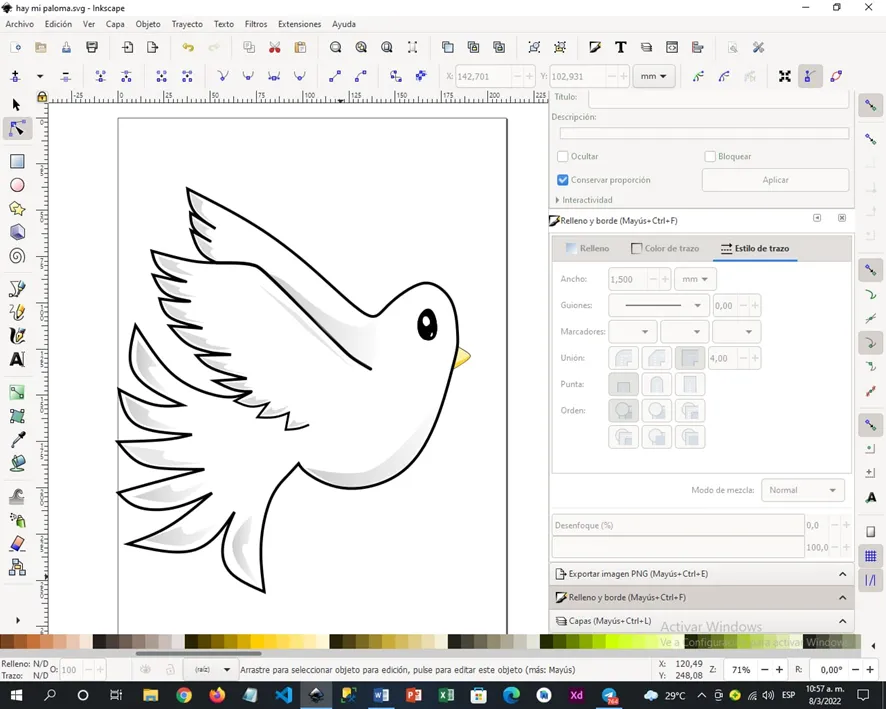
PRELIMINARY RESULT 1.1
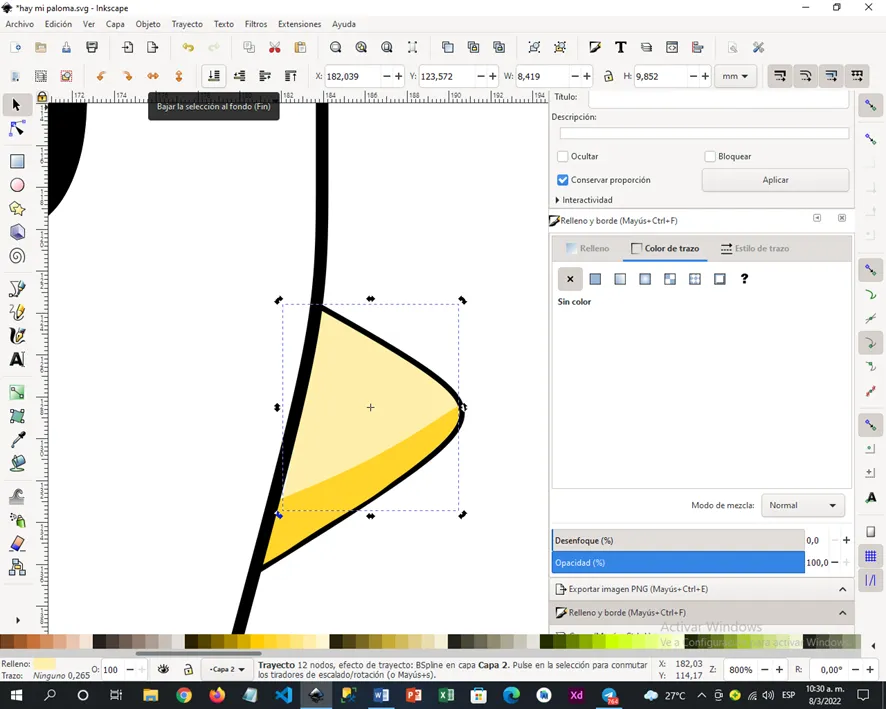
STEP 9:
To give color to this dove we use the Mongolian pencil tool whose function is to make freehand strokes, we make a pocket, we give it a slightly darker shade of yellow, we edit the nodes to give smoothness and shape.
STEP 10:
We click on the layer created in the beak, we copy, paste and enlarge it to place in the other part of the beak with the difference that now it will be a lighter yellow color.
PRELIMINARY RESULT 1.2
FINAL PRODUCT
STEP 11:
In order not to forget my inspiration and feel 100% proud of my work without regrets, I decided to give the feathers a blue touch similar to that of the Ukrainian flag, I made this bird not only to show the tutorial and give support to the community but also convey my support as my best wishes for peace.