Feliz dia de San valentín para toda mi gente linda de Hive!!
Happy Valentine's Day to all my beautiful Hive people!!
Hoy 14 de febrero se celebra en muchos países del mundo el dia del amor y la amistad, les deseo a todos mis amigos de Hive Blog que pasen un dia muy lindo, sobre todo en familia. Hoy es el dia donde queremos obsequiar un detalle a esa amiga de toda la vida, a esa vecina quien nos da esos grandes consejos de vida y quizás no tenemos los recursos económico para hacer varios regalos, por eso amigos hoy les quiero enseñar hacer pequeños detalles muy hermosos, en forma de la flor de tulipán , la cual es una flor muy codiciada y elegante la cual es la que le da la vida a el detalle ue hoy aprenderemos hacer, los invito a que me acompañen hasta el final de mi publicación, para que vean el paso a paso.
Today, February 14, the day of love and friendship is celebrated in many countries around the world. I wish all my friends from Hive Blog to have a very nice day, especially with the family. Today is the day where we want to give a gift to that lifelong friend, to that neighbor who gives us those great life tips and maybe we don't have the financial resources to make several gifts, that's why friends today I want to teach you how to make small details very beautiful, in the form of the tulip flower, which is a very coveted and elegant flower which is what gives life to the detail that today we will learn how to do, I invite you to accompany me until the end of my publication, so you can see the step by step.
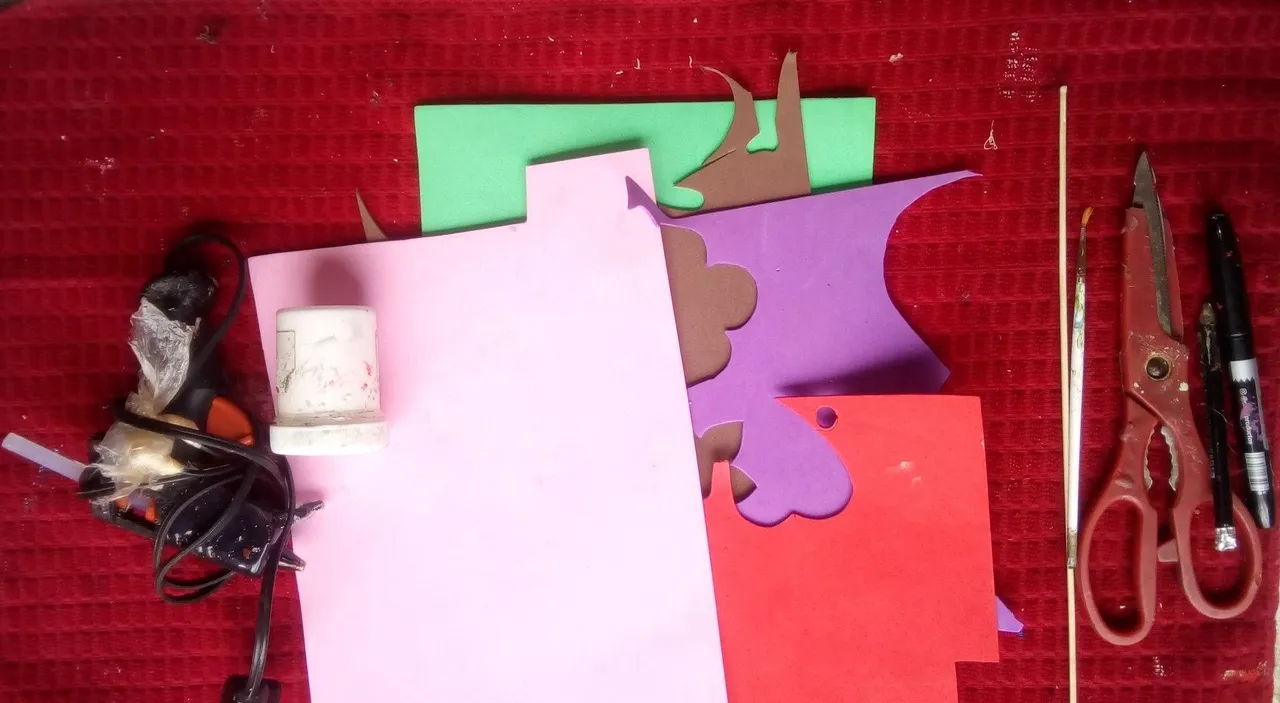
Materiales:
- Foami rosado, verde, marrón, rojo, y morado.
- Pinturas blanca, negra, verde y fucsia.
- Pinceles, tijeras.
- Silicón caliente.
Materials:
- Pink, green, brown, red, and purple foami.
- White, black, green and fuchsia paints.
- Brushes, scissors.
- Hot silicone.
Paso a paso:
Step by Step:
Paso 1:
Step 1:
Para iniciar esta hermosa manualidad, marcamos dos corazones de puntas en el foami marrón, debemos dibujar ambos corazones y asegurarnos que los dos corazones sean del mismo tamaño, también podemos utilizar un molde de galletas o pintamos un corazón en un cartón y lo usamos como patrón.
To start this beautiful craft, we mark two pointed hearts on the brown foami, we must draw both hearts and make sure that the two hearts are the same size, we can also use a cookie cutter or paint a heart on cardboard and use it as a pattern .
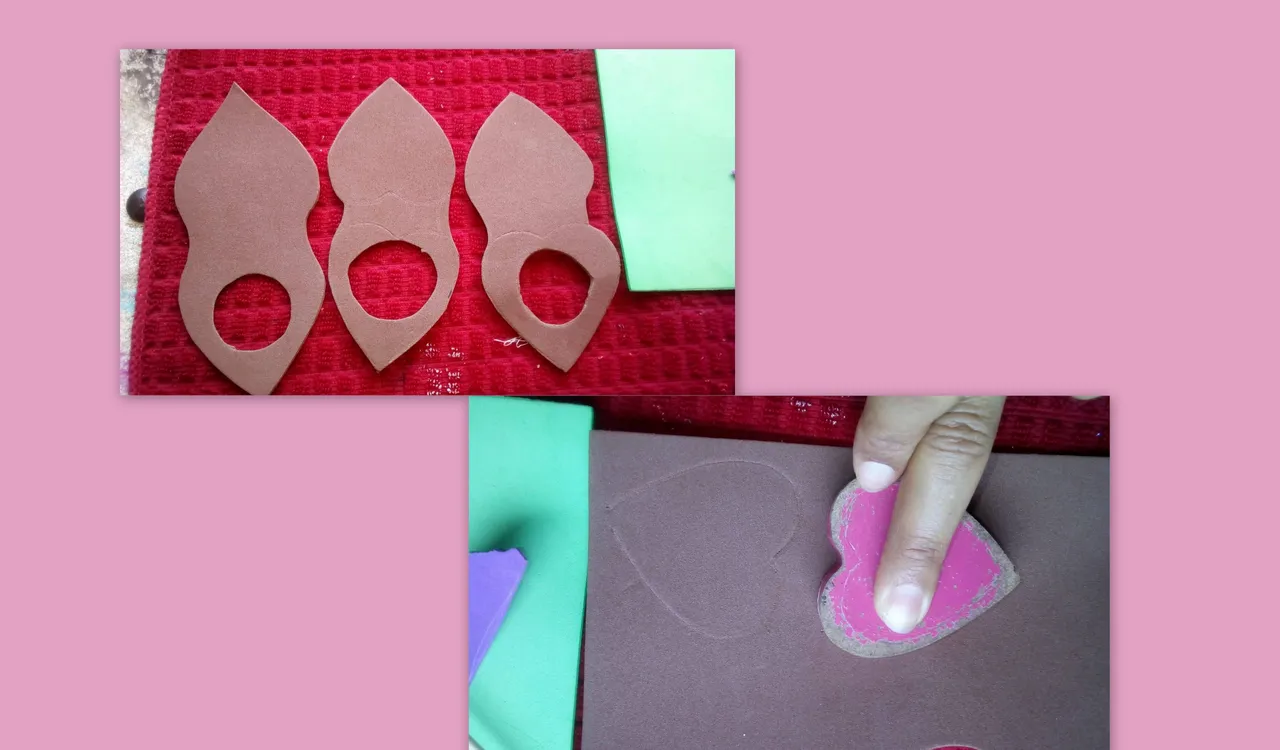
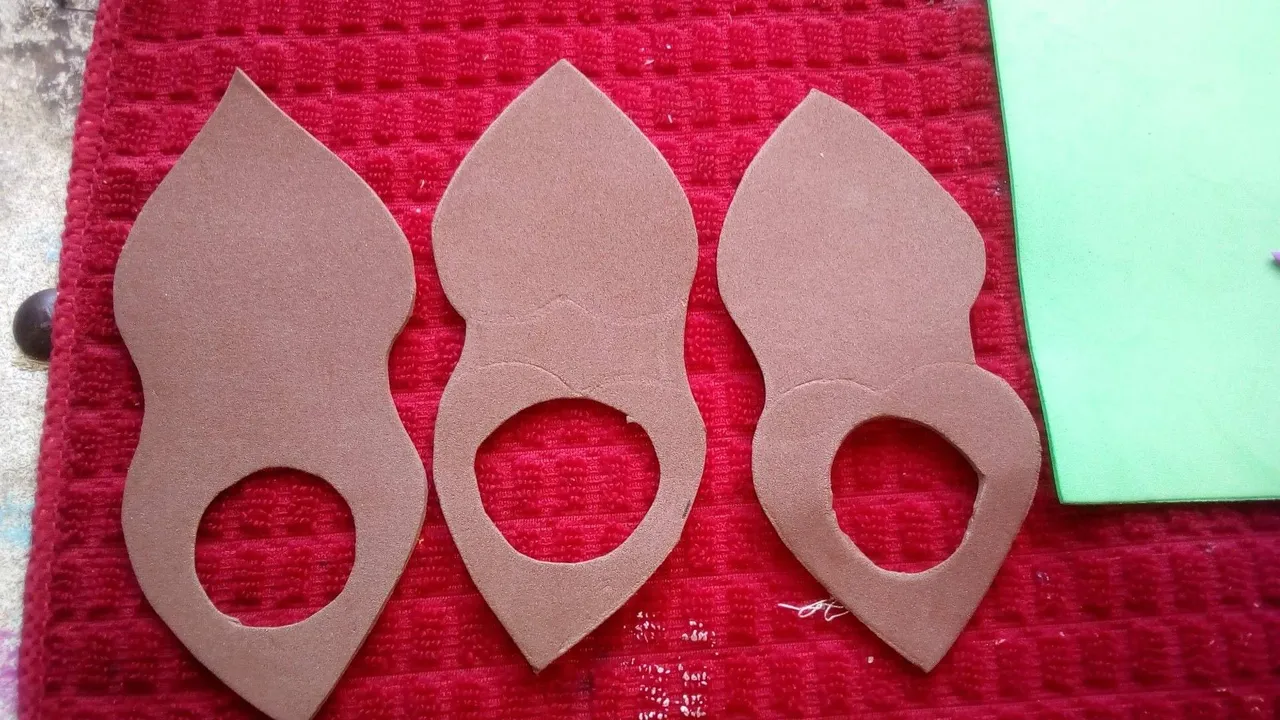
Paso 2:
Step 2:
Luego cortamos sin separar los corazones, y le abrimos un agujero en el centro.
Then we cut without separating the hearts, and we open a hole in the center.
Paso 3:
Step 3:
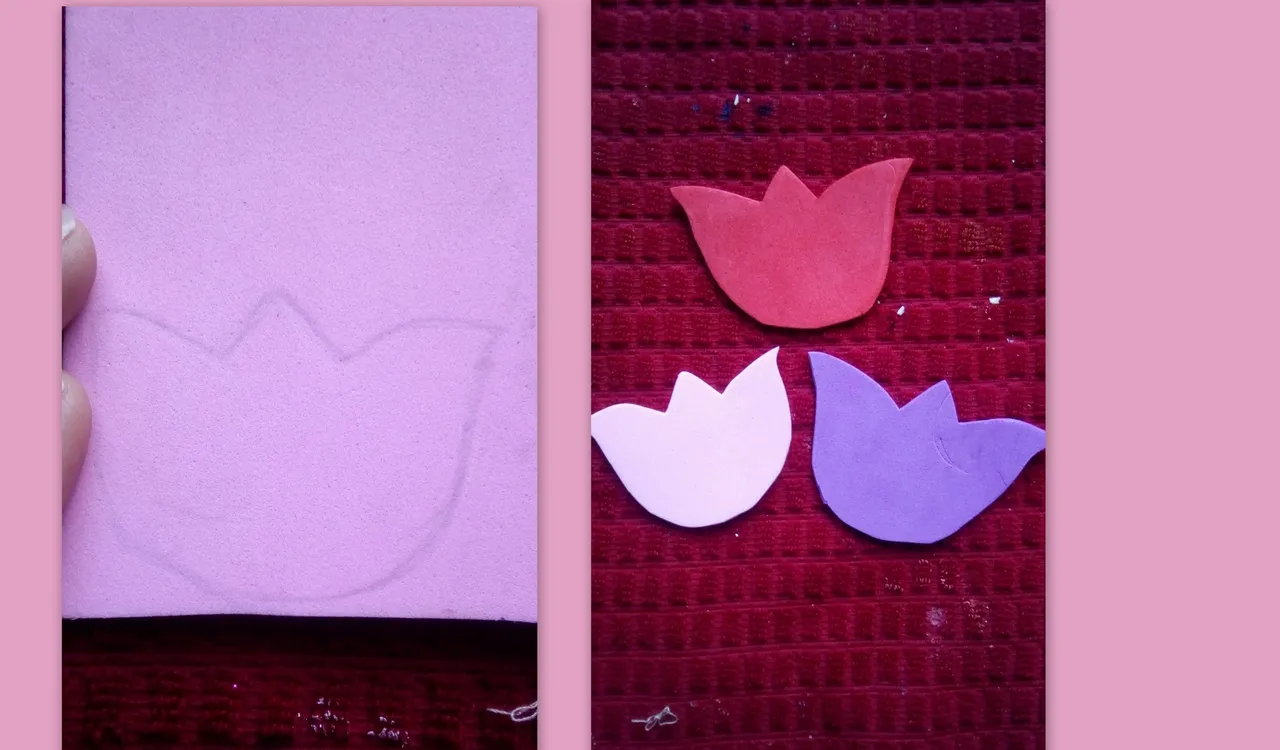
Luego sobre el foami rosado, rojo y morado y dibujamos la forma que representa la flor de tulipán. Esta hermosa y elegante flor en el color rojo simboliza el amor verdadero.
Then on the pink, red and purple foami and draw the shape that represents the tulip flower. This beautiful and elegant flower in the red red color symbolizes true love.
Paso 4:
Step 4:
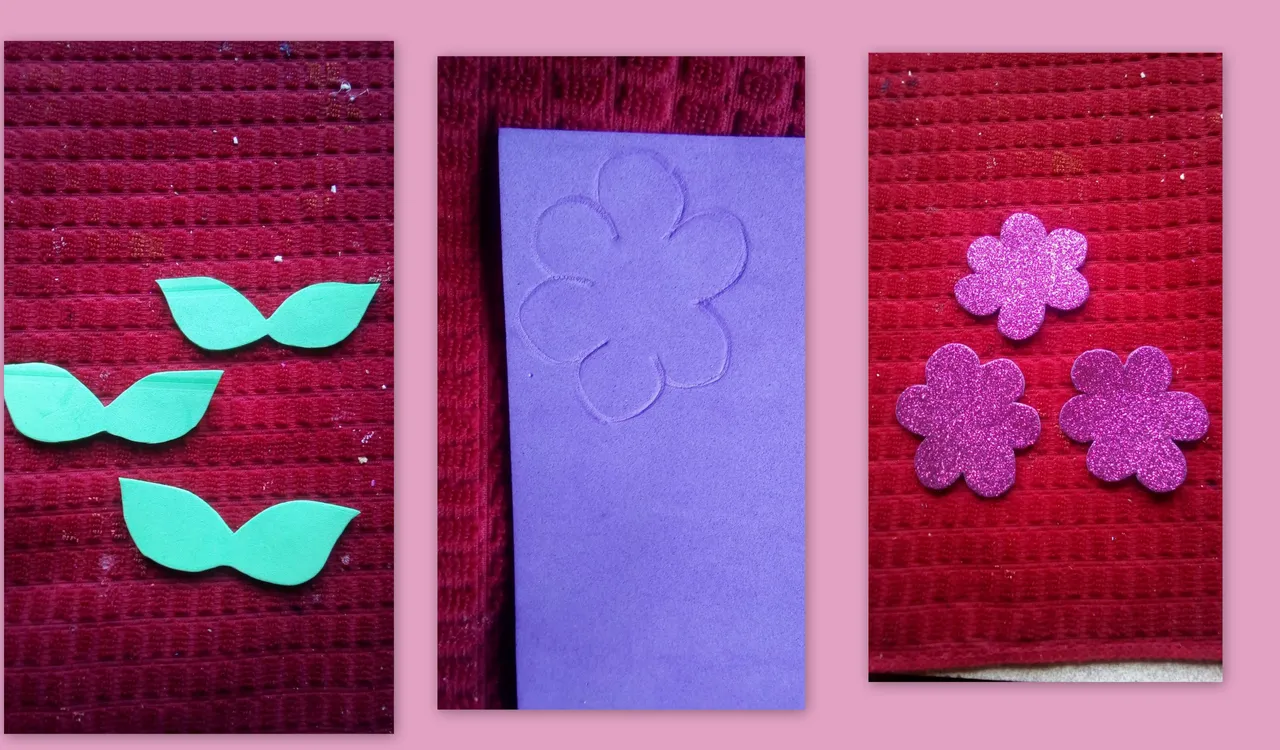
Seguimos recortando piezas para formar nuestro detalle, y ahora le hacemos un par de hojas ambas unidas y la base que sería una flor cortada en foami morado brillante.
We continue cutting pieces to form our detail, and now we make an ar of leaves both joined and the base that would be a cut flower in bright purple foami.
paso 5:
step 5:
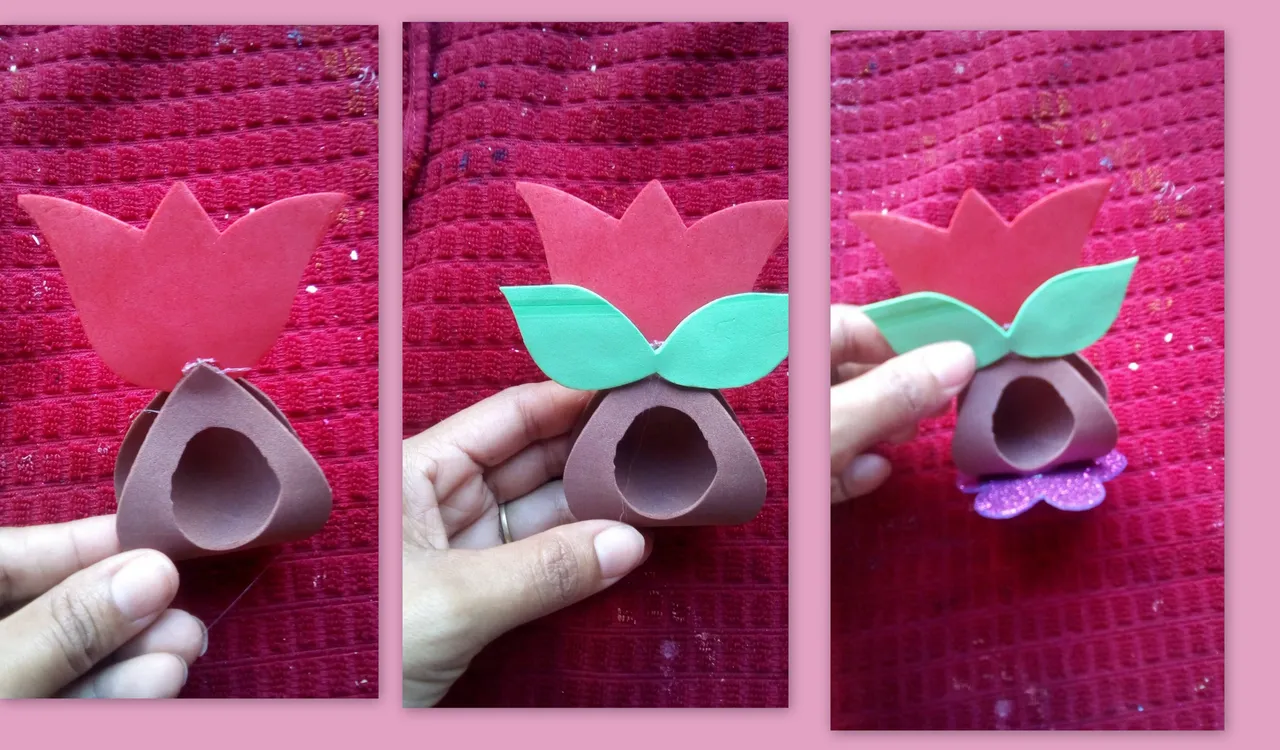
Teniendo ya todas las piezas cortadas es el momento de empezar a darle forma al obsequio pegandolas con silicon caliente, como pueden apreciar en la imagen.
Having already cut all the pieces, it is time to start shaping the gift by gluing them with hot silicone, as you can see in the image.
Paso 6:
Step 6:
Con pintura blanca y un pincel fino pintamos los bordes la parte de los corazones, y para pintar los bordes de los tulipanes usamos pintura roja para el tulipán rosado, para el rojo negra y para el tulipan morado utilizamos la pintura de color fucsia para pintar sus orillas y hacerle algunos detalles, para darle un poco de profundidad a la hojas mezclamos un toquecito de pintura negra con verde y le trazamos algunas líneas por el medio de cada hoja.
With white paint and a fine brush we paint the edges of the hearts, and to paint the edges of the tulips we use red paint for the pink tulip, for the red black and for the purple tulip we use the fuchsia paint to paint its edges and make some details, to give it a little depth we mix a little touch of black paint with green and draw some lines through the middle of each leaf.
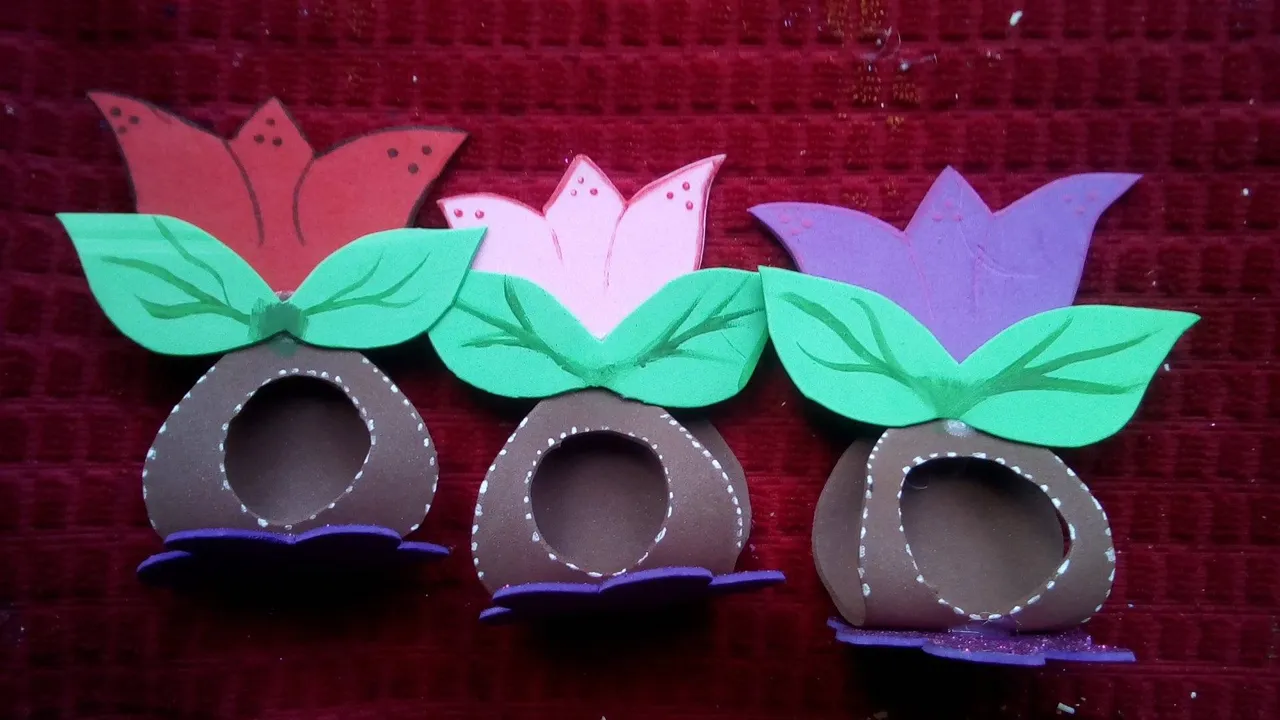
Para finalizar solo le ponemos un lacito a cada uno, debajo de las hojas.
To finish we just put a little bow on each one, under the leaves.
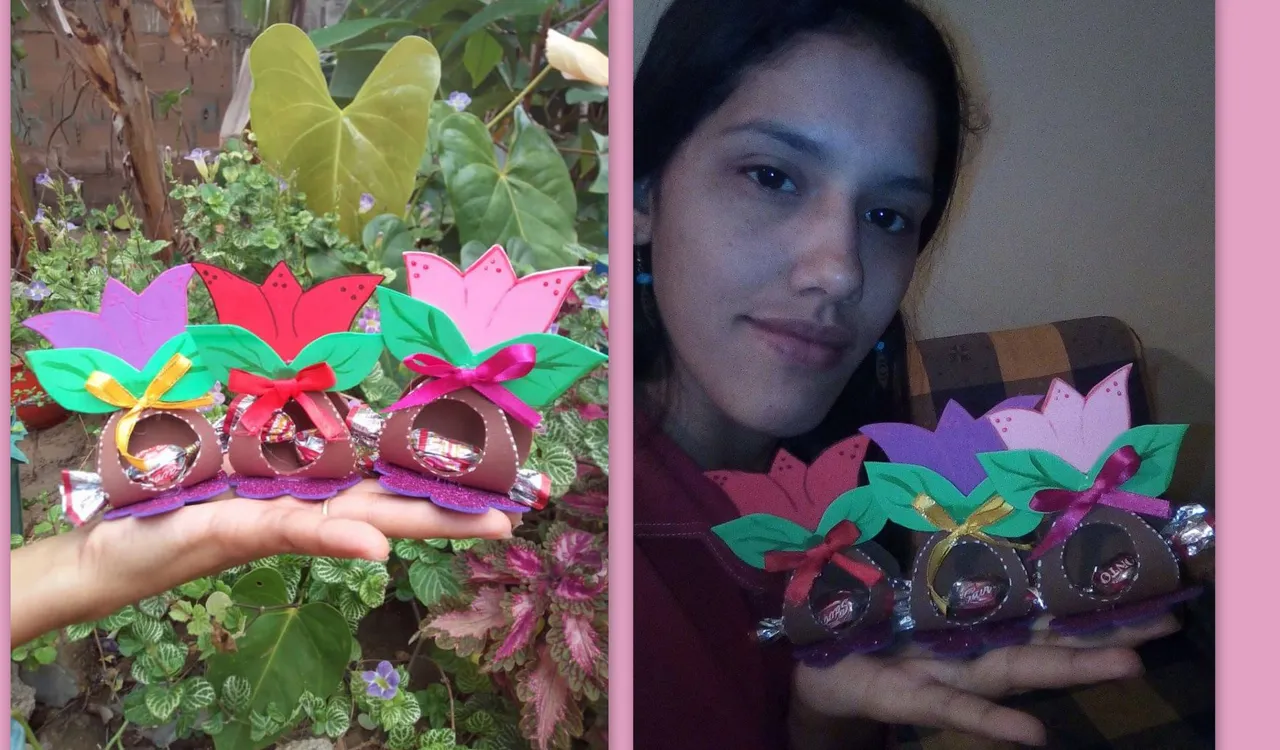
Resultado.
Result.
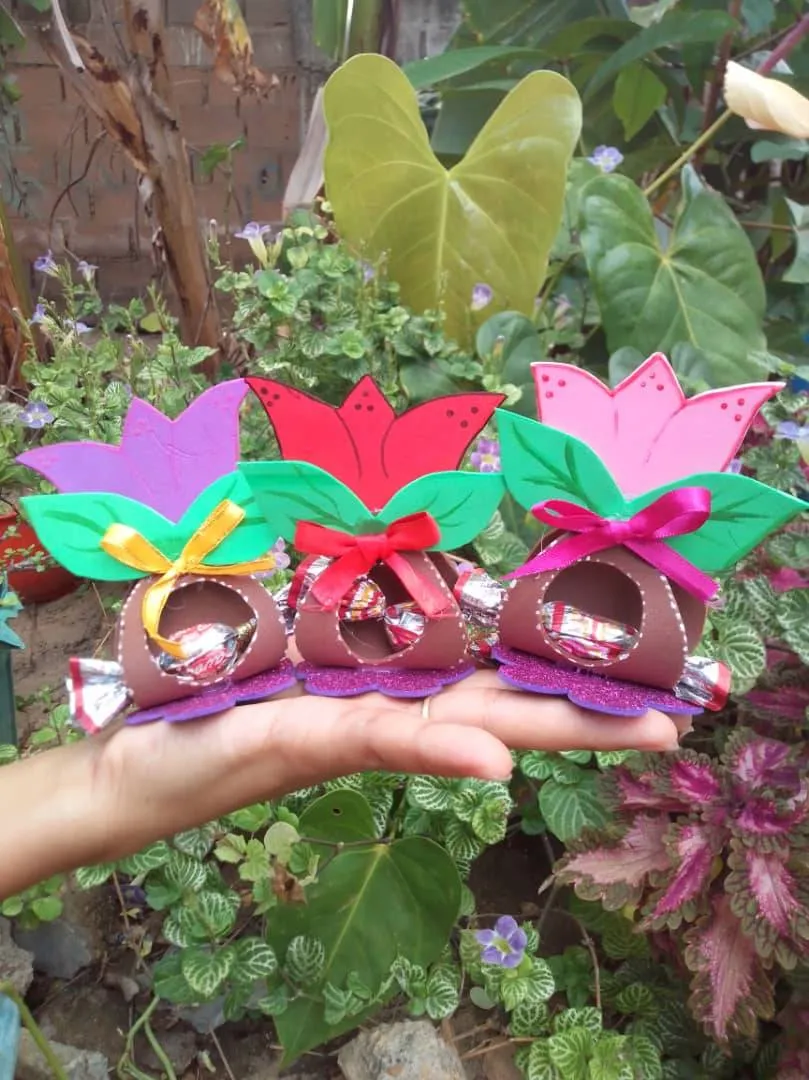
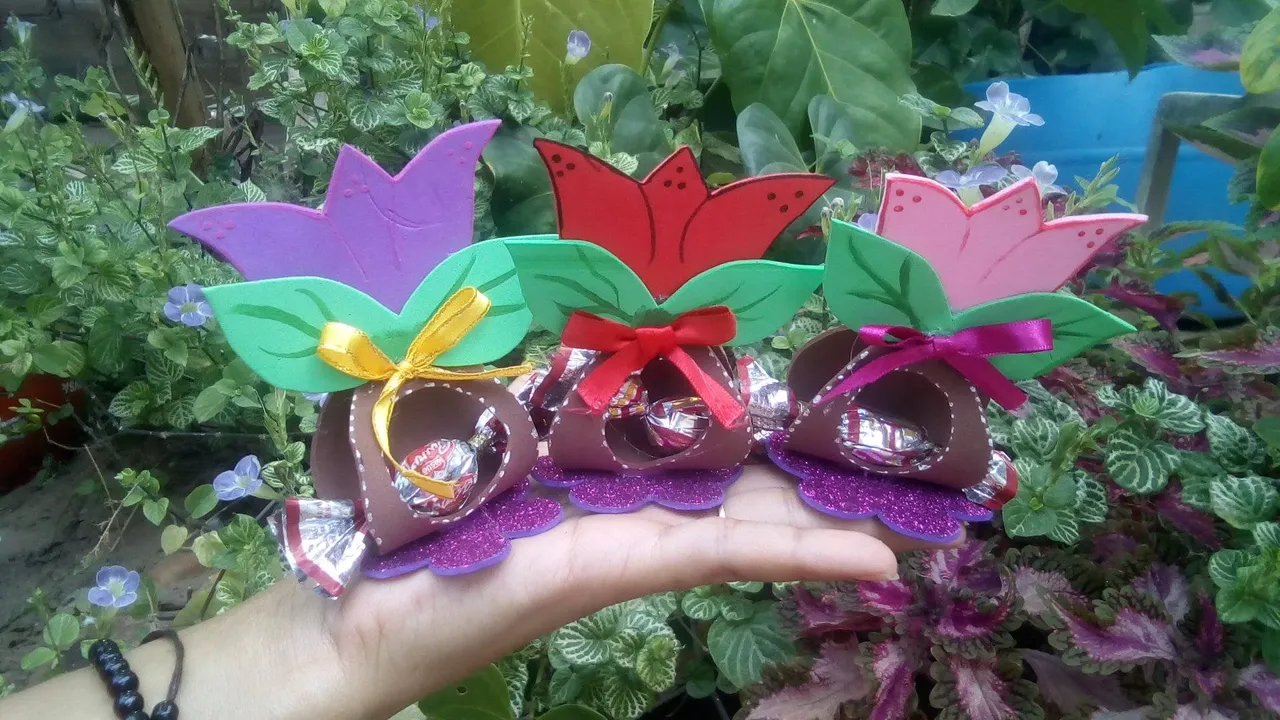
Bueno mis amores espero y les halla gustado mi idea creativa del dia hoy, y nuevamente les deseo un feliz dia de San valentín, se les aprecia bastante, hasta pronto.
Well my loves I hope and you liked my creative idea of the day today, and once again I wish you a happy Valentine's Day, you are greatly appreciated, see you soon.
Todas las imágenes son completamente de mi autoría, tomadas con mi celular BLU ADVANCE A6, y editadas en mi computadora con la aplicación Picasa 3.
All the images are completely my own, taken with my BLU ADVANCE A6 cell phone, and edited on my computer with the Picasa 3 application.
Don't be a know-it-all, instead be a learn-it-all." ...