Feliz y bendecido jueves queridos amigos de esta creativa comunidad, saludos a todos espero hayan tenido excelentes día, y que todos sus propósitos se hayan hecho realidad, hoy como siempre felíz de acompañarles y de traerles una nueva idea para este día de las madres, me quise unir a la iniciativa Regala a mamá algo especial hecho por ti y que mejor forma de hacerlo como más me gusta.
Happy and blessed Thursday, dear friends of this creative community. Greetings to all, I hope you had a great day and that all your goals came true. Today, as always, I'm happy to be with you and bring you a new idea for this Mother's Day. I wanted to join the initiative Give Mom something special, made by you, and what better way to do it the way I like best.
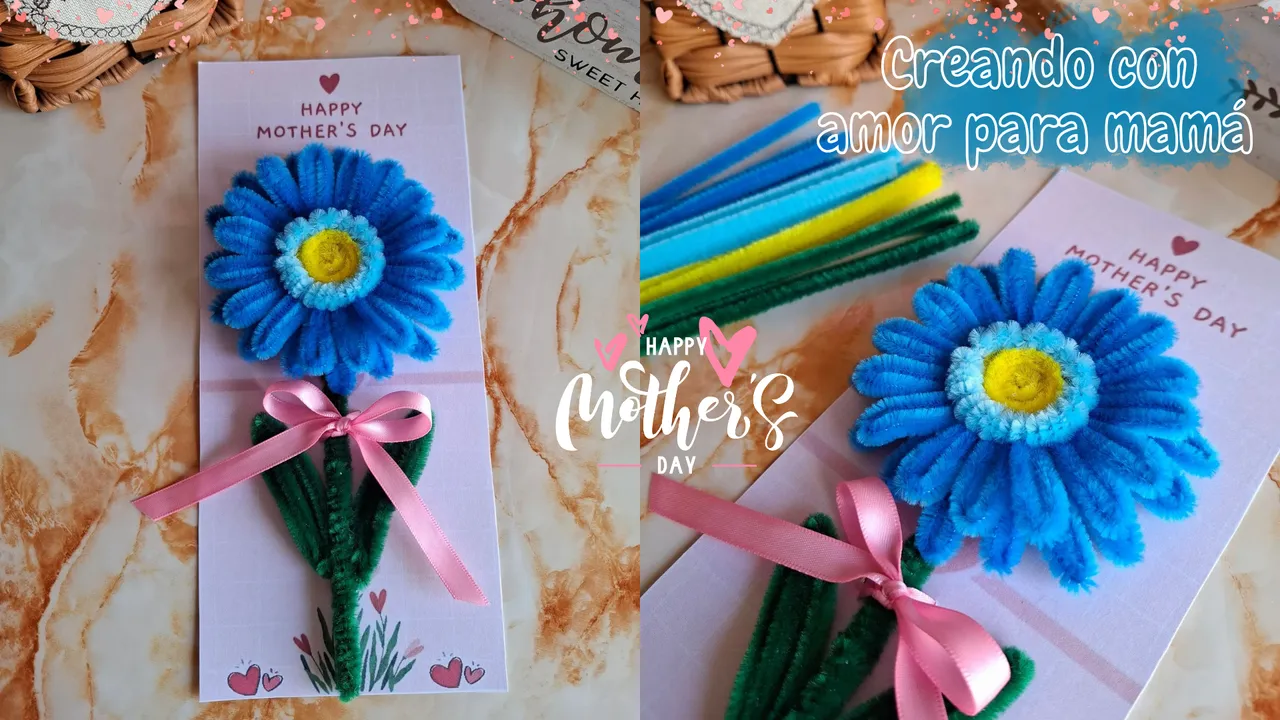
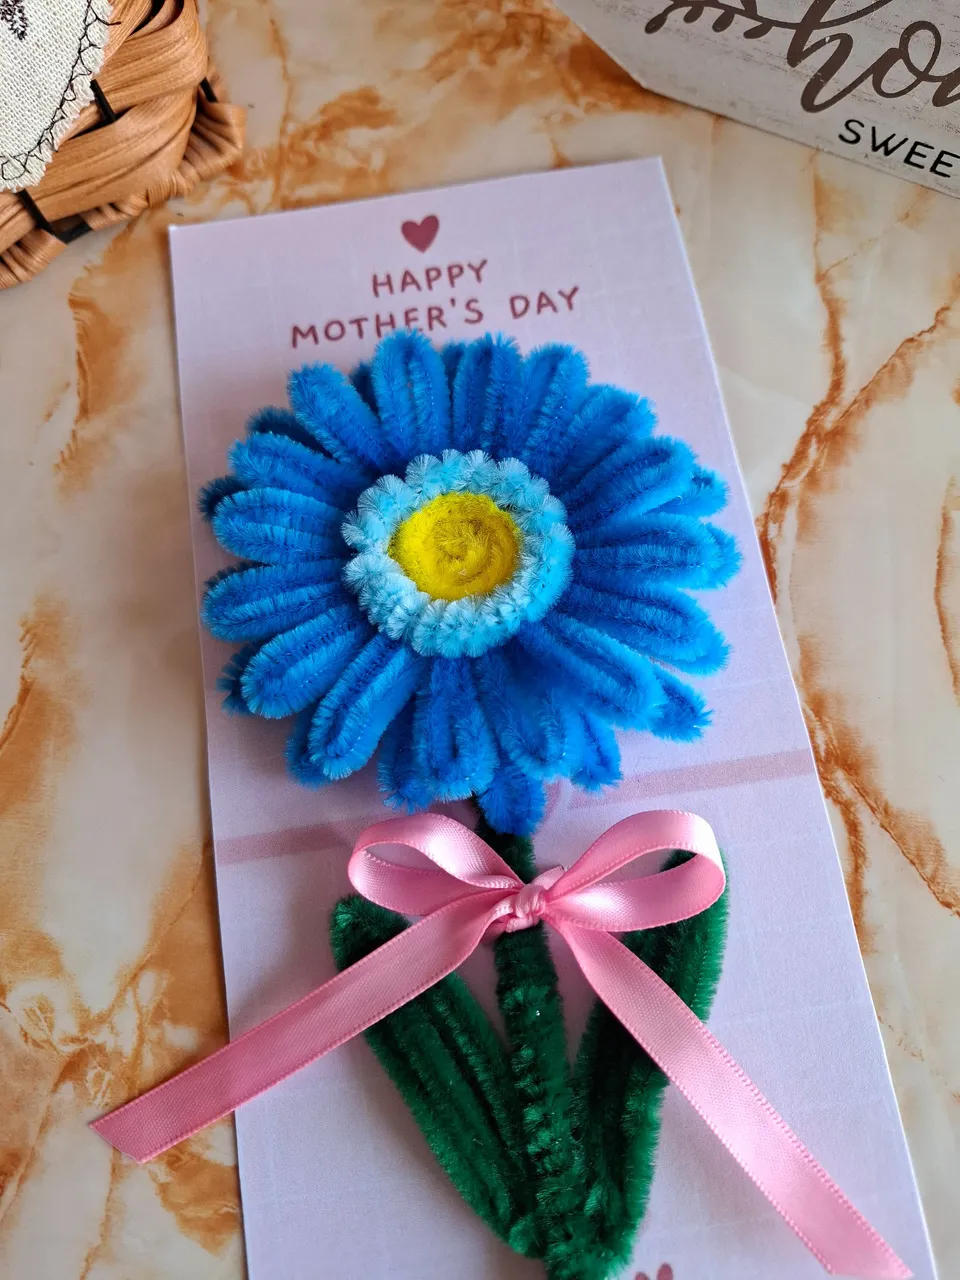
Realicé una flor de Gerbera en color azul, la puedes colocar junto a una tarjeta que puedes realizar en Canva, esta idea me gustó mucho desde que la vi en Pinterest, pueden ver aquí Tarjeta, es una opción bonita y fácil de realizar en casa para todas aquellas madres que les gusta este tipo de obsequios, la realicé para mí hermana que también es mamá, ojalá le guste.
I made a blue Gerbera flower, you can place it next to a card that you can make in Canva, I really liked this idea since I saw it on Pinterest, you can see it here Card, it is a nice and easy option to make at home for all those mothers who like this type of gifts, I made it for my sister who is also a mother, I hope she likes it.

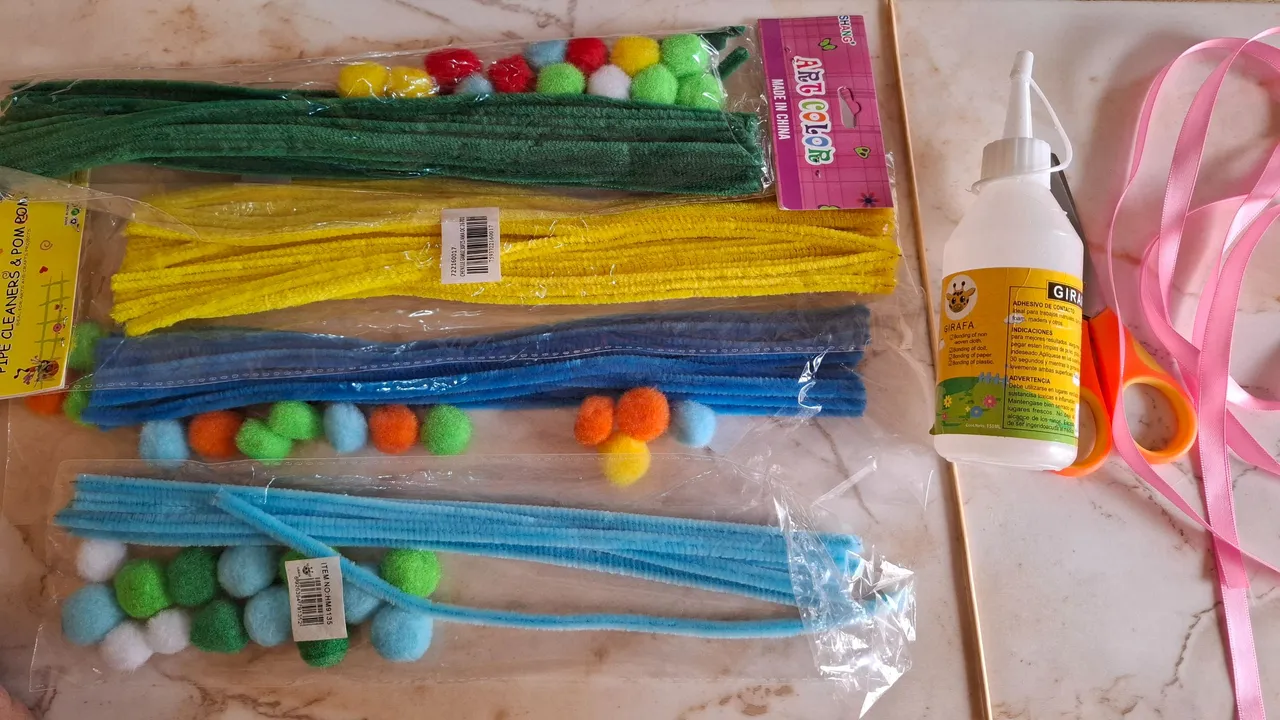
| Materiales | Materials |
|---|---|
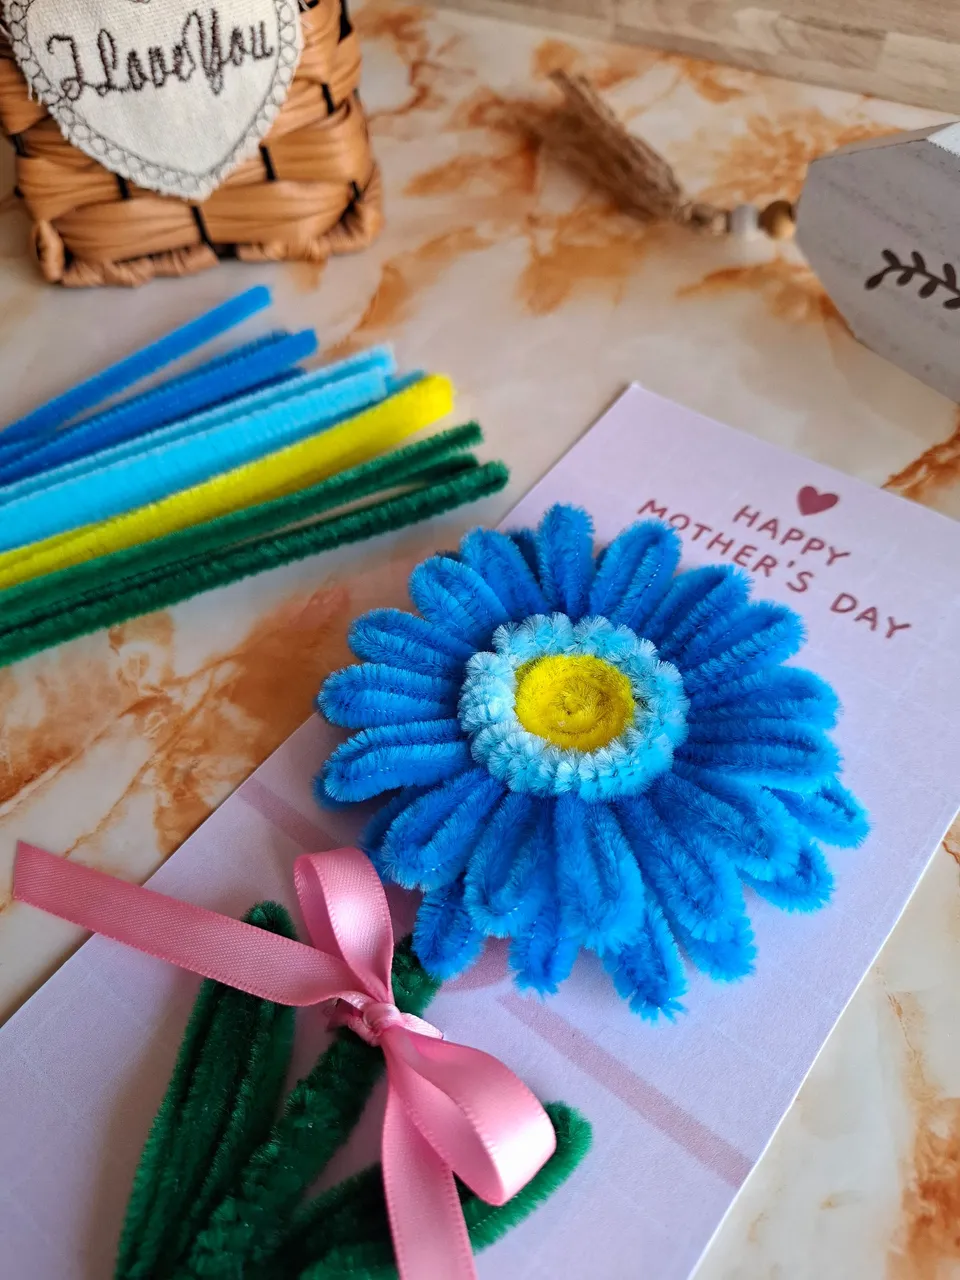
| Limpiapipas azul (oscuro y claro) | Blue pipe cleaners (dark and light) |
| Limpiapipas amarillo | yellow pipe cleaner |
| Limpiapipas verde | green pipe cleaner |
| Palillo | Toothpick |
| Cinta rosa | pink ribbon |
| Tijera | Scissors |
| Silicón | Silicone |
| Tarjeta con una medida de 25 x 11 cm | Card measuring 25 x 11 cm |
Paso a paso / Step by step
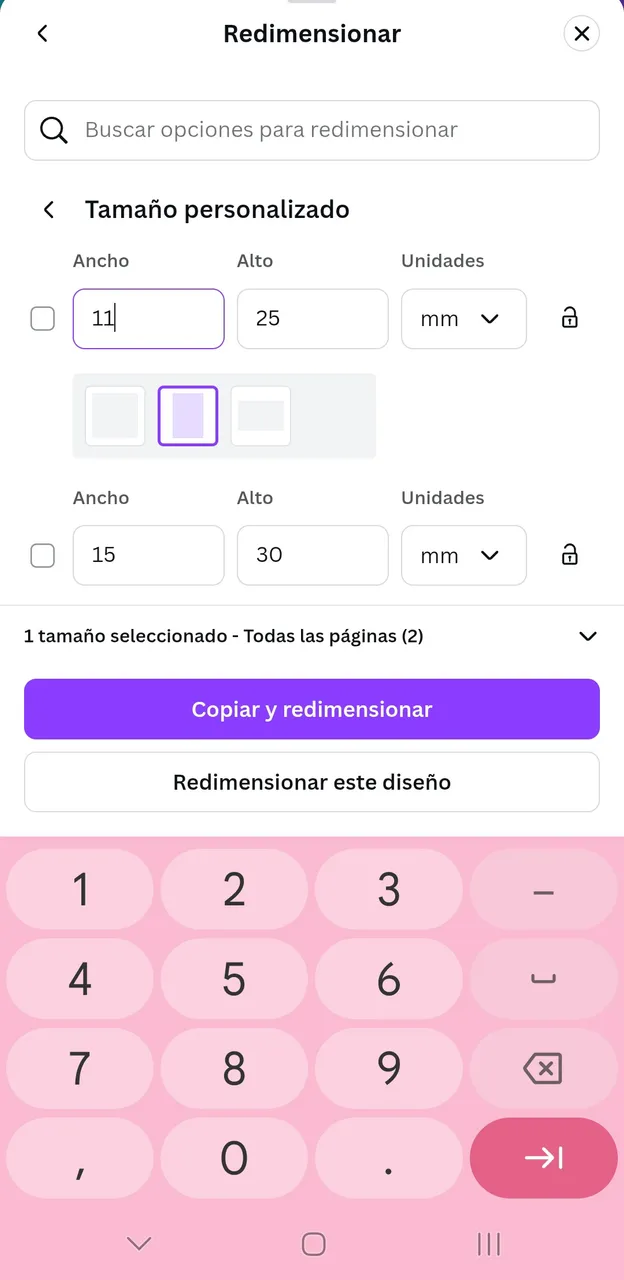
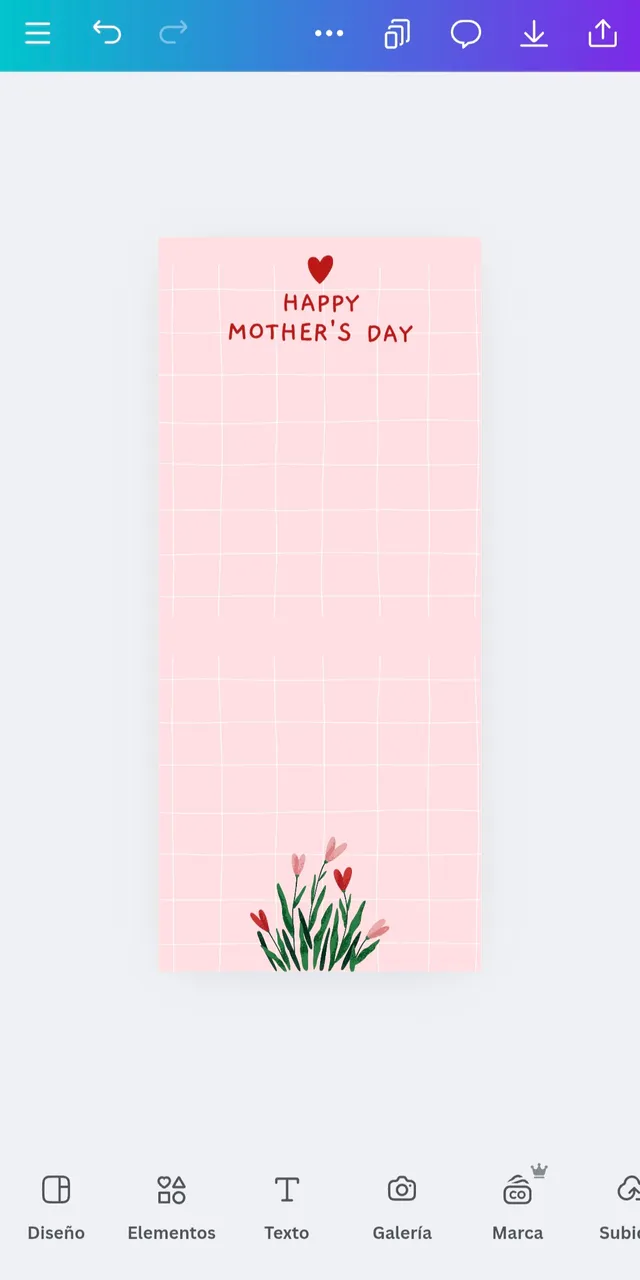
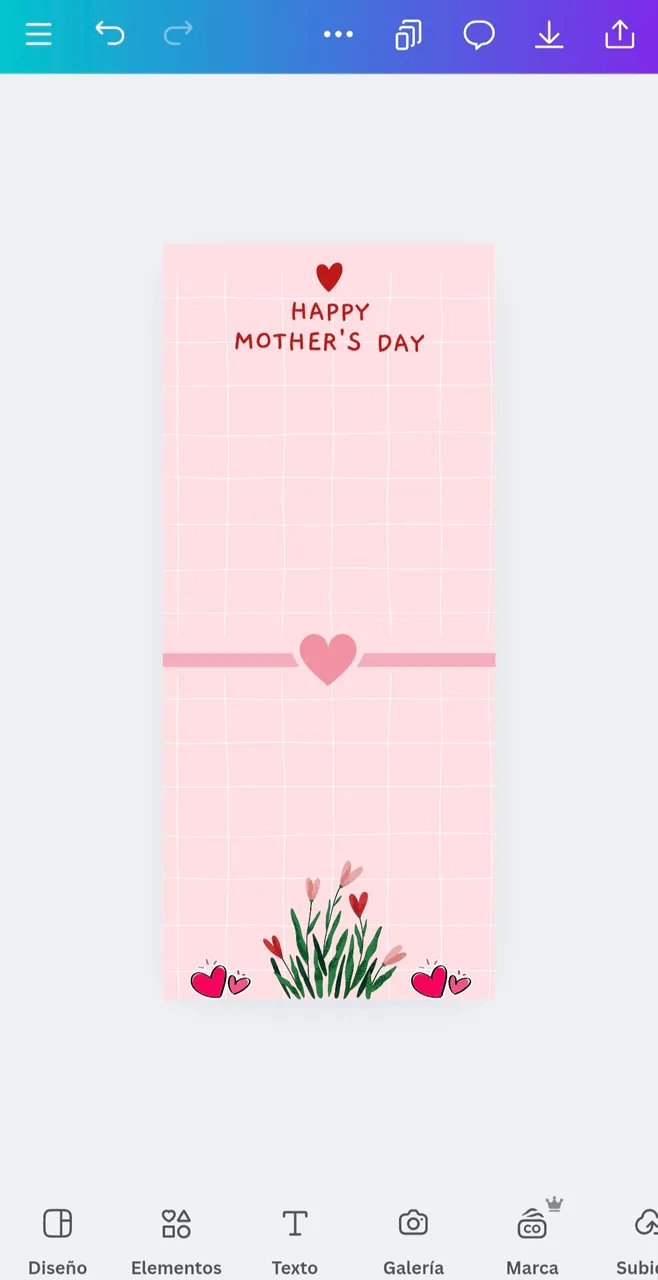
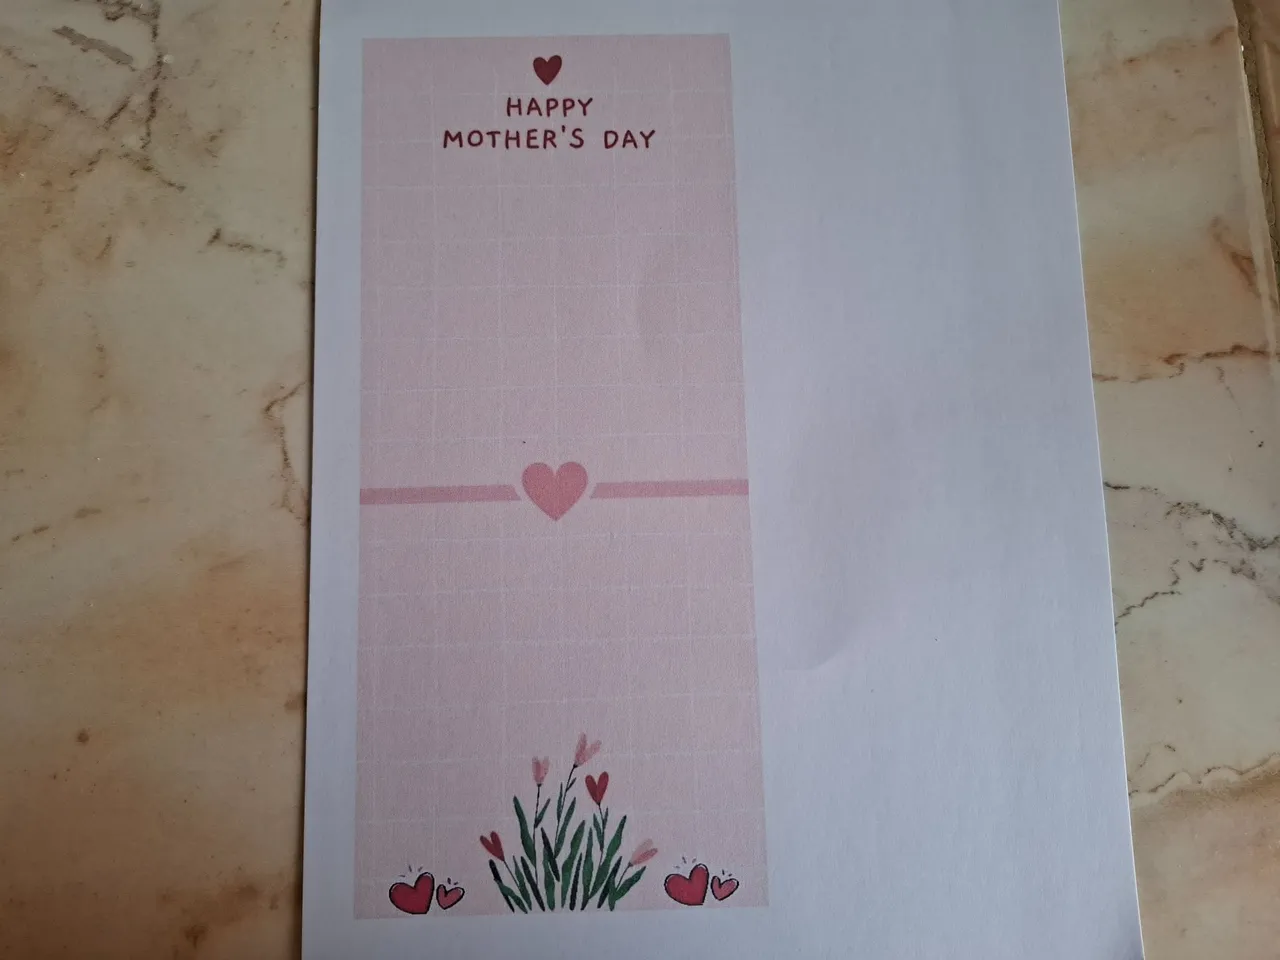
Primero les mostraré como realicé la tarjeta en Canva, tome la medida de la flor y para que encajara exacto la coloqué de 25 x 11 cm, elegí un modelo de plantilla, agregué unos corazones y una franja rosa en el centro, la pueden personalizar de la forma que más les guste, la imprimí en cartulina opalina.
First I'll show you how I made the card in Canva. I measured the flower and made it 25 x 11 cm so it would fit exactly. I chose a template model, added some hearts and a pink stripe in the center. You can customize it however you like. I printed it on opal cardstock.
 |  |  |
|---|
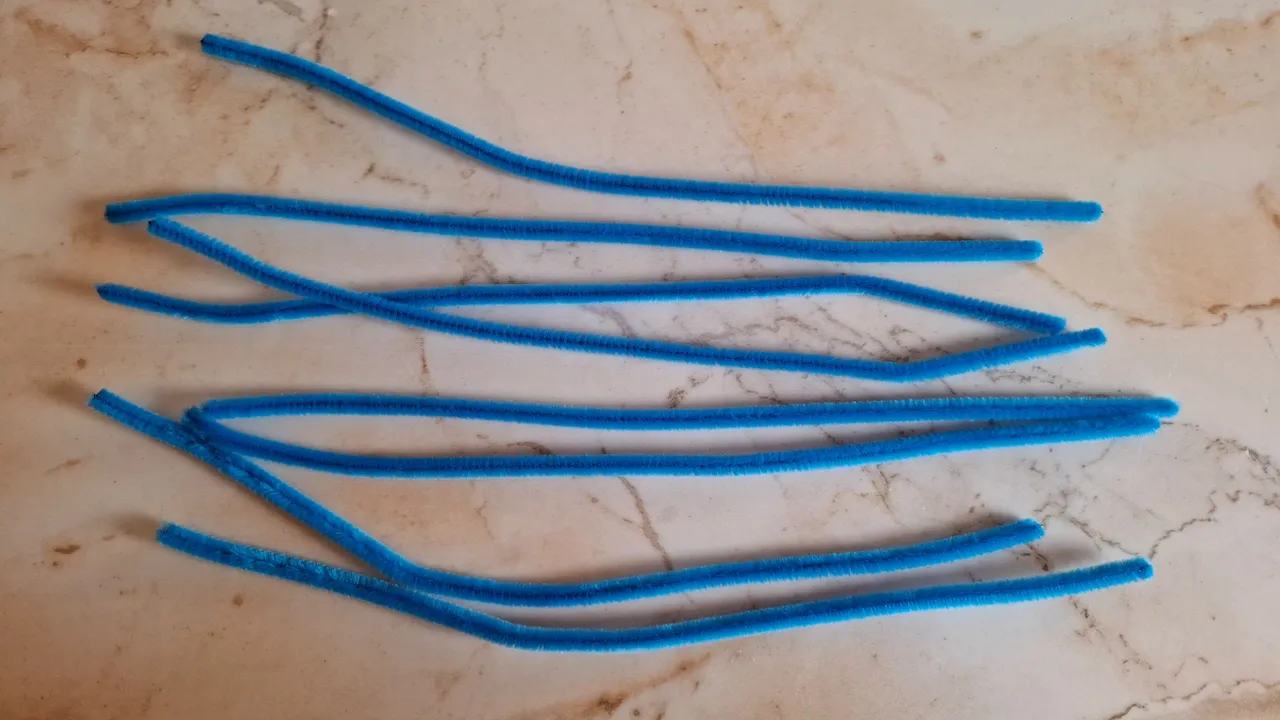
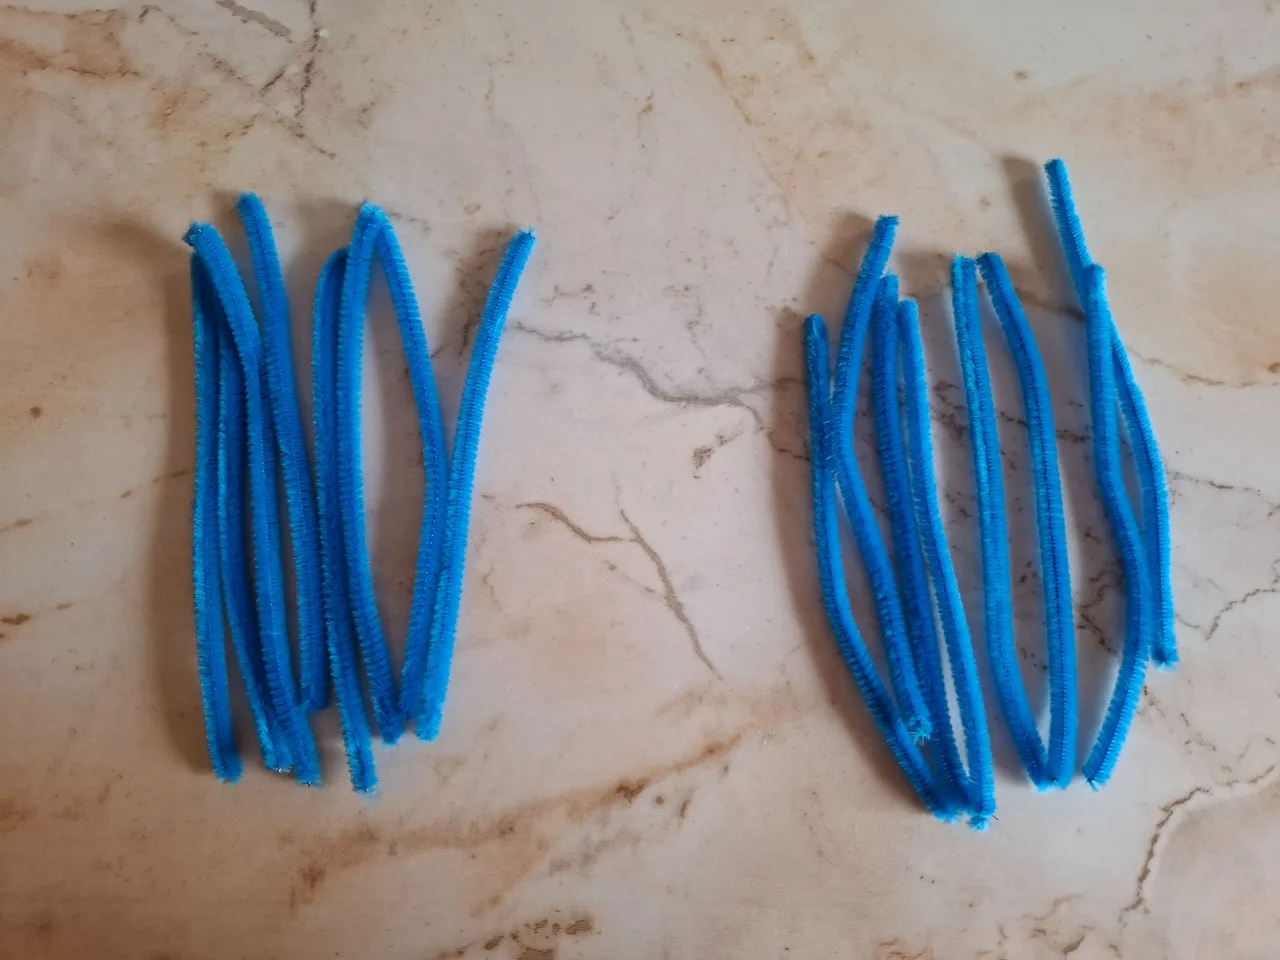
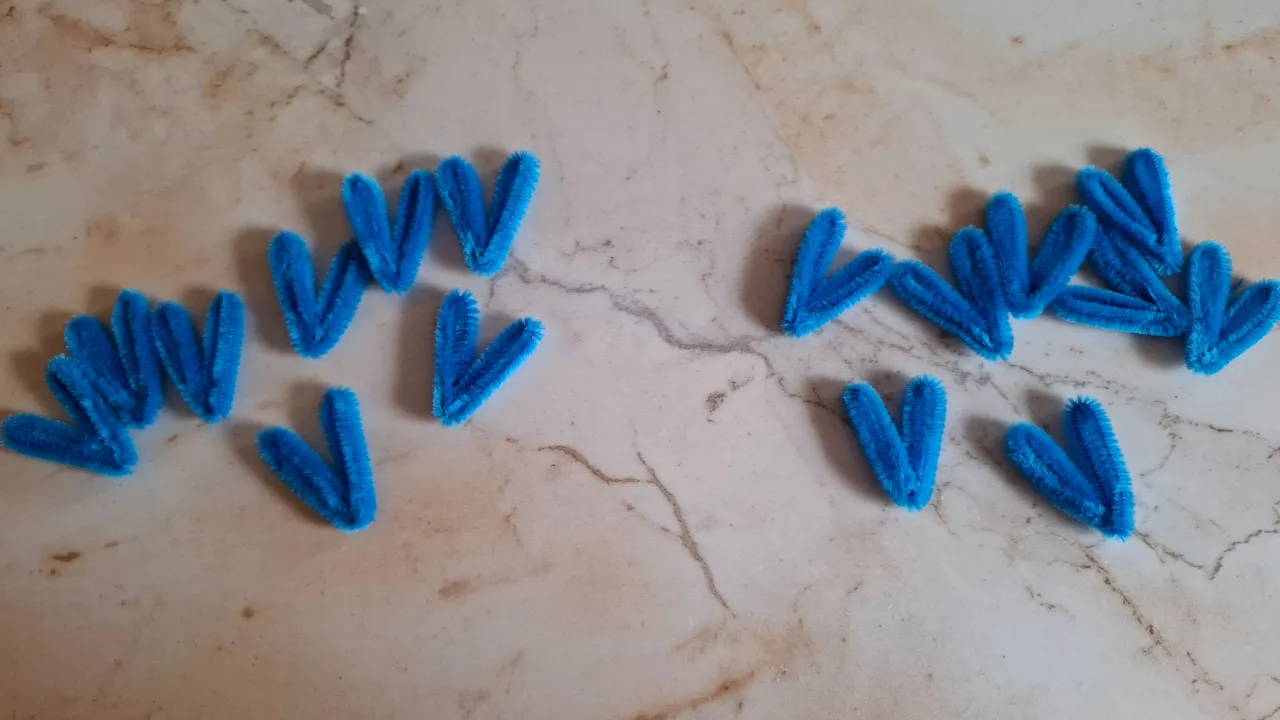
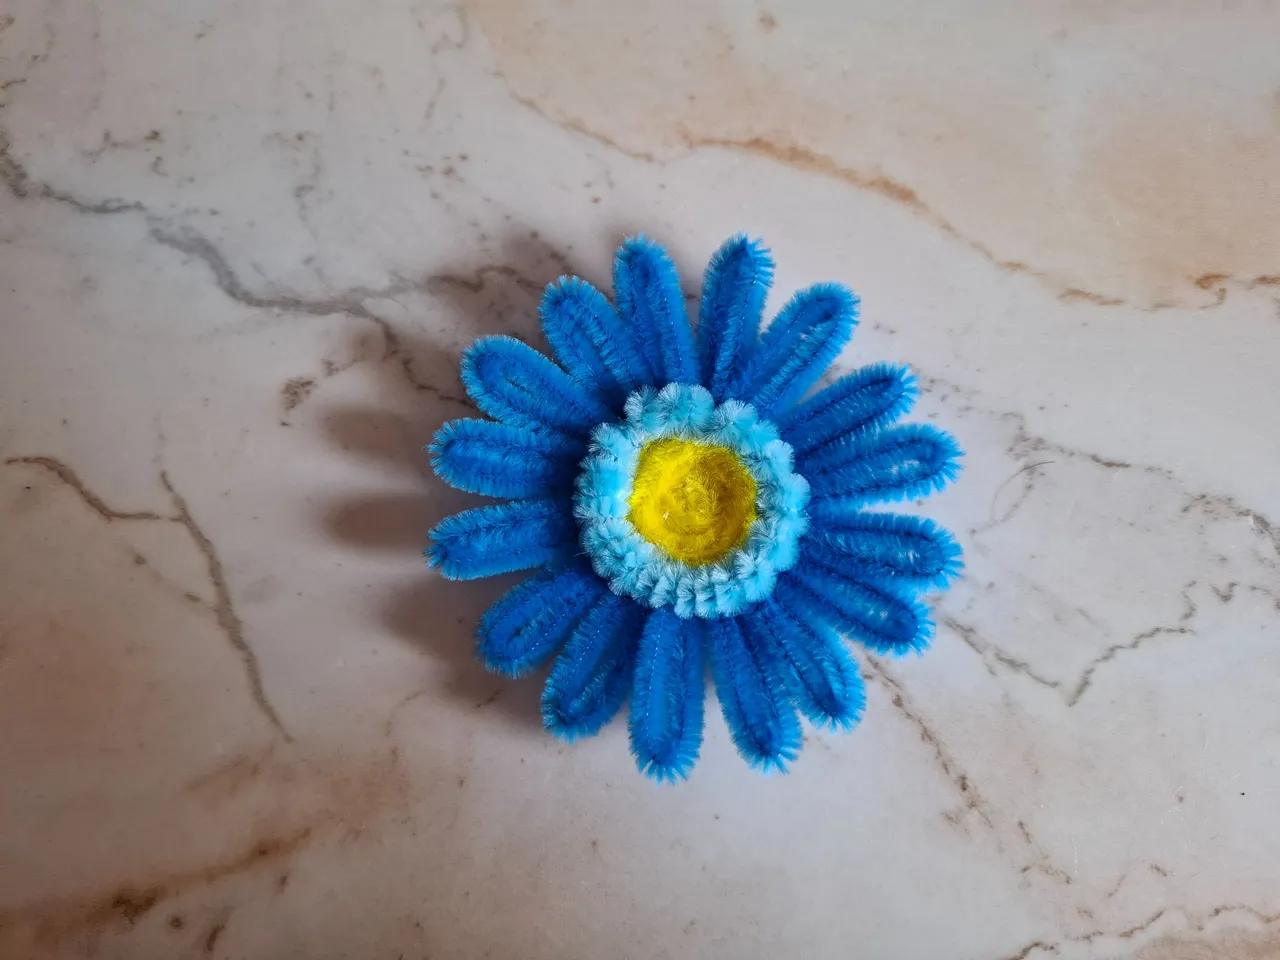
Ahora voy a comenzar a realizar la flor, primero cortamos en la mitad ocho limpiapipas color azul oscuro, en total obtendremos dieciséis mitades, ahora cada retazo lo doblo un poco en la mitad y las puntas las llevamos hacia al centro, esto lo vamos a realizar con todos los pétalos.
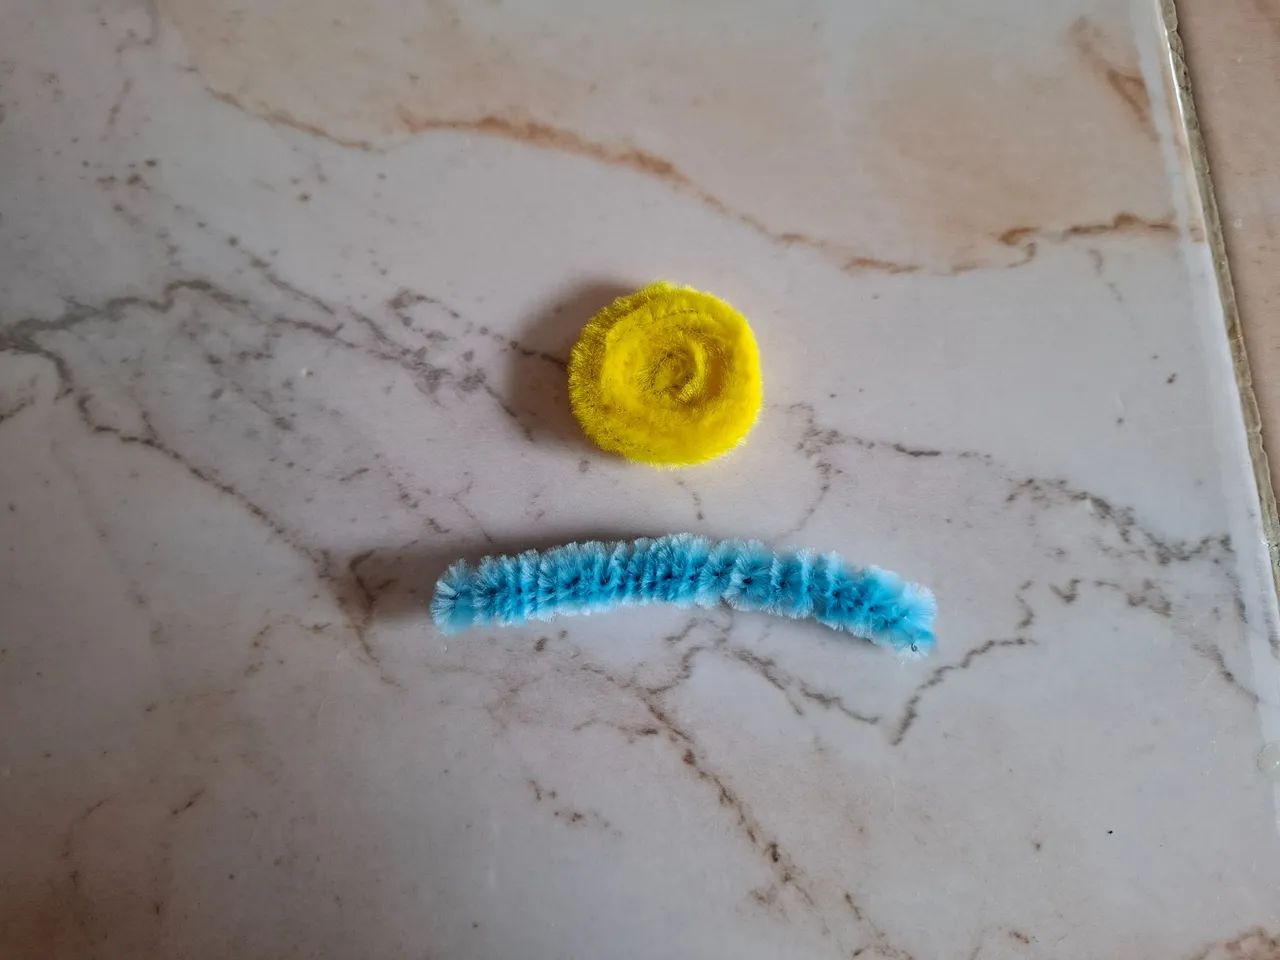
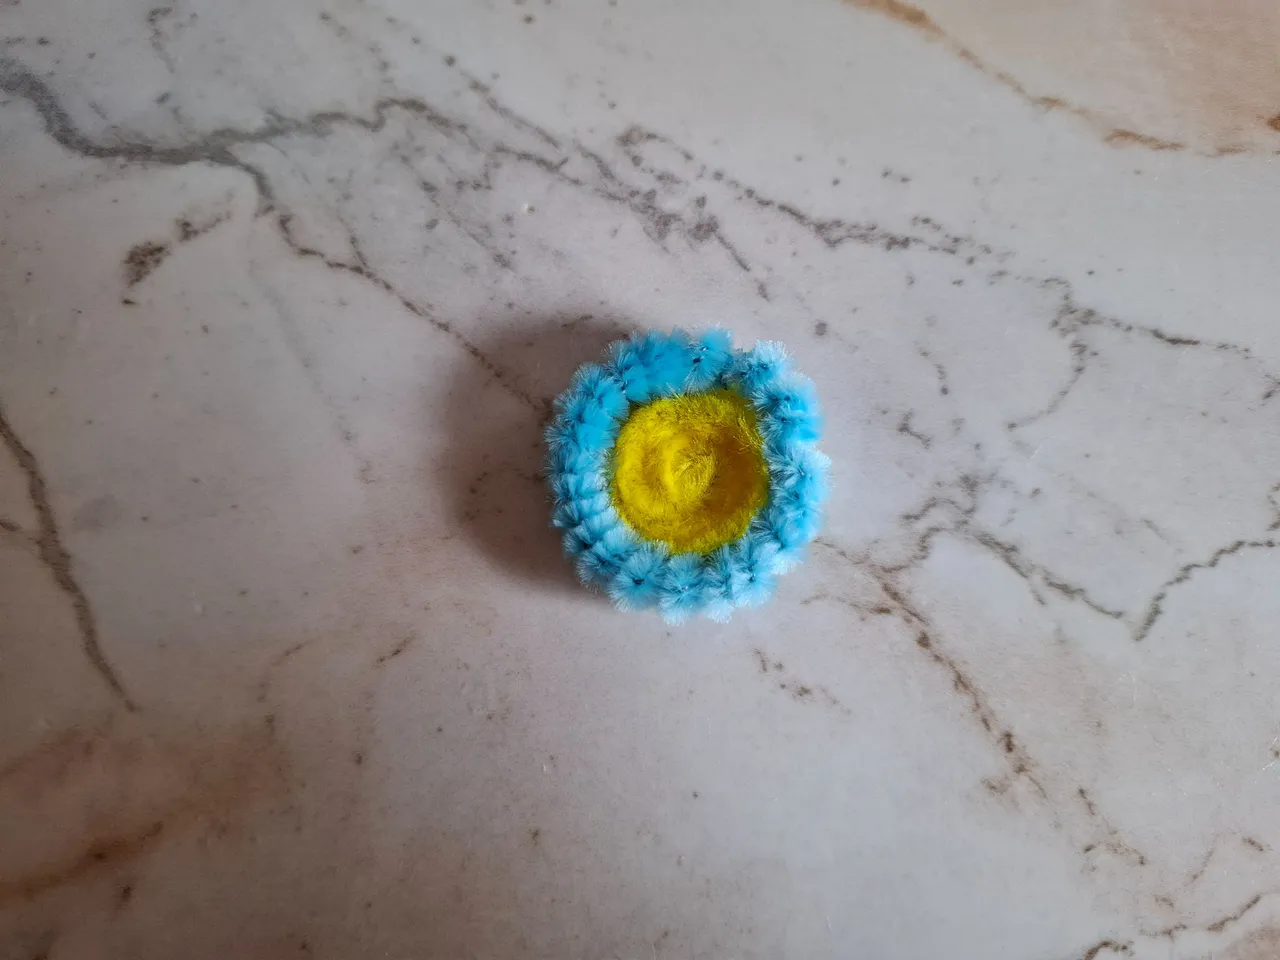
Luego realizamos el centro con limpiapipas amarillo y enrollamos un limpiapipas color azul en un palillo lo colocamos al rededor del circulo amarillo e inmediatamente comenzamos a pegar los pétalos, vamos a colocar ocho partes y luego colocamos el resto en la parte trasera.
Now I'm going to start making the flower. First, we cut eight dark blue pipe cleaners in half. In total, we'll get sixteen halves. Now, I'll fold each piece slightly in half and bring the tips toward the center. We'll do this with all the petals.
Then we make the center with yellow pipe cleaners. We wrap a blue pipe cleaner around a toothpick. We place it around the yellow circle and immediately begin gluing the petals. We'll place eight pieces together, then place the rest on the back.
 |  |  |
|---|
 |  |
|---|
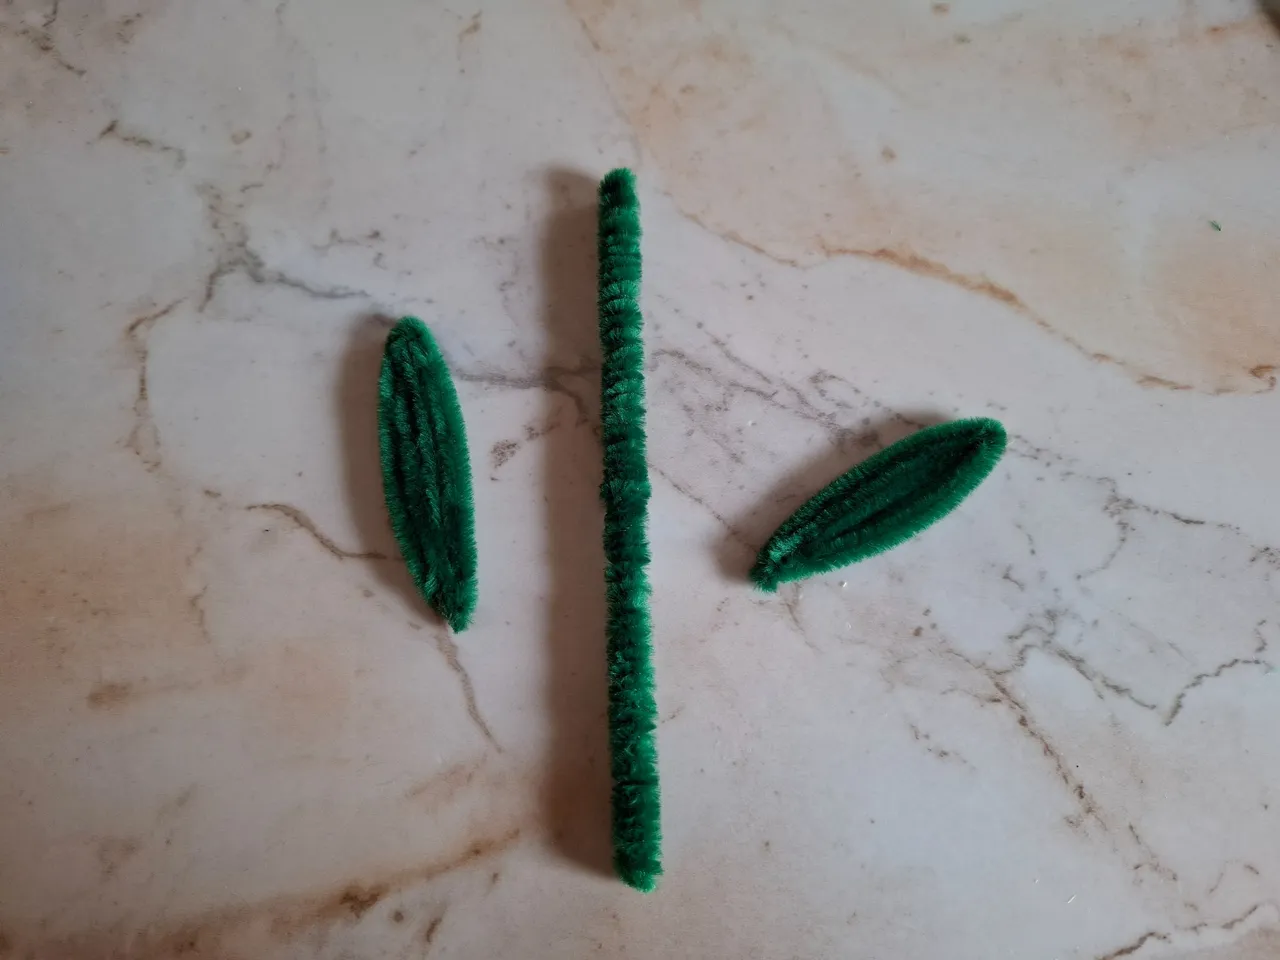
Damos forma a las puntas hacia afuera con ayuda de la yema de los dedos, el siguiente paso será realizar el tallo de la flor y dos hojas, para esto comencé cortando un palillo en la mitad y vamos a enrollar dos limpiapipas en el, para las hojas doblamos un limpiapipas en la mitad y tomamos una medida aproximadamente de cuatro centímetros, giramos un poco y unimos, luego cortamos y damos forma puntiaguda a la punta de la hoja.
We shape the tips outwards with the help of our fingertips, the next step will be to make the stem of the flower and two leaves, for this I started by cutting a toothpick in half and we are going to roll two pipe cleaners around it, for the leaves we fold a pipe cleaner in half and take a measurement of approximately four centimeters, twist it a little and join it, then we cut and give a pointed shape to the tip of the leaf.
 |  |  |
|---|
 |  |
|---|
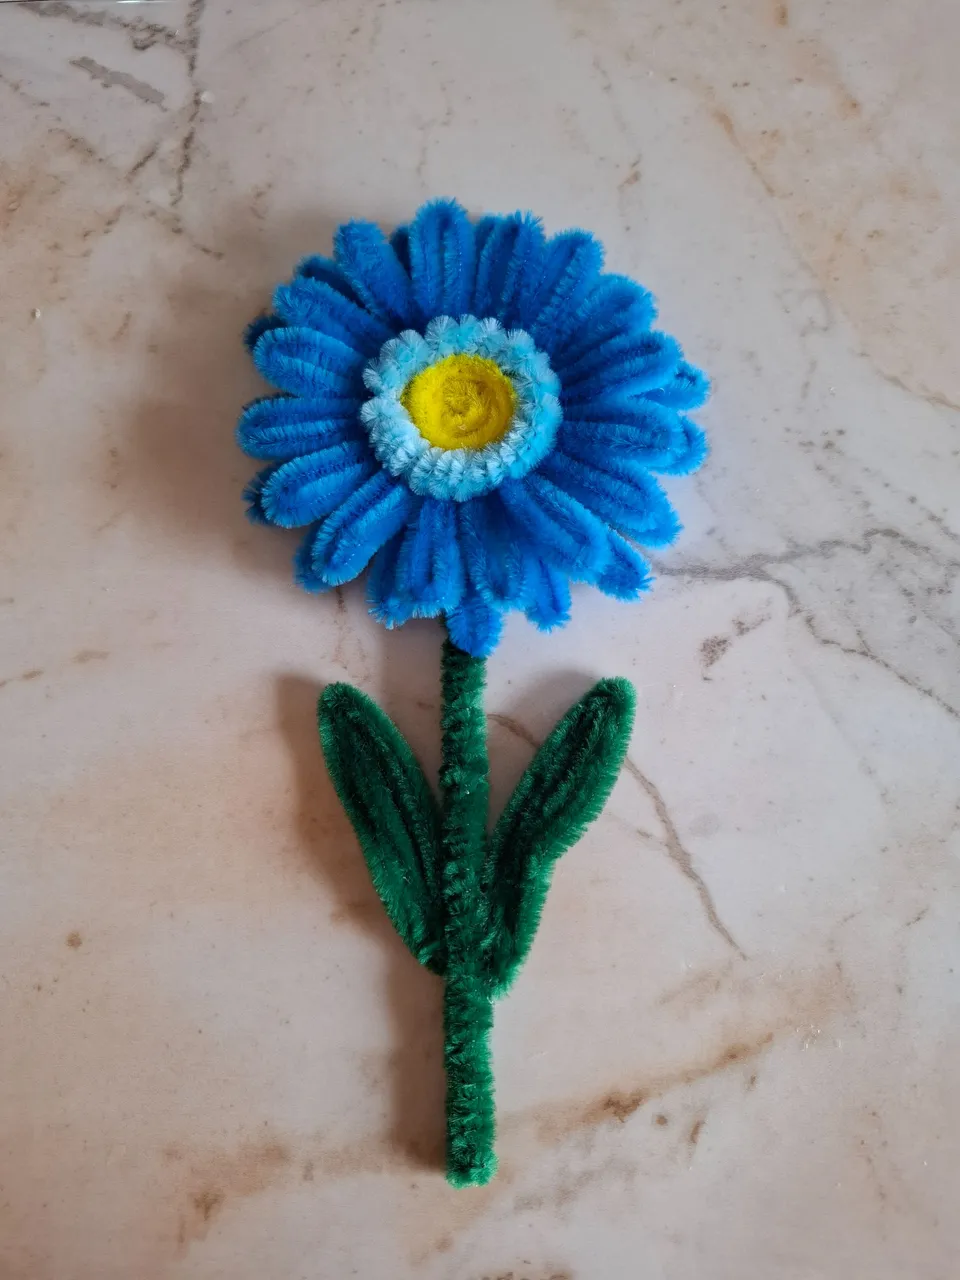
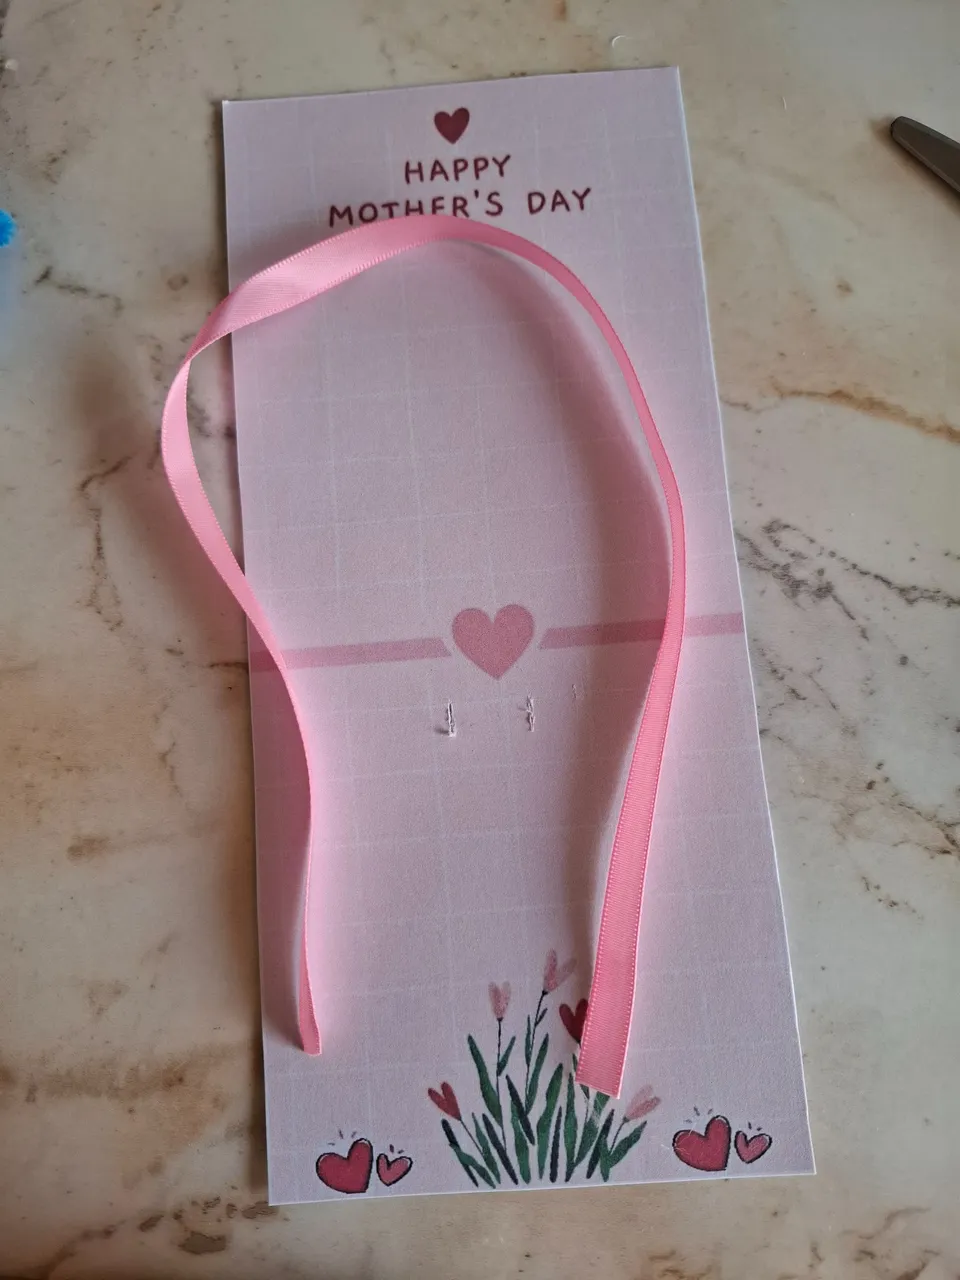
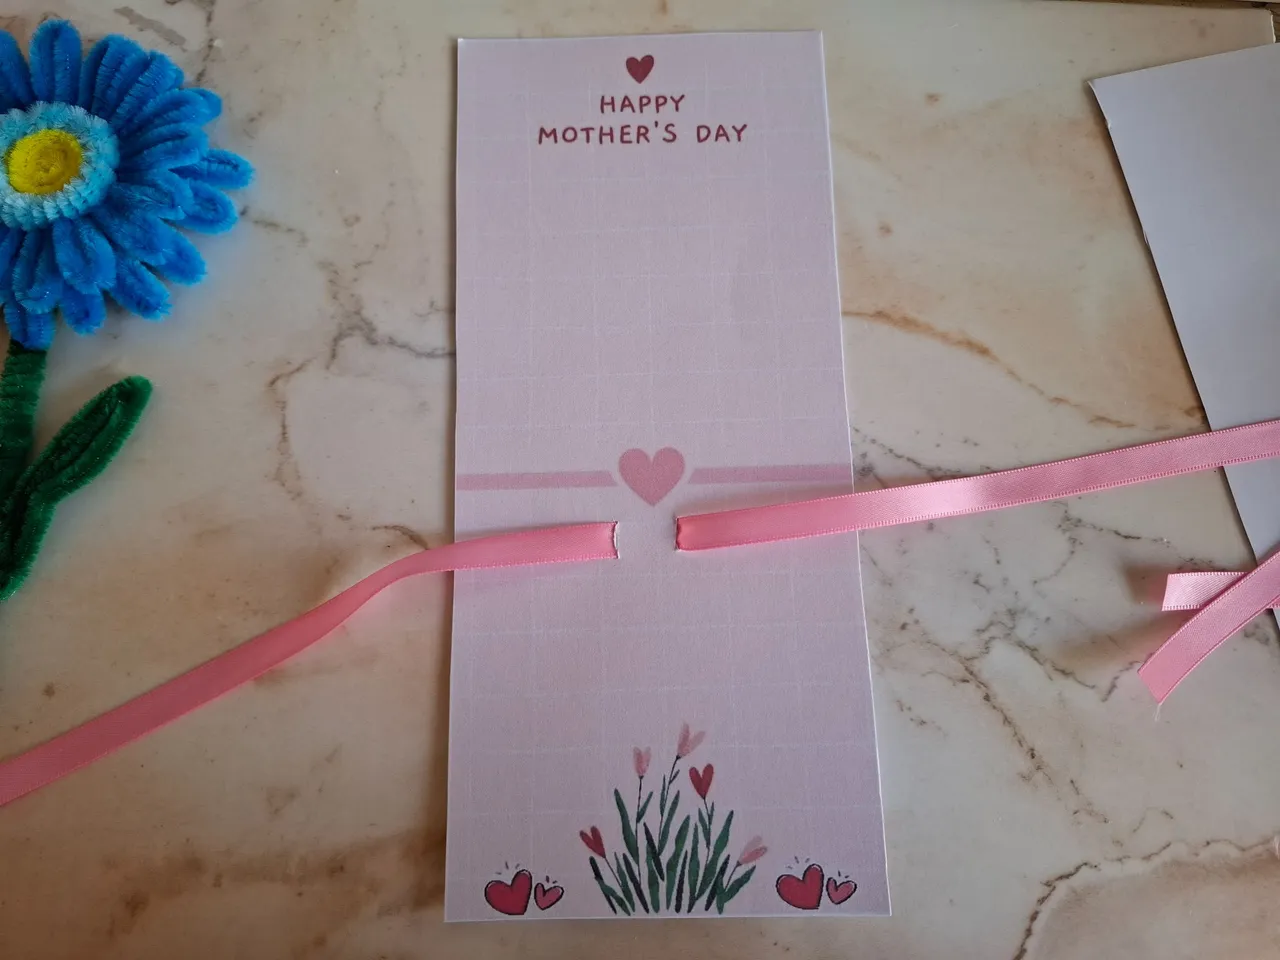
Ahora pegamos la flor al tallo y las hojas, utiliza silicón caliente para mayor agarre, ya teniendo lista la flor, voy a cortar la tarjeta que imprimí, con un exacto voy a realizar dos pequeños cortes más abajo del centro, introducimos la cinta color rosa, colocamos la flor y realizamos un pequeño lazo.
Now we glue the flower to the stem and leaves, using hot silicone for better grip. Once the flower is ready, I'm going to cut the card I printed. Using an Exacto, I'm going to make two small cuts below the center. We insert the pink ribbon, place the flower, and make a small bow.
 |  |  |
|---|
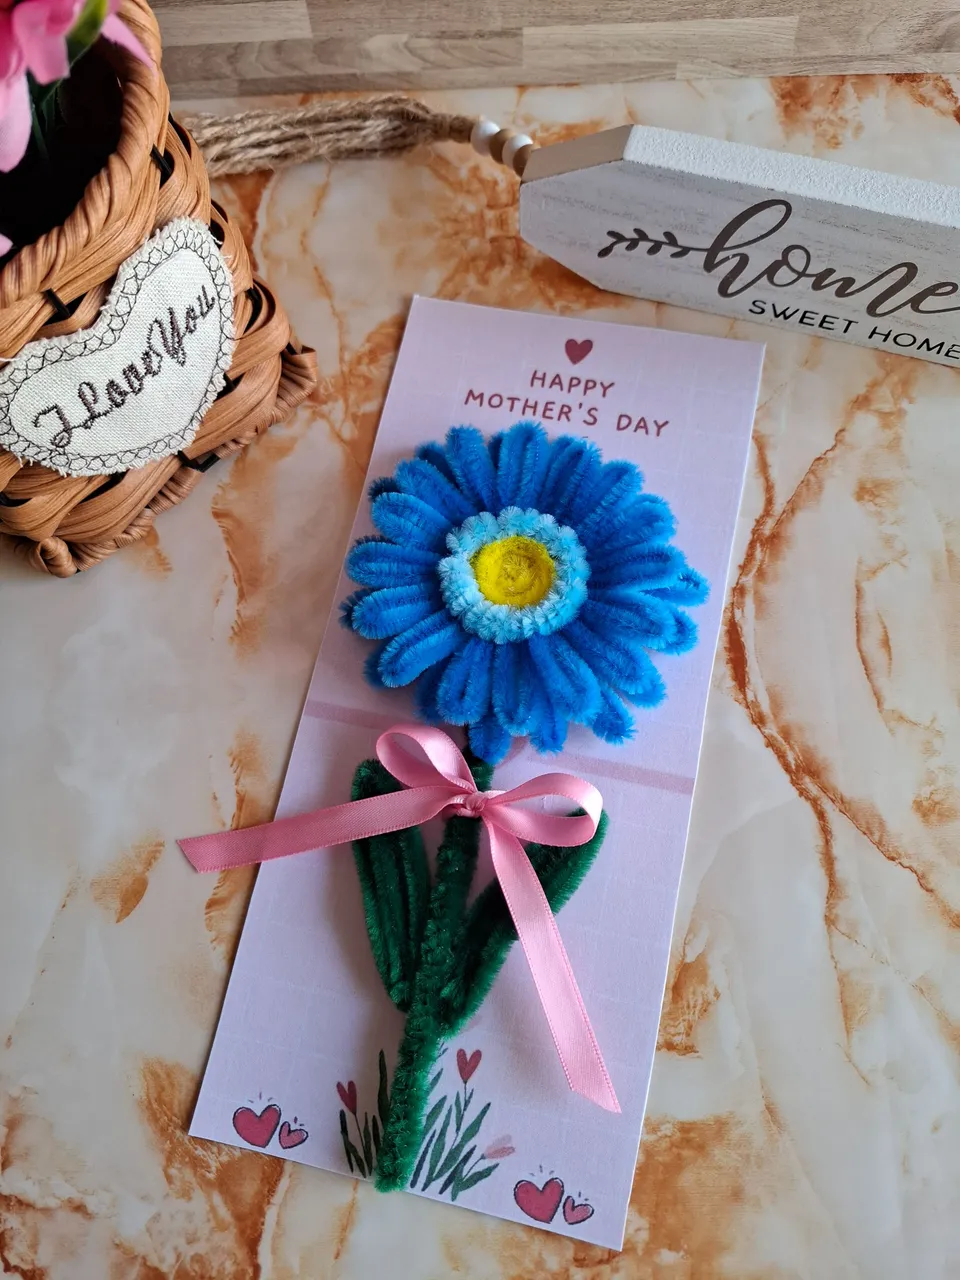
De esta forma terminé este linda flor para obsequiar, la ventaja es que no se gastan mucho limpiapipas y que puedes personalizar la tarjeta, espero les haya gustado, nos vemos en una próxima oportunidad con más ideas creativas, me gustaría invitar a la bella @celely, anímate a plasmar tu creatividad.
This is how I finished this beautiful flower to give as a gift. The advantage is that you don't use a lot of pipe cleaners and you can personalize the card. I hope you liked it. See you next time with more creative ideas. I'd like to invite the beautiful @celely. Go ahead and express your creativity.

Contenido original. - original content.
Los separadores y banner fueron realizados en Canva. - The dividers and banner were made in Canva.
Fotografías tomadas con mi Samsung A55. - Photographs taken with my Samsung A55.
Gif creado desde Giphy / Gif created from Giphy
Traducción de: Google traductor - Translation of: Google translator.