¡Hola mi querida y bonita comunidad! Hoy quiero mostrarles un nuevo trabajo en porcelana fría y me emociona mucho porque se trata de un personaje que me encanta y porque hacía demasiado tiempo que no hacía este tipo de figuras, hice una hermosa Bulma en tamaño llavero. Bulma es un personaje de la famosa serie animada Dragon ball, este anime acompañó mi infancia y sigue siendo parte de mi vida adulta, Bulma es mi personaje favorito porque es muy inteligente, emprendedora, valiente, hermosa, con estilo y es la esposa de un príncipe ¿no deberíamos ser así todas las mujeres? (risas). Sigue leyendo y no te pierdas ninguno de los pasos para realizar esta encantadora creación.
Hello my dear and beautiful community! Today I want to show you a new work in cold porcelain and I am very excited because it is about a character that I love and because it had been too long since I did this kind of figures, I made a beautiful Bulma in keychain size. Bulma is a character from the famous anime series Dragon ball, this anime accompanied my childhood and is still part of my adult life, Bulma is my favorite character because she is very intelligent, enterprising, brave, beautiful, stylish and she is the wife of a prince, shouldn't all women be like that (laughs). Read on and don't miss any of the steps to make this lovely creation.
Imagen creada por mí en Canva / Image created by me in Canva
Materiales:
- Porcelana fría
- Pinturas al frío
- Pegamento escolar
- Alfiler de ojo
- Herramientas para la porcelana fría
- Top coat
- Lámpara UV LED
Procedimiento:
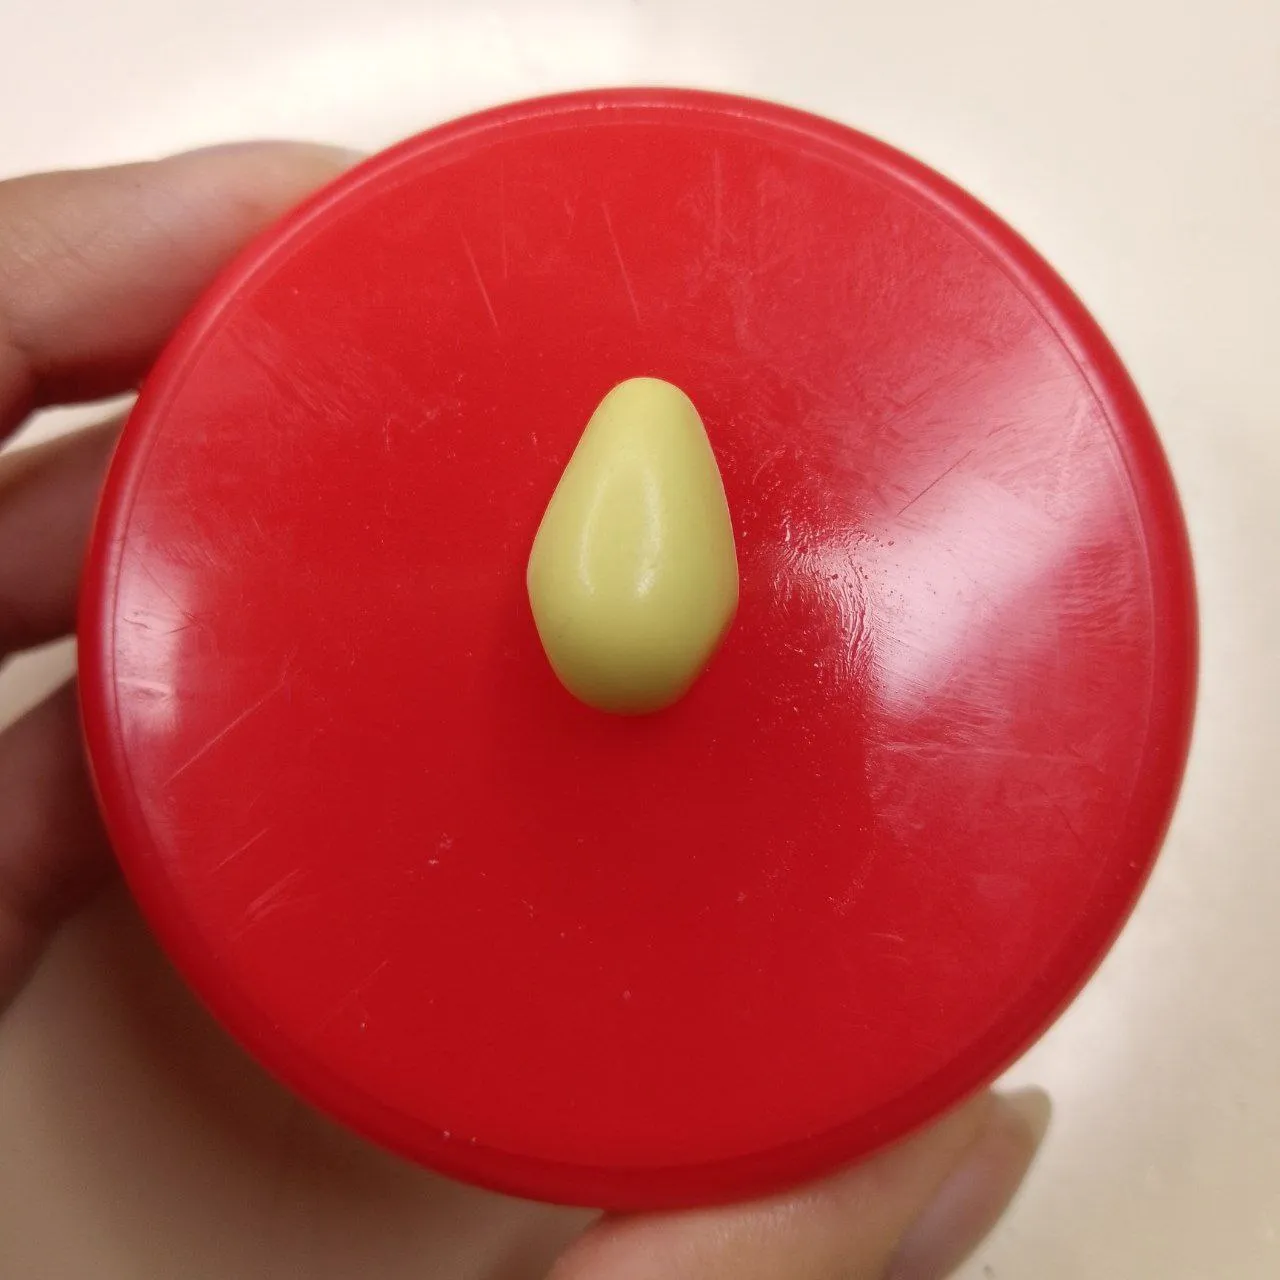
Iniciamos coloreando nuestra porcelana fría de los colores que necesitaremos, esto puede hacerse con distintos tipos de pinturas o pigmentos, pero yo usé pintura al frío. Luego tomaremos una porción de masa amarilla y le daremos forma de gota. En la parte inferior de la gota, aplanaremos un poco los lados.
Materials:
- Cold porcelain
- Cold paints
- School glue
- Eye pin
- Cold porcelain tools
- Top coat
- UV LED lamp
Procedure:
We start by coloring our cold porcelain in the colors we will need, this can be done with different types of paints or pigments, but I used cold paint. Then we will take a portion of yellow dough and shape it into a drop. At the bottom of the drop, we will flatten the sides a little.
Formando el cuerpo / Forming the body
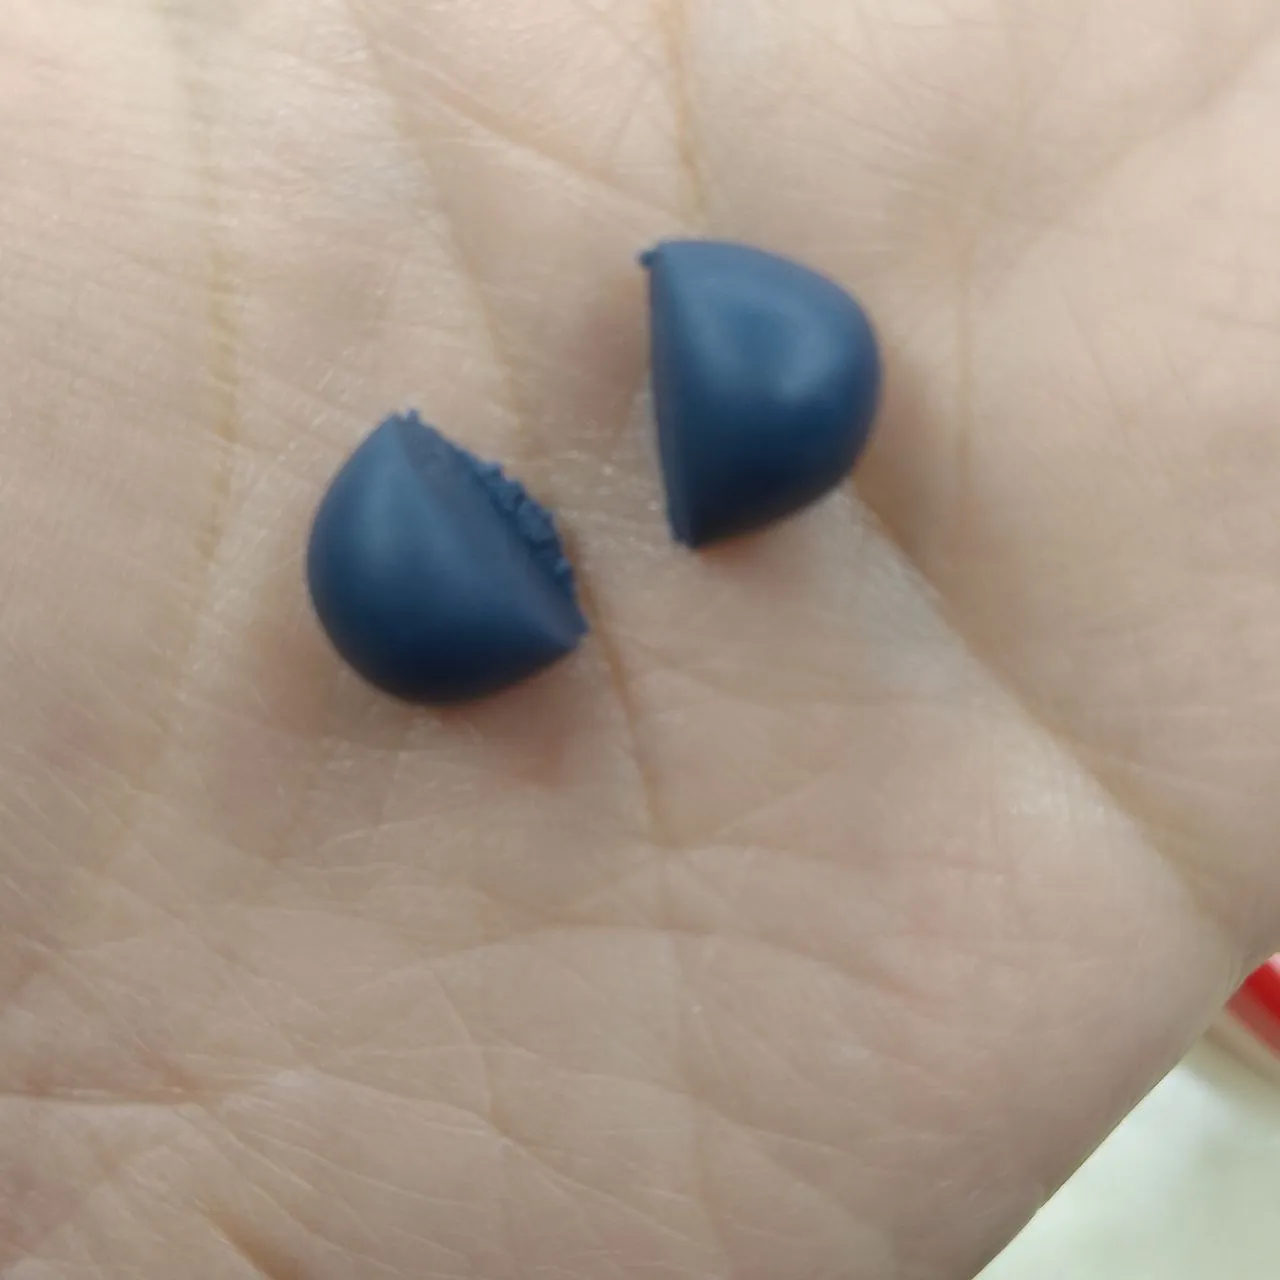
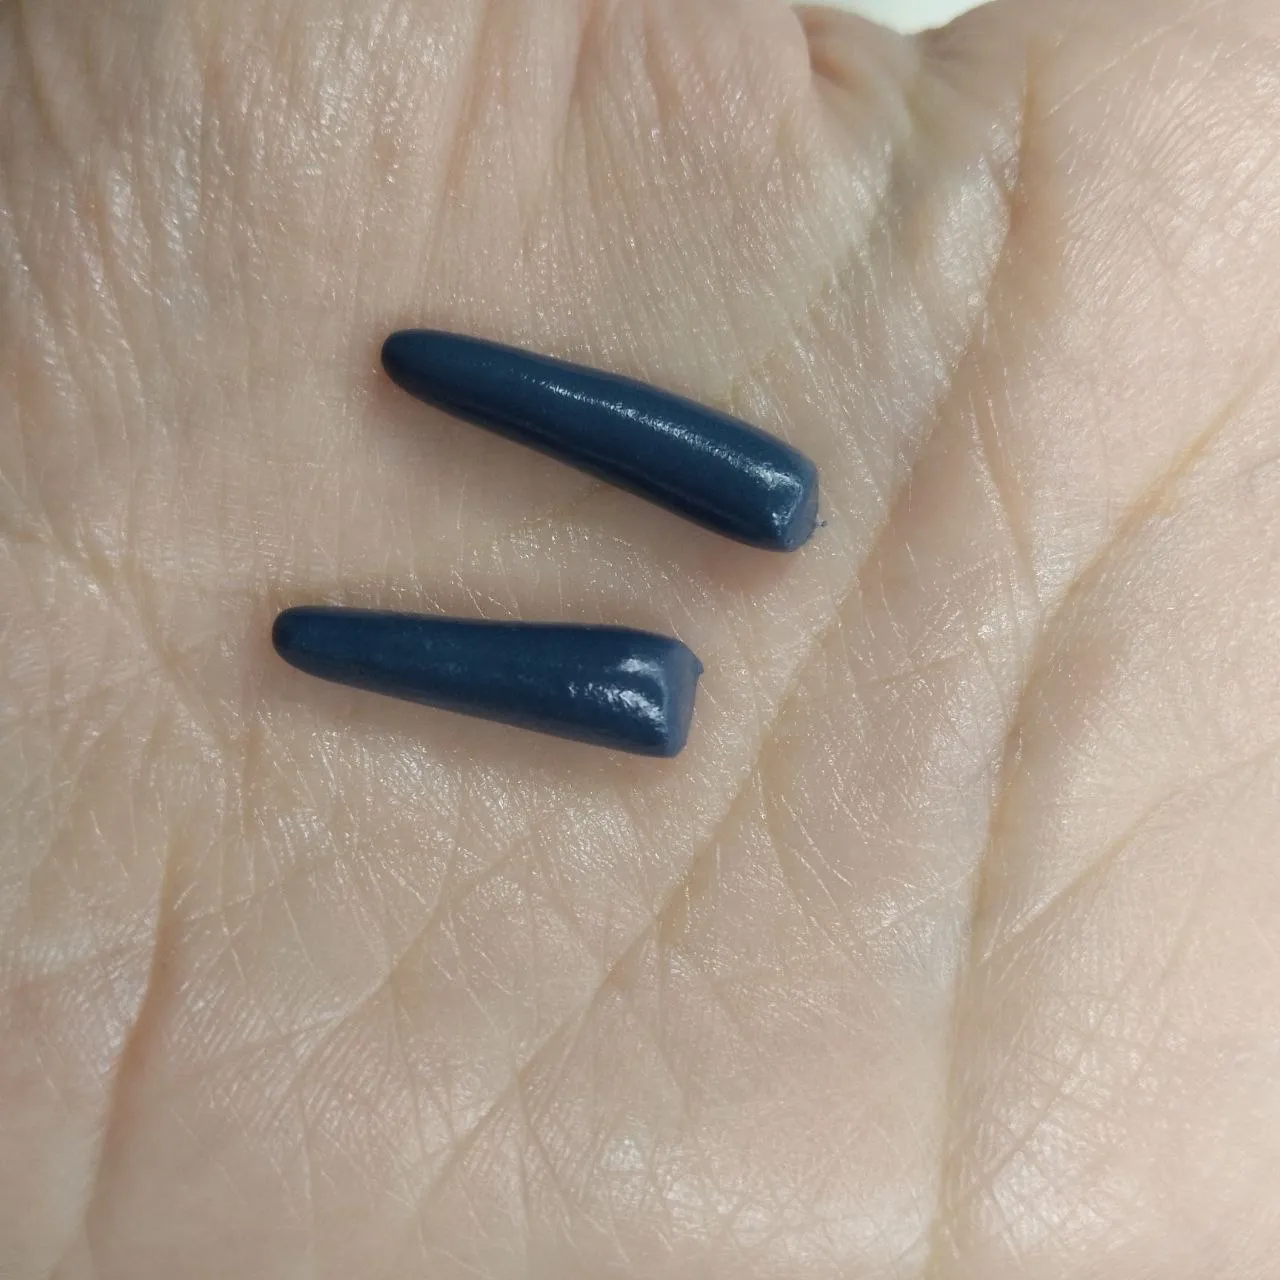
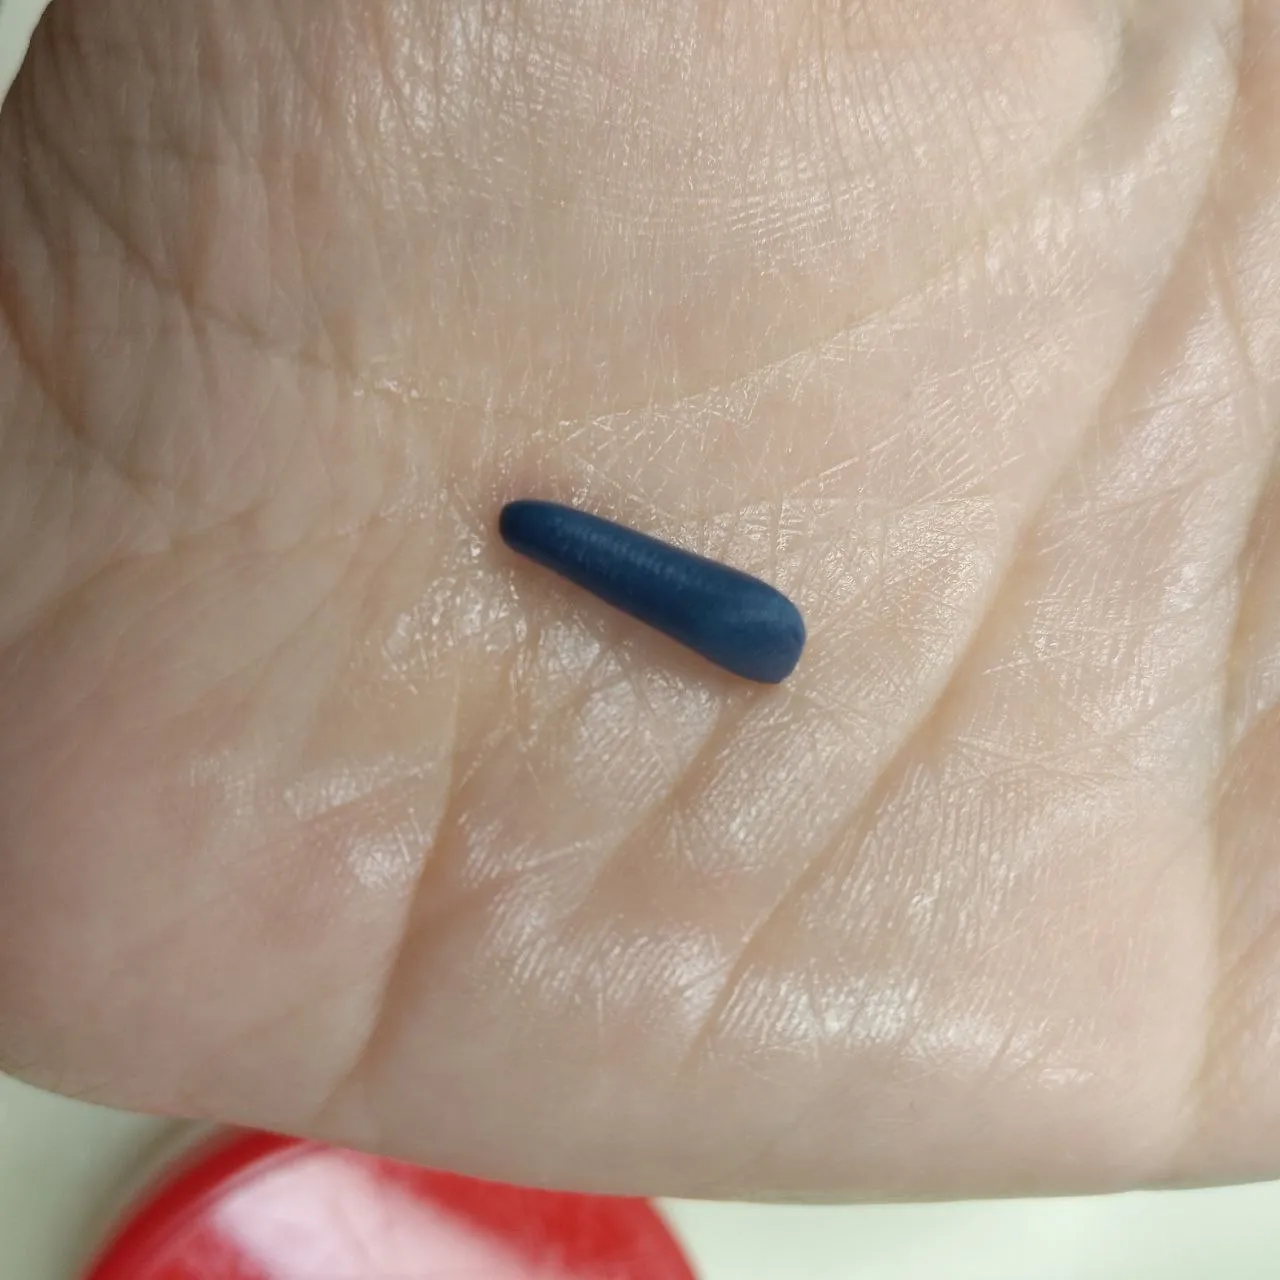
Ahora tomaremos dos pequeñas porciones de azul oscuro para hacer las piernas. Empezaremos a estirarlas como queriendo formar un cilindro pero en realidad haremos más presión hacia uno de sus extremos para que quede como una especie de gota alargada.
Now we will take two small portions of dark blue to make the legs. We will start stretching them as if we wanted to form a cylinder but in reality we will make more pressure towards one of its ends so that it looks like a kind of elongated drop.
 |  |
|---|
Piernas / Legs
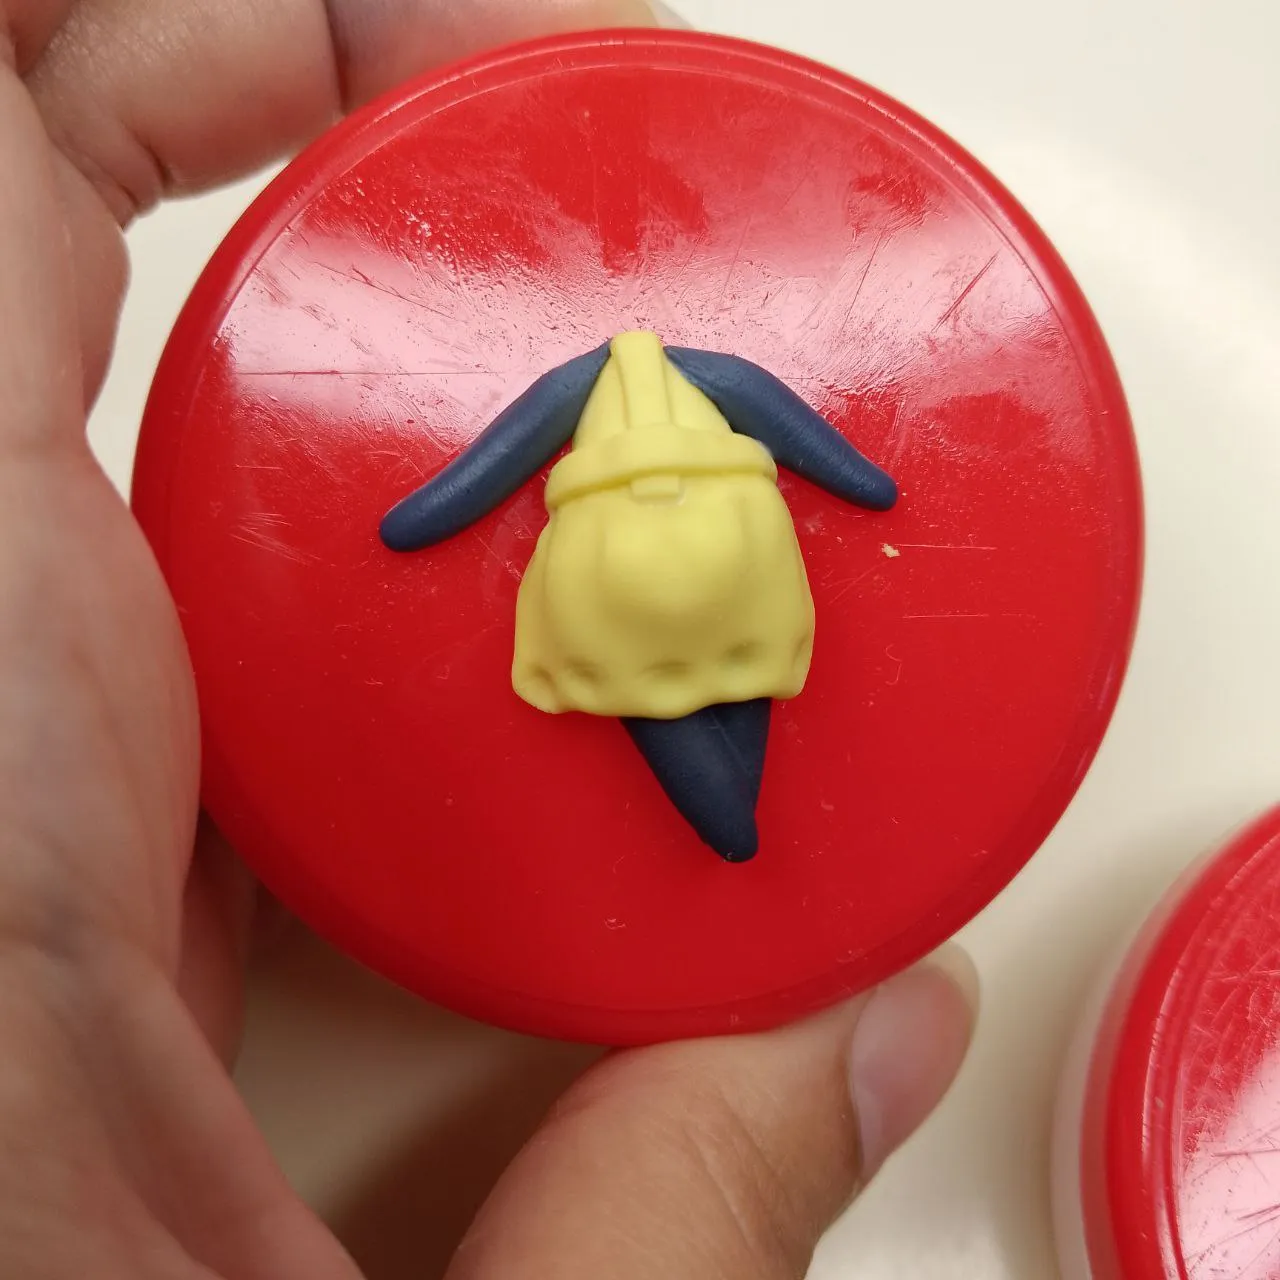
Añadiendo algo de pegamento en el cuerpecito de nuestra muñequita colocaremos las piernas, aplanando para que se adhieran bien, también podemos humedecer un poco la pierna en la parte de la unión para poder darle forma más fácilmente y quede más prolijo.
Adding some glue to the body of our little doll we will place the legs, flattening them so that they adhere well, we can also moisten the leg a little in the part of the union to be able to shape it more easily and it will be neater.
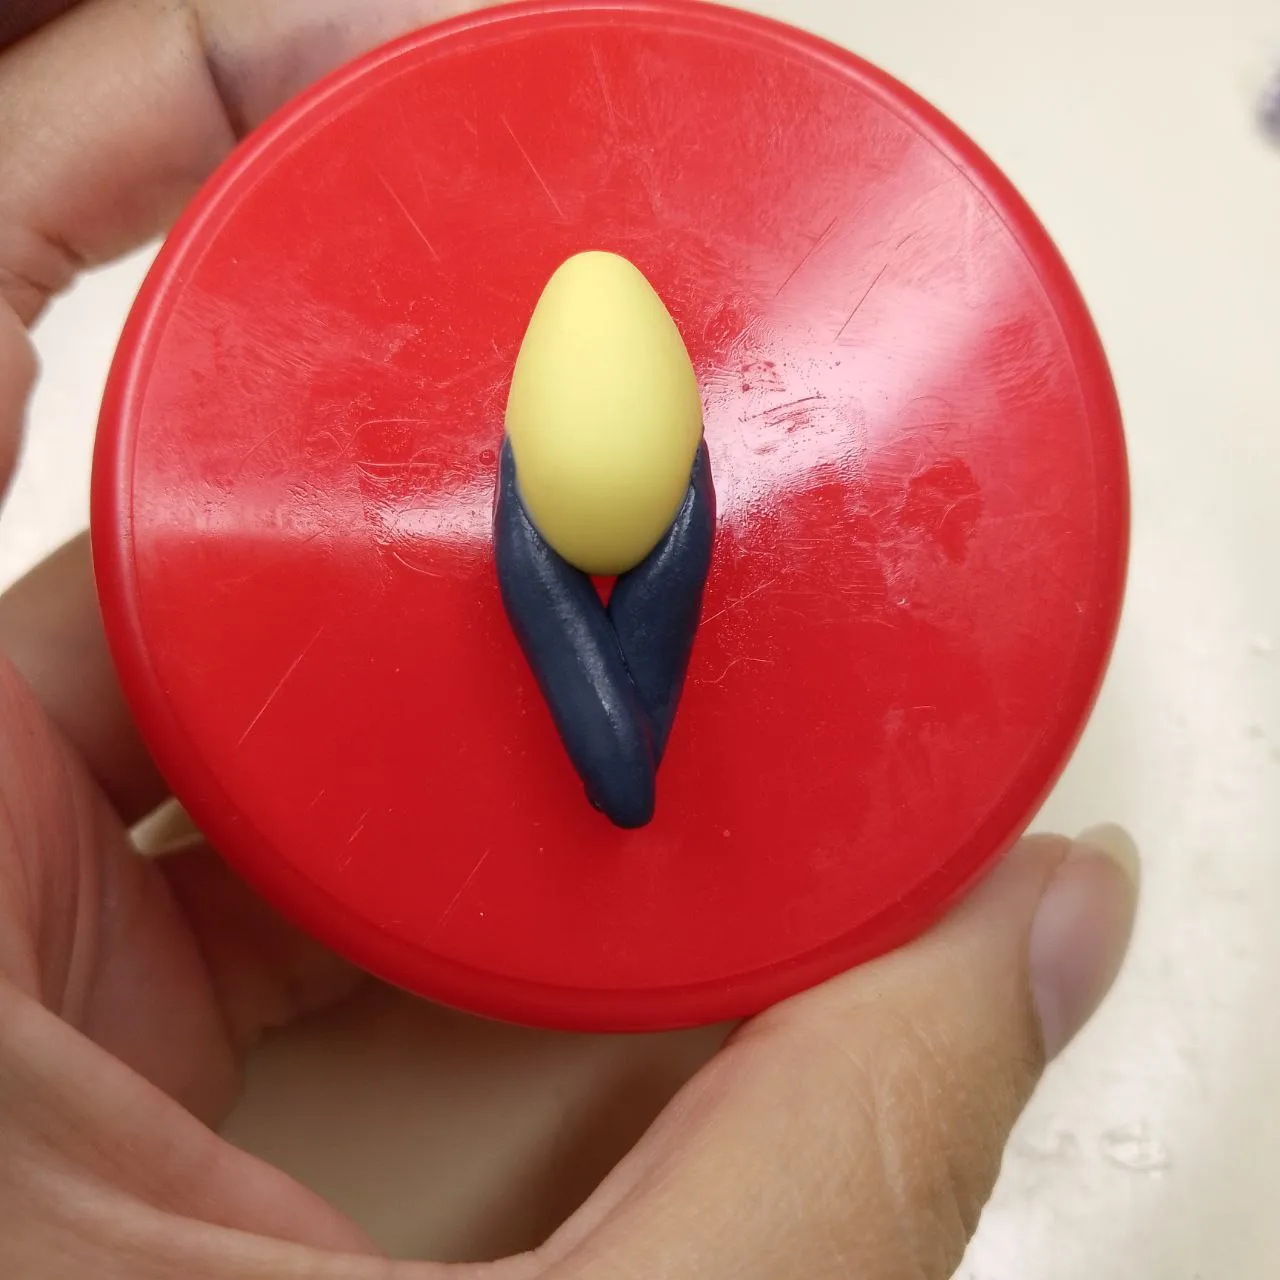
Pegando las piernas / Gluing legs
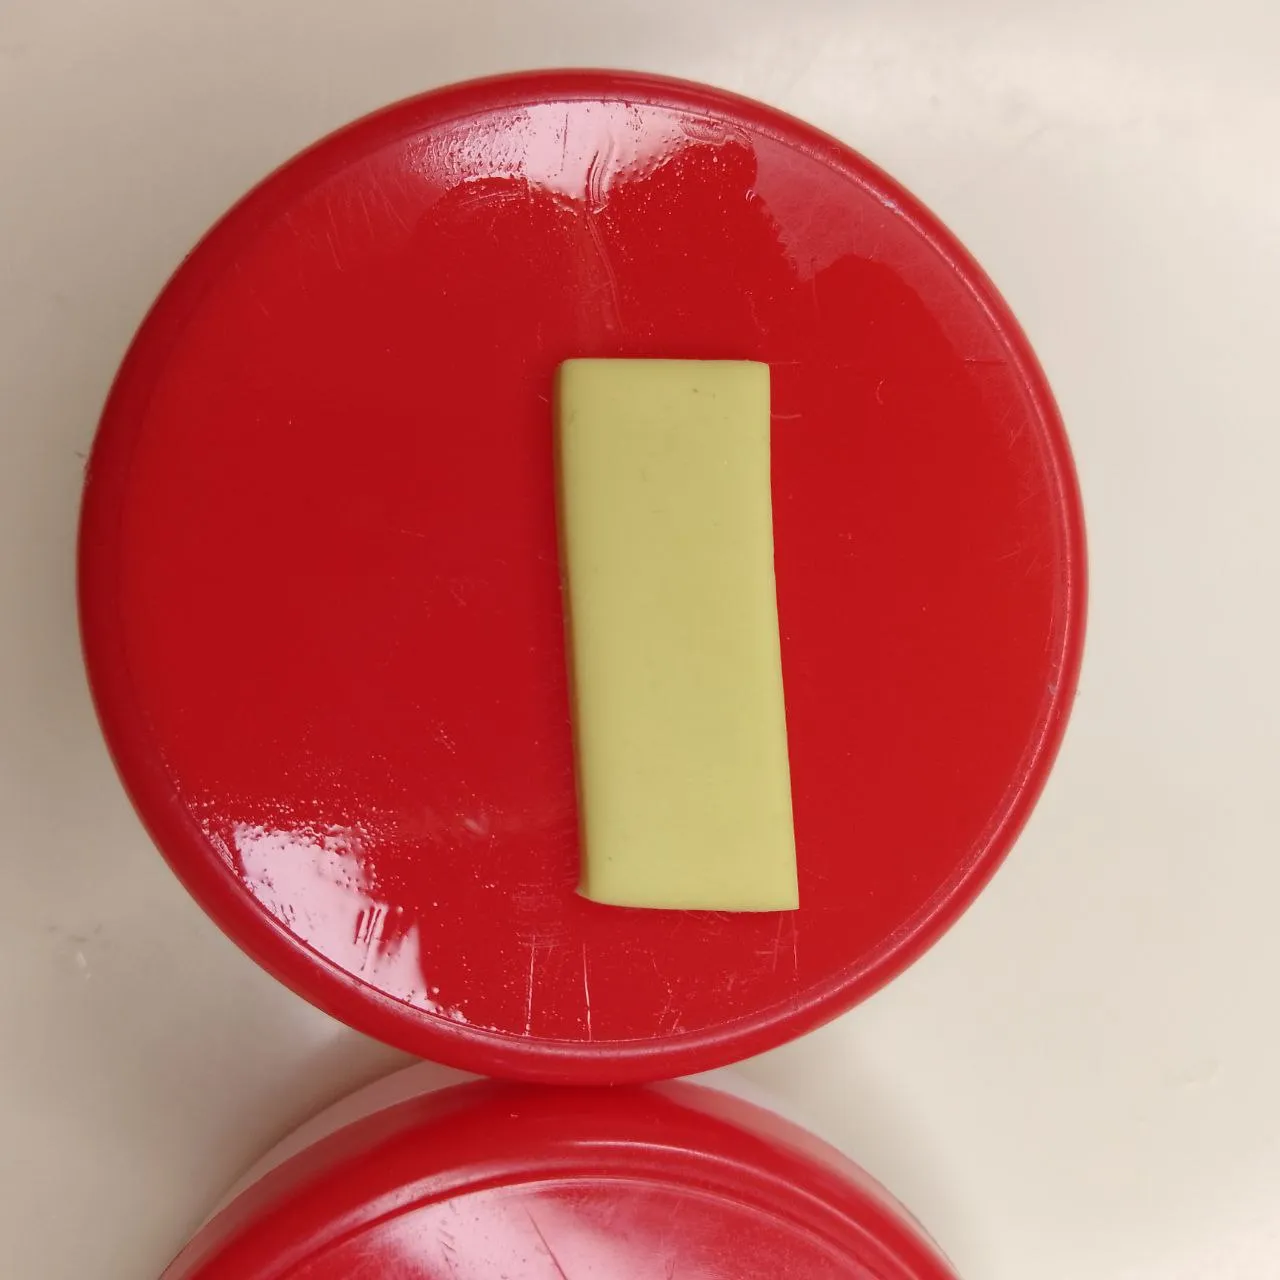
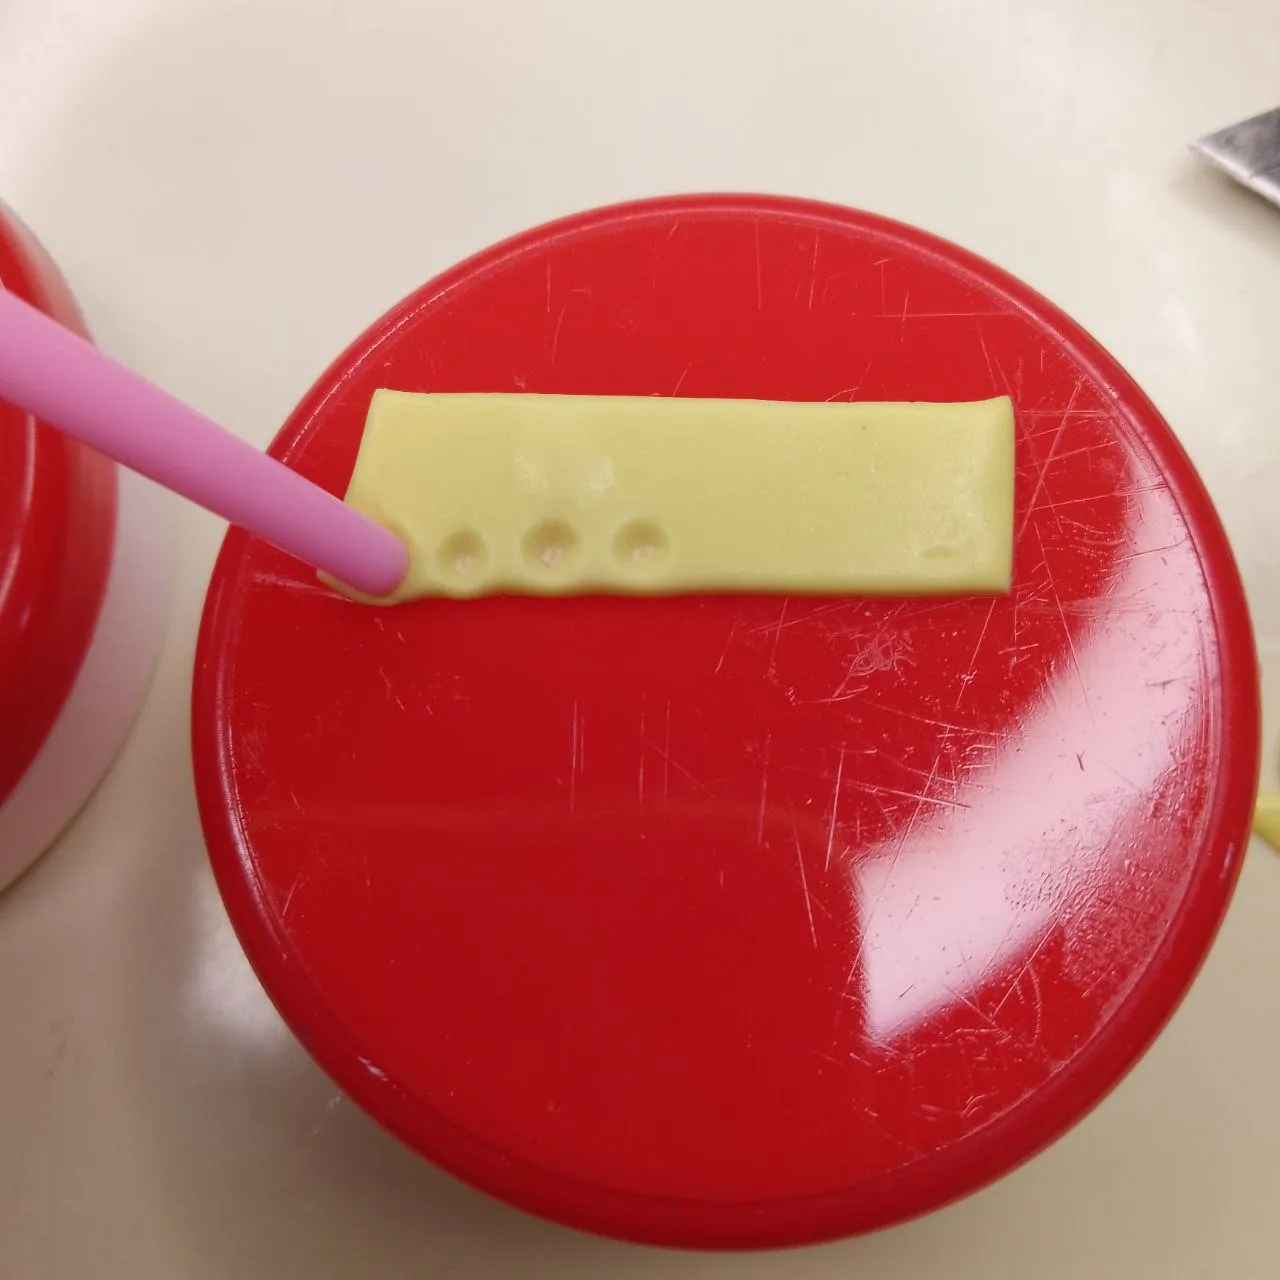
Para hacer la falda del vestido, cortaremos un rectángulo de masa flexible amarilla que previamente habremos aplanado, luego, con alguna herramienta como la punta de un pincel fino, presionaremos en uno de los extremos repetidas veces de manera equidistante para darle un cierto aspecto a encaje o bordado y se vea más bonito.
To make the skirt of the dress, we will cut a rectangle of yellow flexible dough that we will have previously flattened, then, with some tool like the tip of a fine brush, we will press on one of the ends repeatedly in an equidistant way to give it a certain aspect of lace or embroidery and make it look prettier.
 |  |
|---|
Vestido / Dress
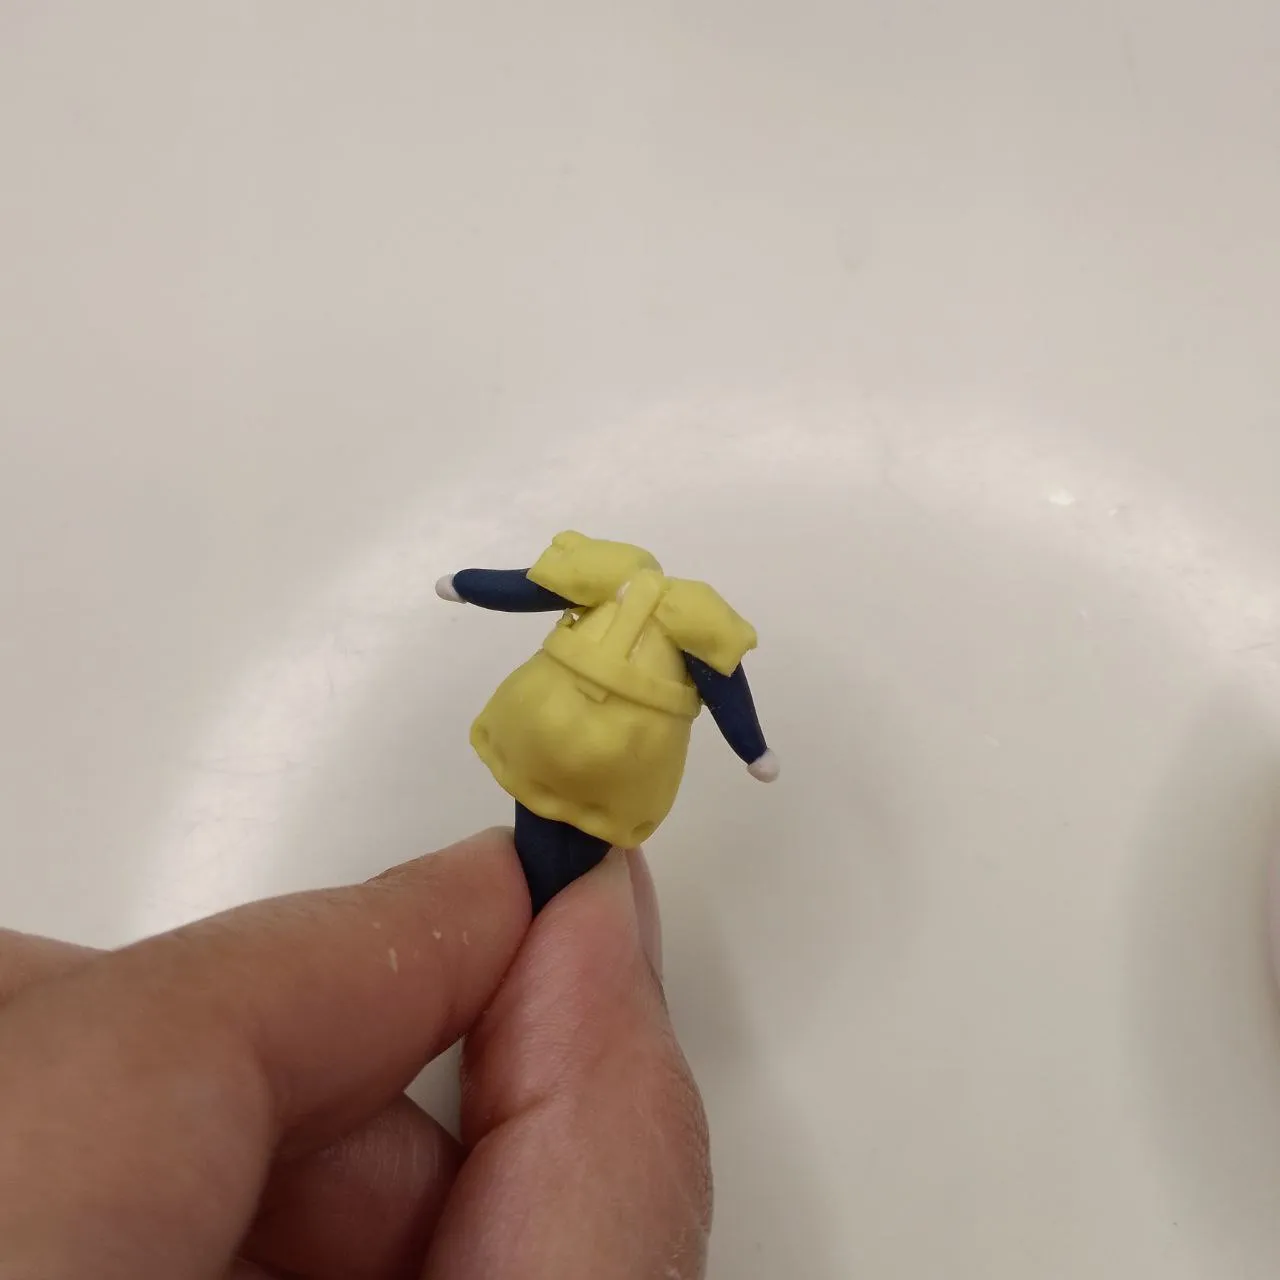
Entonces nuevamente añadiendo un poco de pegamento en el área correspondiente, adheriremos la falda. Posteriormente, agregaremos un rectángulo fino en el centro del dorso y uno más que hará de cinturón.
Then again adding a little glue in the corresponding area, we will adhere the skirt. Afterwards, we will add a thin rectangle in the center of the back and one more that will act as a belt.
Detalles de la ropa / Clothing details
Es momento de agregar los brazos y para ello repetiremos el mismo proceso que para las piernas solo que con porciones más pequeñas aún.
Now it is time to add the arms and for this we will repeat the same process as for the legs only with even smaller portions.
 |  |
|---|
Brazos / Arms
Para las manos, tomaremos un poquito de porcelana fría en color piel (pero en verdad es una cantidad mínima) y formando un par de esferitas las colocaremos en su brazo correspondiente cada una.
For the hands, we will take a little bit of cold porcelain in skin color (but in truth it is a minimal amount) and forming a couple of little spheres we will place them on their corresponding arm each one.
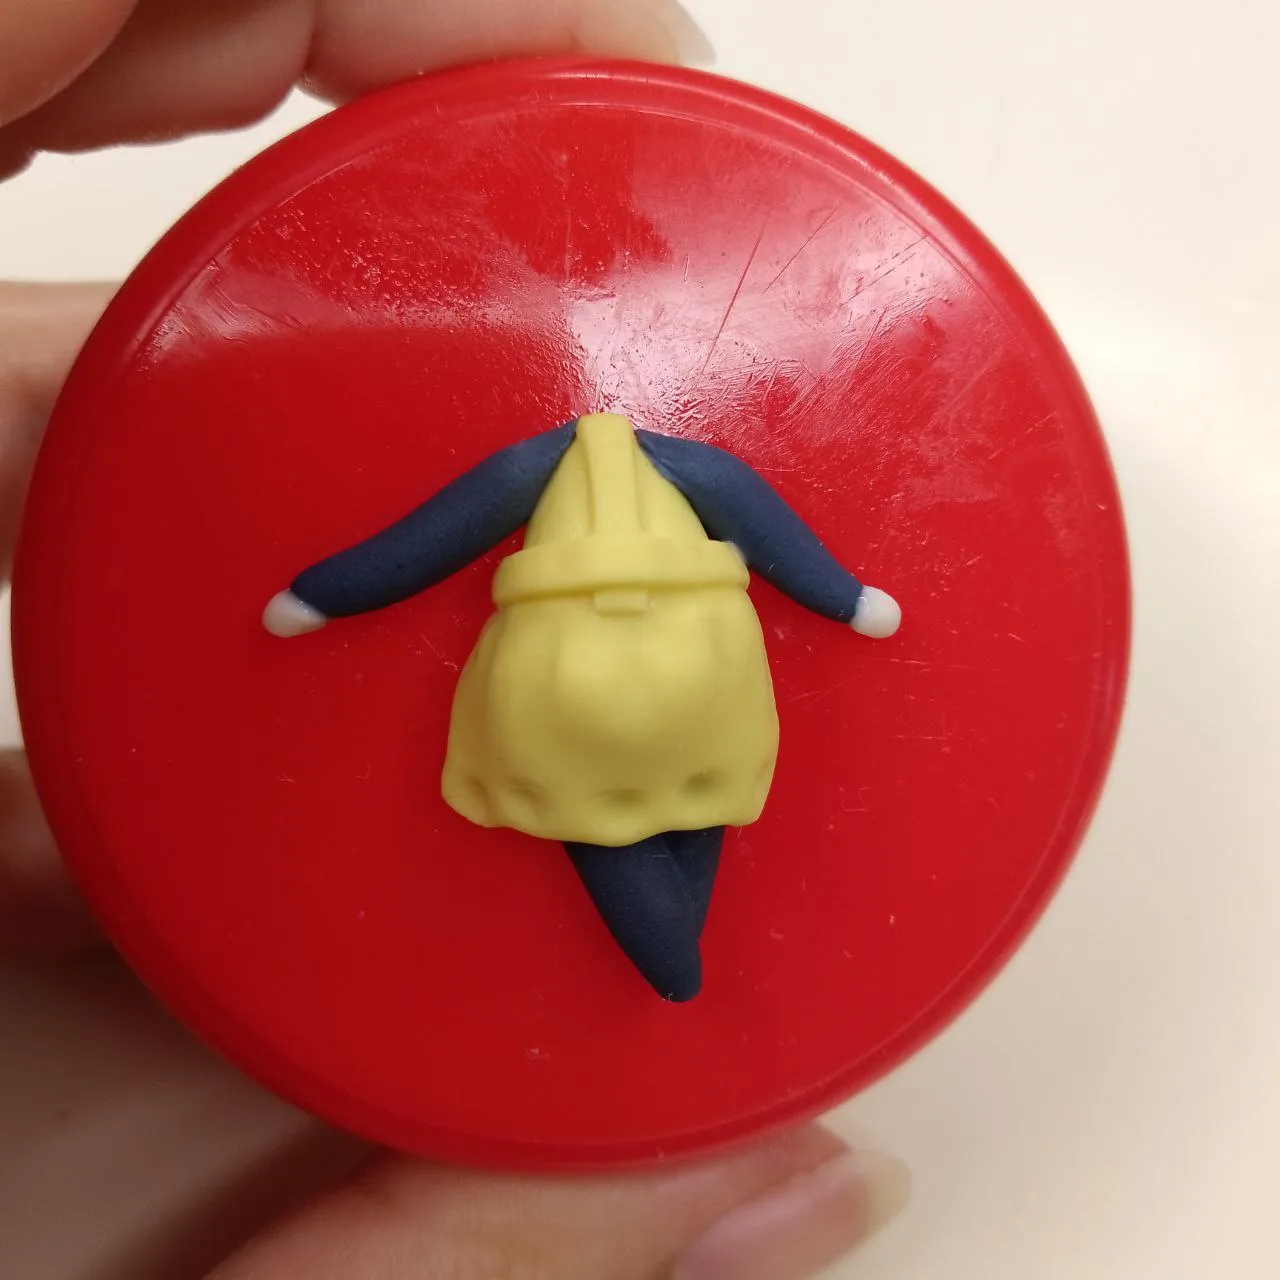
Manos / Hands
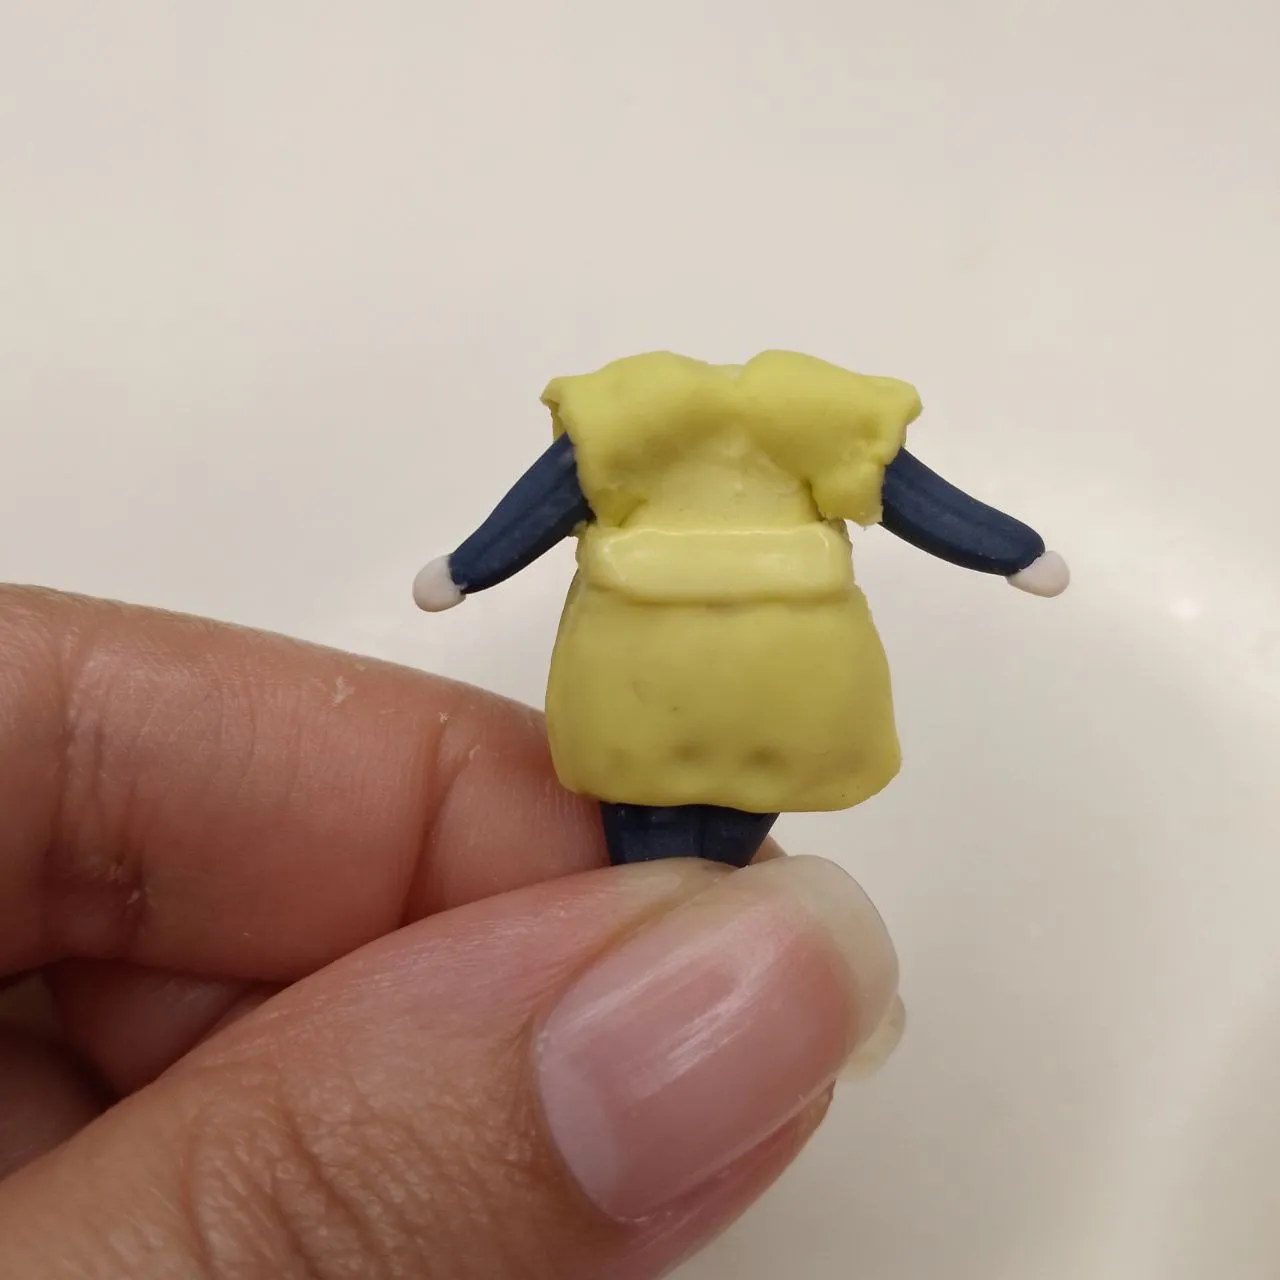
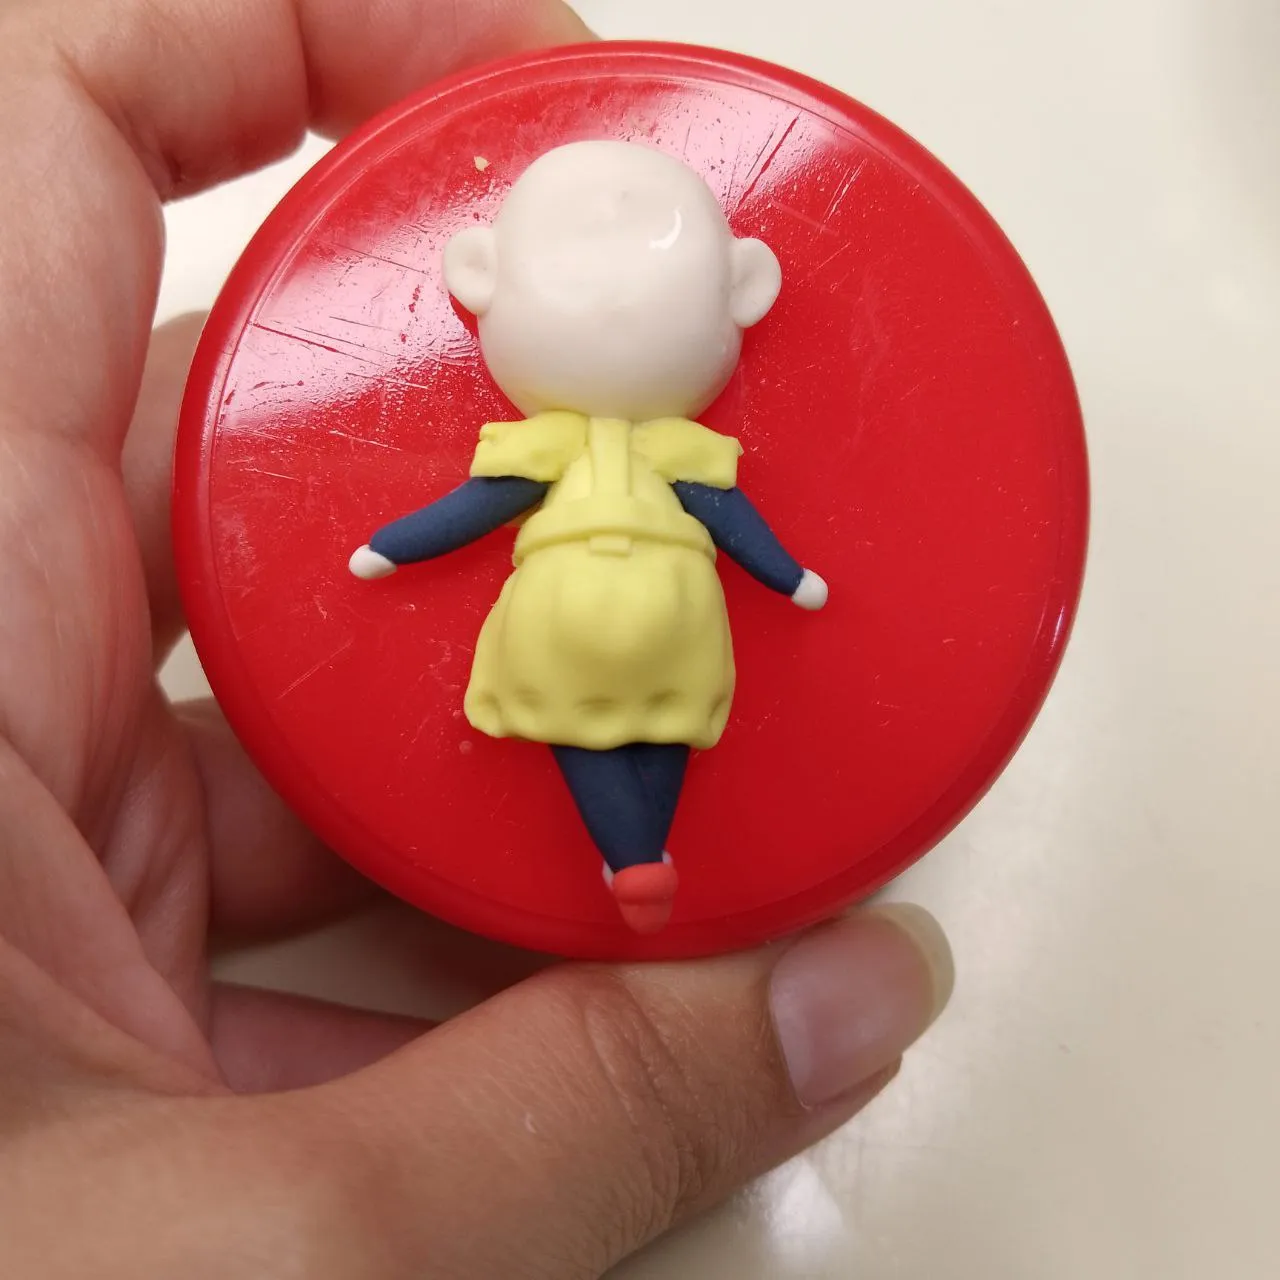
Cuando ya la pieza a secado un poco y tiene la suficiente rigidez, le daremos la vuelta y repetiremos los pasos previos en referencia a su vestimenta, falda y cinturón. Además, usando la misma técnica que con la falda pero en un tamaño menor, haremos las mangas del vestido.
When the piece has dried a little and has enough rigidity, we will turn it over and repeat the previous steps in reference to the dress, skirt and belt. Also, using the same technique as with the skirt but in a smaller size, we will make the sleeves of the dress.
 |  |
|---|
Mangas / Sleeves
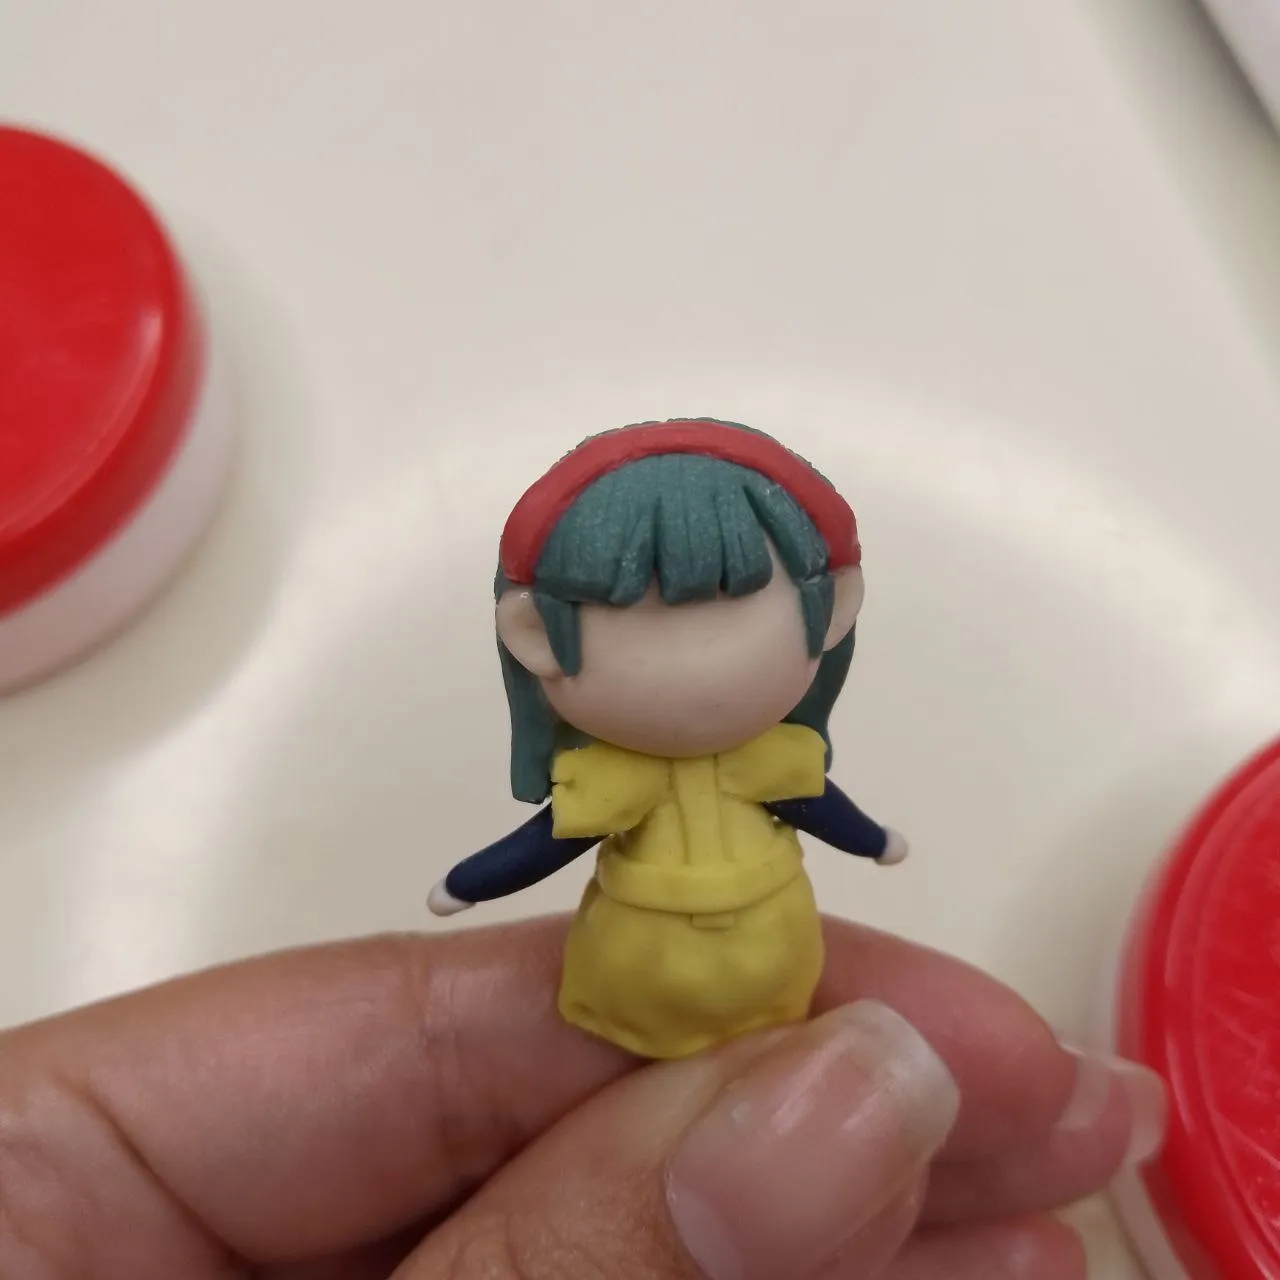
Es momento de agregar la cabecita y para esto formaremos una esfera en color piel, luego aplanaremos un poco sus laterales y finalmente, hundiremos un poco la parte frontal superior con nuestros dedos o con alguna herramienta y la adherimos al cuerpo con un poco de pegamento.
It is time to add the head and for this we will form a sphere in skin color, then we will flatten a little its sides and finally, we will sink a little the upper front part with our fingers or with some tool and we will adhere it to the body with a little glue.
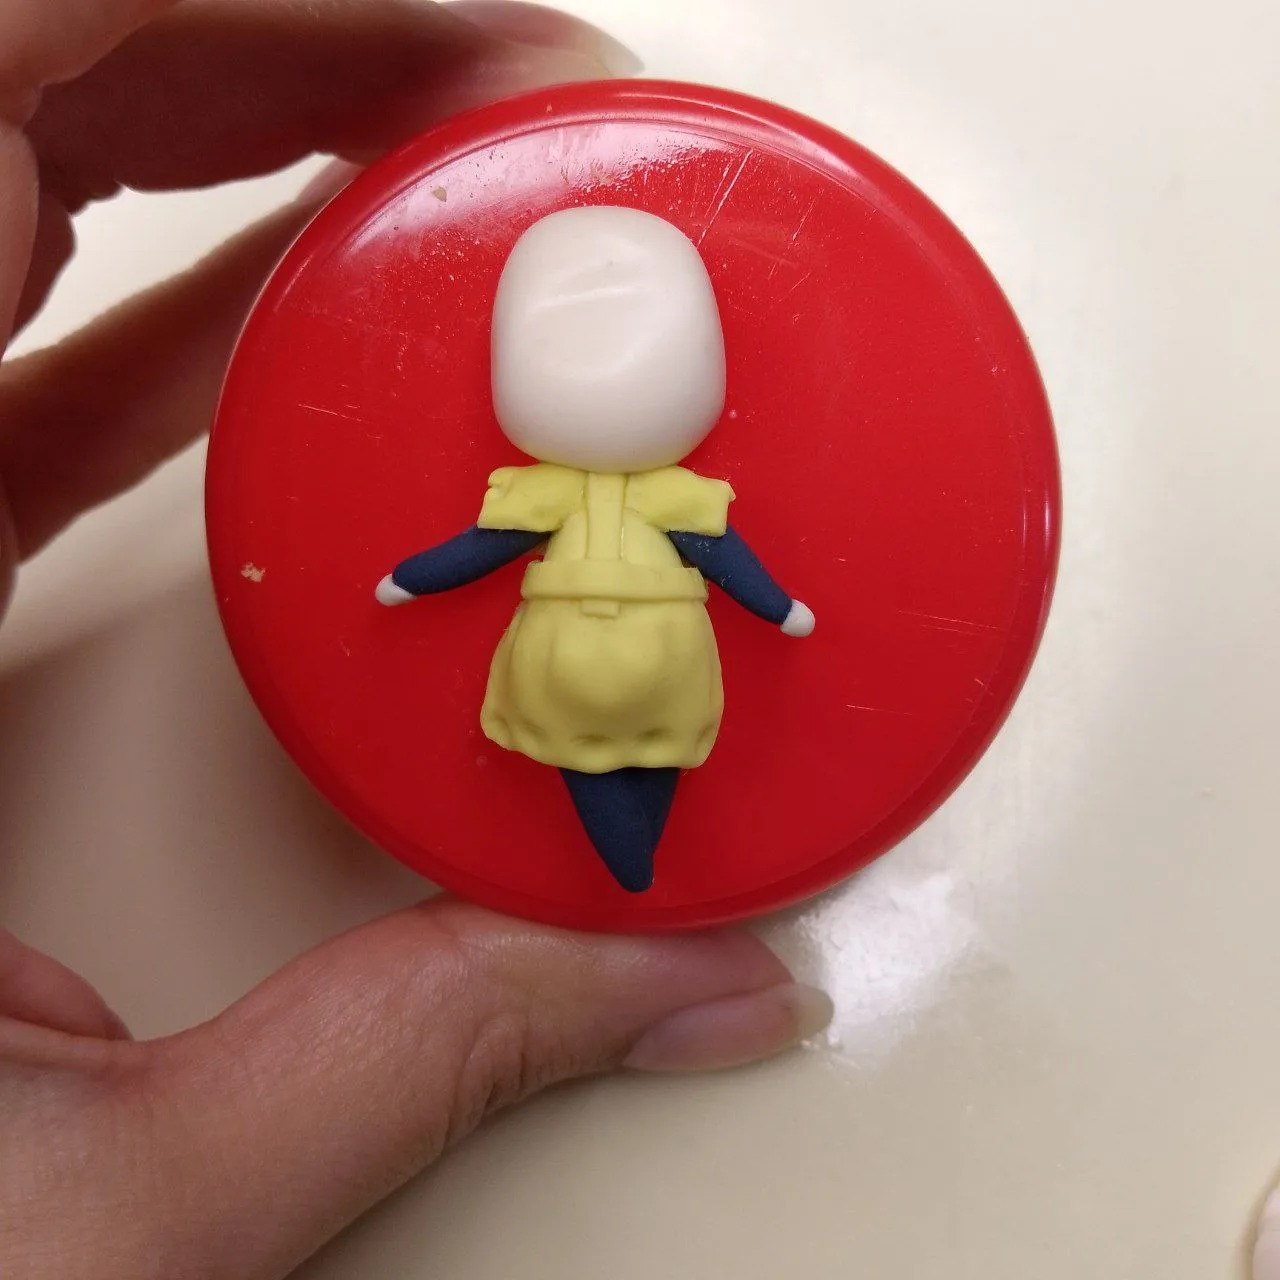
Cabeza / Head
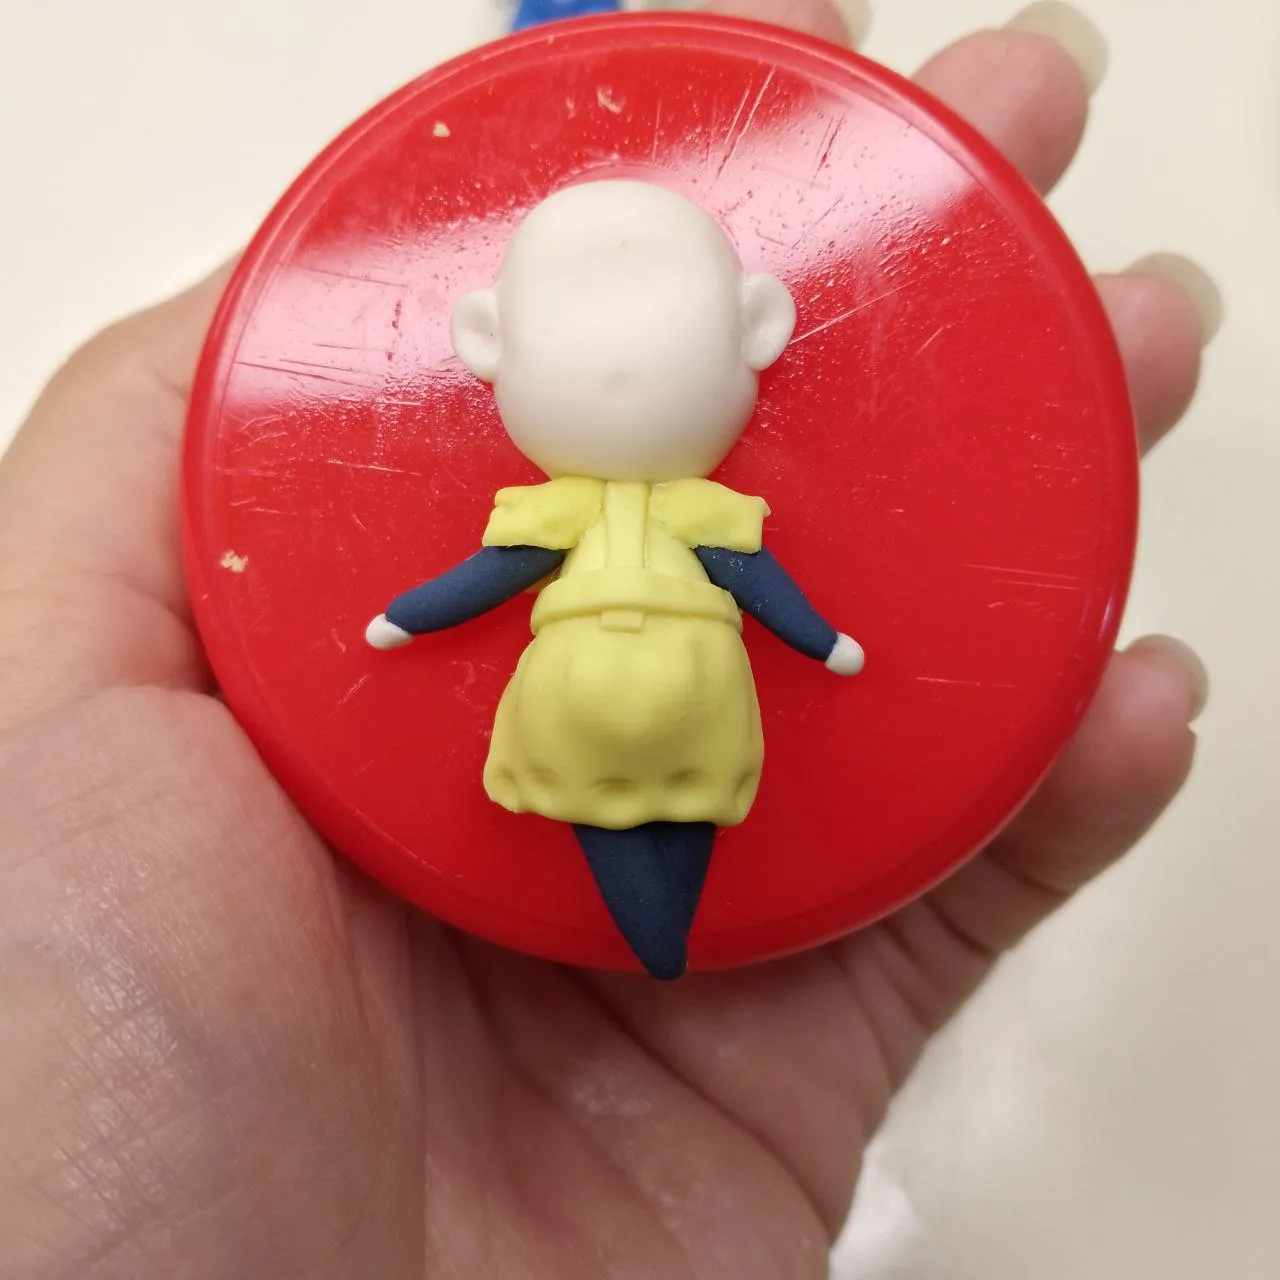
Para las orejas, tomamos porciones muy pequeñas y formamos un par de esferitas, les damos un poco la forma de gota y las pegamos a los lados de la cabeza posicionando la parte fina de la oreja hacia abajo, para adherirlas mejor y además ahuecarlas al centro, nos ayudamos con una herramienta como la punta del pincel o un palillo.
For the ears, we take very small portions and form a couple of small spheres, we give them a little drop shape and glue them to the sides of the head positioning the thin part of the ear down, to adhere them better and also hollow them out to the center, we help ourselves with a tool such as the tip of the brush or a toothpick.
 |  |
|---|
Orejas / Ears
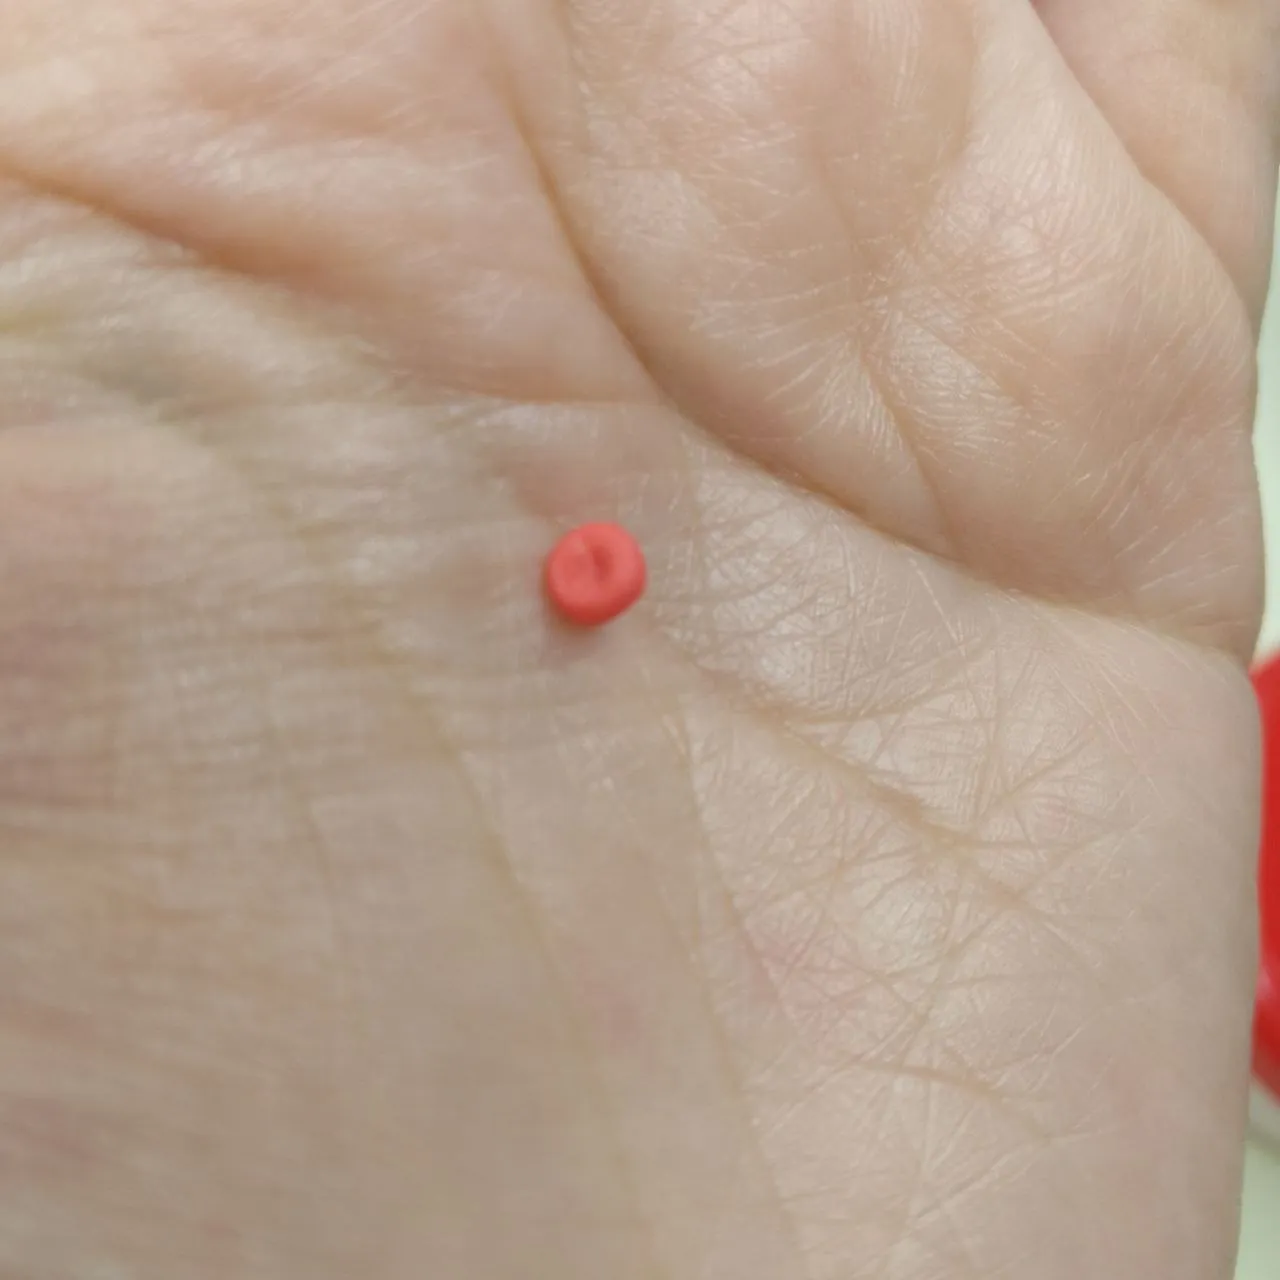
Para los botines formaremos pequeñitas esferas rojas y con pegamento las colocaremos al final de cada pierna.
For the booties we will form small red spheres and with glue we will place them at the end of each leg.
 |  |
|---|
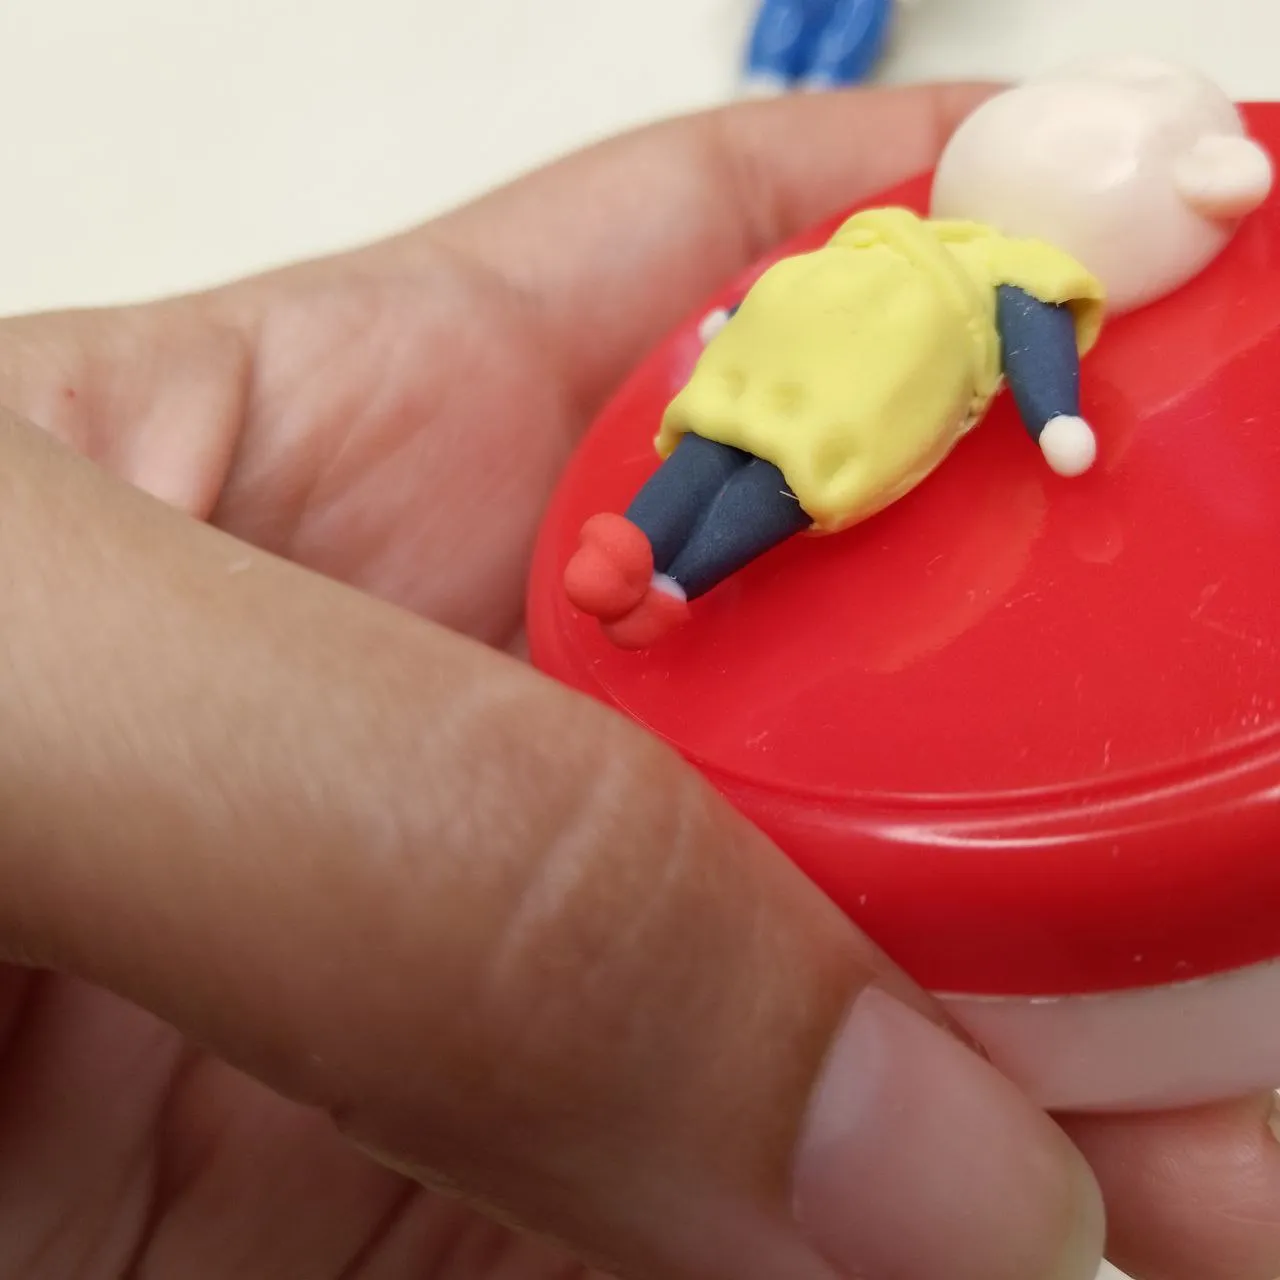
Botines / Ankle boots
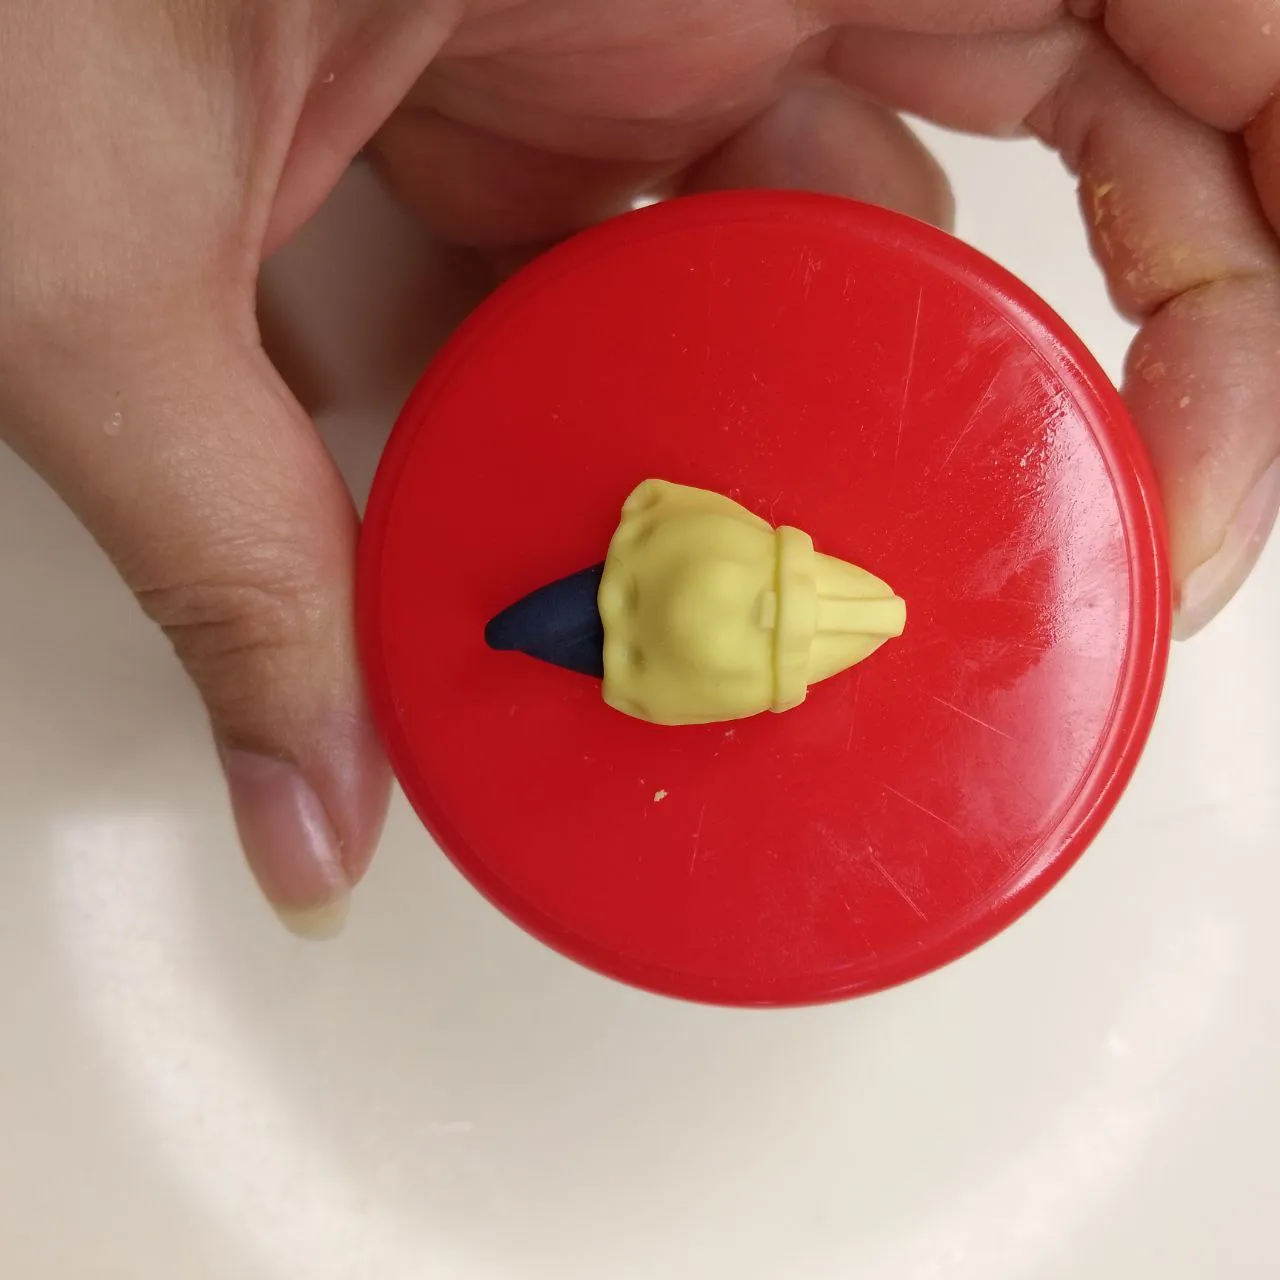
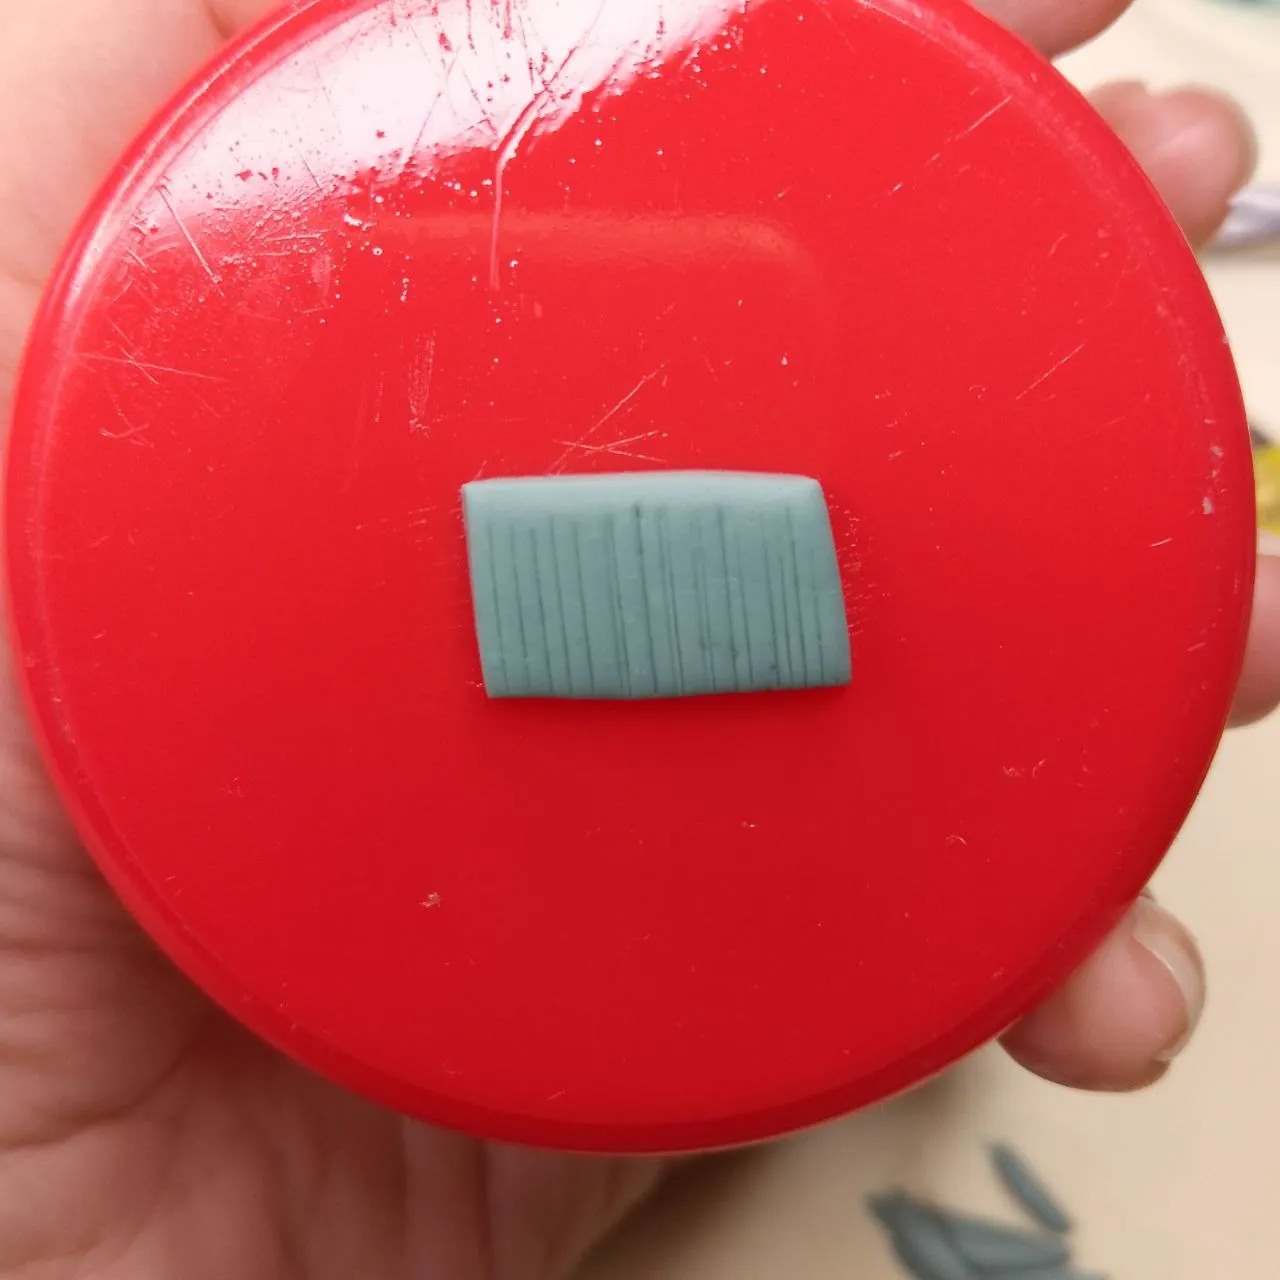
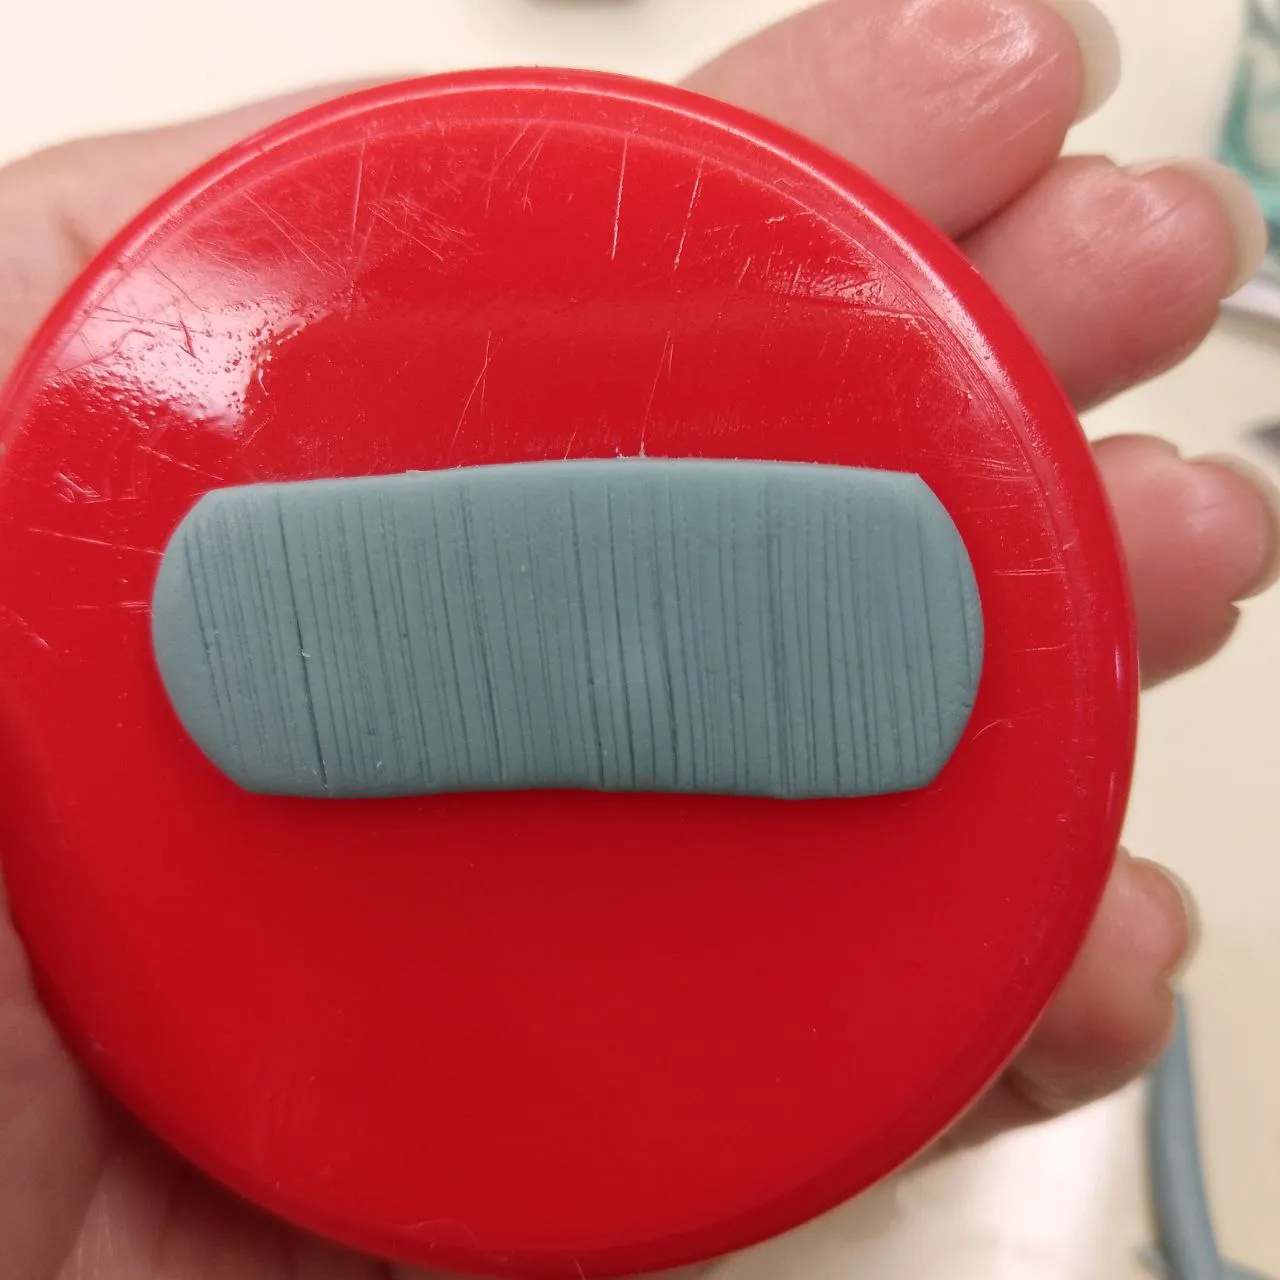
Para hacer su flequillo, aplanaremos una porción de masa color turquesa y cortaremos un rectángulo, al mismo le aportaremos textura de cabello con un elemento extremadamente delgado como por ejemplo un cúter. Lo adherimos a la parte superior de la cabeza y terminamos de darle forma retirando con el cúter pequeñas secciones. También aprovechamos de agregar las patillas.
To make her bangs, we will flatten a portion of turquoise dough and cut a rectangle, to which we will add hair texture with an extremely thin element such as a cutter. We attach it to the top of the head and finish shaping it by removing small sections with the cutter. We also take the opportunity to add the sideburns.
 |  |
|---|
Flequillo / Bangs
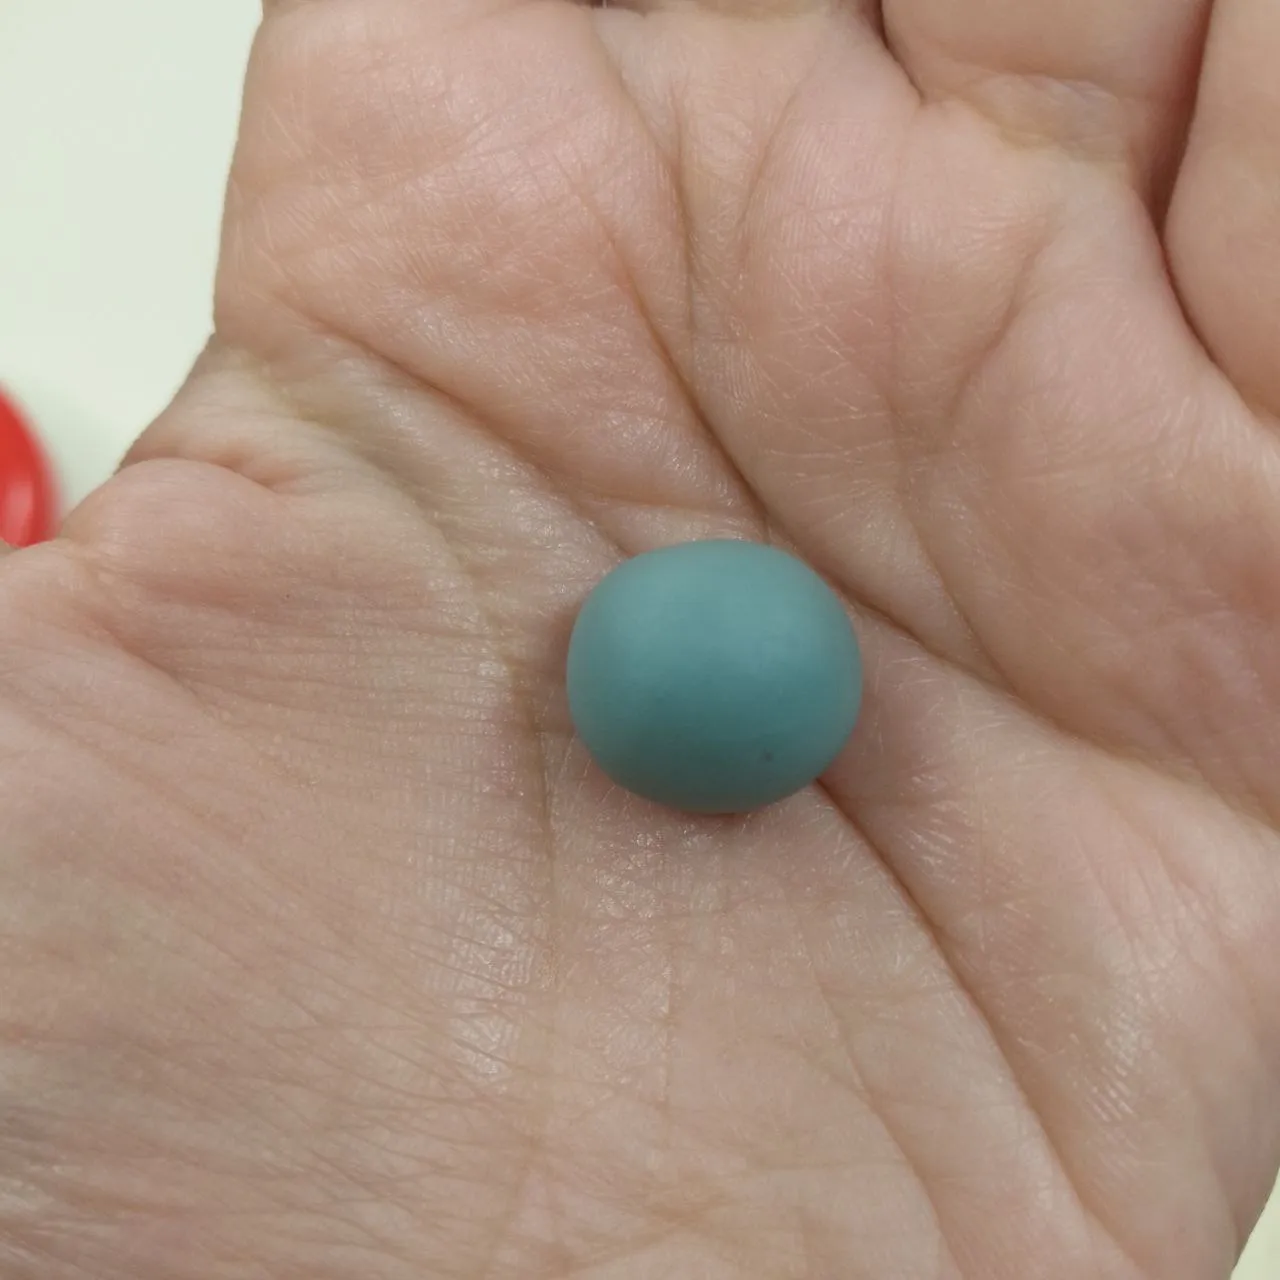
Ahora formamos una esfera de masa turquesa lo suficientemente grande para abarcar la cabeza, ya que esta irá adherida allí, puesto que será la parte posterior.
Now we form a sphere of turquoise dough large enough to cover the head, as it will be attached there, since it will be the back part.
 |  |
|---|
Parte posterior de la cabeza / Back of the head
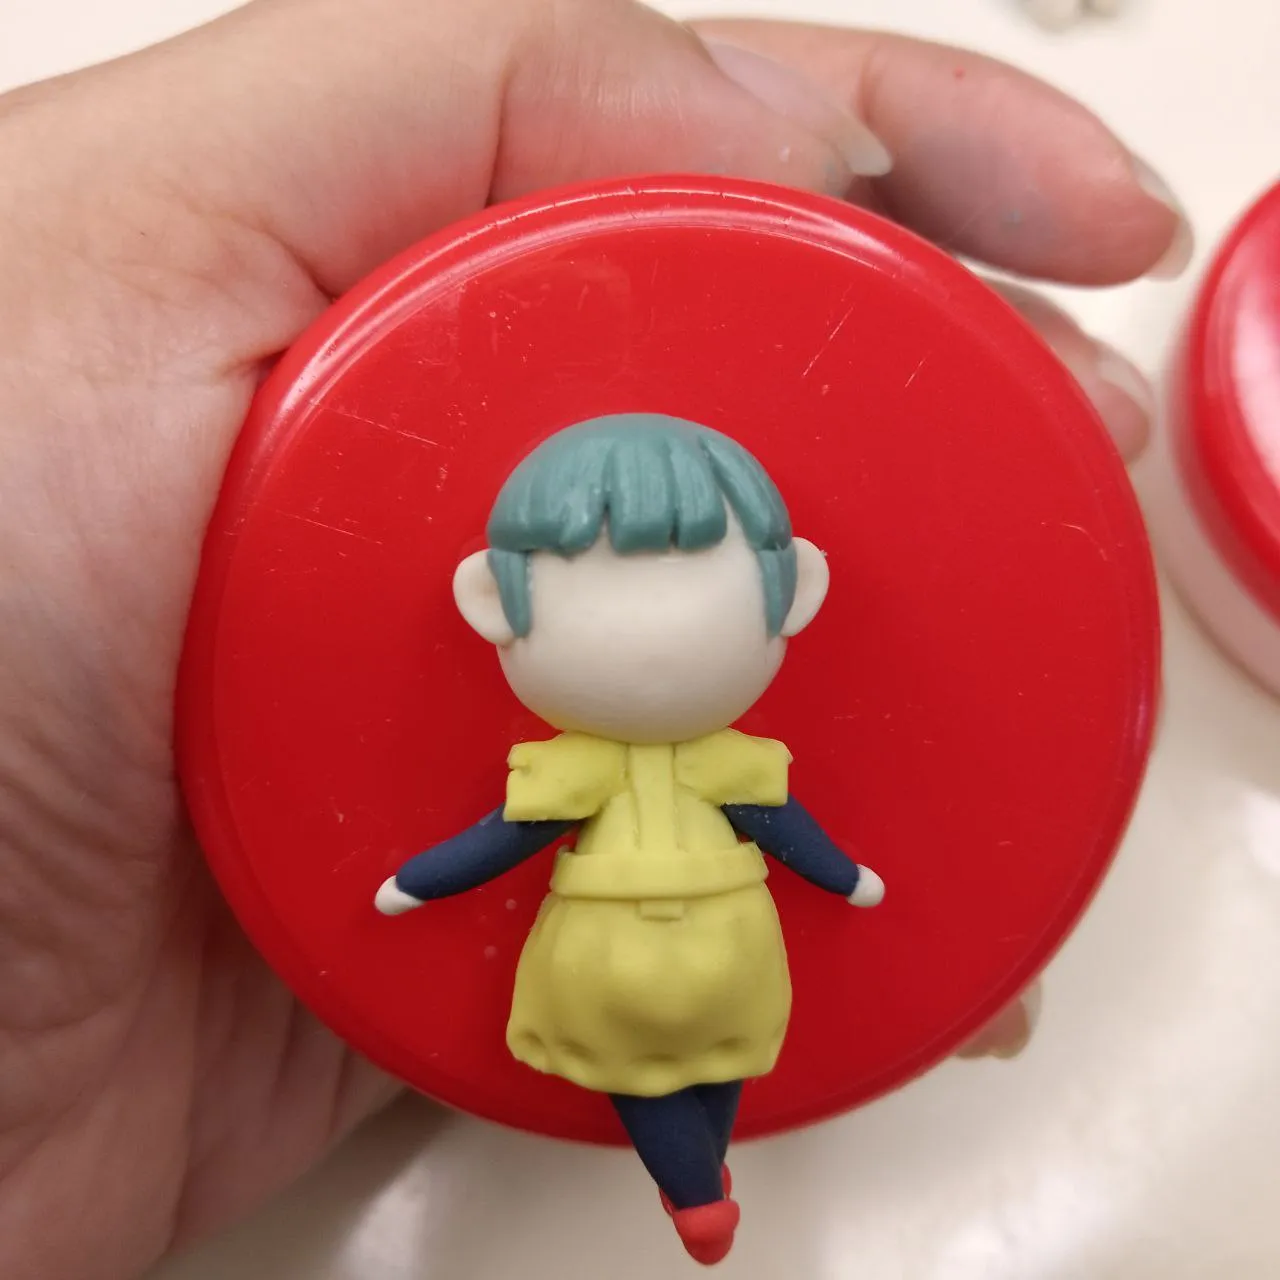
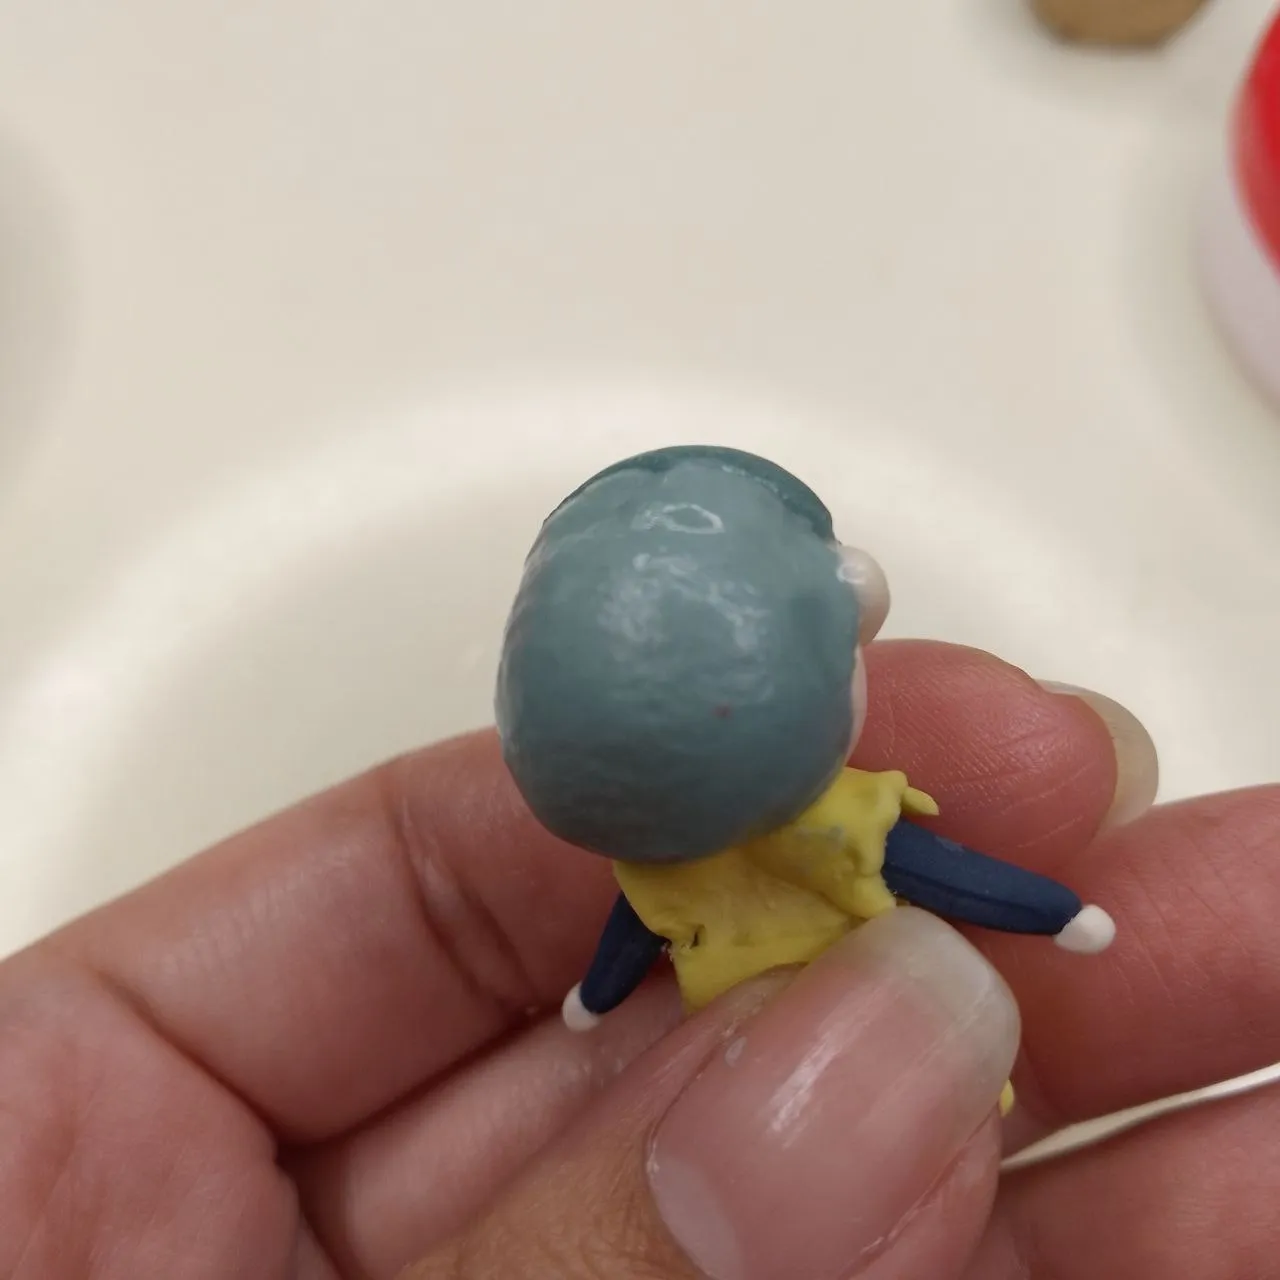
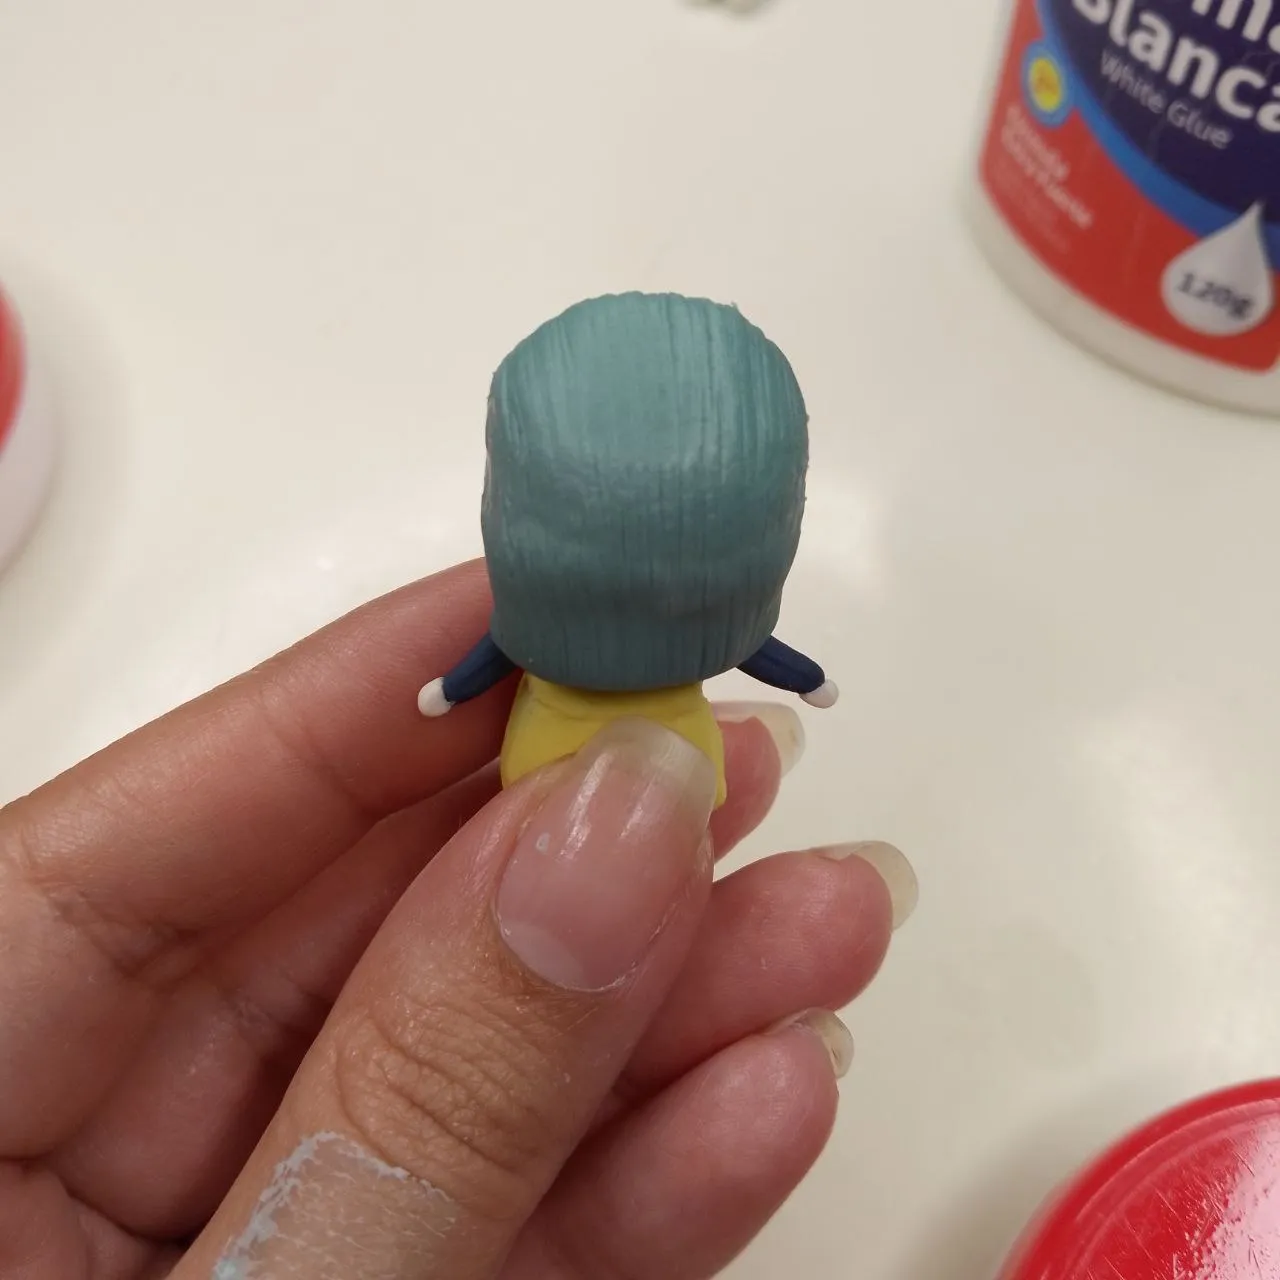
Siguiendo el mismo procedimiento que con el flequillo haremos el resto del cabello y finalizamos añadiendo el cintillo de color fucsia que no es más que un rectángulo aplanado muy fino de masa flexible.
Following the same procedure as with the fringe, we will do the rest of the hair and finish by adding the fuchsia headband, which is nothing more than a very thin flattened rectangle of flexible dough.
 |  |
|---|
Cabello y cintillo / Hair and headband
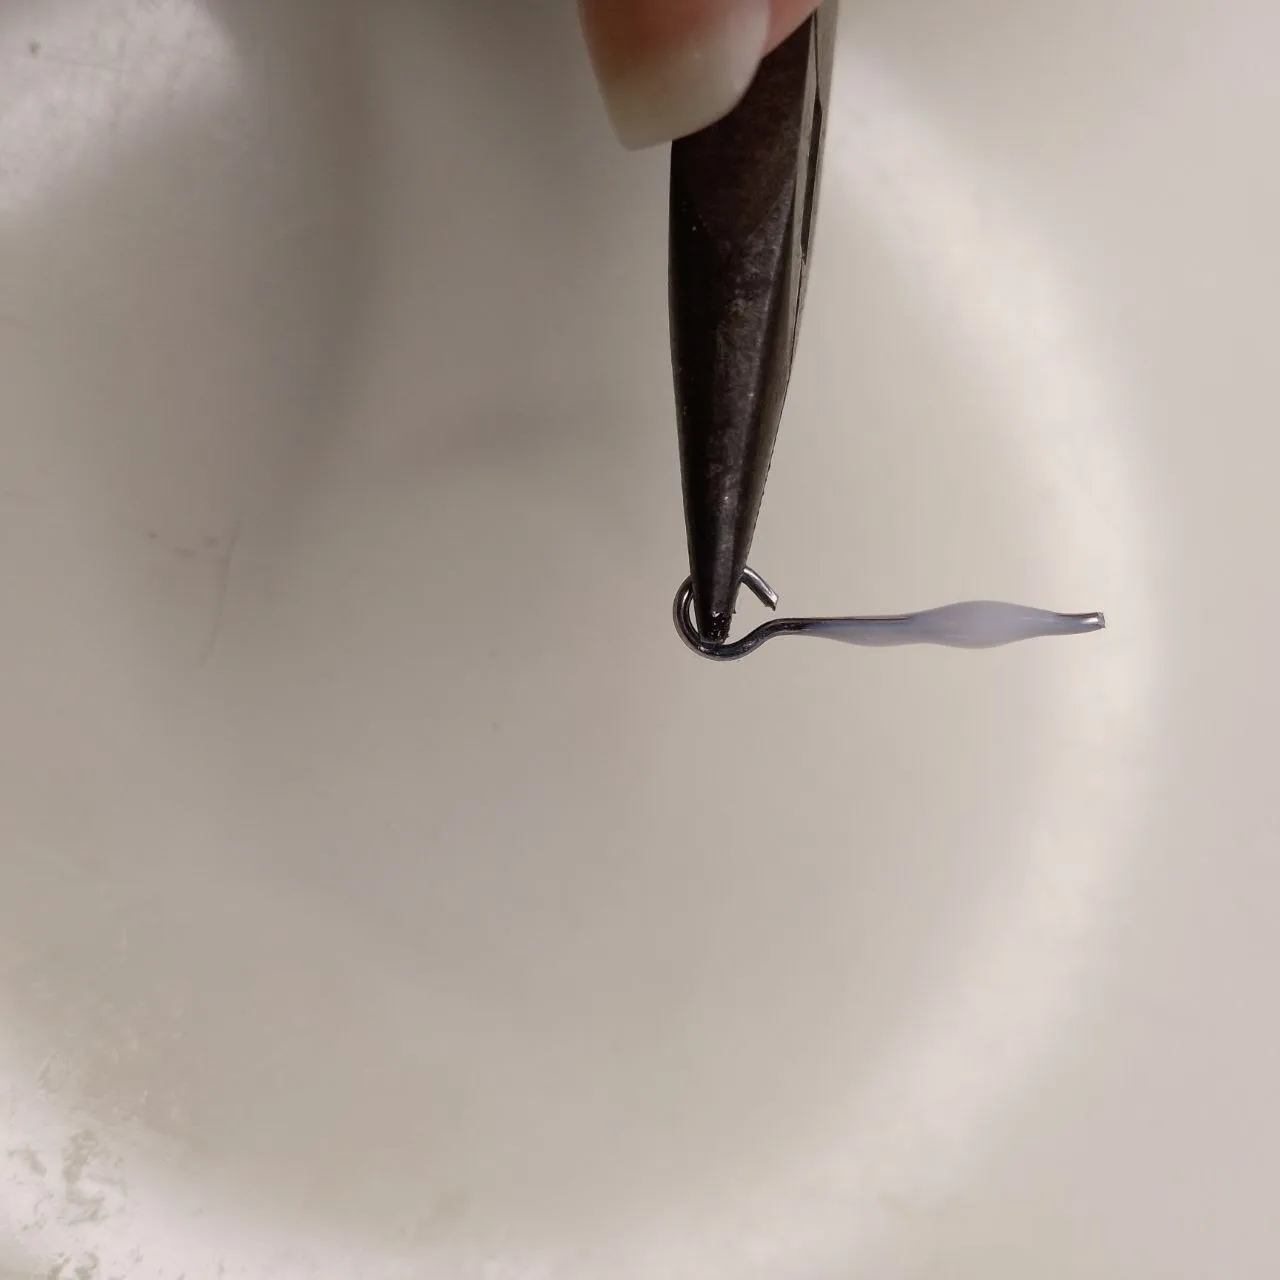
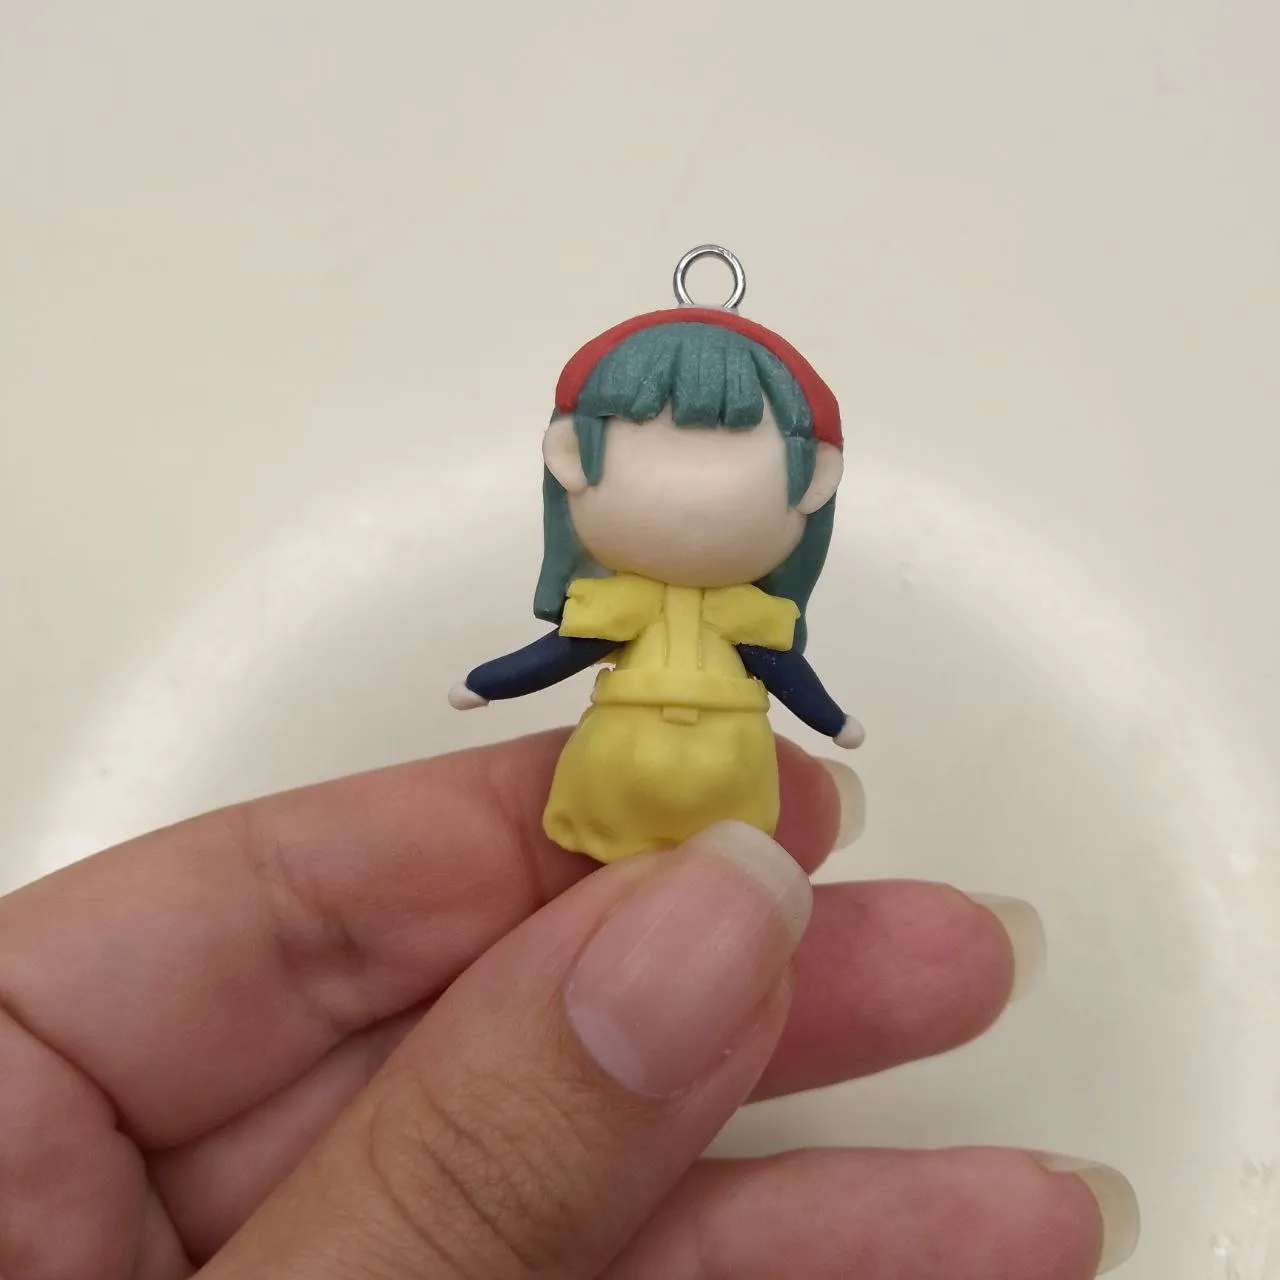
Antes de que las piezas se endurezcan totalmente, debemos agregar el alfiler de ojo, para esta tarea, colocaremos suficiente pegamento blanco en la parte recta del alfiler y lo introducimos en el lugar más conveniente, en este caso, la parte central superior de la cabeza.
Before the pieces harden completely, we must add the eye pin, for this task, we will place enough white glue on the straight part of the pin and insert it in the most convenient place, in this case, the upper central part of the head.
 |  |
|---|
Alfiler de ojo / Eye pin
Ya todo está listo, esperamos que seque la pieza totalmente y procedemos a pintar los detalles, el rostro y la hebilla del cinturón.
Now everything is ready, we wait for the piece to dry completely and proceed to paint the details, the face and the belt buckle.
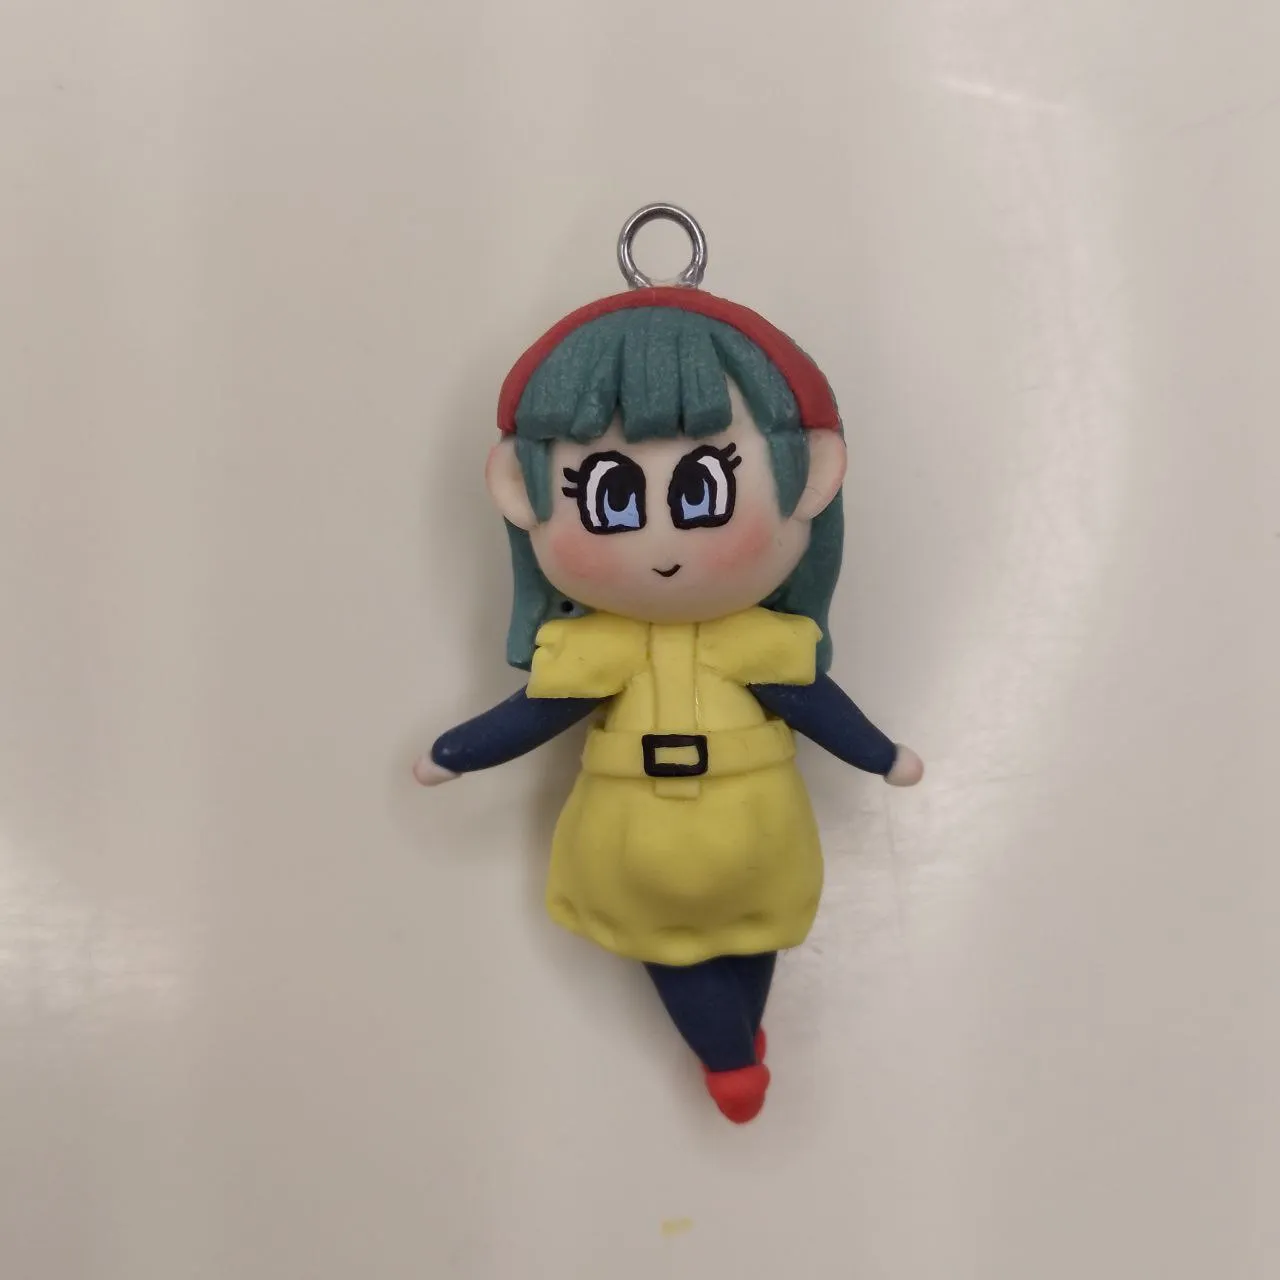
Pintamos los detalles / We paint the details
El paso final sería cubrirla con al menos dos capas de top coat y por supuesto curando cada capa en lámpara, así la pieza estará muy protegida y será más duradera y resistente.
The final step would be to cover it with at least two coats of top coat and of course curing each coat in a lamp, so the piece will be very protected and will be more durable and resistant.
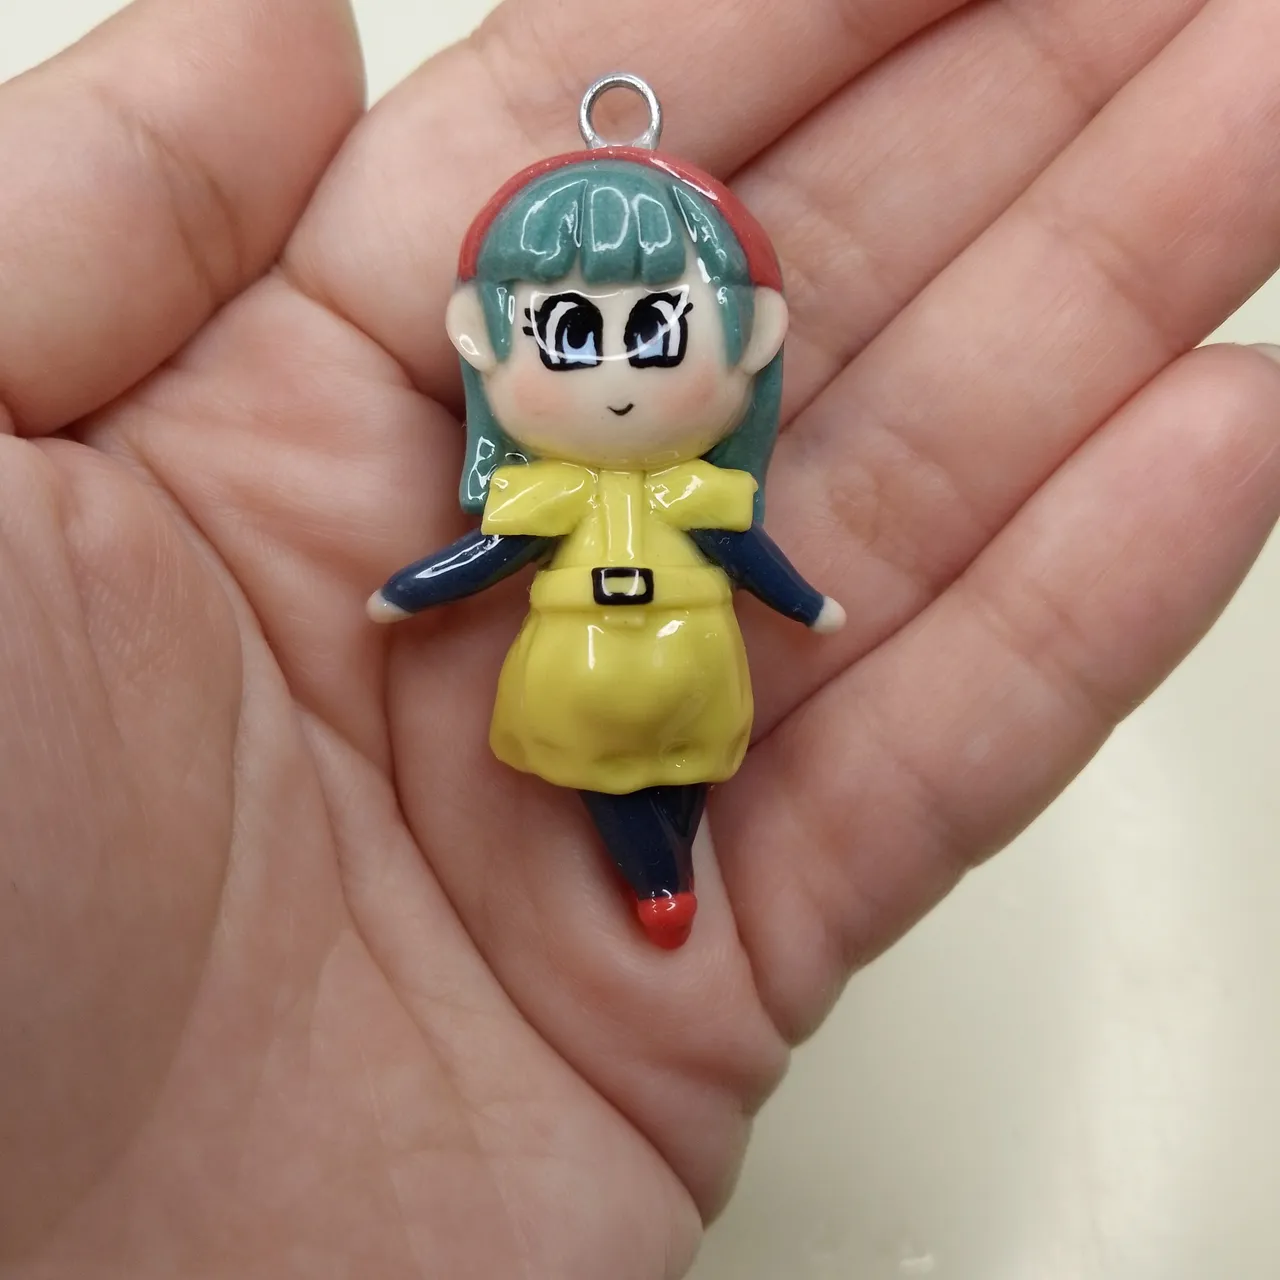
Resultado final / Final result
¡Muchas gracias por leerme!
Thank you so much for reading me!
Fotografías propias, tomadas con mi Tecno Spark 10C.
Traducido al inglés con DeepL.
Own photographs, taken with my Tecno Spark 10C.
Translated to English with DeepL.