¡Hola amigos creativos! Espero que hayan pasado un 14 de Febrero lleno de amor y felicidad❤️ y siguiendo con esa temática, hoy quiero compartirles una nueva idea de tarjeta con flores y corazones, ideal para regalar en cualquier ocasión especial a una persona amada, requiere de pocos materiales y el resultado es muy bonito, así que sigue leyendo para que aprendas cómo hacerla.
Hello creative friends! I hope you have spent a February 14 full of love and felicidad❤️ and following with that theme, today I want to share with you a new idea of card with flowers and hearts, ideal to give on any special occasion to a loved one, it requires few materials and the result is very nice, so read on to learn how to make it.
Imagen creada por mí en Canva / Image created by me in Canva
Materiales:
- Cartulina
- Pinturas al frío
- Agua
- Pincel
- Hojas de colores
- Cordón o cinta
- Pegamento blanco
- Silicón caliente
- Lápiz
- Tijeras
Procedimiento:
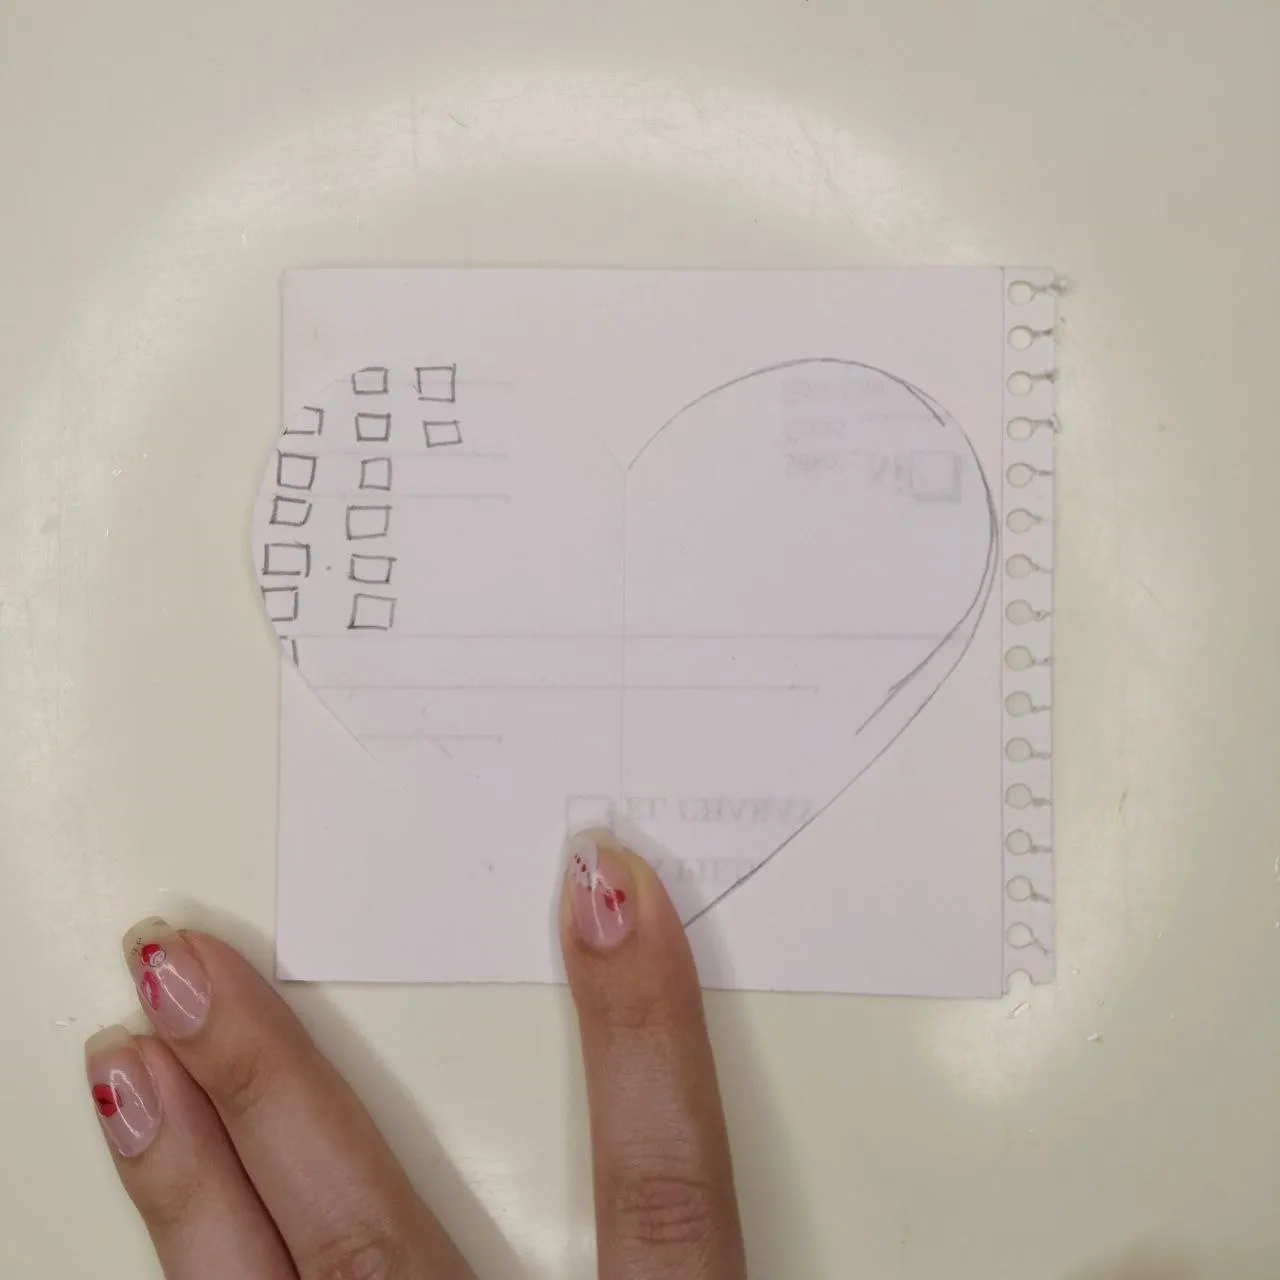
Iniciamos dibujando y recortando un patrón con forma de corazón en una hoja de papel, en mi caso usé papel de reciclaje.
Materials:
- Cardboard
- Cold paints
- Water
- Brush
- Color sheets
- Cord or ribbon
- White glue
- Hot glue
- Pencil
- Scissors
Procedure:
We start by drawing and cutting out a heart shaped pattern on a sheet of paper, in my case I used recycling paper.
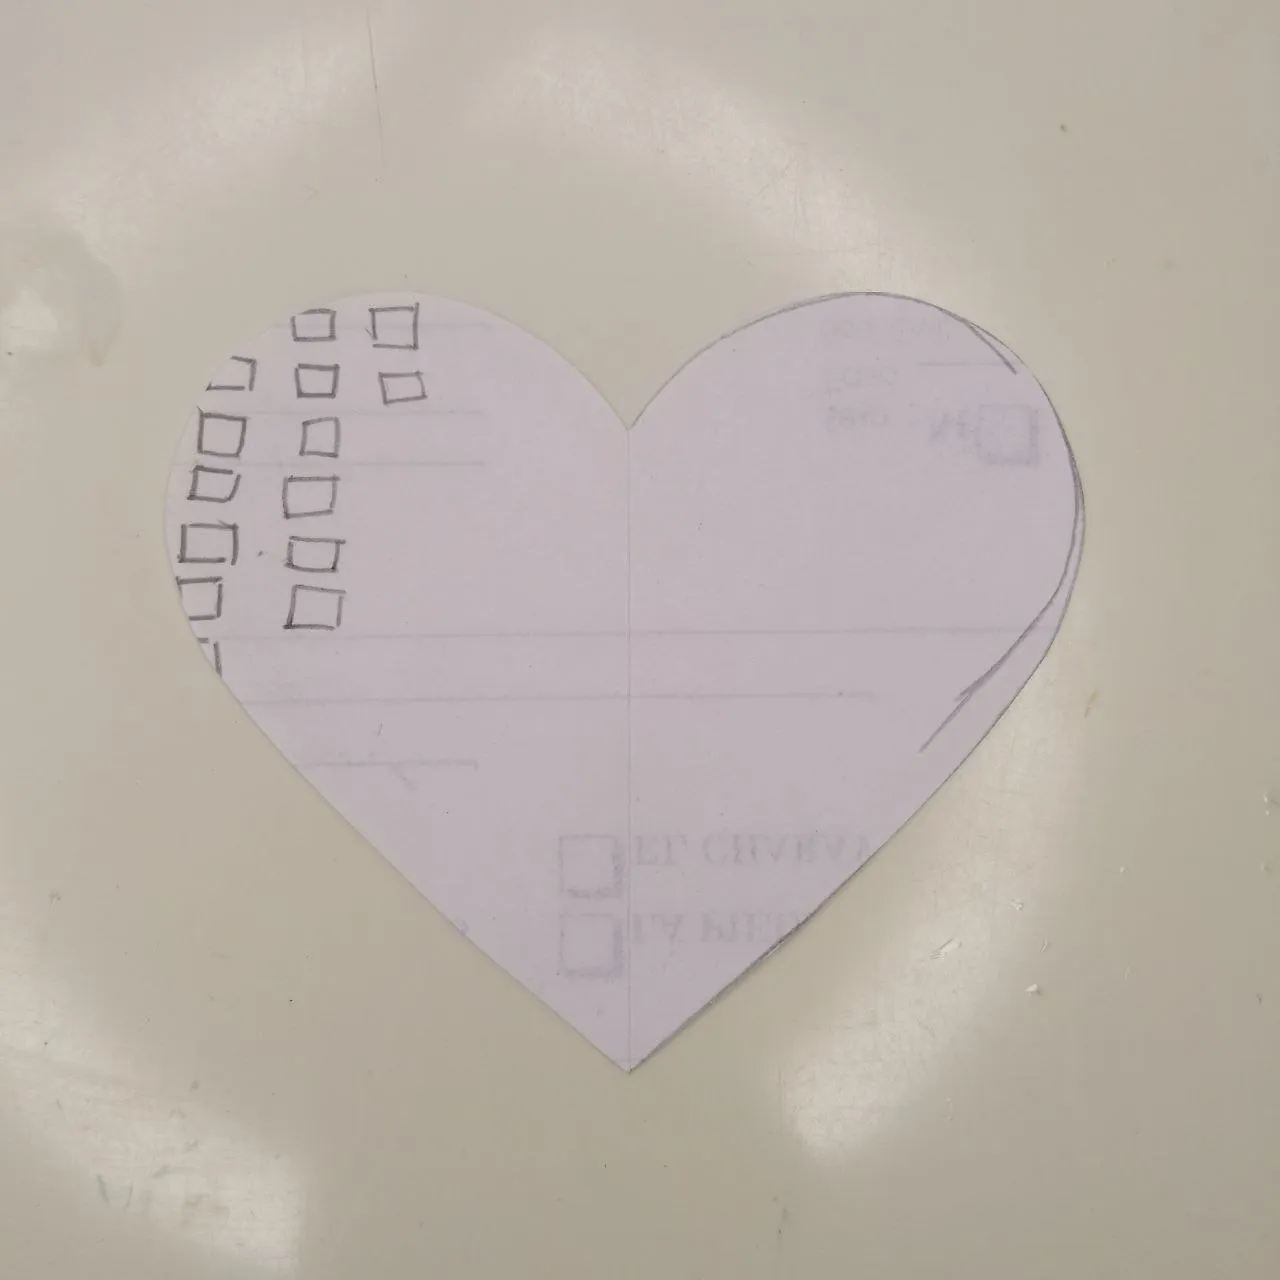
Patrón / Pattern
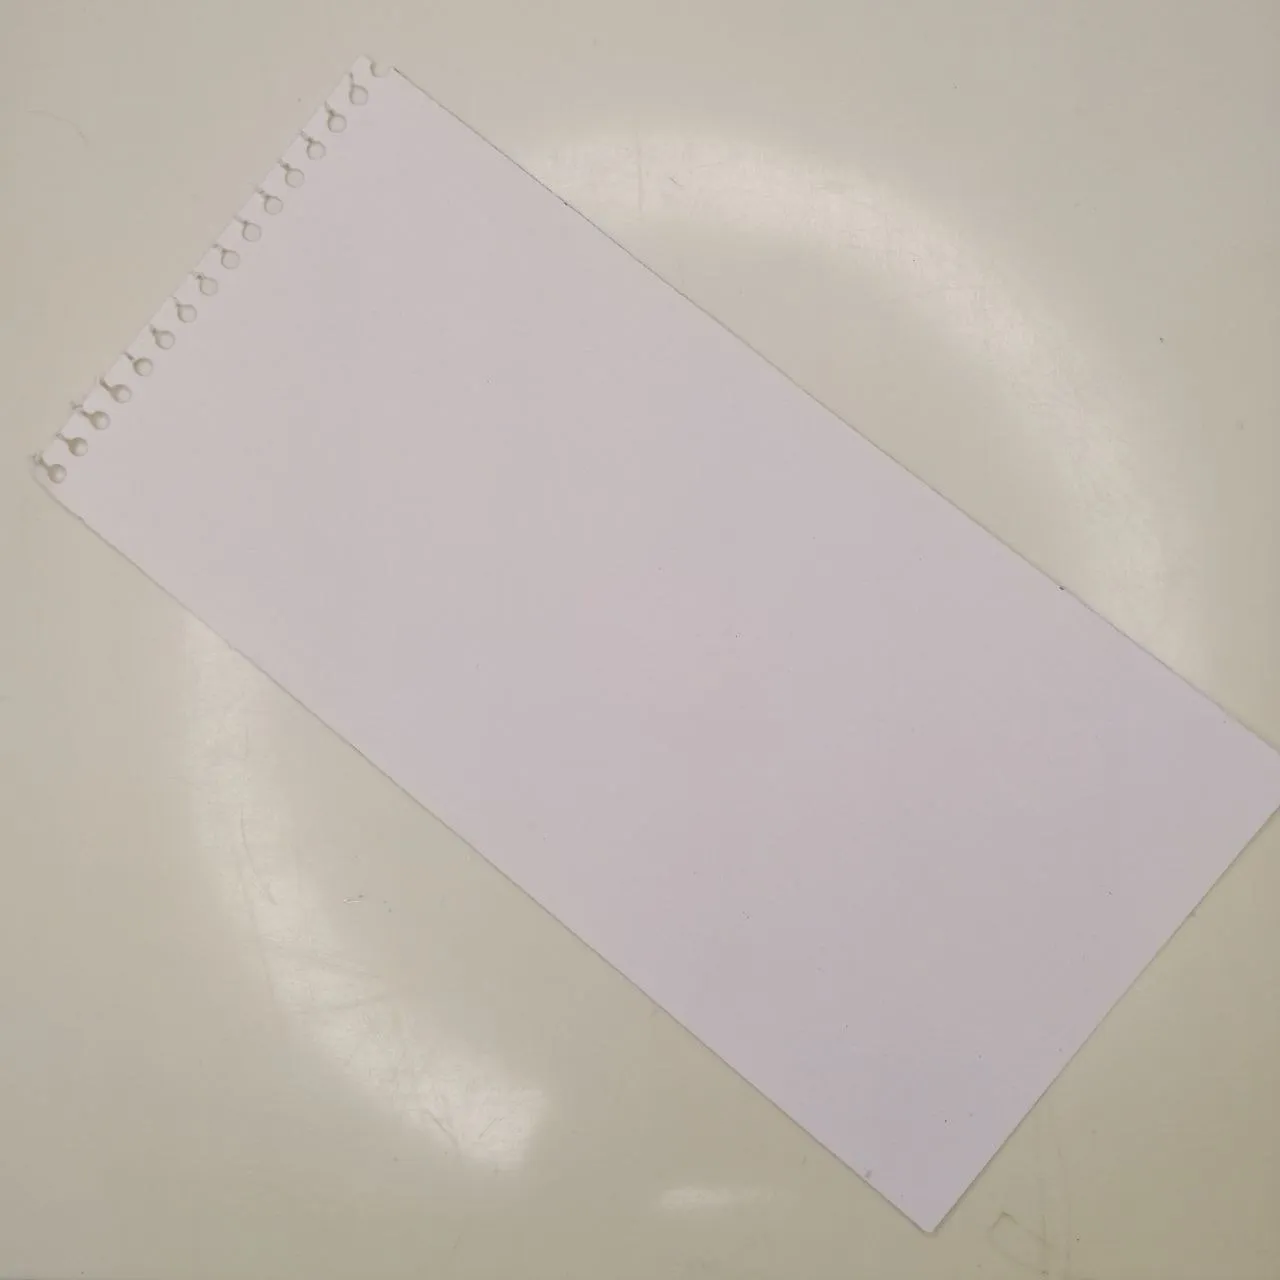
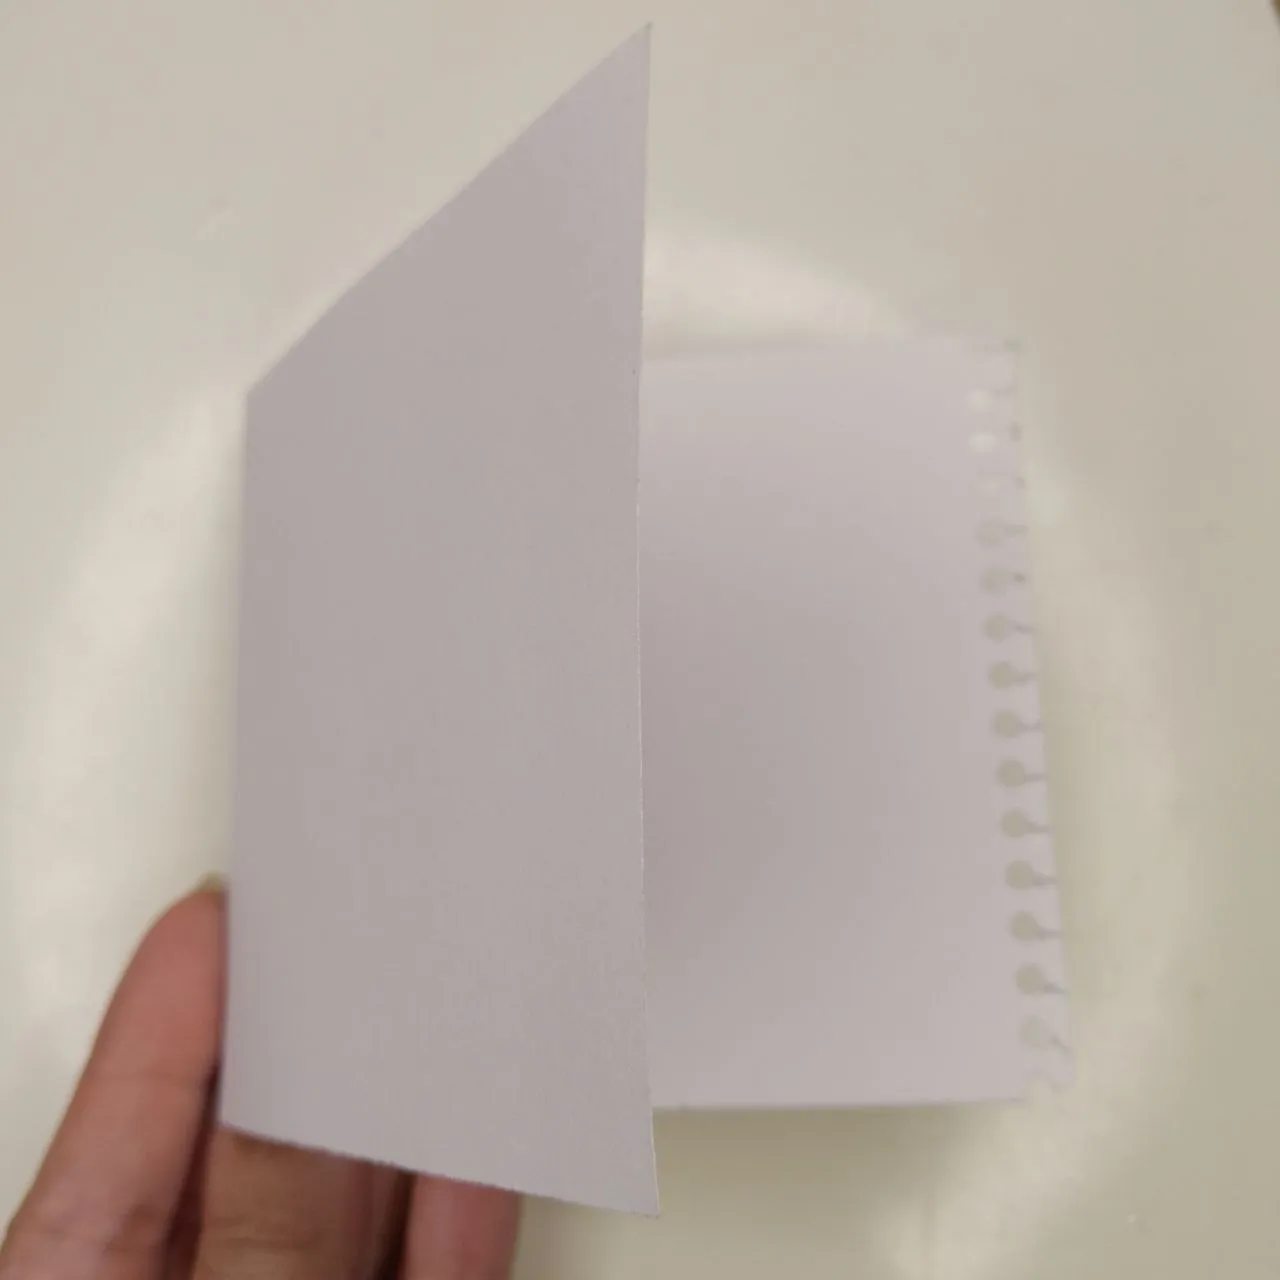
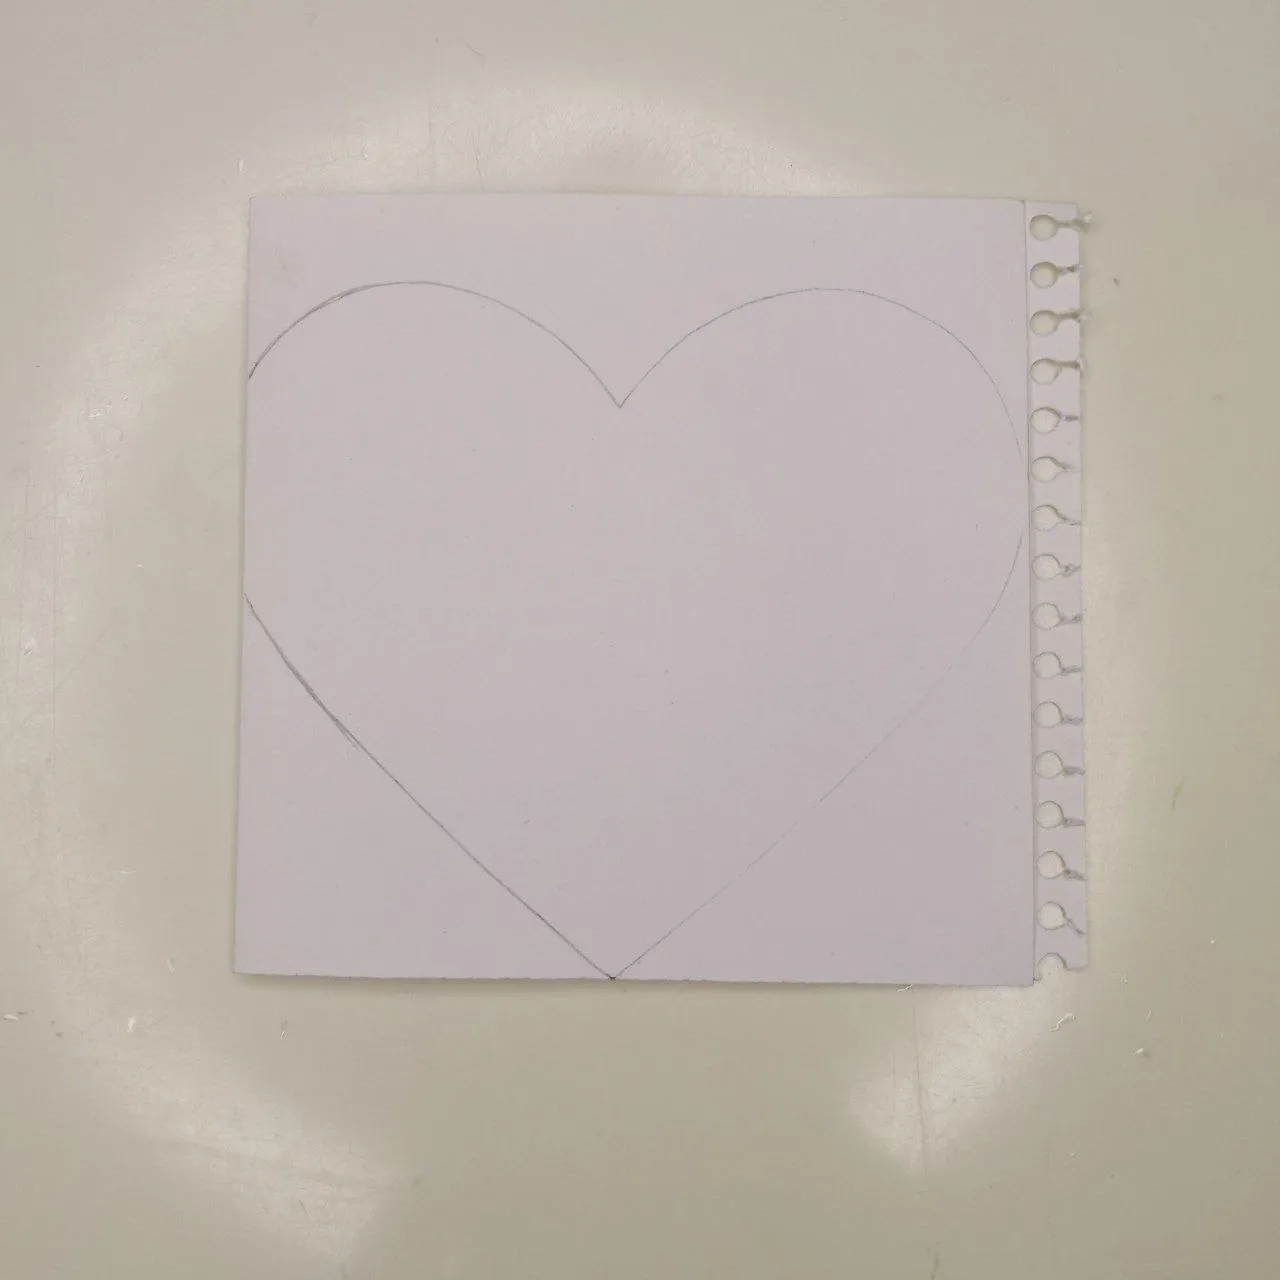
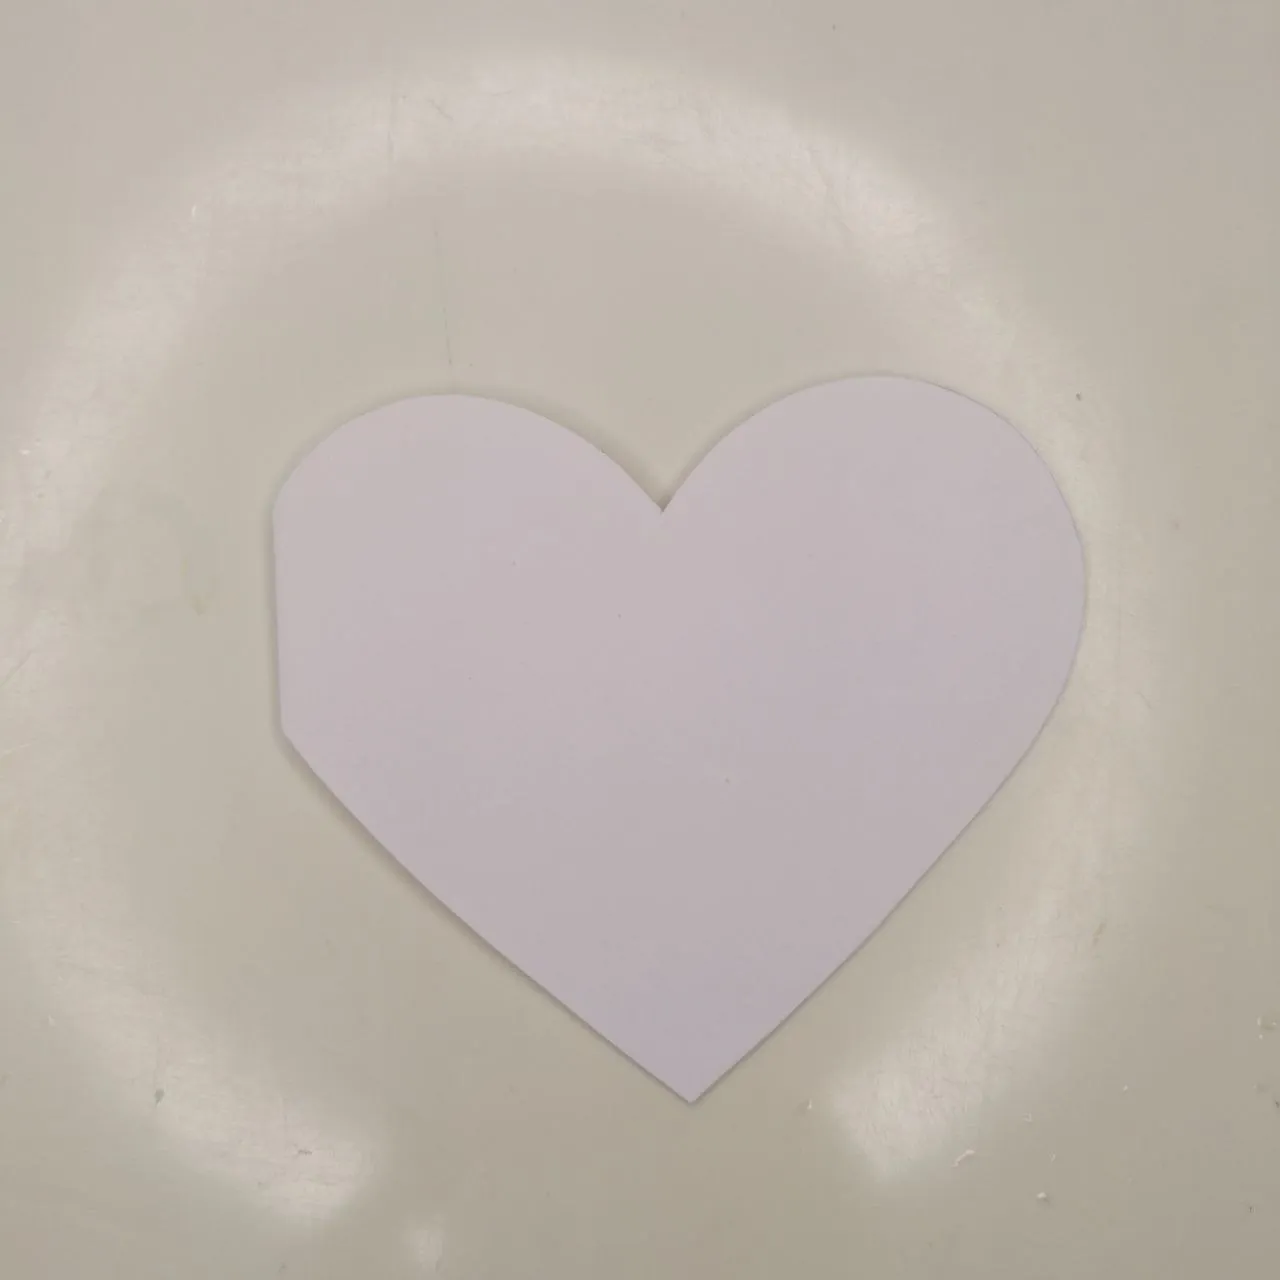
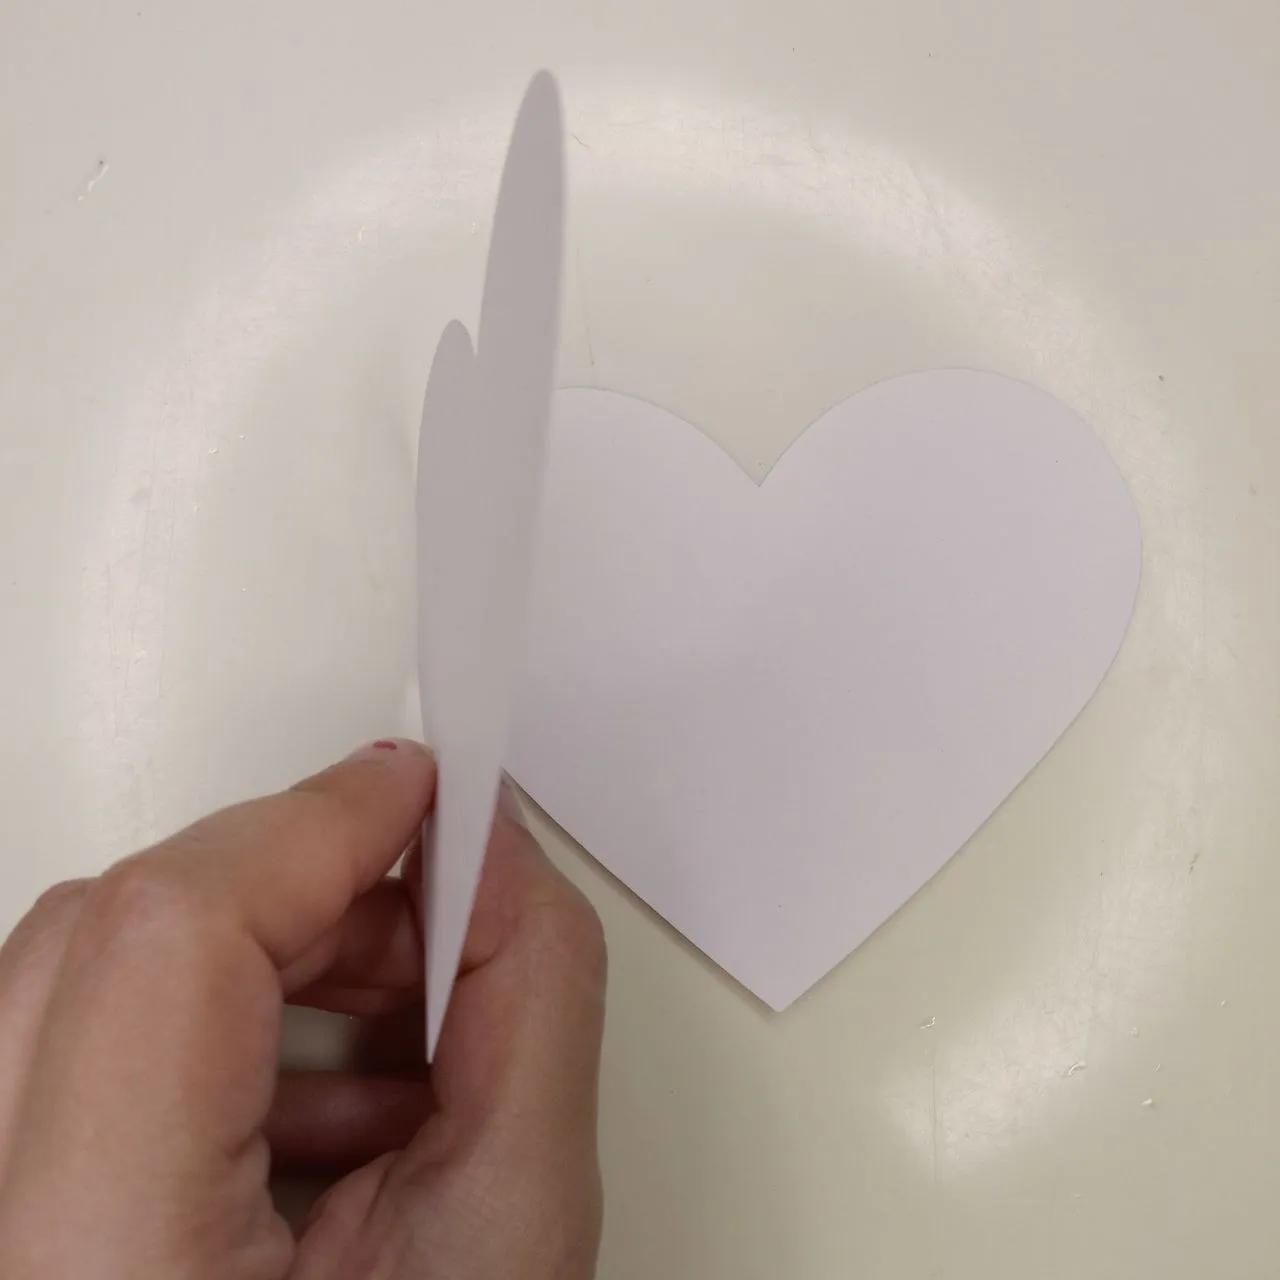
Luego tomamos una cartulina y la doblamos a la mitad, sobre esta, colocaremos el patrón de corazón siendo cuidadosos de dejar un pequeño borde del patrón fuera de la cartulina en su lado izquierdo, esto con el propósito de que allí permanezca el doblez de la tarjeta para abrir y cerrar. Trazamos el patrón con el lápiz y recortamos con ayuda de la tijera.
Then we take a piece of cardboard and fold it in half, on this, we will place the heart pattern being careful to leave a small edge of the pattern outside the cardboard on its left side, this with the purpose that there remains the fold of the card to open and close. We trace the pattern with the pencil and cut it out with the help of the scissors.
 |  |
|---|
 |  |
|---|
 |  |
|---|
Tarjeta de corazón / Heart card
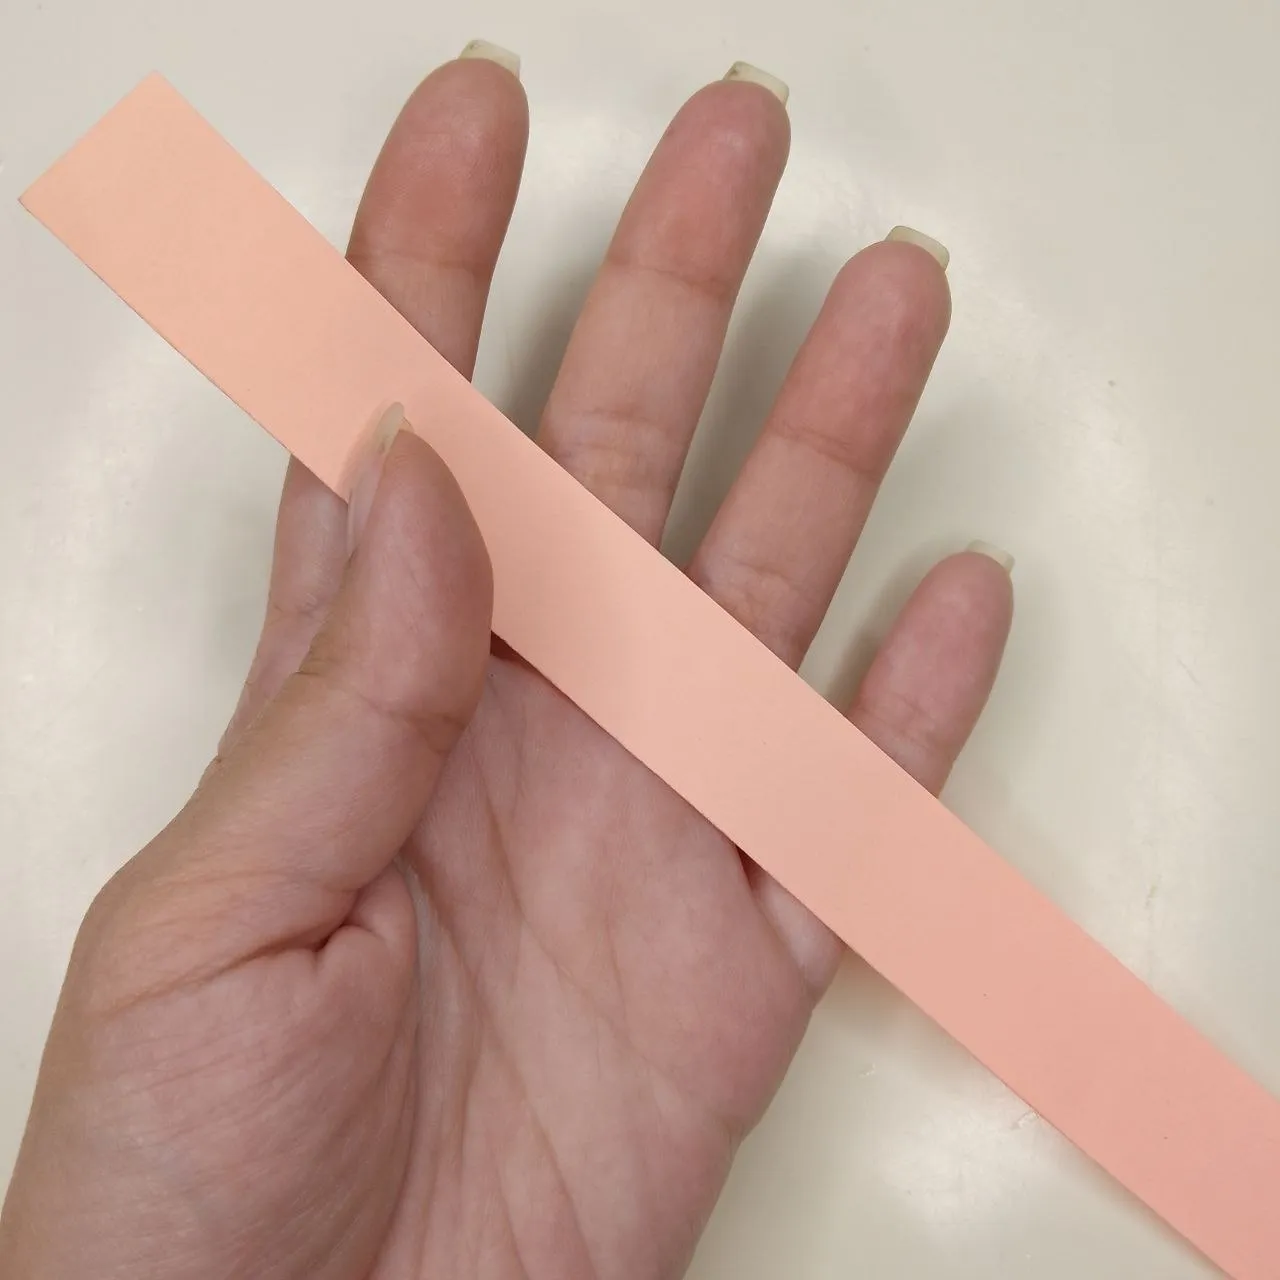
Ahora, tomaremos una tira de papel del color de nuestra preferencia, yo elegí este tono que es como coral y me pareció muy bonito. El ancho de la tira dependerá del alto que queramos que tengan nuestras flores. Esta tira, la doblaremos a la mitad de manera transversal y repetiremos el doblez hasta un tamaño adecuado.
Now, we will take a strip of paper of the color of our preference, I chose this tone that is like coral and I thought it was very pretty. The width of the strip will depend on how tall we want our flowers to be. This strip, we will fold it in half crosswise and repeat the folding until a suitable size.
 |  |
|---|
Doblando tira de papel / Folding paper strip
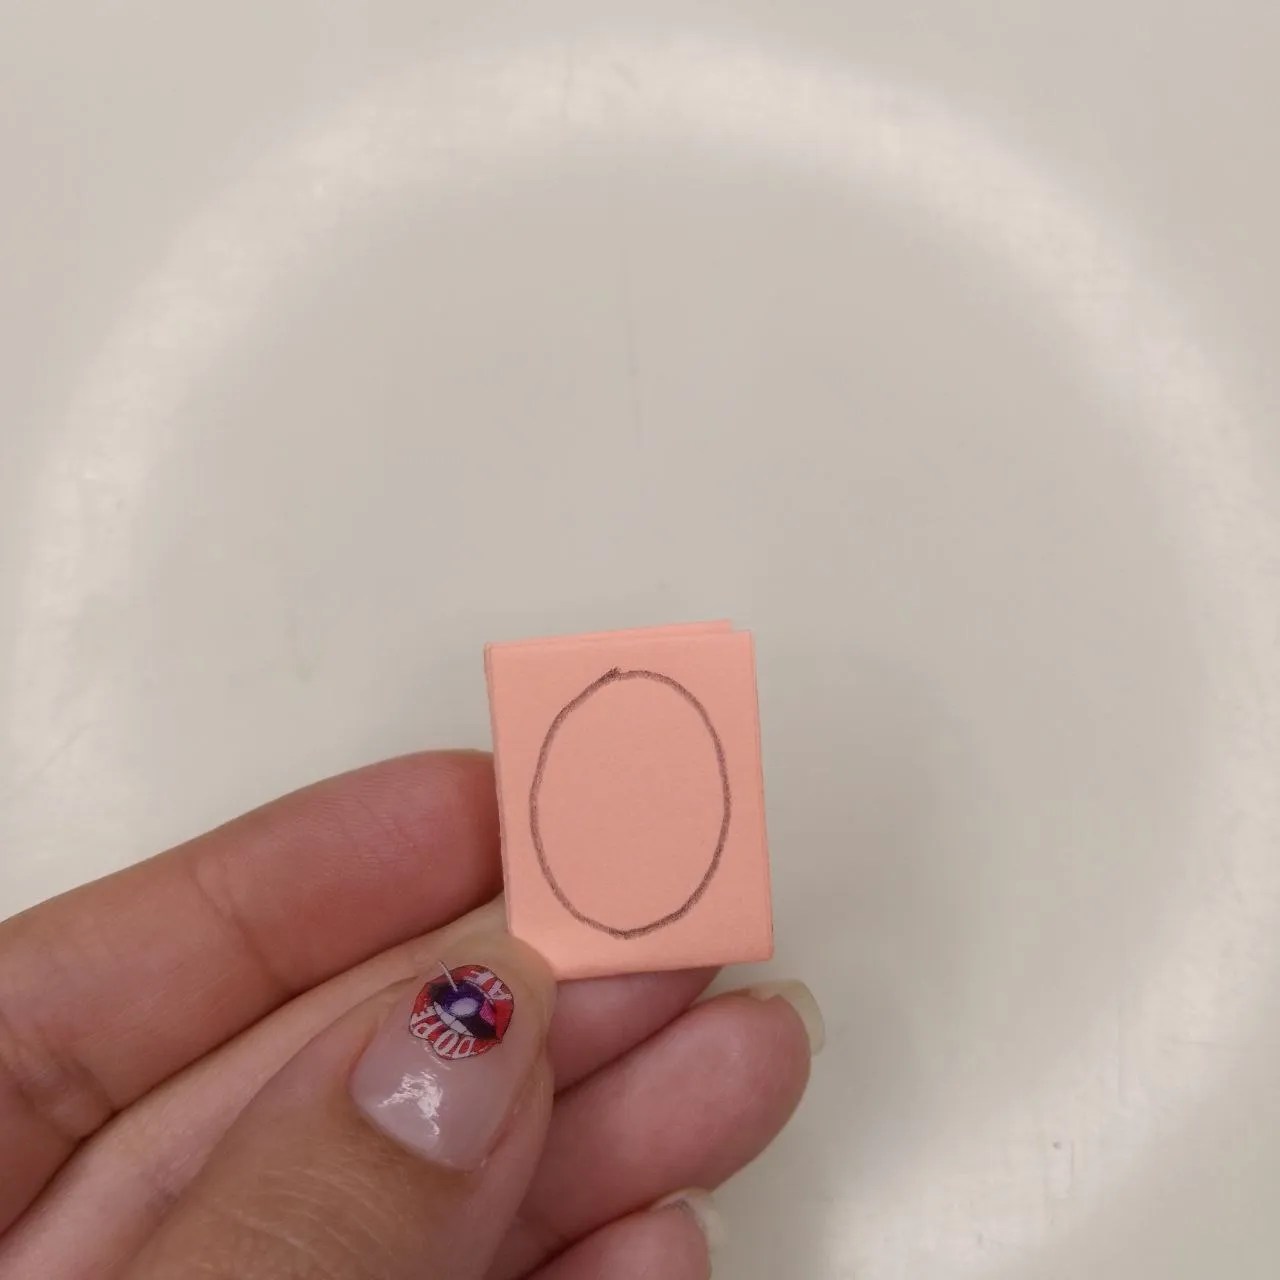
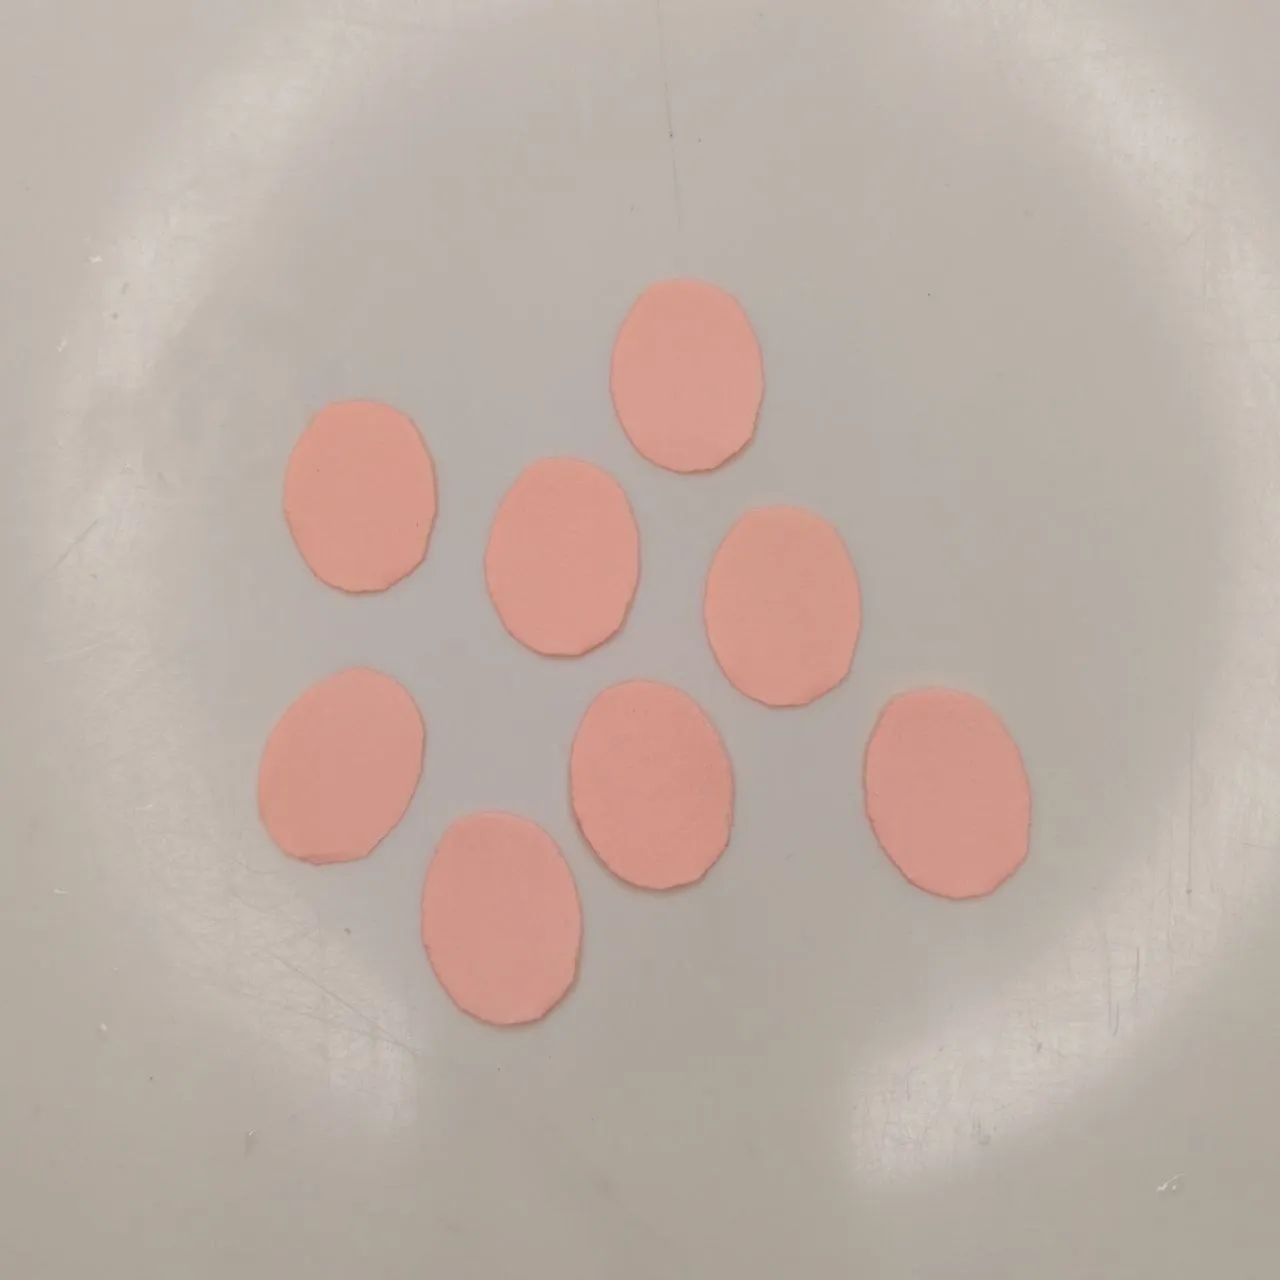
Entonces, dibujaremos una forma oval en una de las caras de la tira doblada, para posteriormente recortar con la tijera y obtendremos tantos pétalos como caras hayan quedado dobladas en la tira de papel.
Then, we will draw an oval shape on one of the faces of the folded strip, to later cut with the scissors and we will obtain as many petals as faces have been folded on the strip of paper.
 |  |
|---|
Recortando pétalos / Cutting petals
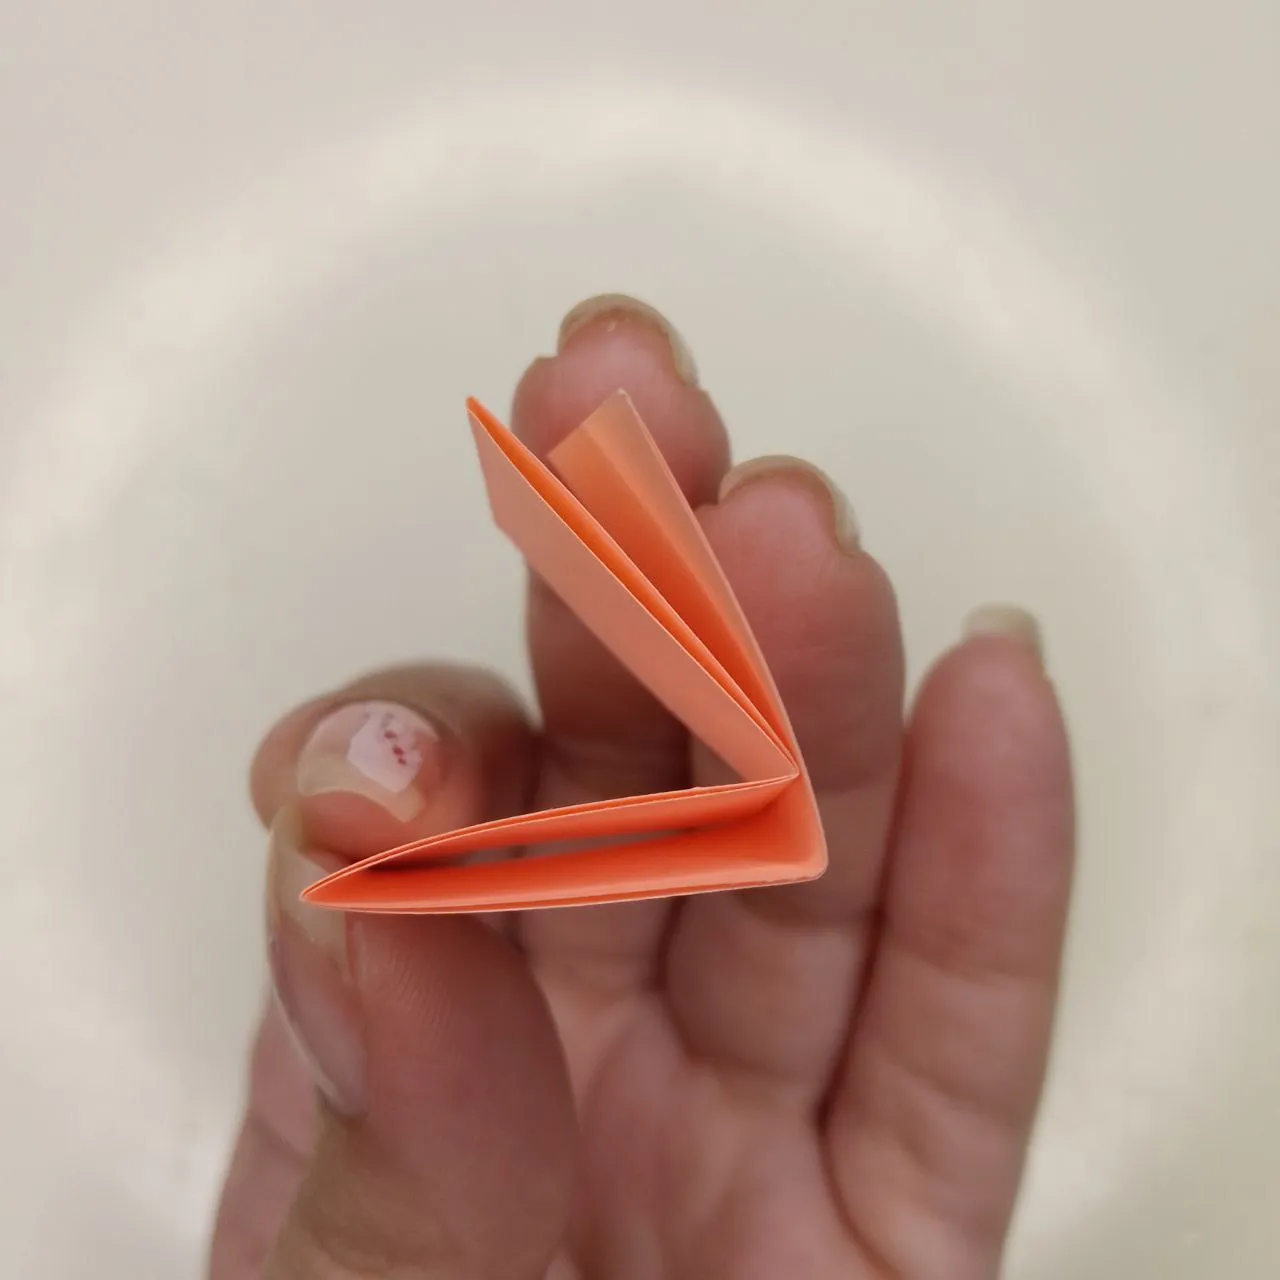
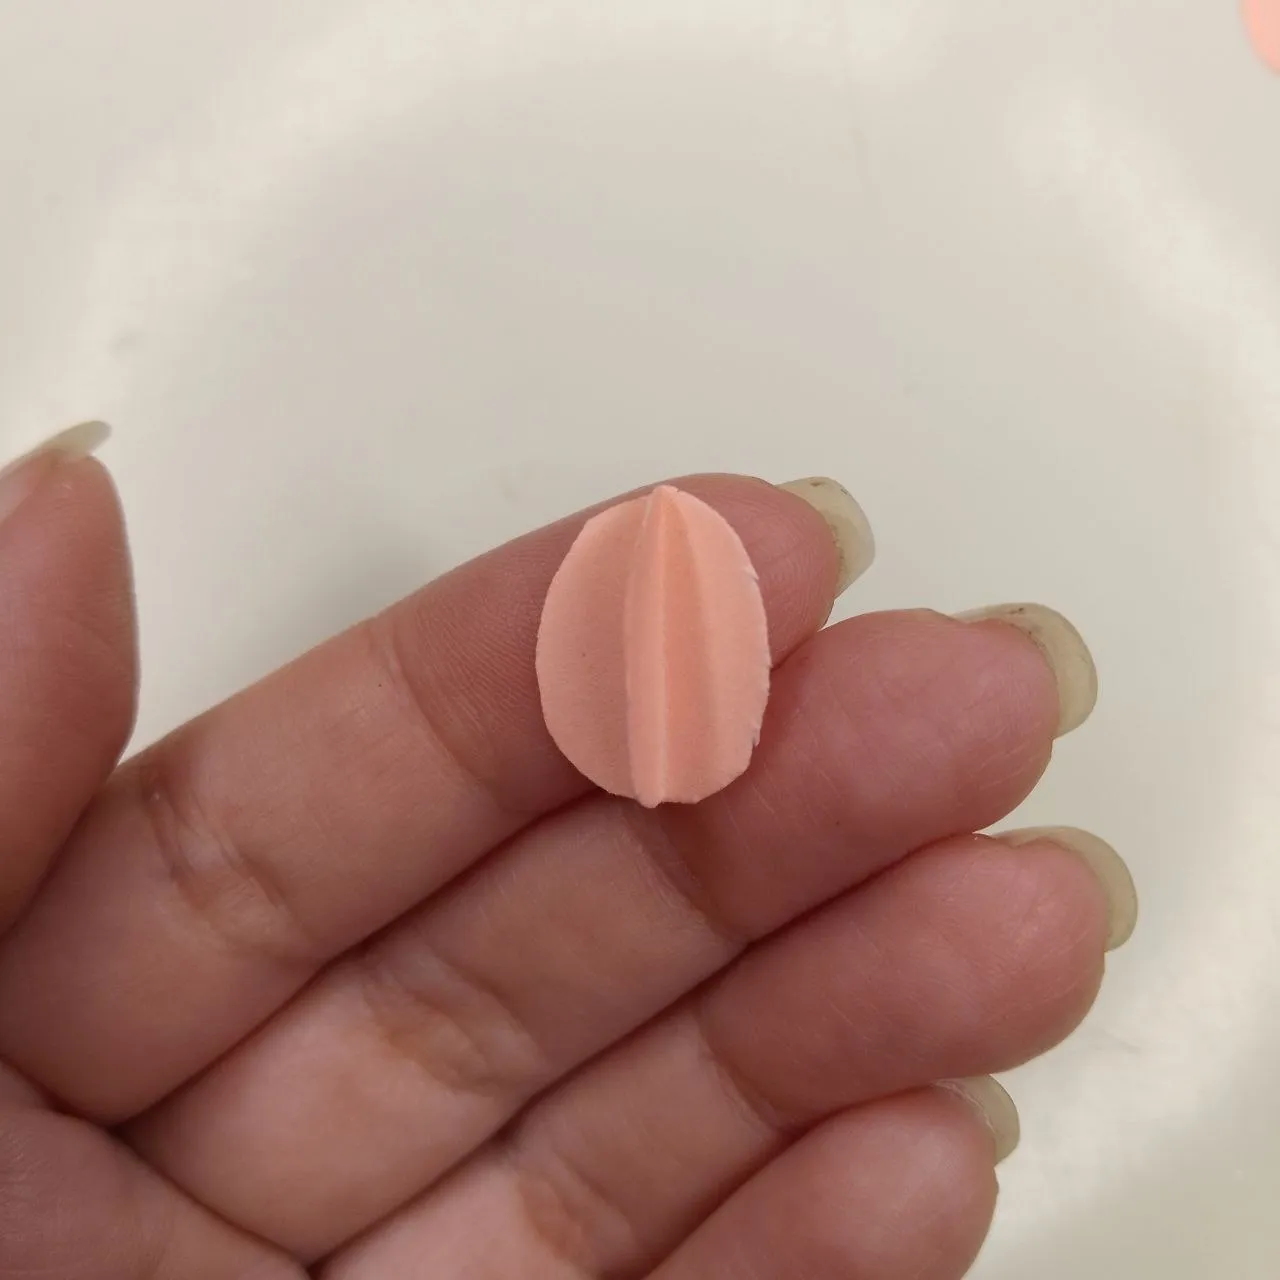
Tomando uno de los pétalos, lo doblamos por la mitad longitudinalmente y repetimos con todos los demás.
Taking one of the petals, we fold it in half lengthwise and repeat with all the others.

Doblamos los pétalos / Fold the petals
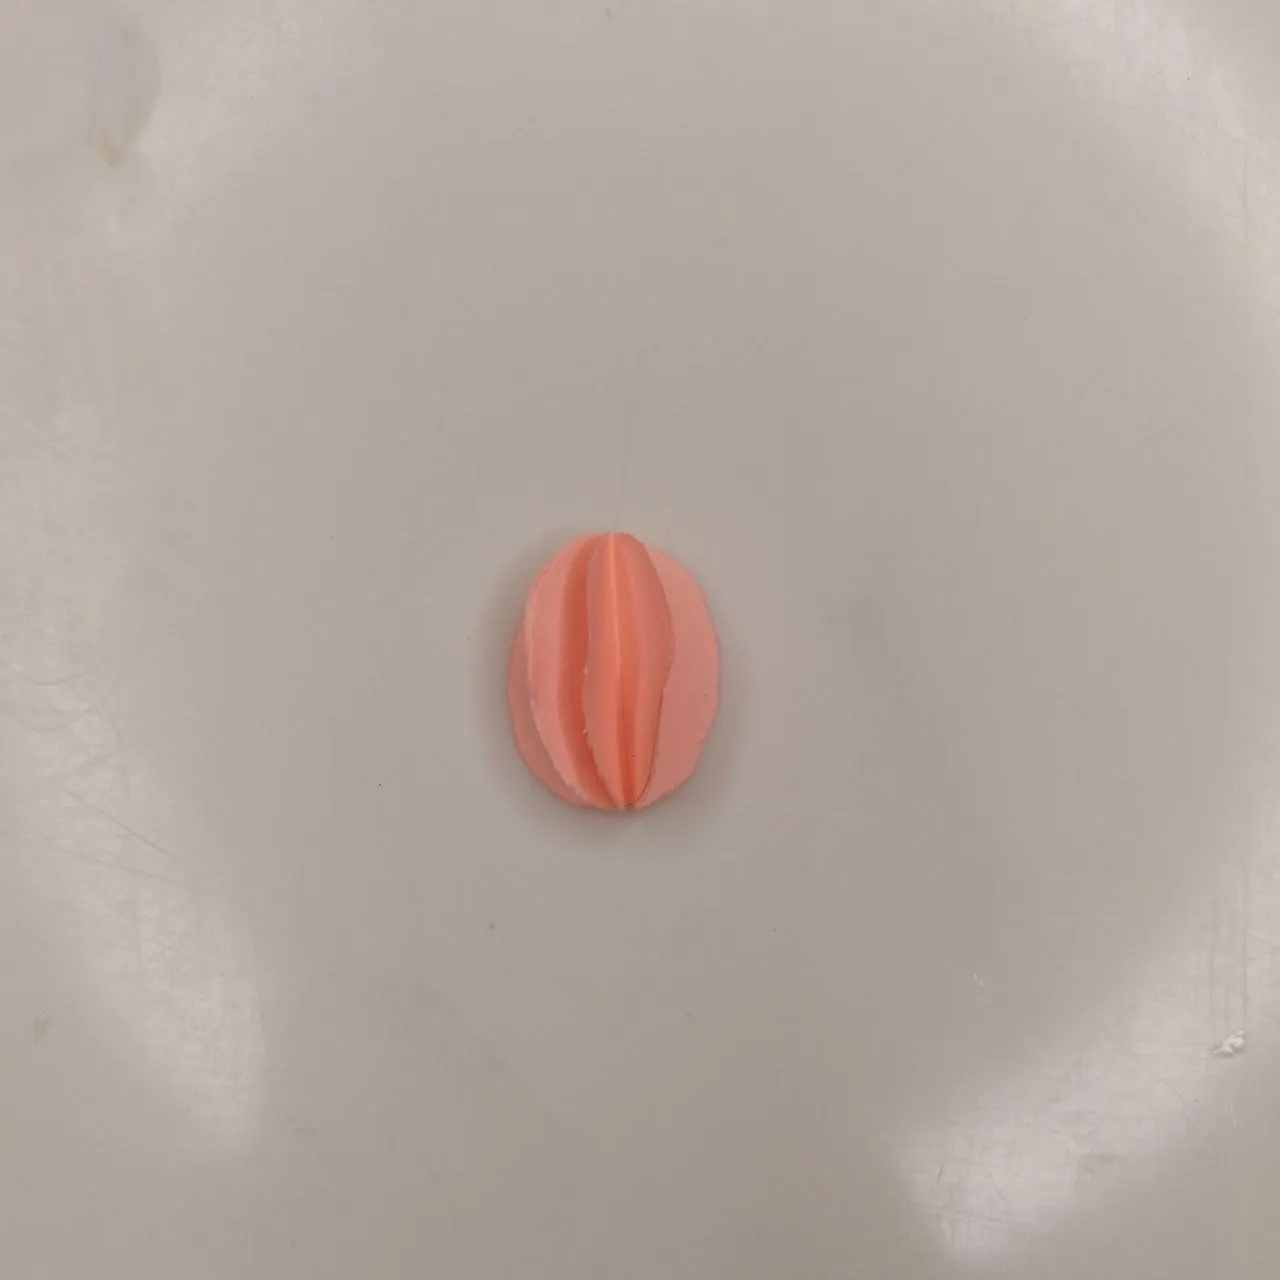
Al tener todos los pétalos doblados, añadimos un poco de pegamento en una de las mitades del pétalo y pegamos con la mitad del pétalo siguiente y hacemos esto mismo hasta haber unido cuatro de los pétalos. Al final, se verá una estructura 3D. Repetimos este proceso hasta obtener el número de flores deseadas, yo necesitaba solo cuatro de ellas.
When we have all the petals folded, we add a little glue on one of the petal halves and glue with half of the next petal and do the same until we have joined four of the petals. At the end, you will see a 3D structure. We repeat this process until we get the desired number of flowers, I needed only four of them.
 |  |
|---|
Formando las flores 3D / Forming the 3D flowers
Es momento de integrar las flores a la portada de nuestra tarjeta, así que las he dispuesto en las posiciones en que me parecí que se veían más bonitas y aseguré su posición, adhiriéndolas con un poco de pegamento. Además, con un lápiz tracé una guía para lo que serán los tallos de las flores.
It's time to integrate the flowers into the cover of our card, so I have arranged them in the positions where I thought they looked prettiest and secured their position by adhering them with a little glue. Also, with a pencil I traced a guide for what will be the stems of the flowers.
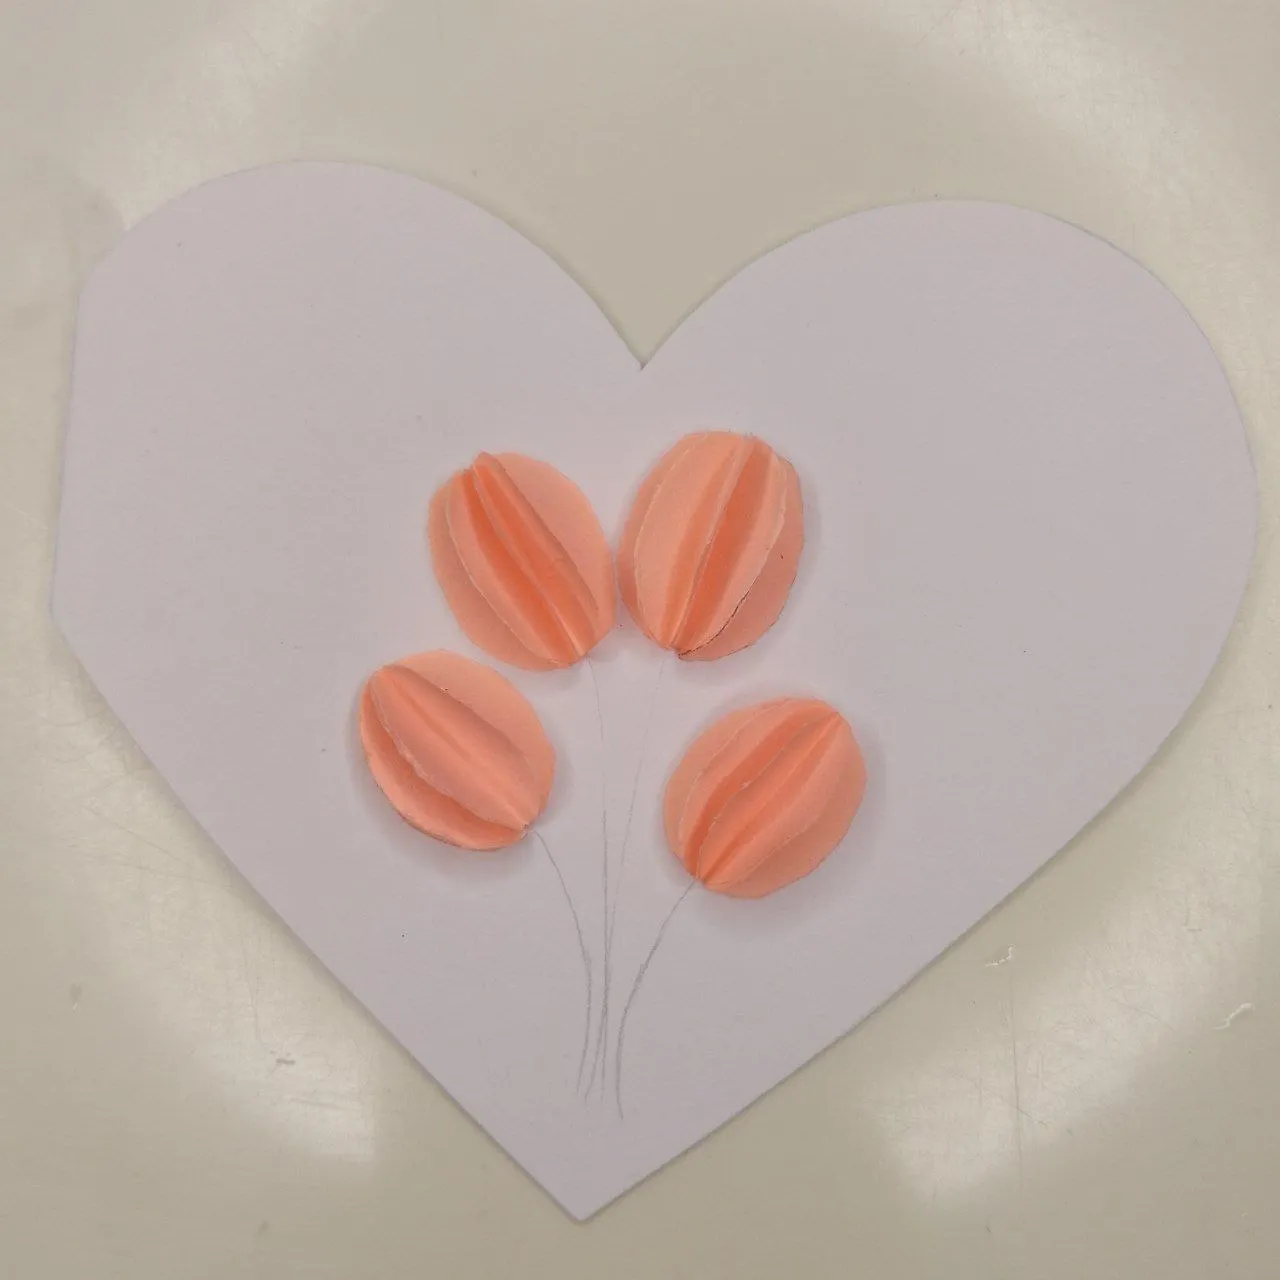
Posicionando las flores / Positioning the flowers
Con un pincel de punta fina me dispuse a pintar los detalles restantes. Primero, humedecí con agua (apenas un poco) la cartulina en la parte donde van los tallos, pues es lo que pintaré primero, luego, diluí bastante las pinturas que usaría con agua para que todo quedara en un efecto tipo acuarela, ya que me parece que le da un toque muy romántico y delicado a cualquier creación y así, hice los tallos y hojas en verde, luego les di algo de luz con amarillo y blanco y me pareció que se veían muy bien.
With a fine-tipped brush I started to paint the remaining details. First, I moistened with water (just a little) the cardboard in the part where the stems go, because that is what I will paint first, then, I diluted the paints I would use with water so that everything would be in a watercolor effect, as I think it gives a very romantic and delicate touch to any creation and so, I made the stems and leaves in green, then I gave them some light with yellow and white and I thought they looked very good.
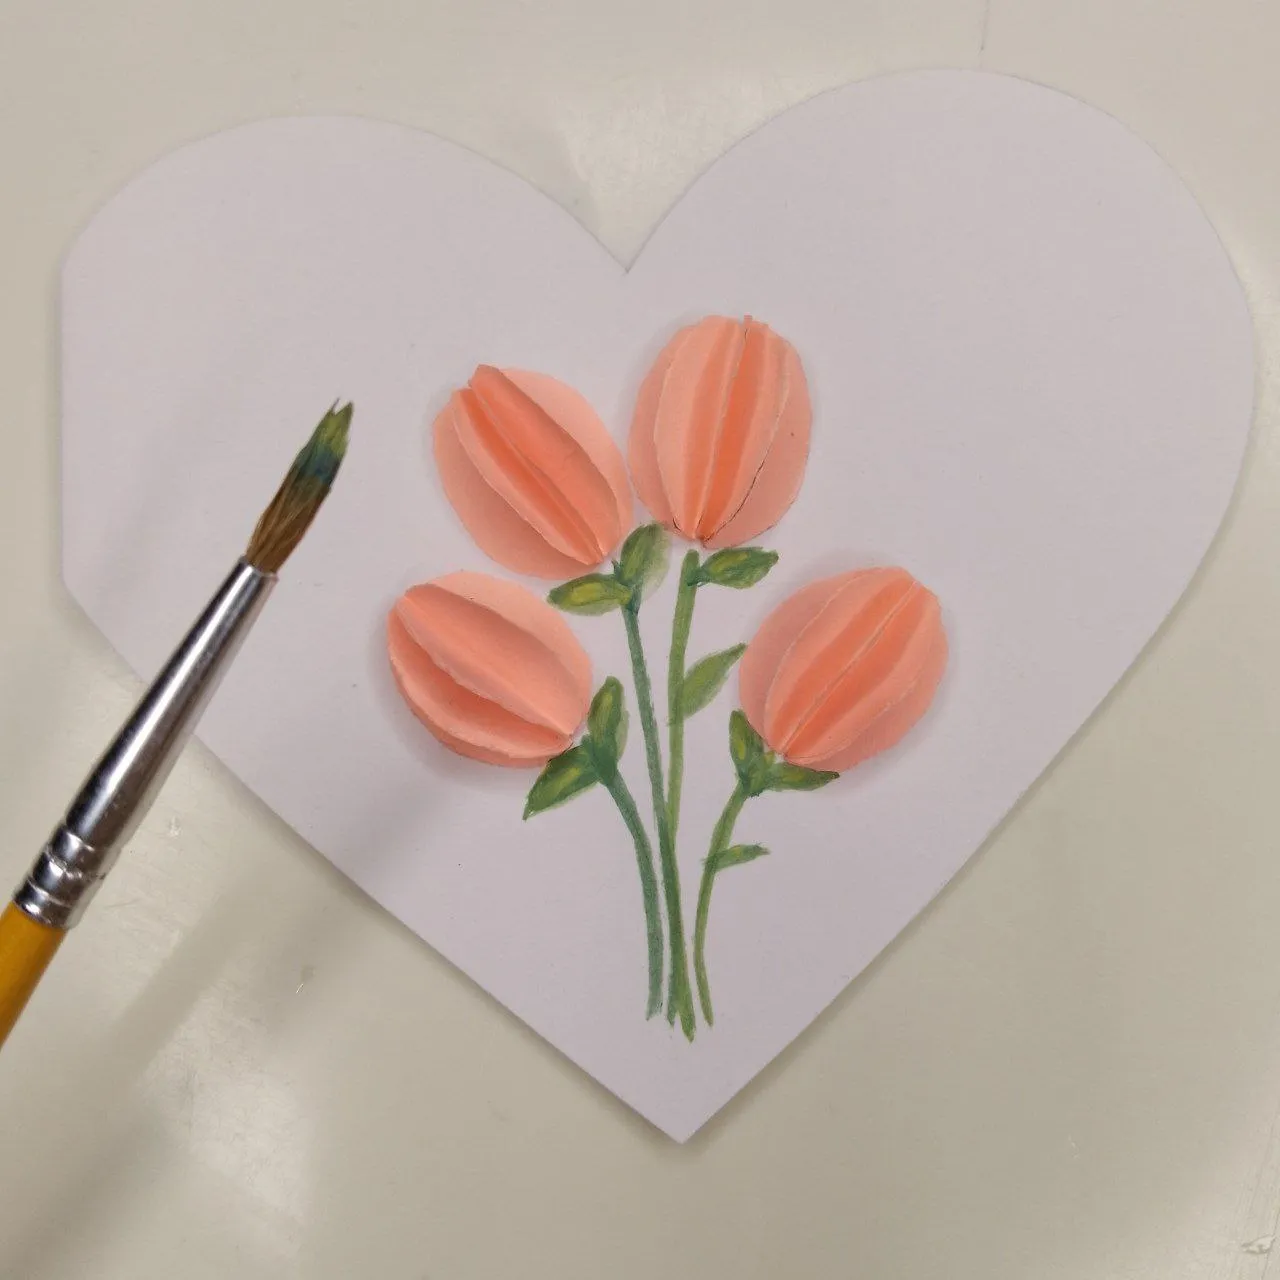
Pintando tallos / Painting stems
Como sentía que el espacio alrededor del ramo se veía muy vacío, decidí añadir algunos corazones rojos. Usé la misma técnica para el efecto acuarela, pero en este caso, para que las figuras fueran un poco más definidas, tracé un contorno muy delgado con pintura casi sin diluir. Los primeros corazones no me quedaron perfectos (risas) pero a medida que avanzaba fui tomando más seguridad y ya logré hacerlos justo como quería, es que es primera vez que intentaba esto (risas otra vez). También hice un poco de sombreado en los bordes de las flores para generar algo más de profundidad, esto lo hice con color rojo muy pero muy diluido.
Since I felt that the space around the bouquet looked very empty, I decided to add some red hearts. I used the same technique for the watercolor effect, but in this case, to make the figures a little more defined, I traced a very thin outline with almost undiluted paint. The first hearts were not perfect (laughs) but as I progressed I became more confident and I managed to make them just as I wanted, it's the first time I tried this (laughs again). I also did some shading on the edges of the flowers to generate some more depth, this I did with red color very but very diluted.
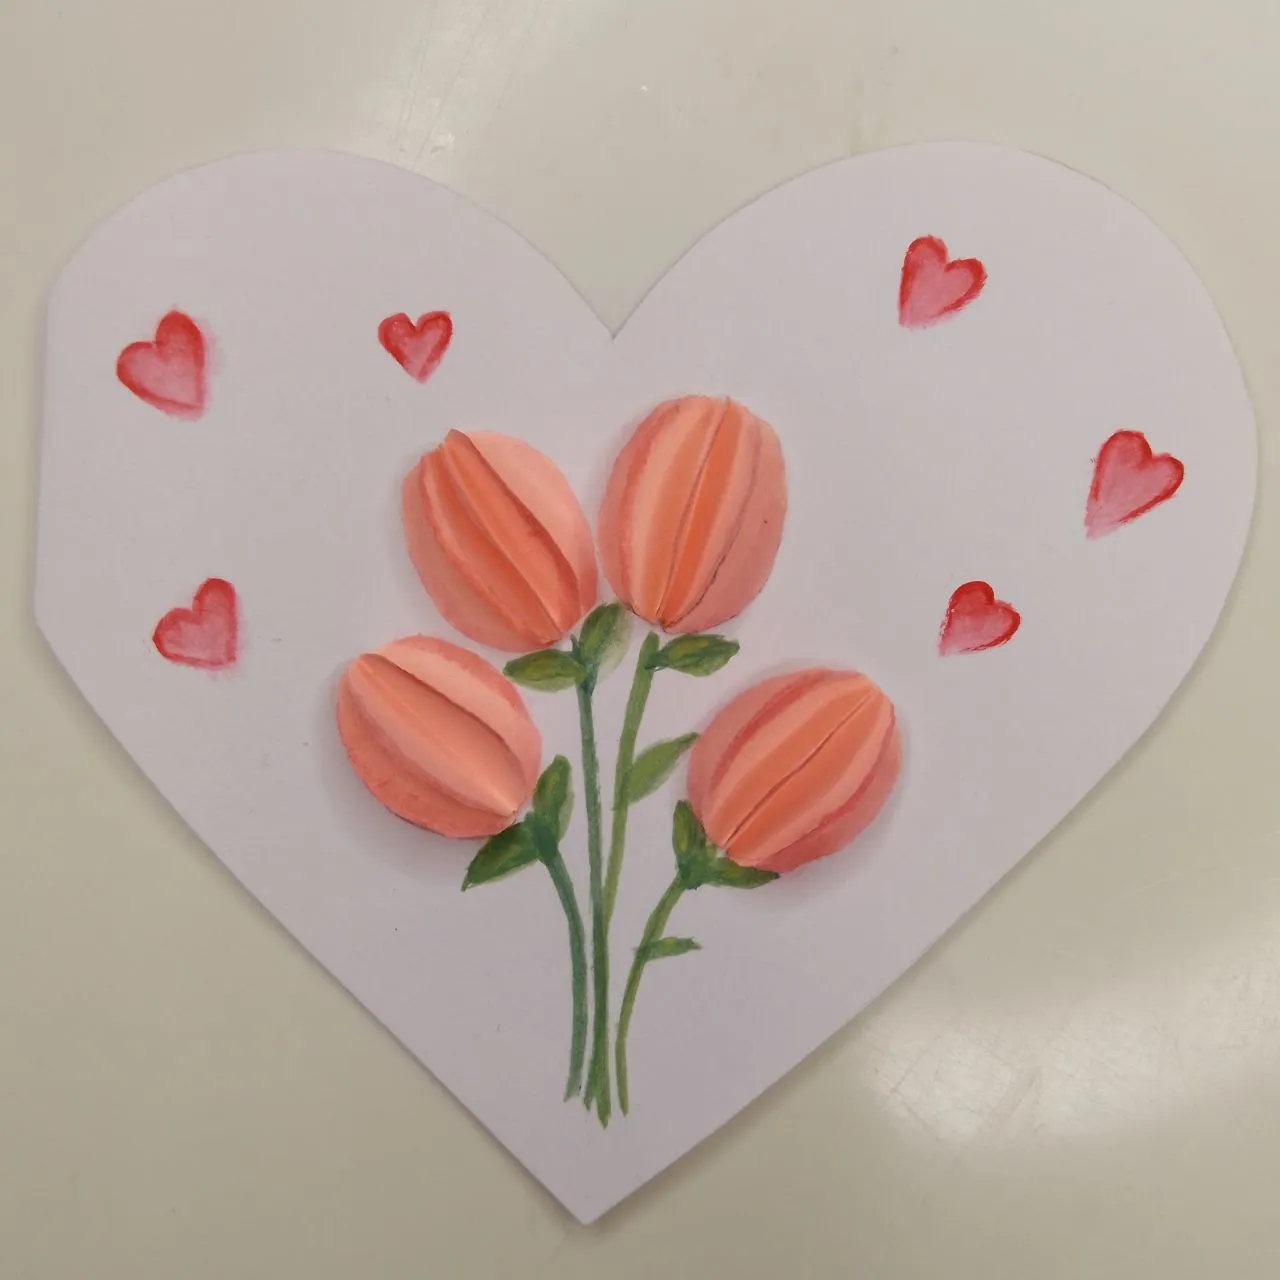
Corazones rojos / Red hearts
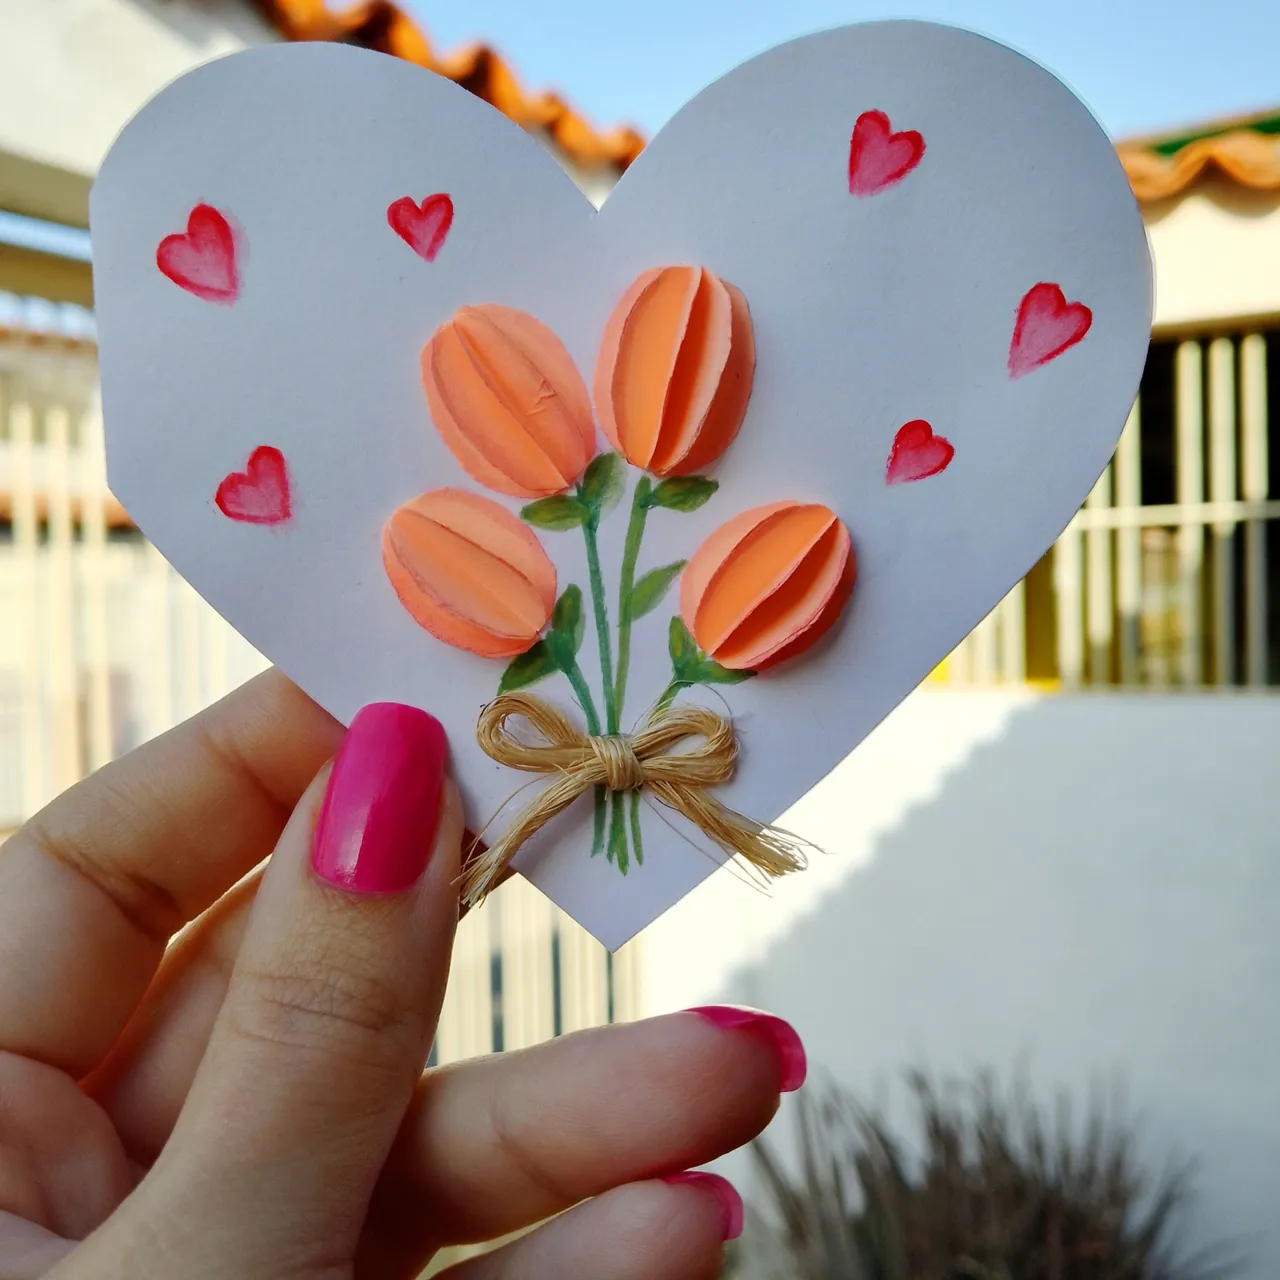
Finalmente, escribí un mensajito amoroso dentro y decoré los espacios alrededor del mismo con florecitas rosaditas para que la parte interna fuera a juego con la temática del exterior. Además, añadí un lacito al ramo de la portada que aseguré con un puntito de silicón caliente. Y este fue el resultado final:
Finally, I wrote a little love message inside and decorated the spaces around it with little pink flowers so that the inside would match the theme of the outside. I also added a bow to the bouquet on the cover, which I secured with a dot of hot silicone. And this was the final result:
 |  |
|---|
Resultado final / Final result
¡Muchas gracias por leerme!
Thank you so much for reading me!
Fotografías propias, tomadas con mi Tecno Spark 10C.
Traducido al inglés con DeepL.
Own photographs, taken with my Tecno Spark 10C.
Translated to English with DeepL.