Feliz y bendecido día para todas esas abejitas que forman parte de este maravilloso ecosistema llamado #hive, hoy les traigo un trabajo manual que realice para compartir con todos ustedes y espero que sea de su agrado.
Los materiales son fáciles de conseguir y posiblemente la mayoría ya los tengas de trabajos que ya hayas realizado anteriormente, aquí les dejo la lista de materiales con la que vamos a realizar este porta fósforo o yesqueros.
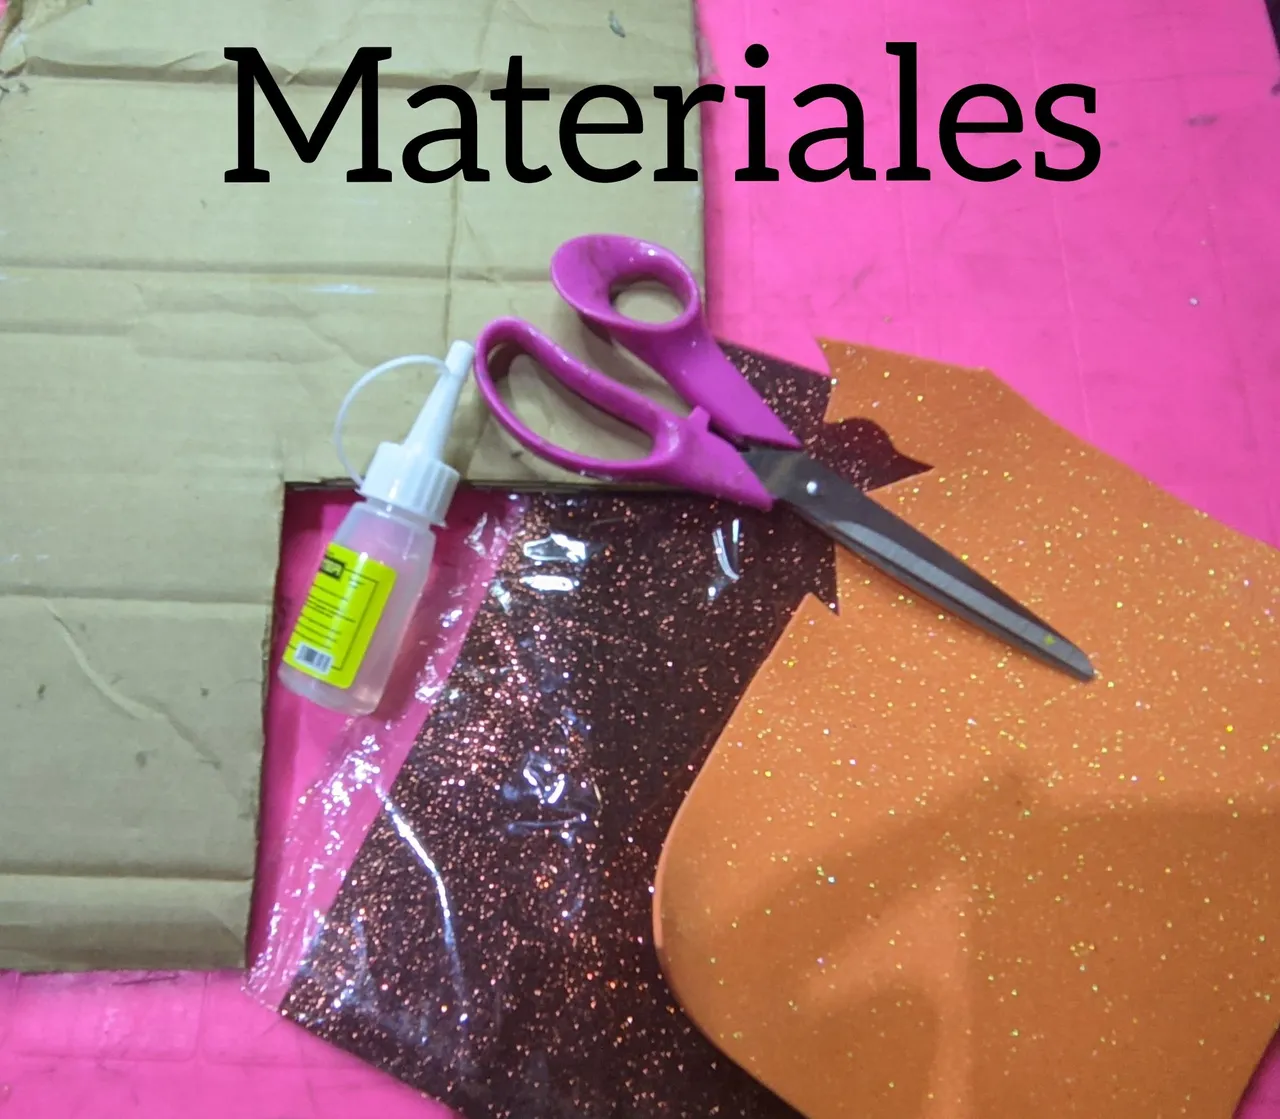
🥑 MATERIALES 🥑
🥑 Foami de color naranja.
🥑 Foami de color verde.
🥑 Foami de color amarillo.
🥑 Foami de color marrón.
🥑 Silicón líquido.
🥑 Cartón de caja.
🥑 Tijeras.
🥑 Plumilla de tinta negra.
🥑 Rubor.
🥑 Lápiz.
🥑 Papel crepé fucsia.
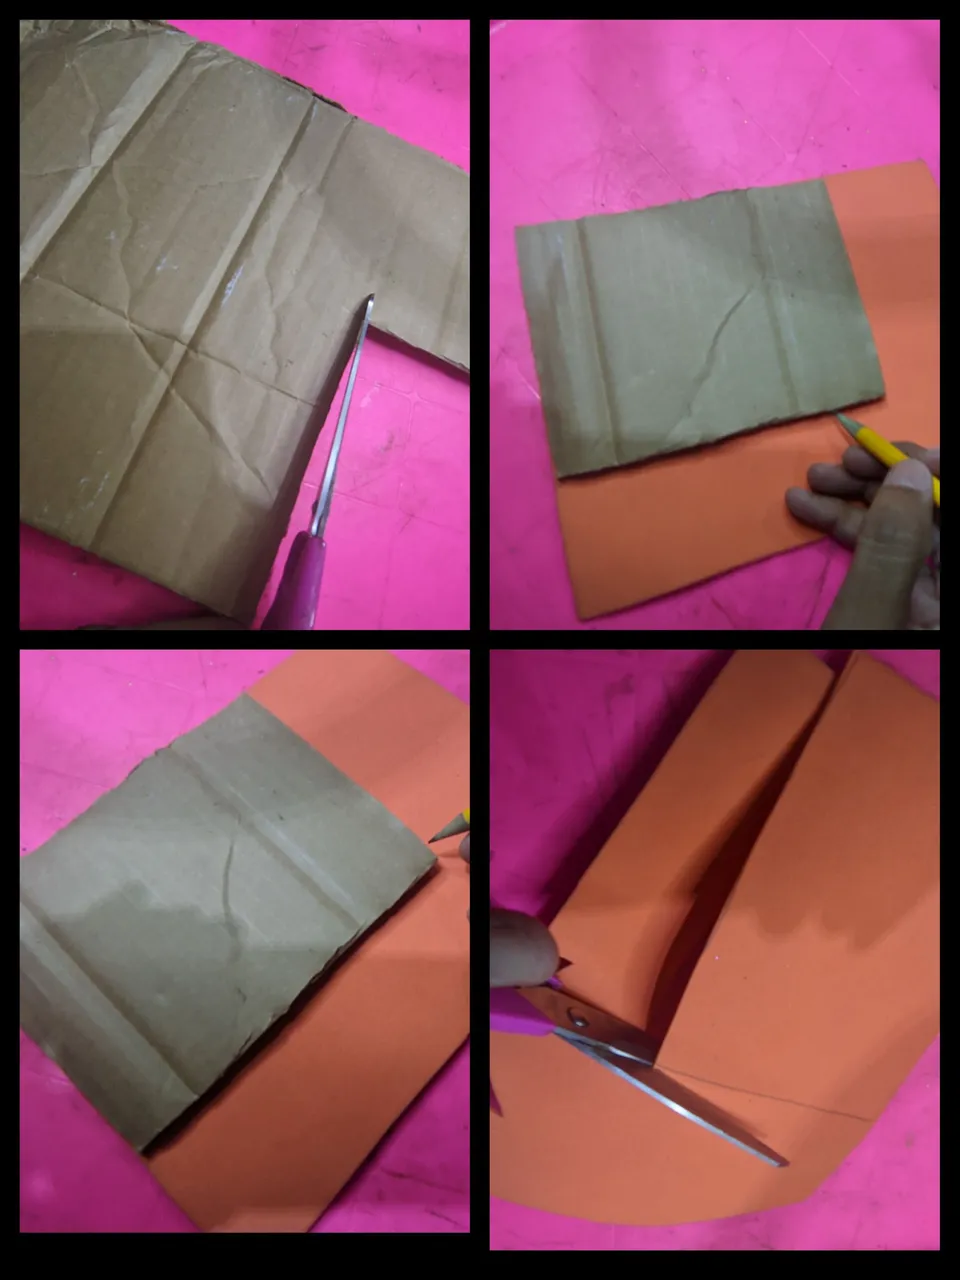
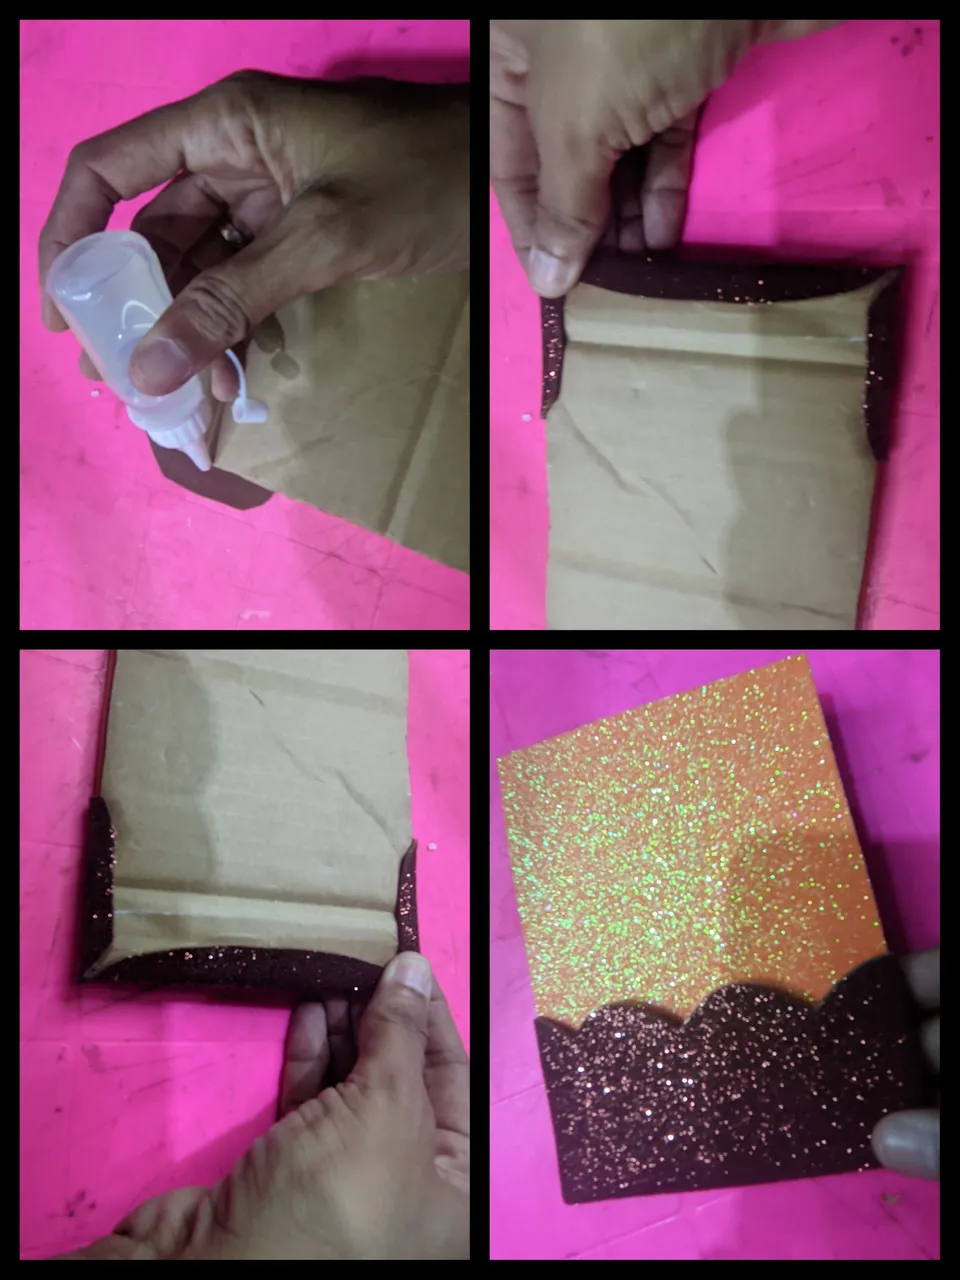
🥑 Primero marcamos en el cartón de caja un rectángulo de 15 cm de largo por 12 cm de ancho y lo recortamos, luego tome el rectángulo de cartón y la marco en el foami de color naranja y recortamos.
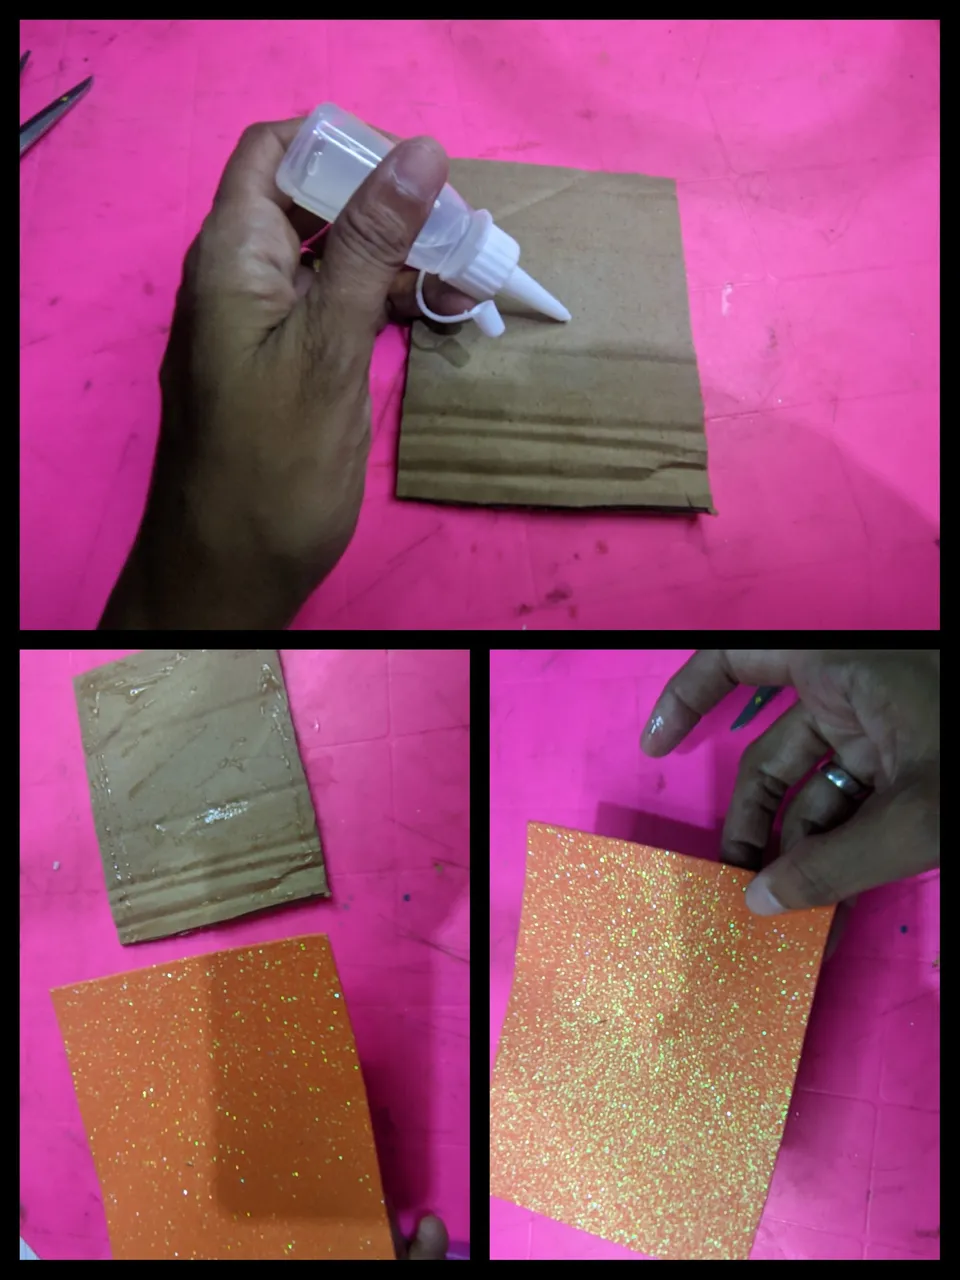
🥑 Cuando ya tenemos las dos piezas recortadas aplicó silicón en el cartón y luego le pegó el rectángulo de foami, apretamos un poco para que pegue bien.
🥑 Luego en el foami de color marrón marcamos con el lápiz una rectangulo de 14 cm de ancho y de 8 cm de alto, cuando lo hayamos recortado le hacemos unos cortes en uno de los bordes.

🥑 Colocamos la pieza de foami marrón que recortamos, sobre la pieza naranja y le aplicamos un poco de silicón líquido por los bordes y pegamos.
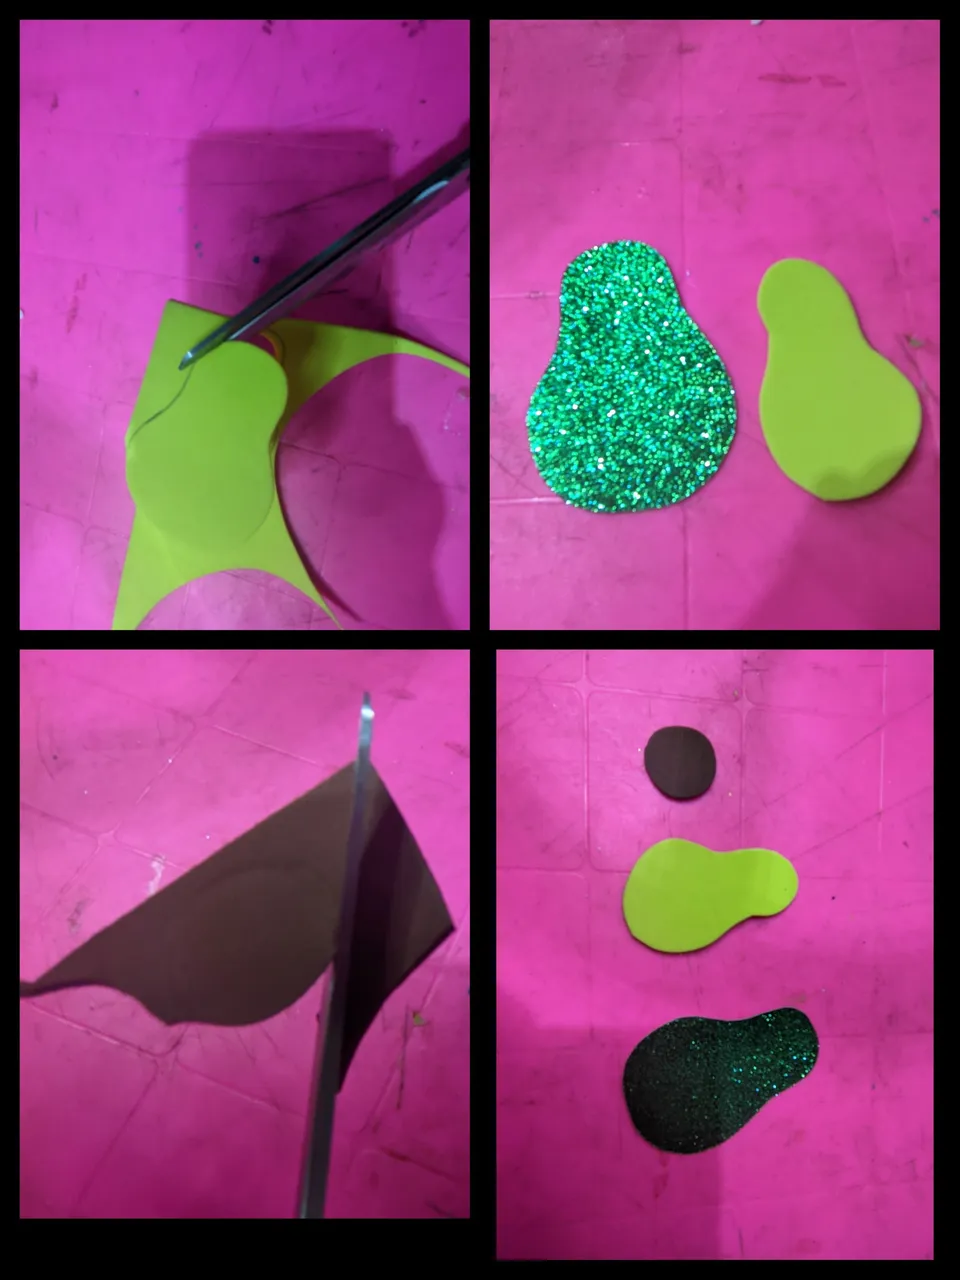
🥑 Luego tomé el Foami de color verde y dibuje la forma de un aguacate y lo recorte, después tomé el foami de color amarillo y nuevamente recorte otra silueta de aguacate pero está debe ser más pequeña.

🥑 Después de sacar las dos piezas tomé el foami marrón y marque y recorte un pequeño círculo que nos servirá para ser la pepa del aguacate.
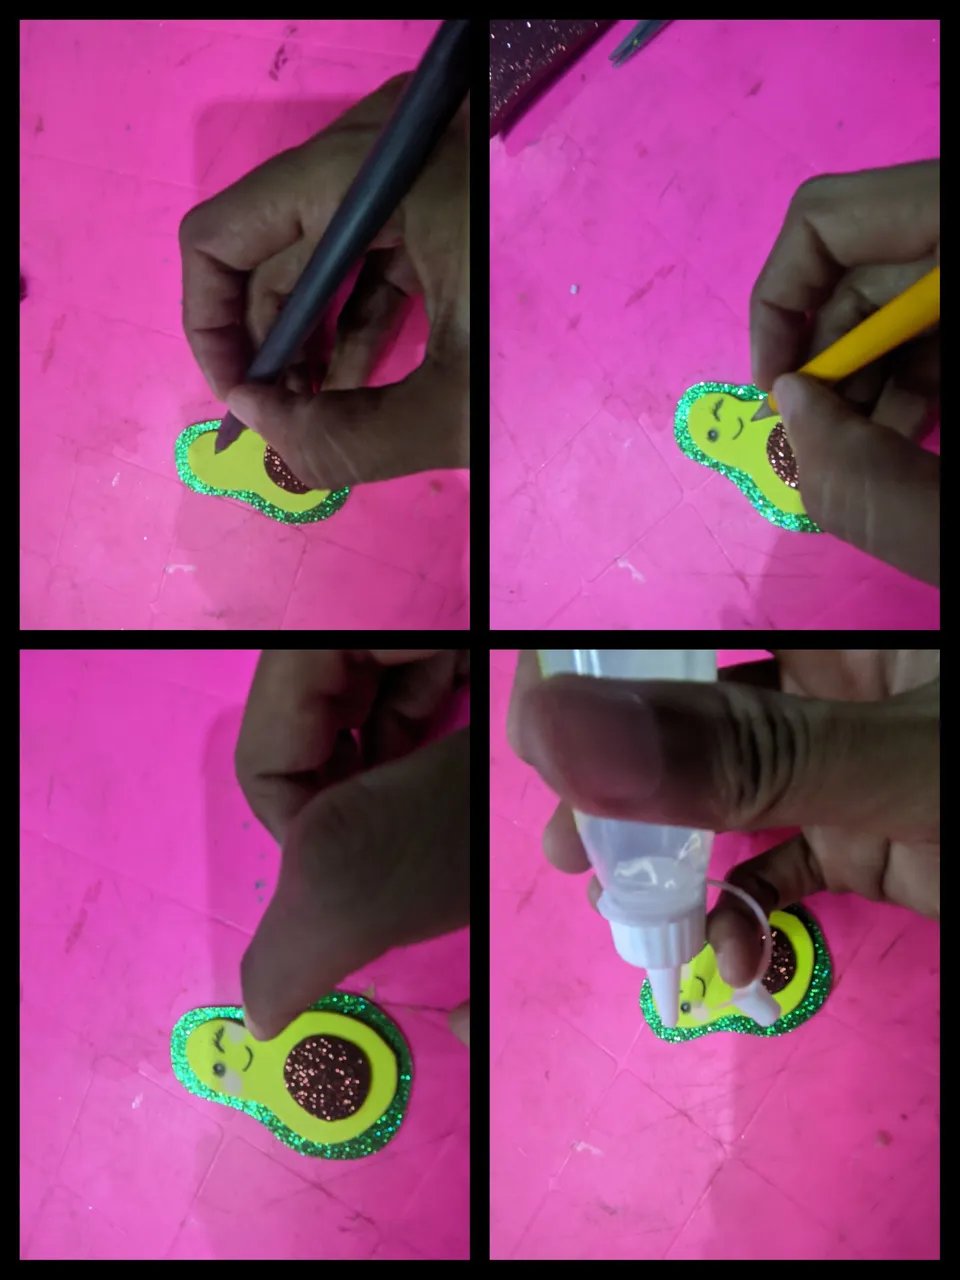
🥑 Tome la pieza de color amarillo y le apliqué un poco de silicón líquido y pegamos a la pieza de color verde, y luego tome la pieza de color marrón y la pegue con silicón líquido en la parte de abajo del aguacate.
🥑 Con la plumilla le dibuje el rostro, hice un ojo abierto y el otro guiñando y una linda sonrisa, también hice un lazo con papel crepé bien sencillo, le aplicó un poco de silicón líquido y pagamos en la parte de arriba del aguacate y con el dedo le aplicó un poco de rubor para formar los cachetes.
🥑 Cómo ya está listo el aguacate le aplicó un poco de silicón líquido y pegamos en la pieza grande, luego recorté algunos círculos pequeños de color amarillo.
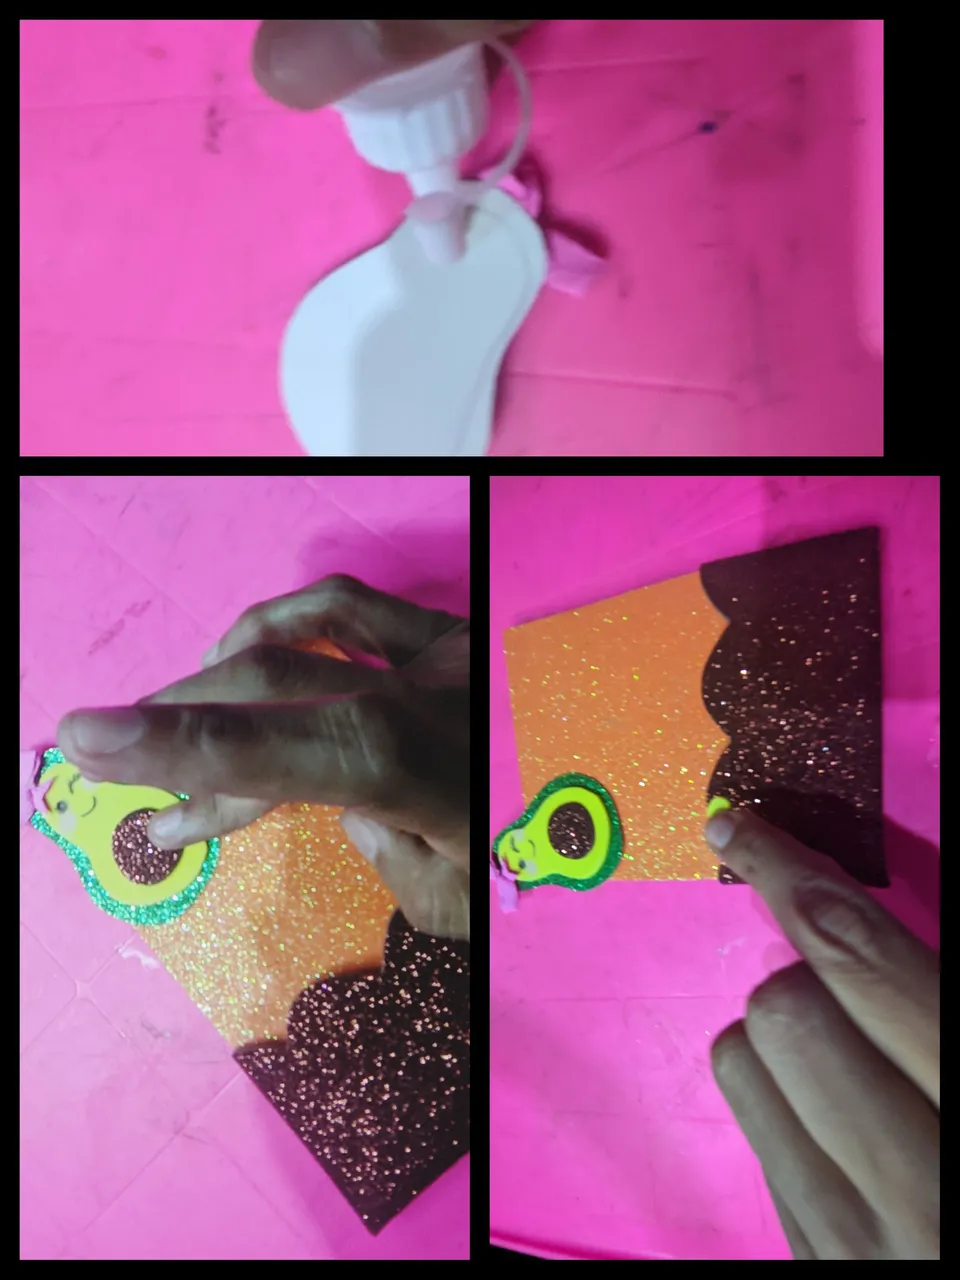
🥑 Los círculos pequeños los pegue en la parte marrón tal como se aprecia en la fotografía, después recorté un pequeño listón y doble formando una pequeña asa y con un poco de silicón líquido lo pegó.
🥑 Después marque un pequeño rectángulo de 13 cm de largo y de 2 cm de ancho, que luego recorté en uno de los bordes, le apliqué silicón líquido y pegamos.
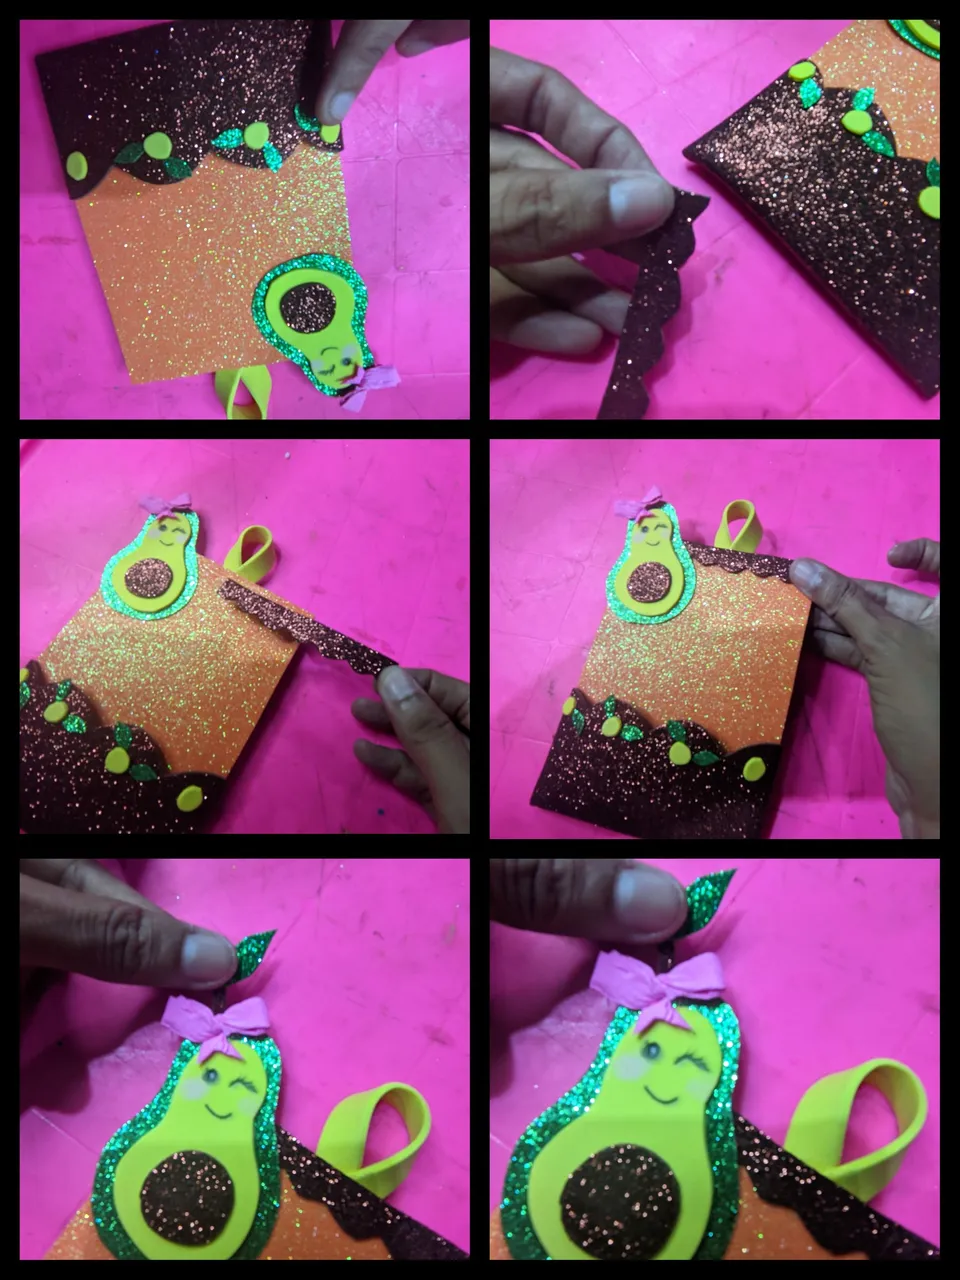
Luego y ya para darle los toques finales recorte unas hojitas del foami verde y las pegué, y ya está listo.
🥑🥑RESULTADO FINAL🥑🥑
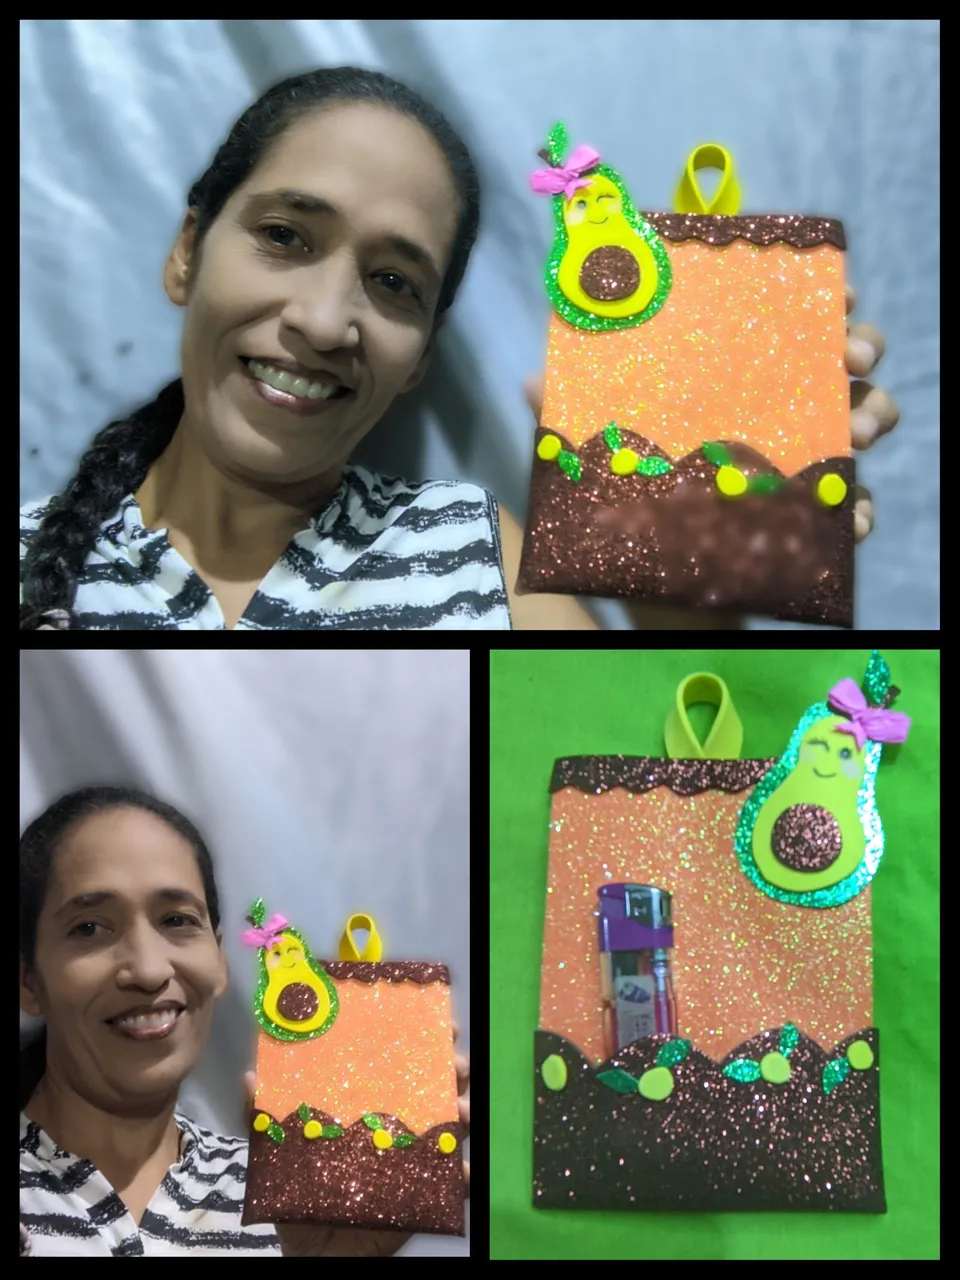
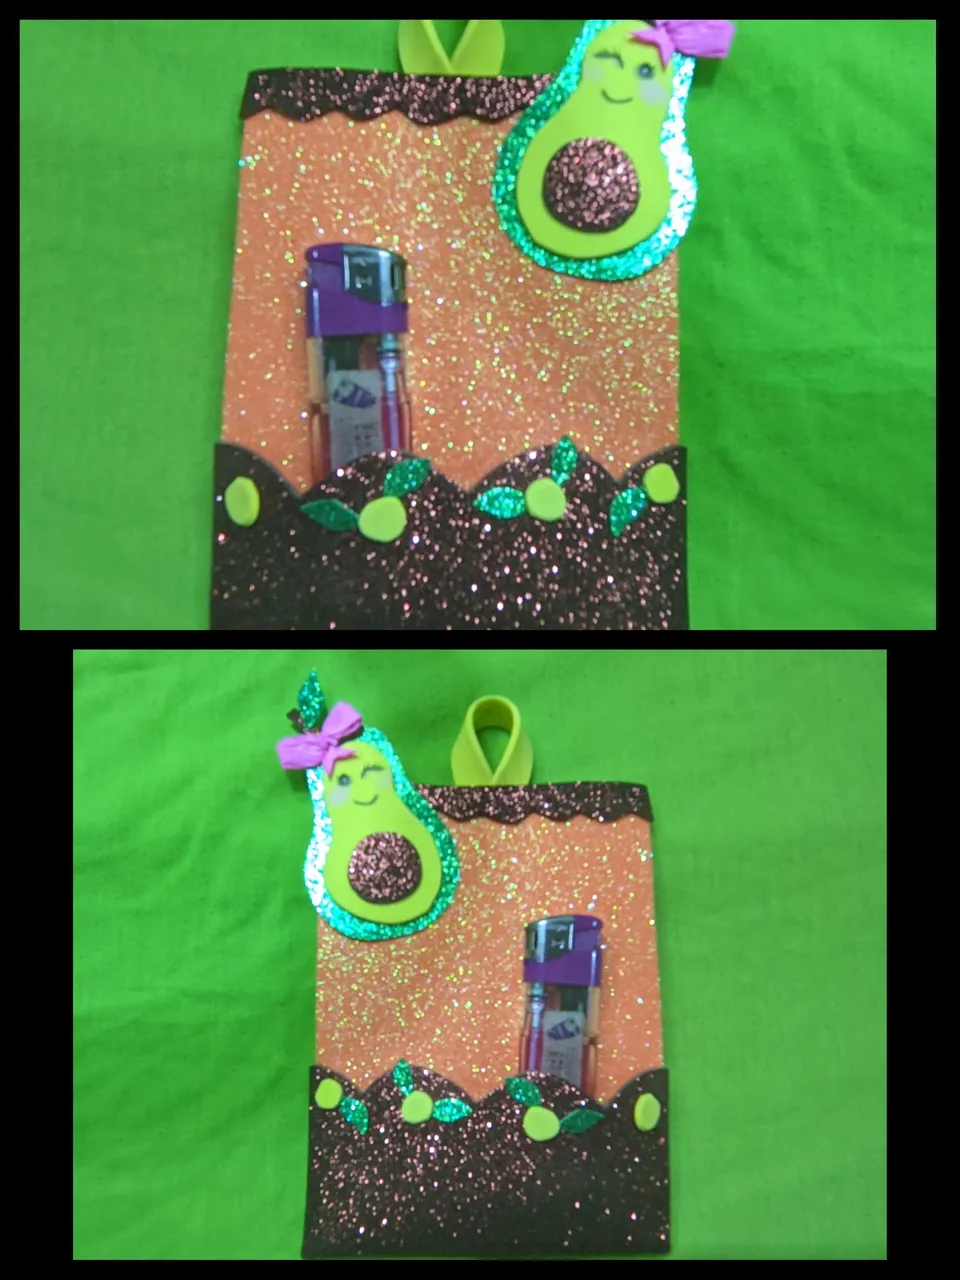
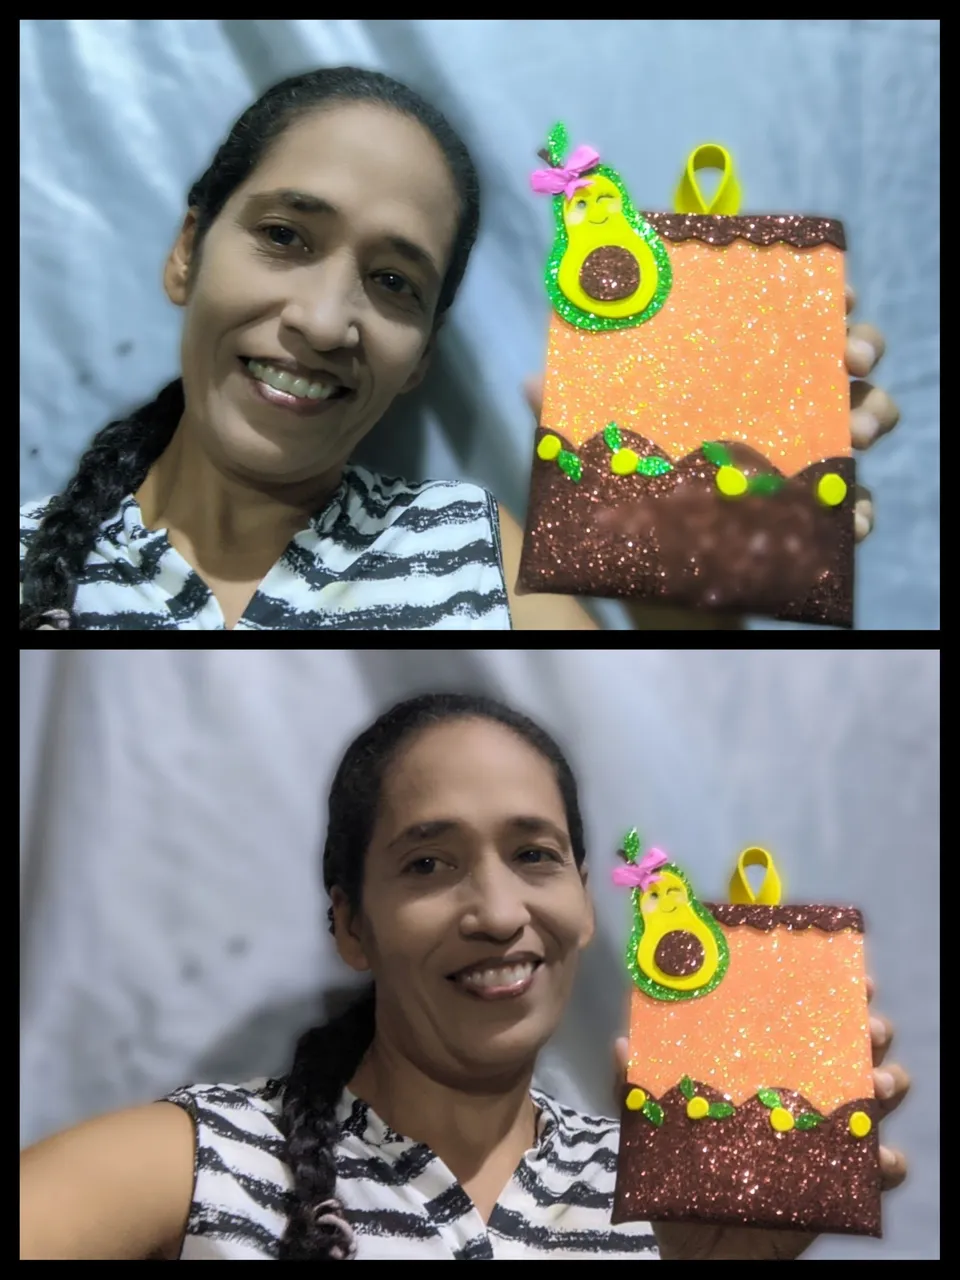
Cómo pueden ver es un detalle que además de decorativo, también es funcional y práctico que puede ser utilizado en nuestras cocinas, espero que les haya gustado, trate de dar la explicación de la manera más sencilla posible para que todos puedan hacerlo.
Por ahora me despido será hasta nuestro próximo encuentro y recuerden que la vida es bella y en colores.
🥑 CRÉDITOS🥑
🥑 Todas las fotografías fueron tomadas con mi teléfono Xiaomi redmi 9T y son de mi propiedad.
🥑 usé el programa polish y canvas y el traductor Deepl versión gratuita.


Happy and blessed day for all those little bees that are part of this wonderful ecosystem called #hive, today I bring you a manual work I made to share with all of you and I hope you like it.
The materials are easy to get and possibly most of them you already have them from works that you have done before, here is the list of materials with which we are going to make this match holder or tinderbox.
🥑 MATERIALS 🥑
🥑 Orange colored Foami.
🥑 Foami green color.
🥑 Foami of yellow color.
🥑 Brown colored foami.
🥑 Liquid silicone.
🥑 Box carton.
🥑 Scissors.
🥑 Black ink pen.
🥑 Blush.
🥑 Pencil.
🥑 Fuchsia crepe paper.
🥑 First we mark on the box cardboard a rectangle 15 cm long by 12 cm wide and cut it out, then take the cardboard rectangle and mark it on the orange foami and cut it out.
🥑 When we already have the two pieces cut out applied silicone on the cardboard and then glued the rectangle of foami, we squeezed a little to stick well.
🥑 Then on the brown colored foami we mark with the pencil a rectangle of 14 cm wide and 8 cm high, when we have cut it out we make some cuts on one of the edges.
🥑 Place the brown foami piece we cut out on top of the orange piece and apply some liquid silicone around the edges and glue it.
🥑 Then I took the green colored Foami and drew the shape of an avocado and cut it out, then I took the yellow colored foami and again cut out another avocado silhouette but this one should be smaller.
🥑 After removing the two pieces I took the brown foami and marked and cut out a small circle that will serve as the avocado's seed.
🥑 I took the yellow piece and applied some liquid silicone and glued it to the green piece, and then I took the brown piece and glued it with liquid silicone on the bottom of the avocado.
🥑 With the pen I drew the face, I made an open eye and the other winking and a nice smile, I also made a bow with crepe paper very simple, applied a little liquid silicone and paid on top of the avocado and with the finger applied a little blush to form the cheeks.
🥑 As the avocado is ready he applied some liquid silicone and we glued it on the big piece, then I cut out some small yellow circles.
🥑 The small circles I glued them on the brown part as seen in the picture, then I cut out a small ribbon and folded forming a small handle and with some liquid silicone glued it.
🥑 Then mark a small rectangle 13 cm long and 2 cm wide, which I then cut out on one of the edges, applied liquid silicone and glued.
Then, to give it the final touches, I cut out some leaves from the green foami and glued them on, and it's ready.
🥑🥑🥑FINAL RESULT🥑🥑🥑🥑
How you can see is a detail that besides decorative, it is also functional and practical that can be used in our kitchens, I hope you liked it, try to give the explanation in the simplest way possible so that everyone can do it.
For now I will say goodbye until our next meeting and remember that life is beautiful and colorful.
🥑 CREDITS🥑
🥑 All photos were taken with my Xiaomi redmi 9T phone and are my property.
***
🥑 I used the polish and canvas program and the Deepl translator free version.