Muy buenas tardes tengan tod@s mis amig@s de hive, estaba un poquito perdida de aqui, pero ya estoy de vuelta, por aqui las cosas no han estado muy buenas, y aunque no lo crean repercute sobre el pueblo, .. pero bueno si no es asi no aprendemos a valorar lo que tenemos y se nos olvida darle las gracias a Dios..
Good afternoon to all my friends at hive. I was a little lost here, but I'm back now. Things haven't been very good around here, and even if you don't believe it, it has repercussions on the town. But, well, if it isn't like that, we don't learn to value what we have and we forget to thank God.
Pero como dicen por ahi al mal tiempo buena cara, les traigo dos pequeños proyectos, les digo porque el otro salio de los residuos de uno.. y no lo pude dejar pasar... estamos para enseñar y no podemos perder el tiempo. asi que aqui les dejo mis proyectos..
But as they say, "When life gives you lemons, make lemonade." I'm bringing you two small projects. I'm telling you because the other one came from the scraps of one... and I couldn't pass it up... we're here to teach, and we can't waste time. So, here are my projects.
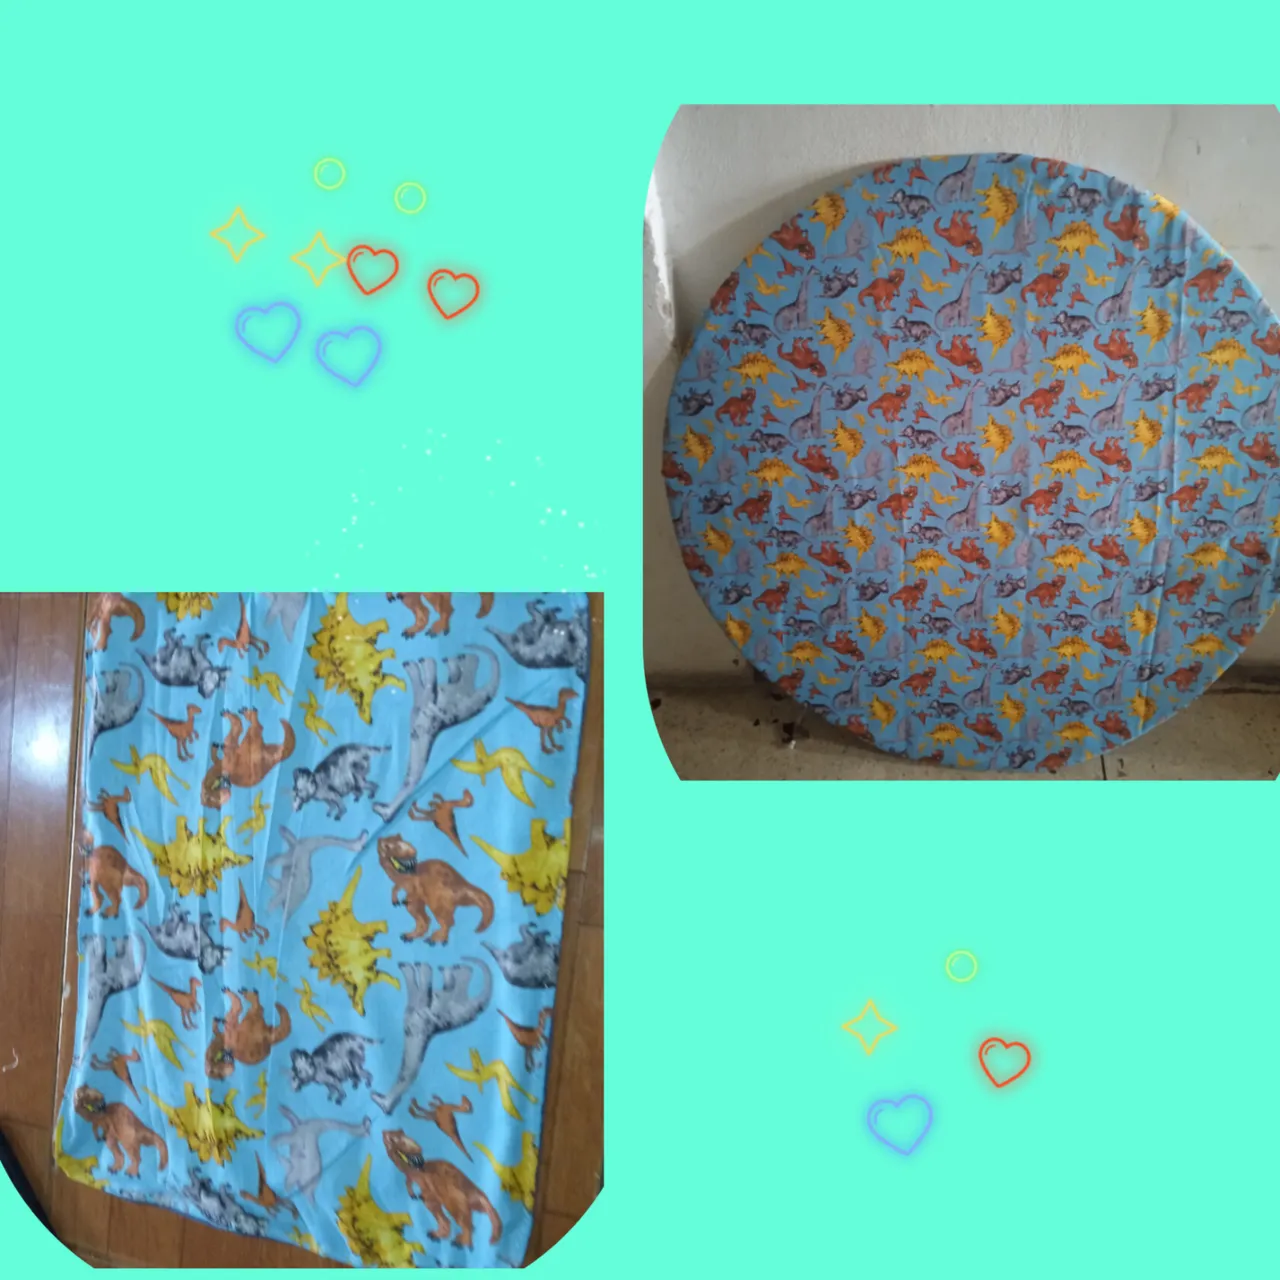
Este es un paraban que mis hijos usan en sus decoraciones, yo les colaboro haciendoselos..
This is a screen that my children use in their decorations, I help them by making it for them.
MATERIALES
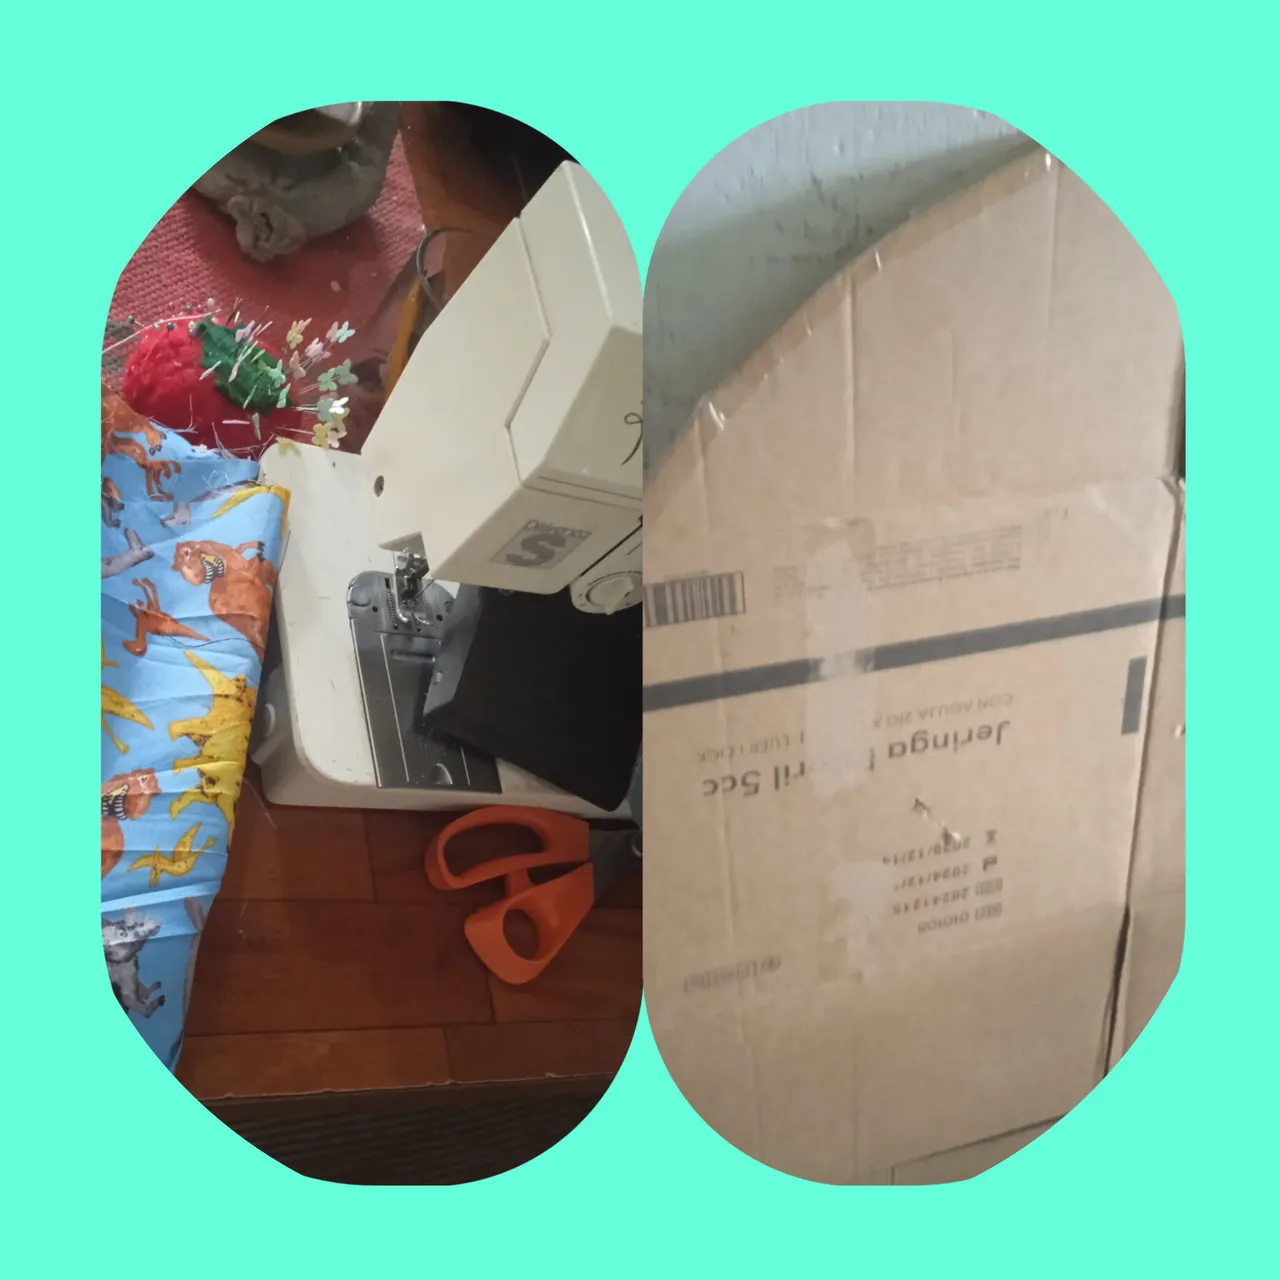
Tela estampada de popelina
Hilos de coser, tijeras, alfileres tipo mariposa.
maquina de coser .
trozo de tela de jeans reciclada.
circulo de carton de 1.200mts de diametro
MATERIALS
Printed poplin fabric
Sewing thread, scissors, butterfly pins
Sewing machine
Recycled denim fabric
Cardboard circle, 1.200 meters in diameter
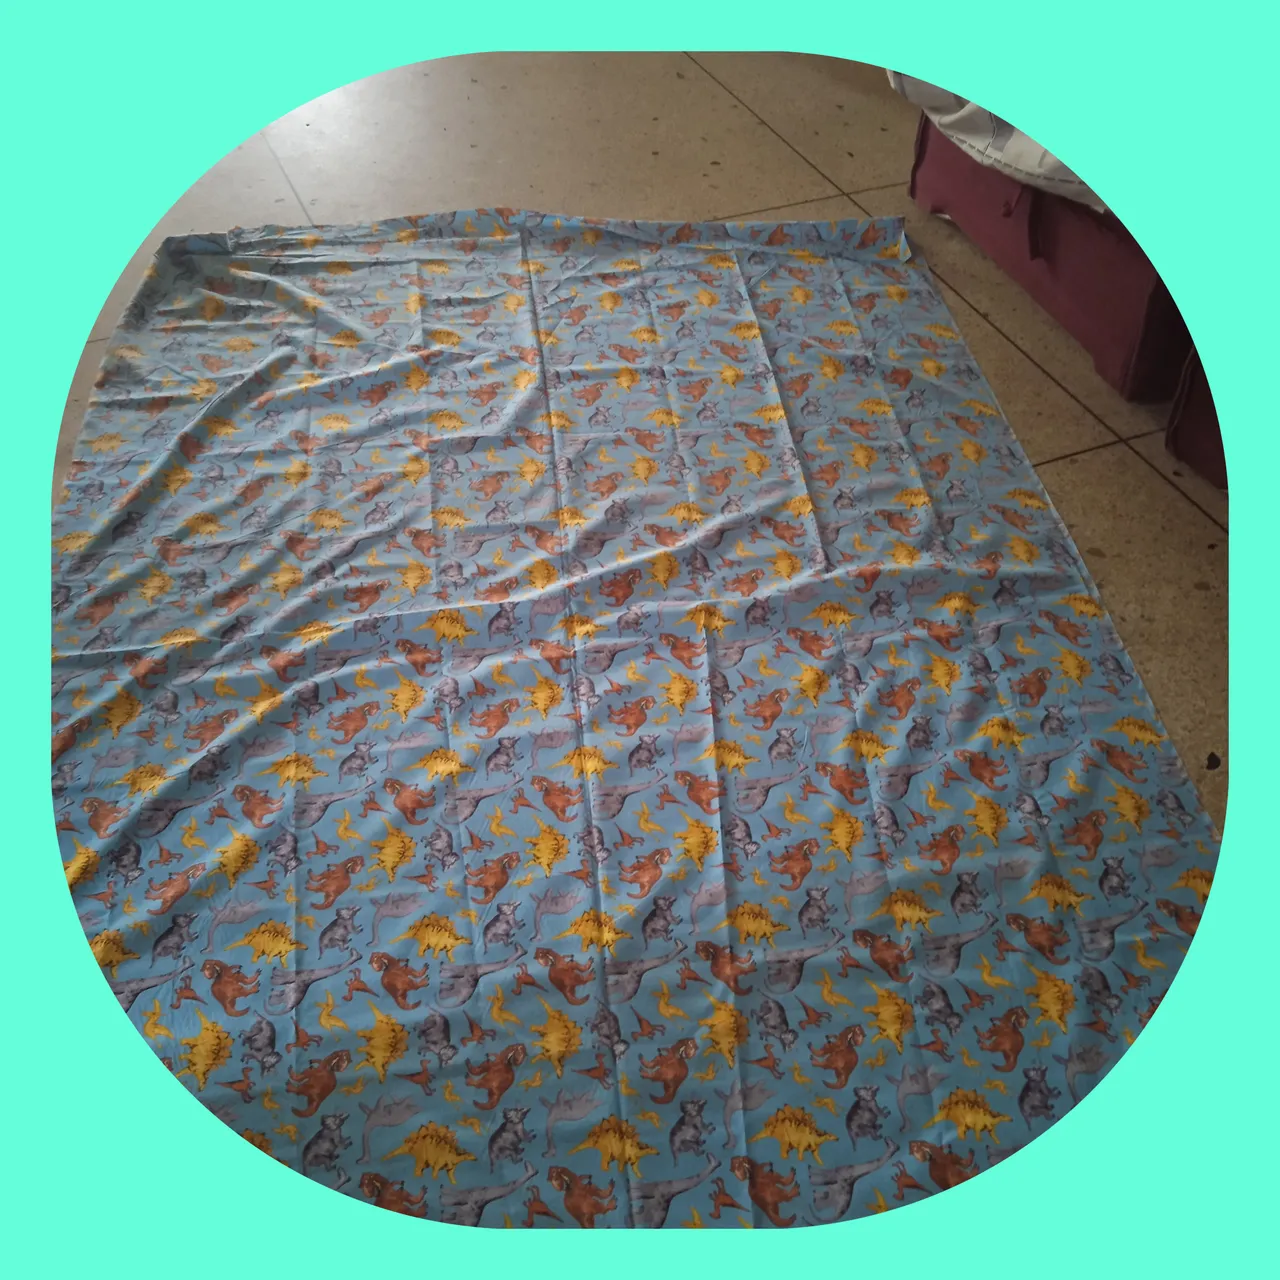
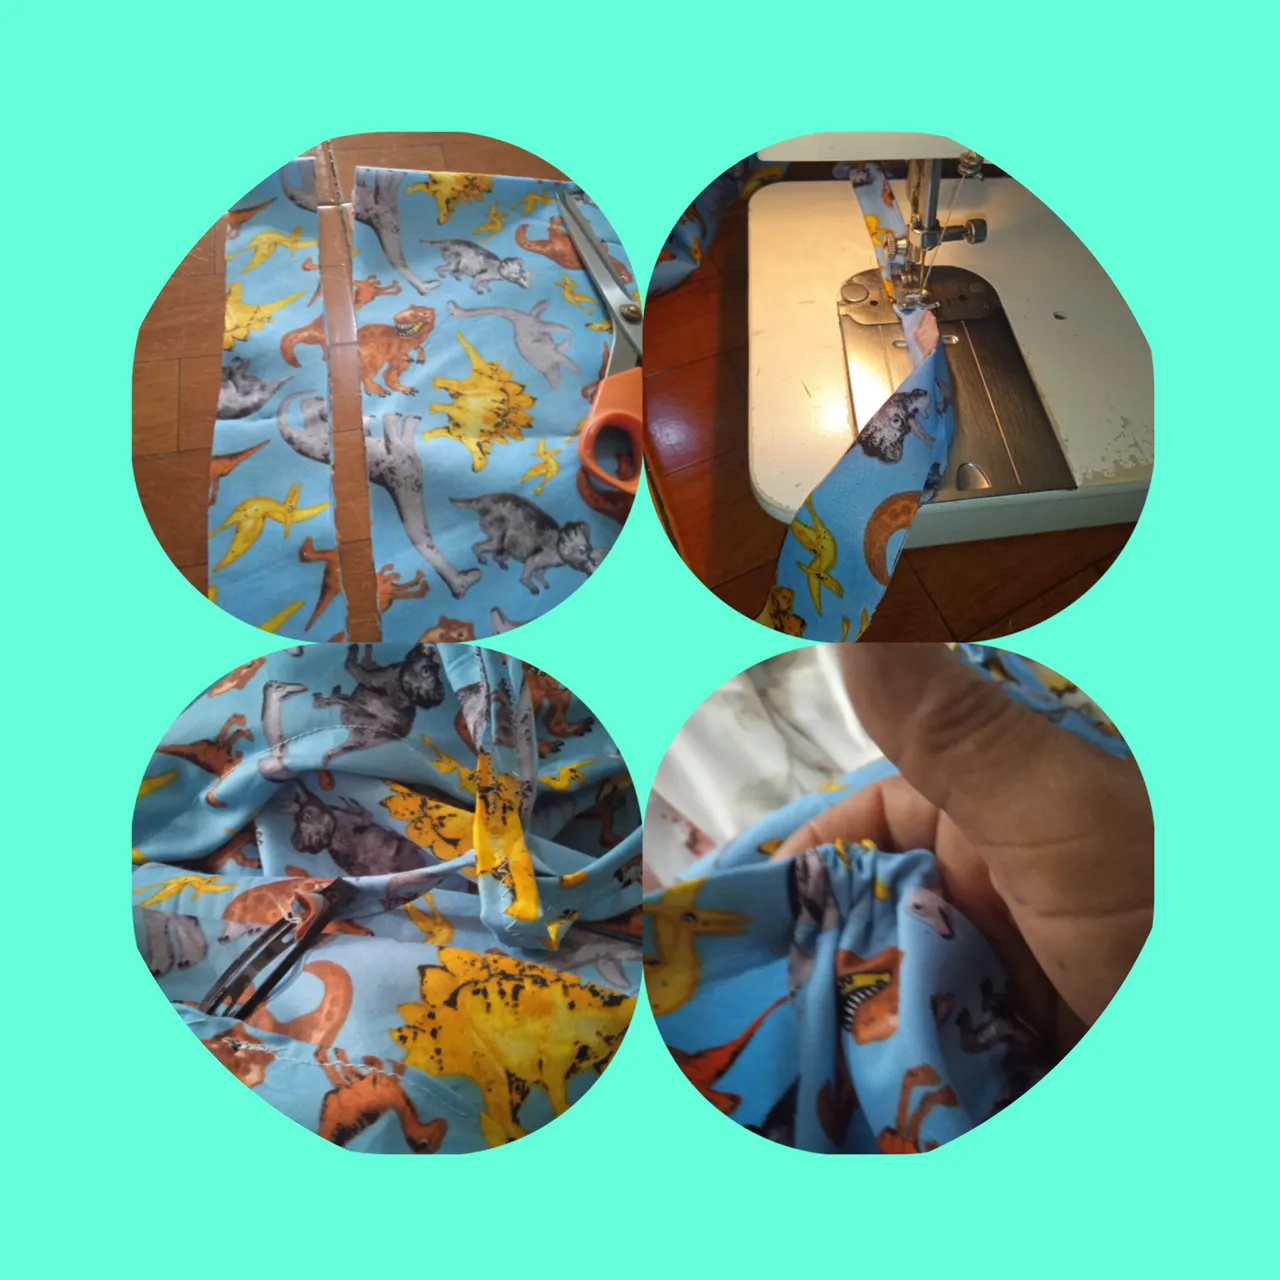
PASO 1.
Tomo la tela y la expando en una superficie plana y luego colocol el circulo de carton sobre ella .. con un lapiz marco todo el contorno del circulo para luego aumentarle 15 cm mas al circulo ya trazado. ahora a cortar...
STEP 1.
I take the fabric and spread it out on a flat surface. Then I place the cardboard circle on top. With a pencil, I trace around the entire circle and then add 15 cm to the already drawn circle. Now to cut...
PASO 2.
Ahora la recogemos y con los alfileres tomamos la orilla y medimos 6cm y marcamos con los alfileres todo el contorno luego lo pasamos por la maquina de coser dejando un pequeño orificio ,..
STEP 2.
Now we gather it and, using pins, we take the edge and measure 6 cm. We mark the entire edge with pins. Then, we pass it through the sewing machine, leaving a small hole
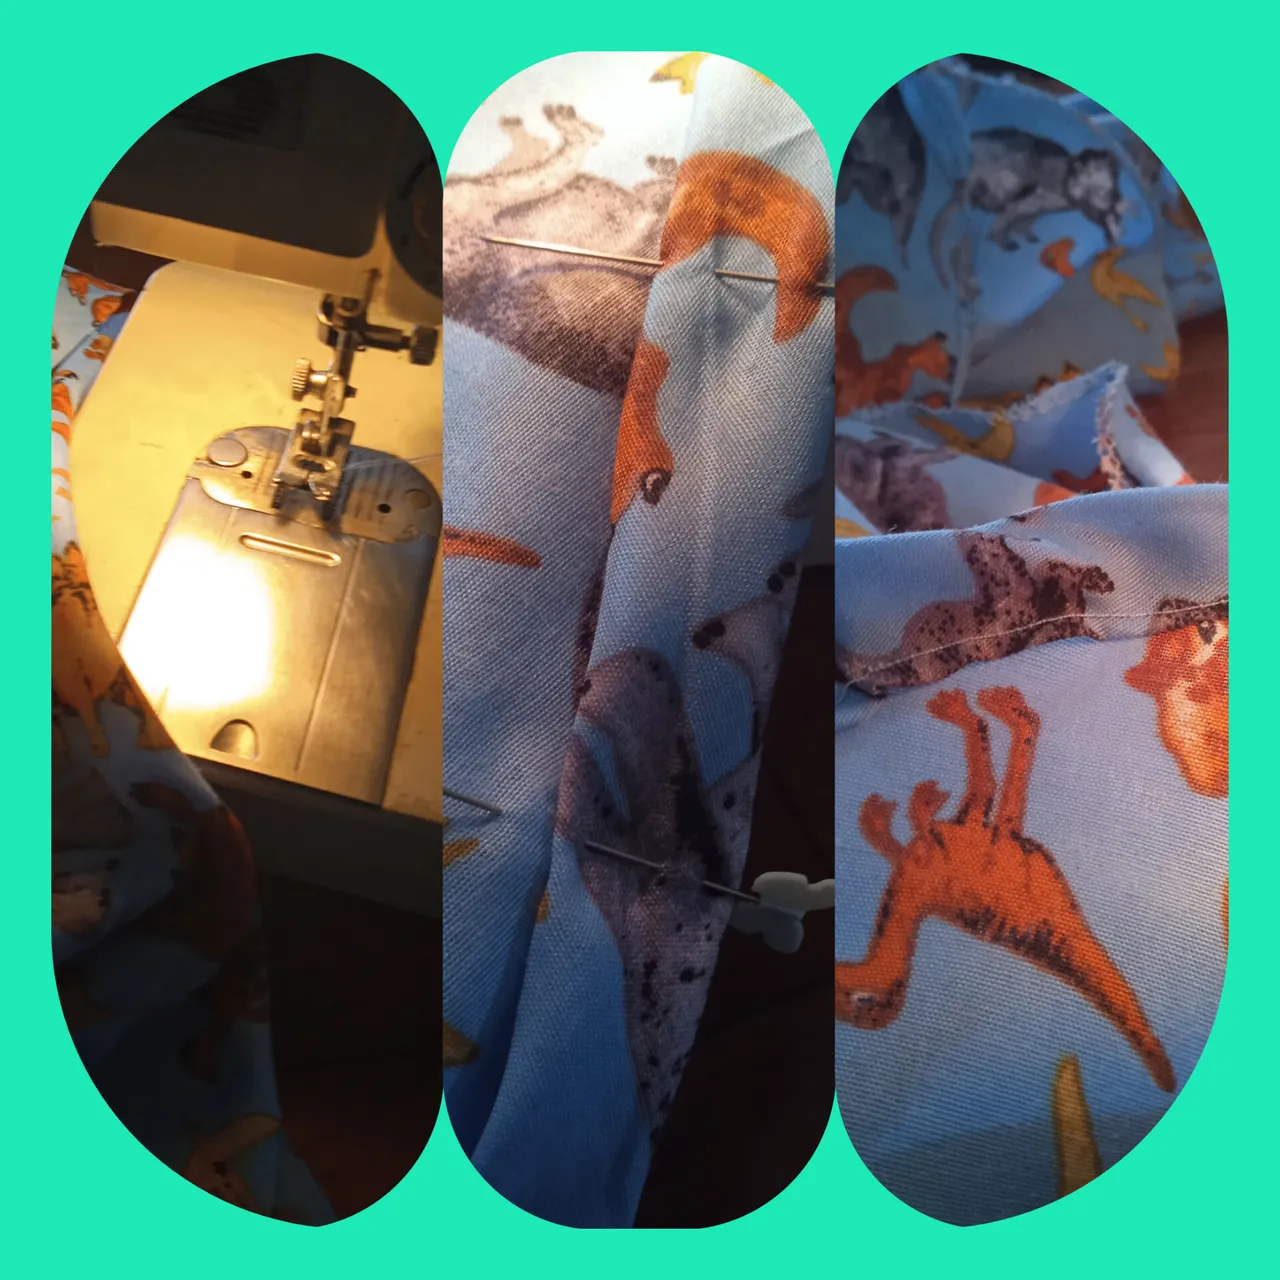
PASO 3.
Aparte con otro trozo de tela cortamos dos listones de tela de unos 2mts aproximado, y pasamos por la maquina a manera de cordon.. recuerdan el orificio que dejamos en el circulo, bueno con un alfiles o un ganchito de pelo comenzamos a meter este cordon hasta recibir la otra punta por el mismo agujero.
STEP 3.
Separately, using another piece of fabric, we cut two strips of fabric approximately 2 meters long and thread them through the machine like a cord. Remember the hole we left in the circle? Use a pin or bobby pin to insert this cord until the other end passes through the same hole.
PASO 4.
Ya pasado el cordon colocamos el proyecto en el piso y procedemos a montar el carton y a subir el borde por toda la oriila del carton, ajustando poco a poco la tela y acomodando donde se vaya deformando ., por a medida de que vayamos jalando el cordon la tela se arucha en unas partes mas que en otras...
STEP 4.
Once the cord is through, we place the project on the floor and proceed to mount the cardboard and raise the edge along the entire edge of the cardboard, gradually adjusting the fabric and adjusting where it becomes deformed. As we pull the cord, the fabric will wrinkle in some places more than in others.
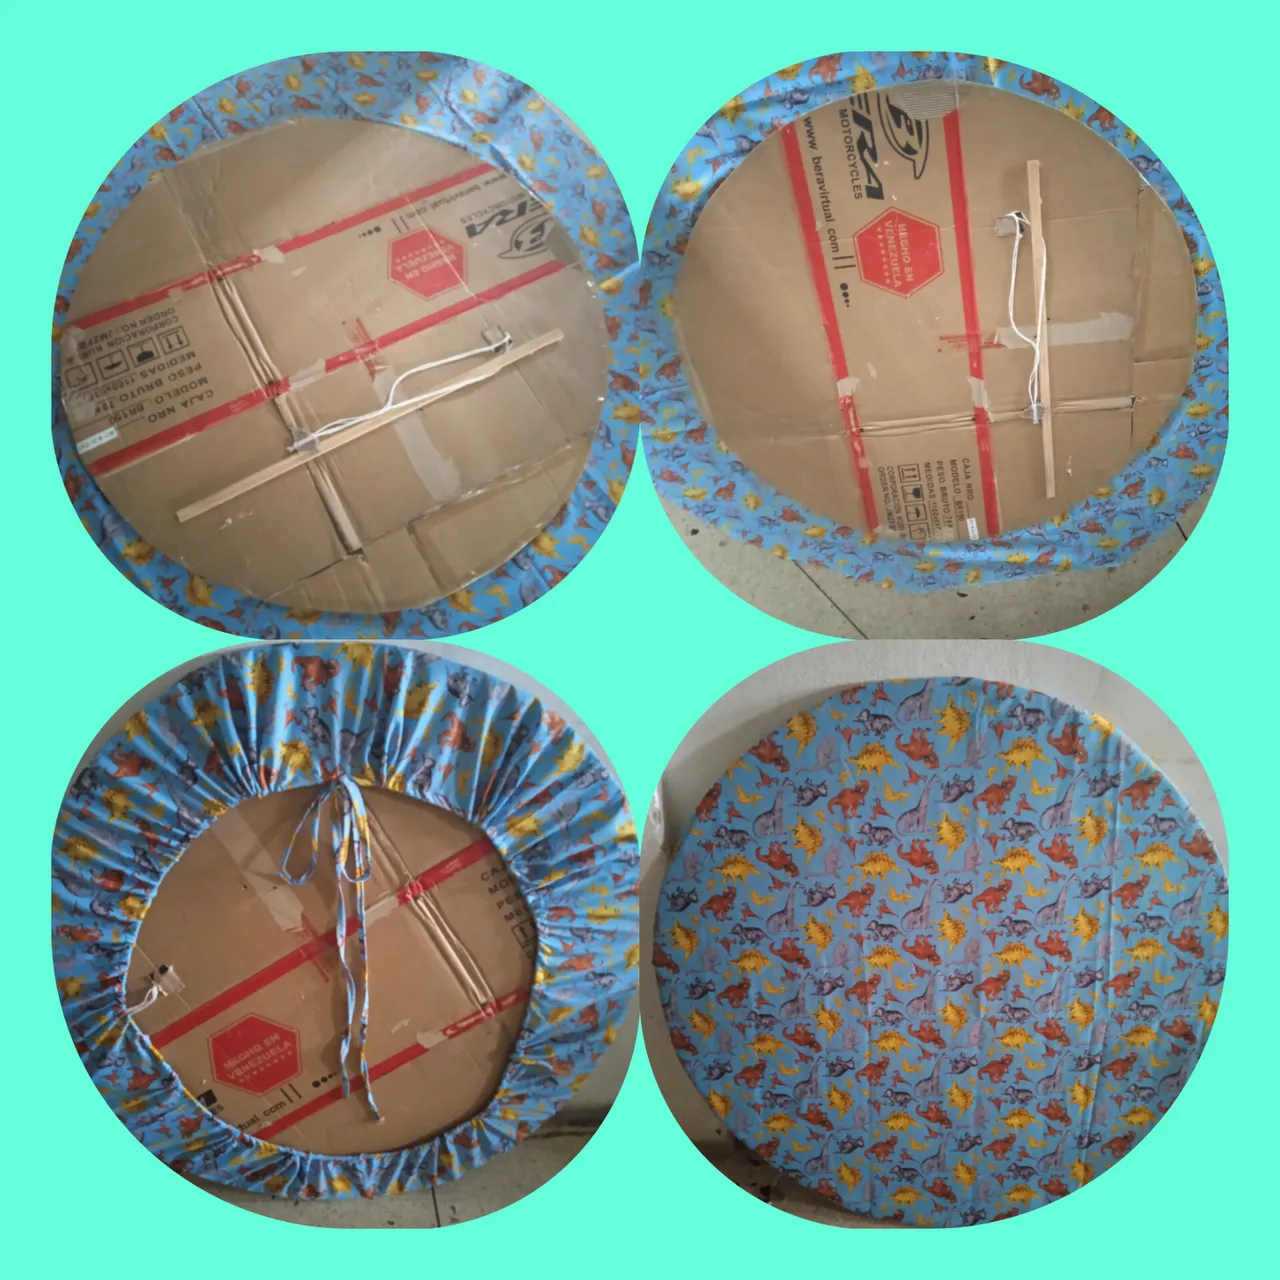
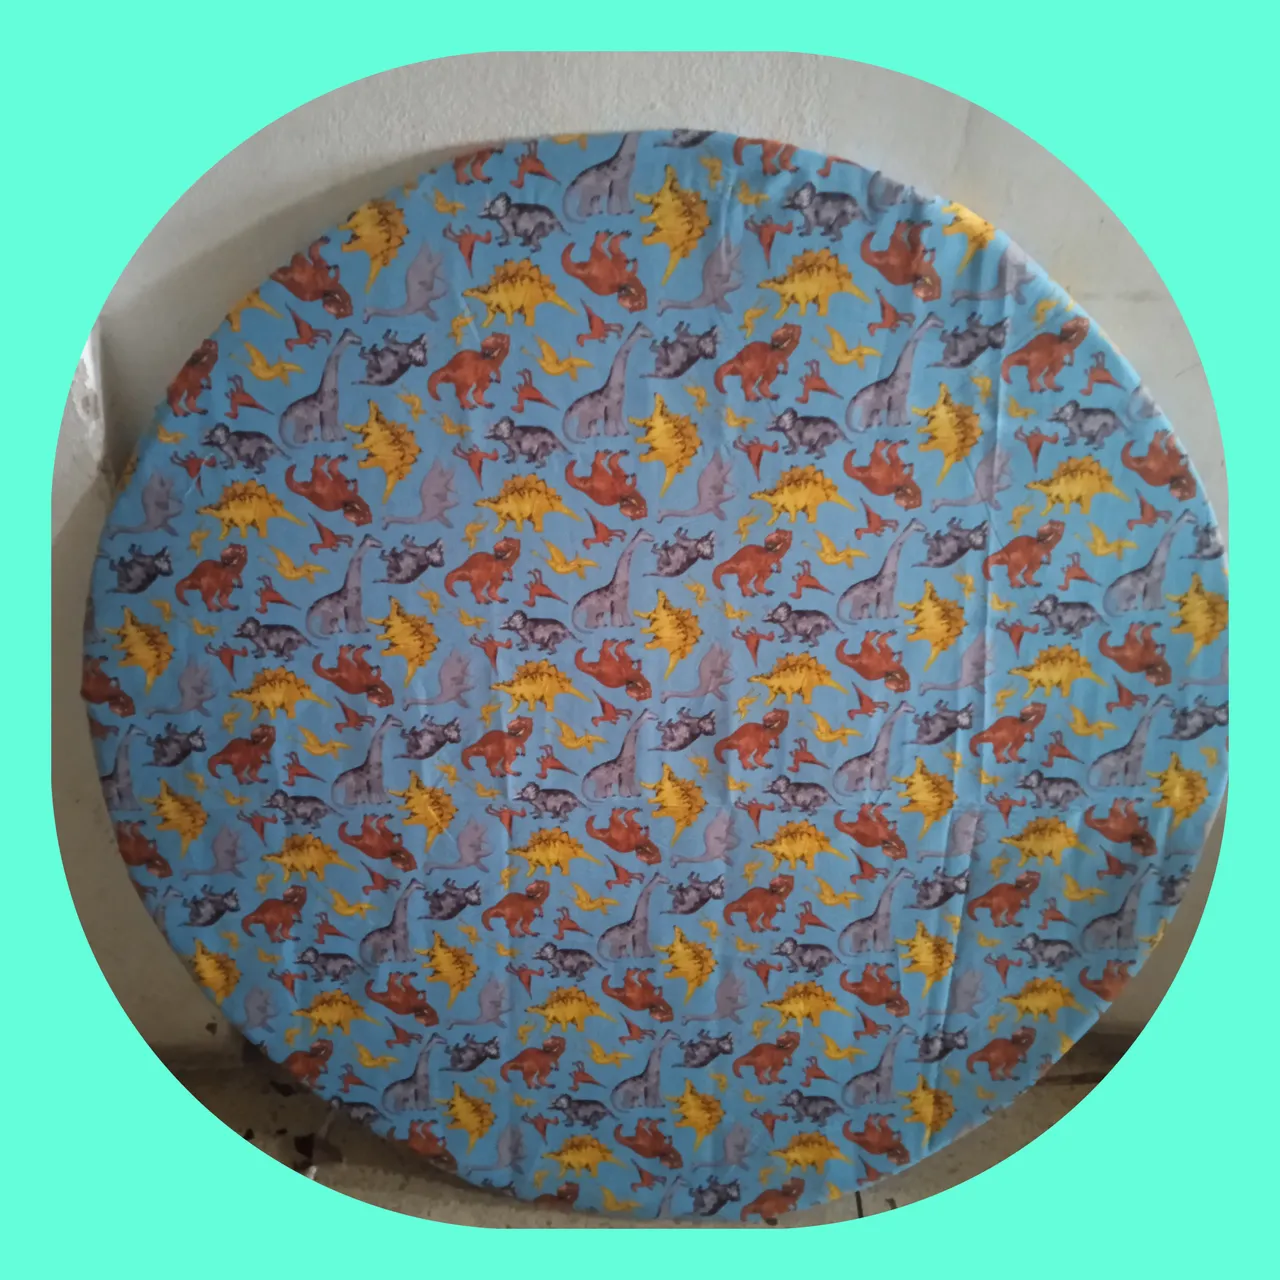
y asi nos quedo nuestro primer proyectoAnd so our first project ended up
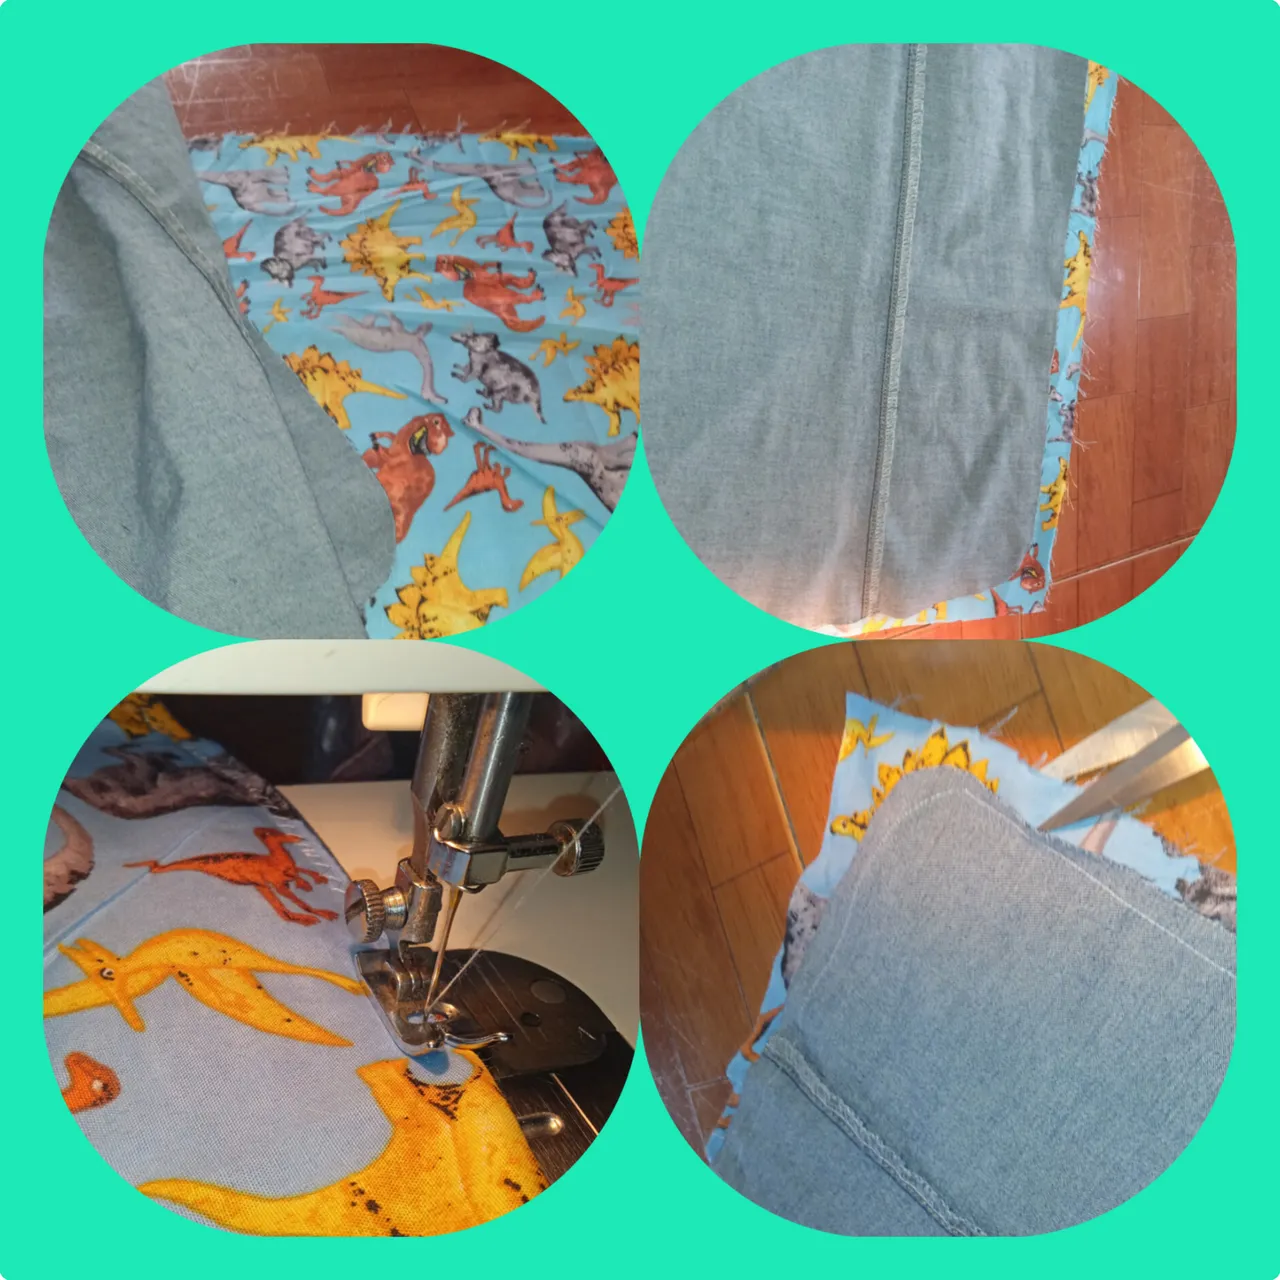
Ahora bien!.. como les dije que no se puede botar nada, me sobro un pedazo de la tela estampada y mi nieto necesita un mantel para comer,, y como le gustan los dinosaurios deicidi hacerselo, tome un pedazo de tela de una bota de pantalos de jeans y le corte un pedazo de 45cm x 20 de alto, y lo use como soporte , corte un pedazo igual de la otra tela y a la maquina, despues de coserla le hice unos cortes en las puntas con las tijera para que la tela no estorbe al momento de voltearla porque se cose alreves.
Now then!.. as I told you that you can't throw anything away, I had a piece of the printed fabric left over and my grandson needs a tablecloth to eat on, and since he likes dinosaurs I decided to make it, I took a piece of fabric from a jeans boot and cut a piece of 45cm x 20cm high, and used it as a support, I cut a piece the same from the other fabric and to the machine, after sewing it I made some cuts in the tips with the scissors so that the fabric doesn't get in the way when turning it over because it is sewn backwards
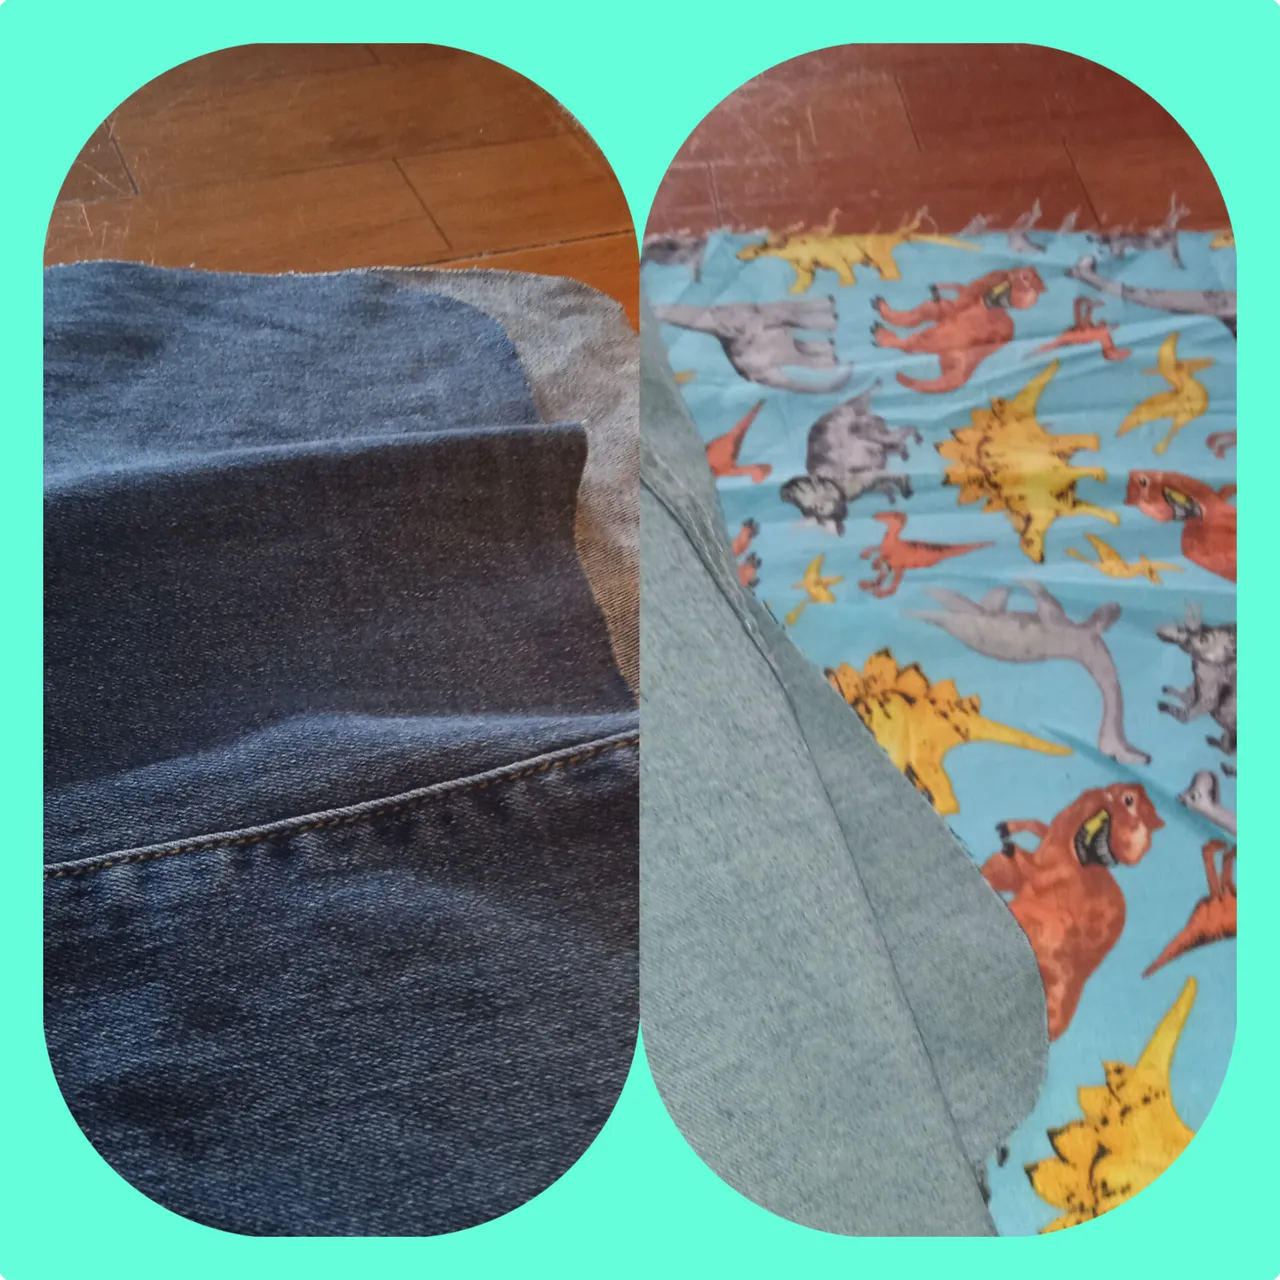
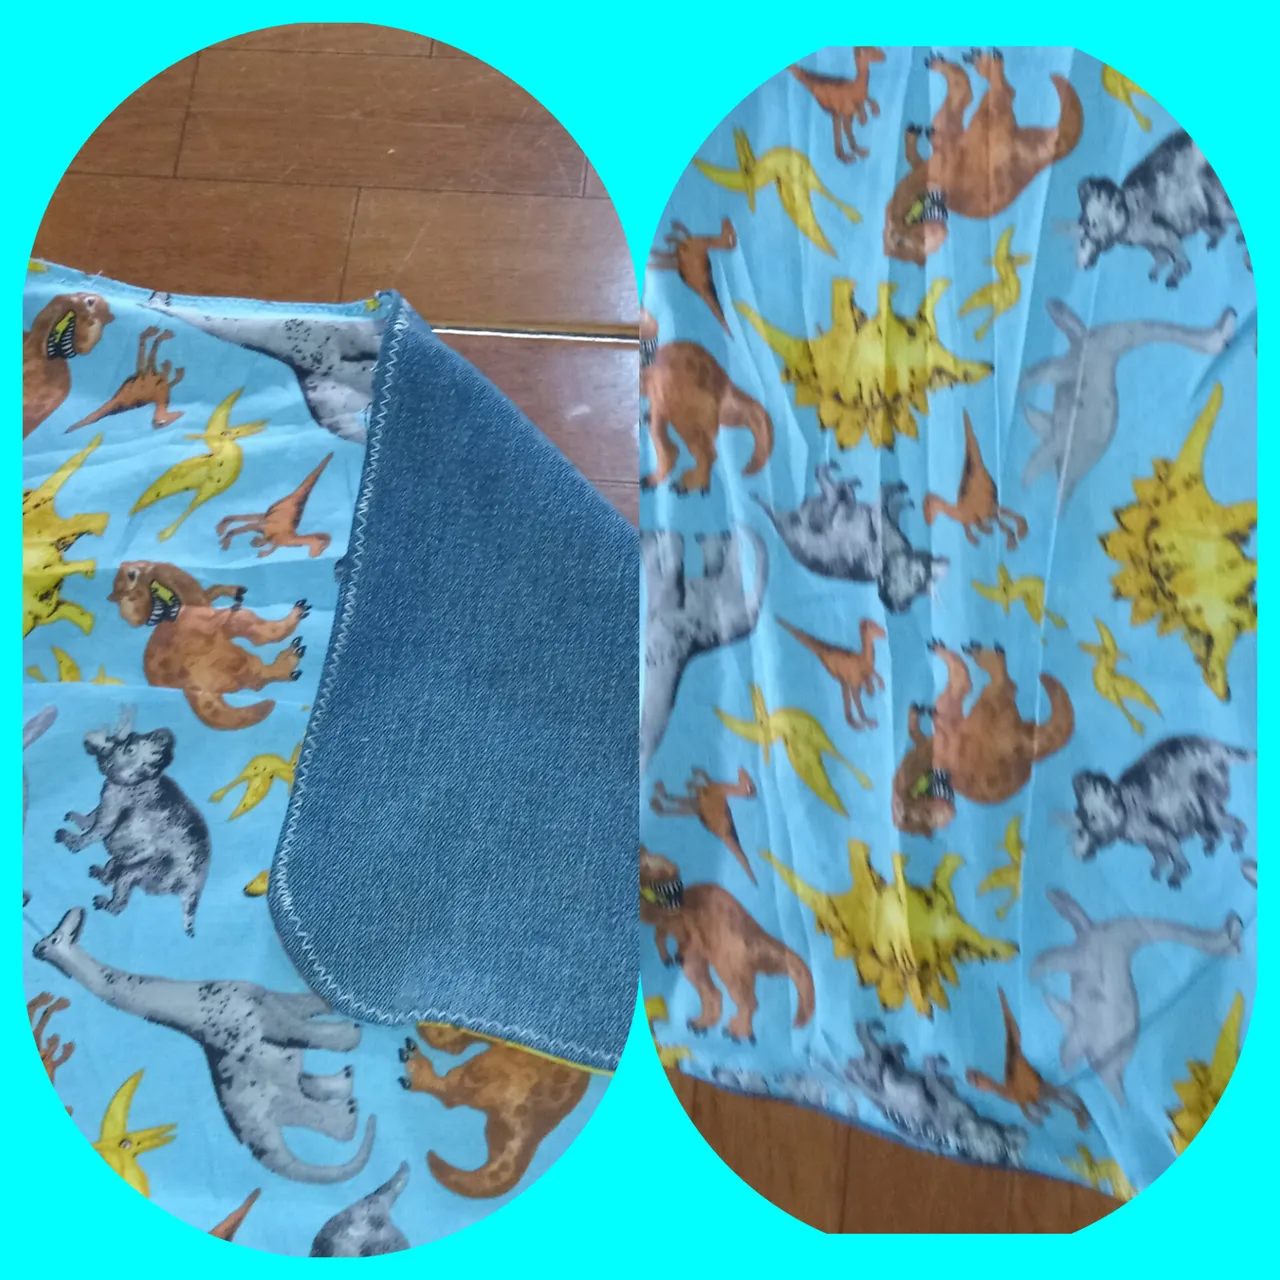
Bien como dejamos una pequeña parte sin costura por ahi vamos a apsar todo el mantelito para dale la vuelta, y con la tijeras acomodamos las puntas o recdos de la costura, por utimo le psasamos la maquina a manera de borde por todo el mantelito
y asi quedo el mantelito, mi nieto quedo muy contento
And this is how the tablecloth turned out, my grandson was very happy.
bueno no se si les guste, el proyecto pero se hizo el trabajo, dentro de todos estos percances siempre hay un momento para relajarno y hacer lo que mas nos gusta, a mi por lo menos me encanta enseñar...
Well, I don't know if you like the project, but the work was done. Amidst all these setbacks, there's always a moment to relax and do what we love most. I, at least, love teaching..
nos veremos prontito!
mis fotos fueron tomadas con mi telefono Redmi 9A y editadas por inshop
See you soon!
My photos were taken with my Redmi 9A phone and edited by inshop.