Making a cute snowman for my pencil.
Haciendo un lindo muñeco de nieves para mi lápiz.
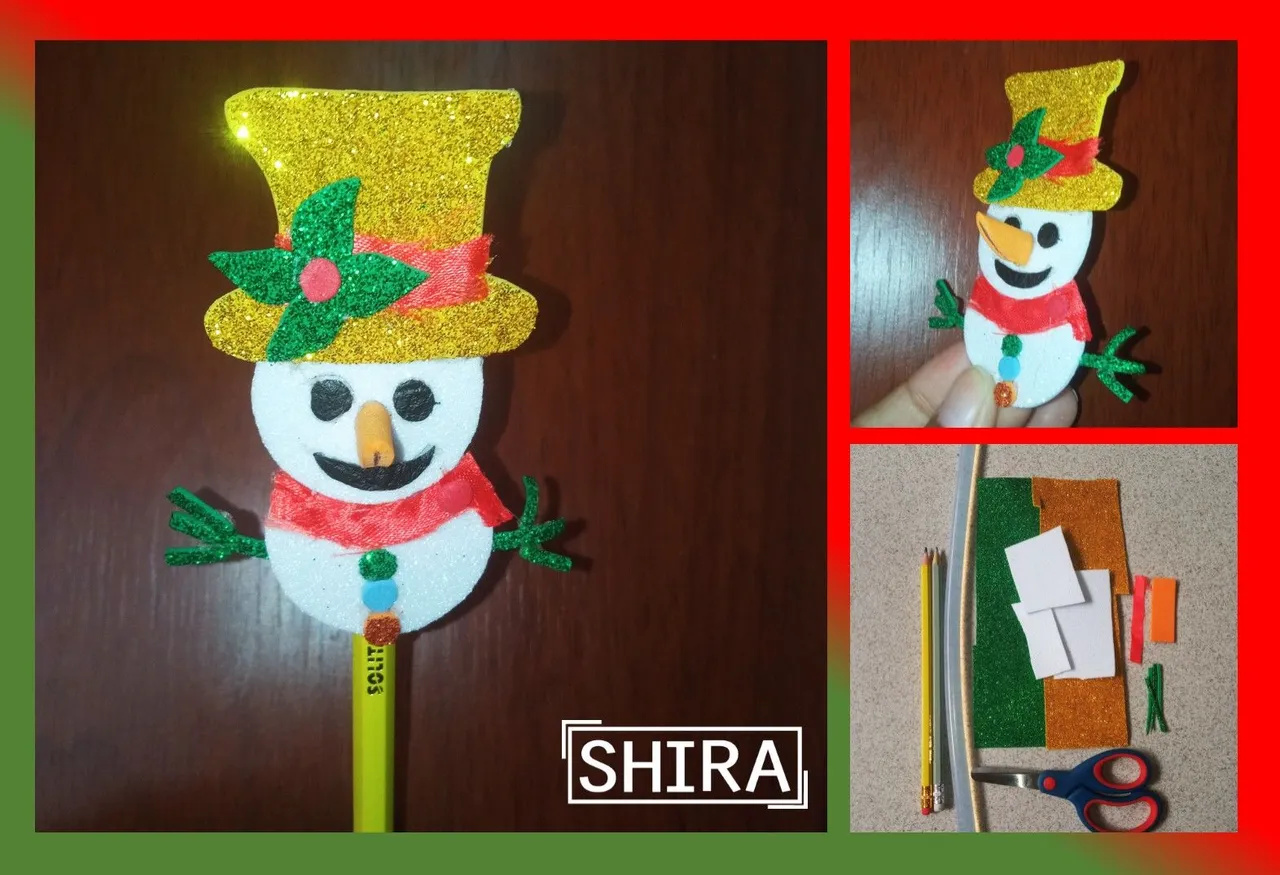
Hello friends of Hive, today I come to show you a nice craft that I made for my pencil, since it is Christmas time the motif was a beautiful snowman. Do not miss the pencils or pencils are super spectacular to have a beautiful motif to go with it, you can use the one you like but as it is Christmas time I took the opportunity and did it for Christmas. I hope you all like it as much as I do.
Hola amigos de Hive, hoy les vengo a mostrar una linda manualidad que realice para mi lápiz, ya que es época de navidad el motivo fue un hermoso muñeco de nieves. No te lo pierdas los lápices o lapiceros quedan súper espectacular al tener un hermoso motivo que lo acompañe, puede usar el que ustedes más les guste pero como es época decembrina aproveche y lo hice de navidad. Quedé encantada espero que a todos ustedes les guste tanto como a mí.
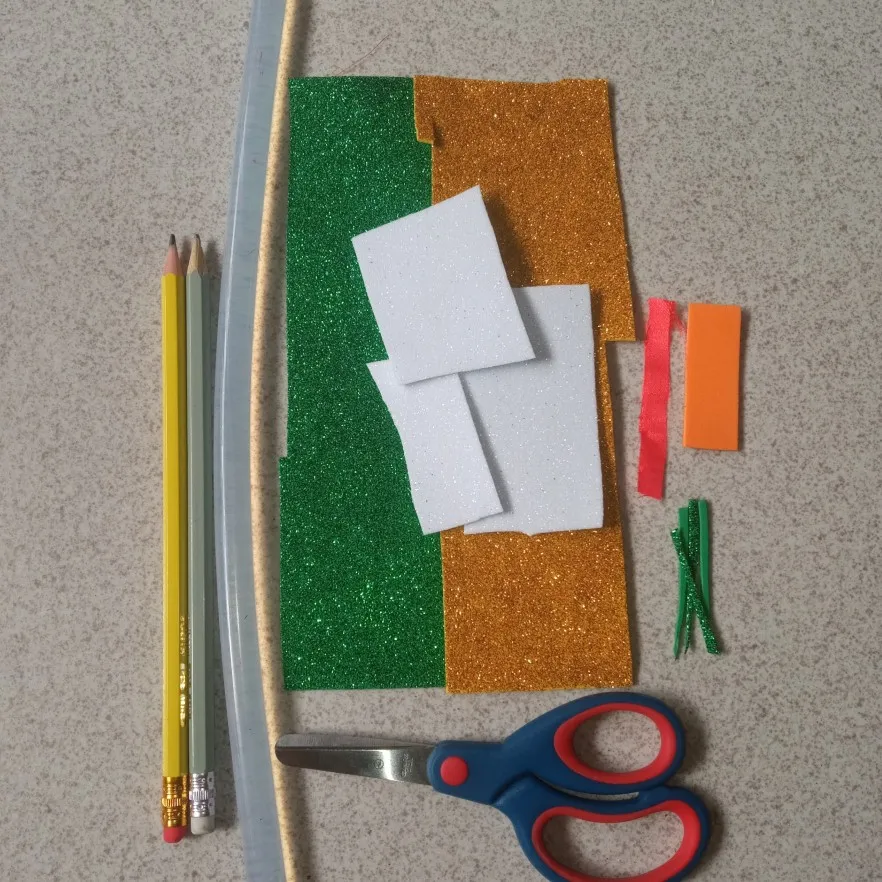
The materials I used for this cute pencil detail were as follows:
- EVA rubber
- Silicone
- Scissors
- Pencil
- Red fabric.
Los materiales que utilice para este lindo detalle en los lápices fueron los siguientes:
- Goma eva
- Silicón
- Tijera
- Lápiz
- Tela de color rojo.

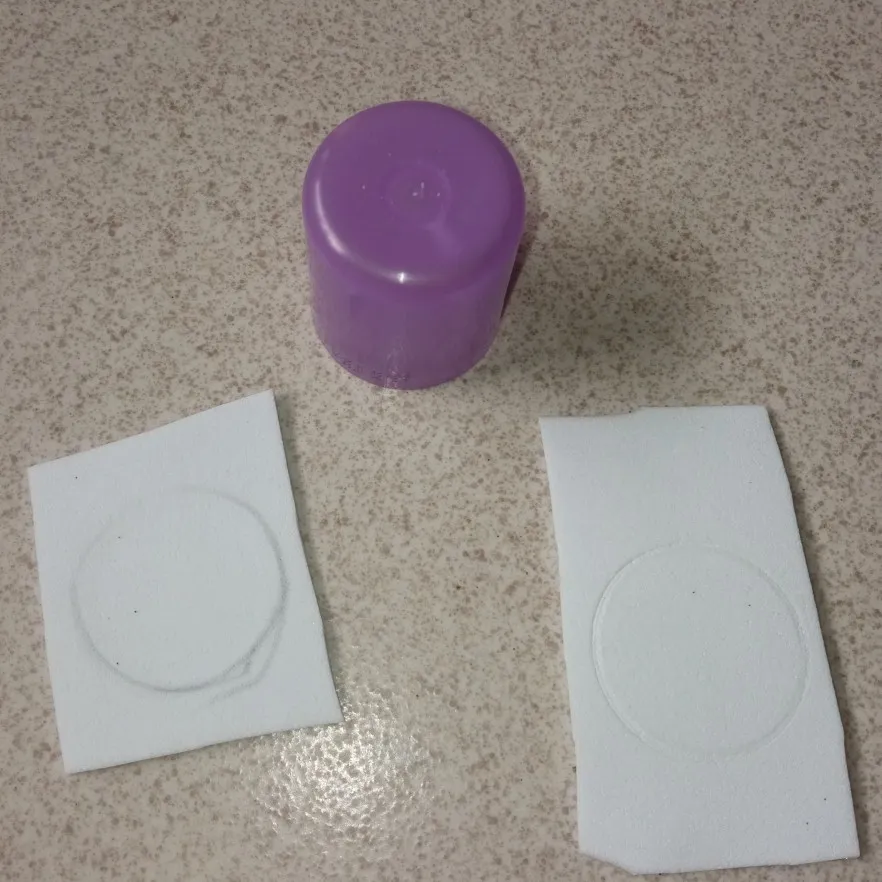
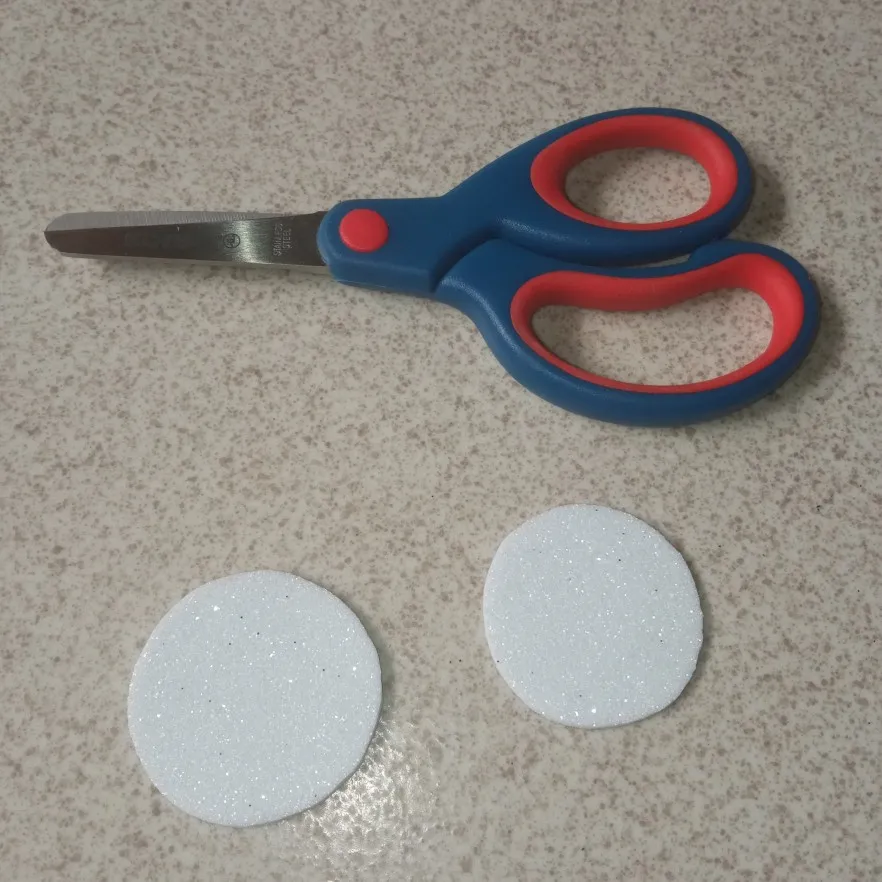
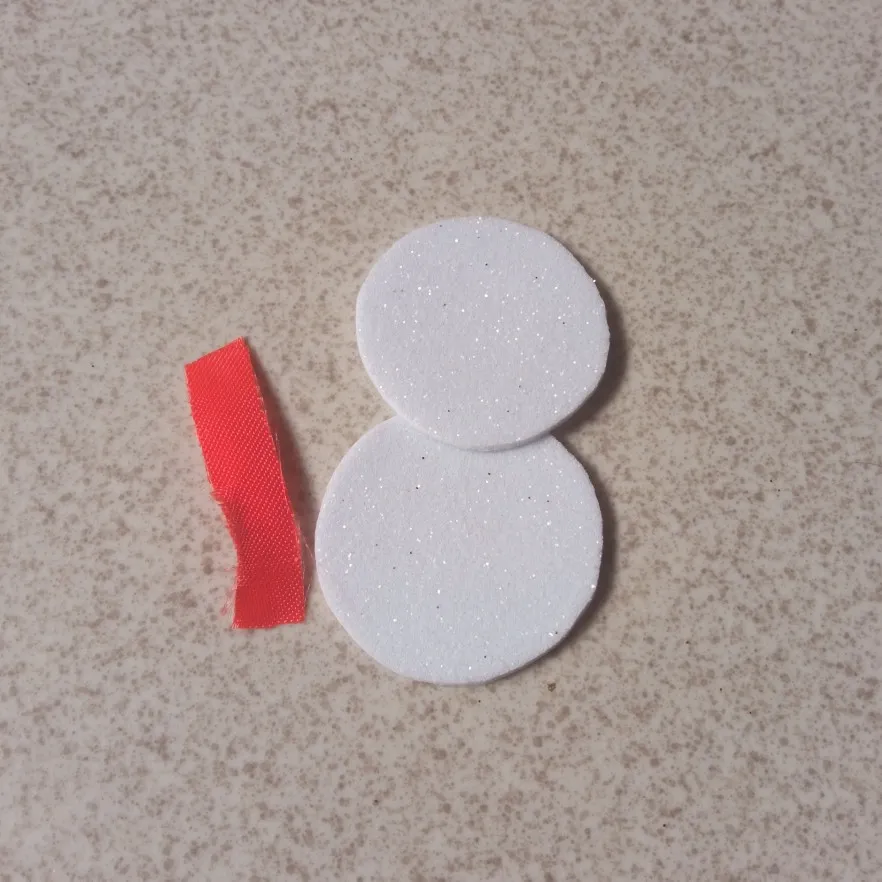
To begin my craft to decorate pencils or pens, the first thing I do is to mark two circles on the white eva rubber and then cut them out.
Ya para comenzar mi manualidad para decorar los lápices o lapiceros lo primero que hago es marcar dos círculos en la goma eva blanca y luego los recortó.

All at once he grabbed the fabric and pulled out the piece that will make the scarf for the snowman.
De una vez agarró la tela y saco el pedazo que va hacer la bufanda del muñeco de nieves.
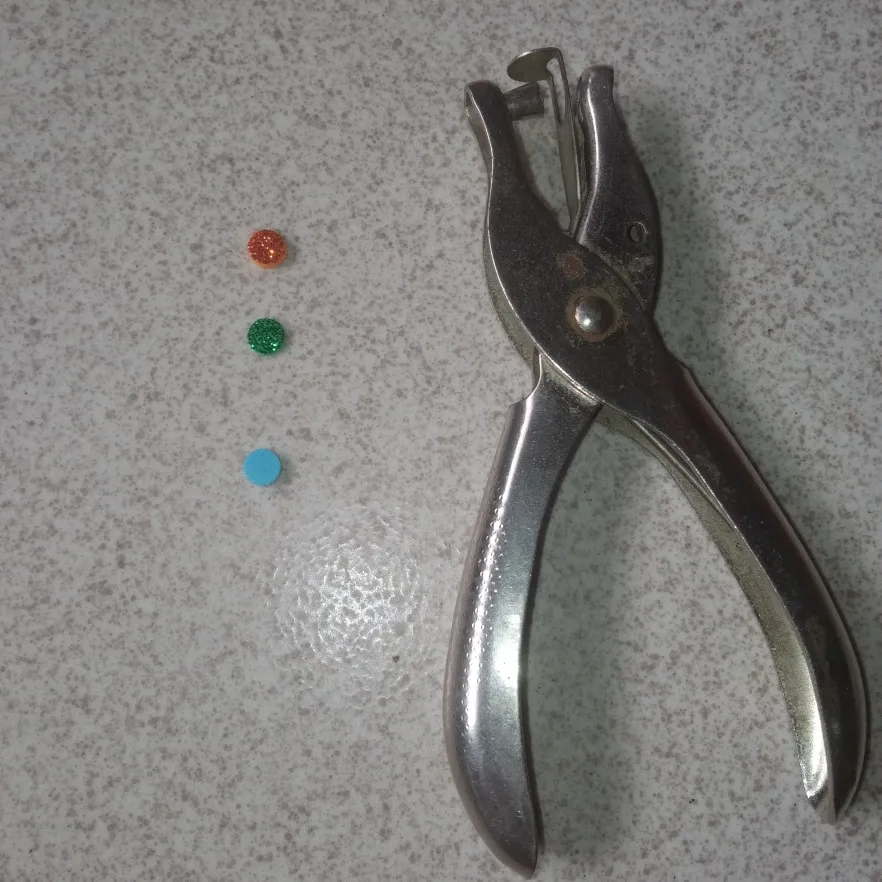
Then I proceed with the hole opener to take out three circles of different colors which will be the colored buttons that the snowman wears.
Luego procedo con el abre huecos a sacar tres círculos de diferentes colores los cuales serán los botones de colores que lleva el muñeco de nieves.
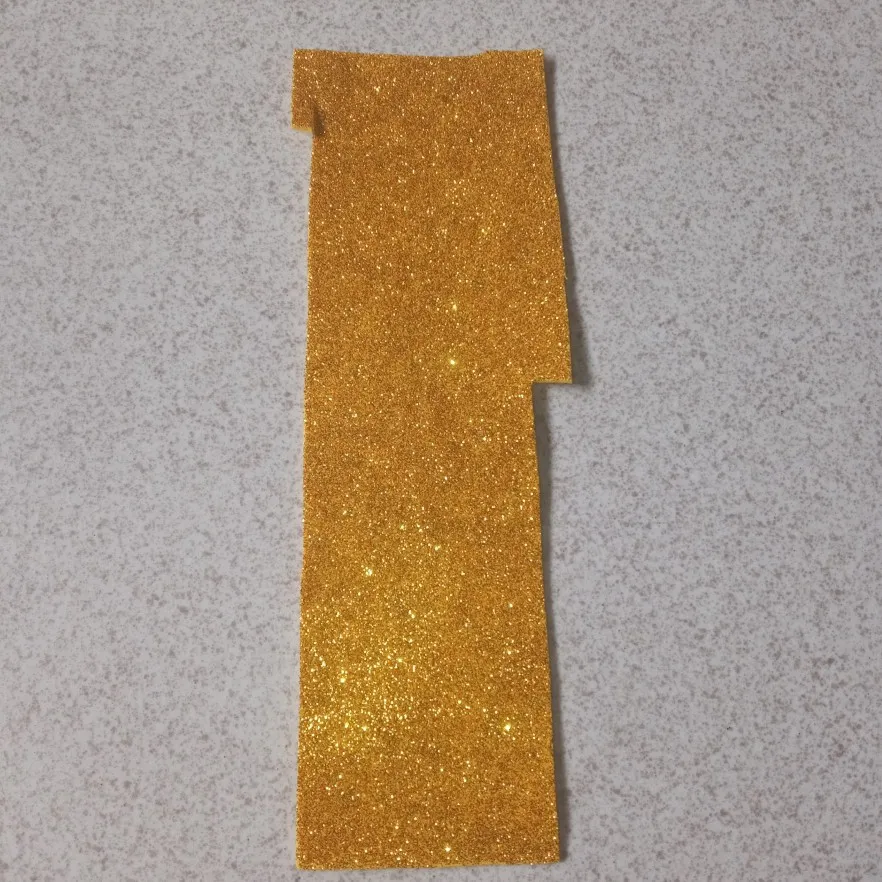
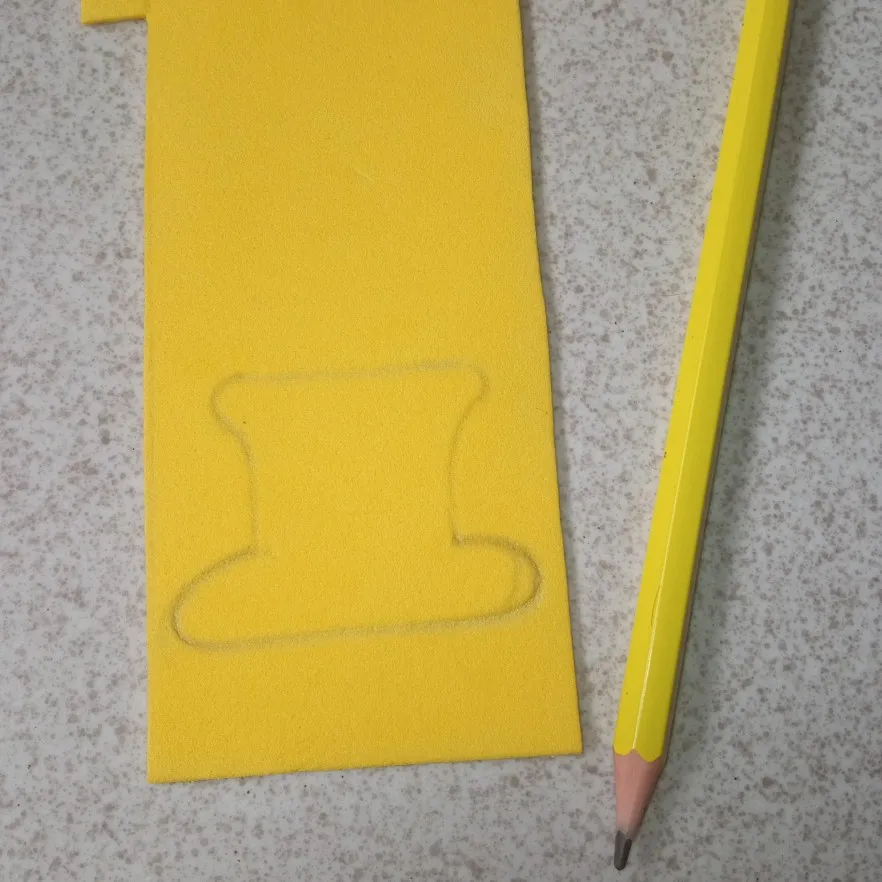
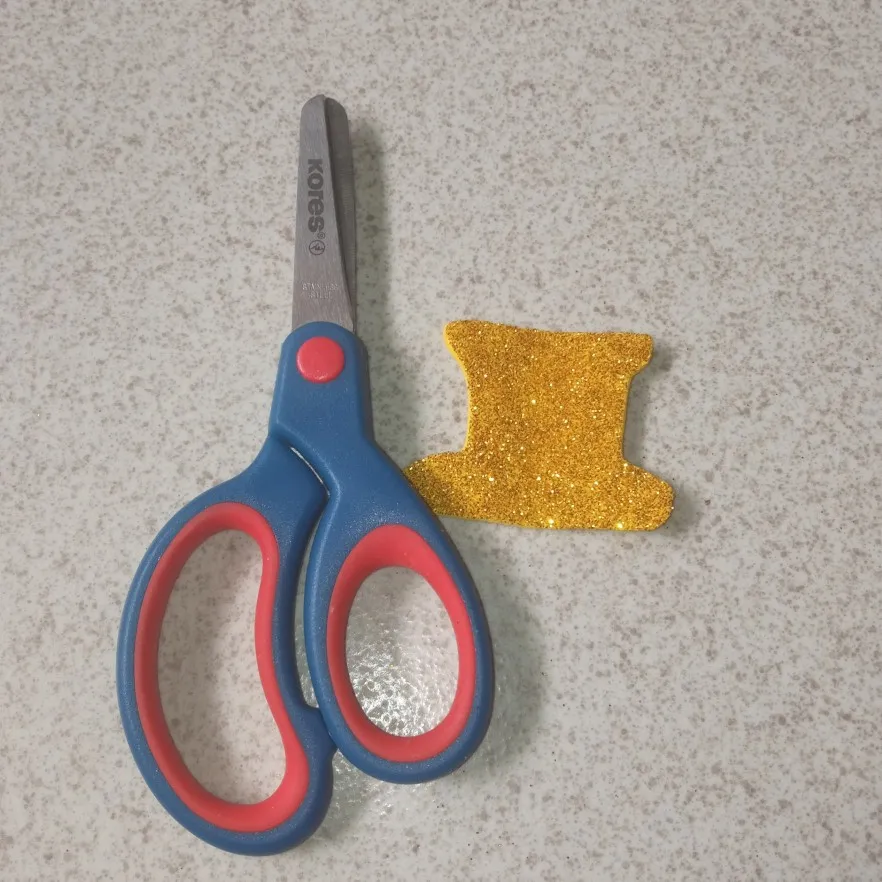
With the golden eva rubber we are going to make the doll's hat as you can see in the images and proceed to cut out the hat.
Con la goma eva dorada le vamos hacer el sombrero del muñeco así como podrán ver en las imágenes y se procede a recortar el sombrero.
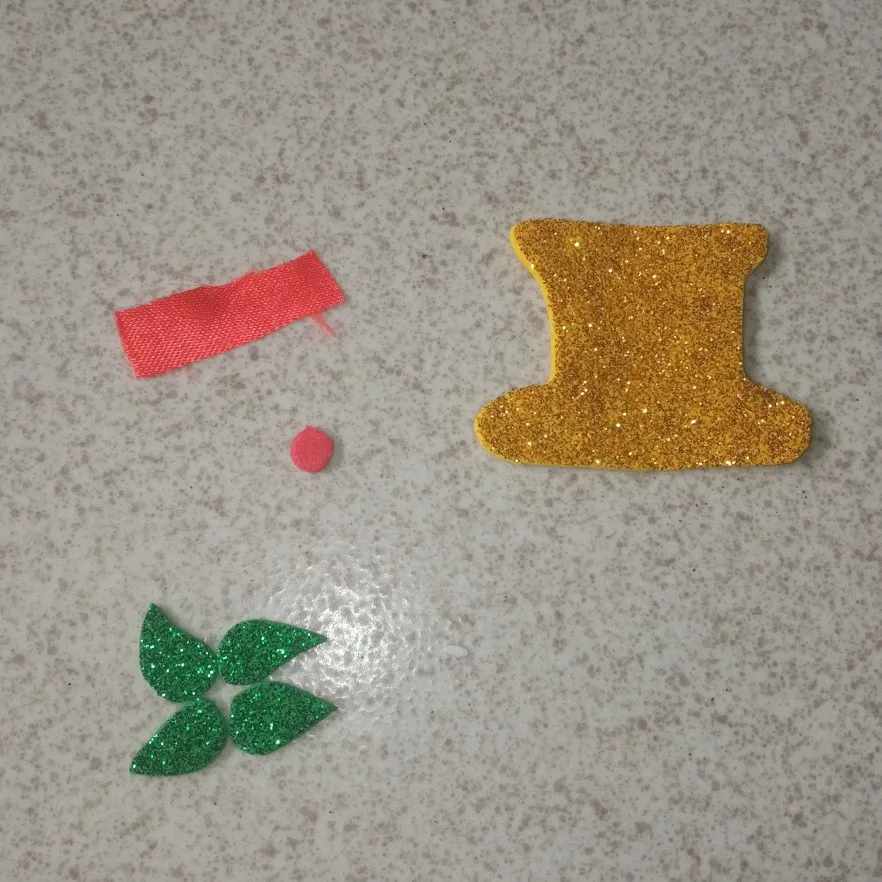
In this step we have already cut out the hat and the piece of red fabric that will be glued in the middle of the hat, also the leaves that will decorate the hat of the doll and a red circle that we will glue in the middle of the leaves.
En este paso ya tenemos recortado el sombrero y el trozo de tela rojo que irá pegado en el medio del sombrero, también las hojitas que decorarán el sombrero del muñeco y un círculo rojo que pegaremos en el medio de las hojas.
Ready the pieces we continue with the nose and the hands that I made in green color like branches.
Listas las piezas continuamos con la nariz y las manos que le hice en color verde tipo ramas.

With black leather I remove the eyes and mouth.
Con cuerina negra le saco los ojos y la boca.
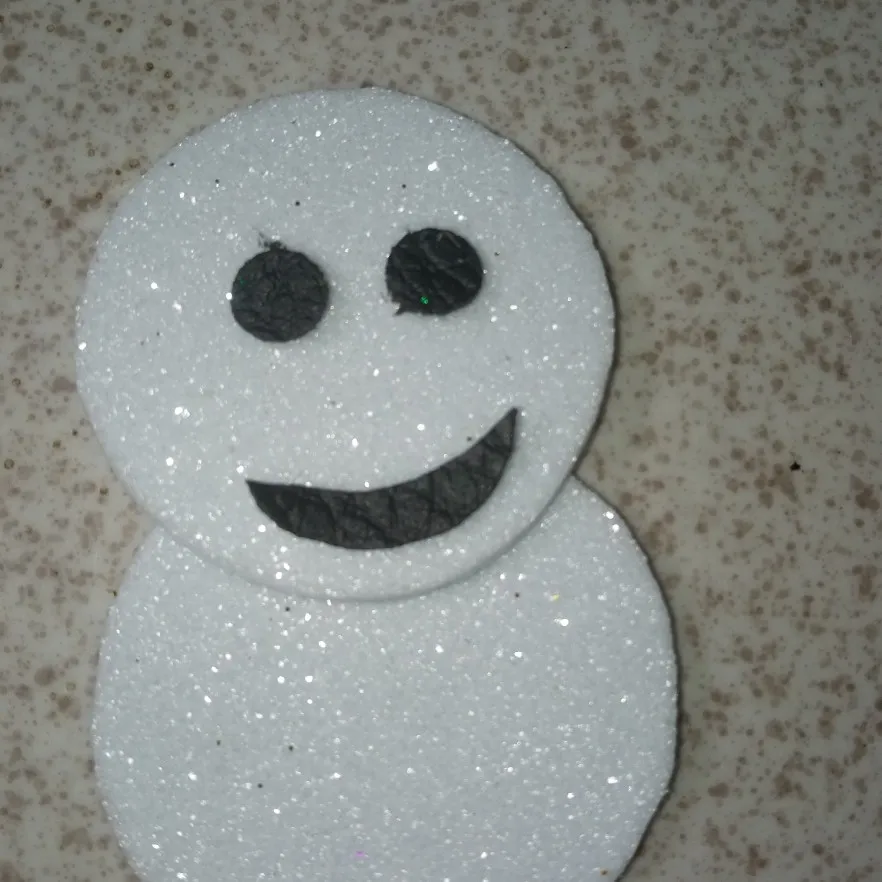
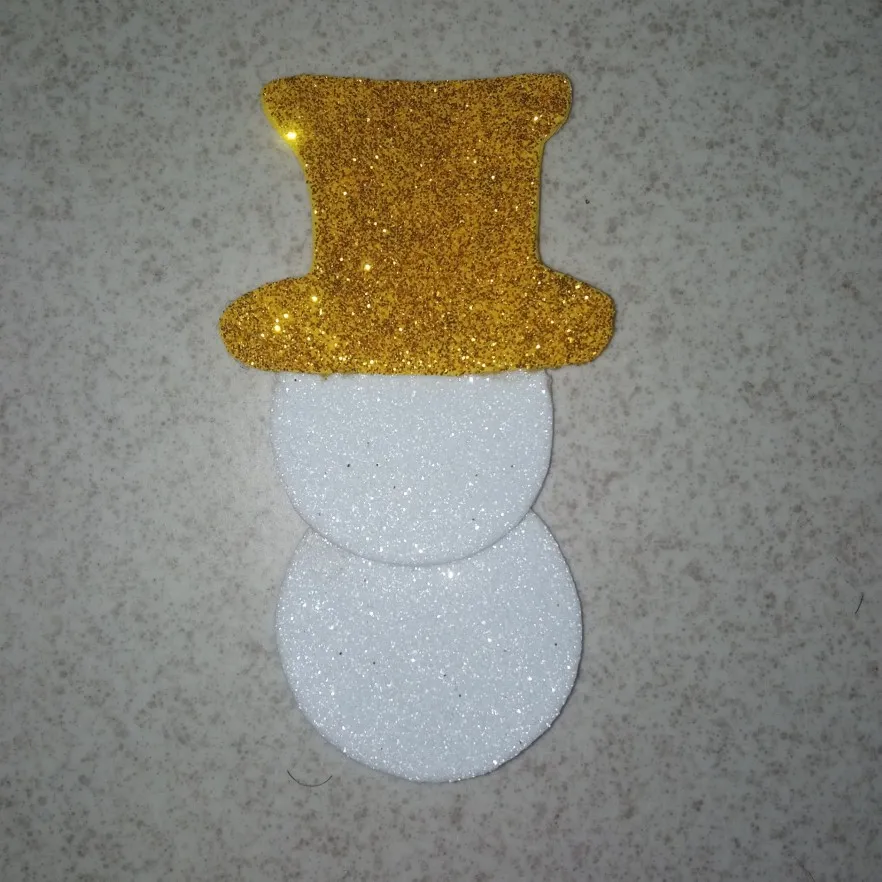
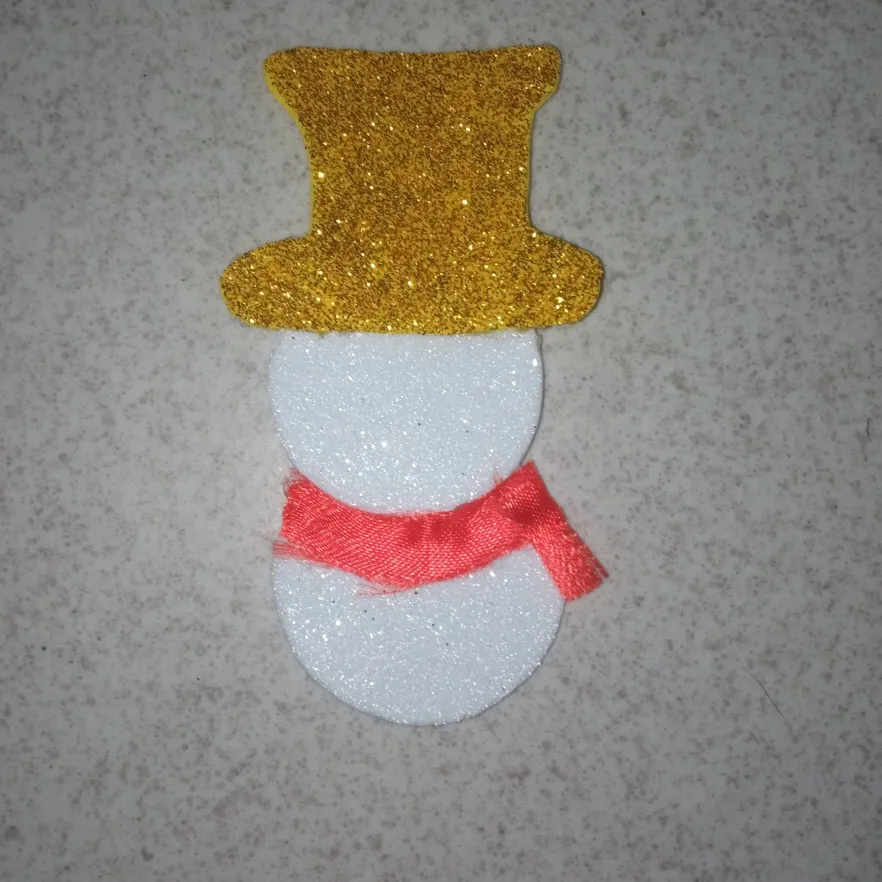
Here we begin to glue the pieces that we had previously taken out, and we begin to glue the two white circles of eva rubber, then we proceed to glue the hat on top of the circle that will be the head of the snowman.
Aquí se comienzan a pegar las piezas que ya con anterioridad habíamos sacado, y comenzamos a pegar los dos círculos blancos de goma eva, seguidamente se procede a pegar el sombrero encima del círculo que será la cabeza del muñeco de nieves.
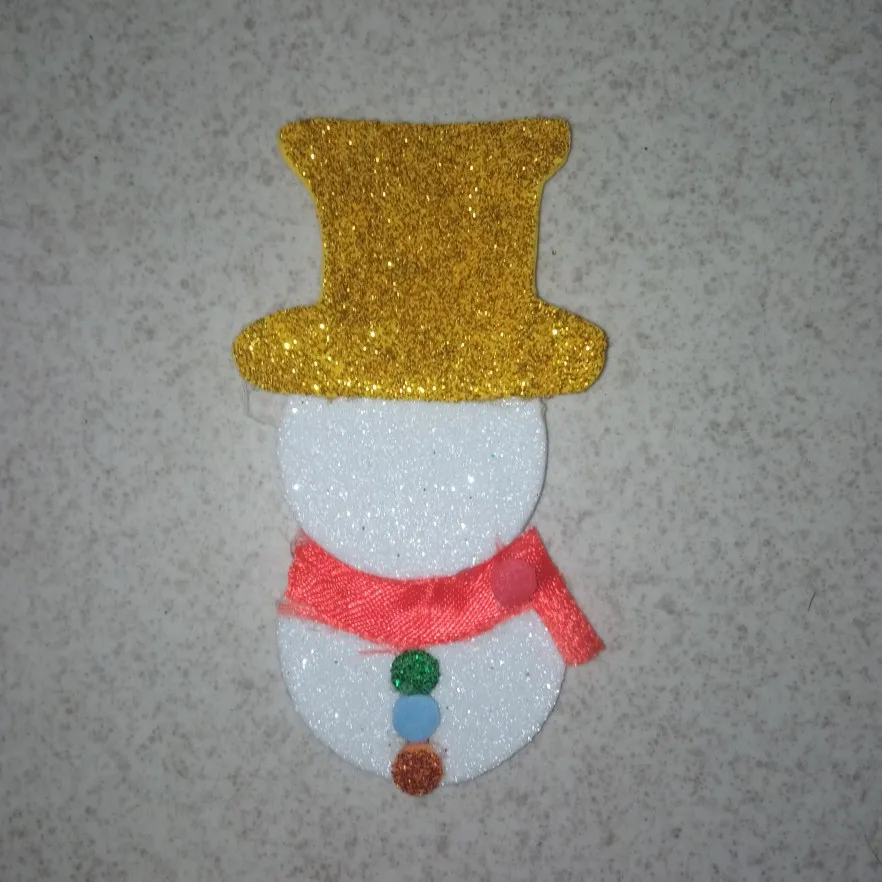
We continue gluing and the next outfit that will be glued to the doll is the scarf, as you can see in the image. Then we continue gluing the colored circles that will go on the belly of the doll and another circle on the red scarf.
Continuamos pegando y el siguiente atuendo que se pegará al muñeco es la bufanda, así como podrán observar en la imágen. Luego se continúa pegando los círculos de colores que irán en la parte de la barriga del muñeco y otro círculo en la bufanda de color rojo.
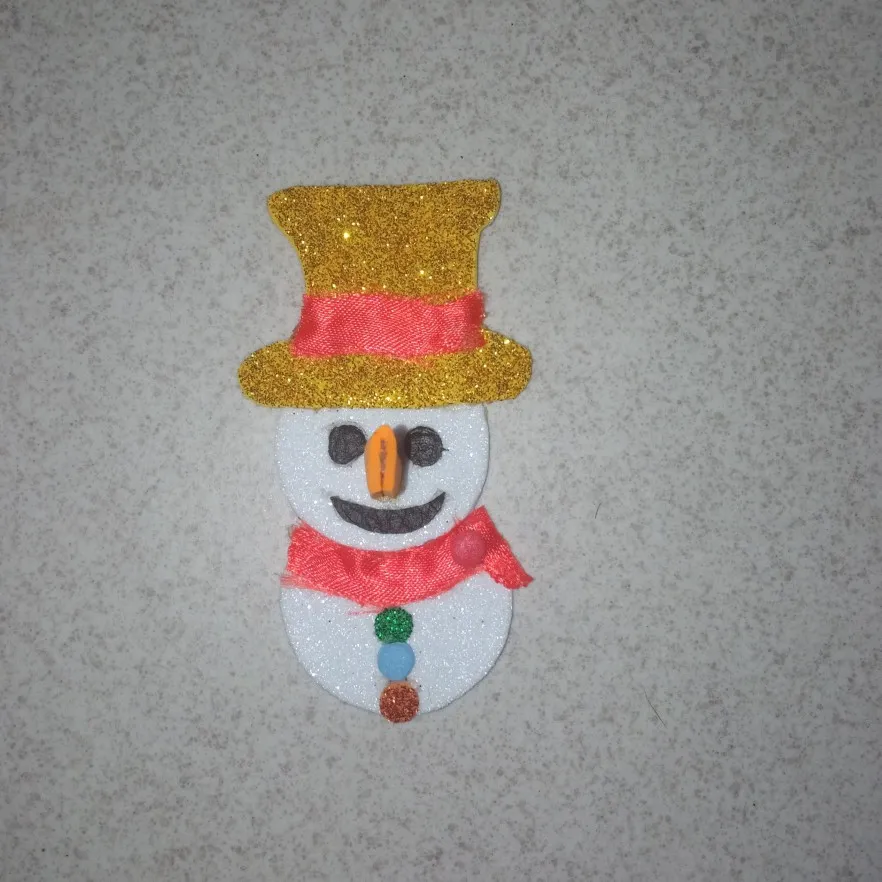
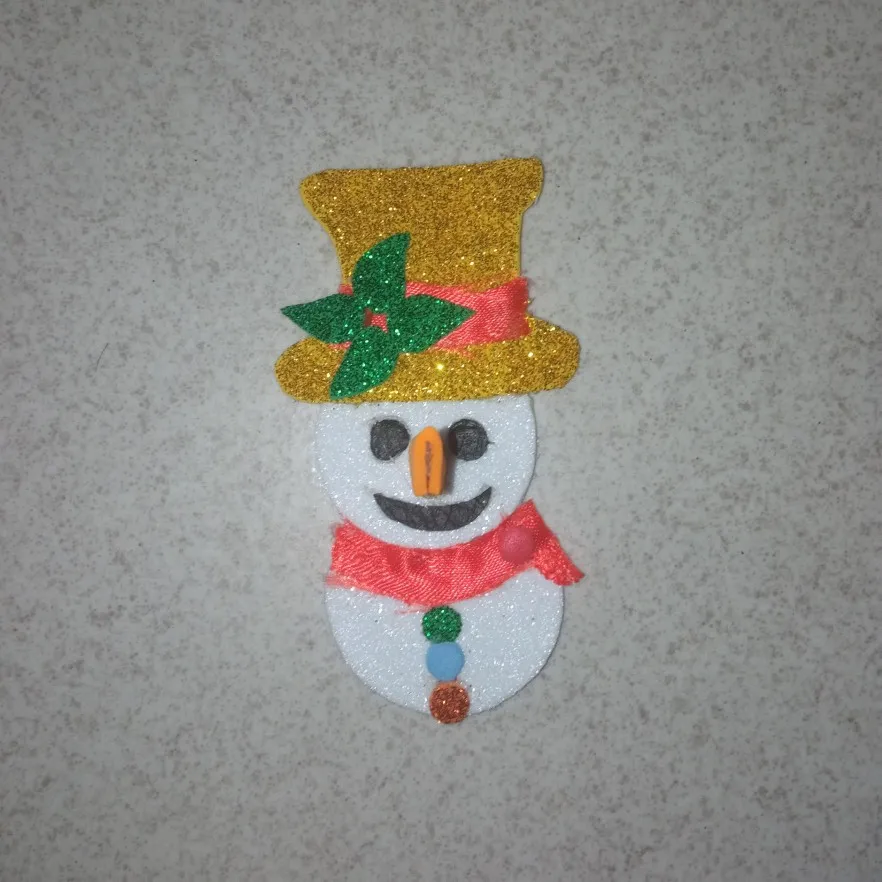
Once almost all the pieces are glued, the missing pieces are glued, in this case the eyes, mouth, nose, the red fabric that is glued to the hat and the leaves that will highlight the snowman's hat.
Ya pegadas casi todas las piezas se terminan de pegar las faltantes, en este caso los ojos, boca, nariz, la tela roja que va pegada al sombrero y las hojas que harán resaltar el sombrero del muñeco de nieves.
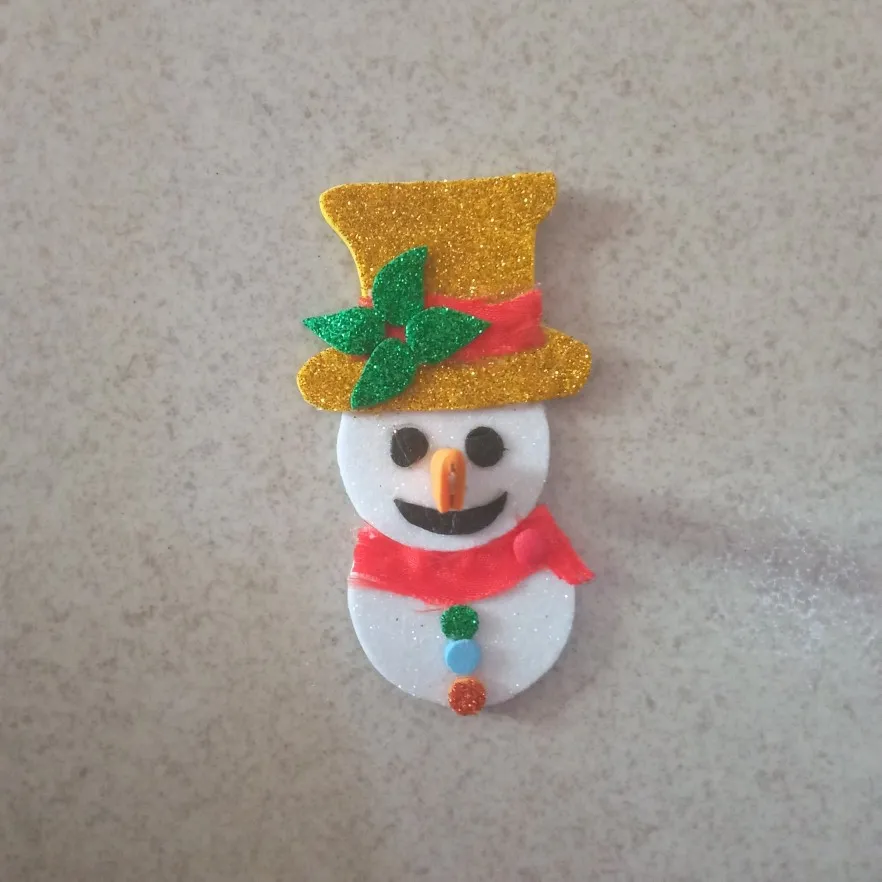
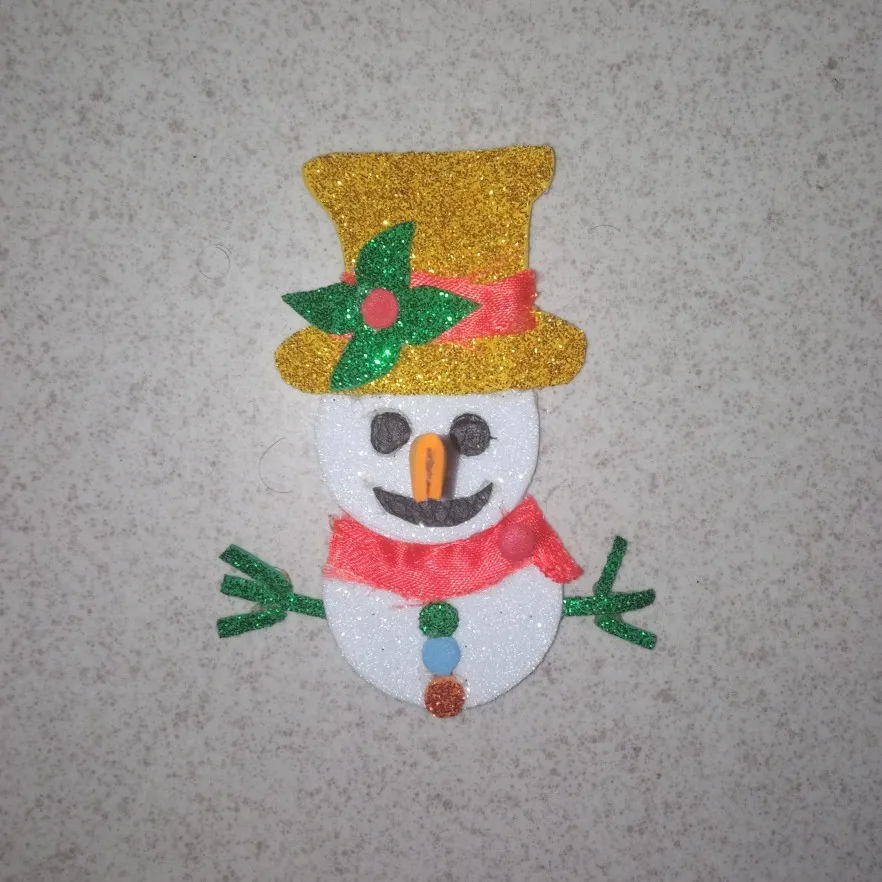
Finally, glue the other red circle in the middle of the leaves of the hat and also glue the branch-like hands at the same time.
Ya finalizando se pega el otro círculo rojo en el medio de las hojas del sombrero y también de una vez pegamos las manos tipo ramas.
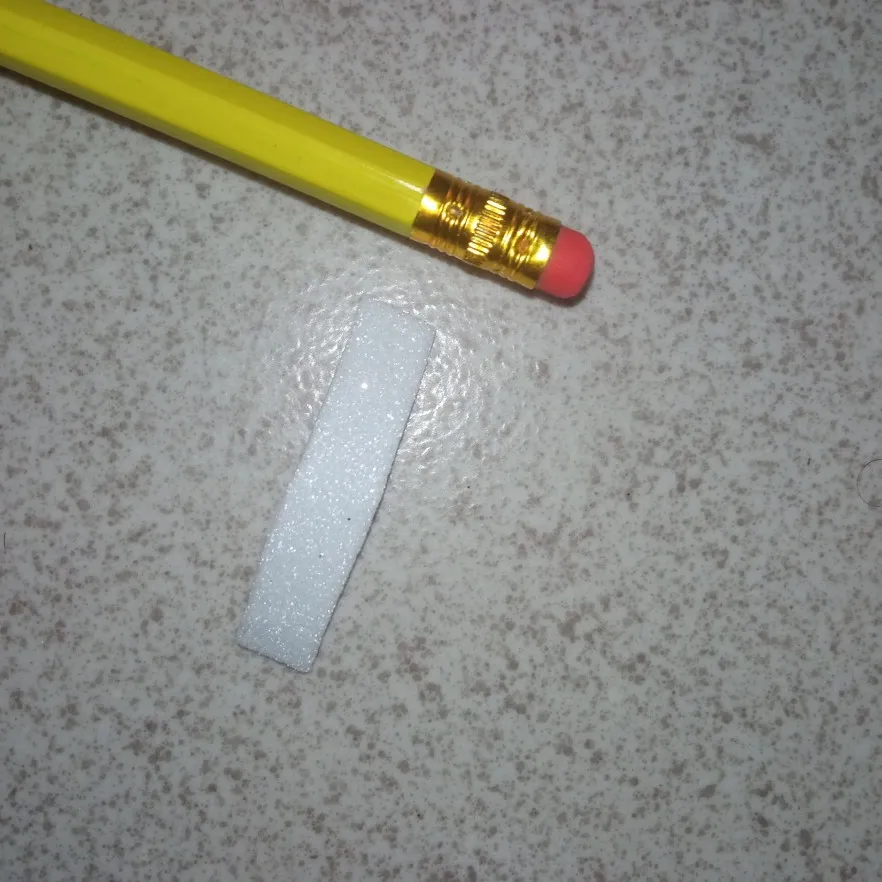
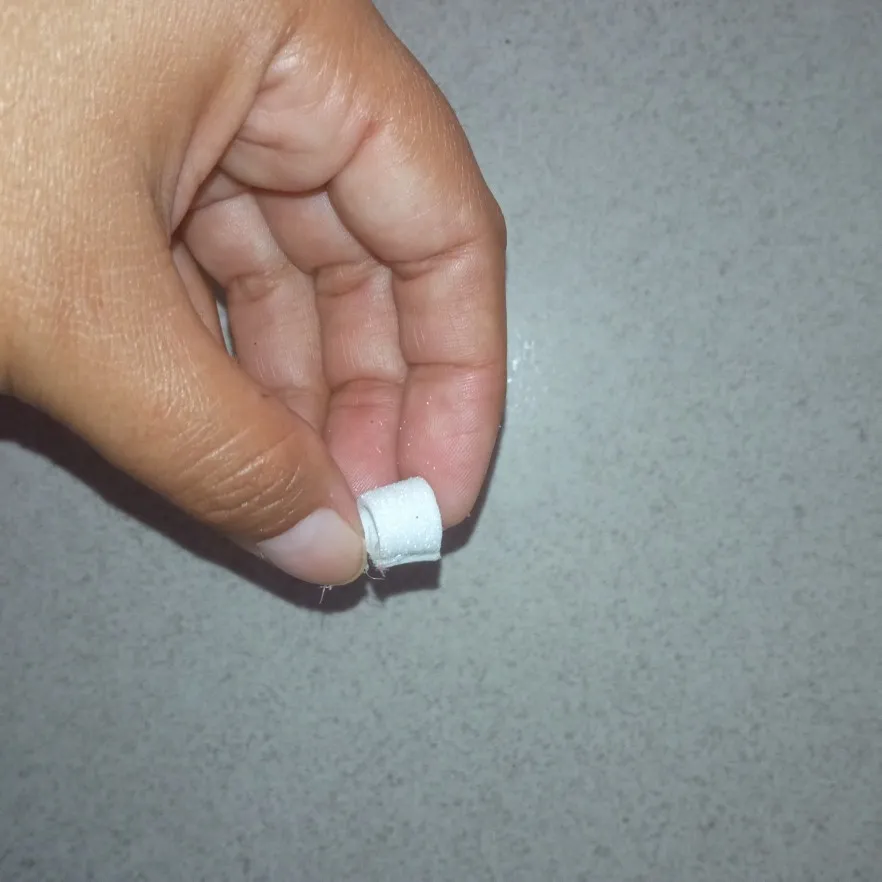
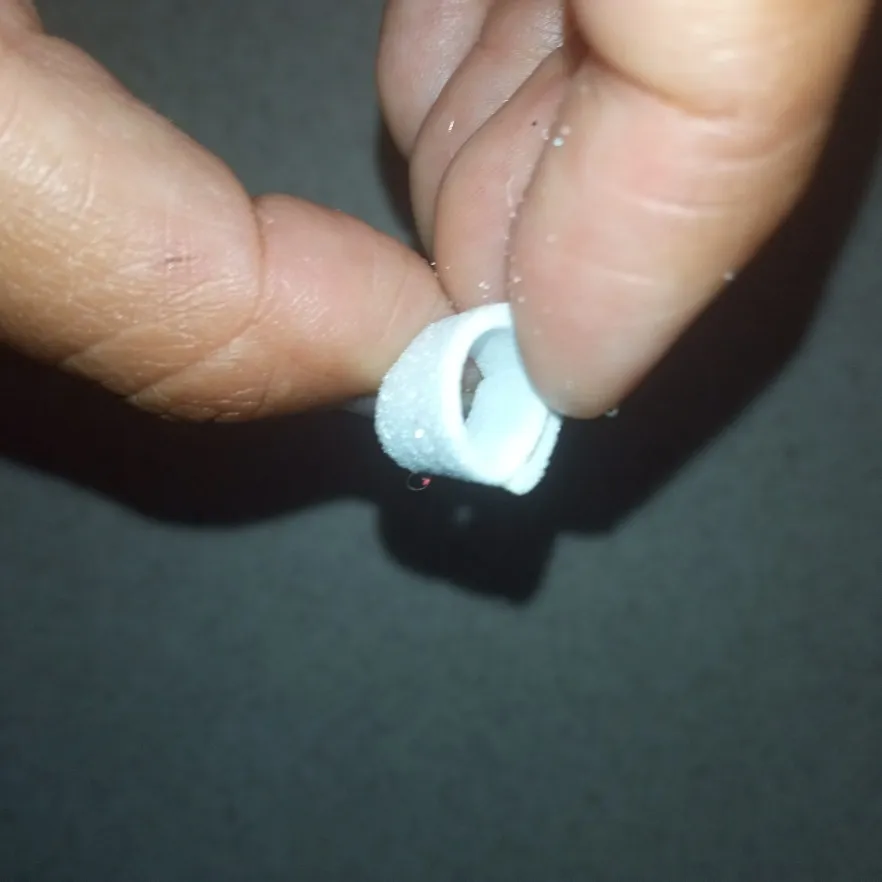
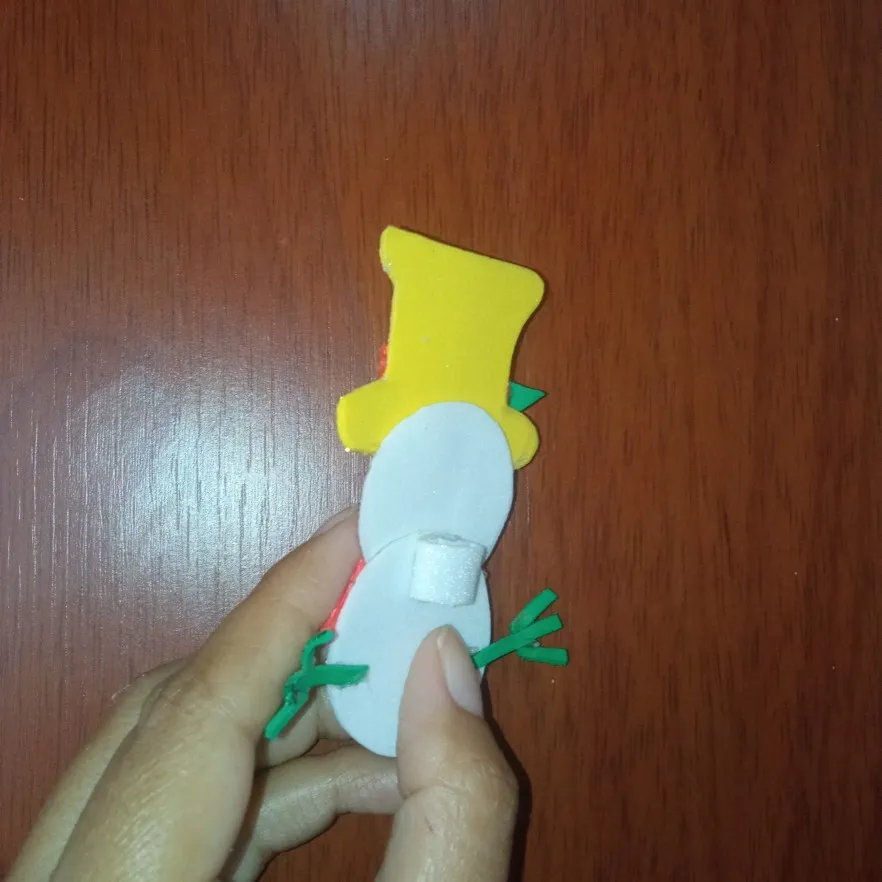
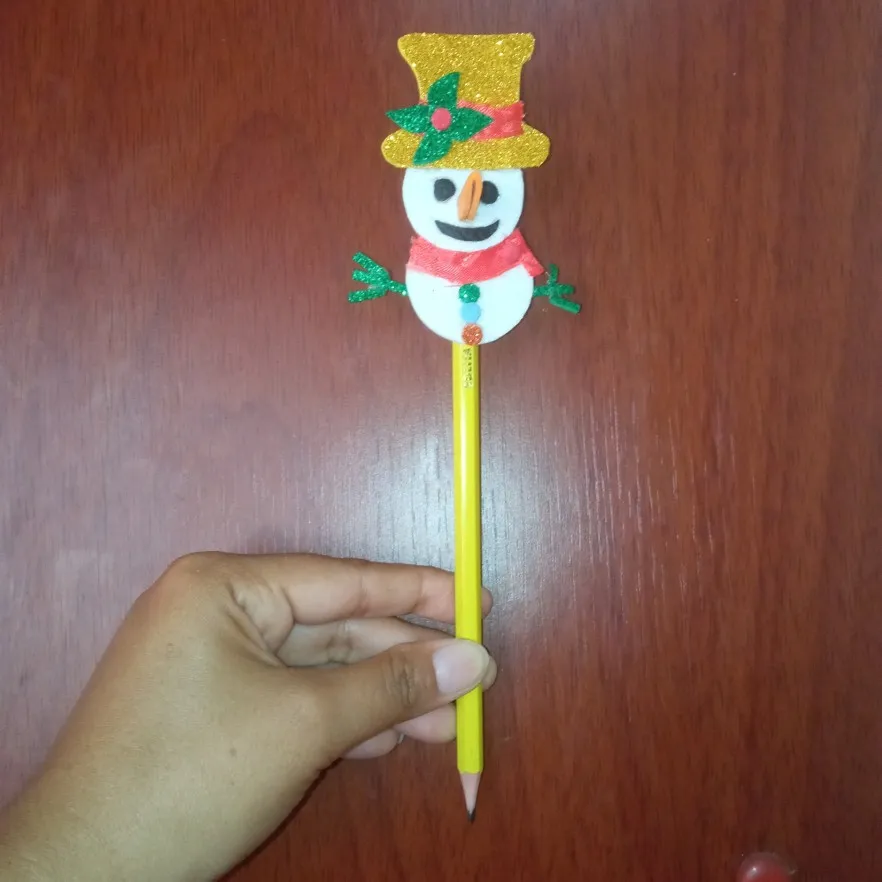
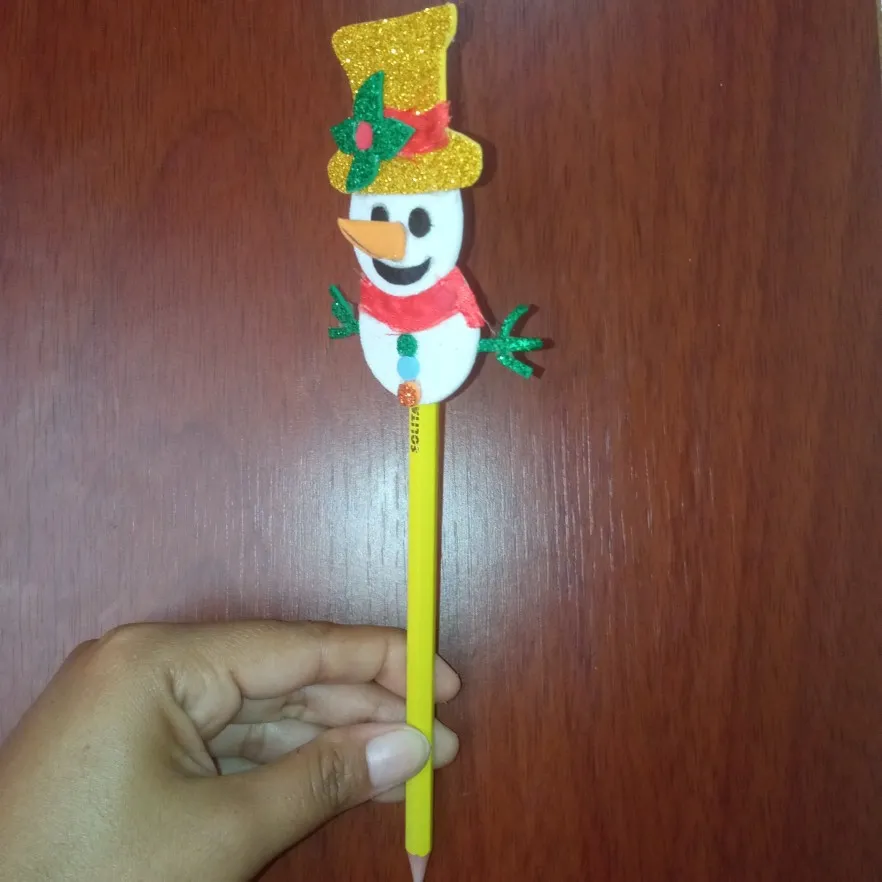
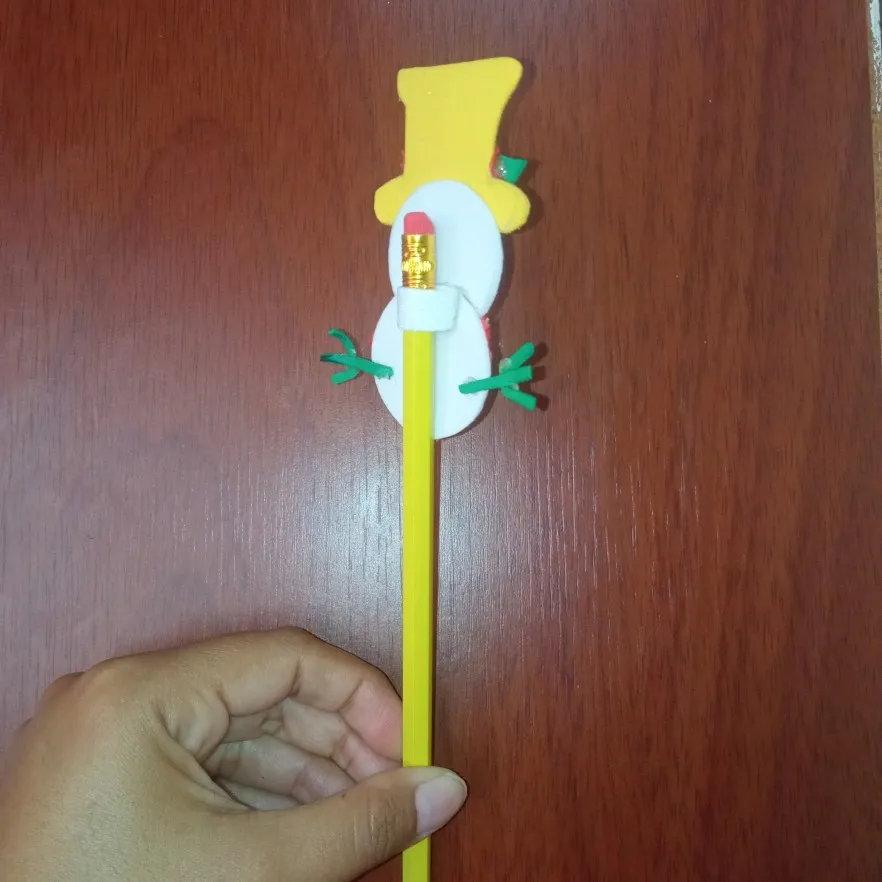
To finish the snowman that will adorn the pencil or pencil, we proceed by taking the pencil measure and make a strip of the desired size and then glue it to prevent it from coming loose, then glue the eva rubber ring on the back of the snowman.
Ya para terminar el muñeco de nieve que adornará el lápiz o lapicero, se procede agarrar la medida del lápiz y hacemos una tira del tamaño deseado y luego pegamos para evitar que se suelte, luego se pega el anillo de goma eva por la parte de atrás del muñeco.
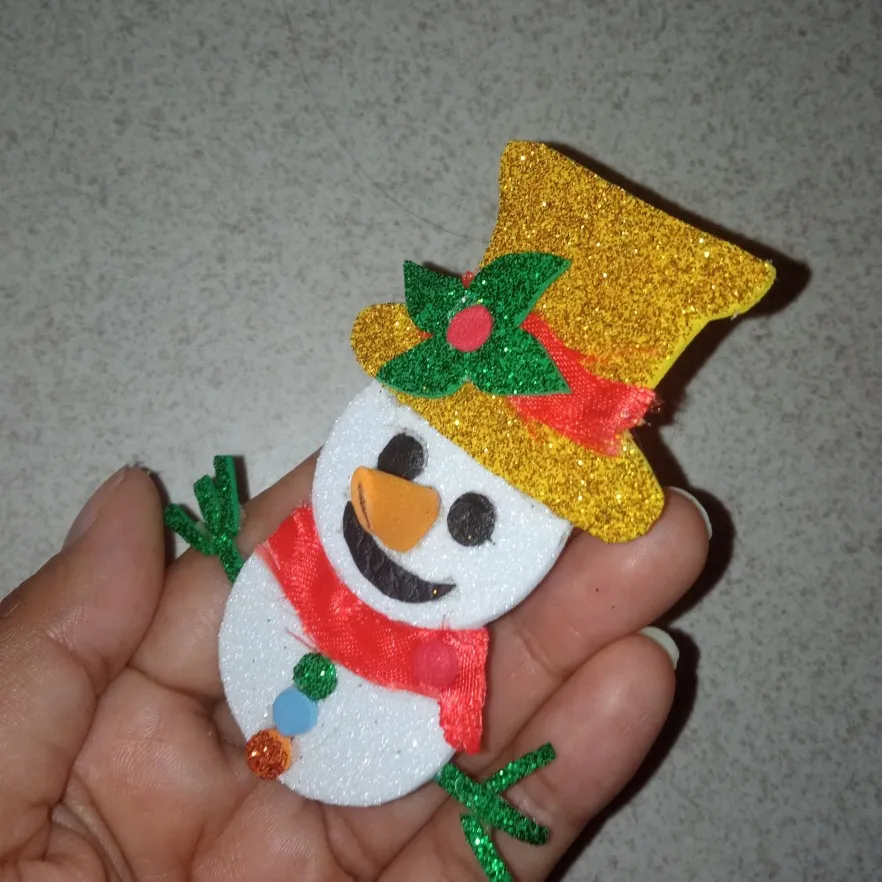
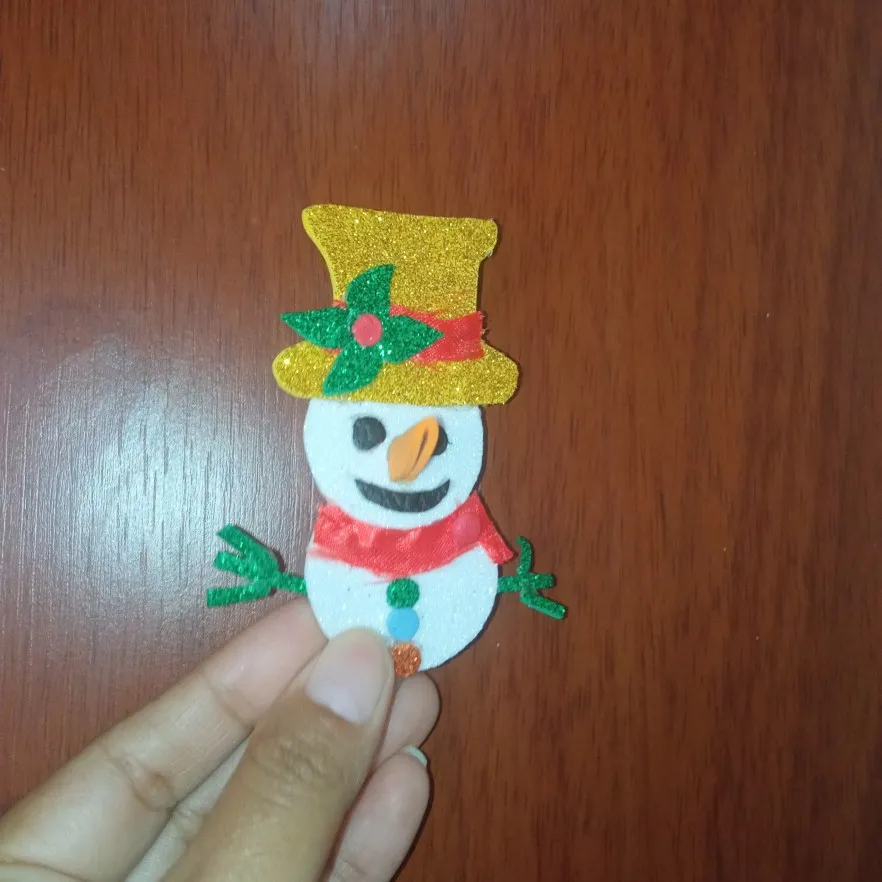
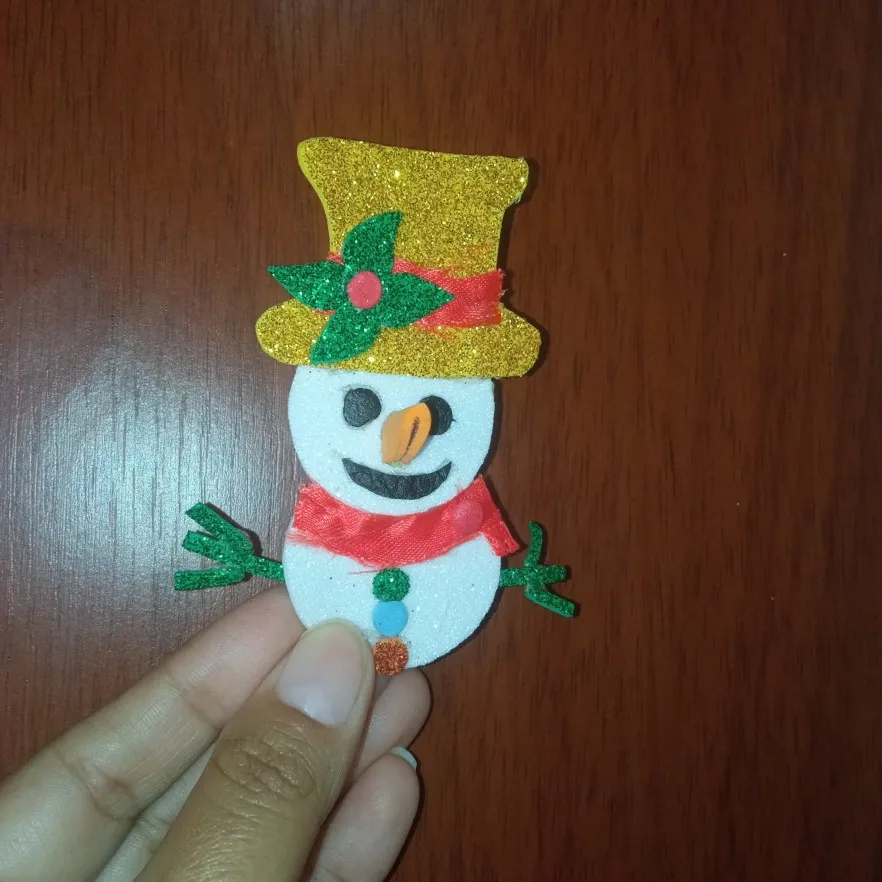
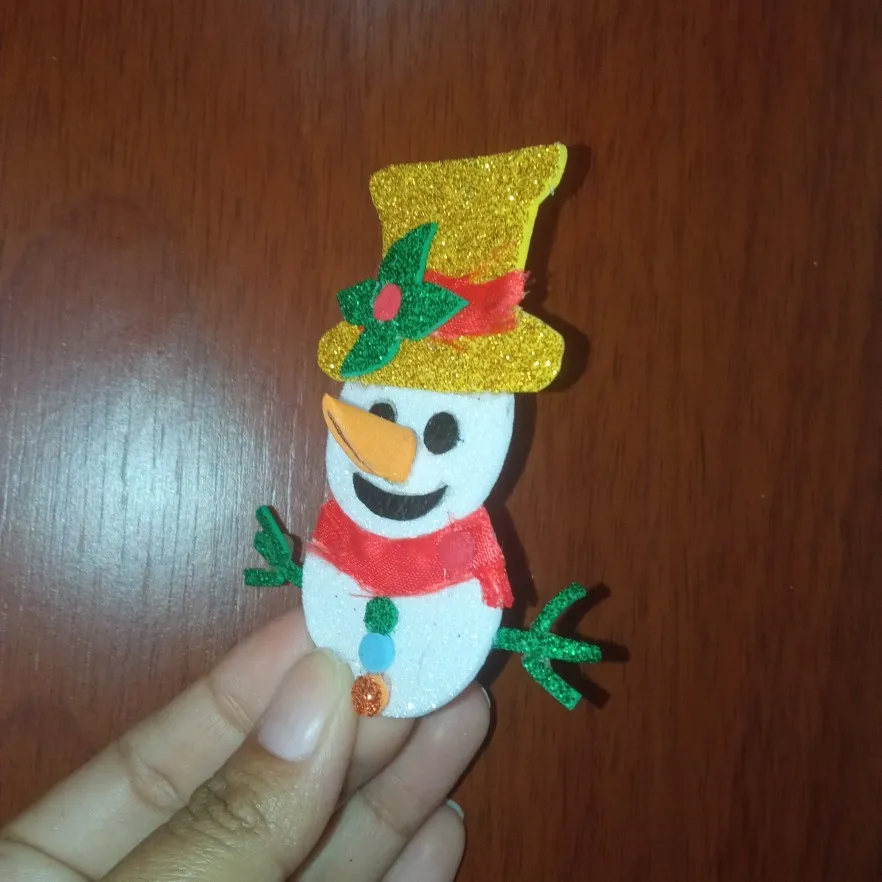
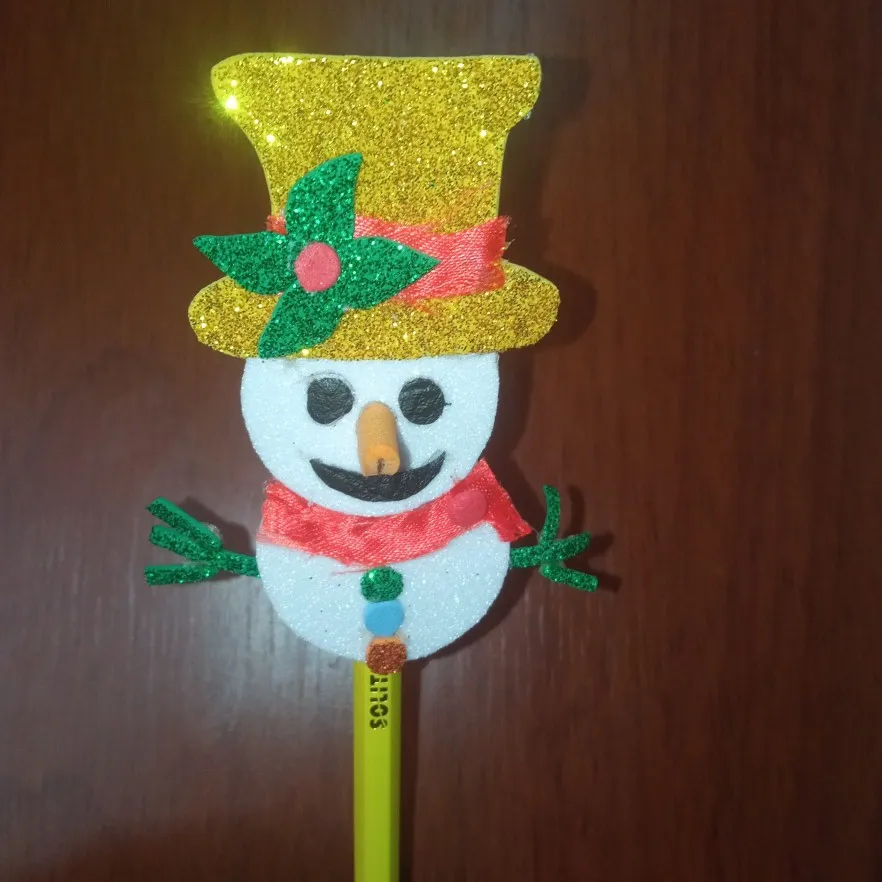
Once the craft is ready, I leave you with a series of images so that you can appreciate the finished work.
Lista la manualidad les dejo una serie de imágenes para que puedan apreciar el trabajo finalizado.
Without more to say and hoping that this post will be to the liking of every reader I say goodbye with a big hug, love @shirahoshi.
Sin más que decir y esperando que este post, sea del agrado de cada lector me despido con un gran abrazo, los quiere @shirahoshi.
The photographs are my own and were taken by me with a Redmi 9 and were edited in powerpoint.
Las fotografías son de mi autoría y fueron tomadas por mí con un Redmi 9 y se editaron en powerpoint.
The Step by Step Gif was made by me in AdobePhotoshop CC2014.
El Gif de Paso a Paso fue realizado por mi en AdobePhotoshop CC2014.
The logo was designed by me in Adobe Illustrator CC 2015 and its animated version was made in After Effects CC 2017.
El logo fue diseñado por mí en Adobe Illustrator CC 2015 y su versión animada la realice en After Effects CC 2017.
Language corrector used Deepl.