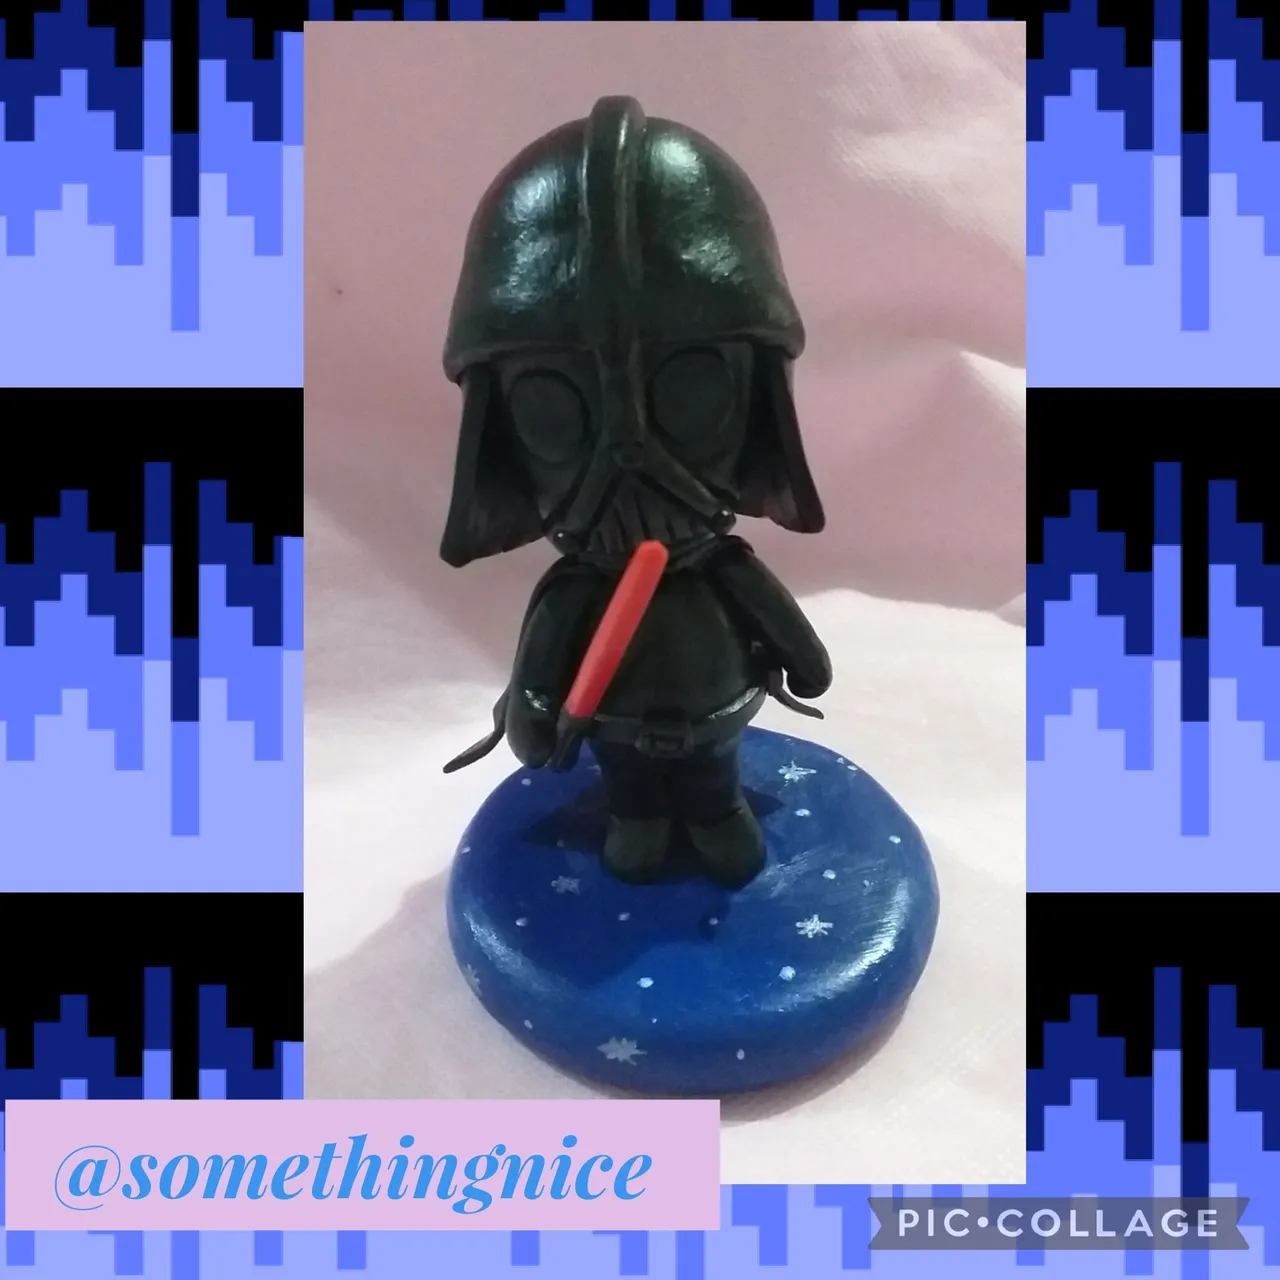
Good morning dear creative friends, happy Wednesday! I hope you are all very well. This time I bring you something completely different from what I had been doing, I invite you to join me to see the process of this nice chibi-style Darth Vader.
Buenos días queridos amigos creativos, feliz miércoles!!!.Espero que estén todos muy bien. En esta oportunidad les traigo algo completamente diferente de lo que venía haciendo, los invito a que me acompañen a ver el proceso de este simpático Darth Vader estilo chibi.
I made this project with a video tutorial by Wen Liang from his YouTube channel called Artewen.
Este proyecto lo hice con un video tutorial de Wen Liang de su canal de YouTube llamado Artewen.
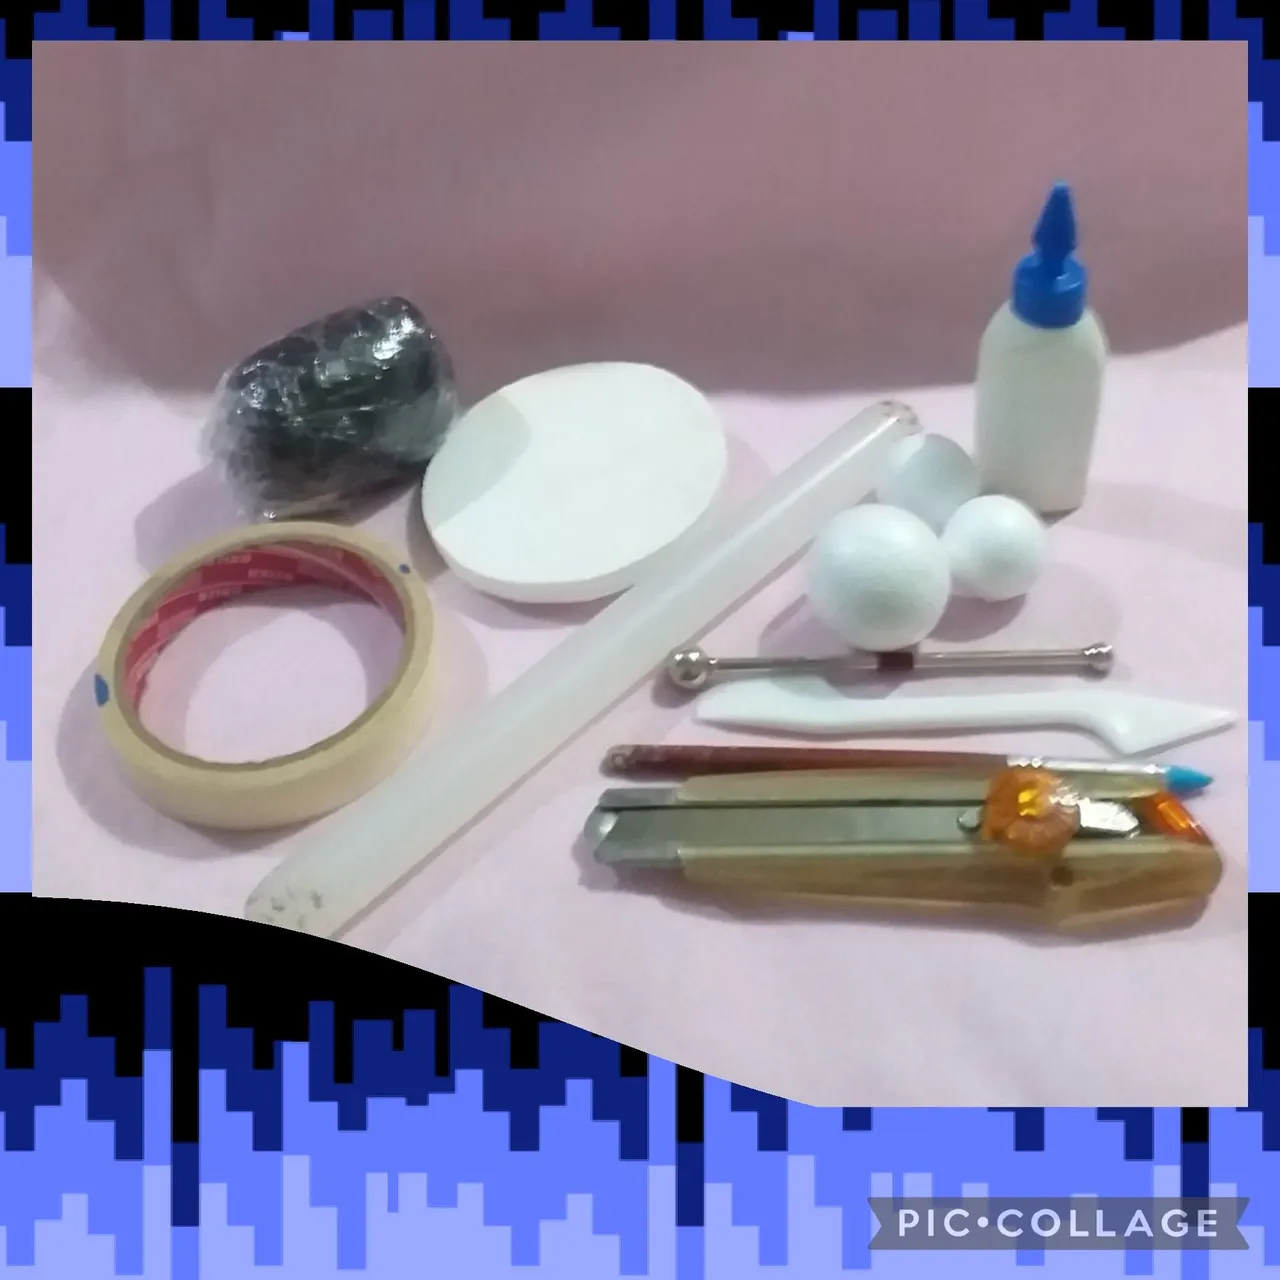
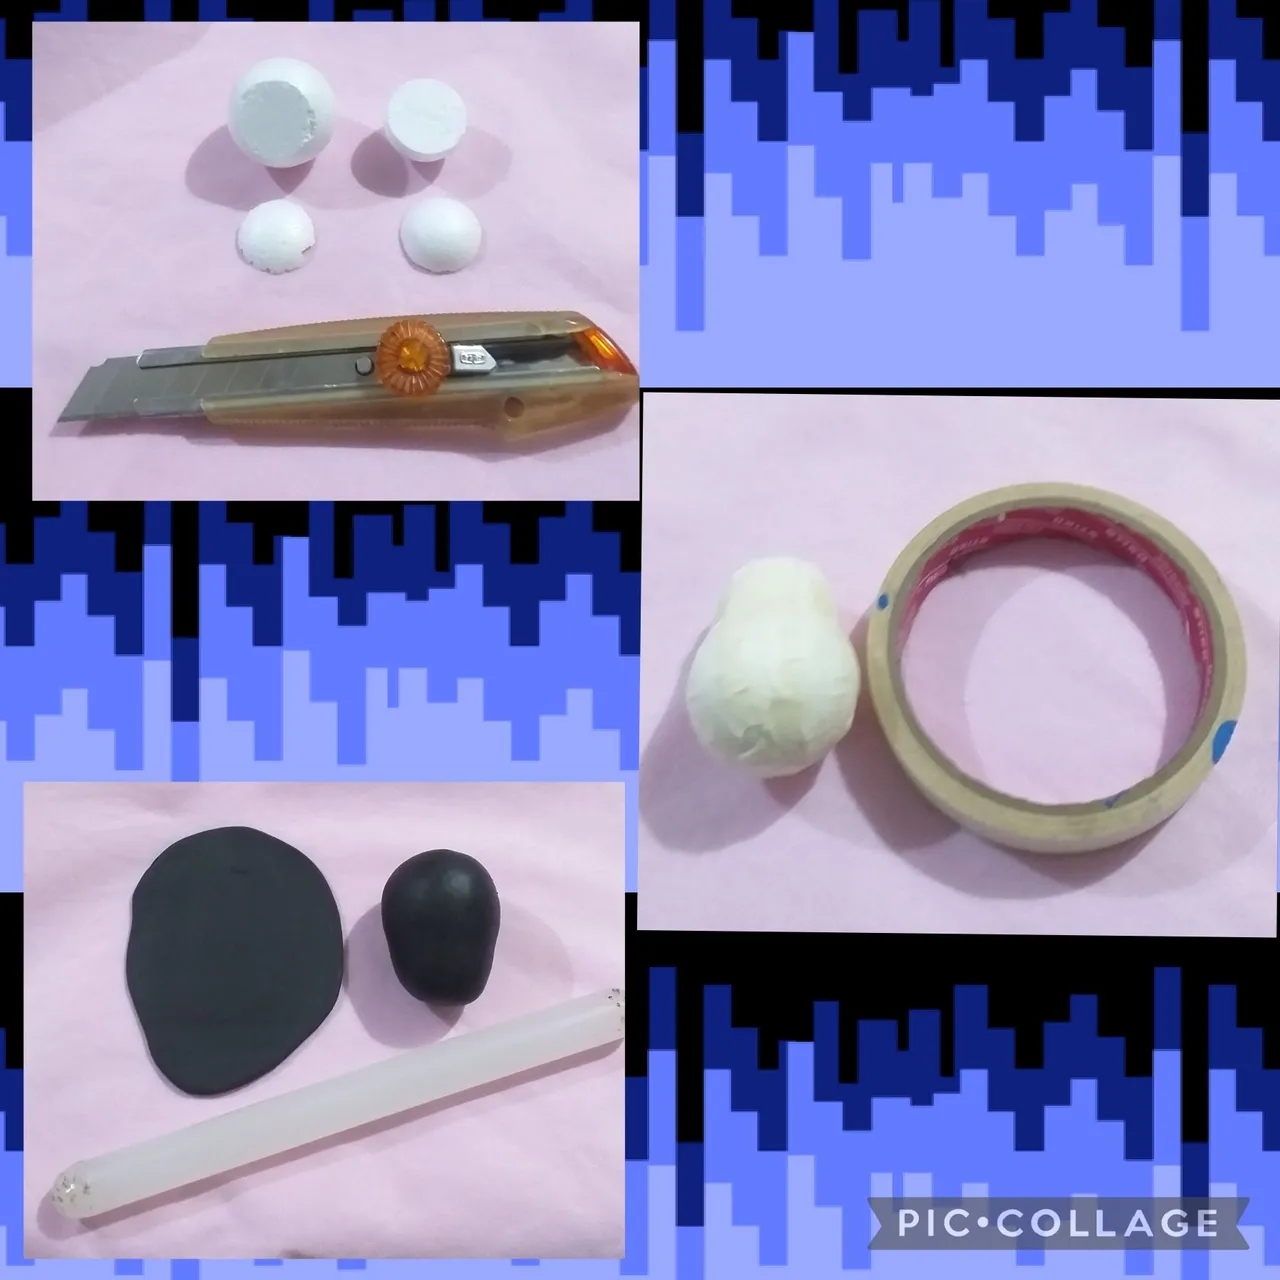
Materials
⭐ cold porcelain
⭐ vinyl glue
⭐ stakes
⭐ rolling pin
⭐ styrofoam spheres
⭐ styrofoam cover
⭐ cutter
⭐ paper tape
Materiales
⭐ porcelana fría
⭐ cola vinilica
⭐ estecas
⭐ palo de amasar
⭐ esferas de telgopor
⭐ tapa de telgopor
⭐ cutter
⭐ cinta de papel

We are going to use one large sphere and two smaller ones. For the body, use a small one, make a black ball, insert the sphere, close and give it a pear shape.
Vamos a utilizar una esfera grande y dos más pequeñas. Para el cuerpo usar una pequeña, hacer una bolita de color negro, introducir la esfera, cerrar y dar forma de pera.
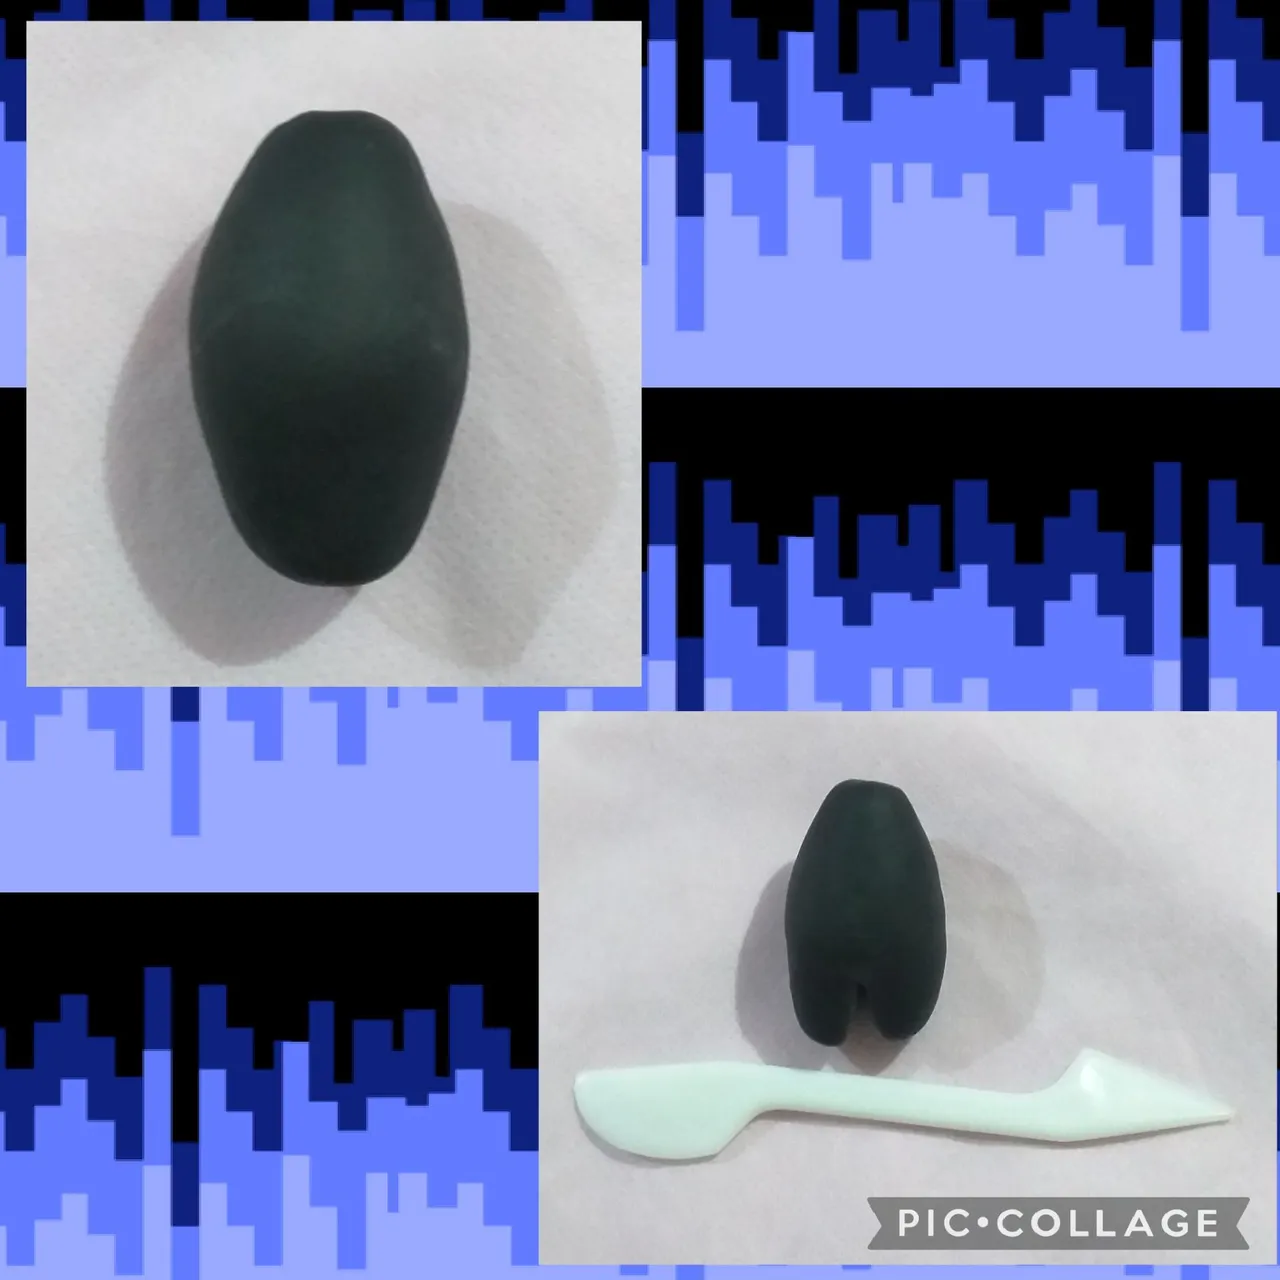
From that pear, carry mass towards the other end (that is, the sphere will remain in the middle and the extensions at the ends). On one of those ends make a cut in the middle.
De esa pera ir llevando masa hacia el otro extremo (o sea va a quedar la esfera en el medio y las prolongaciones en los extremos). En uno de esos extremos hacer un corte en el medio.
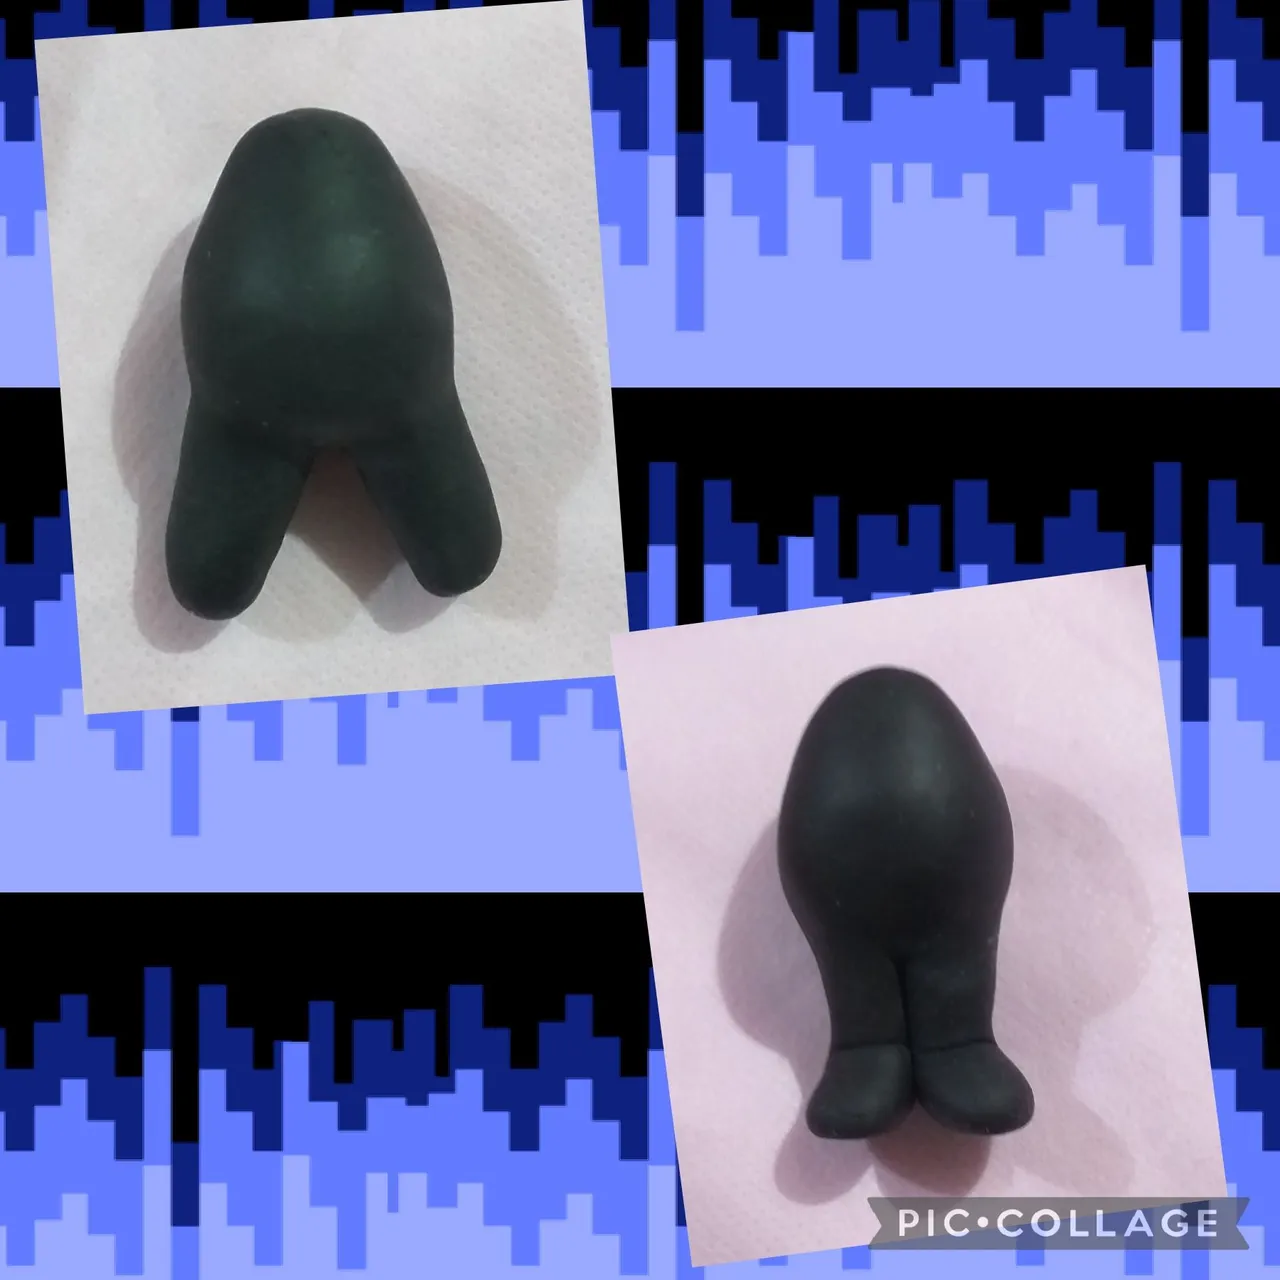
Separate and round to form the legs. About a quarter of the length of the leg mark to be able to bend and flatten to base the foot.
Separar y redondear para formar las piernas. Más o menos en un cuarto del largo de la pierna marcar para poder doblar y aplanar para dar base al pie.
For the head use two spheres of different sizes, we remove a quarter from the largest one with the cutter and we remove half from the smallest.
Join and wrap everything with paper tape.
Stretch black cold porcelain, cover the spheres, remove the excess and tidy up.
Para la cabeza utilizar dos esferas de diferentes tamaños, a la más grande le quitamos un cuarto con el cutter y a la más pequeña quitamos la mitad.
Unir y envolver todo con cinta de papel.
Estirar porcelana fría color negro, cubrir las esferas, quitar el excedente y emprolijar.
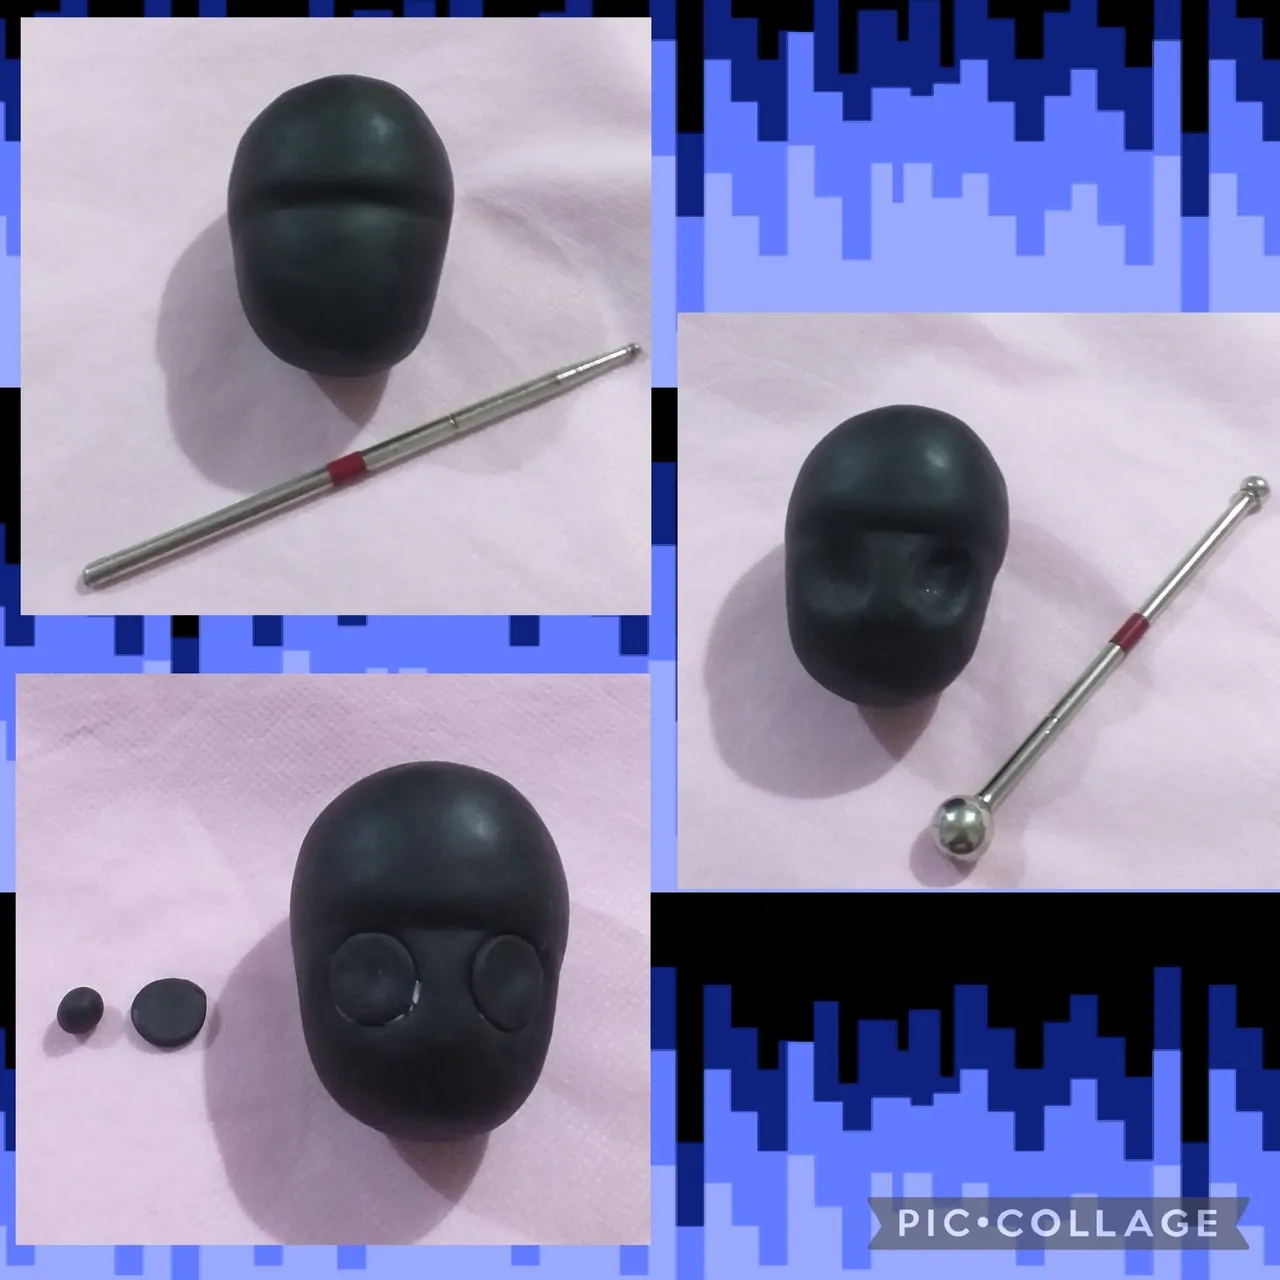
With some stake mark at the height of the forehead, lower the lower part to form a step and smooth.
With some bobbin stick mark the eye sockets (if you don't have you can do it only with your fingers).
Make two small balls and flatten to fill the sockets (check that they are the same size).
Con alguna esteca marcar a la altura de la frente, bajar la parte inferior para formar un escalón y suavizar.
Con alguna esteca de bolillo marcar las cuencas de los ojos (si no tenes lo podes hacer solo con los dedos).
Hacer dos bolitas y aplanar para rellenar las cuencas (controlar que sean del mismo tamaño).
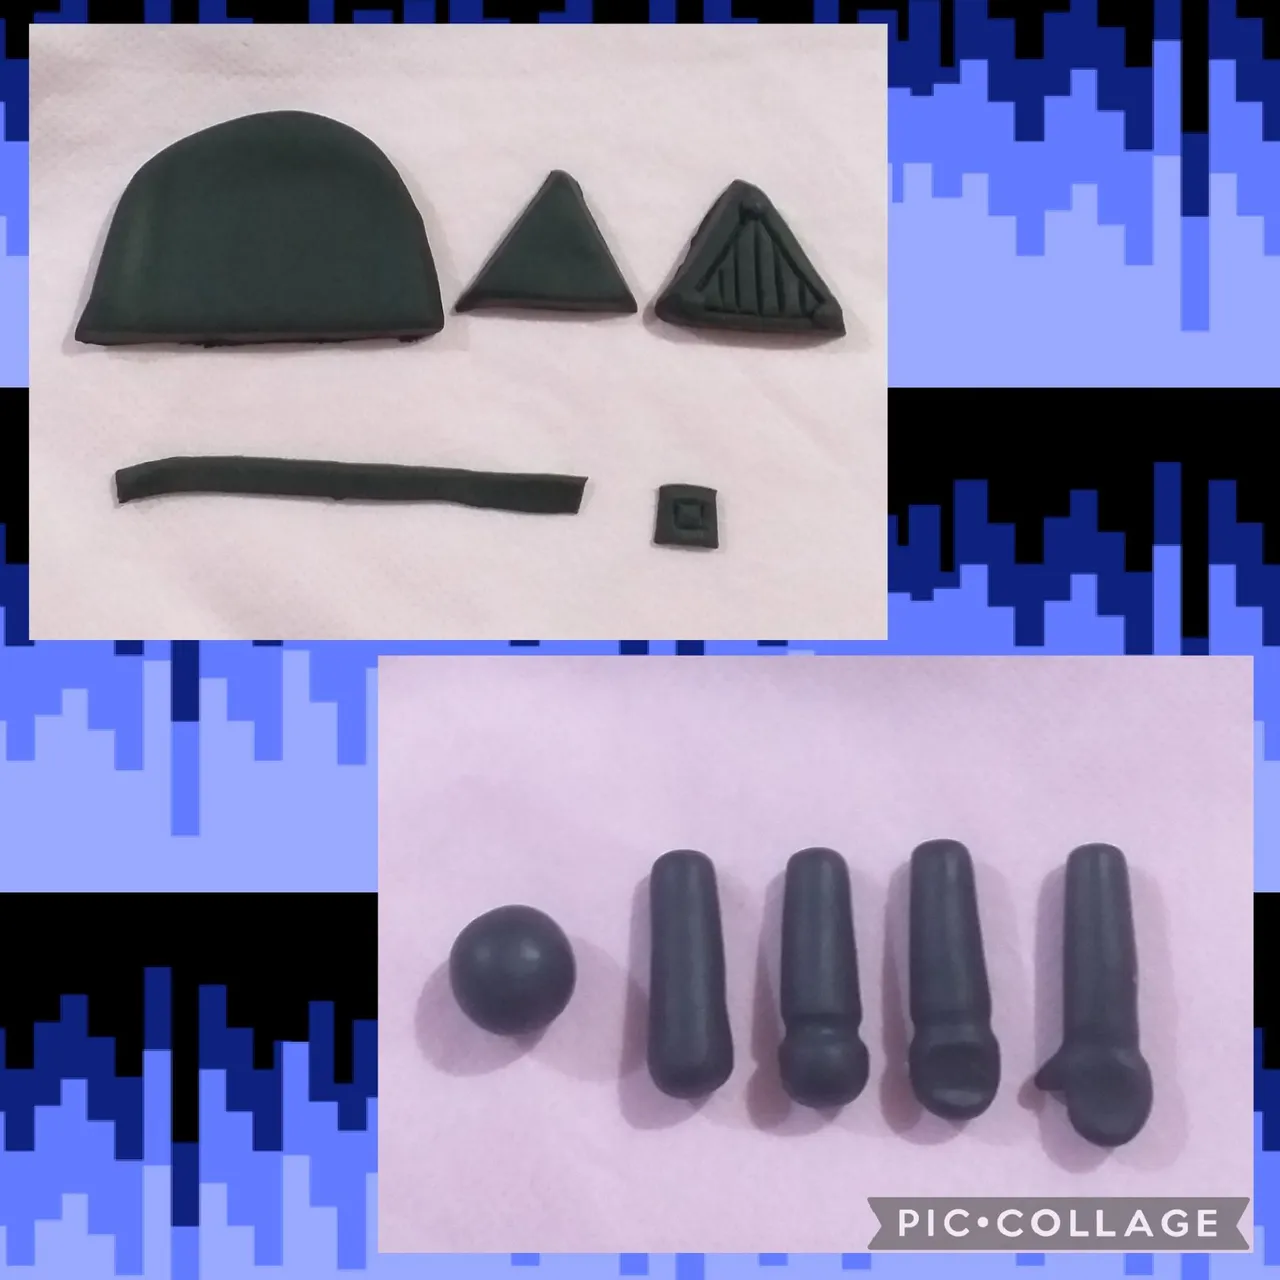
For the mask, stretch the dough, cut a triangle, mark the edges and make straight lines in the center.
For the belt, cut a strip that covers the diameter of the body and a small square for the buckle.
For the arms, make two equal balls, stretch leaving a larger end where we mark the wrist, flatten, hollow out a little to form the palm of the hand, mark the thumb.
Para la máscara estirar masa, cortar un triángulo, marcar los bordes y en el centro hacer líneas rectas.
Para el cinturón cortar una tira que cubra el diámetro del cuerpo y un pequeño cuadrado para la hebilla.
Para los brazos hacer dos bolitas iguales, estirar dejando un extremo más grande donde marcamos la muñeca,aplanar, ahuecar un poco para formar la palma de la mano, marcar el dedo pulgar.
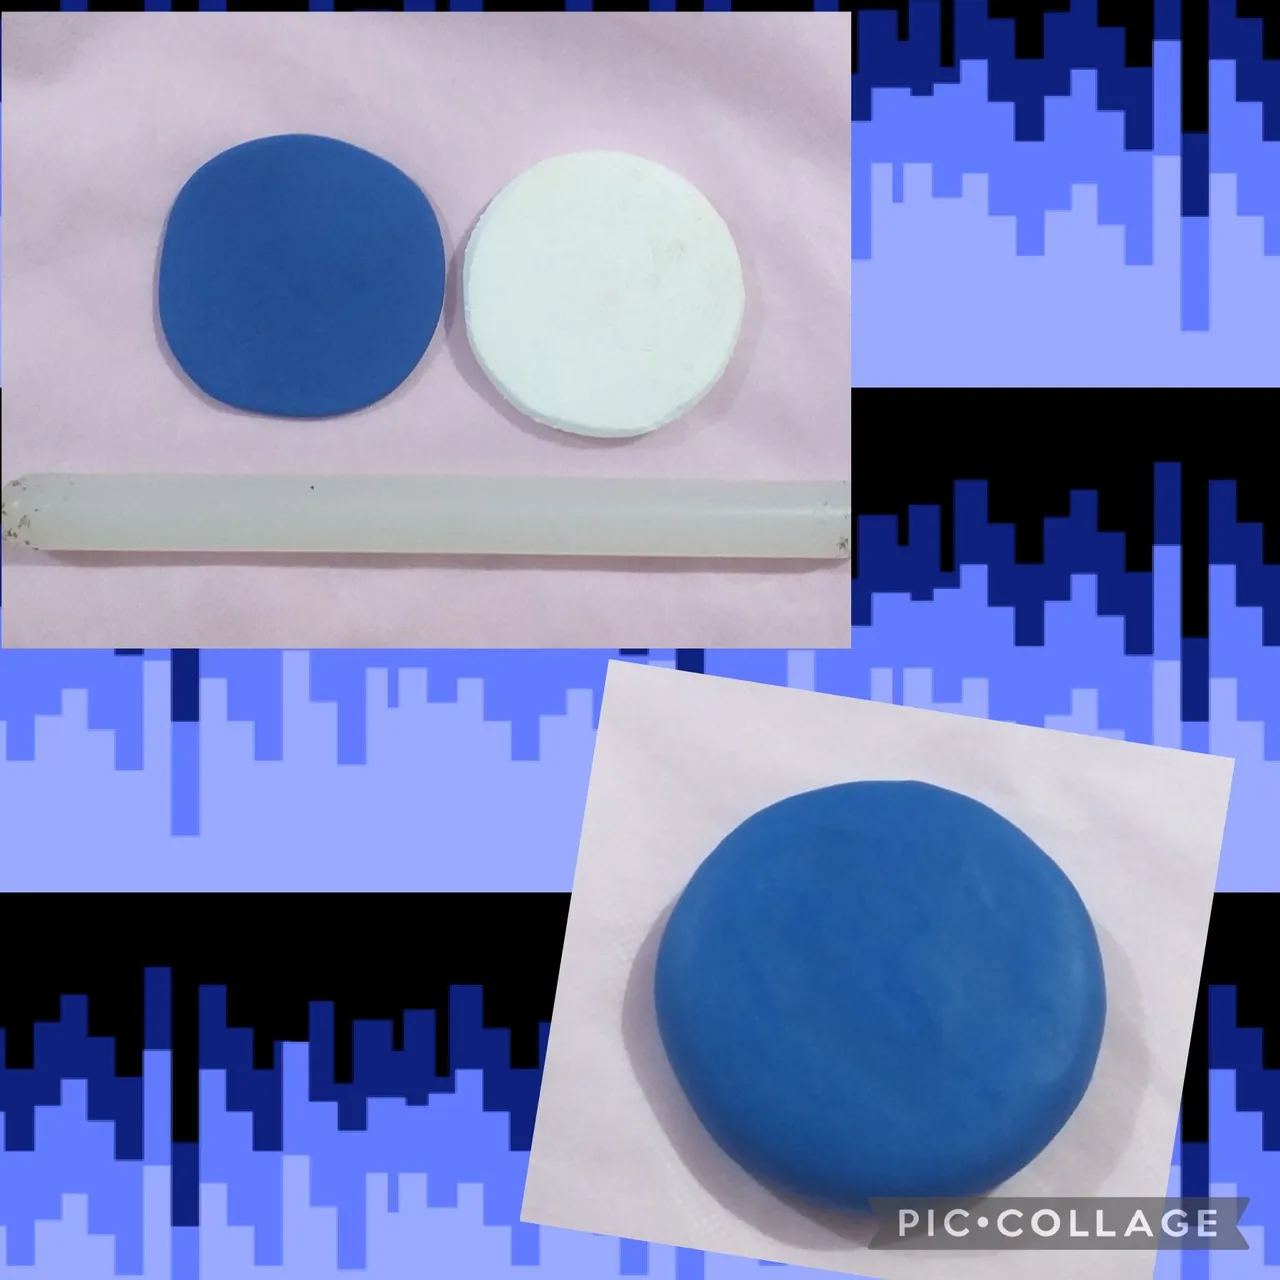
Stretch blue dough, put vinyl glue on the entire surface of the Styrofoam cover, cover and remove the excess. Repeat the step and cover the other side, melt the joint with water so that it is not noticeable.
Estirar masa de color azul, poner cola vinilica en toda la superficie de la tapa de telgopor, cubrir y quitar el excedente. Repetir el paso y cubrir del otro lado, fundir la unión con agua para que no se note.
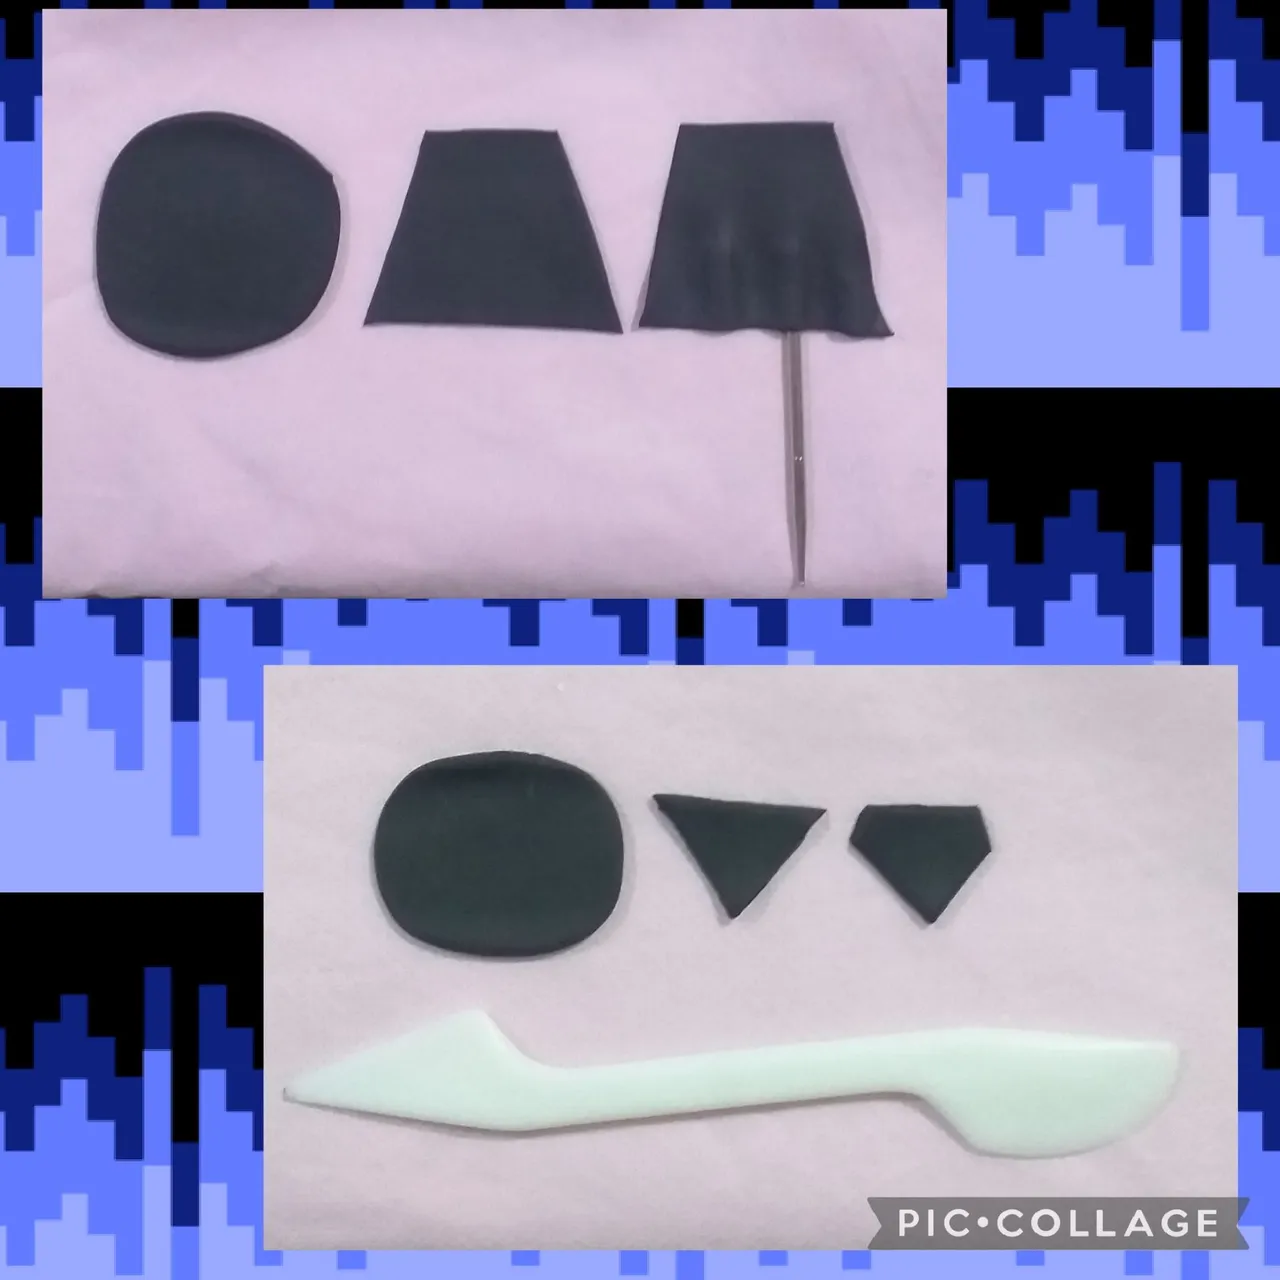
For the layer roll out fairly thin dough, cut in the shape of a trapezoid and with a round stick form the folds.
For the flap stretch dough, cut a triangle and cut two of the ends.
Para la capa estirar masa bastante fina, cortar en forma de trapecio y con alguna esteca redonda formar los pliegues.
Para la solapa estirar masa, cortar un triángulo y cortar dos de las puntas.
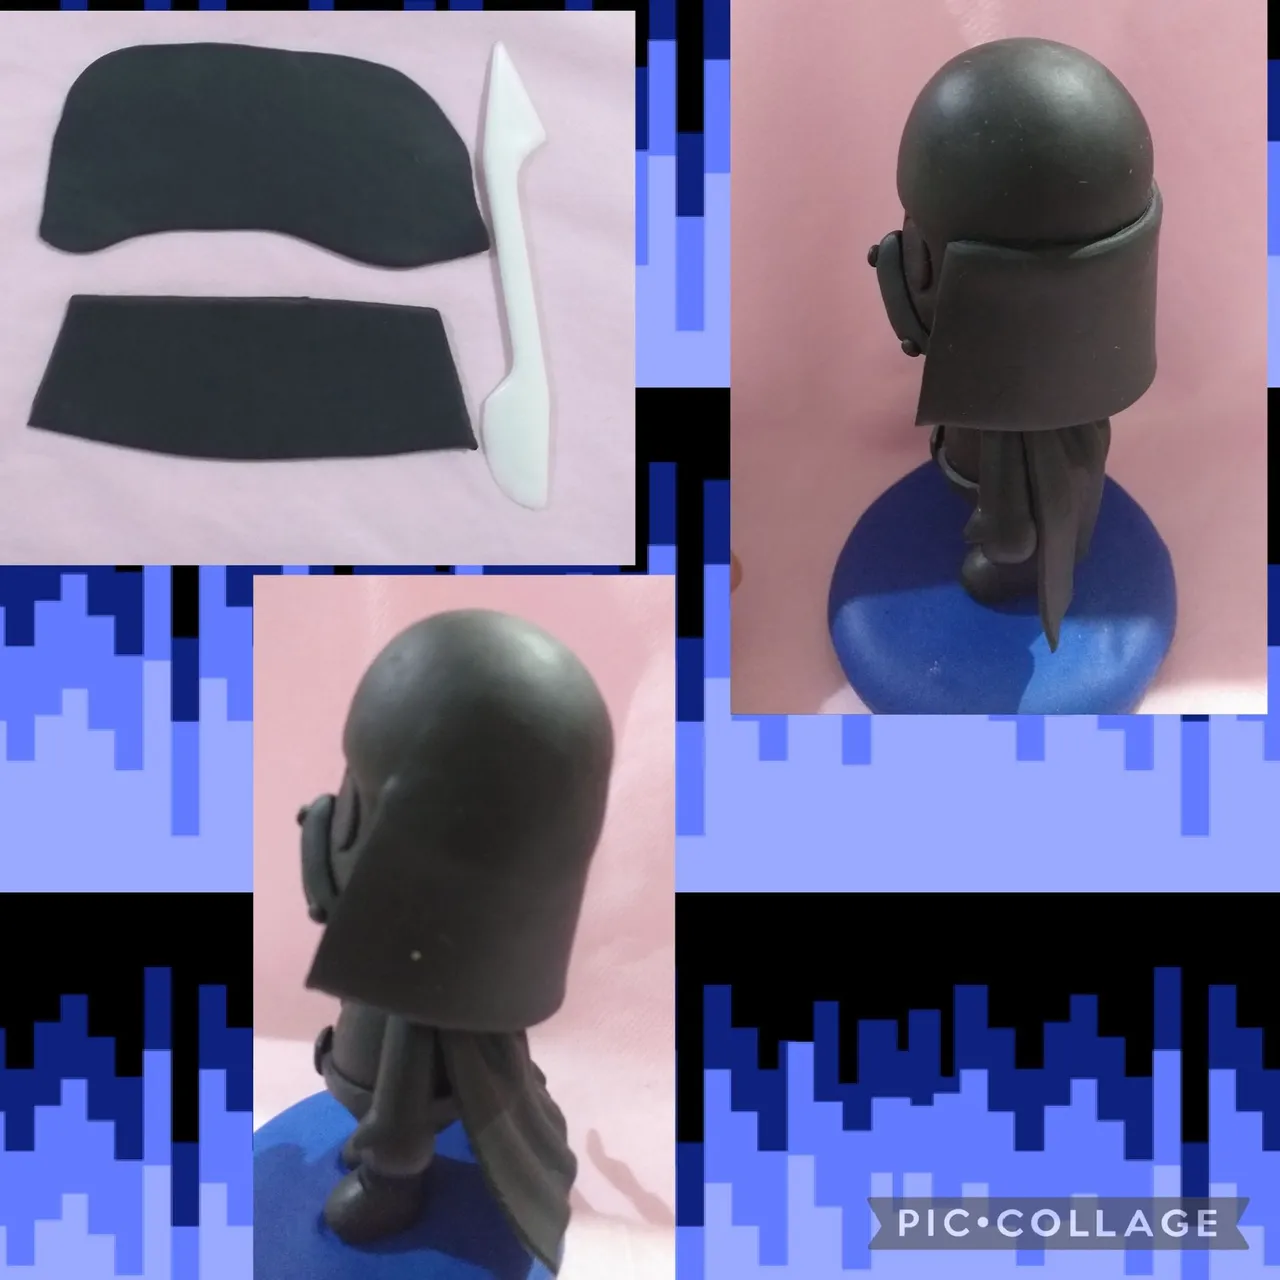
Stick the body to the base joining with a brochette stick or wire. Add the head.
Roll out dough, cut in the shape of a trapezoid but with a curved bottom, paste from side to side of the head at the height of the forehead, integrate and melt with water.
Pegar el cuerpo a la base uniendo con un palito de brochette o alambre. Agregar la cabeza.
Estirar masa, cortar en forma de trapecio pero con la parte inferior curva, pegar de lado a lado de la cabeza a la altura de la frente, integrar y fundir con agua.
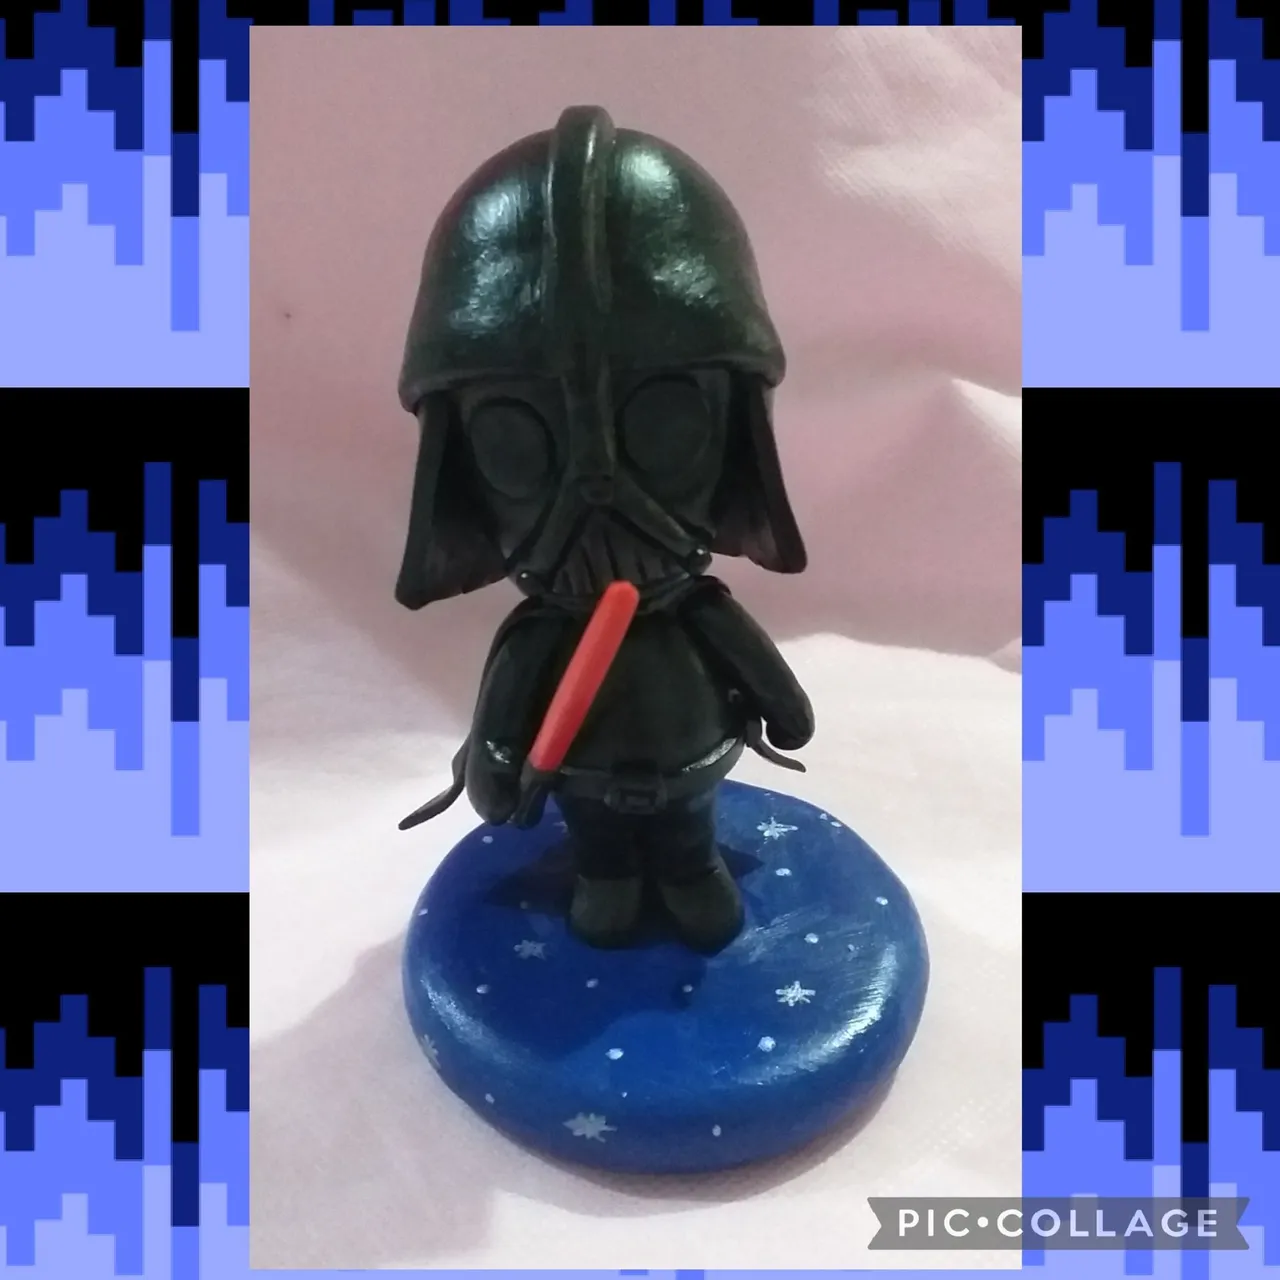
To make the lightsaber I just covered a piece of the brochette stick and added a piece of black dough as a handle.
Apply varnish to make it shiny. At the base I made dots and stars with silver acrylic.
For this post I took photos with my Samsung Galaxy j4 cell phone and used the PicCollage app and Google Translate.
I hope you liked it since it is a fairly simple job and made with few materials. Greetings. Andrea❤❤❤
Para hacer el sable de luz solo cubri con masa un trozo de palito de brochette y le agregué un trozo de masa negra como mango.
Aplicar barniz para que quede brilloso. En la base le hice puntos y estrellas con acrílico plateado.
Para este post tomé fotos con mi teléfono celular Samsung Galaxy j4 y utilicé la aplicación PicCollage y el traductor de Google.
Espero les haya gustado ya que es un trabajo bastante sencillo y hecho con pocos materiales. Saludos. Andrea❤❤❤